Advertising disclosure: This page includes affiliate product links that may earn us a commission, as well as products from our own store.
Bench Press Grip Width and Shoulder Load: What Ten Lifters Reveal
A bench press grip is often chosen by habit: index fingers on the rings, pinkies inside the knurling, or simply wherever the bar feels strongest. But the distance between your hands changes more than bar travel. It changes the leverage around the shoulder and the demand on the tissues keeping that joint stable. A carefully controlled comparison of ten experienced lifters provides an unusually detailed look at what happens when grip width, elbow position and shoulder-blade setup change together.
The practical takeaway is not that wide grips are forbidden or that close-grip benching is always safe. The study measured movement and bar forces, then estimated shoulder-joint forces through a model; it did not follow athletes for injuries. Here is how to translate those findings into a stable grip, a repeatable bar path and productive bench training without overclaiming what the evidence can prove.
What ten experienced lifters actually tested
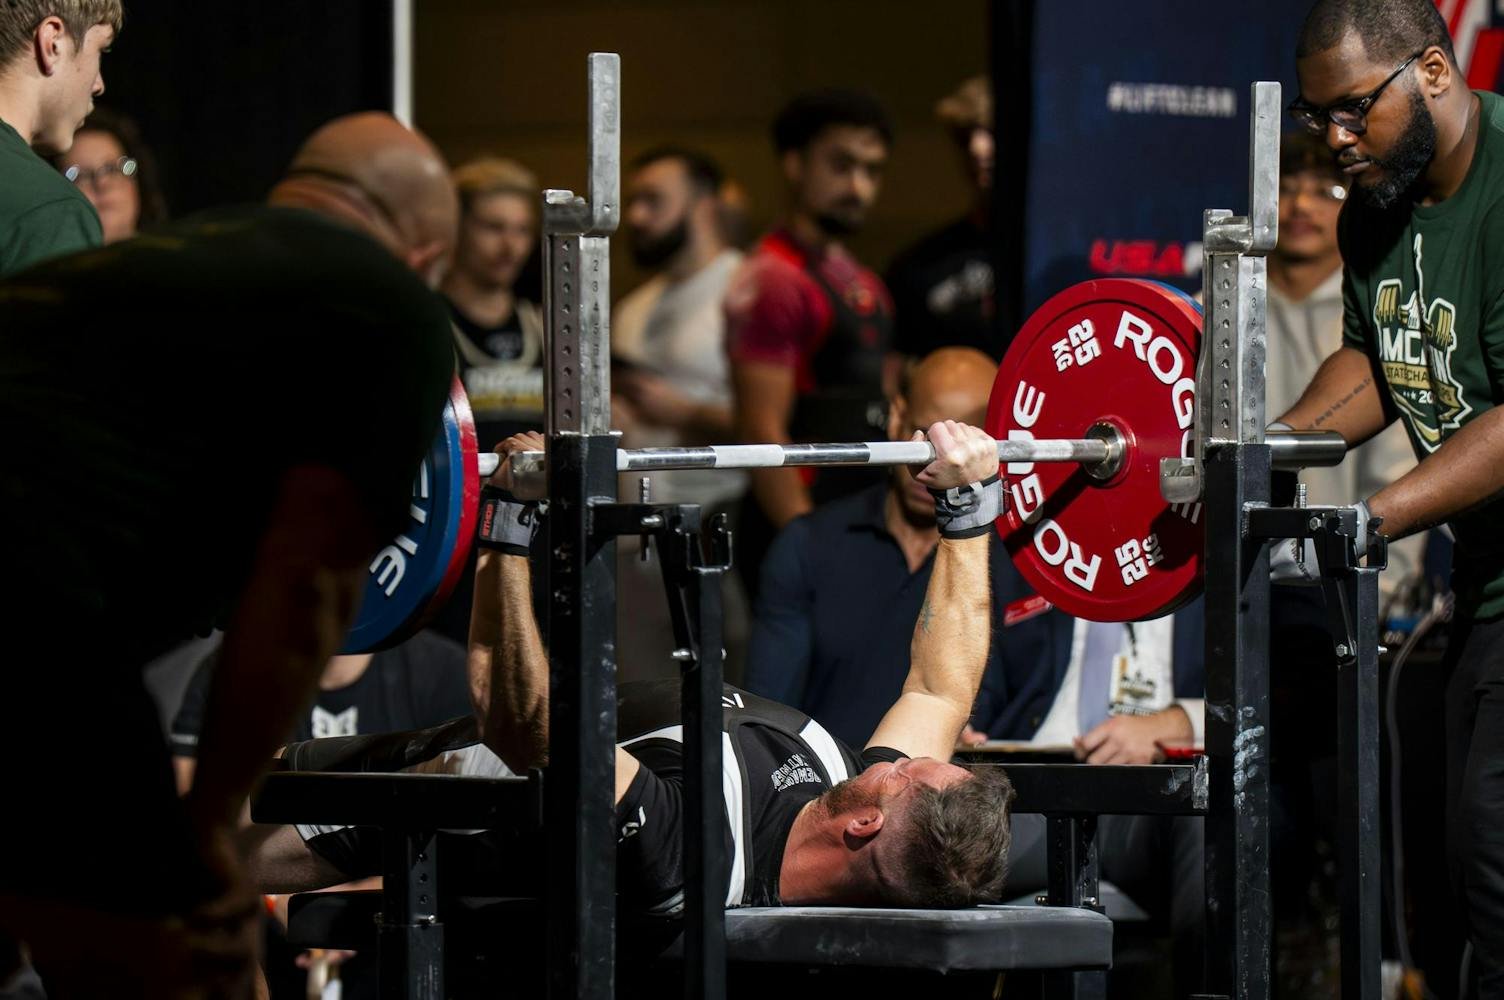
Ten healthy, experienced strength athletes performed multiple controlled bench press technique variations while researchers tracked movement and forces applied to an instrumented bar. The group contained nine men and one woman, and the average training history was more than six years. Each athlete completed a selection of grip widths, upper-arm positions and shoulder-blade postures. The 21 combinations actually tested were chosen from a larger theoretical set; some positions were excluded because they were judged unsafe to execute. That is a useful reminder that a laboratory comparison is not a license to try every possible combination under heavy weight.
The researchers used a shoulder model to estimate how forces acted at the main shoulder ball-and-socket joint and at the joint connecting the collarbone to the shoulder. These are estimated joint reaction forces, not measurements of tissue damage, and no long-term injury outcomes were collected. The study used a light 16 kg barbell for consistent technique trials, not a near-maximal bench set. A lower modeled load can inform a sensible setup, but it does not prove that a particular grip prevents pain or injury across months of hard training.
The clearest changes were associated with grip width and scapular position. Wider grips generally increased several modeled shoulder compression and shear components, while retracting the shoulder blades reduced several components compared with a neutral shoulder position. Horizontal force directed along the bar differed substantially between people. These findings favor a repeatable, individualized pressing technique rather than a single universal hand spacing. If you have persistent shoulder symptoms, technique experiments are not a substitute for assessment.
Measure your grip from shoulder width, not arbitrary bar marks
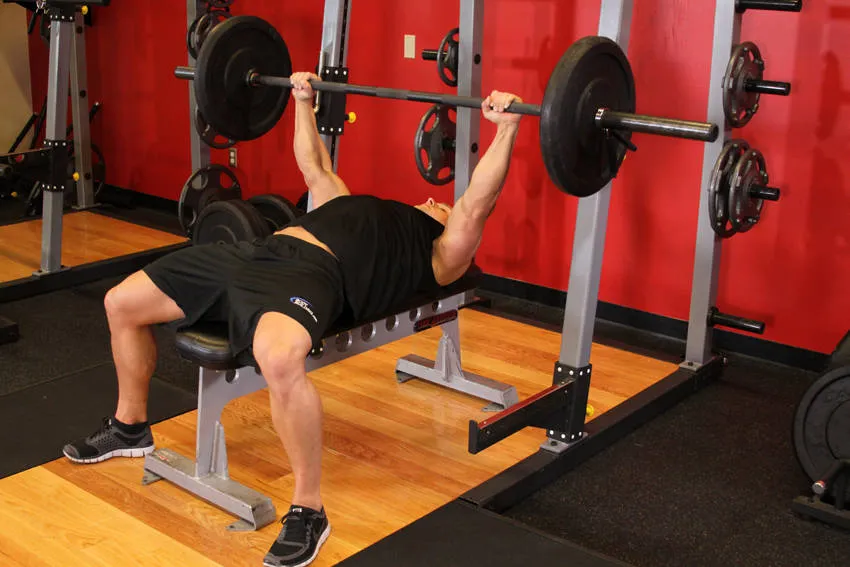
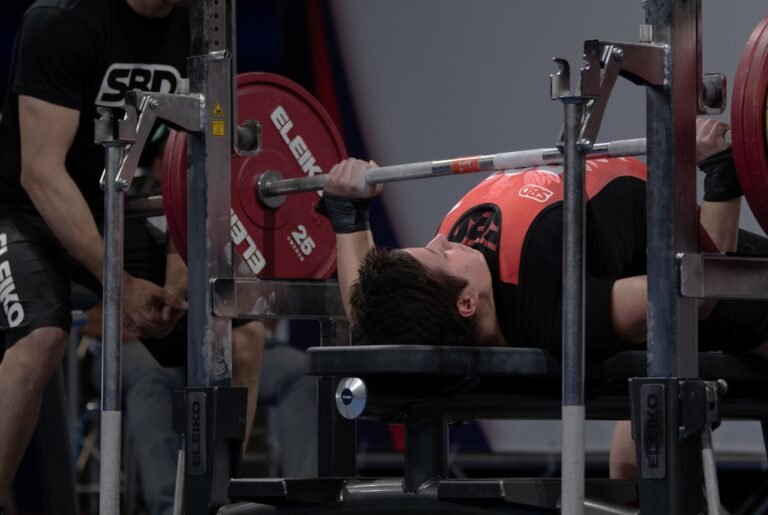
Grip width becomes more meaningful when you compare the space between your hands with the width of your shoulders. The study used bi-acromial width: the distance between the outer bony landmarks of the shoulders. Participants used grip widths of one, one-and-a-half and twice this shoulder measure. A grip that is moderate for a broad-shouldered lifter may be relatively wide for someone with a narrower frame. That is why copying another lifter’s thumb-to-ring distance is a poor starting point, even when both athletes bench similar weights.
For your first trial, use a position that lets the forearms look approximately vertical when the bar reaches the lower chest, viewed from the front. Keep both hands the same distance from the bar center, and record the actual finger position relative to a fixed knurl mark. Change only one hand-width increment at a time. A smaller shift gives you a useful comparison without introducing too many moving parts. Your shoulder shape, chest thickness, arm length and touch point all affect how the lift feels.
A narrower grip shifts more of the work toward elbow extension and usually requires a longer bar path; an exaggeratedly narrow grip can aggravate wrists or elbows and does not automatically reduce every shoulder force component. The original modeling included a finding of greater superior shear at the narrowest condition for part of the movement. Treat shoulder-width, moderate and wide grips as different tools rather than a simple safest-to-riskiest ranking. The right working grip is one you can control under a sensible load, through a reliable range, with manageable symptoms.
The wide-grip trade-off: performance versus shoulder loading
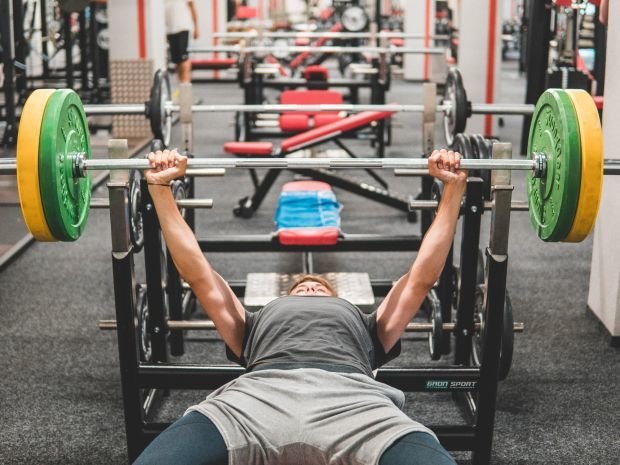
A very wide bench grip can make a heavy single look efficient because the bar travels less distance from chest to lockout. It can also let some athletes emphasize the chest and produce impressive competition-specific numbers. Neither benefit cancels the change in shoulder mechanics. In the ten-athlete model, moving toward twice shoulder width was associated with greater loading in several modeled shoulder-joint force components, particularly compared with the medium-width condition. The same bench press weight does not necessarily mean the same forces inside the shoulder.
The performance-versus-tolerance decision depends on your goal. A competitive powerlifter may use a wider legal grip to maximize a one-repetition attempt and train additional variations for volume. A recreational lifter chasing chest growth may accept a small reduction in bar weight to keep a more comfortable hand position. Someone with a history of irritation may prefer dumbbells or a neutral-grip press for certain sessions. These are programming choices, not proof that wide benching is inherently wrong or that a narrow grip magically repairs a painful shoulder.
Compare grips under the same conditions. Keep your warm-up, pause length, target effort and bench setup consistent. Film two or three sets at submaximal loads and note whether the bar reaches a stable chest touch, whether each forearm stacks beneath the bar, and whether the elbows track without sudden changes. If your widest grip is only strong when the bar crashes toward the chest or the shoulders lose position, the apparent strength advantage is probably not useful for repeatable training.

Equipment Worth Exploring
Explore equipment, accessories and gear from our carefully selected range.

FID Bench MAX
Adjustable bench offering flat, incline, and decline positions + adjustable headrest.


Multi Bench MBX-650 2.0
Adjustable multi-bench with roller adjustment, 15 backrest positions and accessory mounts.



Set the shoulder blades before the first rep
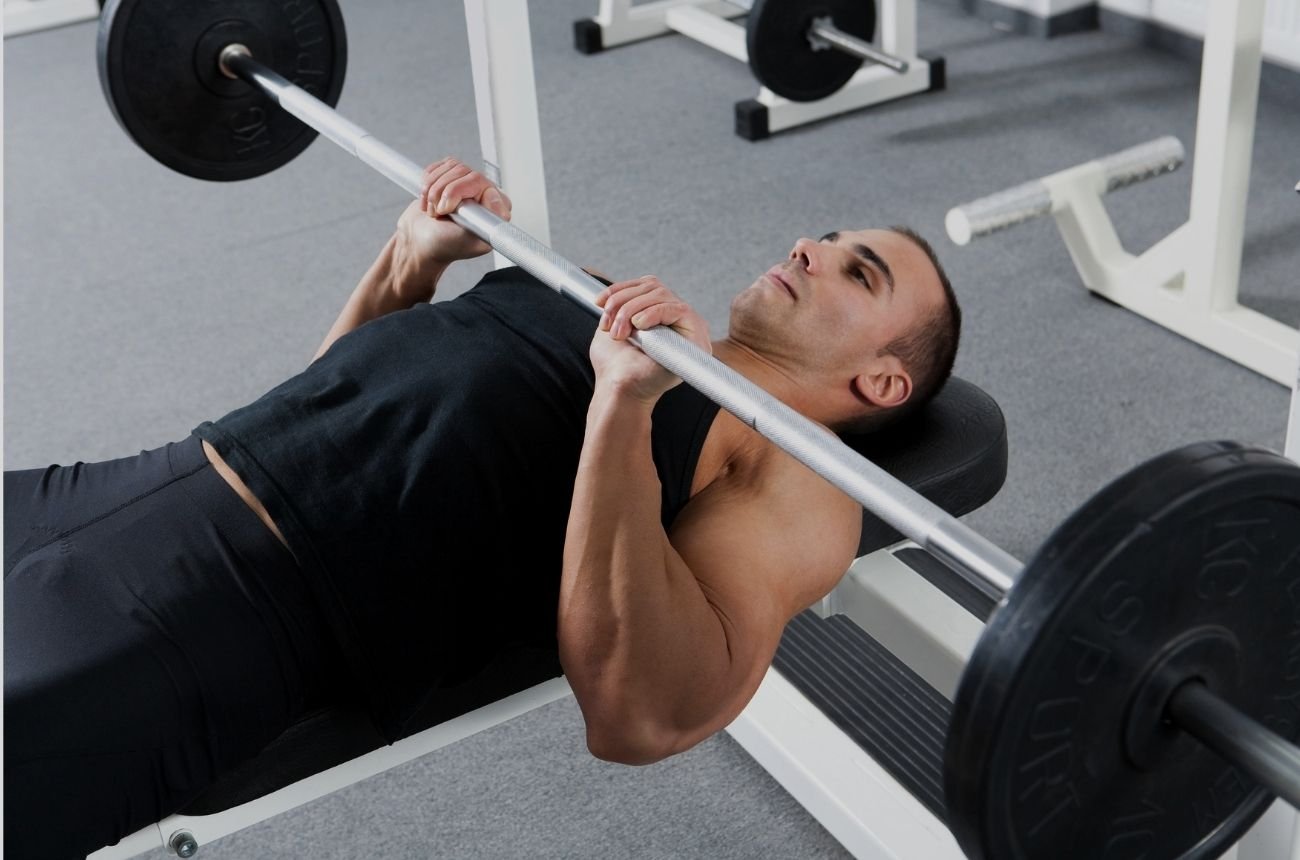
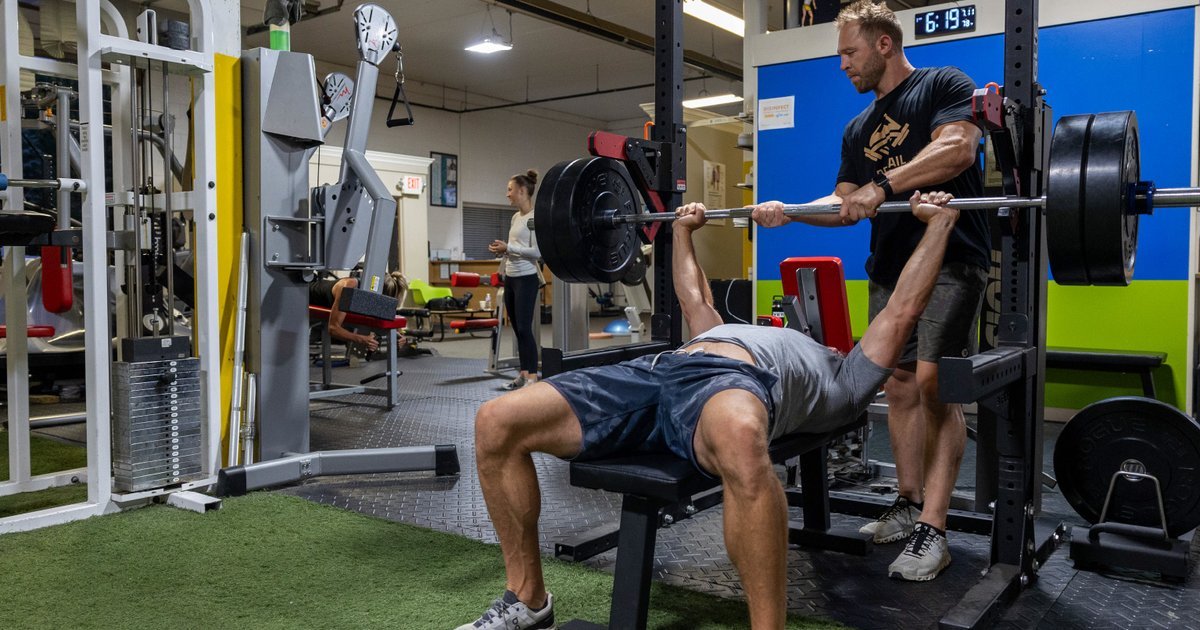
The shoulder blades are not passive passengers on the bench. Set them back against the bench pad before taking the handoff, then maintain a stable upper back as the bar descends and rises. Imagine drawing the shoulder blades gently together and anchoring the upper back, without trying to wrench the shoulders into an extreme position. Your torso can have a comfortable natural arch while your glutes and feet remain planted. The setup should let you breathe and press, not force you into a shape you cannot sustain.
The biomechanical comparison found that scapular retraction reduced several modeled shoulder compression and posterior shear components relative to the neutral condition. It also lowered estimated demand for some stabilizing muscles. Importantly, this does not show that everyone should pin their shoulder blades as hard as possible, or that more arch always means safer shoulders. The comparison measured a defined position under a light bar; heavy lifting adds fatigue, individual mobility limits and different bar forces.
Practice the position with an empty bar. Lie down with eyes near the bar, grip evenly, squeeze the bar, put the feet down and establish a stable upper back before unracking. Lower under control without shrugging the shoulders toward the ears. If one shoulder blade slides loose on each repetition, reduce the load and reset. A spotter should help you clear the hooks without dragging the shoulders forward. The most useful cue is the one that keeps your torso and bar position repeatable for every rep.

Powerlifting Shirts & Lifting Gear
Powerlifting shirts and gym gear for squat, bench and deadlift lifters who live for heavy numbers.


Four Plates Bench Club Tee
Show some powerlifting attitude with a playful “4 Plates Bench Club” tee.

My Bench Press Is Stuck Horror Movie Meme Decal Scary Sticker
Give your everyday gear a playful “My Bench Press Is Stuck” twist.

Gym Sir Swole of Benchalot Medieval Knight Chest Day Cr T-Shirt
Show some gym-day personality with “Sir Swole of Benchalot Medieval Knight”.

Help I Need A Spotter Shirt Beatles-Inspired , T-Shirt
Rep “Help I Need a Spotter” humor in and out of the gym.

I Love Bench Press | Black Heart Weight Plate Graphic S T-Shirt
Show some powerlifting attitude with a playful “I Love Bench Press” tee.

If You're Reading This Its Chest Day | Drake Album Cove Hoodie
Bring “If You're Reading This Its Chest Day” gym humor to lazy days and post-workout plans.

I Want You To Bench Press Uncle Sam – 4th of July Patri Tank Top
Train hard, laugh a little, and rep “I Want You To Bench Press Uncle Sam”.

Bench Press and Chill Funny Gym T
Make gym days more fun with “Bench Press and Chill” style.

Elbow position, wrist stacking and a repeatable bar path
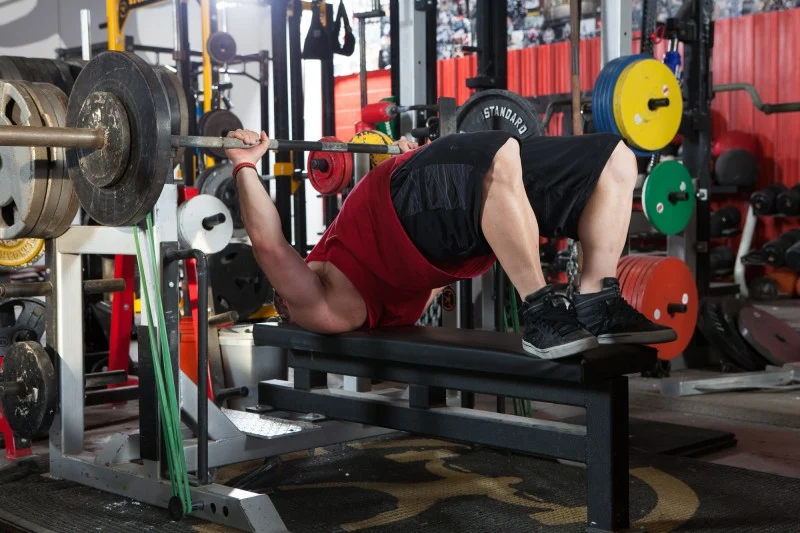
Elbow flare should be viewed together with grip width and touch point. Keeping the upper arms perfectly tucked against the ribs can put the wrists, elbows and bar in an awkward relationship. Letting the elbows flare straight out with a very wide grip can create a different set of demands at the shoulder. A moderate elbow angle often makes it easier to keep the forearms under the hands and touch the bar around the lower-to-mid chest. There is no scientifically established single ideal elbow angle that guarantees safety for every body.
At the bottom of a controlled rep, the bar should be above the forearms rather than wobbling ahead of the wrists. Keep the wrists reasonably stacked instead of bent far back, squeeze the bar, and lower to the same comfortable touch area. Most competent bench presses follow a slight diagonal path as the bar moves from lower chest toward a position over the shoulders, rather than a perfectly vertical line. The exact shape depends on arm proportions, grip width and the athlete’s setup.
The study also detected large person-to-person differences in sideways forces exerted on the bar. You cannot diagnose those forces from a phone video, so resist the temptation to deliberately twist the bar or push outward with a prescribed percentage of effort. Use simple observable tests instead: equal hand spacing, matching wrist angles, steady bar speed, no sudden elbow drift and a consistent chest touch. If pain appears, stop that variation rather than trying to override the signal with a more aggressive cue.
Choose equipment and spotting that support a consistent press
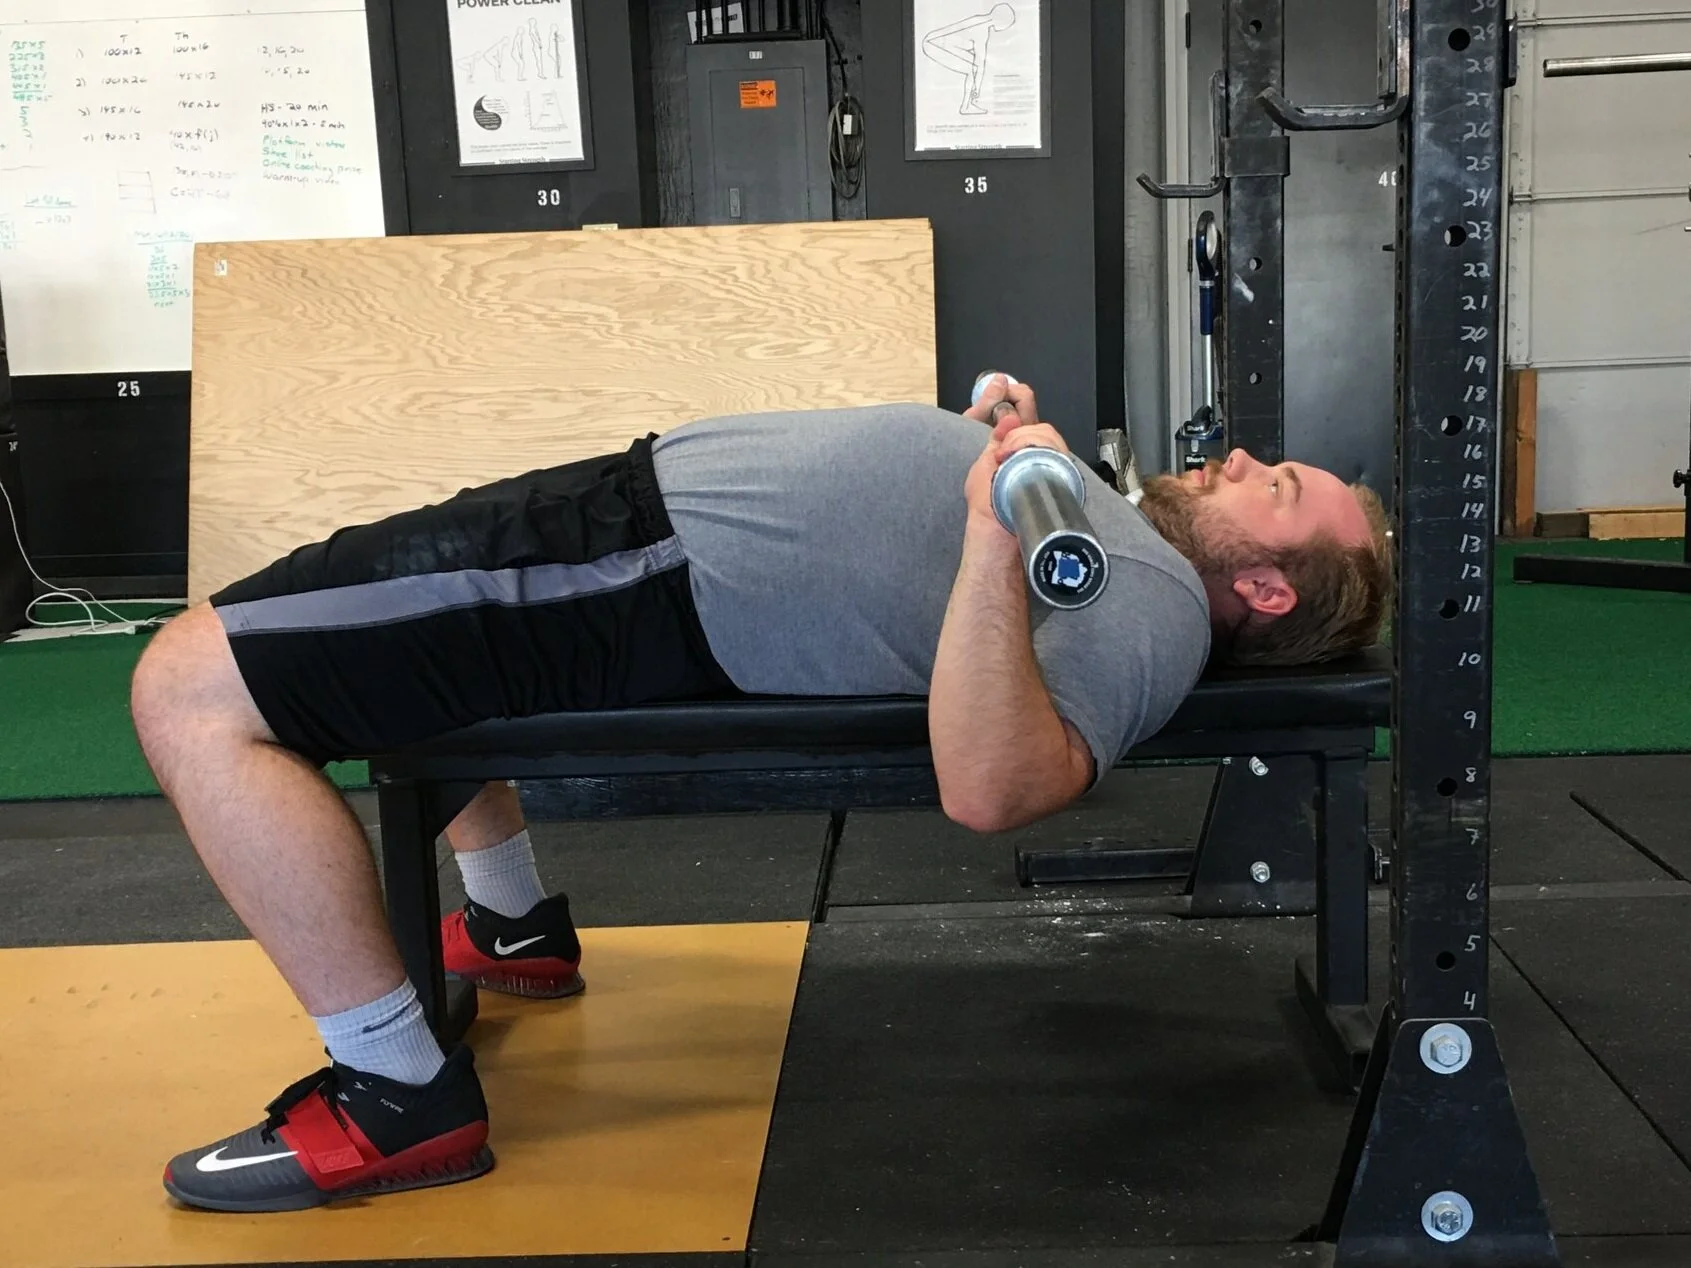
A stable bench and secure rack height are more useful than a collection of complicated accessories. Set the J-cups high enough that you can unrack without a major shoulder shrug, but low enough that the bar clears them reliably. Use safeties set just below your normal chest touch when benching alone in a suitable rack; verify their height with an unloaded bar first. For heavy sets, a competent spotter who understands handoff and rescue cues remains valuable. Never substitute a light pair of decorative rack attachments for load-rated safety hardware.
A standard straight bar works well for most bench practice, but bars with neutral or angled handles can change wrist and shoulder comfort. Adjustable benches can help you compare flat and incline pressing, although a different bench angle is a different exercise rather than a direct test of the same grip. Dumbbells give each arm more freedom to rotate, which some people prefer during accessory training. These options supplement, rather than replace, a consistent barbell technique when your actual goal is improving the barbell bench.
Record the boring details that make your sets comparable: bench type, rack hole, grip reference, shoe position, pause style and spotter arrangement. Small changes in rack setup can alter your unrack and shoulder position. Add load only after controlled reps remain consistent. When purchasing plates, barbell collars or a bench, evaluate real weight rating, stability, rack compatibility and safe working clearances; an accessory is useful only if it matches the equipment and task.
Equipment Worth Exploring
Explore equipment, accessories and gear from our carefully selected range.


Multi Pull Smith Rack MPHR-780
All-in-one rack with a Smith machine, functional trainer, lat pulldown and low row.

Foldable Wall Rack
Wall-mounted folding squat rack designed to save floor space between workouts.

VForce Wall Trainer
Space-saving wall-mounted functional trainer with pivoting cable arms and variable resistance ratios.


Rubber Hex Dumbbells
Rubber-coated hex dumbbell pairs with a stable shape for home and commercial strength training.

Competition Plates
Competition-style bumper plates for Olympic lifts and loaded strength training.

Grip Plates
Rubber-coated weight plates with handholds for loading barbells and machines.
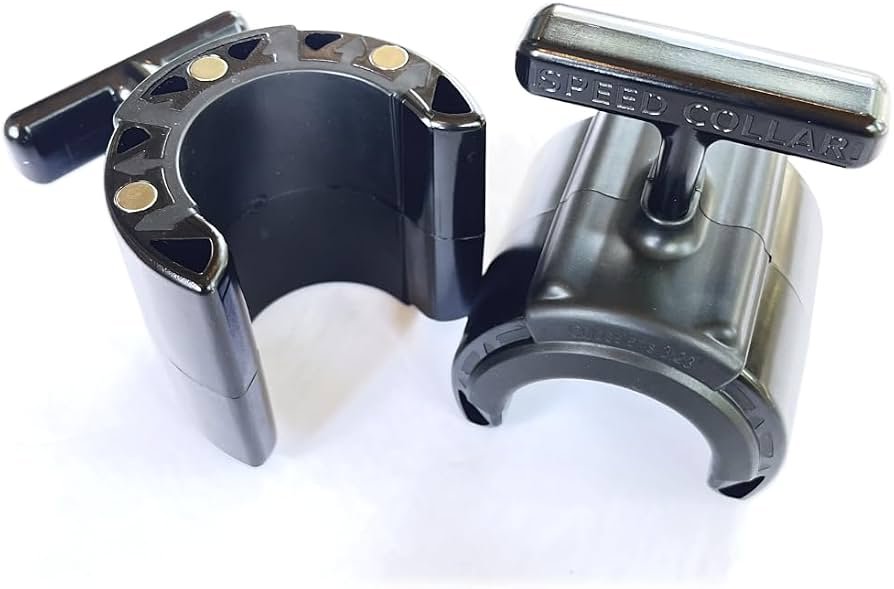
Speed Collar
Quick-release collars designed to secure weight plates on standard two-inch Olympic bars.
A six-week bench progression without chasing a magic grip
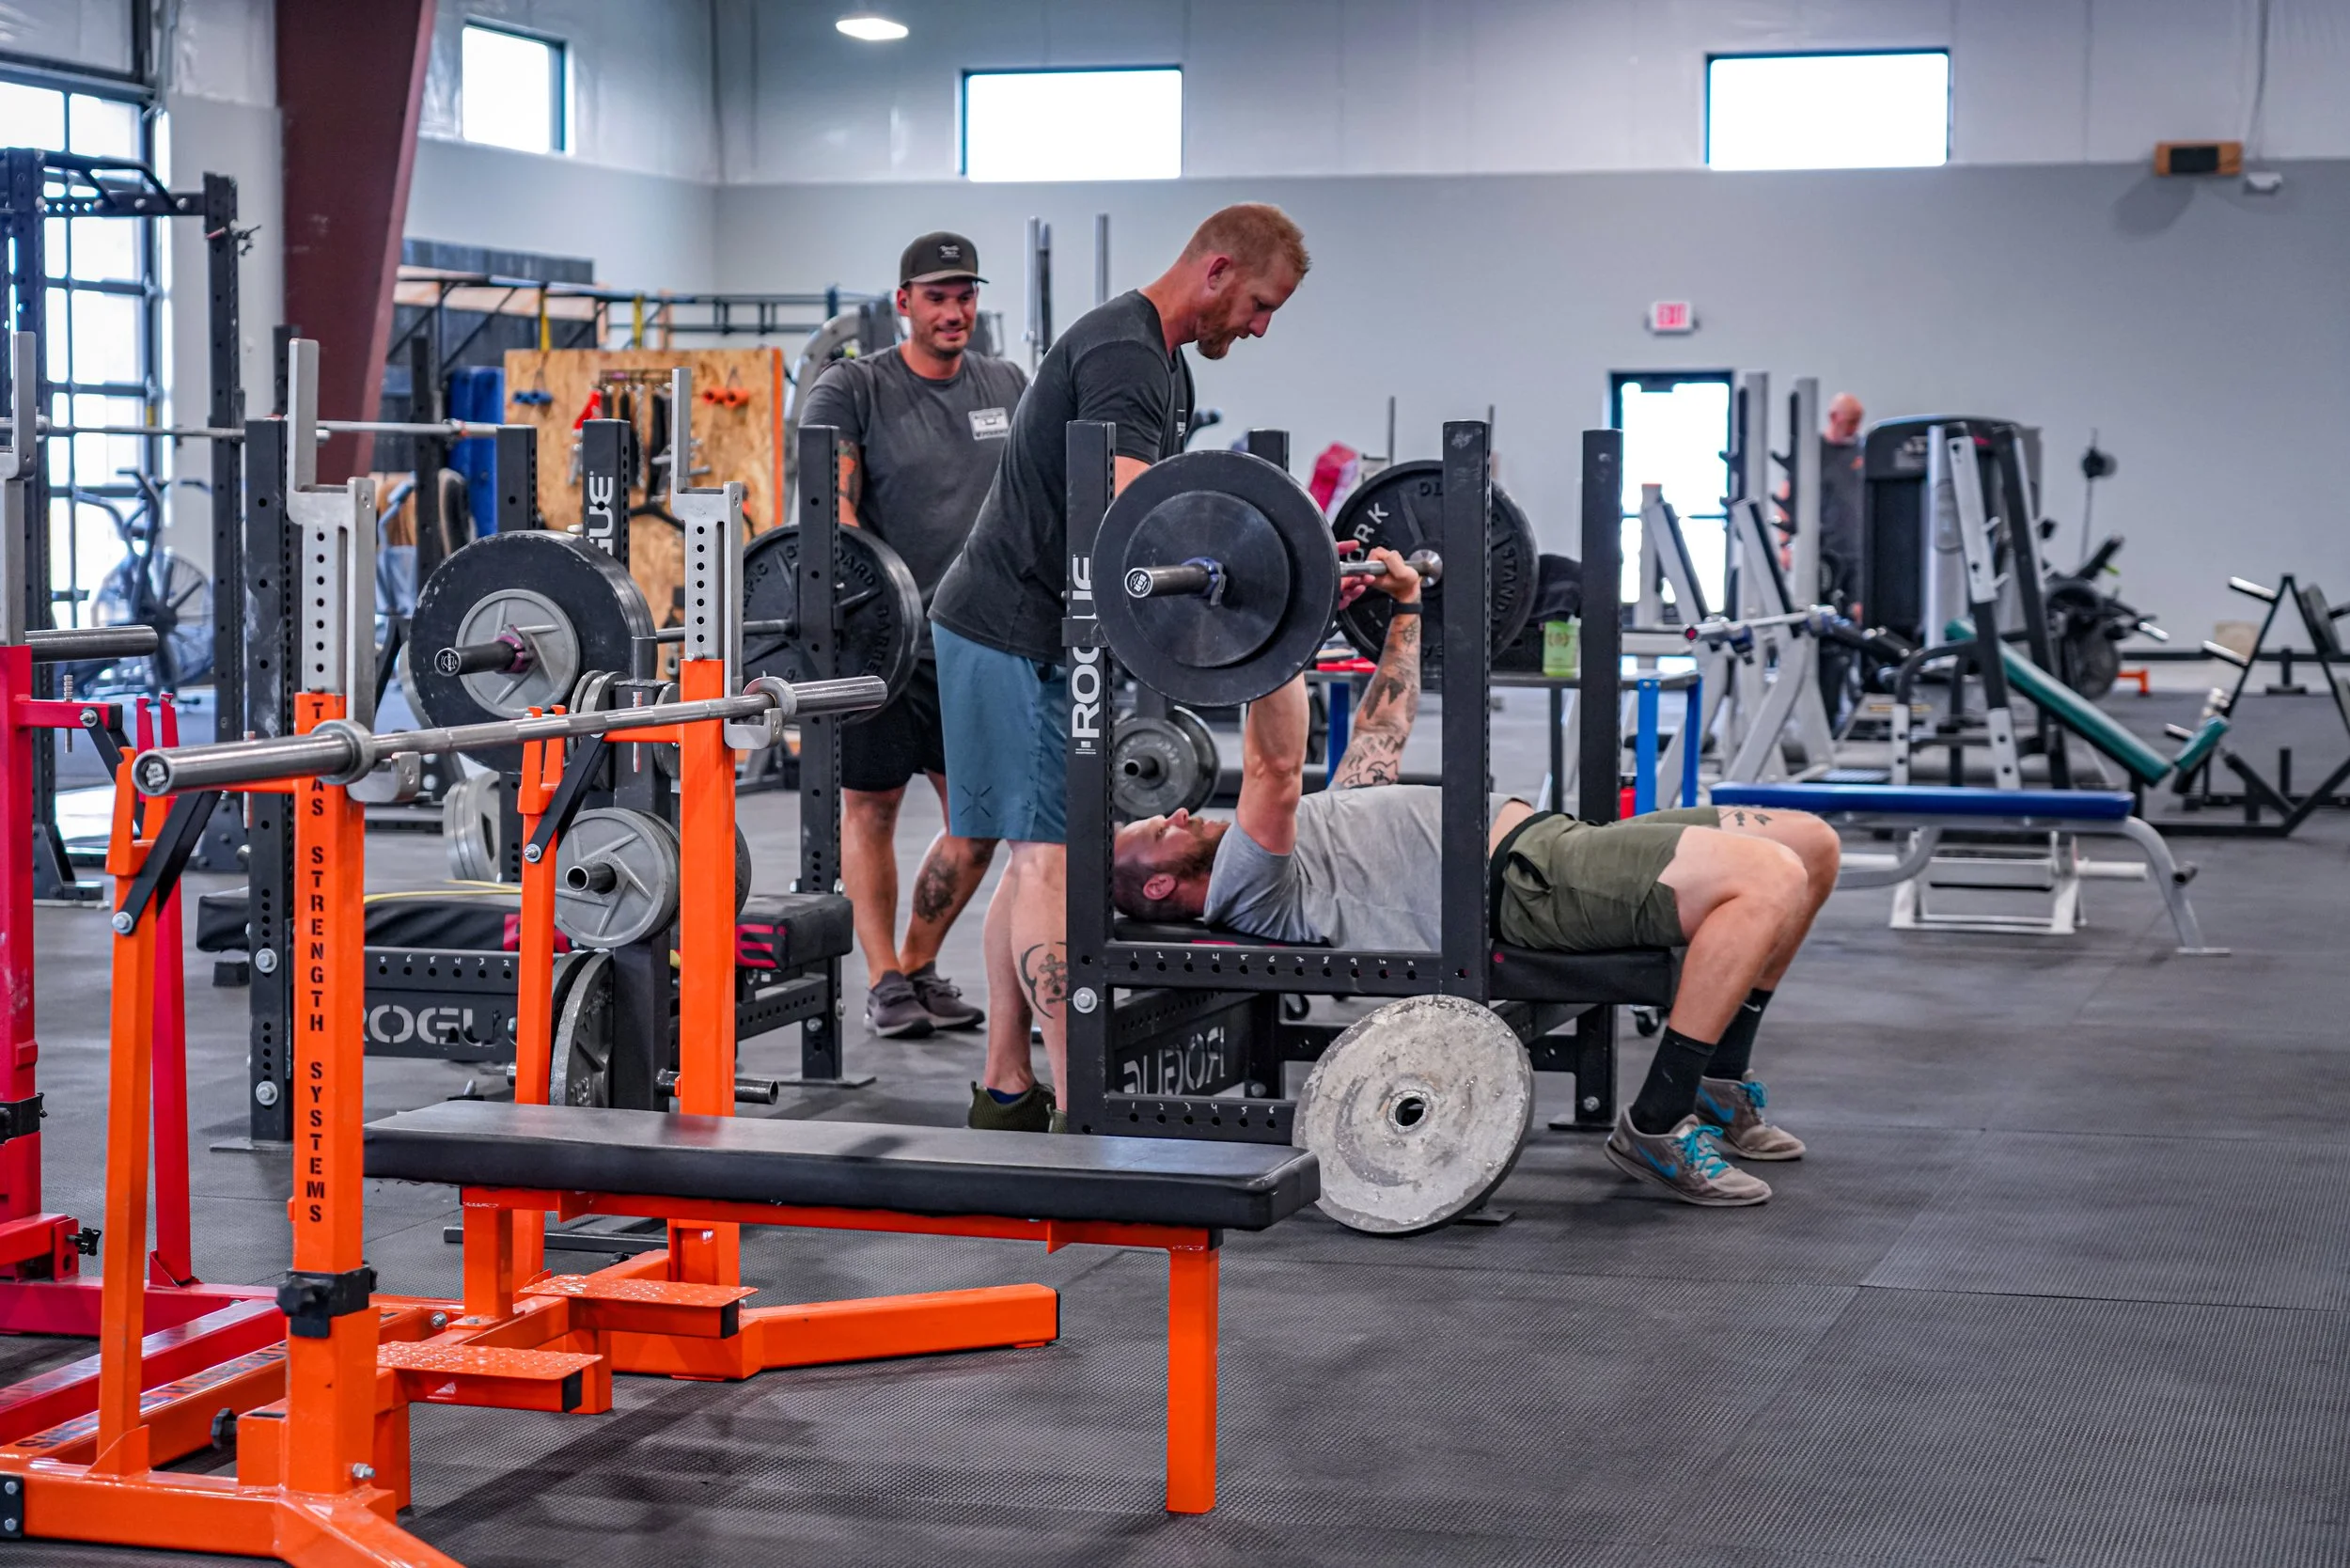
For the first two weeks, establish a repeatable setup rather than testing a maximal bench press. Bench twice weekly: on the first day perform four sets of six at a load that leaves roughly three repetitions in reserve, and on the second day perform three sets of eight at a similarly controlled effort. Film the final warm-up and one working set from the front-quarter angle. Use the same moderate grip for each recorded set. Make the bar touch the same point, keep your shoulder blades set and stop every set before a technique breakdown.
In weeks three and four, progress the first day to five sets of five, and the second day to three sets of six to eight. Add a small increment only when the previous week’s reps stayed smooth. If you want to compare grip widths, make one accessory set slightly narrower at a lighter load; do not rebuild the main lift every session. Keep upper-back rows and a comfortable horizontal or incline press variation in your broader program, with enough rest between heavy pressing days to restore performance.
In weeks five and six, perform one main day of four sets of four to five and a second day of three sets of six to eight. Keep approximately two reps in reserve on working sets, and use a spotter or correctly adjusted safeties. Check the log for steadier touch points, better symmetry and a load increase achieved without new discomfort. If the shoulder becomes painful, reduce or replace the provocative movement and seek qualified assessment when symptoms persist. No grip setting is worth turning manageable training into a recurring injury cycle.
Bodybuilding Shirts & Workout Gear
Bodybuilding shirts, tanks and gym gear for lifters chasing muscle, size, symmetry and the pump.


The Chestfather Arnold – Big Chest , Meme Shirt, T-Shirt
Bring “The Chestfather Arnold” humor to your next gym day.

Kanye Chest Gym | Funny Bodybuilding Vest | Chest Day W Tank Top
Train hard, laugh a little, and rep “Kanye Chest”.


Gym Dost Thou Even Fly Medieval Knight Chest Workout Cr T-Shirt
Show some gym-day personality with “Dost Thou Even Fly Medieval Knight Chest”.

Platehead Powerlifting Tee
Heavy lifts, good laughs, and a little “Platehead Gym Skull” energy.