Advertising disclosure: This page includes affiliate product links that may earn us a commission, as well as products from our own store.
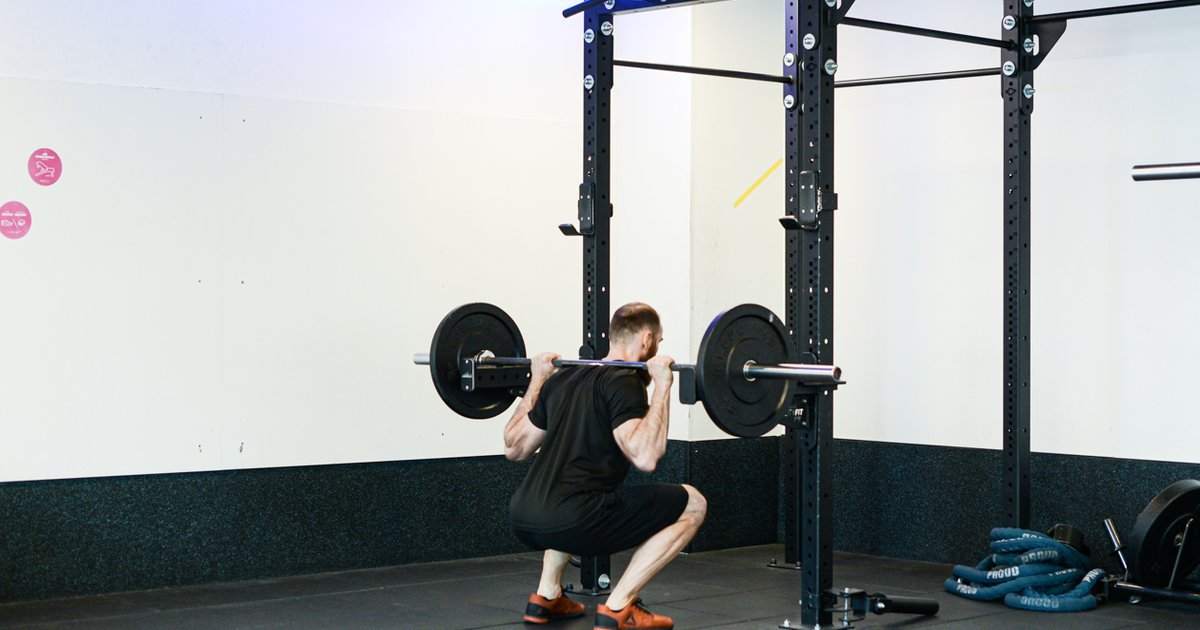
Anderson squats begin where ordinary squats often become difficult: at the bottom, with the barbell already supported by the power rack’s safety pins. Instead of lowering first and using that movement to help reverse direction, you settle beneath a stationary bar and stand. The first inch reveals whether you can brace and drive without a bounce, a forward lurch or a rushed setup.
That makes the exercise useful for lifters working on squat starts, but not a universal fix for sticking points. Rack height, technique, load and the length of your reset all change the task. This guide explains how to set it up, train the dead-stop properly and use it without neglecting full-range squats.
Start from a true dead stop, not a disguised regular squat
A regular back squat begins standing. You unrack the bar, lower through the working range, reverse direction near the bottom and stand again. An Anderson squat reverses that sequence. The bar is already resting across two correctly installed safety supports, and you adopt your squat position beneath it. The first actual movement of the loaded bar must be upward. There is no preparatory dip, no bouncing against steel and no spring from a hurried descent.
This changes the demand on your setup. In a normal rep, the descent lets you organize the hips, knees, ankles and bar position while maintaining tension. In a bottom-up rep, you have to establish that same usable structure while the load is motionless. You still brace your trunk and create muscular tension before moving. You simply do not get an immediate eccentric-to-concentric reversal to help the first inch.
The quadriceps extend the knees, the glutes help extend the hips and the torso muscles maintain the relationship between the bar and the feet. But do not interpret a rough start as proof that one particular muscle is weak. A bar positioned too far forward, a pin height you cannot reach comfortably or a stance that sends you onto your toes can spoil the rep before the legs are seriously tested.
Start with an empty bar in a secured rack. Check that the safeties are installed at matching heights, that the bar sits evenly and that you can wedge under it with both heels planted. Stand once without deliberately bouncing. If you must rock the bar along a support to break it free, fix the setup. A bottom-up squat has its own sensible starting load; it is not automatically a percentage you can borrow from your conventional squat.
Choose pin height by your actual squat position
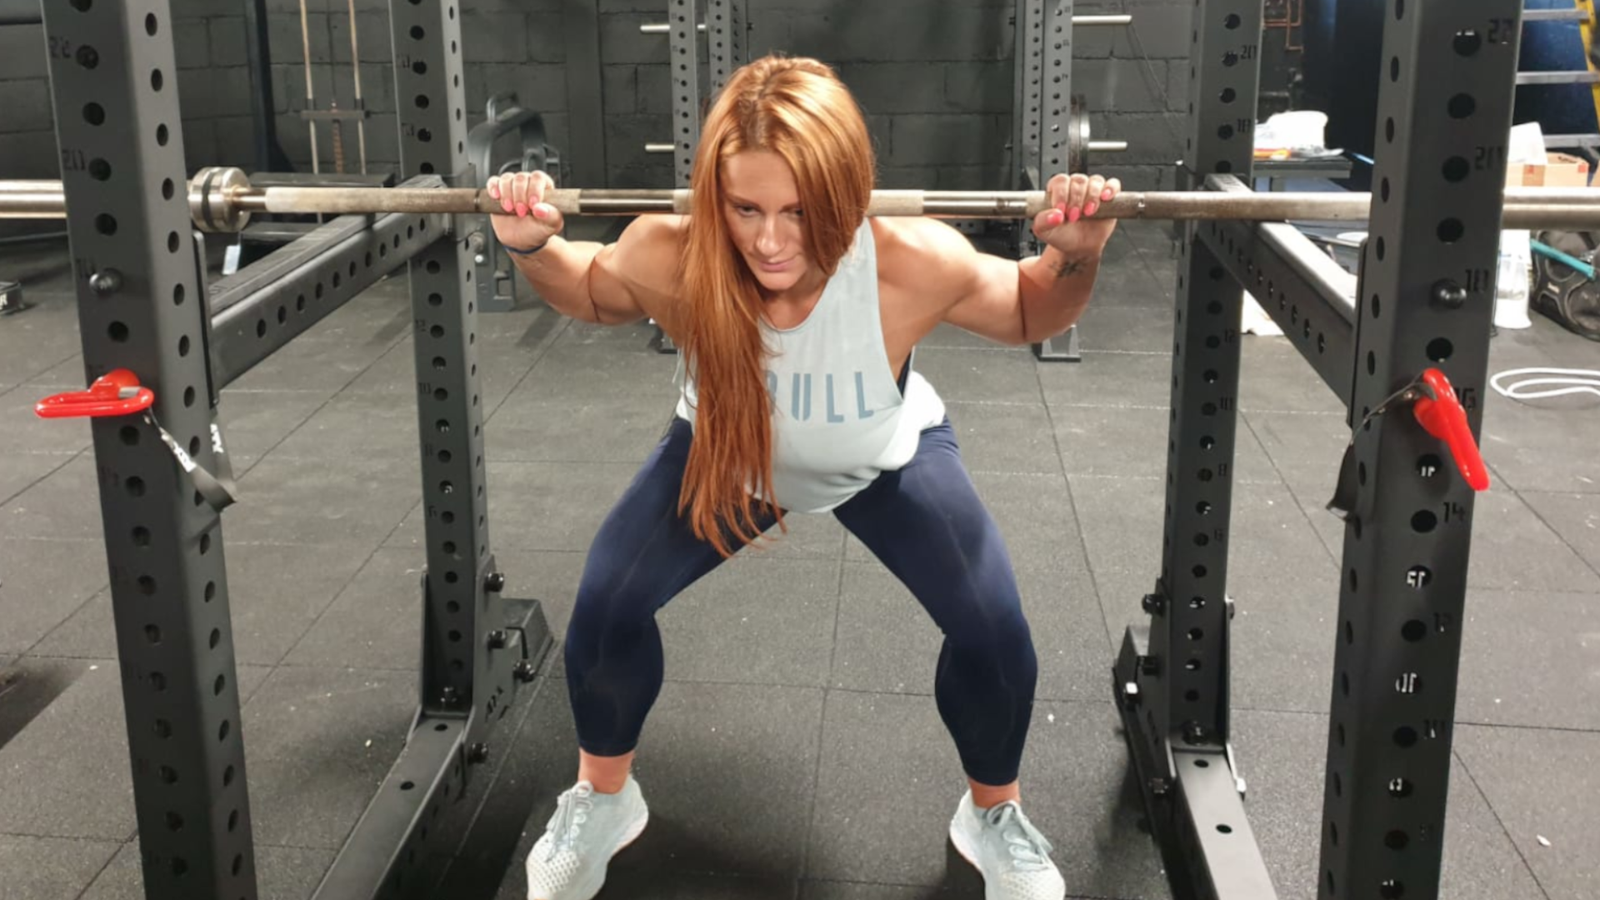
Pin height is a training variable, not simply an accessory setting. Perform an unloaded squat in your normal stance and decide which depth you actually want to practice. Observe the bar height, torso angle and where your knees travel at that depth. Now place the rack safeties so a stationary bar allows you to recreate something close to that position. Even one rack hole changes the amount of knee and hip flexion and therefore the demands of the first few centimeters.
At roughly parallel or somewhat lower, many experienced squatters find the start demanding because the legs and hips are deeply bent. Yet deeper is not automatically better. If getting under the bar makes you lose heel contact, flatten your lower back beyond a position you can control or shift your feet awkwardly, the setup is unsuitable. Raise the safeties slightly or adjust your positioning before loading the movement.
With the pins well above parallel, the movement becomes a partial-range start. That may be useful for practicing a particular joint angle or heavier segment of the lift, but the number does not compare directly with a full-depth squat. If you want to track improvement, record the exact rack hole, bar placement, stance width and shoe type. The same external weight can feel dramatically different from a different pin height.
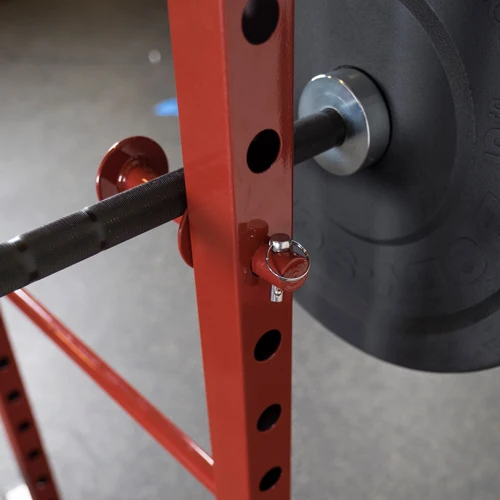
Use safety equipment suited to supporting a loaded bar at rest. A secure power rack with correctly installed inside safeties is preferable to improvising. When using straps, confirm they settle symmetrically and do not sag into a lower effective starting height. Independently mounted spotter arms on an unsecured rack may create tipping risks. If the hardware shifts or flexes abnormally under a light trial, stop: equipment stability comes before any rep target.

Equipment Worth Exploring
Explore equipment, accessories and gear from our carefully selected range.


Foldable Wall Rack
Wall-mounted folding squat rack designed to save floor space between workouts.

Multi Pull Smith Rack MPHR-780
All-in-one rack with a Smith machine, functional trainer, lat pulldown and low row.


Competition Plates
Competition-style bumper plates for Olympic lifts and loaded strength training.


Safety Squat Handles
Barbell squat handles that reduce shoulder positioning demands during high-bar squats.
Get under the bar, brace hard and drive the first inch
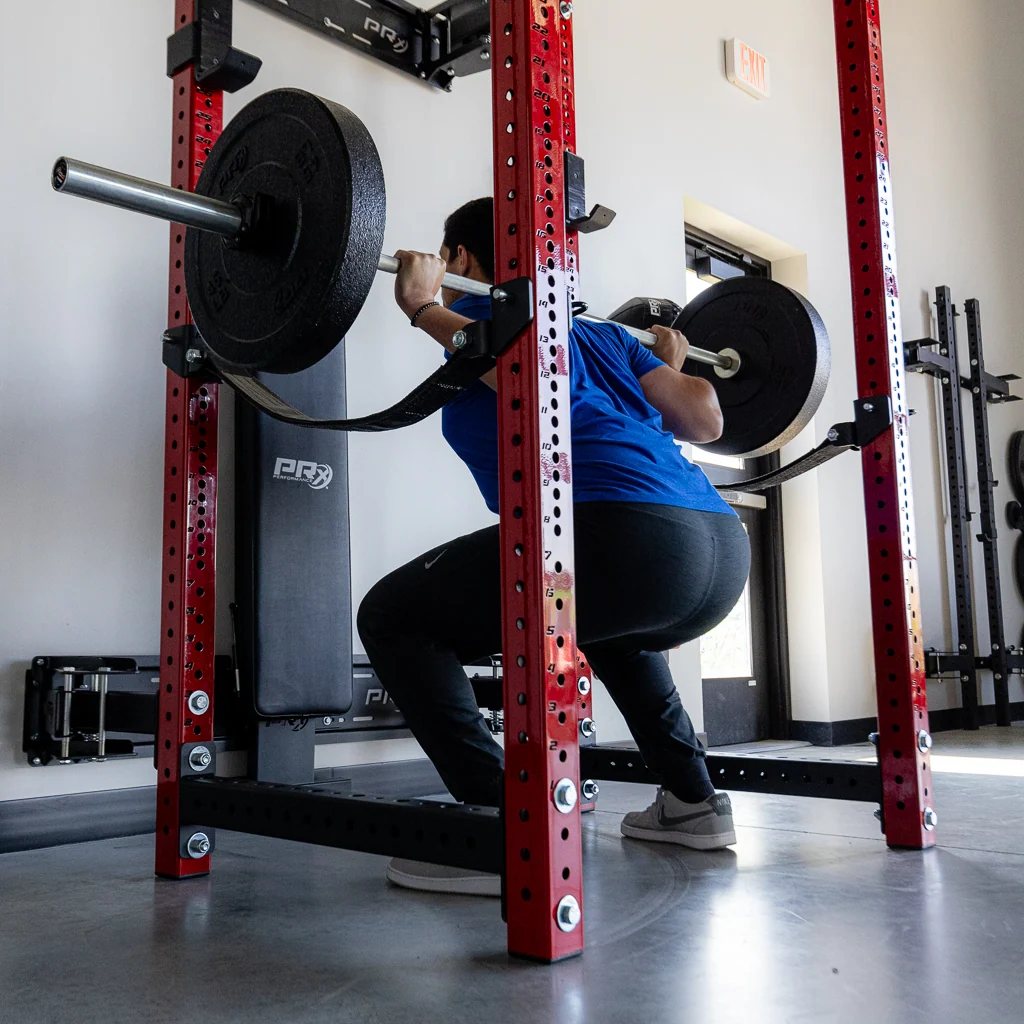
Approach the supported bar from below and settle it onto the same upper-back shelf you use for the intended squat style. Grip the bar evenly, create tension through the upper back and put the feet where you can feel the whole sole pressing into the ground. Your midfoot should be the useful reference point. The bar ought to rise rather than roll forward or scrape sideways along the safeties.
Inhale and brace around the trunk as though expanding against a belt in all directions. Keep the rib cage controlled instead of aggressively arching the back. The dead-stop does not mean you start relaxed: you should be deliberately tight before the bar leaves the pins. Then push the floor away and try to make the hips and shoulders rise together. Allow the knees to travel naturally in line with the toes rather than freezing them in place.
The most obvious error happens in the first inch. The hips shoot up, the chest dives forward and the lift begins to resemble a loaded good morning. You may still complete it, but you have changed the movement. Reduce the weight, adjust the relationship between the bar and midfoot and film from the side. A rep that starts with a deliberate forward rock is not testing the clean start you intended.
Drive decisively without turning the repetition into a violent heave. Heavy weights can move slowly even with strong intent. You do not need to whip the neck backward or throw the ribs upward to manufacture speed. At lockout, stand tall with hips and knees extended, then prepare for a controlled return. On early sessions, practice two or three singles with a fresh breath and stance reset rather than rushing through a continuous set.
Lower into the pins quietly and fix the usual mistakes
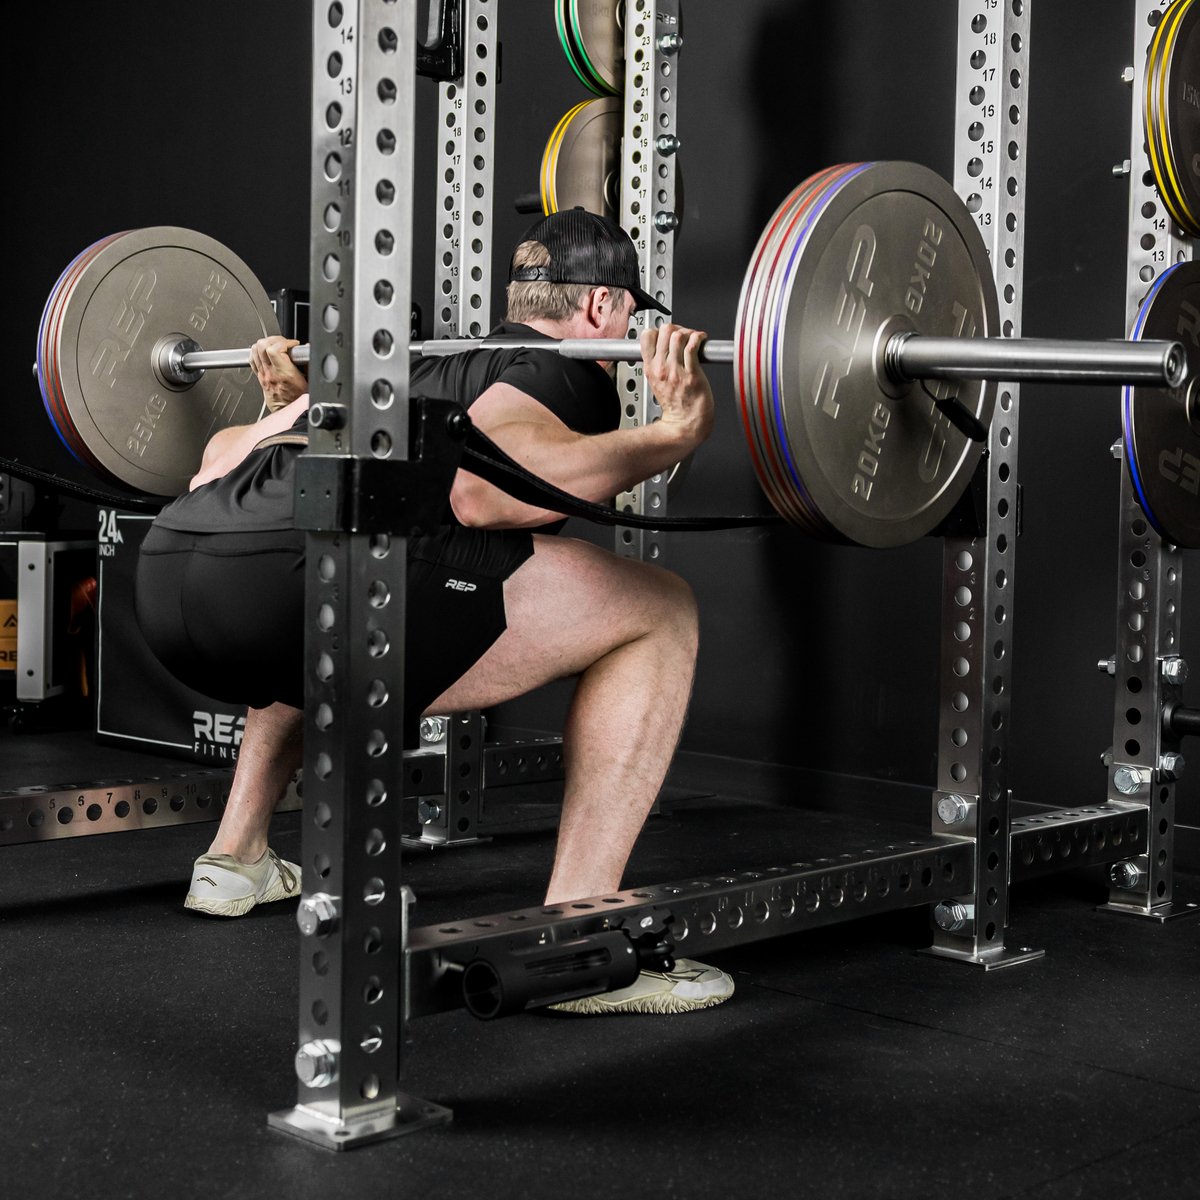
The return determines whether the following rep is meaningful. Lower by bending the hips and knees together, maintain a steady torso and guide the bar into the support rather than dropping the final distance. Both ends of the bar should meet the safeties at nearly the same time. A clang against the pins is not a badge of effort. It usually means you stopped controlling the bar at precisely the point that sets up the next repetition.
Let the weight come completely to rest. Then deliberately build your brace again before lifting. Some tension can remain in your body, but the loaded bar should not still be moving or oscillating. If you drive it downward first and spring it immediately upward, the safety pins are functioning like a rebound surface and the rep is no longer truly bottom-up.
If one side hits first, inspect the rack for equal safety heights and check that you are centered between the uprights. If the whole bar rolls forward before it clears, examine foot placement and how you establish the upper-back shelf. If your hips repeatedly rise ahead of the shoulders, use less weight and a pin height that lets you create a stable starting posture. A lower pin is not an accomplishment if it forces every ascent to fold forward.
Another mistake is accumulating fatigue until every set looks different. Reset the position for each repetition, and stop a set when you can no longer create the same upward path from rest. Deliberate practice with fewer clean reps can be more productive than piling on rushed repetitions that only teach your body to compensate. If rack hardware is shifting or you experience pain, end the set and correct the cause rather than pushing through.
Compare Anderson, pause, box and conventional pin squats
A pause squat and an Anderson squat may look similar at the bottom, but their starting conditions are different. In a pause squat you first lower a loaded bar from standing, remain under muscular tension at depth and then stand. That practice can improve patience, positioning and control while retaining both phases. In the Anderson variation, the first loaded ascent begins beneath a stationary bar, without a preceding loaded descent to that first repetition.
A box squat introduces a physical depth target under the hips. How the athlete sits and transfers weight determines its specific demands, and the box is not the same as supporting the bar itself on steel pins. Conventional pin squats are more ambiguous: some lifters descend into the safeties and immediately stand, others pause fully, and others use the term as a synonym for a bottom-up Anderson start. Rather than debating names, describe exactly where the first rep begins and whether the bar completely settles.
The regular back squat remains your direct practice for full-range back-squat performance. A high-pin start will not teach every part of the descent or show that you can rise from competition depth. The useful place for Anderson squats is usually as a complementary variation for a clearly identified start-position problem. Think of it as a narrow drill that complements the full movement, not a replacement for the full movement.
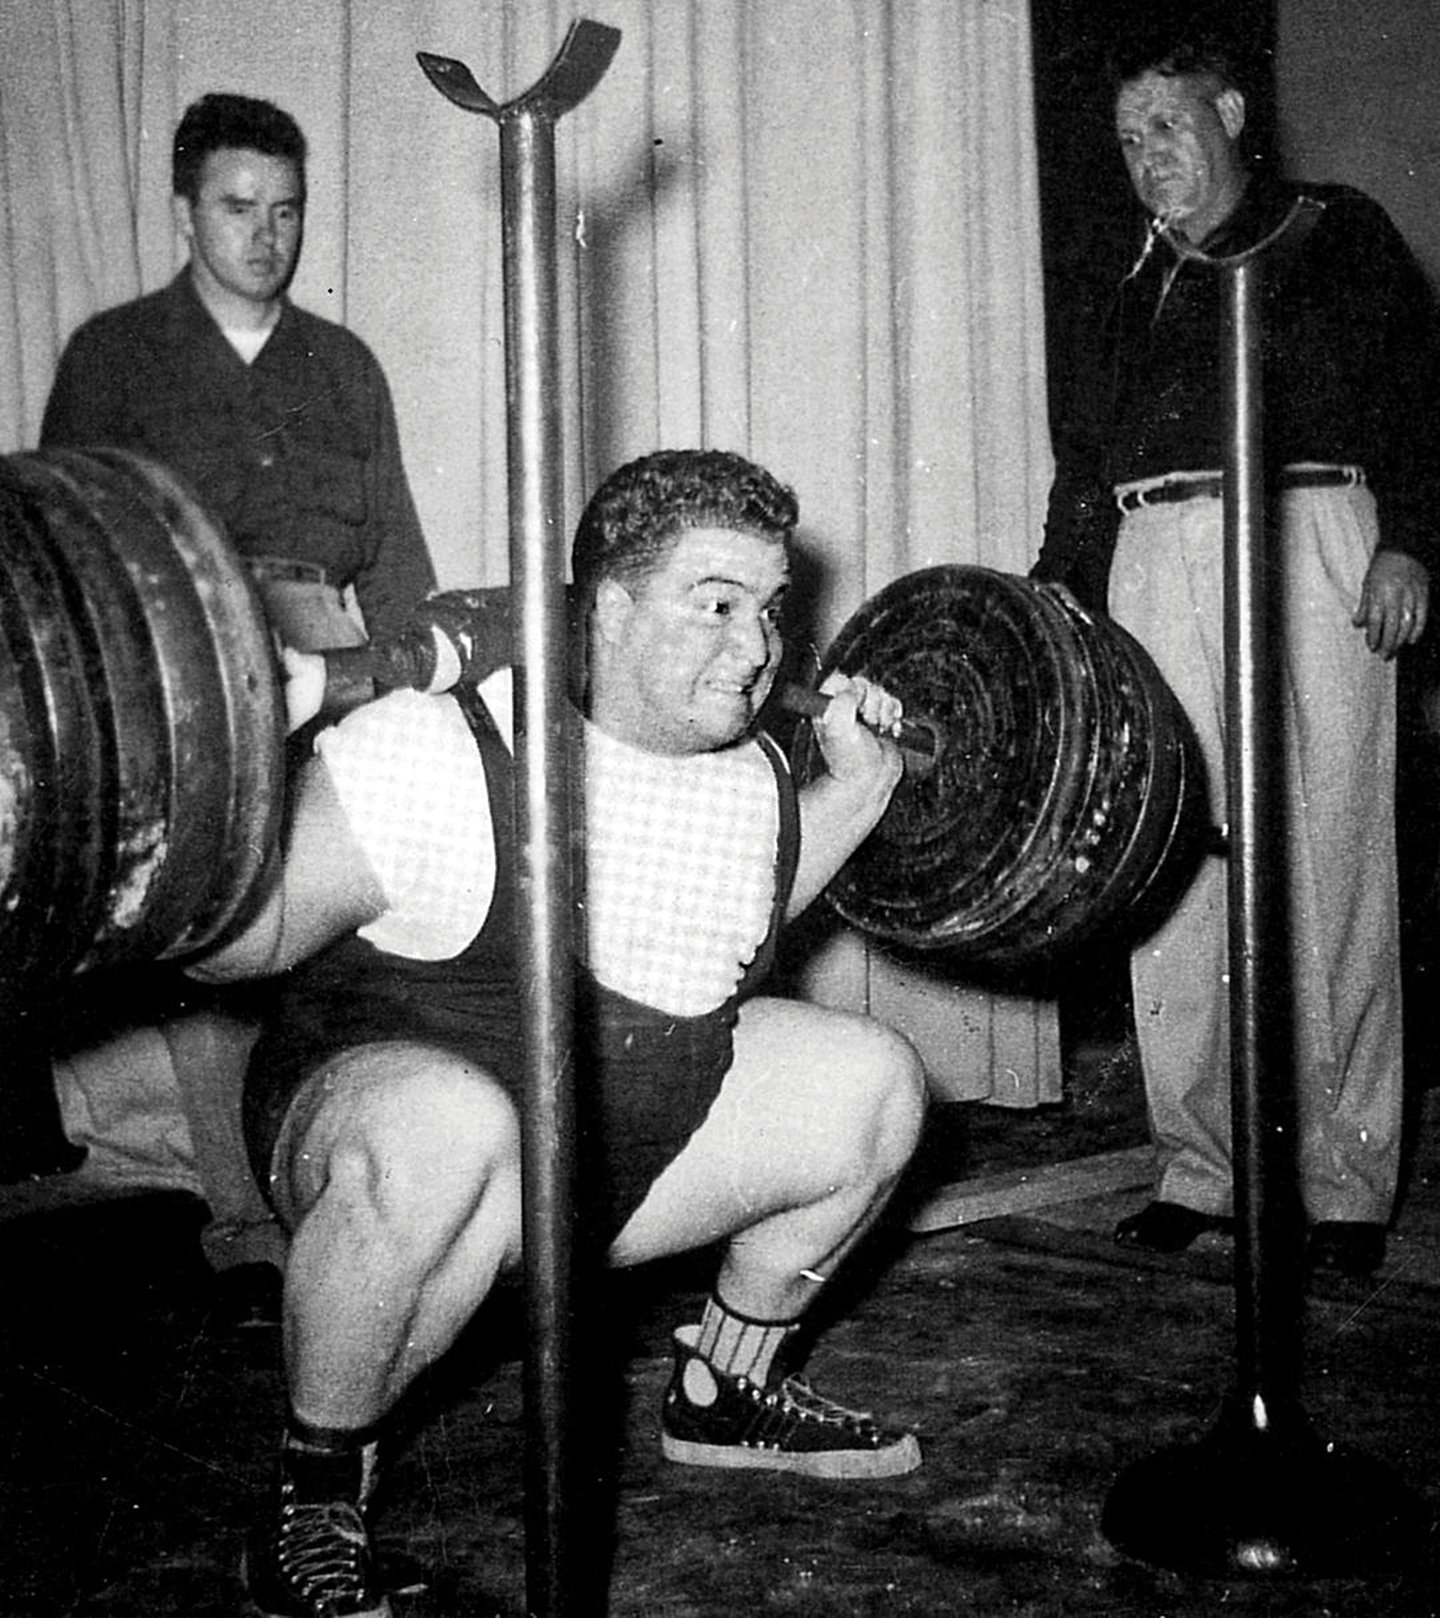
The exercise takes its name from renowned strength athlete Paul Anderson, whose training with difficult squat starts helped inspire later rack-based versions. Historical stories are not a load prescription. Your own testing should rely on an identical rack height, stance and bar position. Film a regular squat near the troublesome depth and compare it with a light stationary start at a similar height. If the body angles cannot match, your first job is to make the setup repeatable.

Powerlifting Shirts & Lifting Gear
Powerlifting shirts and gym gear for squat, bench and deadlift lifters who live for heavy numbers.


4 Plates Squat Club Meme & Ultimate T-Shirt
Show some leg-day attitude with a playful “4 Plates Squat Club” tee.


Coffee Shots & Heavy Squats for Caffeine Addicts and Sq Hoodie
Keep it laid-back with a little “Coffee Shots & Heavy Squats” attitude.

Leg Day Is Calling You Sweater Squats & Deadlifts T-Shirt
Add a playful “Leg Day Is Calling You” touch to your casual rotation.

I Love Squats Gym | Funny Valentine's Workout Pullover T-Shirt
For laid-back days and leg-day humor: “I Love Squats”.

Leg Day Squats Deadlifts Vest Meme Tank Top
Bring “Leg Day” humor to your next lifting session.

Icy 45LB Weight Plate Frozen Barbell Lifting Workout Co Tank Top
Add some powerlifting attitude to training with “Icy 45LB Weight Plate”.

Uncle Sam Squats Funny Patriotic Gym – USA Meme Decal f Sticker
A fun “Uncle Sam Squats Funny Patriotic” touch for bottles, laptops, and lockers.

Plants & Weights 45LB Plate Plant Fitness Barbell Worko Sticker
Put “Plants & Weights 45LB Plate” gym humor on your laptop, bottle, or gym gear.
Build a four-week plan for stronger starts
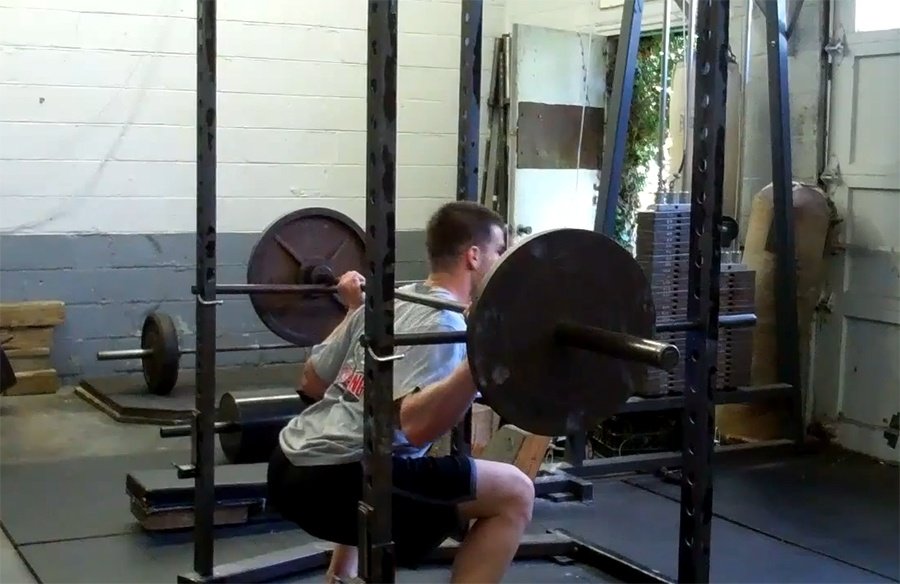
Program this as a focused four-week accessory block. Keep regular full-range squats in the week and place bottom-up practice afterward or on a second lighter lower-body day. Two demanding squat sessions should be separated enough for your legs and trunk to recover. Since the resistance you can use changes considerably with pin height and personal leverages, a universal percentage of the regular squat maximum is less helpful than a clean technical baseline.
Week 1: establish the dead-stop. After a general warm-up and some easy full-range squats, set the safeties at a defensible height. Perform four sets of three controlled repetitions with the empty bar or a light load. Rest two to three minutes. Film one side-view set. The key observations are quiet two-sided contact, a stationary pause on the supports and hips and shoulders rising without an initial rock. Record the rack-hole height and the working weight.
Week 2: repeat the first inch. Use four or five sets of three, retaining the same bar height and stance. Increase the load only slightly if every set last week started cleanly. Rebuild the brace after each full reset, and give yourself enough rest to keep the beginning of each repetition recognizable. If you need to heave the weight off the pins, return to the previous load and fix the position before adding more plates.
Week 3: choose one progression. Either add one working set or take another small weight step while keeping two to four reps per set. Do not simultaneously add a large amount of volume and intensity. Observe how consistent the bar path is late in the session. A final set that looks like the first is a genuine training achievement even if the absolute load remains modest.
Week 4: retest the setup, not a myth. Return to precisely the same pin height, footwear and stance used in week one. Compare clean triples at a familiar load and, if quality allows, progress by a small increment. Evaluate balance, bar path, first-inch control and the return onto the safeties. If these are better, you have improved a skill that may support your squat. Whether it carries into a new full-range personal best still has to be established in full-range squatting.
Keep hip hinges and single-leg exercises elsewhere in the plan. A squat that starts under a stationary bar does not provide all the muscular or technical work of a complete lower-body session. If access to the bottom position is uncomfortable or your rack cannot safely support it, choose controlled pause squats instead. The aim is repeatable force from a stable start, not earning a heavier number by changing the rules.