Advertising disclosure: This page includes affiliate product links that may earn us a commission, as well as products from our own store.
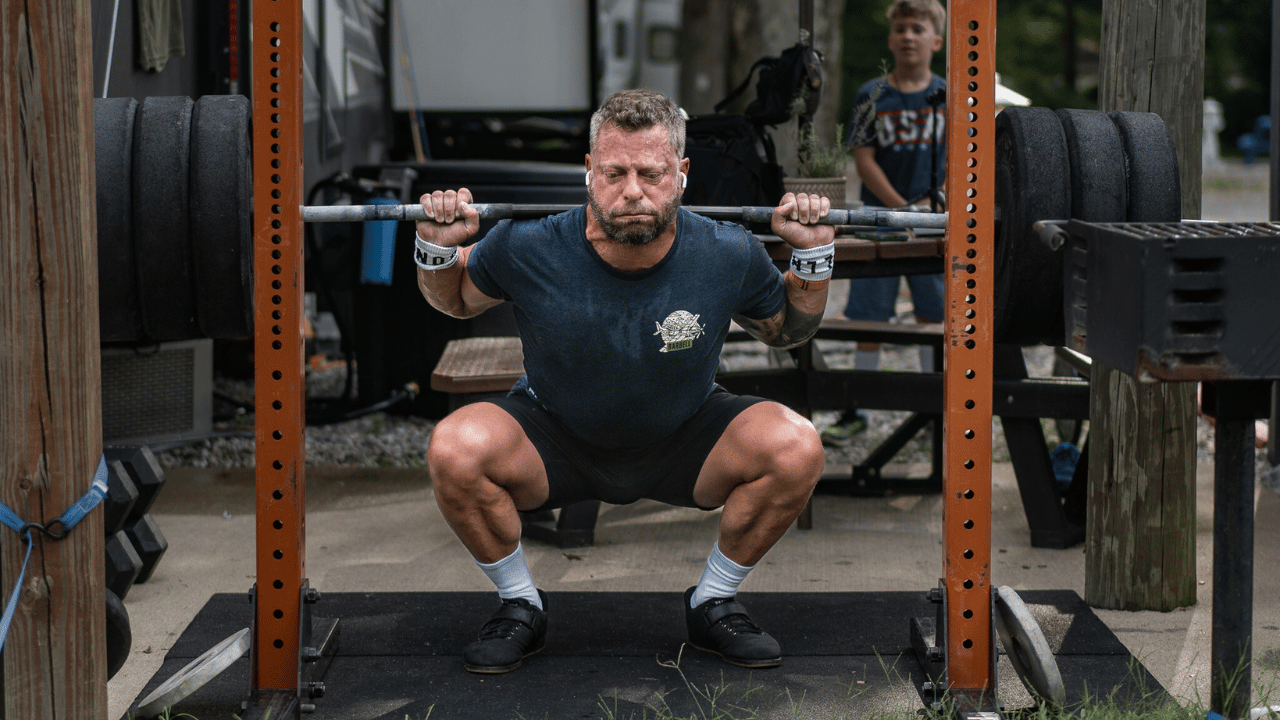
A paused back squat sounds simple: lower to your normal bottom position, stop moving for two honest seconds, then stand without dipping for a rebound. That short hold changes where the lift becomes challenging. It also shows you whether your depth, foot pressure and trunk position actually survive a demanding rep. There is no reason to claim that the pause always produces more muscle than an ordinary squat, or that every lifter should train it heavy. Used well, it is a repeatable skill exercise that can support stronger, more controlled squatting. Here is how to set it up, what to fix when the bar drifts and how to progress without turning every rep into a maximum attempt.
What the pause actually changes
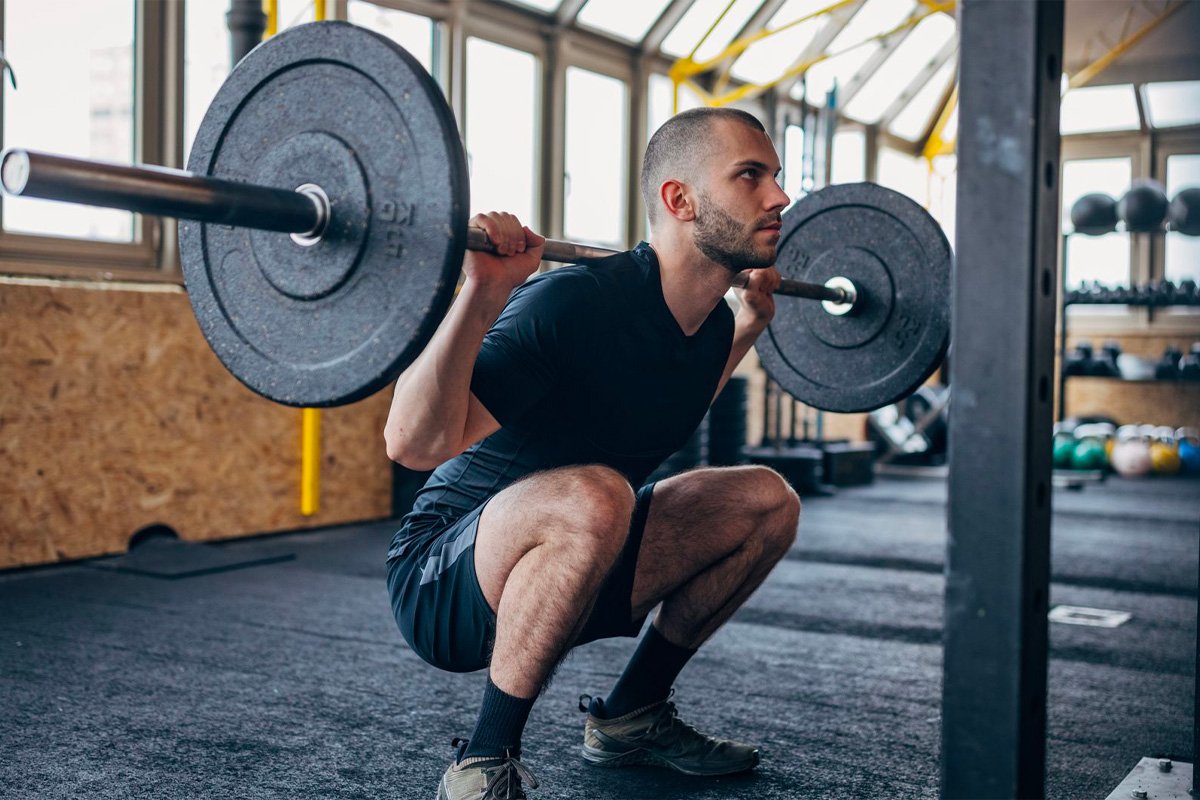
A regular squat links the lowering and rising phases together. When you stop at the bottom, the descending motion is gone, so you cannot rely on a fast reversal to help the bar travel upward. You still have to generate force through the legs, but now you must begin from a controlled and nearly stationary position. That is why even moderate weights can feel unexpectedly hard with a true pause. A slow descent and a stopped bottom are related skills, not the same thing.
The value is partly diagnostic. A rushed squat can hide a bar that creeps toward the toes, knees that change direction at the last moment or a chest that collapses as soon as the ascent begins. A deliberate hold makes those changes easier to see and easier to correct. Do not automatically interpret a difficult start as one weak muscle: your stance, proportions, bar placement, fatigue and coordination all shape the movement. Technique deserves to be assessed as a whole.
The quadriceps and glutes remain substantial contributors to the lift, with adductors, spinal erectors, upper back and abdominal muscles helping you hold the loaded shape. A pause increases how long you must support the bottom position, although you will often use less weight than for the same unpaused reps. That tradeoff is useful for practice and training variety. It does not mean that more time under tension is automatically better than appropriately challenging conventional sets for long-term muscle growth.
Choose a pause because it solves a specific problem: you want to make squat depth consistent, control the bottom, maintain a brace or practice generating force without a quick bounce. Keep enough regular squatting in the week if your goal depends on that exact skill. There is no benefit in trading all ordinary squats for pauses solely because the variation feels harder. A well-defined role is more valuable than collecting tough exercises.
Rack, stance and a repeatable descent
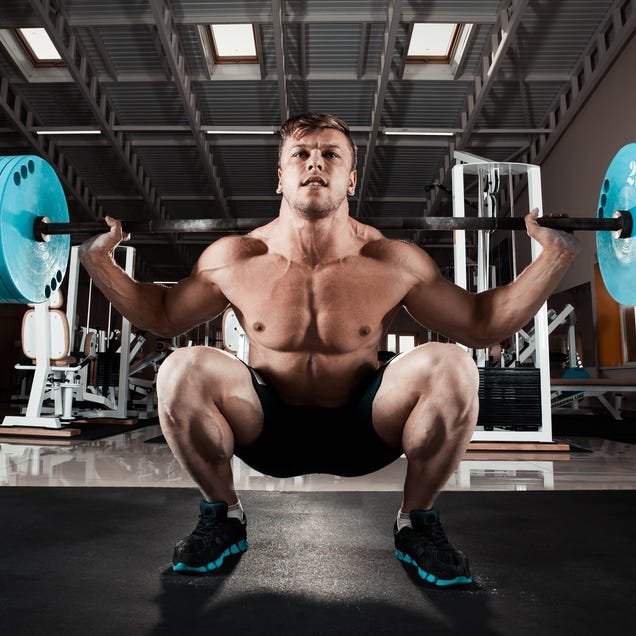
Start with a stable rack and appropriately adjusted safeties. Set the hooks so you can take the bar off the rack without standing on your toes. Position pins or straps below your normal bottom depth but high enough to catch the bar if you fail. Check their height with an empty bar and practice a controlled exit before adding substantial load. If you use a spotter, explain the intended pause and when they should help. Do not depend on an improvised rescue during a stalled bottom position.
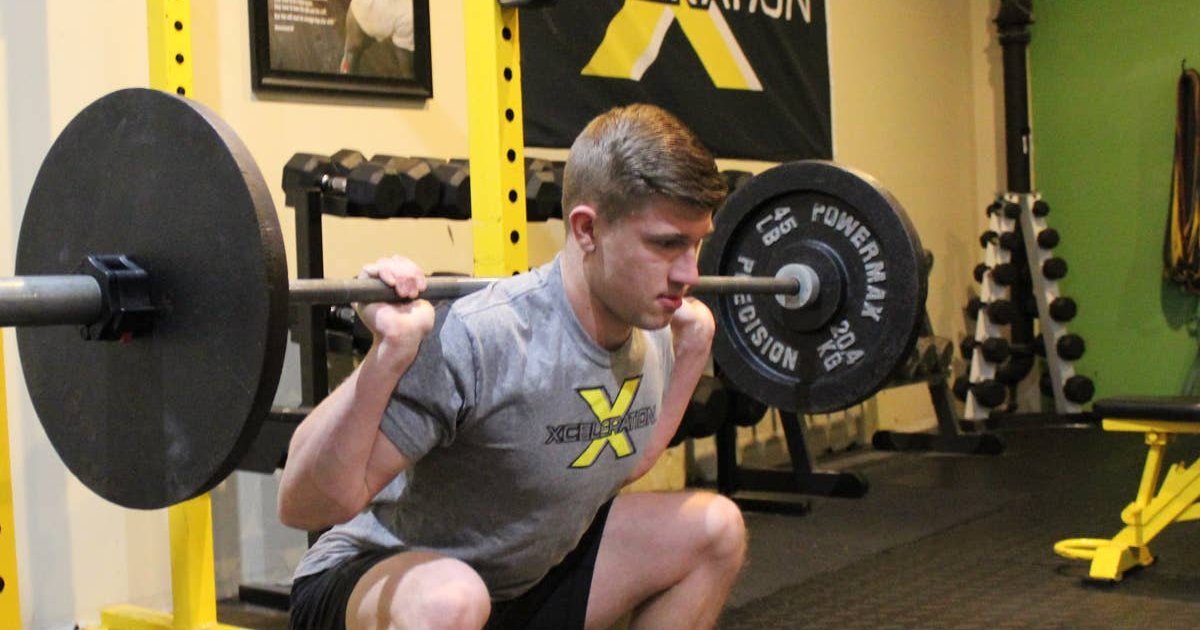
Use a bar placement and stance you already know. A high-bar squat generally keeps the load across the upper traps, while a low-bar squat positions it farther down the upper back. The torso angles naturally differ. Feet should be far enough apart that you can reach your chosen depth and keep pressure under the heel, big-toe base and little-toe base. A small toe angle is normal; there is no universal perfect number of degrees.
Take a firm grip, set the upper back, breathe and brace before unracking. Walk out only as far as needed to clear the hooks and adopt a stable stance. Lower by bending the hips and knees together, with the bar staying roughly over the midfoot. A controlled normal descent is sufficient. Turning every repetition into a five-second lowering exercise creates a separate, much more fatiguing variation and makes the pause harder to judge.
Depth should be repeatable. Competitive lifters may need the hip crease below the knee; recreational lifters can start from a depth that remains balanced and controlled. If the back rounds sharply when you try to sink farther, use a manageable range and address mobility or stance separately. Stable flat shoes and a modest heel raise can each work depending on ankle mobility and squat style. Neither is a substitute for controlling the bar.
Practice with the empty bar first, holding the bottom for two fully counted seconds. Add weight in small increments for sets of three until you can no longer pause without extra movement. That is your warning to stop adding load for the day. A rack, reliable bar, sound collars and suitable plates matter far more than unusual accessories when the objective is a clean pause.

Equipment Worth Exploring
Explore equipment, accessories and gear from our carefully selected range.


Foldable Wall Rack
Wall-mounted folding squat rack designed to save floor space between workouts.

Multi Pull Smith Rack MPHR-780
All-in-one rack with a Smith machine, functional trainer, lat pulldown and low row.


Competition Plates
Competition-style bumper plates for Olympic lifts and loaded strength training.


GymPin Squat Wedges
Non-slip 15-degree squat wedges help elevate the heels for deeper quad-focused squats.

Safety Squat Handles
Barbell squat handles that reduce shoulder positioning demands during high-bar squats.
Stay motionless, brace and drive straight up
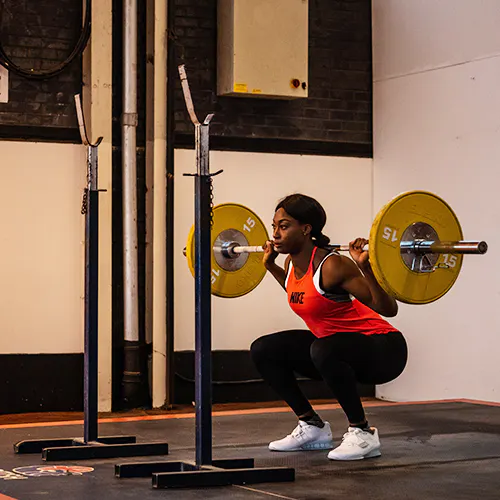
When you reach the bottom, be still. Count one-one-thousand, two-one-thousand rather than rushing the words. There should be no extra dip immediately before you rise. Do not rock from toes to heels or subtly push the hips lower to borrow another rebound. The hold should be visible from the side on video. What feels like an exceptionally long pause can disappear when you watch the recording, especially as the load becomes challenging.
Keep your trunk organized through the count. The upper back must support the bar, your abdomen must continue resisting collapse and your hips should remain in the selected position. That does not require squeezing every possible muscle to exhaustion. It means protecting the shape you will need to stand. Leg tension can adjust slightly as long as the body stays balanced and the torso does not lose its bracing.
Inhale and brace before descending. For a straightforward two-second pause, many lifters find it easiest to keep a short brace and begin releasing air during the ascent, then reset at the top. Avoid deliberately holding breath far longer than needed; individuals with blood-pressure concerns or other medical restrictions should follow appropriate professional guidance. Stop immediately if you become dizzy. No progress target is worth losing control with a loaded bar.
Drive upward without an extra bounce. Think about pushing the floor away as the knees and hips extend together. The intent can be powerful even if the bar moves slowly. If your hips rocket upward while the chest stays low, the load is pulling you into a different movement. Back off the weight, reestablish the bar path and film a side view. At the top, stand fully, breathe and prepare for the next rep rather than racing into the next descent.
Keep the same pause count, bar position, stance and depth across work sets. Otherwise a heavier number next week may simply mean you paused for less time or squatted a smaller range. Standardization makes the training log meaningful and helps you distinguish technical improvement from changes in rules.

Leg Day Shirts & Workout Gear
Leg-day gym shirts and workout gear for lifters who never skip squats, lunges and lower-body punishment.

Squats Leg Day Heavy Weights Meme – Essential Top T-Shirt
Bring “Squats Leg Day Heavy Weights” humor to your next gym day.

9 Plates Squat Club Meme Shirt – Essential & T-Shirt
Show some leg-day attitude with a playful “9 Plates Squat Club” tee.


Quadzilla Massive Quads Leg Day Squatting Meme Tank Top
Train hard, laugh a little, and rep “Quadzilla”.

Funny Squat Game Gym | Squid Game Parody Workout Sweate T-Shirt
Add a playful “Squat Game” touch to your casual rotation.


Leg Day Is Calling You Squats & Deadlifts Meme Hoodie
Stay casual and show some leg-day attitude with “Leg Day Is Calling You”.


Leg Day Squats Deadlifts Decal Meme Vinyl Sticker
Give your everyday gear a playful “Leg Day” twist.

Leg Day No Thanks Skip Leg Day Meme Sweater Squats T-Shirt
Show some gym-day personality with “Leg Day No Thanks”.
Correct the breakdowns that appear under load
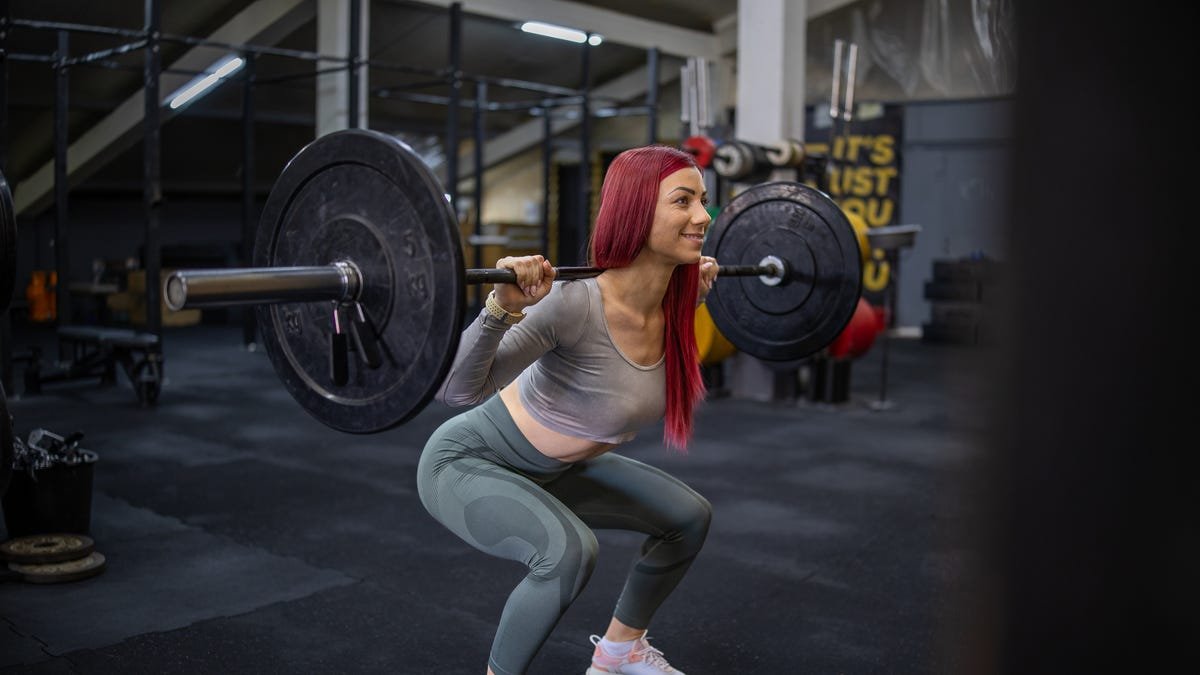
If your heels lift or the bar rolls toward the toes, check your whole-foot pressure first. Slow the descent slightly, adjust the stance and assess whether the knees travel comfortably in line with the feet. A heel wedge can help some lifters with limited ankle movement, but it should be stable and used deliberately. Increasing the load while the feet shift unpredictably makes the pause less useful.
If the torso collapses during the hold, make the next set lighter. Keep the upper back organized and aim for the hips and shoulders to rise together. A low-bar squat is naturally more inclined than a high-bar squat, so do not force an unnatural vertical chest. Look instead for a sudden change in trunk angle as you reach the bottom or start the ascent. Fixing that change usually matters more than a generic ‘chest up’ cue.
If the knees move inward abruptly, check foot position, balance and depth before forcing a wider stance. Knees should generally track with the feet and movement should remain controlled. Small individual variations can be normal; a sharp uncontrolled collapse is different. Practice smooth, lighter reps so that you can reproduce the path. If discomfort persists or your movement is repeatedly painful, stop loading it and seek individualized assessment.
If the hold turns into a bounce, make the count audible or film a set. Some lifters slow down near the bottom but never fully stop; others add a small final dip just before standing. In either case the movement stops being the paused rep you intended. Two seconds should be two seconds even on the last repetition. Reduce the weight rather than hiding a failed technique target with a hurried turnaround.
The practical checklist is short: was the bottom depth unchanged, was the bar motionless for the chosen duration and did the trunk keep its shape during the first part of the ascent? Fix the first failed item. More cues are not always better, especially if you cannot tell whether the new instruction helped.
Pause, tempo, pin and front squats are different tools
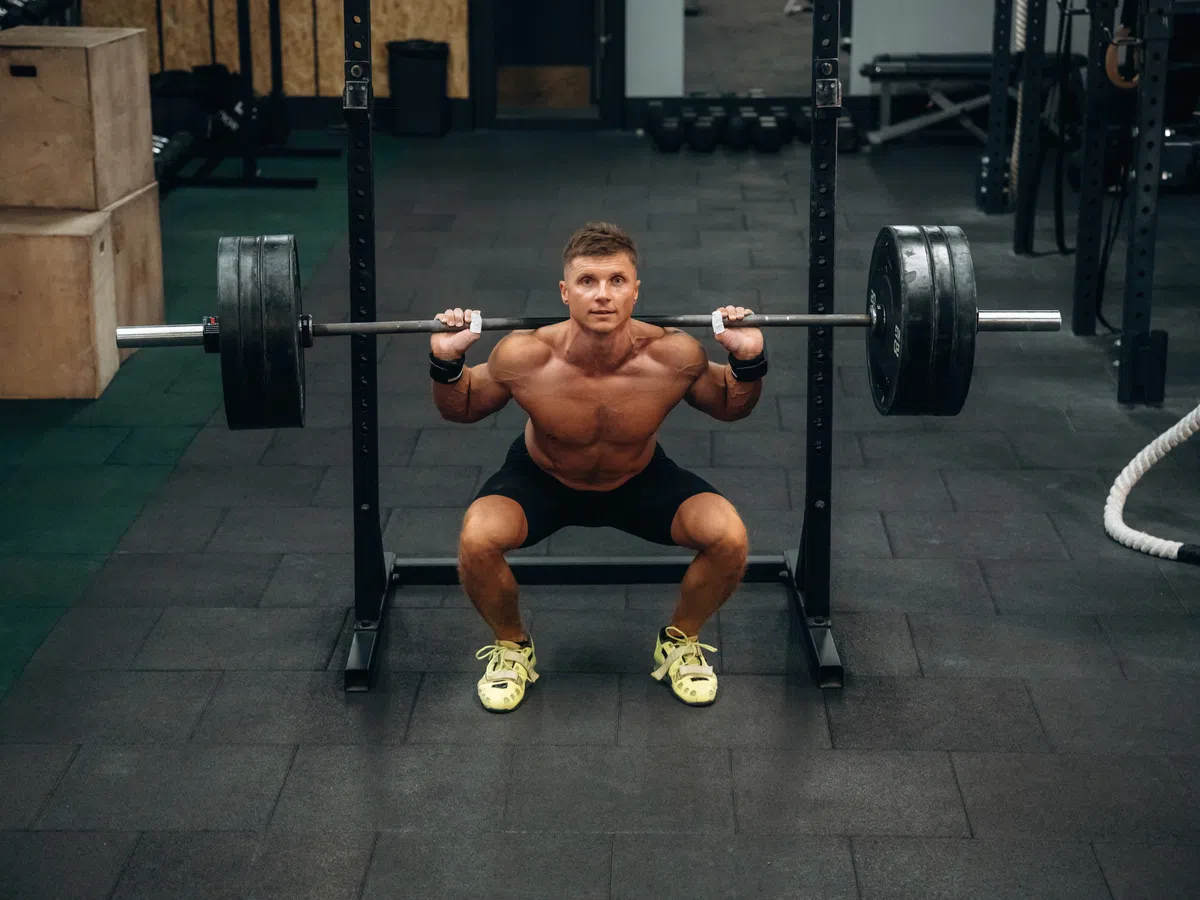
A tempo squat uses a prescribed speed, often focusing on a deliberate three- or four-second descent. It may have a continuous turnaround. A paused squat can descend at a normal controlled speed and then require a complete stop at the bottom. Both build awareness, but their fatigue and timing demands differ. Combining a long eccentric with a long pause can be useful occasionally, though it does not automatically fit a strength session where quality doubles or triples are the target.
A pin squat starts with the bar supported by rack pins or straps. That can isolate the push from a selected height without requiring you to balance a loaded bar through a prolonged bottom hold. A paused squat is not resting on the pins; you hold the bar continuously. If you use pins for safety, they must be positioned to catch a failed repetition without accidentally replacing the free-standing pause.
Paused front squats move the load to the front shoulders, usually demanding a more upright torso and a secure front rack. That makes them relevant to Olympic lifting and clean-recovery positions, but they do not exactly reproduce the back-squat mechanics. Athletes training fast transitions from a deep clean also need some squatting that practices a dynamic reversal. Pure pauses cannot teach every part of that timing.
Machines, belt squats and leg presses can contribute leg-training volume when a free barbell is not the priority, but they do not demand the same balance as a paused back squat. If the goal is simply challenging the quadriceps and glutes, those alternatives may be excellent. If the goal is consistent position under a free bar, the free-bar practice is the point. Do not allow the equipment choice to obscure the skill.
Equipment Worth Exploring
Explore equipment, accessories and gear from our carefully selected range.


Grip Plates
Rubber-coated weight plates with handholds for loading barbells and machines.
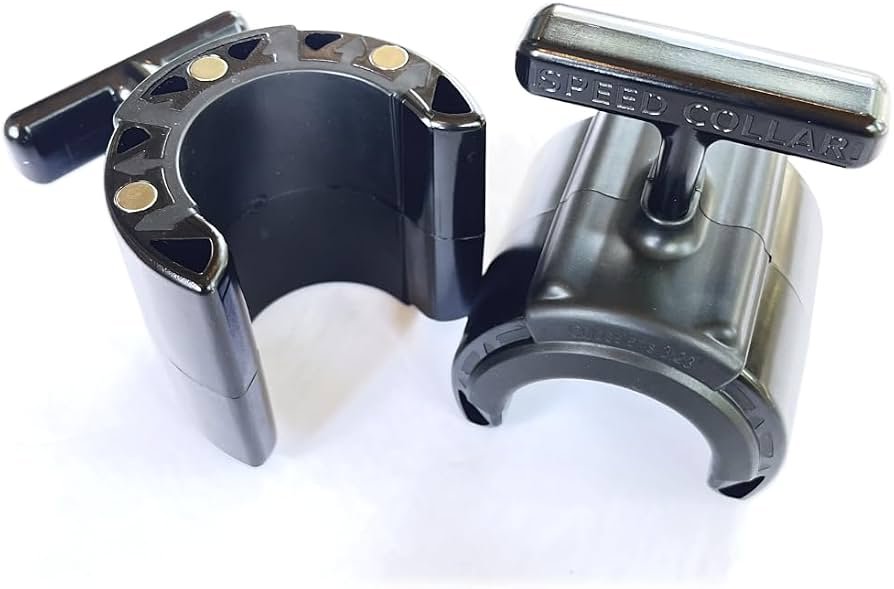
Speed Collar
Quick-release collars designed to secure weight plates on standard two-inch Olympic bars.
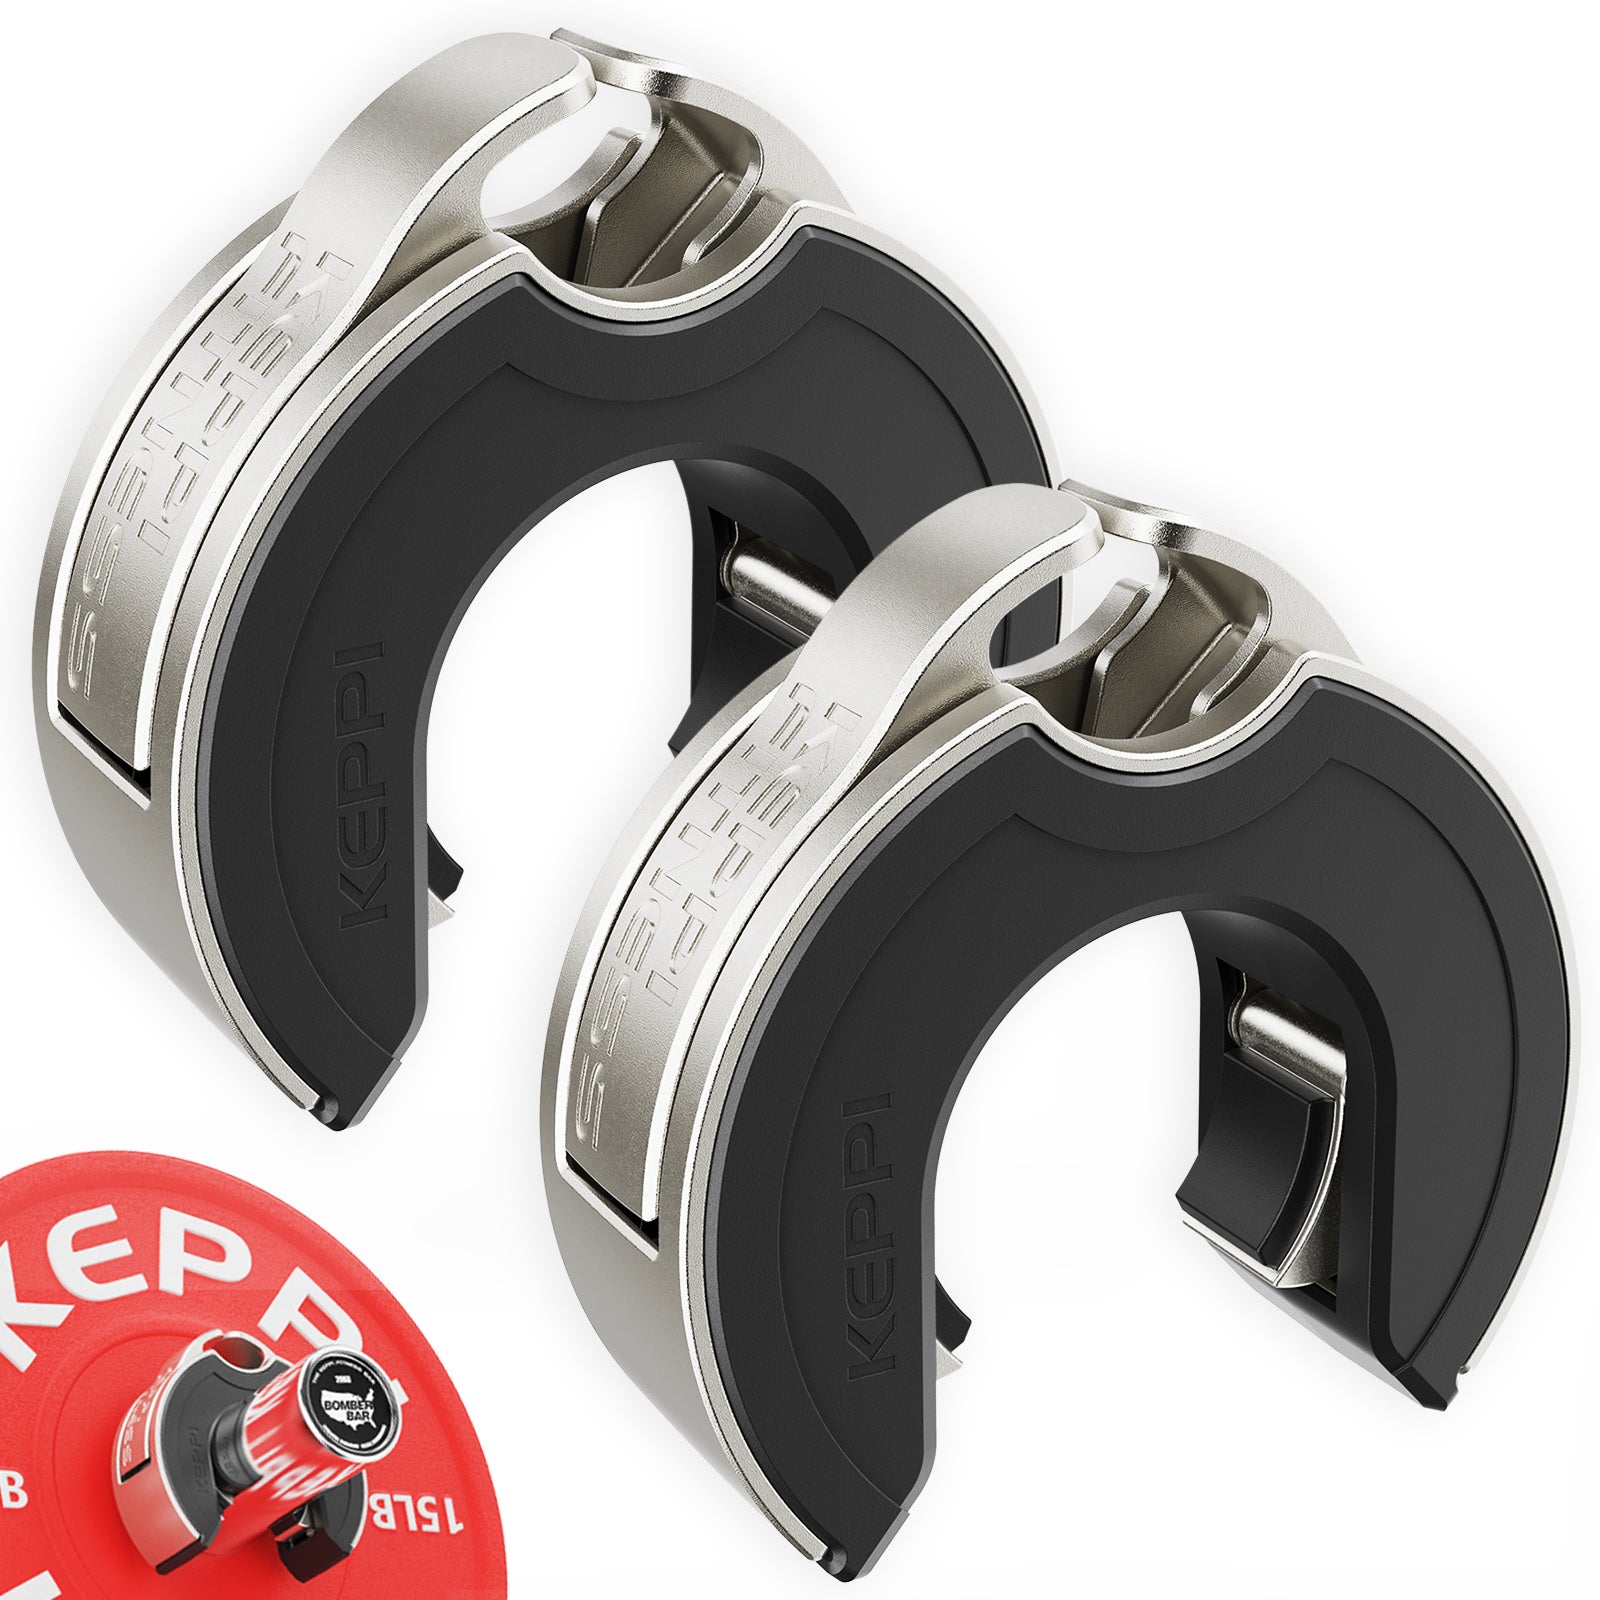
Keppi Open Collars
C-shaped magnetic Olympic barbell collars with a quick-lock mechanism and grippy lining.

Studio V-Squat
Plate-loaded V-squat machine for supported lower-body strength training.

Leg Press/Hack Squat BPR-790
Convertible 45-degree leg press and hack squat machine with a broad footplate and band pegs.

Belt Squat Collar
Heavy-duty collar adapter for compatible belt-squat and landmine bar setups.

Compact Leg Press CLP-700
Compact reverse-style leg press with a moving seat carriage and an adjustable footplate.
A six-week progression that protects technique
Use this as an example block for someone who can already perform a normal barbell back squat safely. It is not a claim that six weeks is the proven ideal duration or that these exact sets were tested in an experiment. Place paused squats on one training day per week, preferably where recovery and ordinary squat practice allow. Start with a conservative load that leaves roughly two to four clean repetitions in reserve after accounting for the demanding hold.
Week 1: three sets of four at an easy-to-moderate effort, pausing for two honest seconds on every rep. Week 2: four sets of four with the same pause, adding only a small amount of load if the video and depth are consistent. Week 3: four sets of three with a modest increase. Week 4: four sets of three again, keeping or slightly raising the weight only if there is no bounce or bar drift.
Week 5: five sets of two at a challenging but still technically repeatable effort. Week 6: three or four sets of two, working toward the best load you can control for the full two seconds without grinding or changing depth. Rest enough between sets to recover: two to four minutes is a practical starting point, with longer breaks if breathing, balance or bar speed has not returned.
Log bar weight, sets, reps, actual pause length and any variation in stance or depth. If two consecutive working sets become unstable, end the heavy work and lighten the next session. This is not a test of whether you can escape a bad bottom position. You are practicing a reliable start from a deliberate stop, so technique failure is a real stopping rule rather than an optional detail.
At the end of the block, compare your first and most recent paused-squat videos using similar loads and camera angles. An improved pause should look motionless, balanced and controlled even if your regular squat maximum has not changed or has not been tested. From there, decide whether to keep the pause as an accessory, repeat a lighter block or spend more of your training on regular squats. Progress is a repeatable skill, not just another weight plate.
Powerlifting Shirts & Lifting Gear
Powerlifting shirts and gym gear for squat, bench and deadlift lifters who live for heavy numbers.


Platehead Powerlifting Tee
Heavy lifts, good laughs, and a little “Platehead Gym Skull” energy.

Meme – Shhh I'm Doing Math Plate Math Weightlifting T-Shirt
Heavy lifts, good laughs, and a little “Shhh I'm Doing Math Plate Math” energy.

Rack Panther – Squat Rack Superhero , Bros & Meme T-Shirt
Bring “Rack Panther” humor to your next gym day.

Grunge Weight Plate Shirt Rock Music & Gymbros T-Shirt
Heavy lifts, good laughs, and a little “Grunge Weight Plate” energy.

Nice Try Gravity | Astronaut Space Lifting Pullover Hoodie
Make your off-duty look more fun with “Nice Try Gravity”.

Lift Heavy Lift Hard No Misses Cobra Kai Meme – T-Shirt
Show some lifting attitude with a playful “Lift Heavy Lift Hard No Misses Cobra Kai” tee.

Gym Rat Cheese Barbell | Funny Workout & Bodybuilding M Hoodie
Keep it laid-back with a little “Gym Rat Cheese Barbell” attitude.

Barbell Flag USA Gym | Funny Patriotic Workout Sweater T-Shirt
For laid-back days and lifting humor: “Barbell Flag USA”.

Listen Heavy Lift Heavy Gym | Heavy Metal Lifting Skull Sticker
Stick a little “Listen Heavy Lift” humor on your favorite gear.