Advertising disclosure: This page includes affiliate product links that may earn us a commission, as well as products from our own store.
Incline push-ups are not a lesser version of the floor push-up. Raising your hands gives you a precise way to change how much of your bodyweight you press while keeping the familiar straight-body movement. That makes an incline useful for learning clean reps, accumulating chest and triceps work after heavier sets, or returning to pressing when a full floor push-up is not yet controlled.
The height of the support, however, is only one variable. A bench that slides, an elbow path that irritates the shoulders, or a midsection that sags can turn an apparently easy set into a messy one. Treat incline push-ups as a real exercise: choose the surface, find your stance, set the torso and repeat the same range every time. Here is how to build a stronger press without guessing at an angle or bouncing off a bench.
Choose a stable support and start at a manageable height
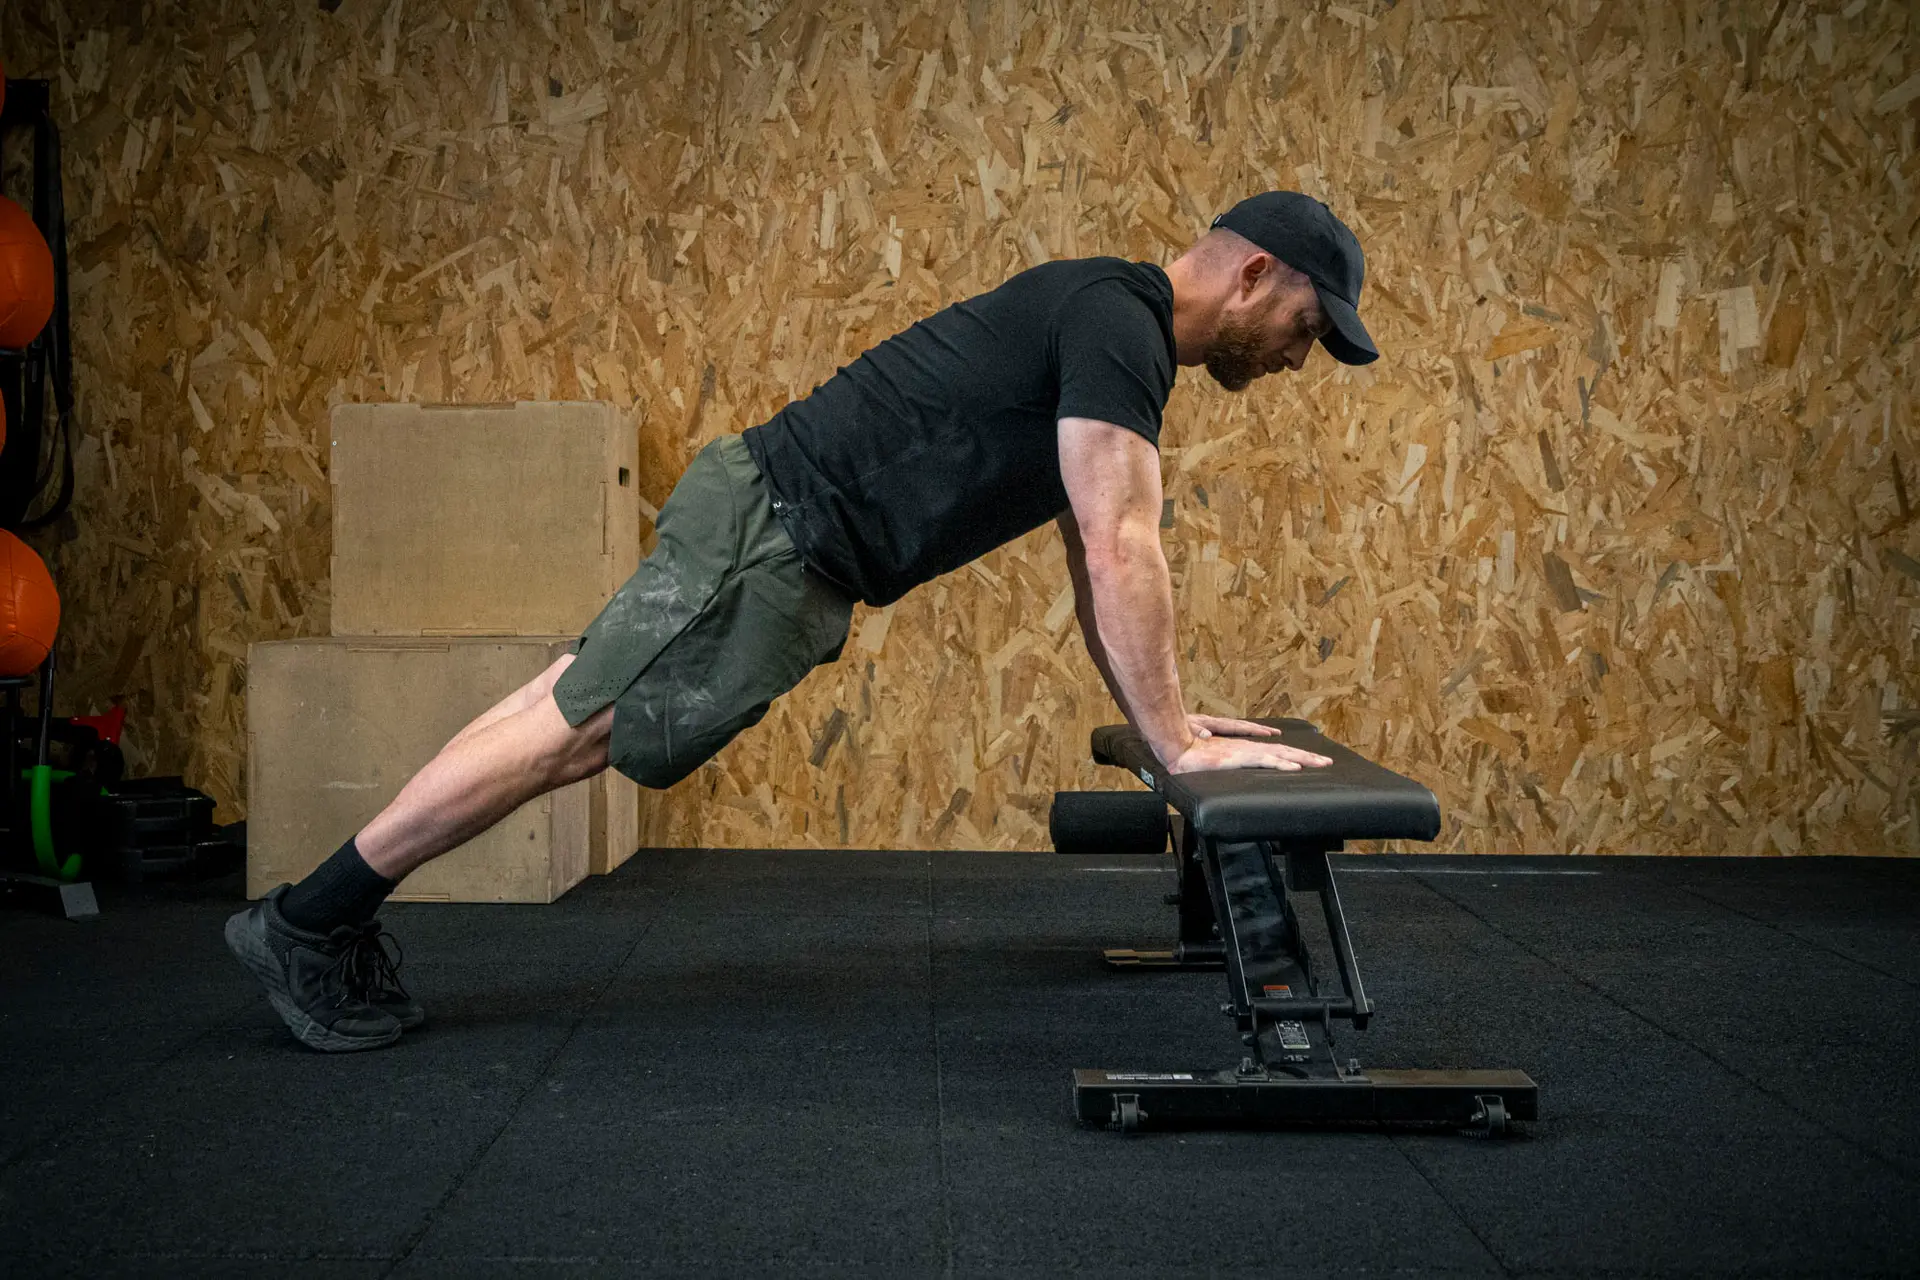
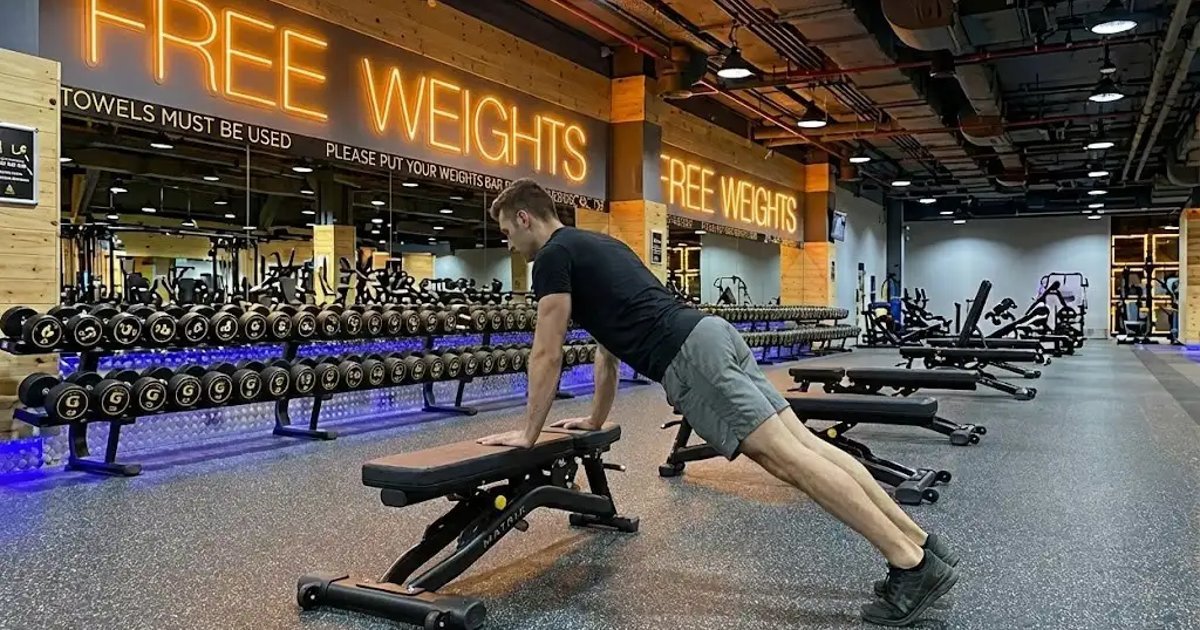
Begin with a fixed, non-slip surface that can support a meaningful share of your weight without tipping: a stable gym bench with grippy feet, a secured step, a heavy plyometric box or a sturdy countertop. For a compact home gym, verify that a folding bench is locked open and that its pad does not rotate or shift when pushed horizontally. Press firmly into the support before the first repetition. If it moves, change the setup rather than hoping your bodyweight will pin it down.
Put both hands at the same height. A flat bench or solid box is often more predictable than a narrow chair, an unstable ottoman or loose plates. If you use a rack-mounted bar for height adjustment, it must be positively locked and unable to spin, slide or jump out of its supports; an ordinary freely rotating bar in J-cups is not a secure incline handle. Check the floor behind you for grip, the space beside the bench for clearance and whether someone could bump the support mid-set.
Higher hands generally mean an easier push-up. A countertop or high rack setting is a sensible starting point when the floor version is too hard. A lower bench shifts more demand onto the arms and chest. The precise percentage of bodyweight supported changes with your proportions, foot placement and equipment height, so an internet chart cannot tell you the load with useful accuracy. Instead, find a height where you can perform six to twelve controlled repetitions and still have about two good repetitions in reserve.
Do a few exploratory reps before committing to working sets. If your wrists feel compressed on a wide bench, adjust hand position or use an appropriately stable handle that allows a comfortable grip. If even a high incline provokes joint pain, stop and find a more tolerable pressing movement rather than pushing through it.
Place your hands and keep the plank from head to heels
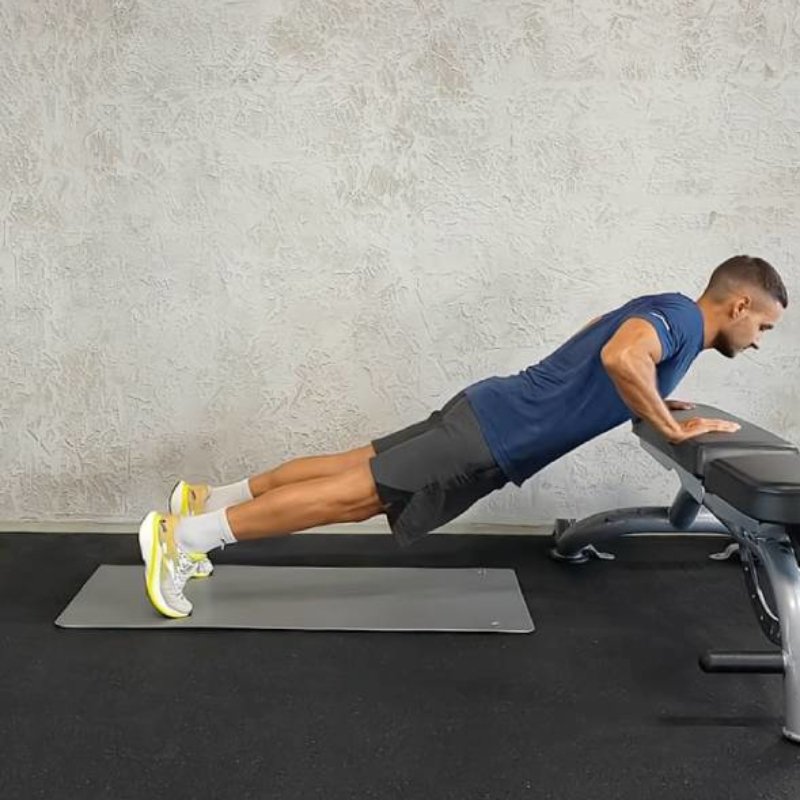
Set your hands slightly outside shoulder width, then walk the feet back until the body forms one long line. Your shoulders should sit over, or a little behind, your hands at the top depending on the bench and your arm length. The feet can be hip-width for stability. Press through the whole hand rather than dumping all pressure into the heel of the palm, and keep the neck neutral: the floor a short distance ahead of the support is a better gaze target than the ceiling.
Before bending your elbows, tighten the abs and glutes as if preparing for a plank. Bring the ribs gently toward the pelvis, without exaggerating a rounded back. The body should move as one unit; the shoulders, hips and knees are not separate levers taking turns. A common error is pushing the hips toward the bench before the chest arrives. That shortens the movement and changes the loading from one repetition to the next.
Angle the elbows diagonally back rather than straight out to the sides or glued against the rib cage. An approximate 30- to 60-degree relationship between upper arm and torso is a useful starting region, but use a comfortable track that lets the shoulder blades move naturally. Let the elbows bend while the upper arms remain under control. Wrists, elbows and shoulders should feel coordinated, not forced into a particular photograph-perfect pose.
One easy check is to film a single set from the side. If the hips visibly drop between the shoulder and heel line, tighten the body and shorten the set. If the butt rises into a pike, walk the feet back or adjust the height so the body stays straight. Reset before every set rather than trying to correct a moving plank halfway through a shaky rep.
Lower the chest with control and press away smoothly
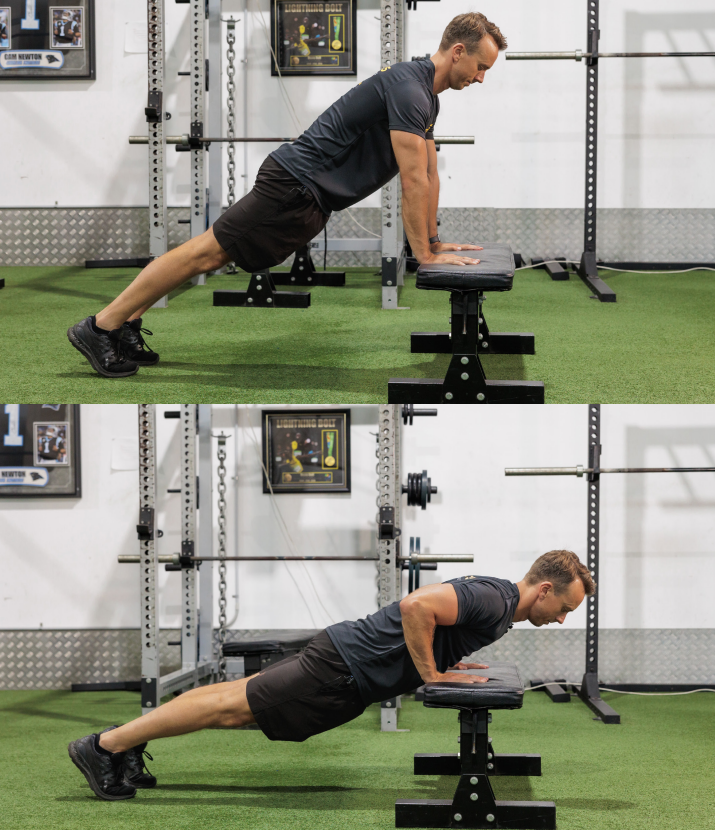
Take a comfortable breath and lower your chest toward the surface by bending the elbows. Think of bringing the chest toward the bench, not driving the chin to its edge. Most lifters do well with a deliberate two-second descent. Keep gentle tension through the abdomen, shoulders and glutes, and avoid letting the head jut forward during the final few centimetres.
Stop when the chest approaches the support at a depth you can maintain without shoulder discomfort or losing your body line. Depending on bench thickness and arm length, your chest may lightly meet the pad or stop just above it. Neither requires crashing into the bench. Pause briefly at the bottom to remove the temptation to bounce. The same depth and tempo should appear on the first rep and the last.
Press the surface away through the palms, extending the elbows while keeping the torso rigid. Let your shoulder blades rotate and spread naturally as you finish; pinning them hard together throughout the push-up is unnecessary. Exhale through the effort without deliberately losing your abdominal brace. Finish tall through the arms, then pause for a moment before lowering again.
If your hips arrive at the top before your chest, or the elbows shoot straight outward when fatigue hits, the set is over. Lowering the support height is progression only when the same rep quality survives. The goal is not to make the exercise look like a struggle: it is to make increasingly demanding repetitions look almost identical.

Equipment Worth Exploring
Explore equipment, accessories and gear from our carefully selected range.

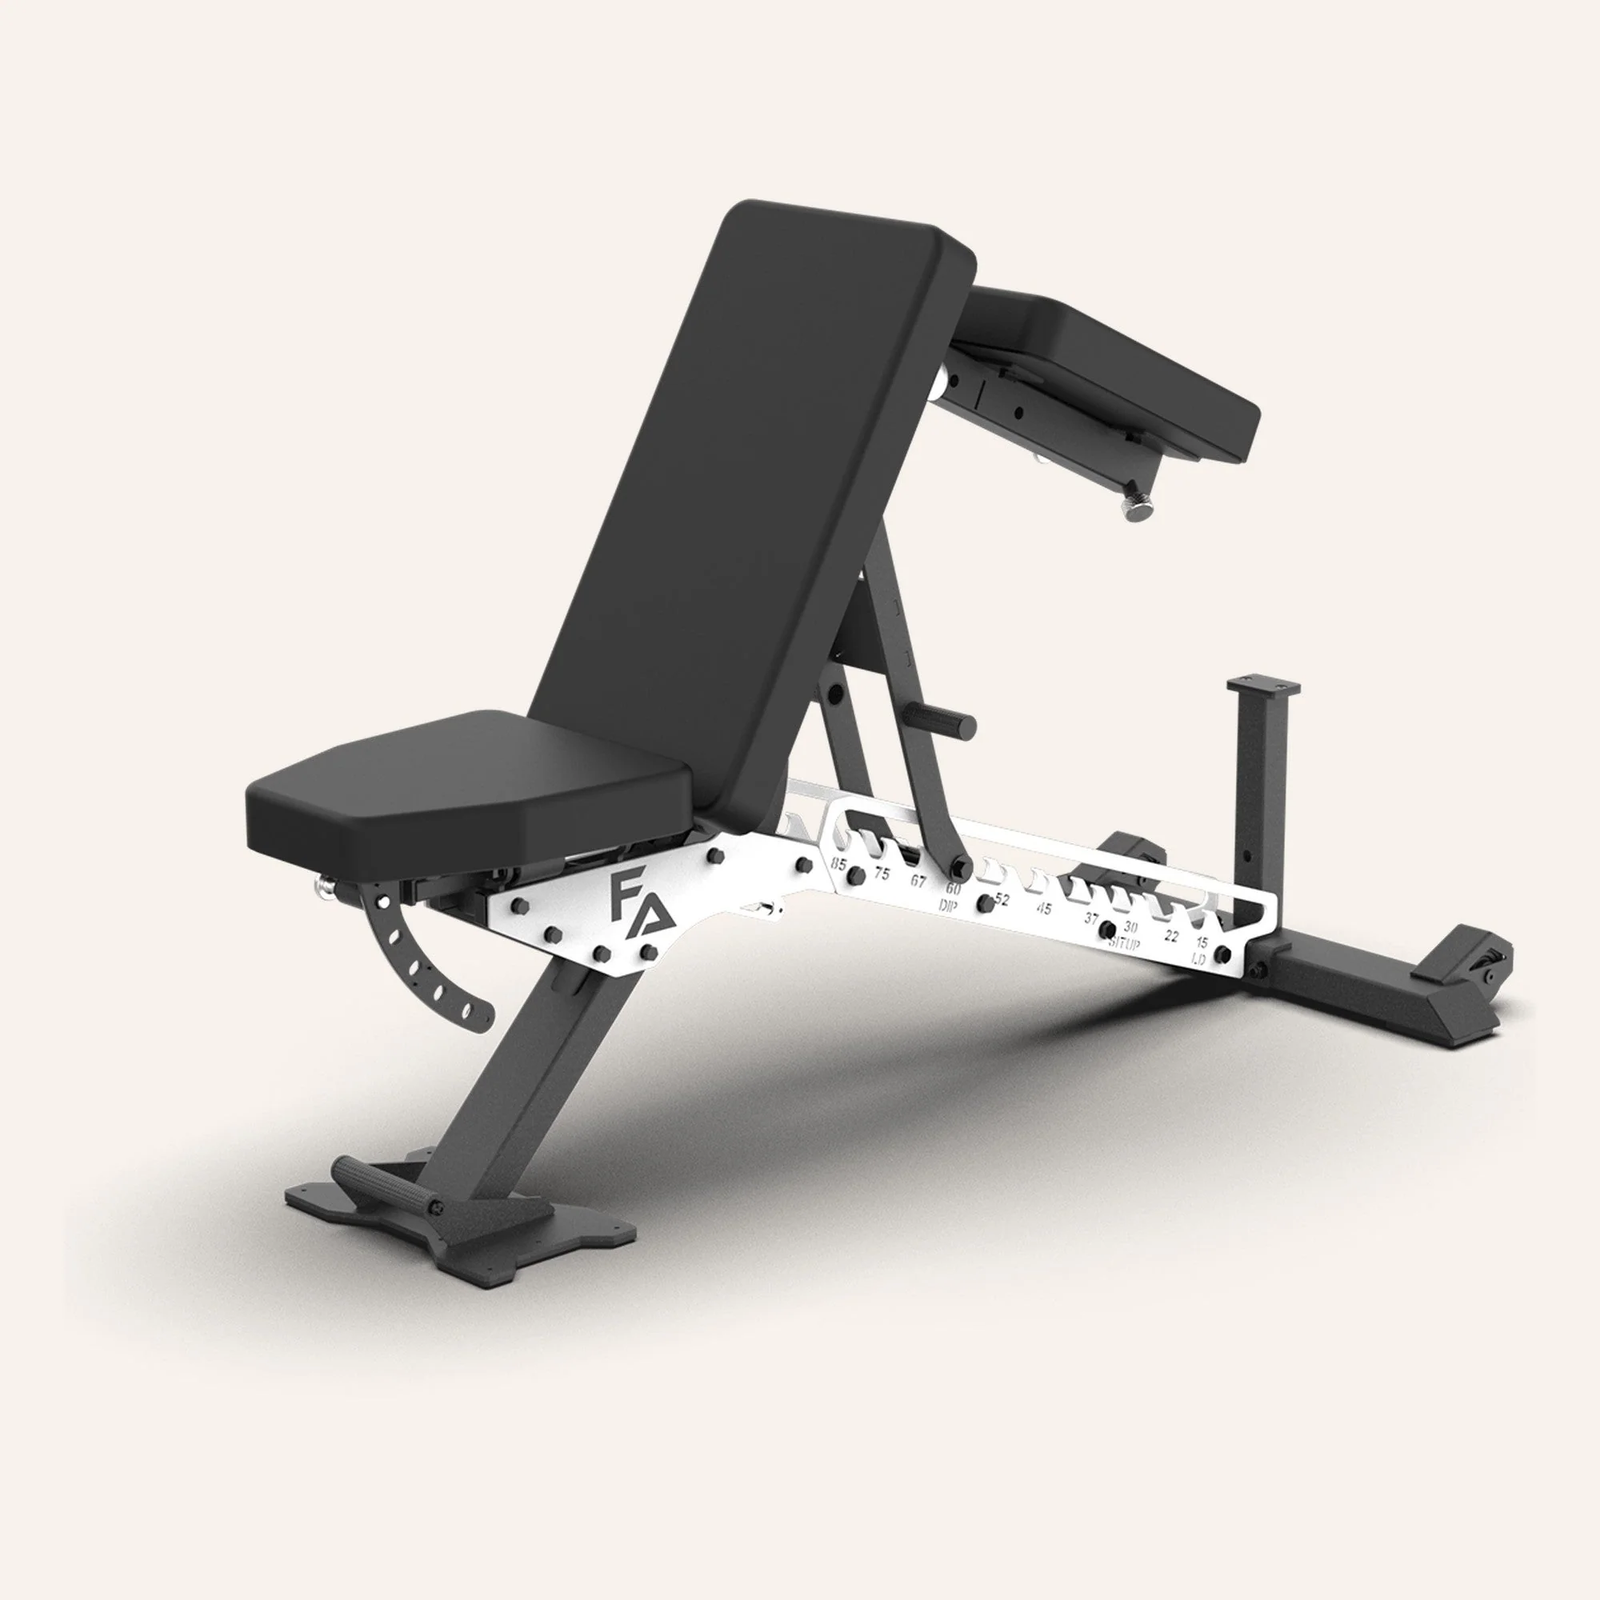

Multi Bench MBX-650 2.0
Adjustable multi-bench with roller adjustment, 15 backrest positions and accessory mounts.


FID Bench MAX
Adjustable bench offering flat, incline, and decline positions + adjustable headrest.

Power Tower
Freestanding pull-up and dip station with adjustable handles for bodyweight training.

Foldable Wall Rack
Wall-mounted folding squat rack designed to save floor space between workouts.


VForce Wall Trainer
Space-saving wall-mounted functional trainer with pivoting cable arms and variable resistance ratios.
Fix four technique mistakes before adding repetitions
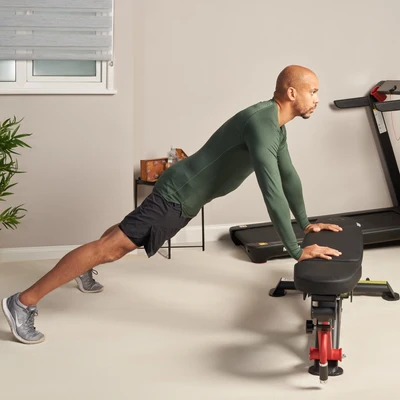
First, an unstable support. A bench sliding across smooth flooring is not a core challenge; it is a bad anchor. Place it on a high-friction surface, lock any moving parts and test the setup with straight arms before beginning. Never use an unrestrained rolling chair, wobbly table or unsecured barbell as an improvised push-up station.
Second, losing the plank. Sagging hips often appear when the arms are still strong enough to press but the torso cannot maintain position. Stop, reset your breathing and glute tension, and either raise the hand support or shorten the set. A rigid, higher incline is more valuable than a lower incline performed with an exaggerated arch. Excessive hip height is another shortcut; avoid turning the motion into a shallow hinge.
Third, a flare-and-dive descent. Elbows pointing ninety degrees away from the ribs may feel strong for a moment, but it can force an uncomfortable shoulder position. Set the hands in a natural width, lower the chest between them and let the elbows travel back diagonally. Avoid jutting the chin toward the bench to give the illusion of full depth. Use a clean pause, not pad contact as momentum.
Fourth, training the rep counter instead of the range. Rapid half-reps can hide declining quality. Choose a stable depth marker, record the bench height and stop one or two reps before the form visibly changes. If you can only do three perfect reps at the low box, it is usually smarter to use a slightly higher surface and build a repeatable working set than to grind ten ugly ones.
Use incline height to match your goal, not an arbitrary angle
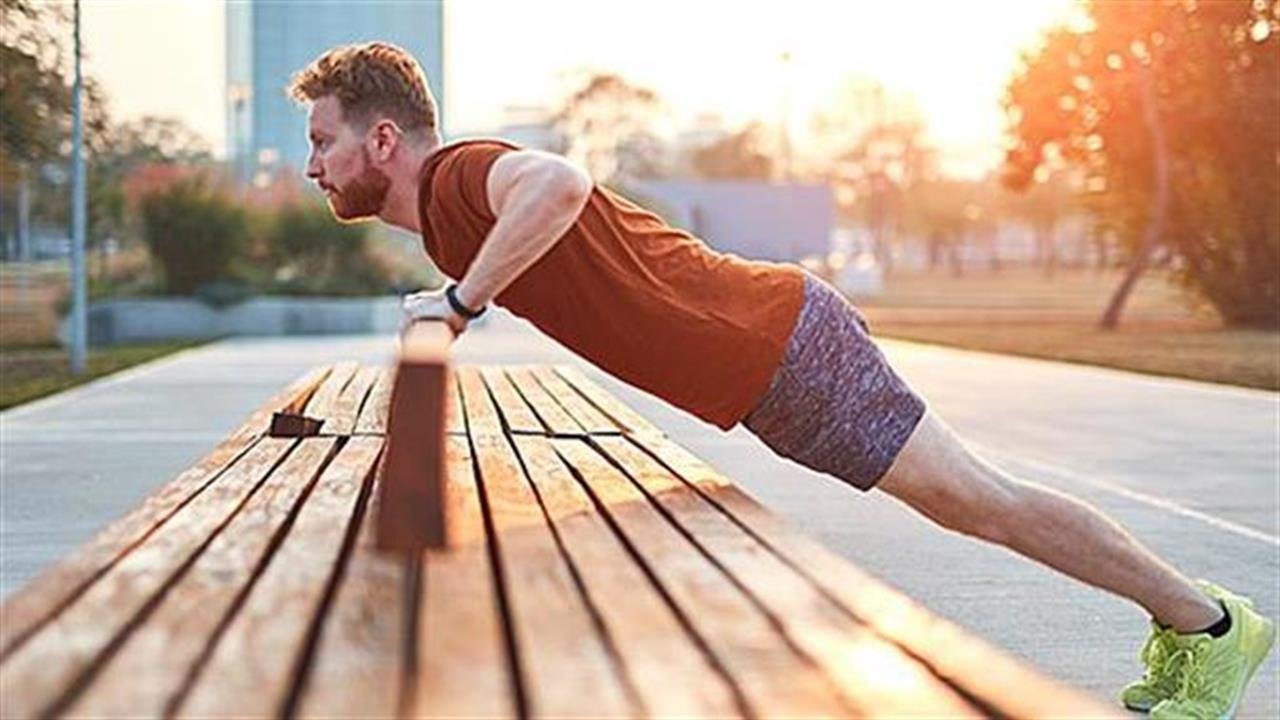
In a home gym, adjusting the hand height is often more useful than chasing added weight. For a beginner, a kitchen counter may permit a full pressing path, while a bench is too demanding. For a stronger lifter, a low stable step can provide productive high-rep volume after bench pressing, chest flies or a heavier push-up variation. The same movement therefore serves different purposes without changing the main technique cues.
Do not confuse a hand-elevated push-up with an incline bench press. Raising the hands usually makes the bodyweight push-up easier. Raising the back of a bench under a loaded barbell or pair of dumbbells changes the pressing direction and loading altogether. You cannot infer exact upper-chest targeting from the word incline alone. In a hand-elevated push-up, the chest, triceps, anterior shoulders and trunk all contribute to the movement.
If wrists dislike palm-flat contact, try rotating the hands slightly on a broad support or using stable push-up handles only when they cannot tip. If the shoulder position feels crowded near the bottom, experiment with modestly narrower hand spacing, a slightly higher support and a controlled depth. Changing several variables at once makes it harder to identify what helped; adjust one, test it, and keep a simple training note.
For weighted or advanced bodyweight training, an incline may also be useful as a warm-up after shoulder mobility work, a light tempo drill, or a finishing set when the floor version is already fatigued. Do not add a weighted vest until ordinary floor push-ups and the support setup are reliable. A narrow step may be appropriate for a low incline only if it stays completely fixed under the forward force of the press.

Calisthenics Shirts & Street Workout Gear
Calisthenics and bodyweight-training gear for pull-ups, dips, handstands and street-workout athletes.


Calisthenics Evolution Decal for Water Bottles Laptops Sticker
Put “Calisthenics Evolution” gym humor on your laptop, bottle, or gym gear.

Be Stronger Than Your Excuses Funny Gym
Bring “Be Stronger Than Your Excuses” humor to your everyday gym style.


Human Flag Calisthenics Hooded Workout Gymbro Pullover Hoodie
Make your off-duty look more fun with “Human Flag”.

Shirt – Calisthenics Heartbeat Gymbros & Meme Lovers T-Shirt
Bring “Calisthenics Heartbeat” humor to your next gym day.

Turn Off Gravity Funny Calisthenics Gym Decal for Water Sticker
Give your everyday gear a playful “Turn Off Gravity Funny Calisthenics” twist.

Pull Up Not Out Hoodie
Show off your bodybuilding humor in a laid-back “Pull Up Not Out” hoodie.

Calisthenics Muscle Shirt Athletic Vest for Bodyweight Tank Top
Your gym-day look, with a playful “Calisthenics” twist.

Progress for four weeks, then earn the floor version
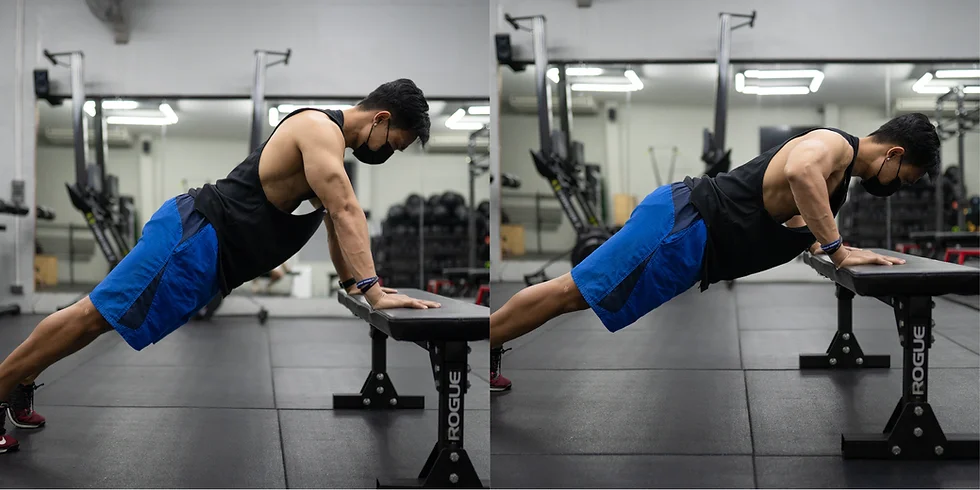
Train two or three times per week with at least a day between demanding pressing sessions. Start with a height that allows smooth sets without shoulder irritation and use a fixed grip, stance and depth. If you already do heavy chest pressing, position incline push-ups after the main lifts. If they are your main upper-body press, perform them earlier while fresh. Record the height using a specific bench or step setting rather than a vague description such as medium incline.
Week 1 — own the pattern: Do three sets of six to eight repetitions at an easy-to-moderate incline. Lower for about two seconds, pause briefly, then press without a bounce. Rest roughly 60 to 120 seconds, longer if your breathing prevents controlled reps. Your success condition is a consistent plank and elbow path across all three sets, not hitting failure.
Week 2 — add quality repetitions: Keep the same height and aim for three sets of eight to ten. Add a rep only when the previous week was clean. If the first set reaches ten but the second collapses to five with poor form, the load is still too demanding; adjust rest or raise the hands slightly. A controlled sixth rep is worth more than a rushed eleventh.
Week 3 — make the leverage harder: Once you can complete three sets of ten to twelve with two repetitions in reserve, lower your hands by one small, secure increment. Return to three sets of six to eight at the new height and keep the same range. Do not lower the support and add a weighted vest in the same session. Difficulty should rise from a single, trackable change.
Week 4 — test repeatability: Work toward three sets of eight to twelve at the lower height, with consistent body alignment and a full comfortable descent. When a low stable step is manageable, try a few standard floor push-ups at the start of a fresh session. If they are clean, keep the floor sets low in volume and use a higher incline for additional practice. If not, repeat another cycle and reduce support height more gradually.
A controlled floor push-up is a milestone, not the only valid endpoint. You may decide to keep incline push-ups for extra chest volume or as a joint-comfortable warm-up even after your floor strength improves. Stop a session for sharp wrist, shoulder or chest pain or other concerning symptoms rather than forcing one more repetition. Progress is visible in the consistency of the movement: a safer support, a straighter plank, a slightly lower height and the same smooth press.
Some product links may be affiliate links, which can support Mind Muscle Perfection at no additional cost to you.