Advertising disclosure: This page includes affiliate product links that may earn us a commission, as well as products from our own store.
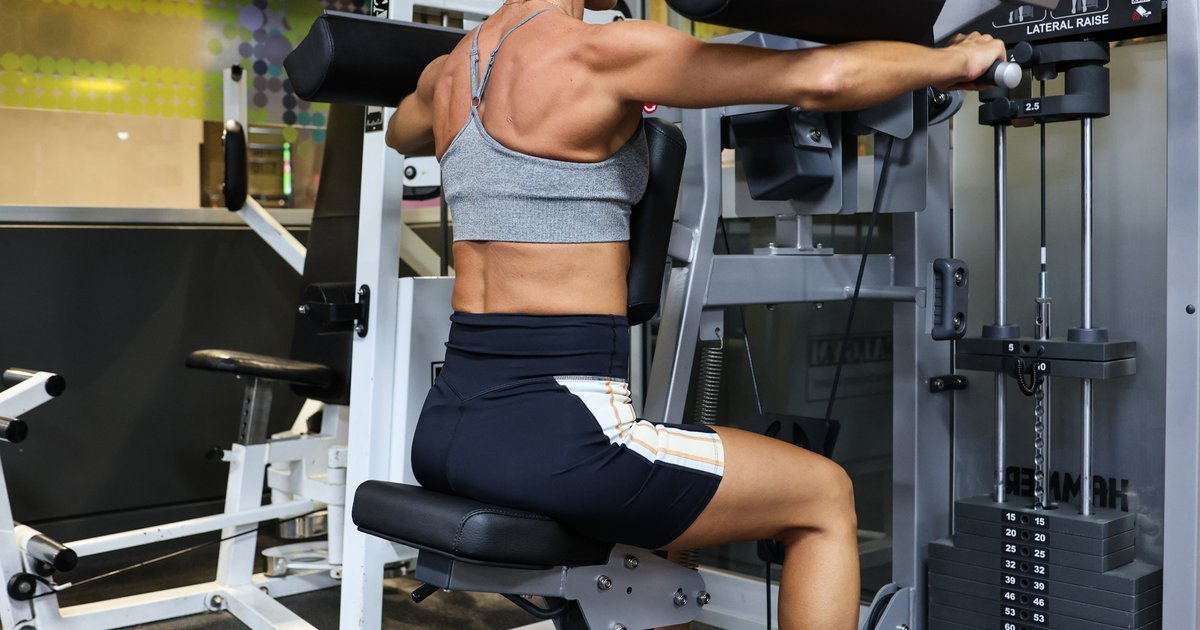
The lateral raise machine looks almost too simple: sit down, put your arms against the pads and lift. Yet a few centimetres of seat adjustment can change how the pads meet your upper arms, and the heaviest setting is not necessarily the one that delivers the best side-delt work. The aim is repeatable shoulder abduction, not a contest to make the weight stack move.
This guide covers the seated, upper-arm-pad version most lifters recognise, while explaining how handle-driven and plate-loaded versions differ. You will learn a fast setup test, a controlled repetition, practical troubleshooting and a progression you can repeat. The machine is an option for training your side deltoids, not a requirement for building broad shoulders.
Set the seat by the shoulder pivot, not the number on the stack
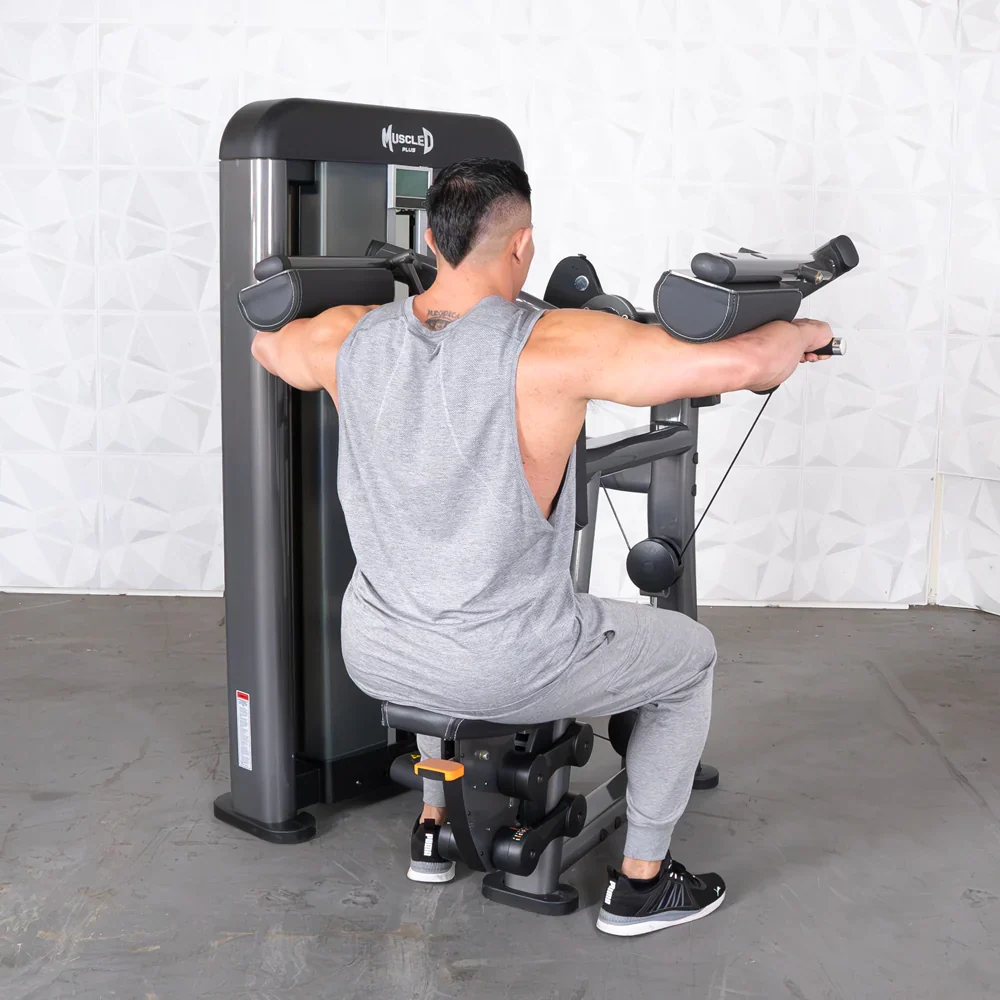
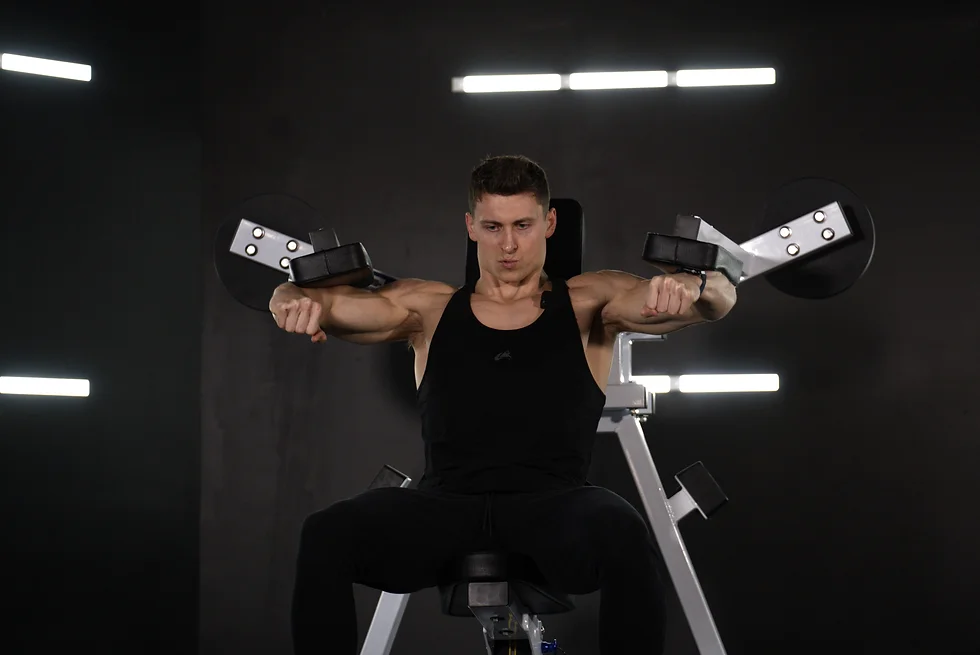
Before loading the machine, find where each moving arm rotates. The pivot is usually near shoulder height, often visible as a large axle or marked adjustment point on the frame. Sit upright and adjust the seat until your shoulder joint is approximately level with that pivot. Check both sides rather than assuming a numbered seat position suits everyone. Your torso length, posture and the machine’s geometry all affect fit.
Next, place the outside of your upper arms against the pads, commonly just above the elbows. Keep the elbows comfortably bent if the design allows it. Your forearms and hands should not have to wrestle the handles to make the arms rise. Place your feet where you can stay stable, sit back against the backrest if provided, and make sure the seat locking mechanism has engaged before you begin.
Choose a very light resistance and complete two slow practice repetitions. Watch the pad contact: it should stay in a reasonably consistent place, without painfully dragging up and down your arm. A little shifting is normal because shoulder motion is not a rigid hinge, but obvious rubbing or a forced joint position means you should revisit the seat. Try one notch higher or lower and compare. If the machine has adjustable arm pads or start positions, set these as well; different brands have very different solutions.
This test beats copying another person’s pin and seat settings. Record the seat position you actually used, because a stronger week is only meaningful if you can reproduce the same basic setup.
Drive the pads with your upper arms, not your wrists
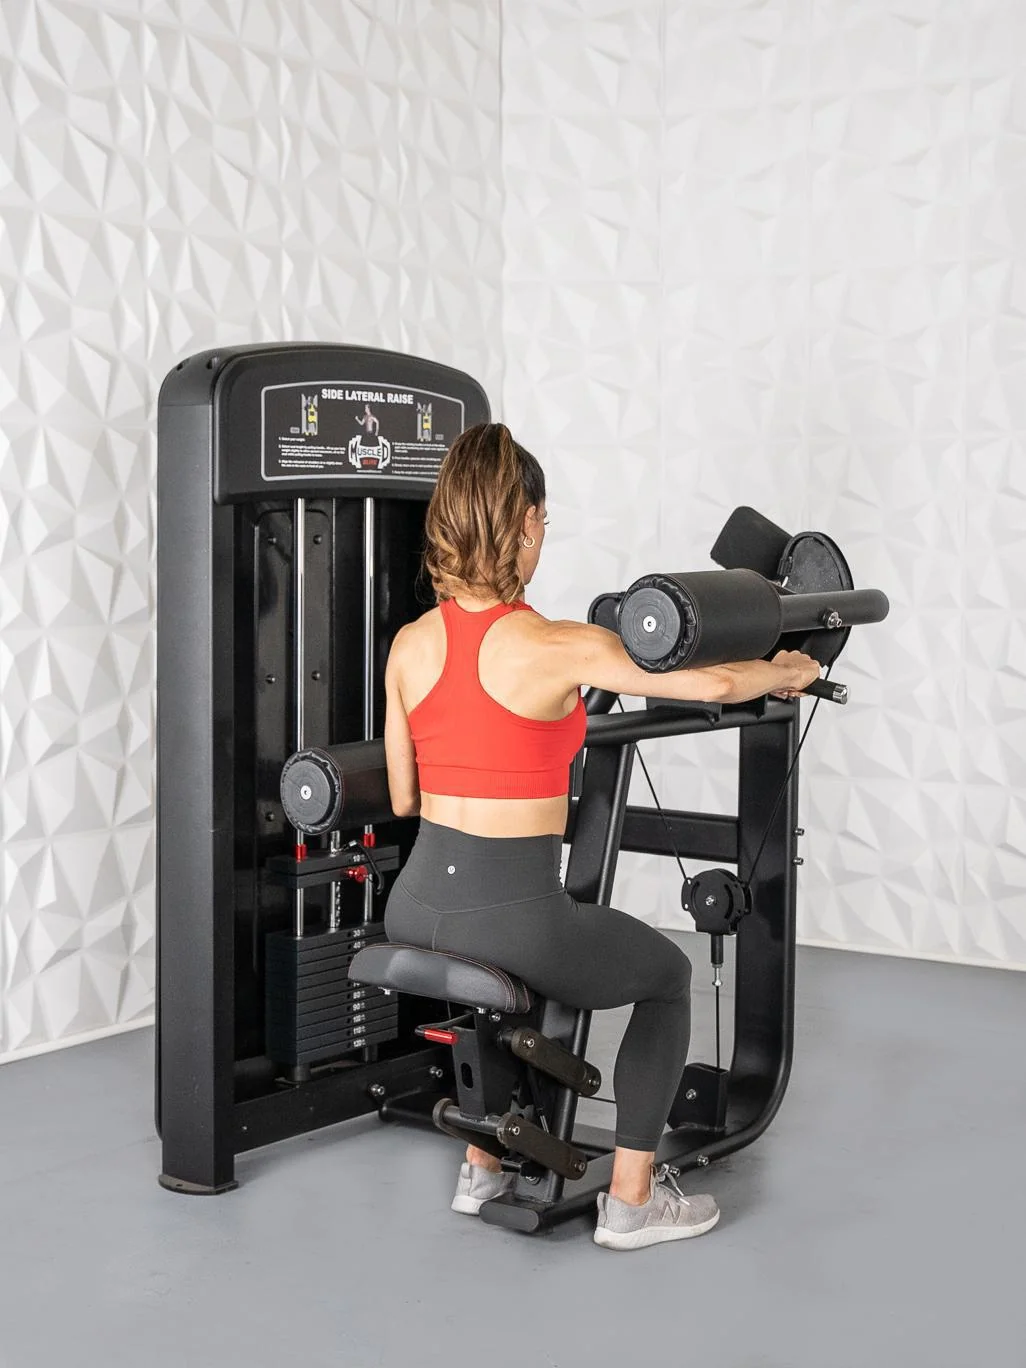
Begin with your shoulders relaxed, chest comfortably upright and neck long. Rather than imagining that you are pulling up on the handles, think of lifting your upper arms outward against the pads. The shoulder joint performs the movement while your torso stays quiet. A loose, secure hand position on the handles is usually enough; gripping harder does not automatically make the side delts work harder.
Raise the arms in a smooth arc, aiming for an upper-arm position around shoulder height if your machine allows that path comfortably. Do not chase the frame’s maximum travel merely because it is available. Some machines ask you to lead with your elbows; others use handles at the ends of the levers. Follow the safe movement path of the specific machine, rather than trying to force a textbook dumbbell angle onto a different mechanism.
Keep the neck out of the effort. It is normal for the shoulder blades and surrounding muscles to assist with arm elevation, so trying to freeze them completely is not useful. What you want to avoid is turning the set into an exaggerated shrug or rising off the seat to move more weight. Keep your head relatively neutral and let the shoulders move naturally without hunching toward your ears.
As fatigue builds, ask whether you could pause briefly at the top while maintaining the same posture. If you can only finish a repetition by throwing your body backward, that rep has already changed character. Lower the load, shorten the set or take a controlled rest rather than using a new cheating pattern on every repetition.
Control the top, the return and the weight-stack transition
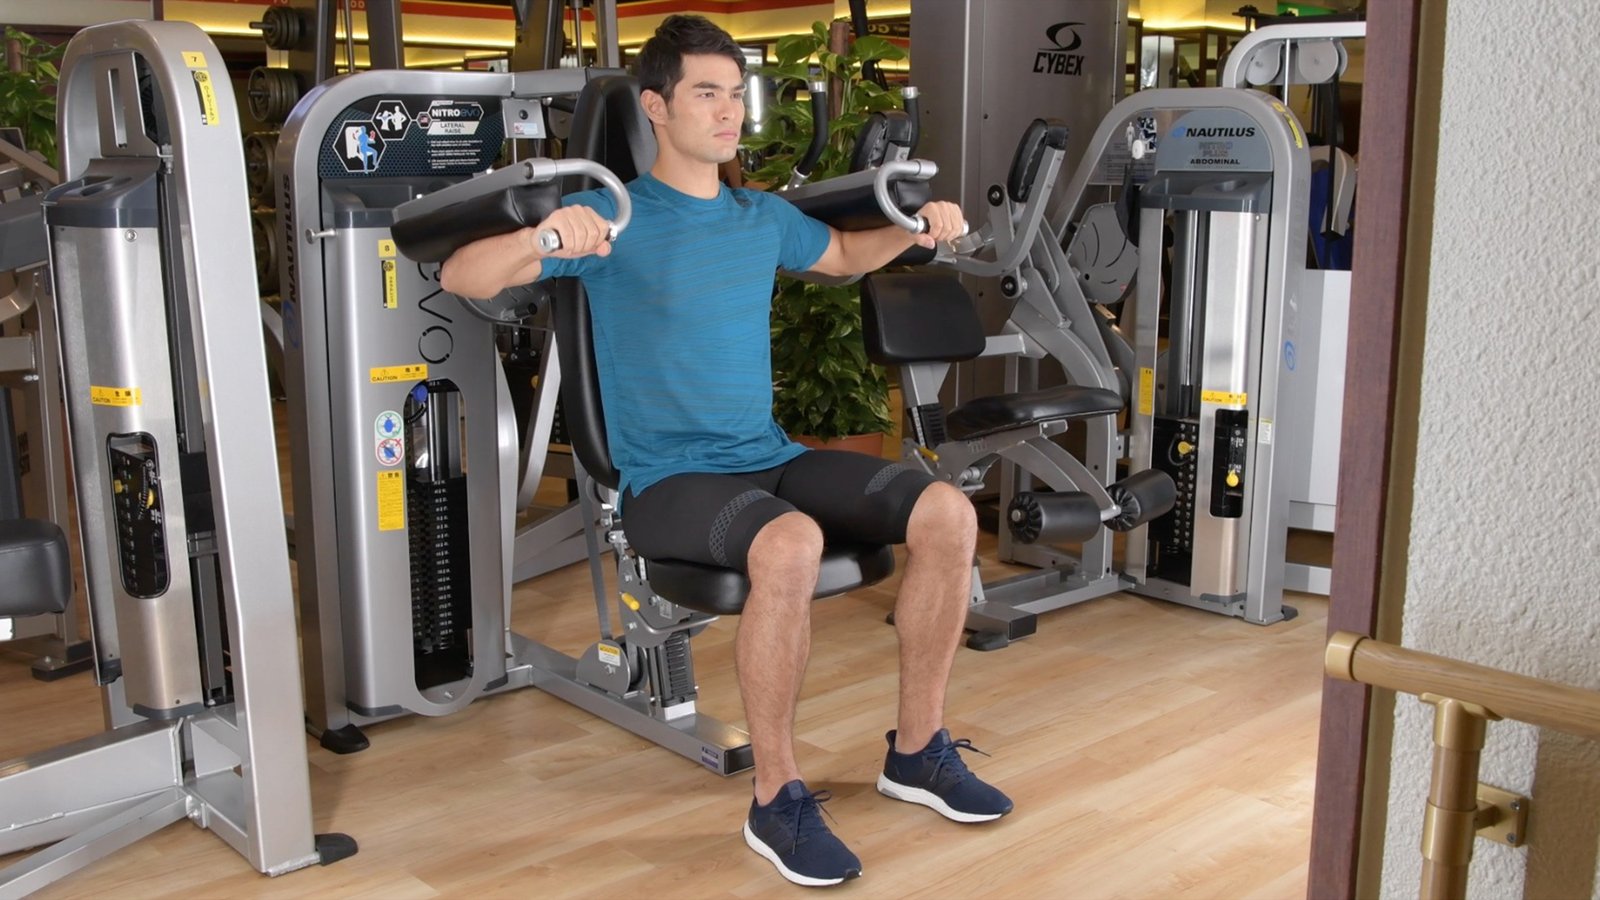
A practical repetition has three parts: a deliberate lift, a clear turning point and a lowering phase you can control. Try raising the arms over roughly one to two seconds, pausing only as long as you can maintain position, then lowering over two to three seconds. These are coaching cues, not a claim that one exact tempo has been proven superior for hypertrophy.
At the top, the upper arms will often be close to shoulder height. Stop earlier if the machine pushes you into discomfort, and only use a larger range when it is comfortable and permitted by the equipment. Avoid slamming the moving arms into the machine’s hard stop. At the bottom, retain control rather than dropping the stack. Some designs allow the plates to come very close without touching; others have a different starting arrangement. Repeatedly crashing the stack can hide poor control and make the apparent repetitions inconsistent.
Start with a weight that lets you complete around ten to fifteen tidy reps while retaining a small margin before technical failure. If you cannot keep the same seat contact, elbow path and lower-body position for the final reps, the set may be too heavy even if the stack moved the desired number of times. The logbook should measure comparable work, not a growing collection of easier cheats.
Machines can feel unusually challenging at one point in the lift and easy at another. That sensation depends on leverage, cams, the machine’s start position and your individual limb lengths. Do not assume every machine gives constant tension or that the printed stack number translates into the same load at the shoulder on every model.

Equipment Worth Exploring
Explore equipment, accessories and gear from our carefully selected range.
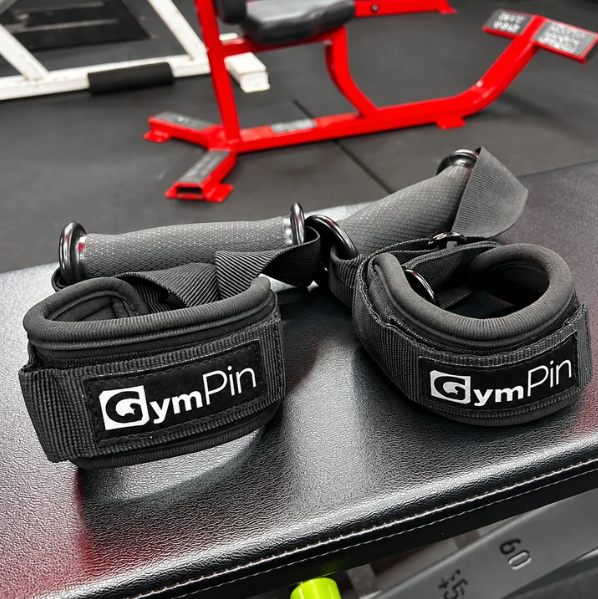
GymPin D Cuffs
Adjustable wrist cuffs with textured grips for supported cable-machine exercises.

Go-Tone Pro
Portable digital cable trainer with up to 66 lb (30 kg) of adjustable resistance.
VOLTRA
Compact digital cable trainer with smooth, adjustable resistance.

Pec Fly/Rear Delt PEC-650
Combination machine with adjustable movement limits for chest fly and rear-delt exercises.


Rubber Hex Dumbbells
Rubber-coated hex dumbbell pairs with a stable shape for home and commercial strength training.

VForce Wall Trainer
Space-saving wall-mounted functional trainer with pivoting cable arms and variable resistance ratios.

Multi Pull Smith Rack MPHR-780
All-in-one rack with a Smith machine, functional trainer, lat pulldown and low row.

VForce 2IN1
Half rack and pivot-arm functional trainer with switchable 1:1 and 2:1 pulley ratios.
Compare the machine with cable and dumbbell lateral raises
All three options train shoulder abduction, but the resistance is presented differently. With a dumbbell, the torque created by gravity generally increases as the arm approaches horizontal, so the movement can feel comparatively light near the bottom and harder nearer the top. The dumbbell version is easy to organise and allows freedom of movement, but momentum and inconsistent elbow position can sneak in when fatigue rises.
A low cable pulley can resist the arm earlier in the motion and can be used one side at a time. Its effective loading still changes with cable direction and body position, so it does not have a magical uniform resistance curve. Stand in a repeatable place, choose a safe cable route and keep your torso still enough to compare one set with the next. Wrist cuffs can make sense for people who prefer not to grip a handle, provided the attachment is securely fitted and appropriate for that movement.
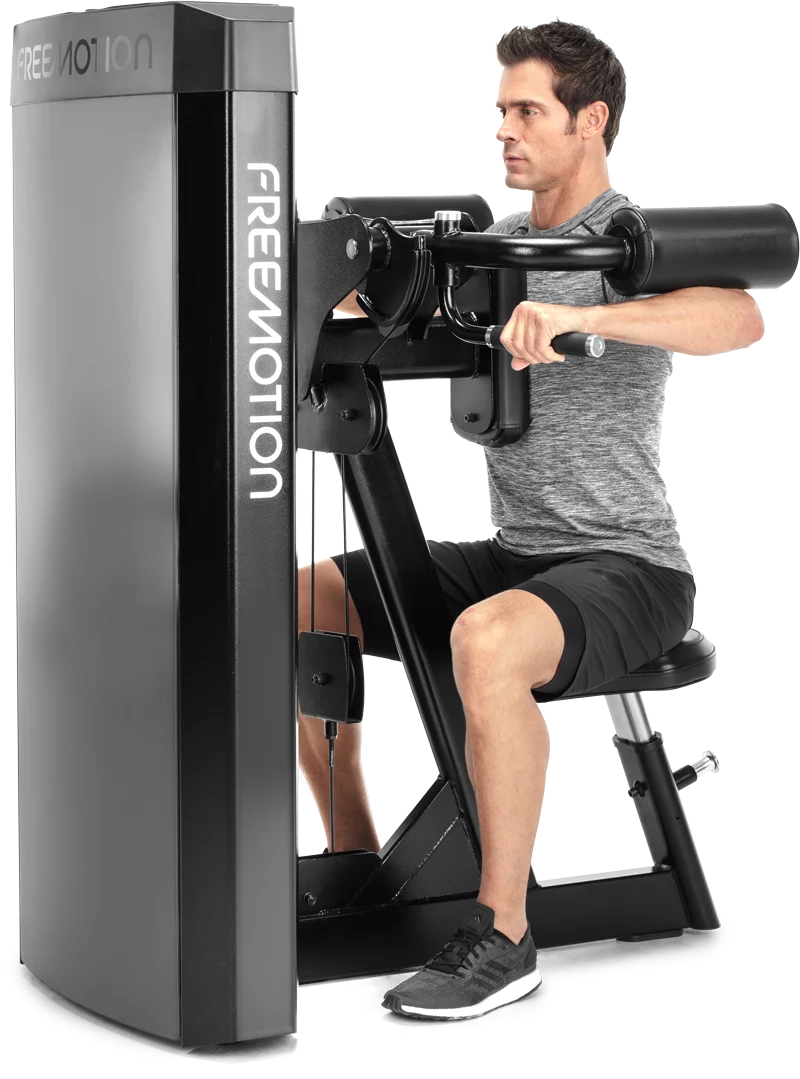
The machine offers physical support and a defined path. That can make it convenient to concentrate on consistent hard repetitions with less balance demand, especially toward the end of a shoulder session. It can also be a poor fit if its fixed geometry clashes with your proportions. A handle-driven lateral raise may feel nothing like a padded one, and a plate-loaded independent-arm machine may feel different again. Never copy weight numbers between these devices and treat them as equivalent.
Rather than declaring one variant the universal winner for side-delt growth, choose the one that allows comfortable, repeatable loading and worthwhile progression. You can also alternate them: for example, machine raises on one upper-body day and a one-arm cable raise on another. Differences in sensation alone are not evidence that one version is superior for muscle gain.
Correct the errors that turn side-delt work into a whole-body lift
The first obvious mistake is using a seat position that is visibly wrong. If the pads roll onto your elbows or dig into an uncomfortable part of the arm, reset the machine. The second is starting too heavy. If you need to bounce your hips out of the seat, swing your torso or kick against the floor to break the weight free, a lighter stack setting will provide a more useful comparison across weeks.
Another mistake is confusing a raised shoulder with a raised upper arm. As you fatigue, you may shorten the useful arm arc while shrugging harder. Film a light set from the front or ask a training partner to watch the shape of the repetition; look for whether the elbows keep moving out rather than the neck disappearing between the shoulders. Some trapezius activity is normal, and the goal is not to prevent healthy shoulder-blade rotation.
Also check the final third of the lowering phase. Losing tension, releasing the stack abruptly or letting your arms drop into an uncomfortable bottom position makes the subsequent rep less consistent. Resist the return and settle into a range you can repeat. Conversely, holding an arbitrarily tiny range to keep the plates suspended is not automatically better than using the machine’s controlled, comfortable available range.
Persistent sharp pain, tingling or a pinching sensation is not a challenge to push through. Stop the set, recheck setup and range, and try another appropriate movement if necessary. If symptoms persist, seek individual professional assessment. Equipment adjustments improve fit, but they do not diagnose shoulder problems.
Progress the machine raise across four realistic weeks
Put your side-delt work into an upper-body, push or dedicated shoulder session, after the primary compound lifts if those are the day’s priority. Start with two or three challenging sets of ten to twenty reps, with roughly one to three repetitions in reserve. For many lifters, this is enough to learn the machine and add meaningful isolation work without exhausting their shoulders before presses or other training.
Week one is a setup week: establish a stable seat setting and choose a weight that gives you two or three clean sets near the lower half of the rep range. Write down the model, seat notch, stack selection, actual reps and whether the last rep looked like the first. Week two, keep the setup and load fixed and add one or two total reps where possible. Do not force every set to absolute failure to call it progress.
In week three, continue building toward the top of your range. If all working sets become comfortable at twenty technically consistent repetitions, use the smallest available weight increment next time and allow the reps to fall back toward ten to twelve. A large stack jump may be disproportionate for a relatively small muscle group; another rep at the old load is still a valid progression when the next pin wrecks your technique.
Week four is an opportunity to consolidate, not a mandatory max-out. Compare your first-week video, seat settings and logbook with your current work. Maintain the exercise if it feels good and you are progressing. If performance stalls while other pressing and pulling work is climbing, consider your total shoulder workload, recovery and proximity to failure before adding more isolation sets.
A balanced shoulder plan includes more than one movement. Pressing contributes substantially to anterior-deltoid work, while rows and reverse-fly patterns can support the rear-shoulder portion of training. Lateral raises are useful because they offer a direct side-delt stimulus that pressing alone may not provide in the same way. Keep the exercise in its proper place: a repeatable accessory that helps fill a specific training need, not the only indicator of shoulder development.

Bodybuilding Shirts & Workout Gear
Bodybuilding shirts, tanks and gym gear for lifters chasing muscle, size, symmetry and the pump.


Swole Jesus Lateral Raises – Easter Bodybuilding Meme G Hoodie
Show off your Easter humor in a laid-back “Swole Jesus Lateral Raises” hoodie.

Shoulder Press Dost Thou Even Press Medieval Knight Cre T-Shirt
Show some gym-day personality with “Shoulder Press”.

Yeah Buddy Ronnie Tank
Add some lifting attitude to training with “Yeah Buddy Lightweight”.


Mass Monster Bane Tee
Show some superhero attitude with a playful “Mass Monster Gym Hero” tee.

Jesus Lateral Raises Tee
Bring “Jesus Christ Dumbbell Cross Lateral Raises” humor to your next gym day.