Advertising disclosure: This page includes affiliate product links that may earn us a commission, as well as products from our own store.
The barbell hip thrust is easy to describe but surprisingly easy to set up poorly. A moving bench, a bar that rolls across the lap or a top position made by arching the lower back can turn a glute exercise into a fight against the equipment. Here is a precise way to make each repetition safer, more repeatable and easier to progress.
Anchor the bench and center the padded bar
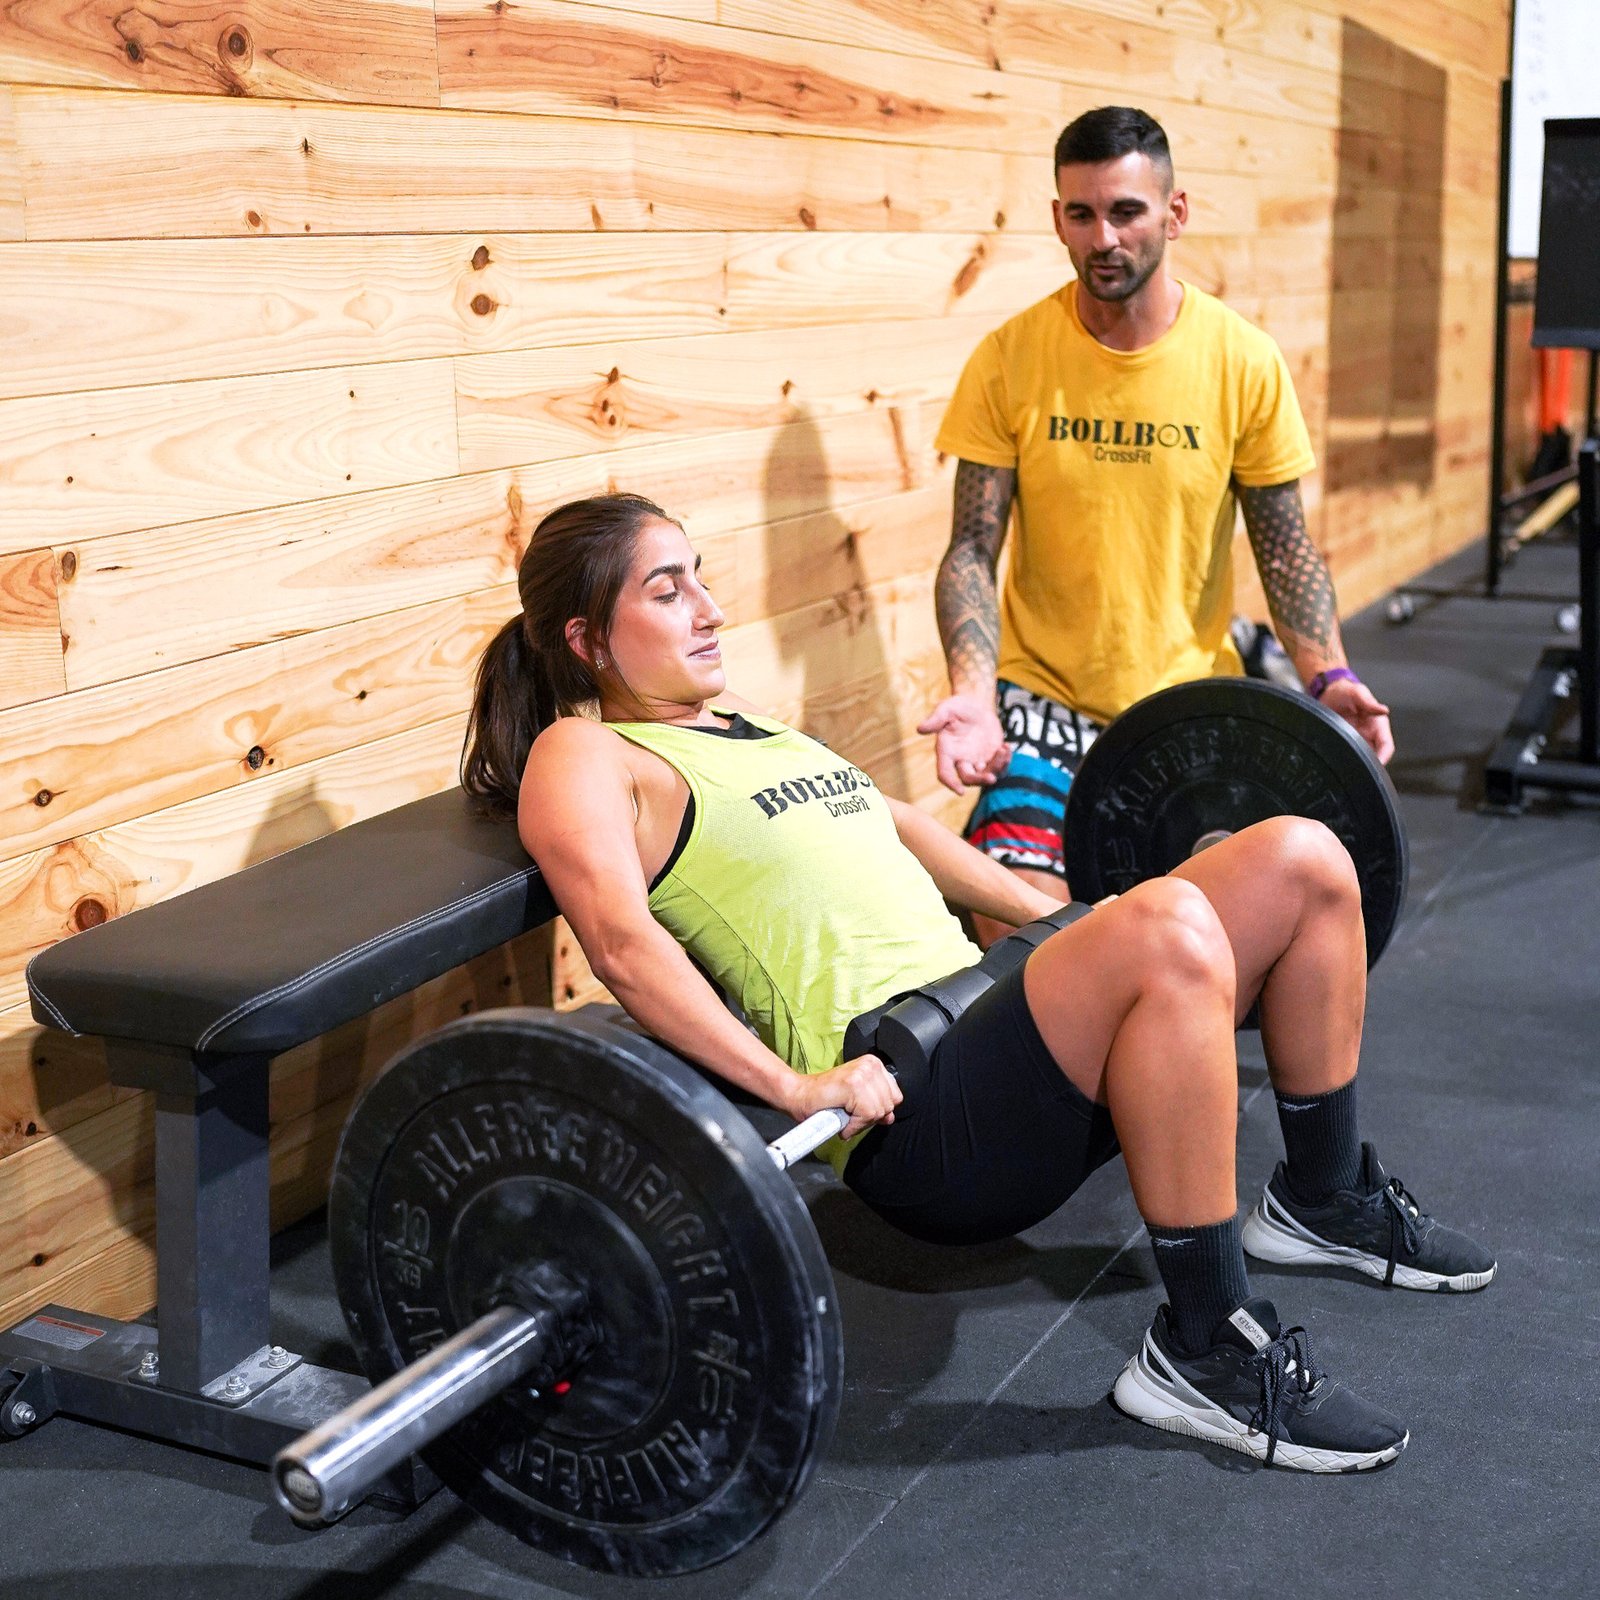
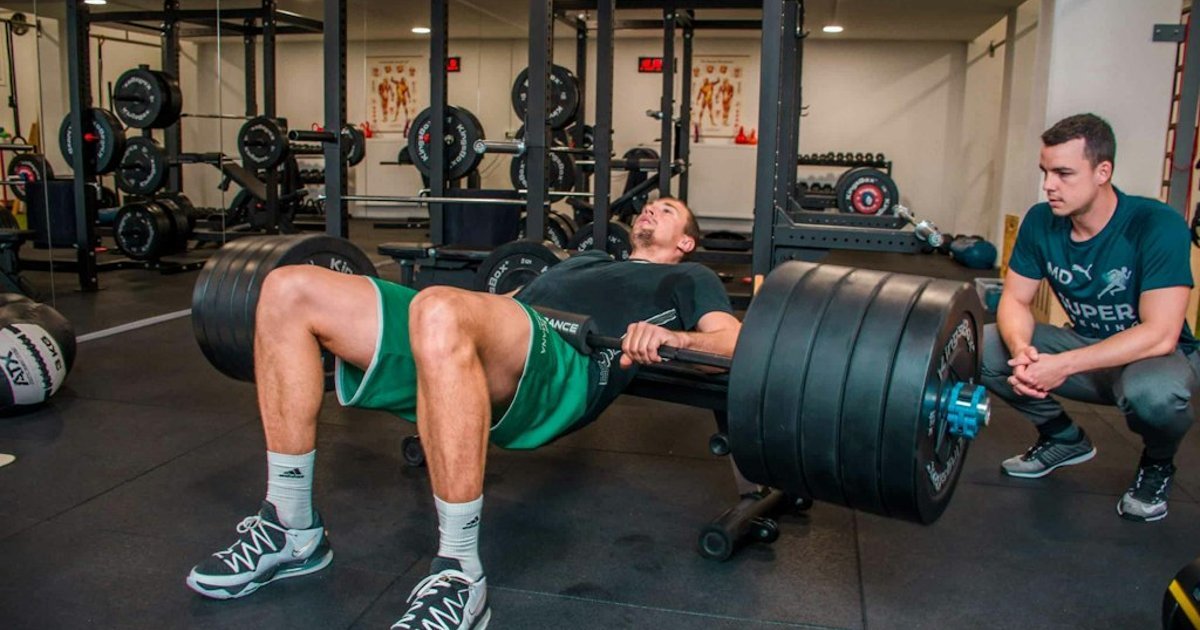
Before your first loaded repetition, make sure the bench cannot slide away. Your upper back pushes backward into the support as the hips rise, so an unsecured lightweight bench can turn a straightforward lift into a balancing exercise. A sturdy flat bench against a stable rack or wall works; a purpose-built thrust station may be easier to get into and out of. Avoid relying on another person to hold a loose bench still.
Sit on the floor with the bench behind you and find an upper-back contact point around the lower shoulder-blade area. The exact height varies with your torso and bench, so test a few unloaded reps before choosing a load. The edge should provide a consistent pivot rather than dig sharply into the neck. Keep the head roughly in line with the torso instead of throwing it backward to chase a higher bar.
Use a well-fitted pad around the bar and position the padded section across the hip crease, not the abdomen. Hold the bar lightly enough to move with your torso but firmly enough to prevent it from rolling. Full-size plates may allow the bar to roll over the legs from the floor; smaller plates may not. If you cannot enter and exit comfortably, use a lighter starting setup or an appropriate loading station rather than forcing the loaded bar into place.
Before adding plates, check three things: the bench stays fixed, the bar sits centrally, and you can return to the floor without the pad shifting. A smooth entry and exit is part of the set, not an afterthought.
Use your foot position to control the hip drive
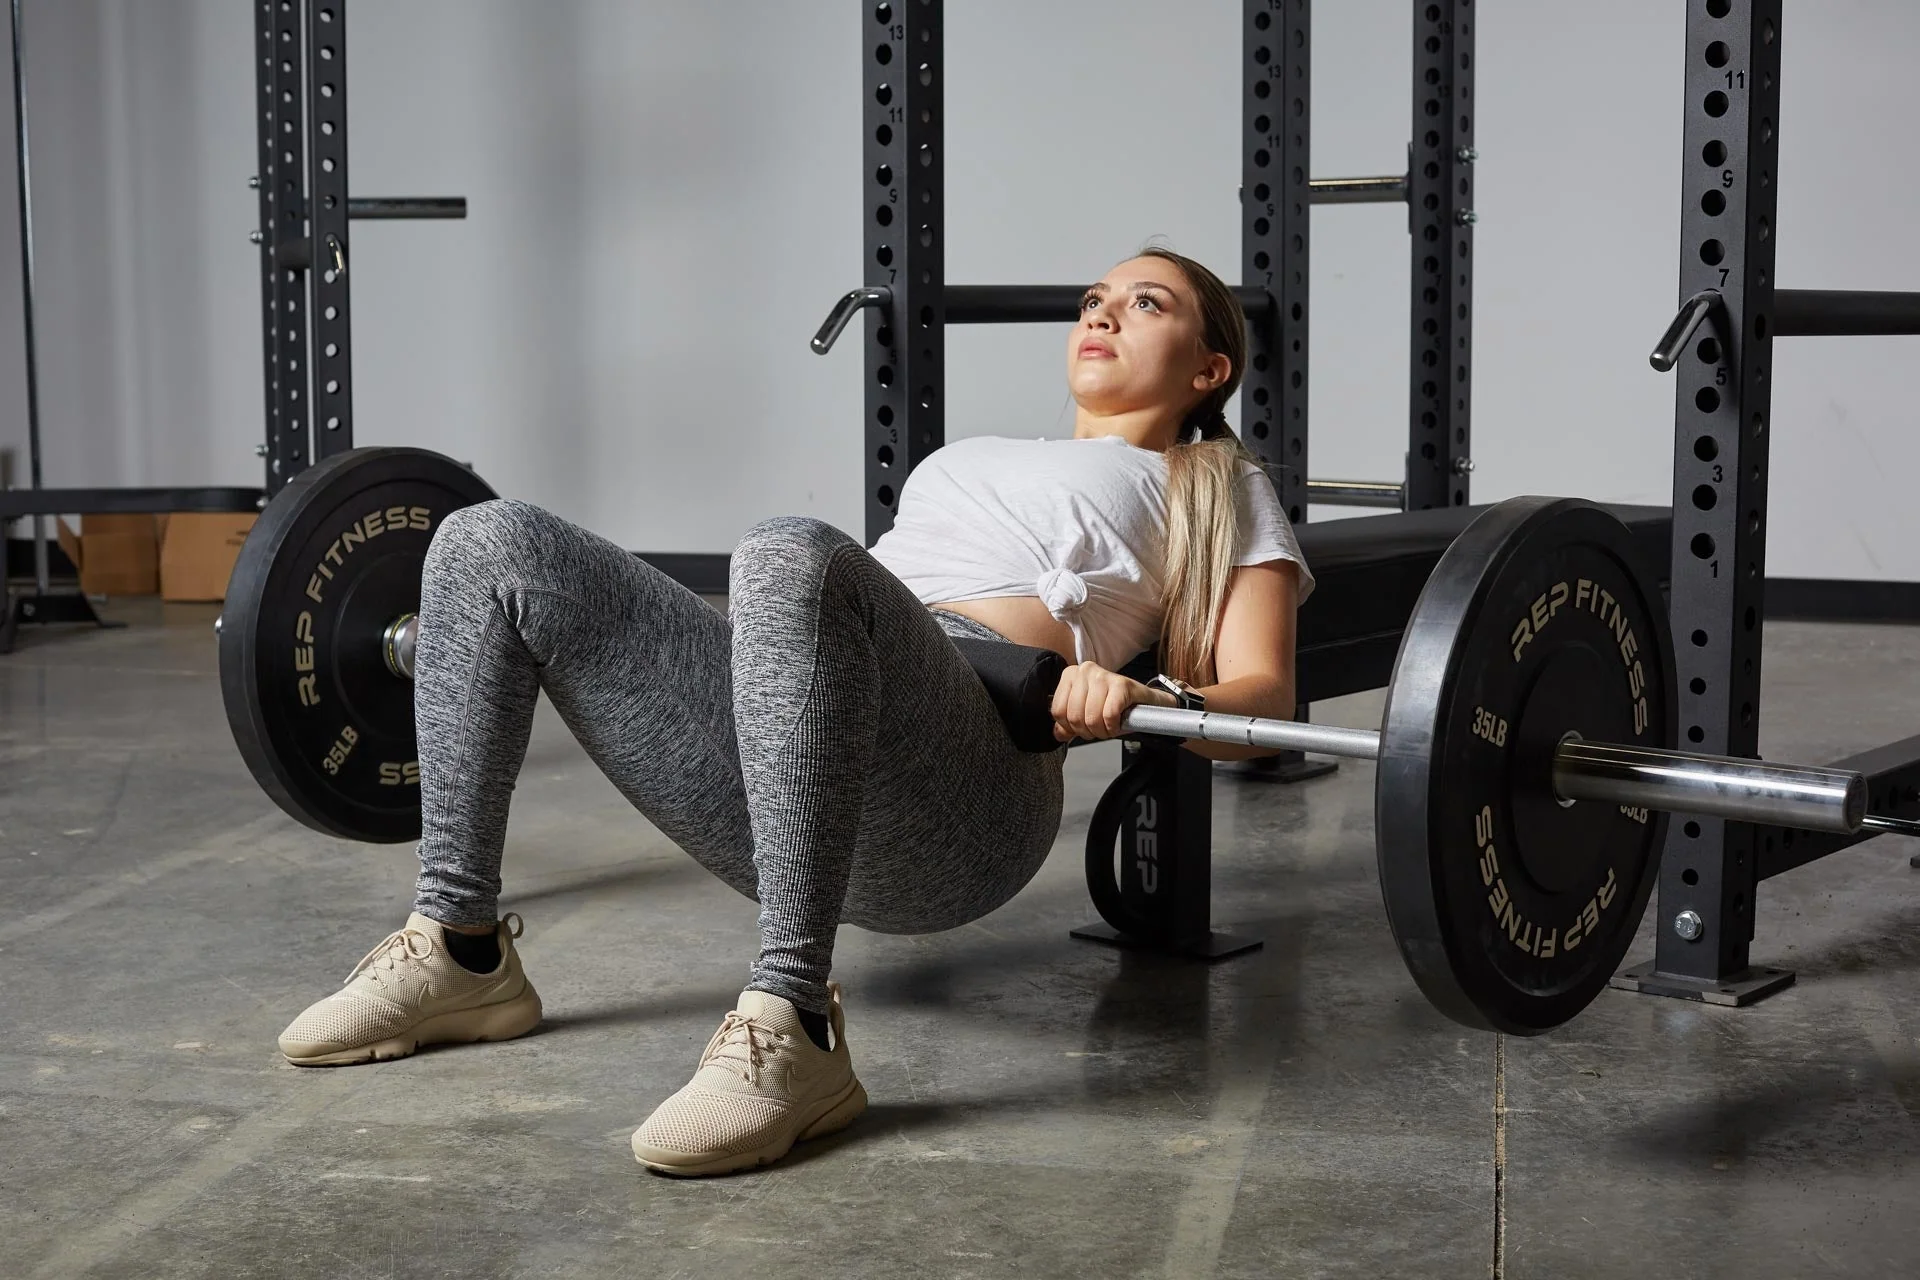
Start with both feet flat and about hip-to-shoulder width apart. At the top of a controlled rep, the shins will often look close to vertical, although an exact right angle is not a universal requirement. Move the feet a few centimetres at a time until you can keep the full sole planted, the knees tracking comfortably and the hips moving without sliding the shoes.
If your feet are too far from your body, you may feel the movement drifting toward the hamstrings and struggle to extend the hips cleanly. Too close and the knees may fold sharply while the heels want to rise. Neither problem is fixed by simply adding weight. Instead, stop, set the bar down, move both feet, and compare two or three light reps at the new position.
Press through the whole foot, keeping pressure stable between heel and forefoot. ‘Drive through your heels’ can be a useful reminder for someone lifting their toes, but aggressively rocking onto the heels is not necessary. Knees should travel in line with the feet rather than buckle inward. A modest toe-out position is fine if it suits your hip structure; a wide stance does not automatically make a thrust more effective.
Film one set from the side if you are uncertain about your stance. The goal is repeatable contact points and a stable rise, not a perfect still photograph of somebody else’s limb angles. Record foot position if you change benches.

Equipment Worth Exploring
Explore equipment, accessories and gear from our carefully selected range.

Studio Glute Drive
Plate-loaded hip-thrust machine with supported back pad and adjustable foot platform.



Grip Plates
Rubber-coated weight plates with handholds for loading barbells and machines.


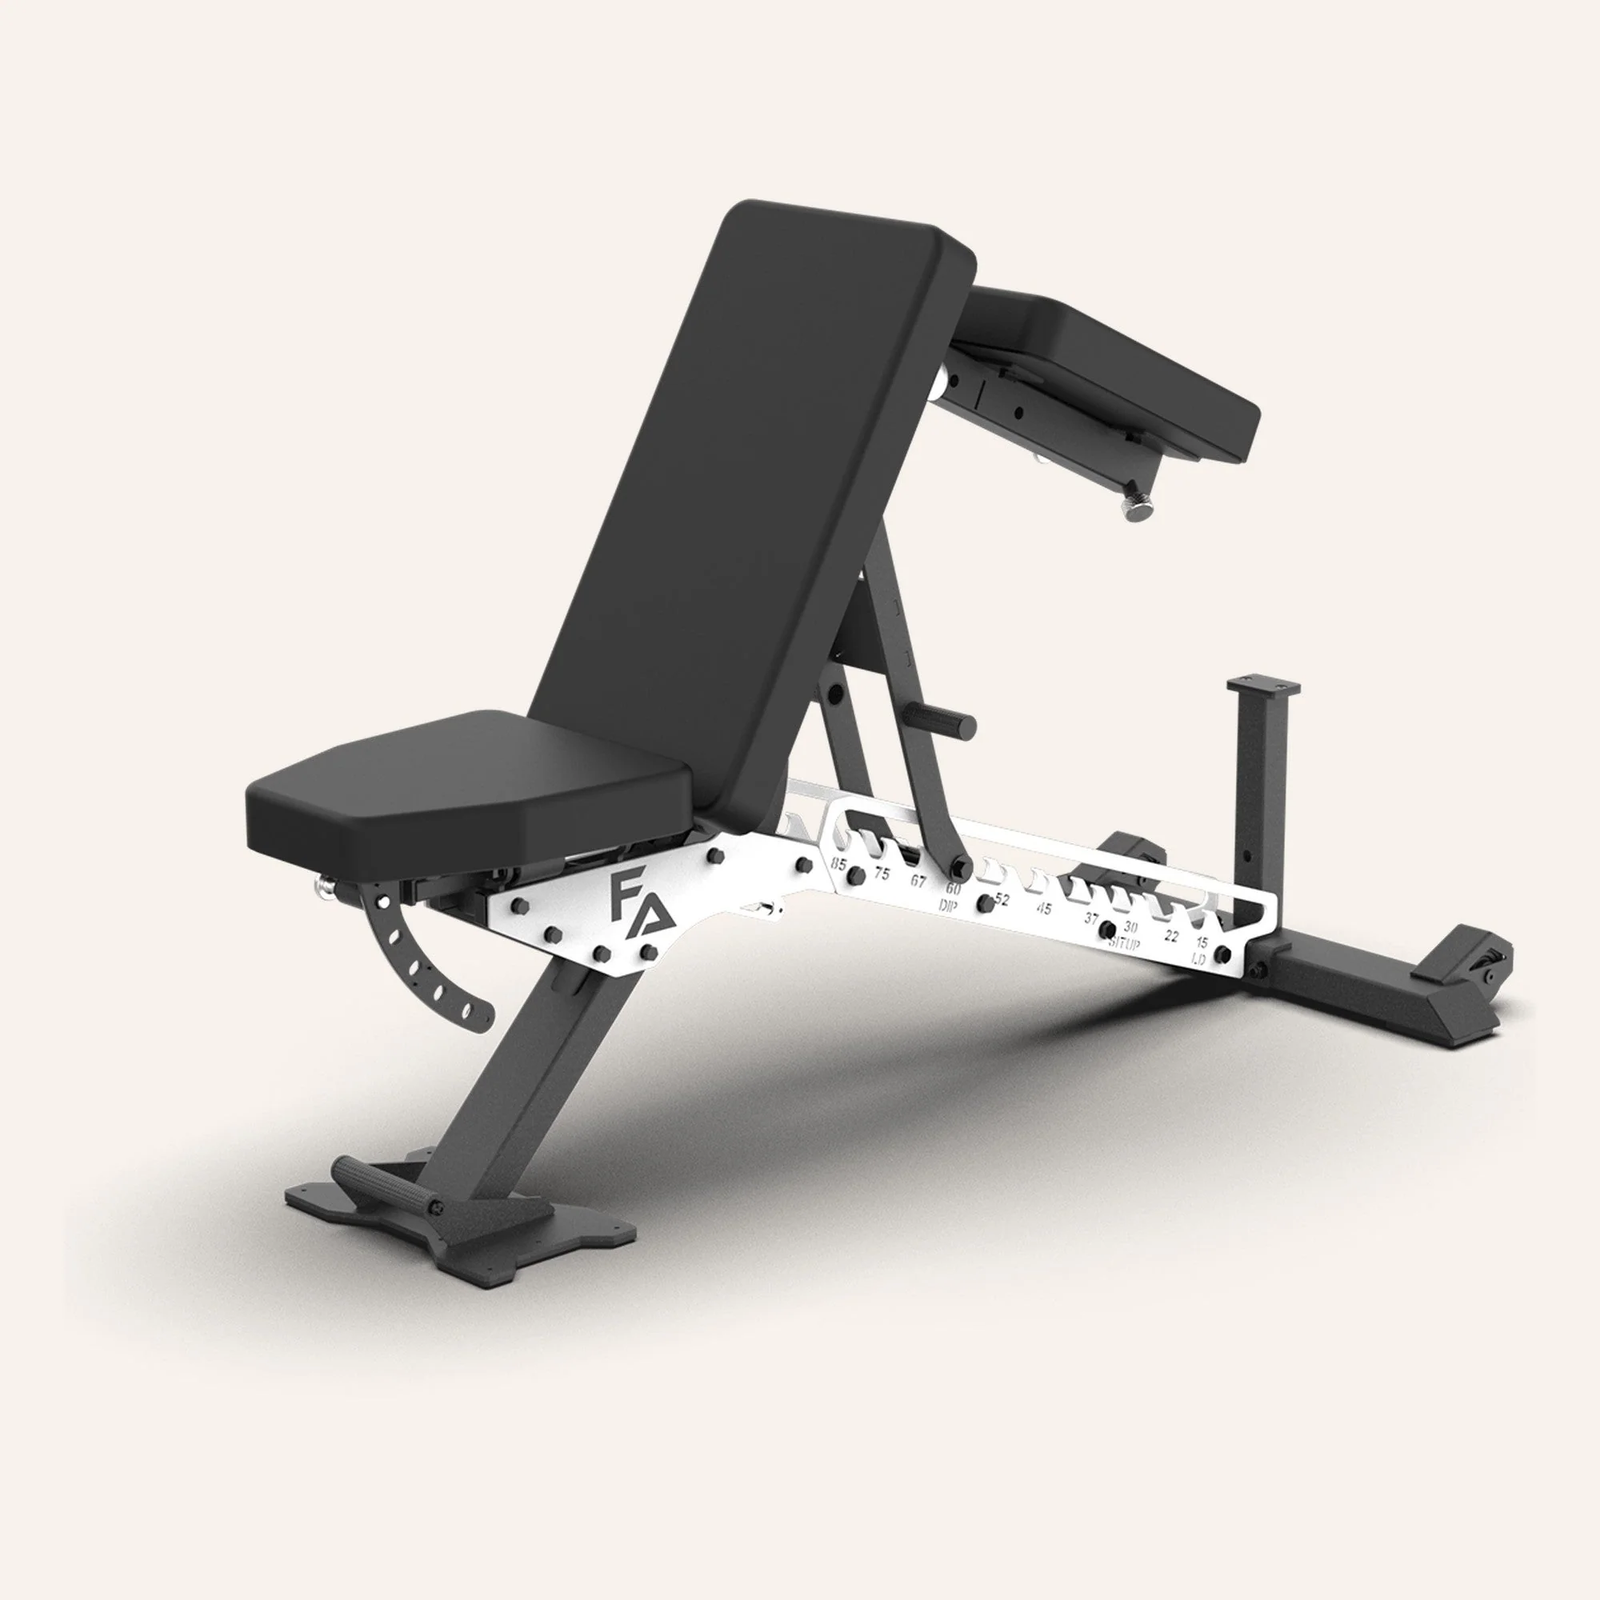
Multi Bench MBX-650 2.0
Adjustable multi-bench with roller adjustment, 15 backrest positions and accessory mounts.

Multi Pull Smith Rack MPHR-780
All-in-one rack with a Smith machine, functional trainer, lat pulldown and low row.

Glute Ham Developer GHD-820
Adjustable glute-ham developer with contoured pads and a fold-out knee support.
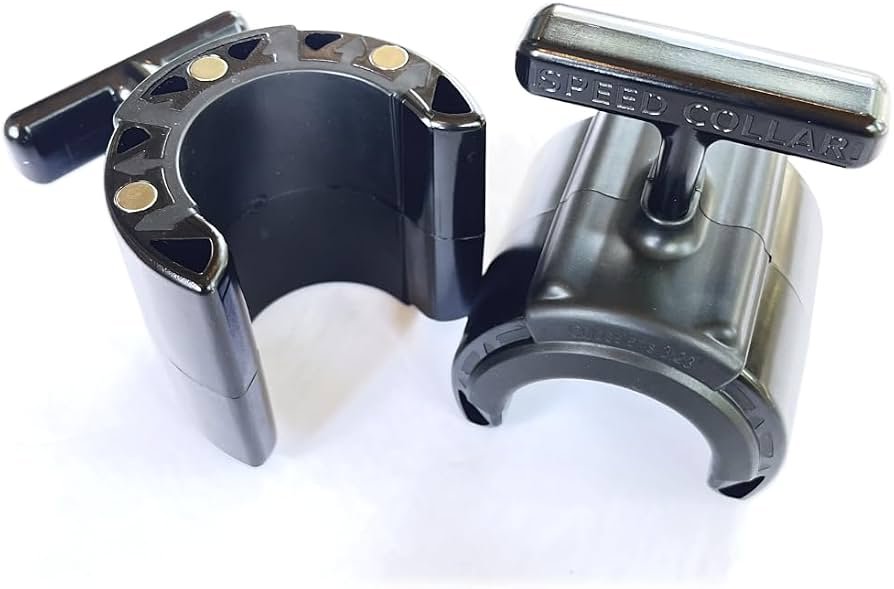
Speed Collar
Quick-release collars designed to secure weight plates on standard two-inch Olympic bars.
Finish with the hips instead of arching the spine
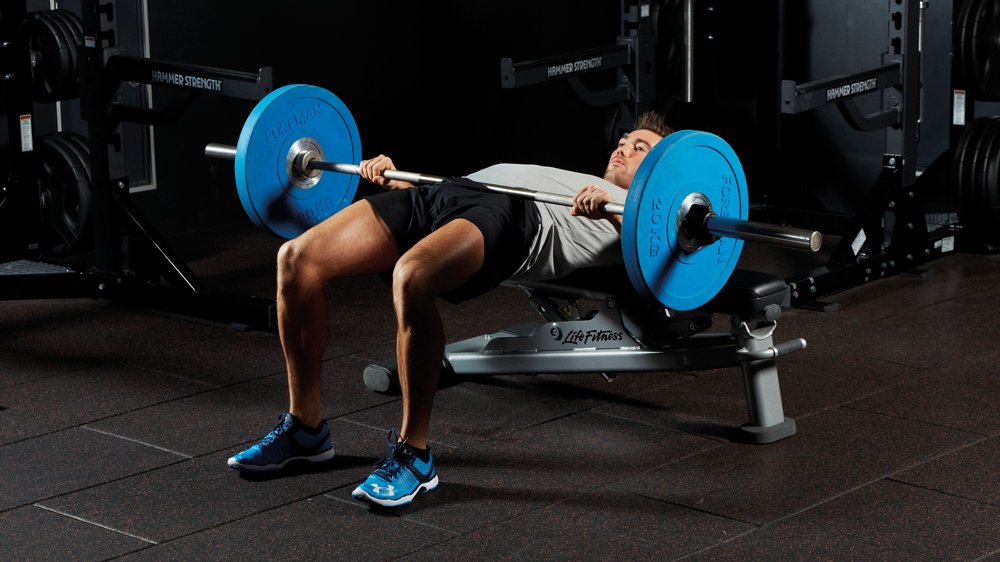
Begin a repetition from a controlled lowered position with the bar centred and the feet stable. Brace your abdomen, push the floor away and bring the hips up. As you rise, the torso rotates around the upper-back support. This is hip extension; it does not require you to fling the chest toward the ceiling or dramatically lift the chin.
At the top, aim for the torso and thighs to approach a straight line while the pelvis remains controlled. Squeezing the glutes can help you recognise the finish, but keep the ribs and pelvis stacked rather than leaning backward through the lower back. If the bar keeps rising only because your spine arches after the hips have stopped extending, that extra height is not the target repetition.
Try a brief, steady pause at lockout. You should still be able to breathe and keep the bar from rolling. Lower with enough control to retain your foot pressure and the pad’s position. Avoid dropping into the floor to exploit a bounce or using such a large load that the bottom and top positions change with every rep.
The bar path is not perfectly vertical in every body, and the exact sensation will vary with bench height, thigh length and mobility. Judge the set by clear hip motion, repeatability and control rather than by how dramatically your back moves. A phone video taken at hip height often reveals the difference between hip extension and a rib flare.
Troubleshoot slipping benches, pressure and uneven reps
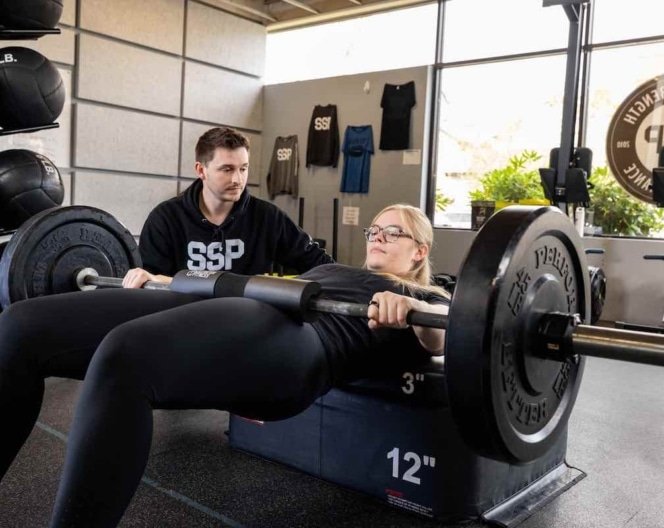
When the movement feels wrong, identify which part is moving unexpectedly before adding cues. If the bench slides, stop immediately and secure it; shortening the range does not solve an unstable support. If the bar rolls toward the stomach or thighs, reset its centre and pad, then lighten the load until you can maintain that contact point. A thicker pad is not automatically better if it changes where the bar sits.
If one knee caves inward or one foot creeps forward, check that the bar is centred and your feet start at similar distances. Some natural side-to-side differences are normal, but repeated asymmetry under load deserves a lighter set and closer attention. Do not assume the glute on one side is weak merely because one rep looks different.
If the lower back feels pinched at the top, reduce the load and practise stopping when your hips are extended without lifting the ribs. If the hamstrings cramp, experiment with foot placement and use a lighter warm-up; cramping alone does not establish a diagnosis or prove the hamstrings are the main muscles being trained. Pain that persists or worsens warrants a qualified professional’s assessment.
Another common mistake is turning every set into short, fast partials. Partials may have a place in a deliberate program, but they should not accidentally replace full controlled repetitions as fatigue rises. Set a consistent bottom and top position, and end the set when you can no longer reproduce them.
Choose barbell, Smith, machine or bridge variations deliberately
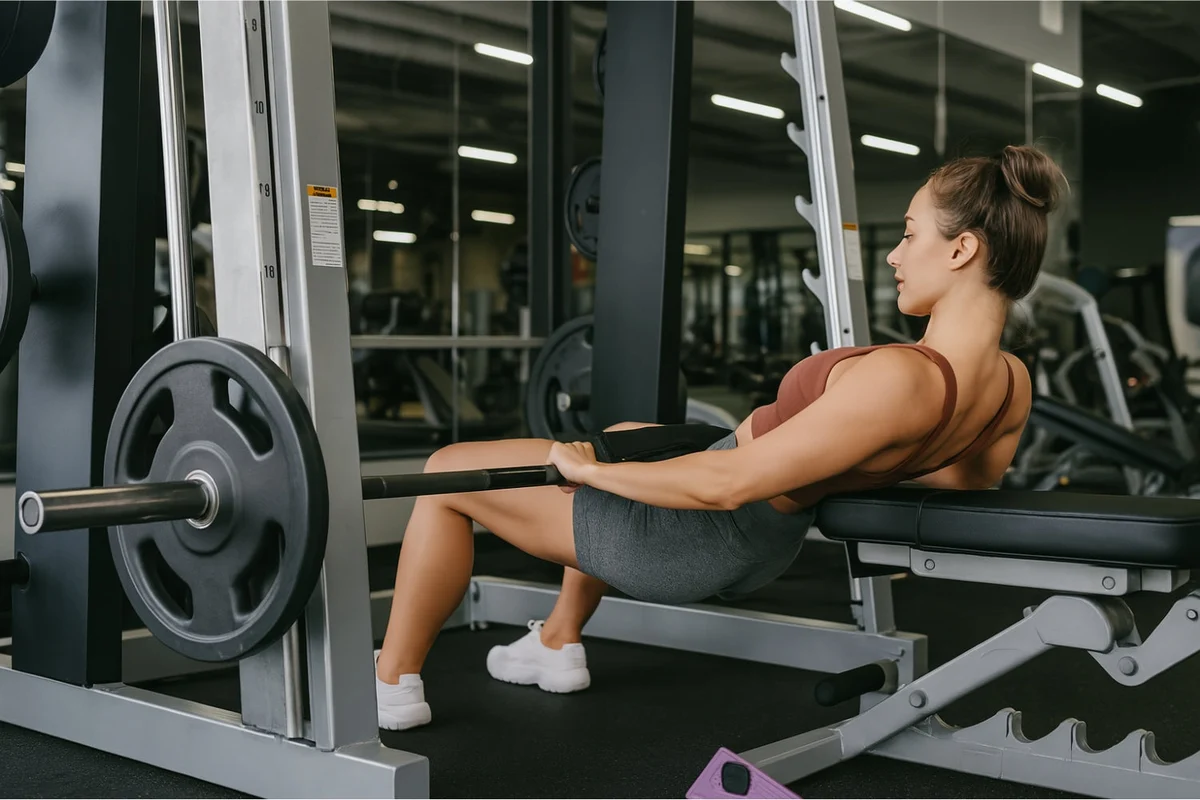
Barbell hip thrusts offer simple incremental plate loading and freedom to position the bar relative to your body, but the free bar and bench require setup. In a Smith machine, the bar follows the machine’s rail. That can reduce the demand to steady the bar, yet its fixed path may not fit your particular bench height or body position. Test a light range before treating the machine as an interchangeable substitute.
A dedicated plate-loaded glute-drive station normally provides a back pad and a fixed hip contact point, sometimes with an adjustable foot platform. It is convenient in a crowded gym, but resistance feel and range can differ substantially from a barbell. Log its load separately; the number on a machine’s weight horn is not a direct one-to-one comparison with the plates on a free bar.
A dumbbell across the lap or an unloaded bench-supported thrust is a practical technique bridge when a full bar is awkward. A glute bridge keeps the upper back on the floor and generally uses a different range. A single-leg thrust adds balance and unilateral control demands, so practise it without much added weight before loading it heavily. A loop above the knees can cue knee position but does not replace the primary hip-extension resistance.
Choose the variation that gives you a reliable setup, manageable loading and a movement you can progress. No implement wins solely because it looks harder. If you swap from barbell to machine, carry over your coaching cues, not your previous weight target.

Leg Day Shirts & Workout Gear
Leg-day gym shirts and workout gear for lifters who never skip squats, lunges and lower-body punishment.

Hippo Thrust Meme – Hip Thrusts & Leg Day , Gymbro, T-Shirt
Bring “Hippo Thrust Gym Meme” humor to your next gym day.

Booty Building Mode Gym Sweatshirt
Keep things casual with a little “Booty Building Mode” attitude.

Butt Stuff Glute Hip Thrust Lovers Athletic Shirt Tank Top
Show some personality between sets with “Butt Stuff”.

Thicc AF Booty Lovers & Glute Gains Meme Hoodie
Bring “Thicc AF” gym humor to lazy days and post-workout plans.

Let It Grow Booty Builder Decal Hip Thrust Meme Sticker
Bring “Let It Grow” attitude to your water bottle or laptop.


Invisible Booty To Visible Booty Squats & Leg Day Hoodie
Make your off-duty look more fun with “Invisible Booty To Visible Booty”.

Funny Booty Out Of This World Gym | Alien Meme Muscle S Tank Top
Train hard, laugh a little, and rep “Booty Out Of This World”.

OnlyGains Only Gains Meme – Booty & Leg Day Squats, T-Shirt
Show some leg-day attitude with a playful “OnlyGains Only Gains” tee.

Bunny Cutie With A Booty Sweater Squats Meme T-Shirt
Add a playful “Gym Bunny” touch to your casual rotation.
Program repeatable sets and measure progress honestly
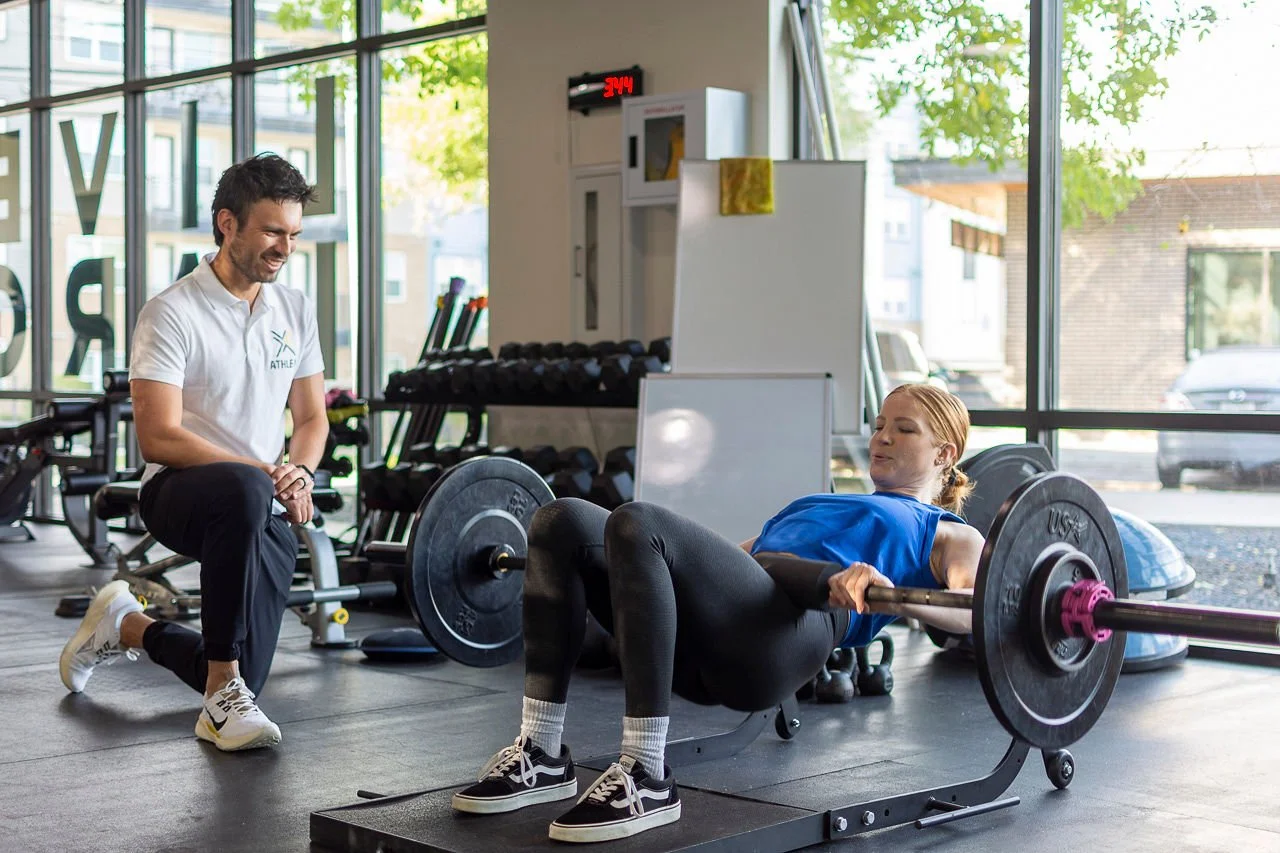
Start with two or three warm-up sets to rehearse bench contact, foot placement and a clear lockout. For a first working session, try two or three sets of six to twelve controlled repetitions, stopping with roughly two to three good reps still possible. This is a practical starting example, not a universal prescription: experienced lifters can use heavier low-rep work or higher-rep hypertrophy sets when their setup remains stable.
Treat the barbell hip thrust as one part of lower-body training. It can deliver meaningful glute stimulus, but a thrust does not automatically replace deep knee-dominant movements. A nine-week training comparison in 34 untrained adults found broadly similar glute growth from hip thrusts and squats, while the squat group generally gained more thigh size. The result is context for exercise selection, not evidence that every person responds identically.
Use a straightforward four-week progression. In week one, select a load that lets you complete three sets of eight with clear top pauses and stable foot contact. In week two, add one rep per set if those positions hold. In week three, aim for three sets of ten, or introduce a small load increase and return to eight. In week four, continue building within a chosen rep range only if the quality does not slip; otherwise hold the load or reduce it. Rest enough between sets to restore control.
Log the bench used, pad position, approximate stance, weight, sets, reps and whether the lockout stayed consistent. Compare only like-for-like sessions. A heavier bar with shortened motion is not necessarily progress, and a lighter session with cleaner repetitions can be a productive step toward reliable longer-term loading.