Advertising disclosure: This page includes affiliate product links that may earn us a commission, as well as products from our own store.
Reverse Sled Drags: Set Your Straps, Train Your Quads and Progress the Distance
Walking backward while towing a sled looks almost too ordinary to be a leg exercise. Then the first controlled length of turf reminds you that every step requires another knee extension against resistance. That is the appeal of a reverse sled drag: it lets you work your quadriceps with continuous, adjustable effort and very little complicated equipment, provided you have a clear lane and a sled that actually slides on your surface.
It is not a magic cure for knee pain, and the number of plates on somebody else’s sled tells you little about the resistance you will feel. The useful questions are simpler. Can you keep the straps taut? Do your legs drive each step without your arms doing all the pulling? Can you repeat the same distance at a measured pace next week? Here is how to build a repeatable session rather than a random struggle across the floor.
1. Why a backward sled drag feels different from a squat
A squat loads the legs as you lower your body and stand back up. A reverse sled drag replaces that up-and-down repetition with a series of backward steps. Facing the sled, you drive yourself away from it while your hands or waist harness transmit the load behind you. Each step asks the knee to straighten and the quadriceps to contribute; calves, hips, trunk and grip help you maintain the walking pattern.
The sled’s resistance acts primarily as friction against the surface. There is no barbell to catch on the way down and no large loaded lowering phase as in many familiar leg exercises. That makes drags an interesting option after a harder squat session or on a day when you want some leg work without another set of heavy eccentrics. It does not mean the movement is fatigue-free: calves, breathing, feet and knee tissues still need recovery.
Backward walking is also not the same as an aggressive all-out sled sprint. For quad-focused practice, use steps you can consciously repeat rather than bouncing blindly through a lane. A low enough body position to keep some knee bend, a firm foot contact and an uninterrupted towing rhythm matter more than showing off a giant stack of plates.
Research on a particular form of backward resistance walking should not be stretched into promises of guaranteed knee rehabilitation, painless hypertrophy or a special ability to isolate one small region of the quads. Think of this as a useful training tool, not a replacement for sensible progression, other leg movements or a clinician’s assessment when symptoms persist.
2. Build a safe lane and connect the sled correctly
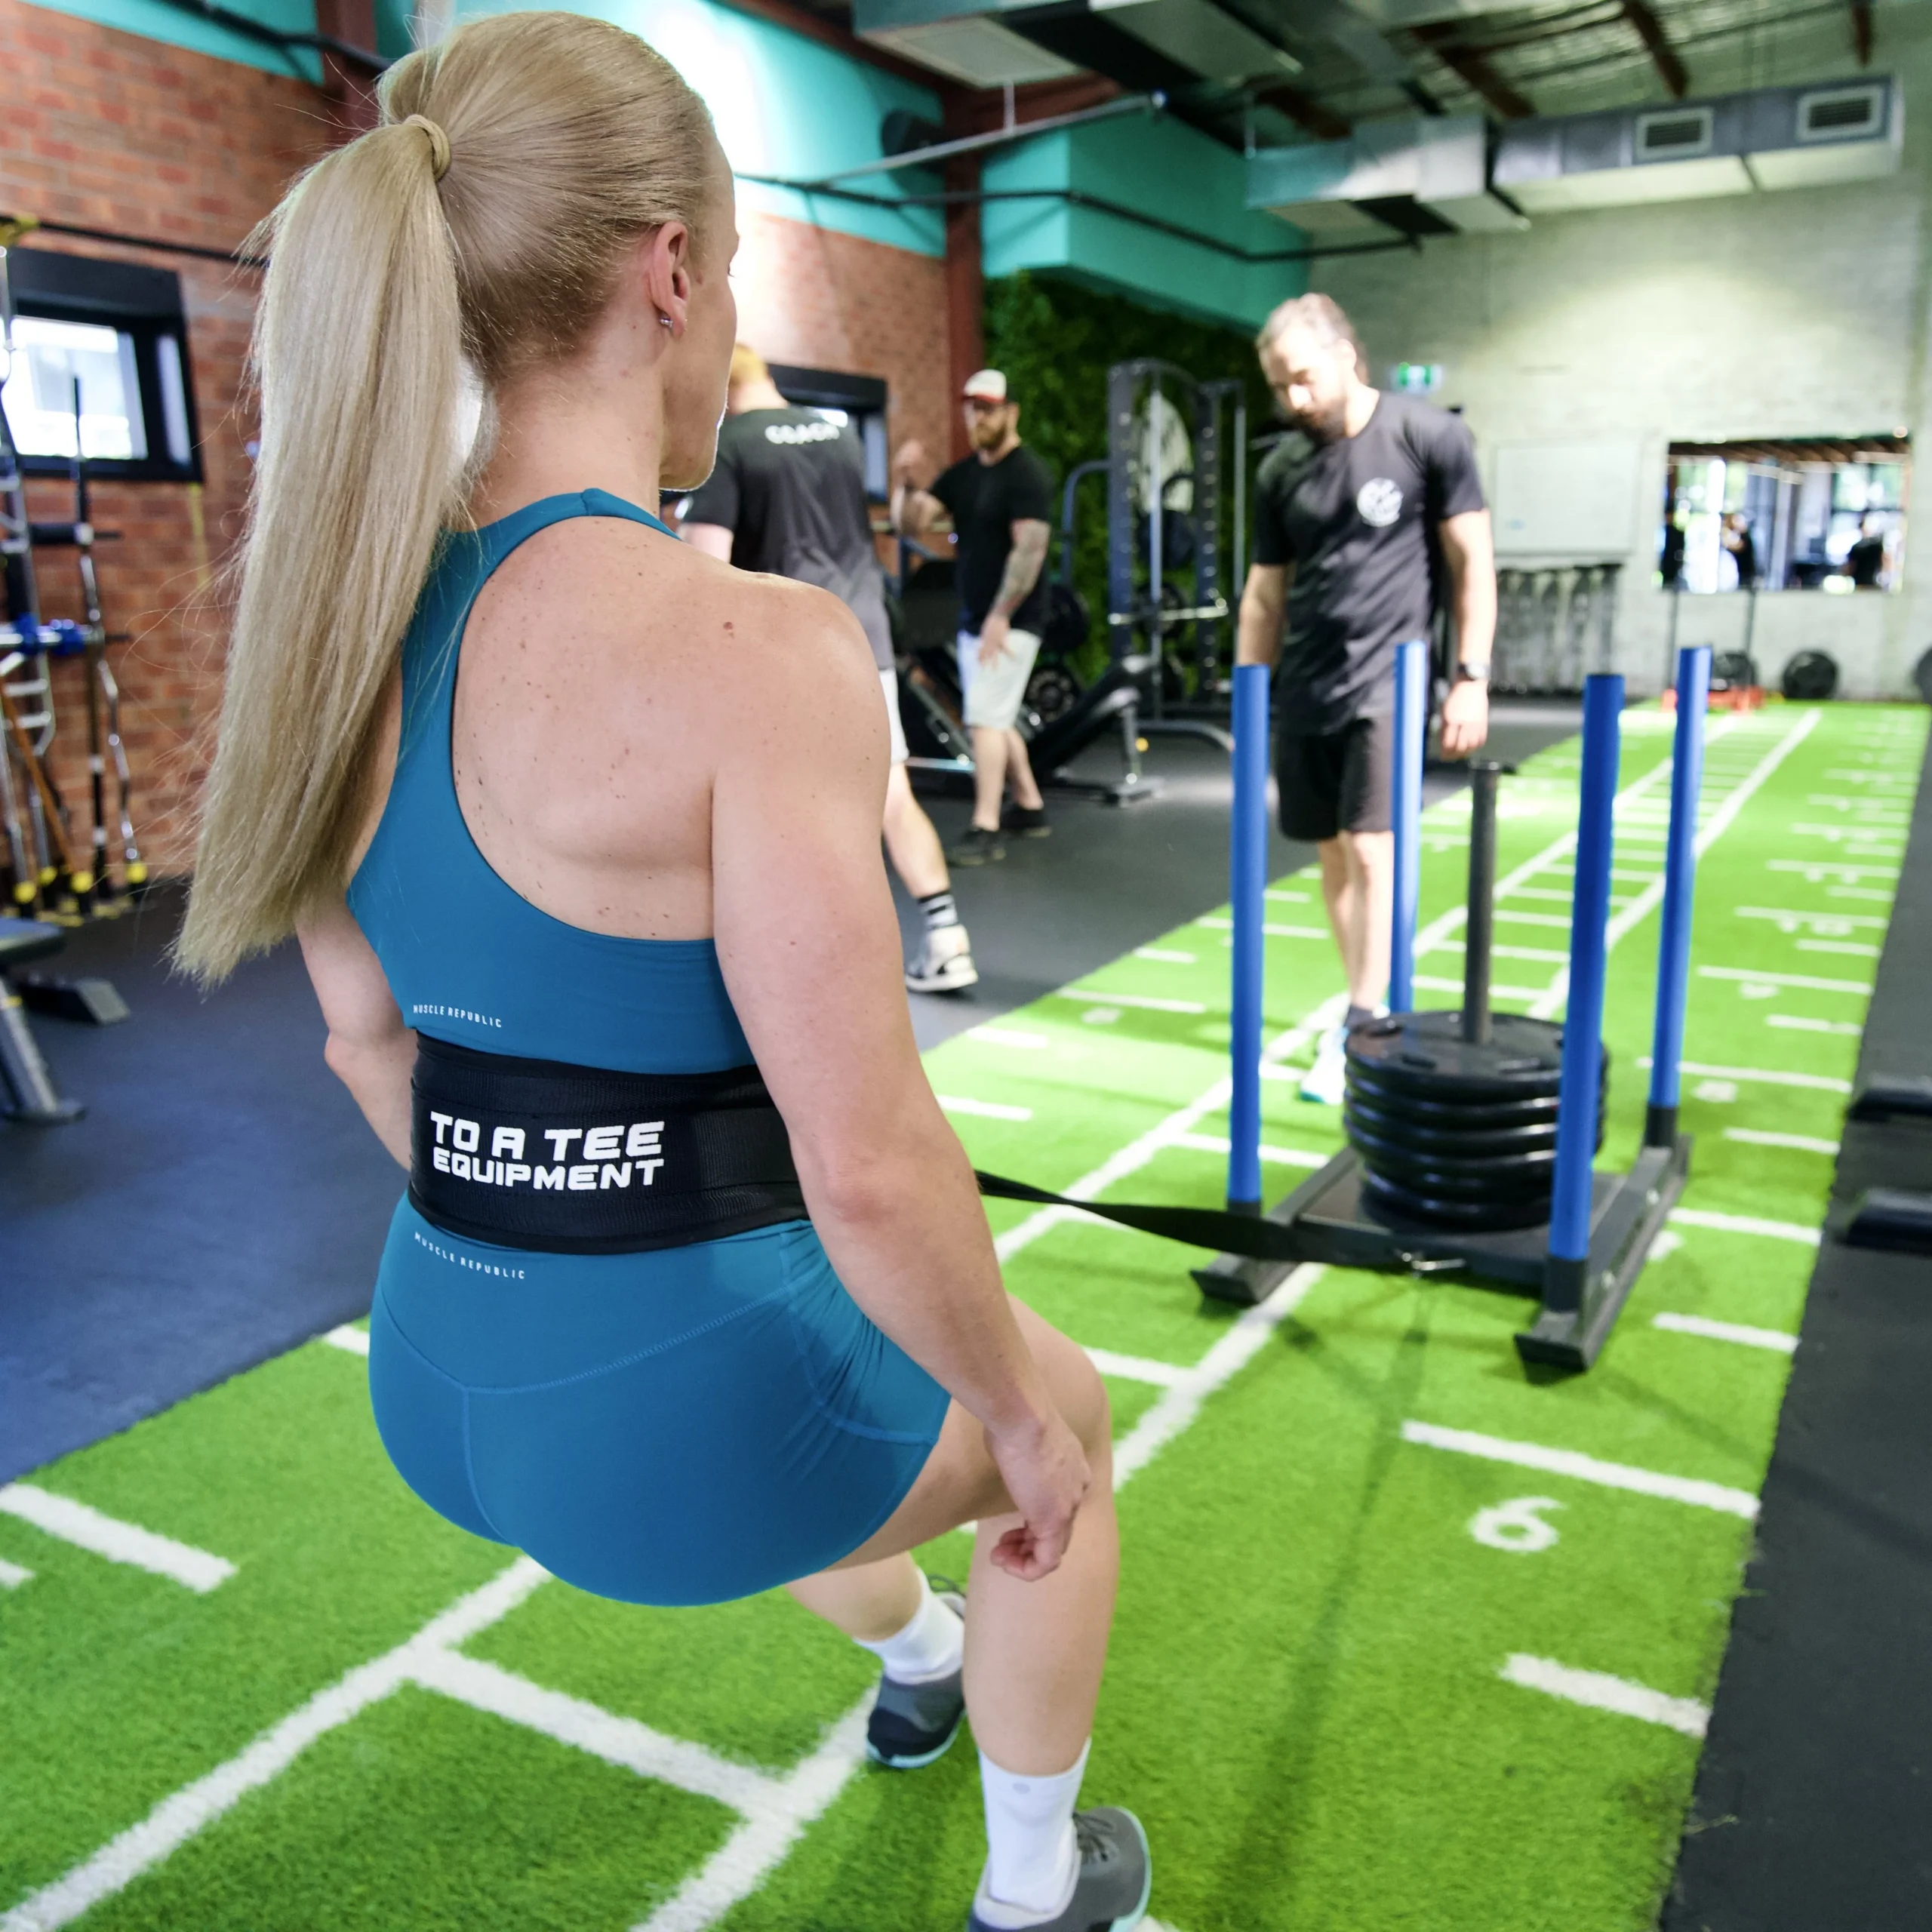
Start with the lane, not the load. Choose level turf, a suitable sled track or another surface explicitly approved for your sled’s runners. Identify the entire backward route before you step: no people, benches, loose plates, cables or abrupt ledges. Mark where each drag ends. Since you will be moving into space you cannot continuously watch, clear it first and ask someone to keep the route free if you are in a busy gym.
Load the sled securely and evenly. Connect a properly rated strap, rope or waist harness to its intended pulling anchor; inspect seams, buckles and carabiners for damage before you start. A cheap carabiner that was never intended for towing does not become suitable because the exercise looks slow. If the equipment is unfamiliar, follow the manufacturer’s connection instructions rather than improvising a knot around a moving post.
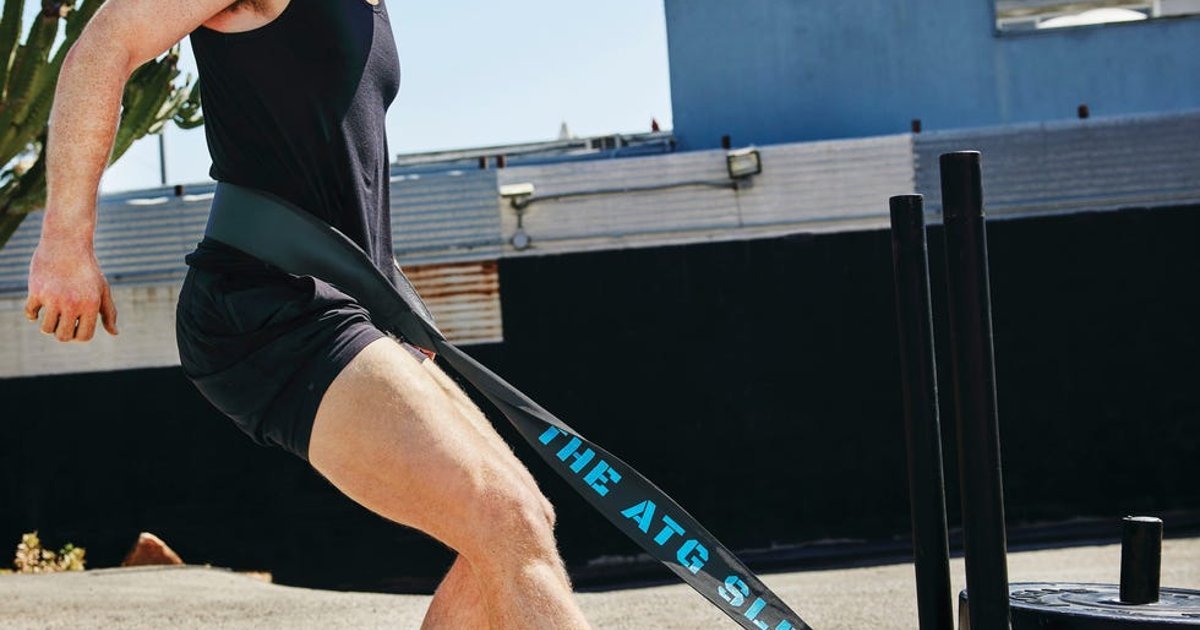
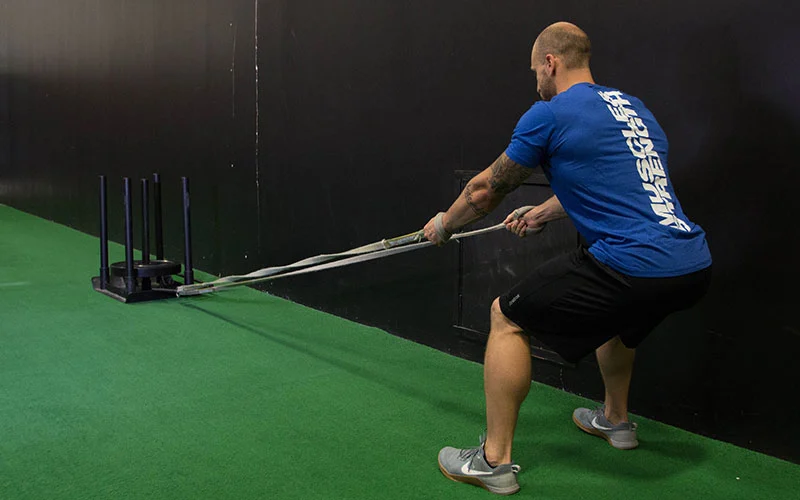
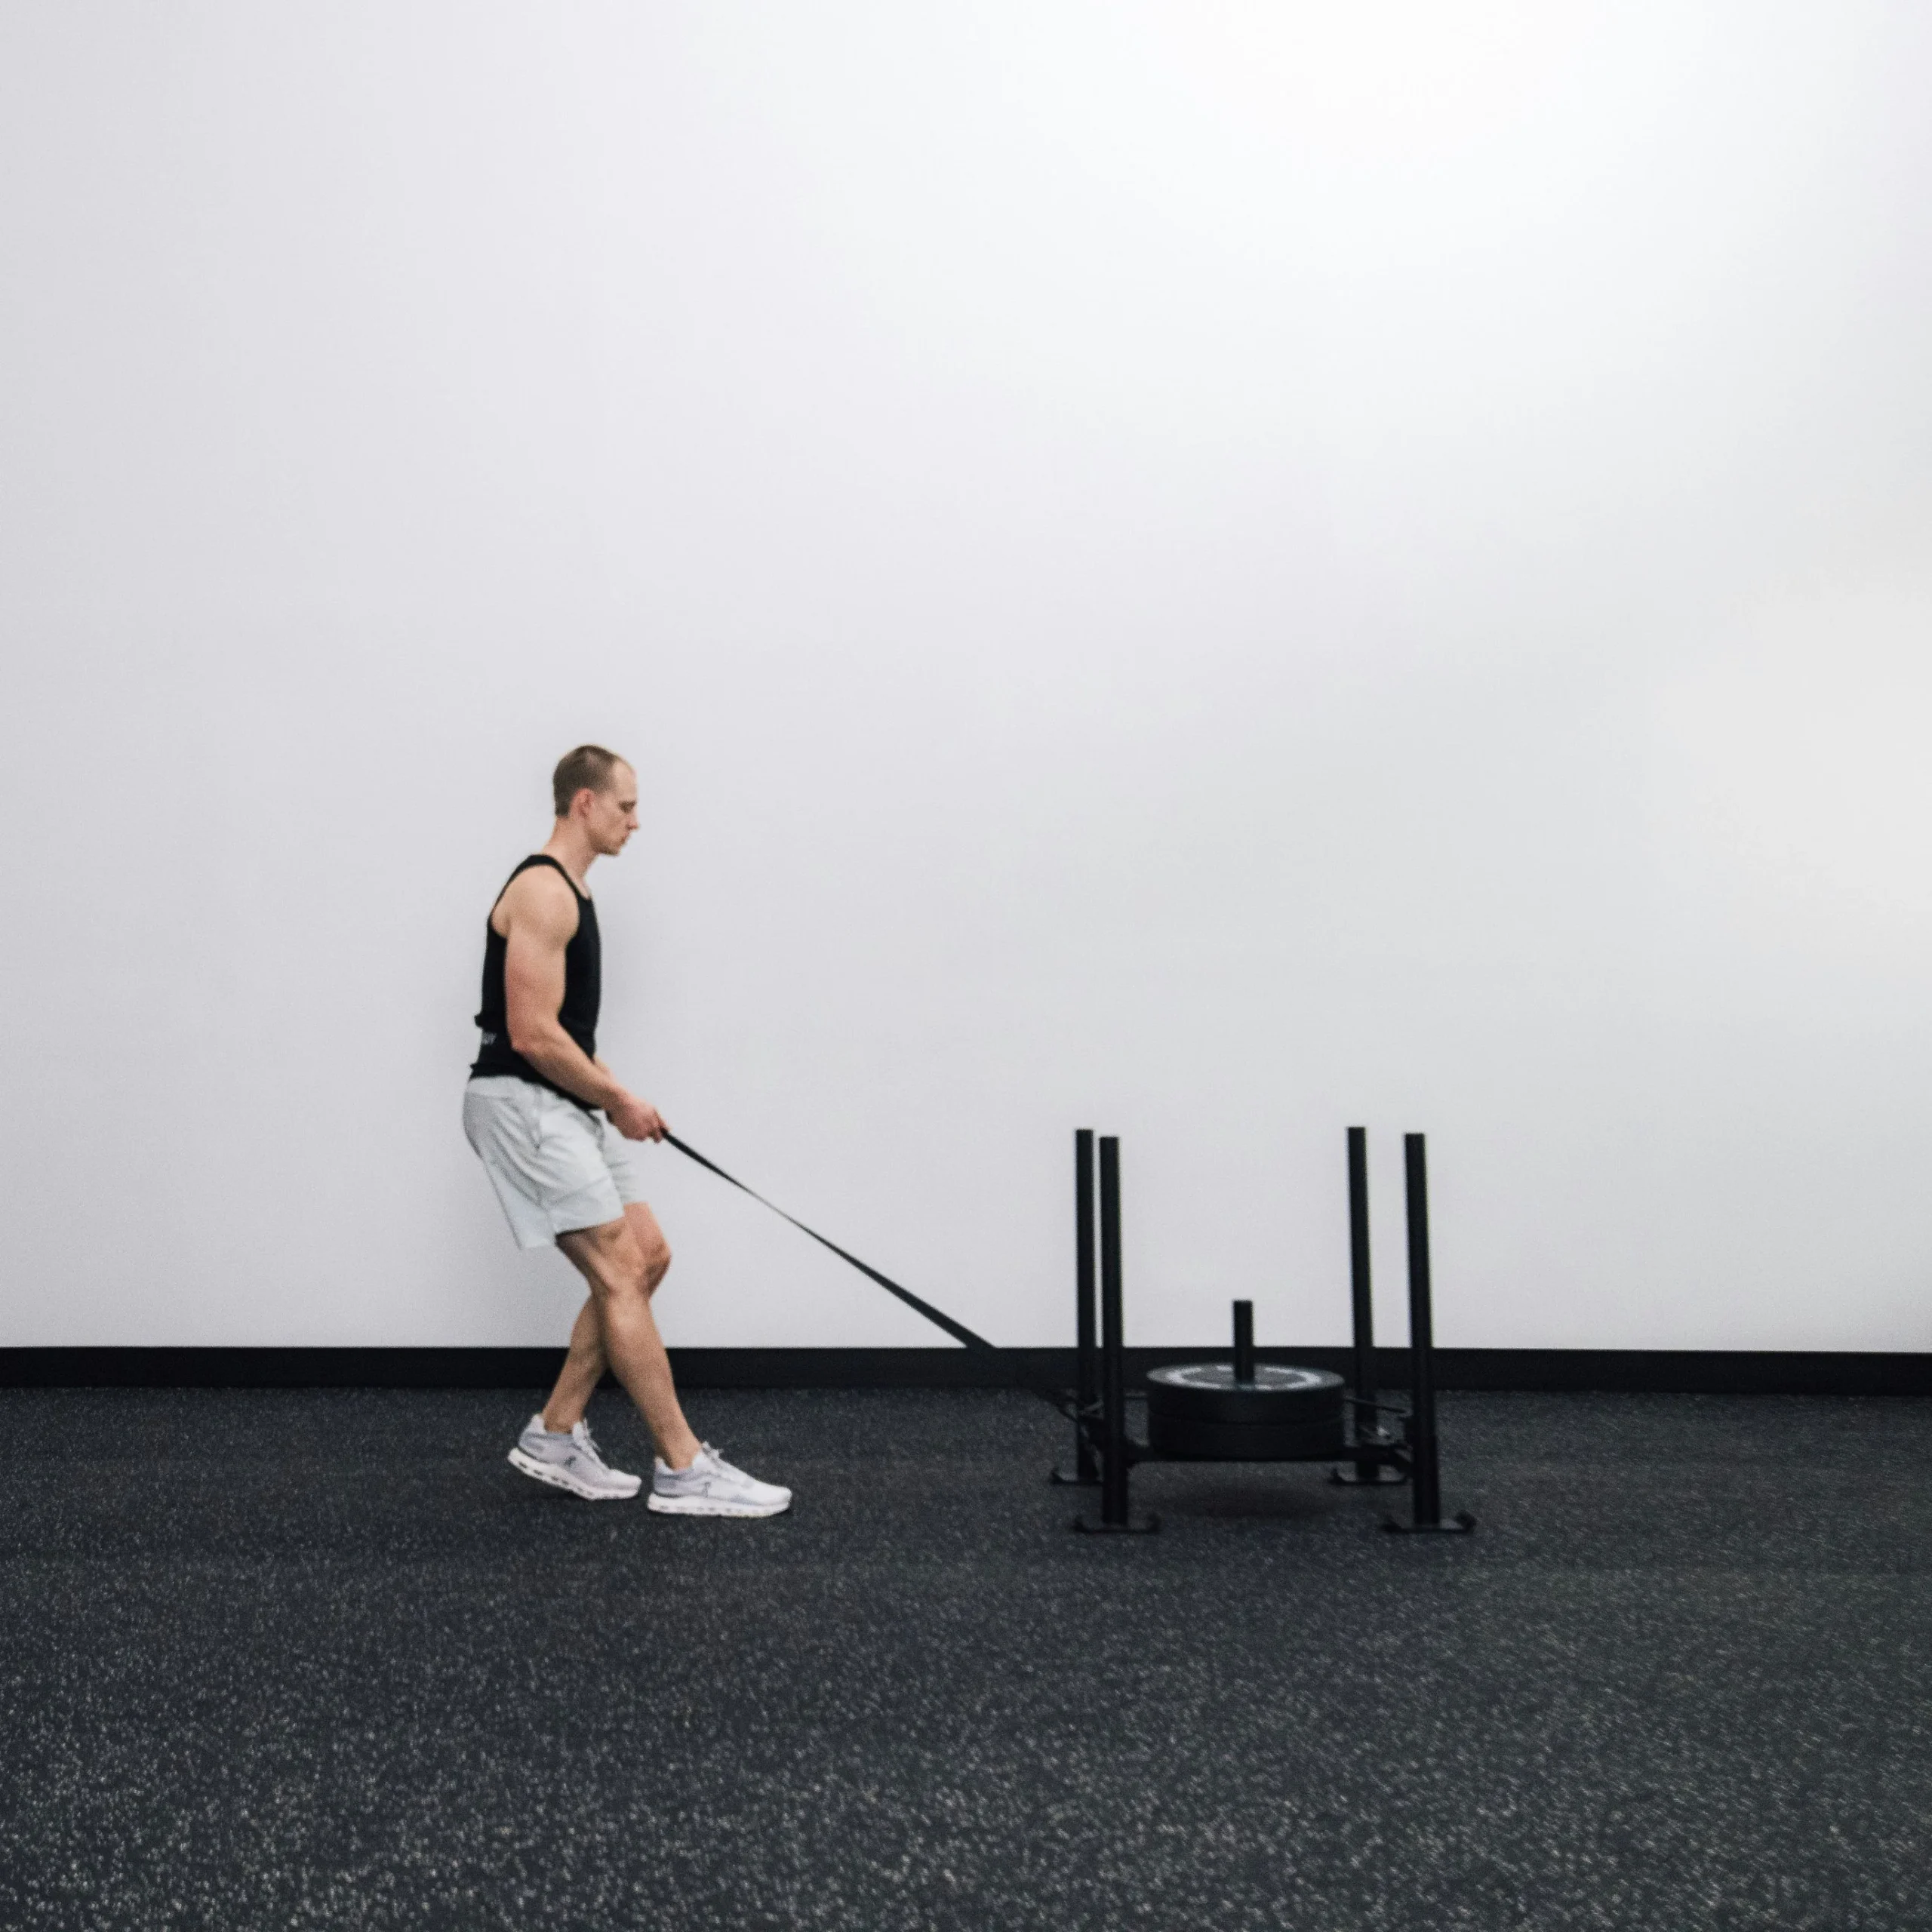
For a hand-held setup, face the sled, walk backward until the straps become taut, keep your arms relatively long and start in a comfortable, slightly lowered stance. Your shoulders hold the connection but your legs should move the load. A waist harness can remove grip as the limiting factor, although it changes how force reaches your trunk; neither configuration is automatically superior for everyone.
Begin with a deliberately easy test drag of about 10–15 metres. Watch whether the sled moves smoothly and whether your shoes grip the surface. If it snags, tips, slides sideways or pulls you into an awkward lean, stop and fix the equipment or location. Do not try to rescue a poor setup by adding speed. The safest working load is one you can control from the first step to the last.
3. Walk backward with short, repeatable steps
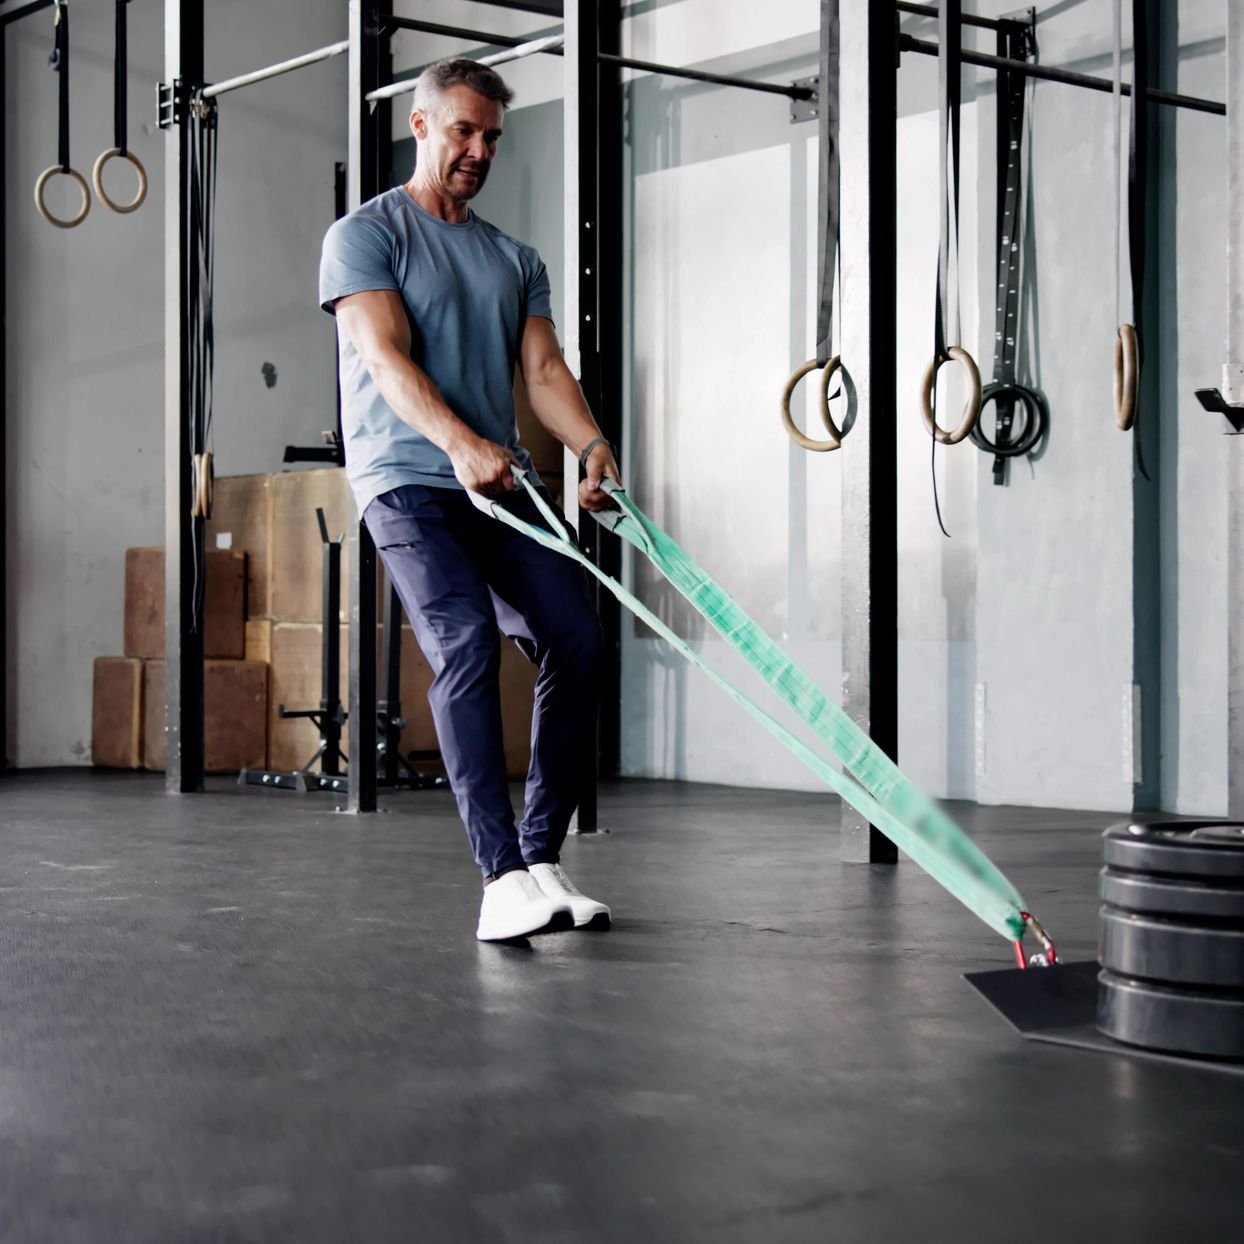
Take a short step backward and push the floor away with your forward leg. Keep a small bend in the knees as you transition from one foot to the other, allowing the working knee to straighten while the sled continues moving. A tall chest and braced middle help the strap transmit force without demanding that your hands yank the sled toward you. Breathe throughout the effort rather than trying to hold one long breath over an entire lane.
For a first filmed set, look for four simple things. The straps stay reasonably taut. Your steps remain a similar length. The sled does not completely stop between steps. Your torso angle changes only a little as fatigue accumulates. If the final five metres look like a frantic backward stumble, you have already found your present limit, even if your legs feel capable of more.
Short strides are a coaching tool, not a rule that every stride must be tiny. Find a length at which each foot can land securely and you can extend the knee against resistance. Excessively long reaching steps often leave a person tugging through the arms, braking awkwardly or struggling to regain tension. You can try a slightly quicker cadence later, but first make the ordinary walking version boringly repeatable.
Do not turn around mid-drag to look behind you while your sled is under tension. Set a visible endpoint, keep your planned route clear and stop before you change direction. If you feel sharp knee pain, dizziness, a slipping shoe or a tug from an insecure harness, stop the set. A controlled failure means calmly stopping the sled, not falling backward onto the floor.

Equipment Worth Exploring
Explore equipment, accessories and gear from our carefully selected range.


Pro Sled System
Heavy-duty push-pull training sled for loaded conditioning, speed, and strength work.


Competition Plates
Competition-style bumper plates for Olympic lifts and loaded strength training.

Grip Plates
Rubber-coated weight plates with handholds for loading barbells and machines.

Compact Leg Press CLP-700
Compact reverse-style leg press with a moving seat carriage and an adjustable footplate.

Leg Press/Hack Squat BPR-790
Convertible 45-degree leg press and hack squat machine with a broad footplate and band pegs.

Studio V-Squat
Plate-loaded V-squat machine for supported lower-body strength training.
VOLTRA
Compact digital cable trainer with smooth, adjustable resistance.

GymPin Squat Wedges
Non-slip 15-degree squat wedges help elevate the heels for deeper quad-focused squats.
4. Match the load to the surface, not someone else’s plates
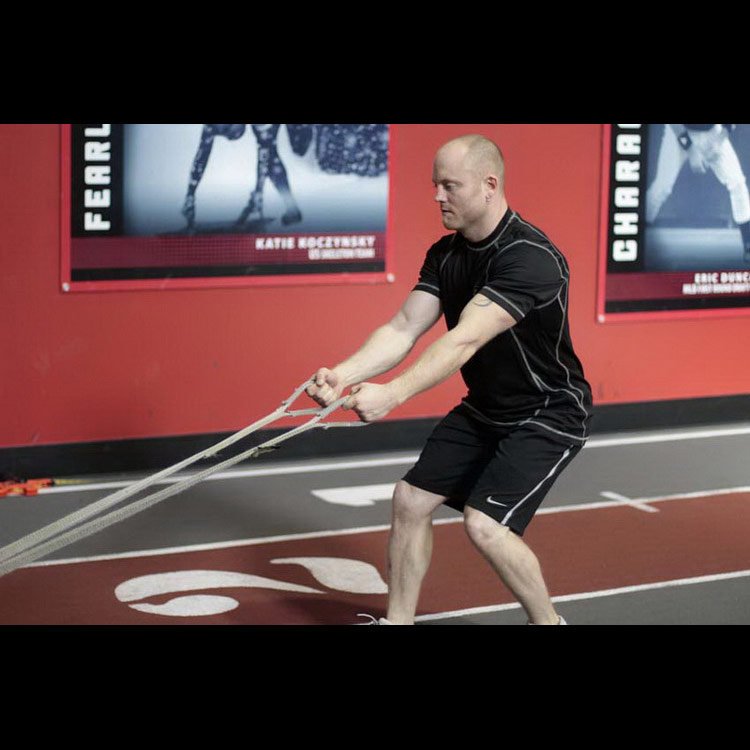
Ten kilograms of plates on one sled can feel much harder than the same plates on another. Runner material, turf pile, floor texture, sled weight and the pull angle all change resistance. That is why bodyweight percentages and social-media loading claims are poor starting standards for this exercise. Record the specific sled and surface, the plates you added, the drag distance and roughly how hard it felt.
For quad-focused sets, start with a load you can drag continuously for 15–25 metres without leaning back so far that your posture collapses. If you need an exaggerated arm pull to restart the sled at every step, lighten it. If the path is almost effortless and the pace never changes, add a little resistance next session. Do not make the first progression a huge plate jump simply because the sled can physically hold it.
Hand straps and a hip harness create different constraints. Hand straps add a grip and upper-back demand, while a harness shifts some of that demand away from the hands. Neither makes a backward drag identical to a barbell exercise. Likewise, a powered cable machine’s sled-style resistance mode can be useful for conditioning, but it does not reproduce the friction and actual movement of a plate-loaded sled on turf. Keep those activities separate in your log.
What if you do not have a safe drag lane? You can train the quads with a leg press, squat or step-up and train conditioning with another suitable machine. Those are substitutions for the session goal, not mechanically identical replacements. Avoid dragging a loose plate across a finished floor without permission; it can gouge the surface and make loading unpredictable.
5. A six-week plan for quads and conditioning
Use this six-week example as a manageable starting template rather than a clinical protocol or a scientifically established perfect dose. First, pick one sled and one lane so you can compare your results. Choose a light-to-moderate load that allows steady steps, and start with one session a week alongside your regular leg training. If your knees, ankles, calves and overall schedule tolerate the first couple of weeks, add a second modest session rather than doubling every variable at once.
| Week | Suggested work | Main focus |
|---|---|---|
| 1 | 3 × 15 m, easy load | Clear lane, straps and steady steps |
| 2 | 4 × 15 m, same load | Repeat identical technique |
| 3 | 3 × 20 m, same load | Smooth longer efforts |
| 4 | 4 × 20 m if recovered | Consistent pace and rest |
| 5 | 4 × 20 m, slight load increase | Keep the sled moving continuously |
| 6 | 4 × 20–25 m as tolerated | Compare with week one |
Rest about 60–120 seconds between these illustrative bouts, extending the break if breathing or form is the limiting factor. This example progresses volume first and only later attempts a small load increase. If technique degrades, repeat the previous week’s prescription or reduce the workload. The point of a six-week block is having something objective to compare, not winning every individual session.
Place the drags after your primary squat or leg-press work if they are a quad accessory. If you use them for conditioning, let steady walking speed and sensible recovery be the goal. Track the exact sled, floor, added load, distance, number of successful drags and how hard the last set felt. A week where you keep the same pace on a slightly longer distance can be progress even if the plates do not change.
Finally, check how your next leg day feels. New calf or knee soreness, unusually heavy legs or declining technique are reasons to adjust frequency and load. For persistent pain, swelling or a diagnosed injury, seek individual guidance rather than treating backward drags as a self-prescribed rehabilitation cure. The long-term win is a leg exercise you can keep doing consistently because the setup, route and progression actually make sense.

Leg Day Shirts & Workout Gear
Leg-day gym shirts and workout gear for lifters who never skip squats, lunges and lower-body punishment.


My Leg Hurts Leg Day , Meme Lovers & Bros Casual T-Shirt
Bring “My Leg Hurts” humor to your next gym day.

Coffee Shots & Heavy Squats for Leg Day, Lifting and Fi Tank Top
Add some leg-day attitude to training with “Coffee Shots & Heavy Squats”.

Never Skip Leg Day | LEGO Workout Sweater For Squats & T-Shirt
Keep things casual with a little “Never Skip Leg Day” attitude.

Leg Day Leg Sweater Squats & Meme T-Shirt
Bring “Leg Day” humor to your everyday gym style.

Leg Day Is Calling You Squats & Deadlifts Meme Hoodie
Stay casual and show some leg-day attitude with “Leg Day Is Calling You”.

Leg Day Squats Deadlifts Sweater Meme T-Shirt
Show some gym-day personality with “Leg Day”.

Squat Here | Edgy Workout Decal for Water Bottles & Gym Sticker
A fun “Squat Here” touch for bottles, laptops, and lockers.

Heavy Metal Skeleton Squat for Powerlifters, Bodybuilde Hoodie
Show off your metalhead humor in a laid-back “Heavy Metal Skeleton Squat” hoodie.