Advertising disclosure: This page includes affiliate product links that may earn us a commission, as well as products from our own store.
Backward Sled Drags: Quad Drive, Load Selection and a Six-Week Plan
Walking backward while dragging a loaded sled looks simple until the resistance makes each step deliberate. Rather than pushing a sled away or sprinting forward against a harness, you face the sled, keep the tow line under tension and drive yourself backward. That change of direction makes it a useful lower-body conditioning option, particularly when you want demanding quad work without repeating another conventional squat set.
The exercise is not a miracle cure for knees, a guaranteed muscle-growth shortcut or a substitute for progressive strength training. Its best feature is adjustability: distance, step size, surface friction, weight and pace can all be changed. The aim is smooth, repeatable work. Here is how to set up a backward drag, choose a starting load, spot mistakes and build a six-week progression that fits your actual leg training.
1. What the backward sled drag actually trains
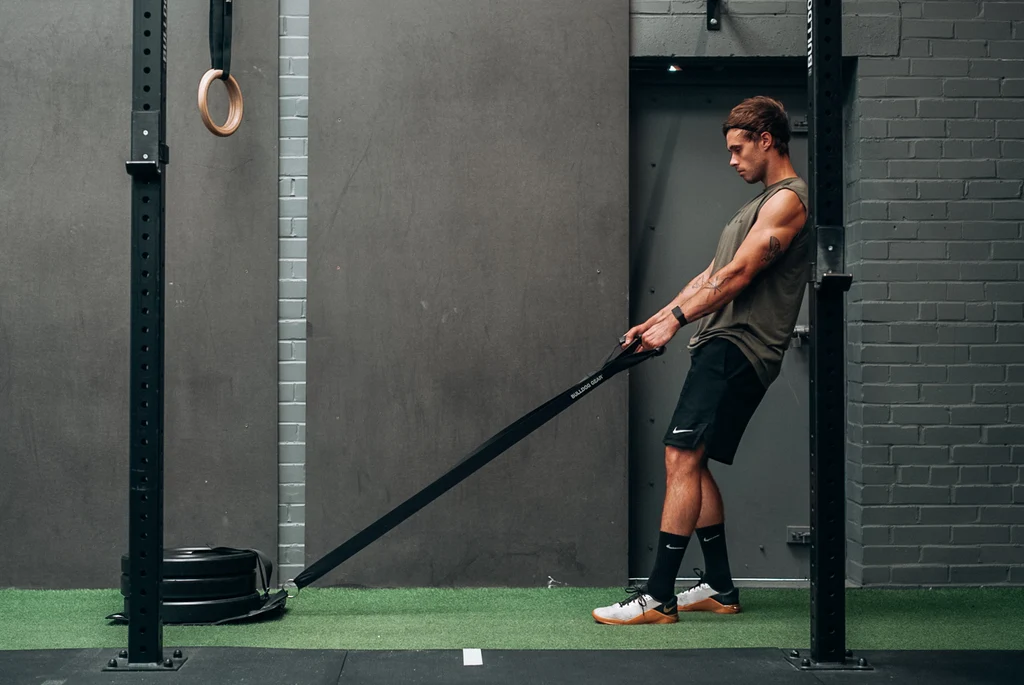
To move backward against resistance, the lead leg repeatedly accepts weight at a bent knee and then pushes the ground away. The quadriceps contribute as the knee extends; the glutes and calves help with propulsion and stability, while the trunk and arms hold the tow line steady. The movement often feels quad-dominant because you are repeatedly producing force through the legs against drag rather than lifting a weight and lowering it again.
That distinction matters. A sled mainly resists while it is sliding, so there is no equivalent to the heavy eccentric lowering phase of a squat or Romanian deadlift. It can therefore be a useful way to add leg work without duplicating the exact loading pattern of barbell lifts. But low eccentric demand is not the same as zero fatigue, zero soreness or guaranteed recovery. A long or heavy session can still create substantial local fatigue and cardiovascular stress.
Think about its job in the session. As a warm-up, use light, smooth trips that raise temperature without burning out the quads. As a finisher, moderate loads and repeatable distances challenge work capacity. As a harder accessory, slightly heavier drags can make each step forceful, provided posture and continuous motion survive. None of those options requires the sled to crawl or your torso to collapse.
2. Set up the sled, handles and walking lane
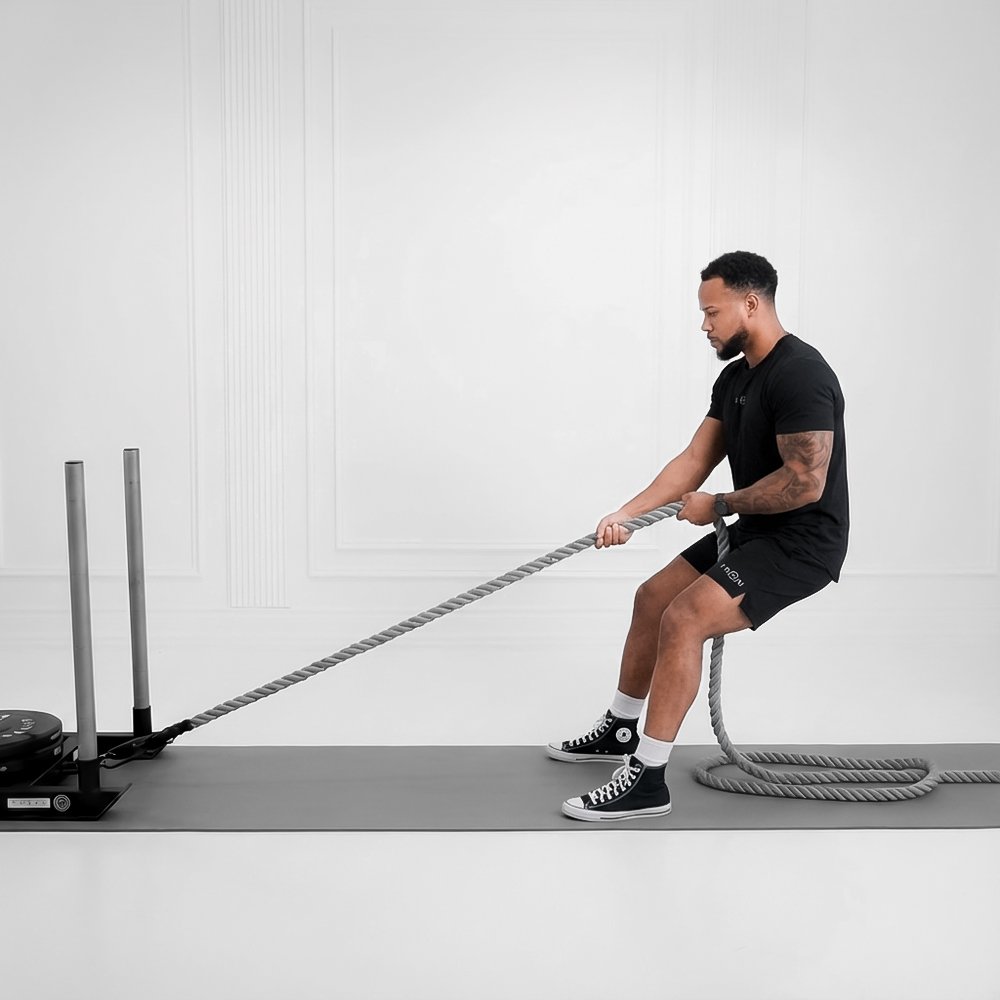
Use a sled designed for the actual surface: turf, rubber, grass or a dedicated hard-floor sled. Start on a level lane with a clear line of travel and room to stop. A load that glides on turf may feel completely different on rubber or concrete, so do not copy another person’s plate total. First confirm that the floor permits sled dragging and that the tow line, attachment point and clips can handle the work.
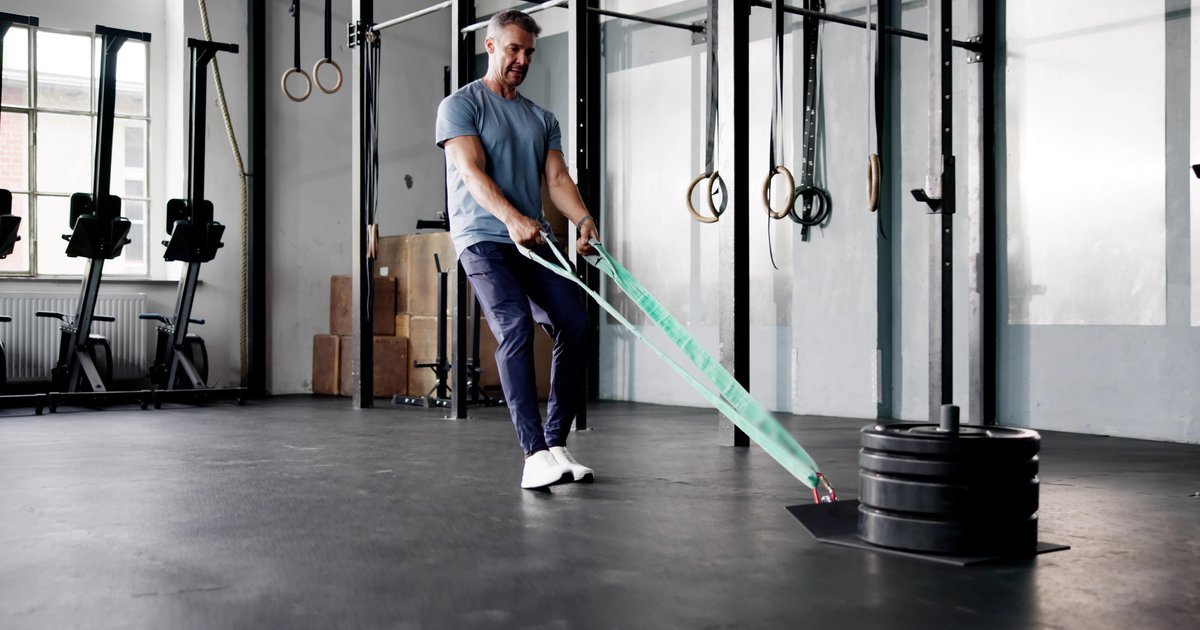
Attach a sturdy strap or rope to a secure, appropriately rated anchor on the sled. Stand facing the sled, grasp both handles and move backward until the line is taut. Your arms are connectors rather than rowing handles: keep the shoulders comfortably set, elbows mostly extended and wrists neutral. If using a hip belt or harness, follow its specified attachment method and ensure it cannot slip or press uncomfortably into your abdomen.
A slight knee bend and athletic stance help establish the first step. Keep the ribs roughly stacked over the pelvis instead of turning the movement into an exaggerated backward lean. Look in your direction of travel frequently, but do not twist your torso for the whole trip. Having someone spot the lane is useful on busy floors; a clear floor is essential when moving backward near other lifters.
Before the first working trip, test the rope length and sled tracking with just enough resistance to move it. Short lines can bring the sled too close to your heels, while very long lines become awkward around corners. If the sled twists, the strap drags on the floor or the knot or clip shifts, stop and fix the setup before adding weight.

Equipment Worth Exploring
Explore equipment, accessories and gear from our carefully selected range.

Pro Sled System
Heavy-duty push-pull training sled for loaded conditioning, speed, and strength work.


Competition Plates
Competition-style bumper plates for Olympic lifts and loaded strength training.

Grip Plates
Rubber-coated weight plates with handholds for loading barbells and machines.


Premium Carabiner
Durable carabiner for connecting cable attachments and training accessories.


Leather Wrist Grips
Padded leather lifting grips help support the hands and wrists on heavy pulling exercises.
3. Make the steps short, smooth and repeatable
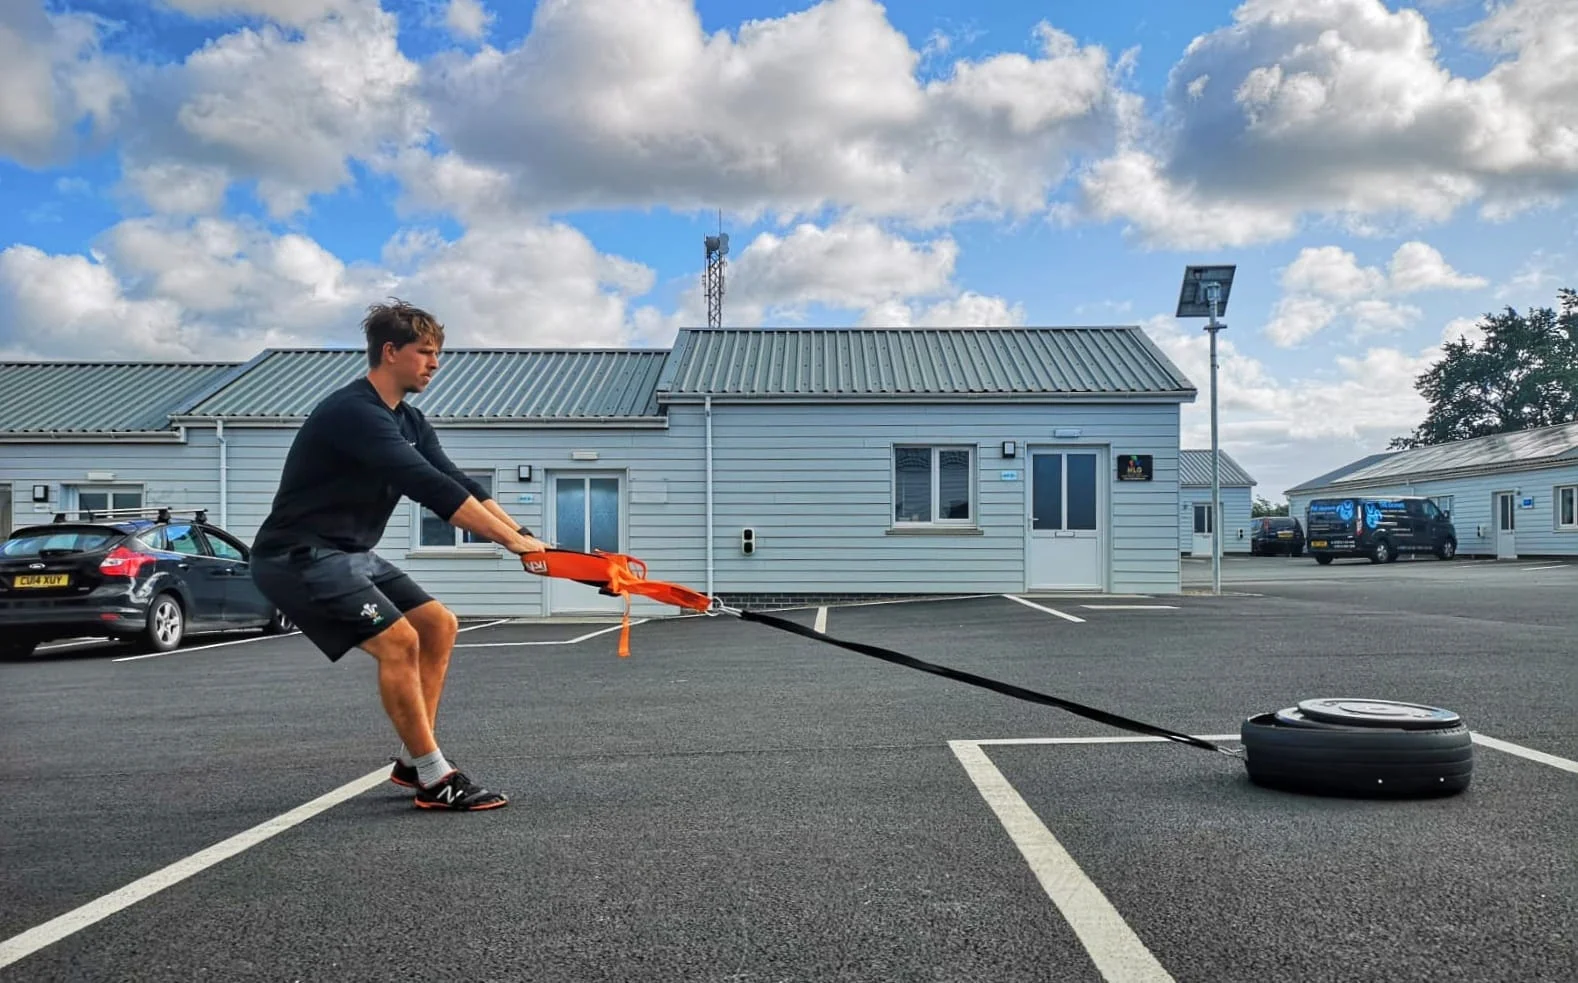
Begin by sitting slightly into the knees, then take one controlled backward step while pressing through the planted foot. Keep the line under gentle tension and let the other foot follow. Alternate steps with a consistent rhythm rather than trying to leap backward in long strides. The useful sensation is steady leg drive, not an arm tug followed by the sled crashing to a stop.
The best step length depends on load, surface and your own proportions. Start short enough to stay balanced and keep the knees tracking with the feet. Allow the knee to move naturally as you step; do not force it locked straight, deliberately drive it inward or chase an arbitrary forward-knee-travel rule. Try to keep the torso tall enough to control the sled. If your shoulders round or you must nearly sit on the floor to move the load, it is too heavy for the intended variation.
Watch for four common faults. First, going so fast that the line repeatedly slackens turns each step into a jerk. Second, leaning far backward may let bodyweight drag the sled while the feet slide or stutter. Third, hauling the handles toward your chest shifts effort away from the intended walking pattern. Fourth, failing to look behind you creates an avoidable collision risk. Slow down, shorten the trip or unload a plate before trying to push through these problems.
If a low, quad-focused stance irritates your knees, adjust the bend and resistance rather than insisting on a single textbook position. Stop if pain persists or escalates. A controlled backward drag can be included in an individual rehabilitation plan, but it cannot diagnose an injury or replace a clinician’s assessment.

Leg Day Shirts & Workout Gear
Leg-day gym shirts and workout gear for lifters who never skip squats, lunges and lower-body punishment.

Shirt – Legday Of Legends Gymbros, & Meme Lovers T-Shirt
Show some gaming attitude with a playful “Legday of Legends” tee.

Shirt Leg Day Lovers – Fried Chicken & Gains Meme – T-Shirt
Rep “for Leg Day Lovers” humor in and out of the gym.


Never Skip Leg Day Flamingo – Fitness Meme Pullover Jum T-Shirt
Keep things casual with a little “Never Skip Leg Day Flamingo” attitude.

Squat You Must Star Wars Leg Day Meme Sweater T-Shirt
Show some gym-day personality with “Squat You Must”.

Stars Stripes & Squats Patriotic Eagle – 4th of July Ho Hoodie
Keep it laid-back with a little “Stars Stripes & Squats Patriotic Eagle” attitude.

Leg Day Gains Gym | LEGO Parody Workout For Squat & Dea Hoodie
Show off your leg-day humor in a laid-back “Leg Day Gains” hoodie.

Leg Day The Day That Never Comes Metallica — Muscle Shi Tank Top
Your gym-day look, with a playful “Leg Day The Day That Never Comes Metallica” twist.

Never Skip Leg Day Chicken Legs Meme & Bros Tank Top
Bring “Never Skip Leg Day” humor to your next lifting session.

Santa Quads Funny Christmas Gym – Festive Workout Decal Sticker
A fun “Santa Quads Funny Christmas” touch for bottles, laptops, and lockers.
4. Pick a load by speed and friction, not a magic number
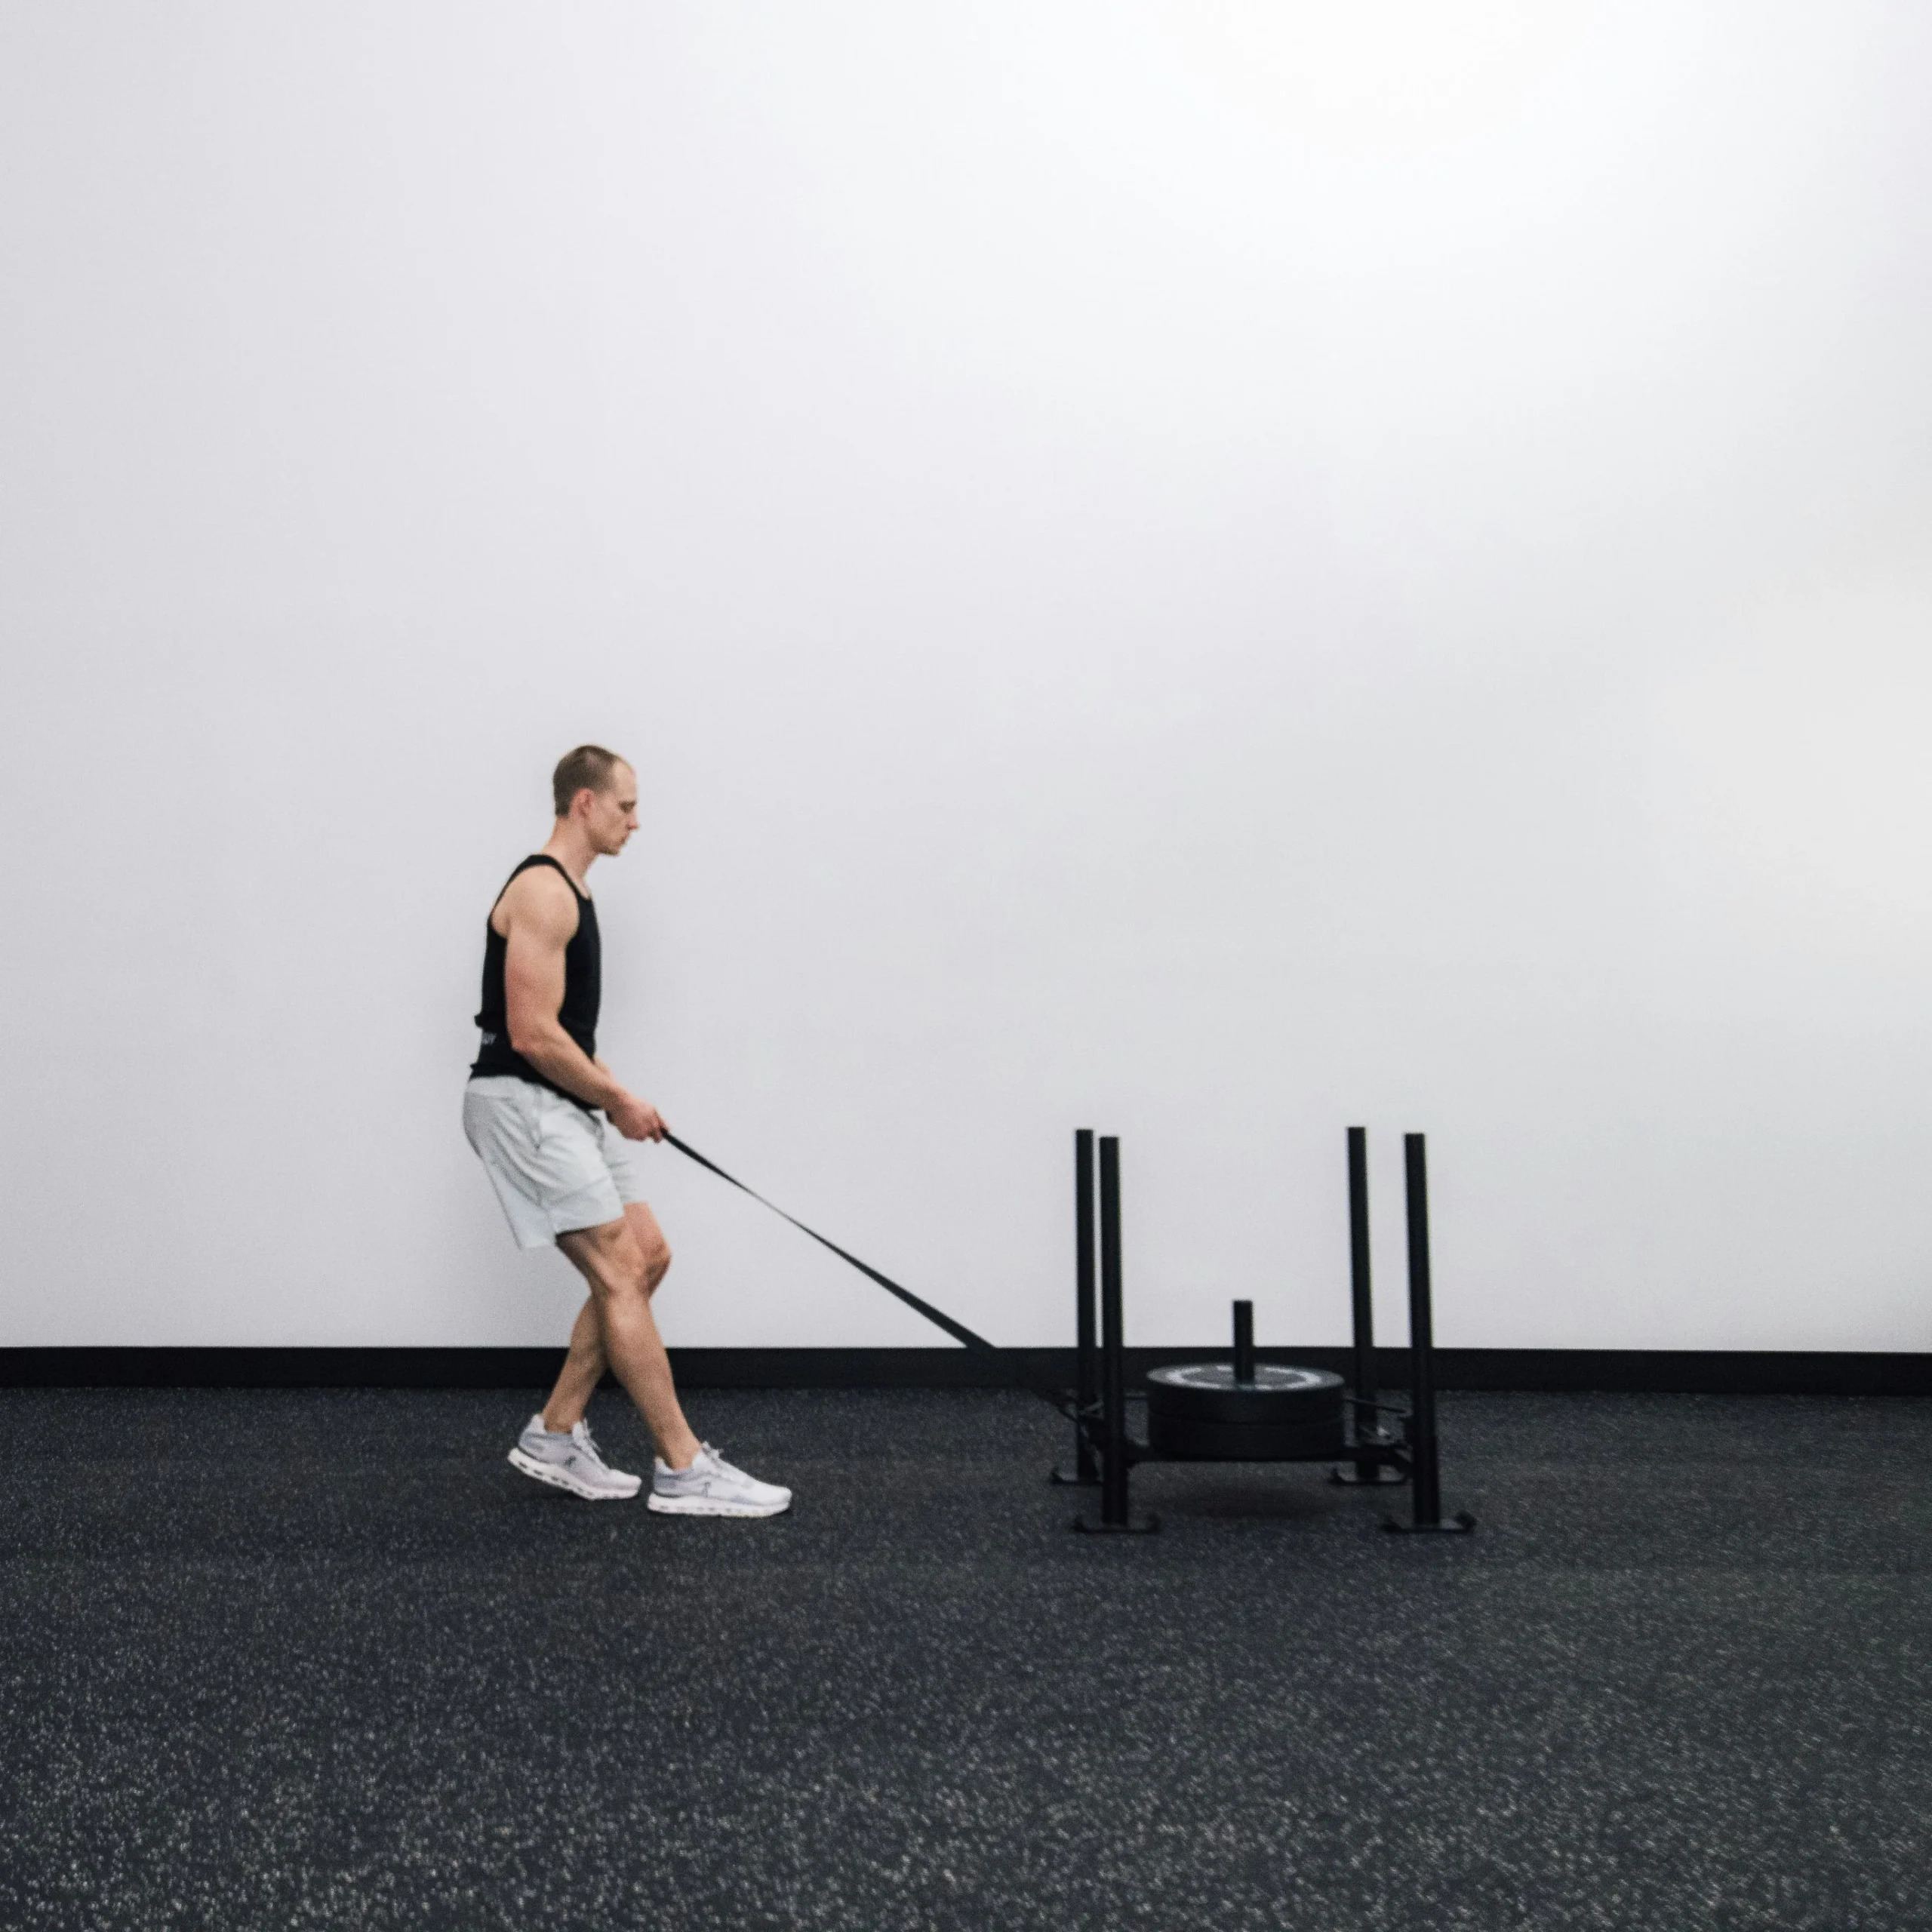
Plate weight is an incomplete way to describe sled difficulty. Two sleds with identical loads can demand very different effort because of surface texture, sled runners, strap angle and the distance over which the sled must travel. That makes bodyweight percentages copied from a sprint trial poor starting prescriptions for slow, quad-focused backward walking. Pick an effort and movement quality that you can reproduce on your floor.
For a first session, try three or four easy trips of roughly 10–20 metres with generous recovery. The weight should move from the first step without a violent jerk. Finish each trip still able to breathe and turn around under control. If you have never dragged a sled backward, one or two empty-sled trips may be enough to establish the feel. Add weight only after your speed and step pattern stay consistent.
Interesting research exists, but it needs context. In a six-week 2026 experiment, 36 recreational male soccer players trained forward, backward or combined resisted sprinting twice weekly, with resistance set at 20–55% of body mass. All three groups improved several short sprint and knee-muscle measures; improvements were not significantly different between groups on the primary comparisons. That does not prove that backward walking with a heavy sled treats knee pain or grows bigger quads better than squats.
5. A practical six-week progression and where it fits
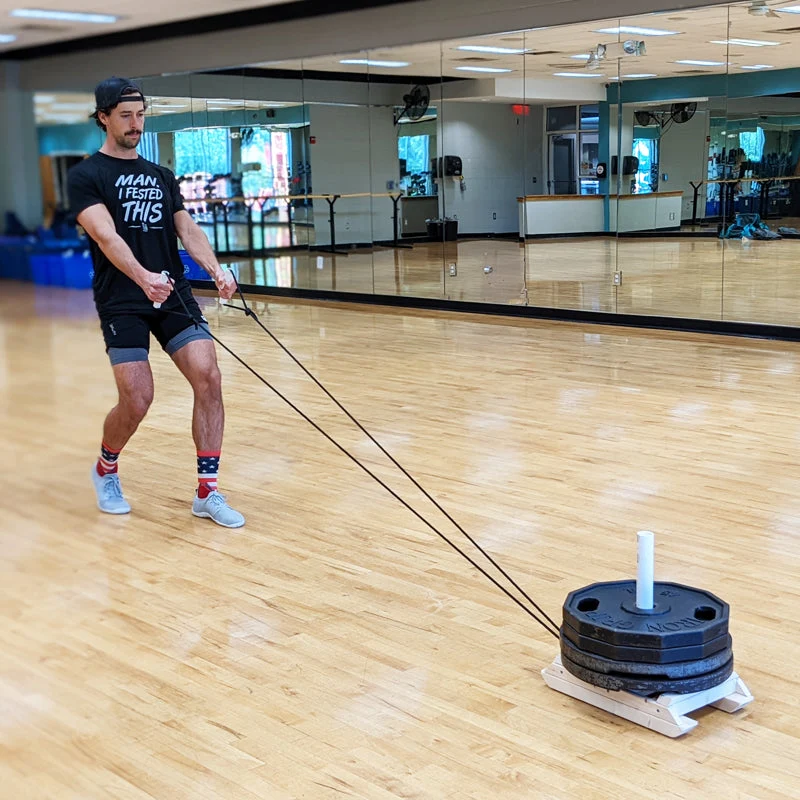
The following is a training example, not a tested six-week rehabilitation protocol. Use one or two sessions weekly to begin, with at least a day between harder lower-body exposures as needed. Rest until the legs and breathing are ready to repeat technically clean steps. Every distance is approximate: a shorter, unobstructed lane works if you keep the number of controlled trips comparable.
- Weeks 1–2: Two sessions weekly, three easy trips of 10–15 metres. Learn the lane, strap tension and walking rhythm before increasing effort.
- Weeks 3–4: Three or four trips of 15–20 metres. Progress either distance or load, not both aggressively in the same session.
- Weeks 5–6: Four or five trips of 15–25 metres, with one optional slightly heavier trip only if the previous work remains smooth and pain-free.
Put shorter easy drags before squats only when they improve your warm-up without weakening your main sets. After a heavy leg session, treat the sled as accessory or conditioning volume and cap the total before stride quality fades. On a separate conditioning day, reduce the load and keep the effort sustainable instead of attempting maximum weight every trip. Remember that the accumulated demand on the knees and quads matters even if soreness is low.
No sled available? Reverse treadmill walking, gentle backward walking on a clear level path or appropriately programmed knee-extension work can train some overlapping qualities, but they are not exact resistance substitutes. A leg press or squat may be a more practical way to progress heavy quad strength. Choose the tool that fits your space, symptoms and goals rather than buying a sled solely because it is fashionable.
Progress is simple to check: can you cover the same distance with smoother steps, equal posture and similar effort? When yes, gradually increase the challenge. Keep drags a complement to balanced lower-body training.
Equipment Worth Exploring
Explore equipment, accessories and gear from our carefully selected range.

Belt Squat Collar
Heavy-duty collar adapter for compatible belt-squat and landmine bar setups.
Squat Harness
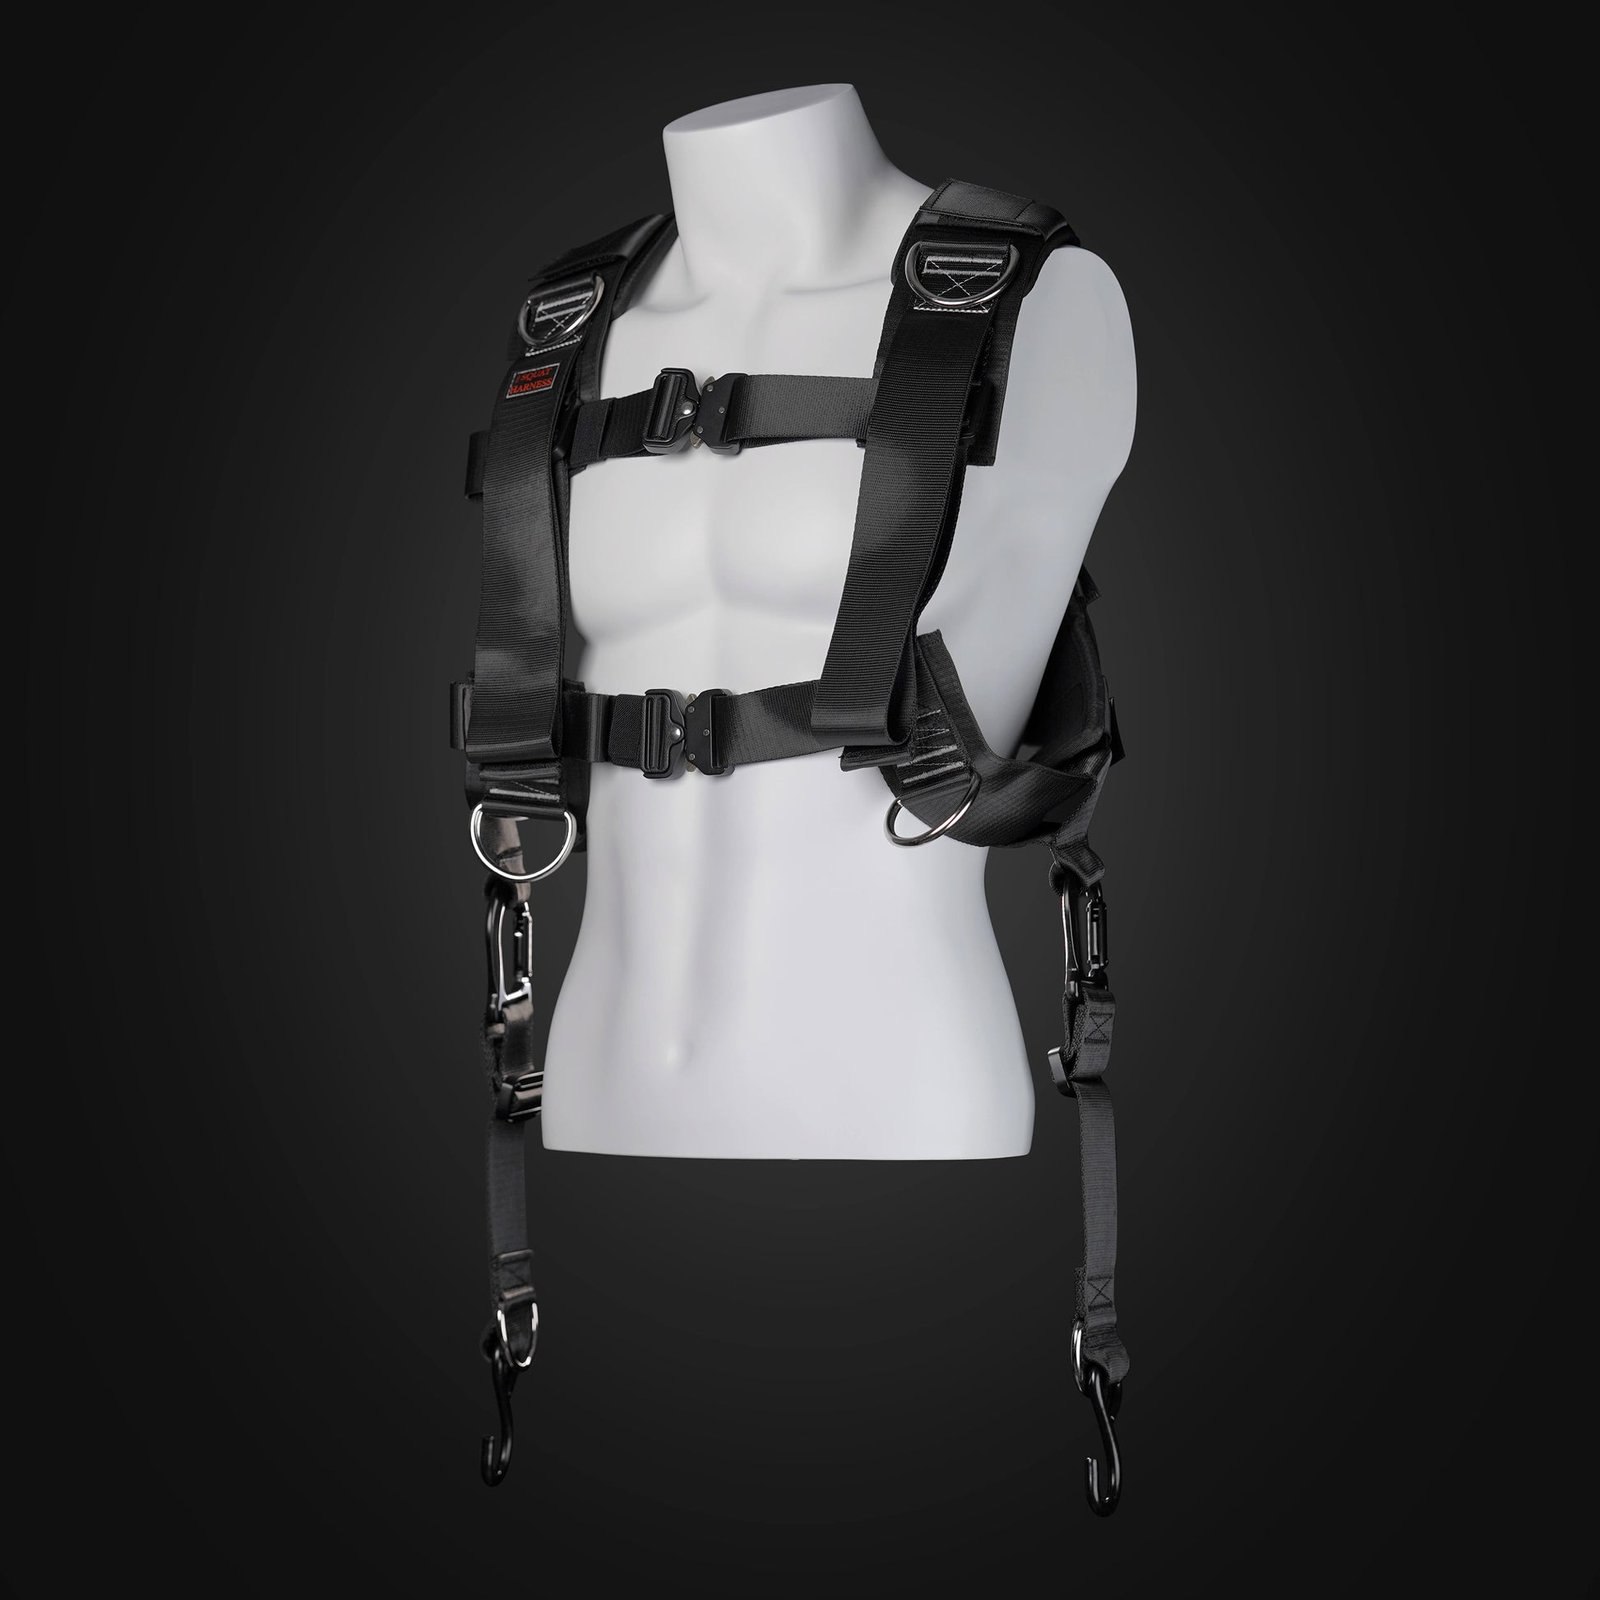
Wearable harness for hands-free cable squats, sled work, and lower-body training.

Studio V-Squat
Plate-loaded V-squat machine for supported lower-body strength training.

Leg Press/Hack Squat BPR-790
Convertible 45-degree leg press and hack squat machine with a broad footplate and band pegs.

GymPin Squat Wedges
Non-slip 15-degree squat wedges help elevate the heels for deeper quad-focused squats.


Rubber Hex Dumbbells
Rubber-coated hex dumbbell pairs with a stable shape for home and commercial strength training.

Some product links may be affiliate links, which can support Mind Muscle Perfection at no additional cost to you.