Advertising disclosure: This page includes affiliate product links that may earn us a commission, as well as products from our own store.
Shoulder Press Machine: Seat Height, Grip Choices and a Six-Week Plan
The shoulder press machine is easy to load and surprisingly easy to set up badly. Two lifters can use the same weight stack while performing completely different repetitions because their seat heights, handle positions and ranges do not match. The goal is not to find the machine’s largest number; it is to find a repeatable press you can progressively load.
This guide gives you a simple calibration routine, explains which grip differences actually matter, and provides a six-week training plan that leaves room for lateral raises, rear-delt work and free-weight practice. The machine can be excellent for hard shoulder sets without being a magic shortcut.
1. What a shoulder press machine actually trains
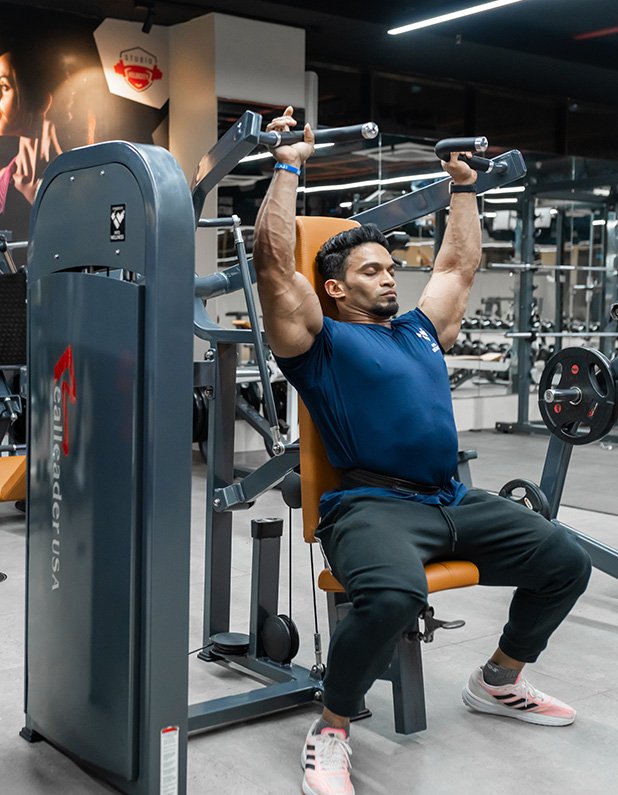
The front portion of the deltoid helps bring your upper arm forward and upward. The side deltoid contributes to the upward movement, while the triceps extend the elbow. Upper-chest fibers can contribute depending on the handle path and torso angle. Your rotator cuff works to keep the upper arm centered as the load moves. The machine does not turn every shoulder muscle into an equal participant; pressing is not a substitute for deliberate side- and rear-delt training.
Most seated shoulder-press machines give you a guided arc and a supported torso. That reduces the balancing demand compared with pressing two dumbbells overhead. In practice, it makes a machine useful for controlled hard sets at the end of an upper-body workout, especially when no spotter is available. A selectorized stack also makes small load changes or a carefully executed back-off set convenient.
None of this guarantees that one machine perfectly fits every person. A fixed handle path may suit your shoulders or may force an uncomfortable angle. Two commercial machines labeled shoulder press can use noticeably different pivots, seats and starting ranges. Plate-loaded independent-arm equipment may feel quite different from a single shared selectorized stack. Judge the actual fit rather than assuming all machines behave alike.
2. Set the seat and backrest before choosing a load
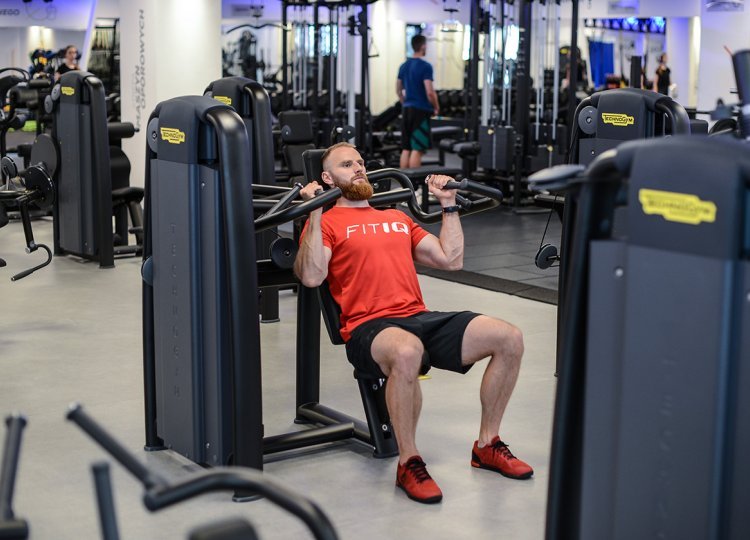
Start with the empty or lightest practical setting. Sit all the way back, put your feet flat on the floor or the provided platform and adjust the seat so the handles begin approximately at shoulder level, or slightly above if that feels better. Your forearms should approach vertical at the bottom. Wrap the thumbs around the handles, then look straight ahead with your chin neutral.
A seat that is too low often places the handles near your ears before you even begin; you have already lost part of the intended bottom range. A seat that is much too high can place your elbows uncomfortably far below your torso. Find a position where you can reach the handles without wrenching the upper arms backward and keep the shoulder position under control when the weight is unloaded.
Do three test repetitions at a light weight. Watch whether your wrists stack over the forearms, whether the handles clear the shoulders smoothly, and whether the head remains still. If you feel a sharp pinch or need to twist your torso, stop and change the setup. A different grip, a slightly altered seat position or a different machine is a better answer than forcing through pain. Record the seat notch and handle pair in your training log.

Equipment Worth Exploring
Explore equipment, accessories and gear from our carefully selected range.

Lever Arm Multi Press LMP-650
Multi-press with independent lever arms and an integrated adjustable bench for upper-body training.

Multi Pull Smith Rack MPHR-780
All-in-one rack with a Smith machine, functional trainer, lat pulldown and low row.

VForce 3IN1
All-in-one rack combining an adjustable Smith machine, functional trainer, and free-weight station.

VForce 2IN1
Half rack and pivot-arm functional trainer with switchable 1:1 and 2:1 pulley ratios.

VForce 3IN1 Max
Six-post all-in-one rack with Smith machine, functional trainer, and variable-force cables.

VForce Wall Trainer
Space-saving wall-mounted functional trainer with pivoting cable arms and variable resistance ratios.


FID Bench MAX
Adjustable bench offering flat, incline, and decline positions + adjustable headrest.

Multi Bench MBX-650 2.0
Adjustable multi-bench with roller adjustment, 15 backrest positions and accessory mounts.

3. Neutral, overhand and independent handles: what changes?
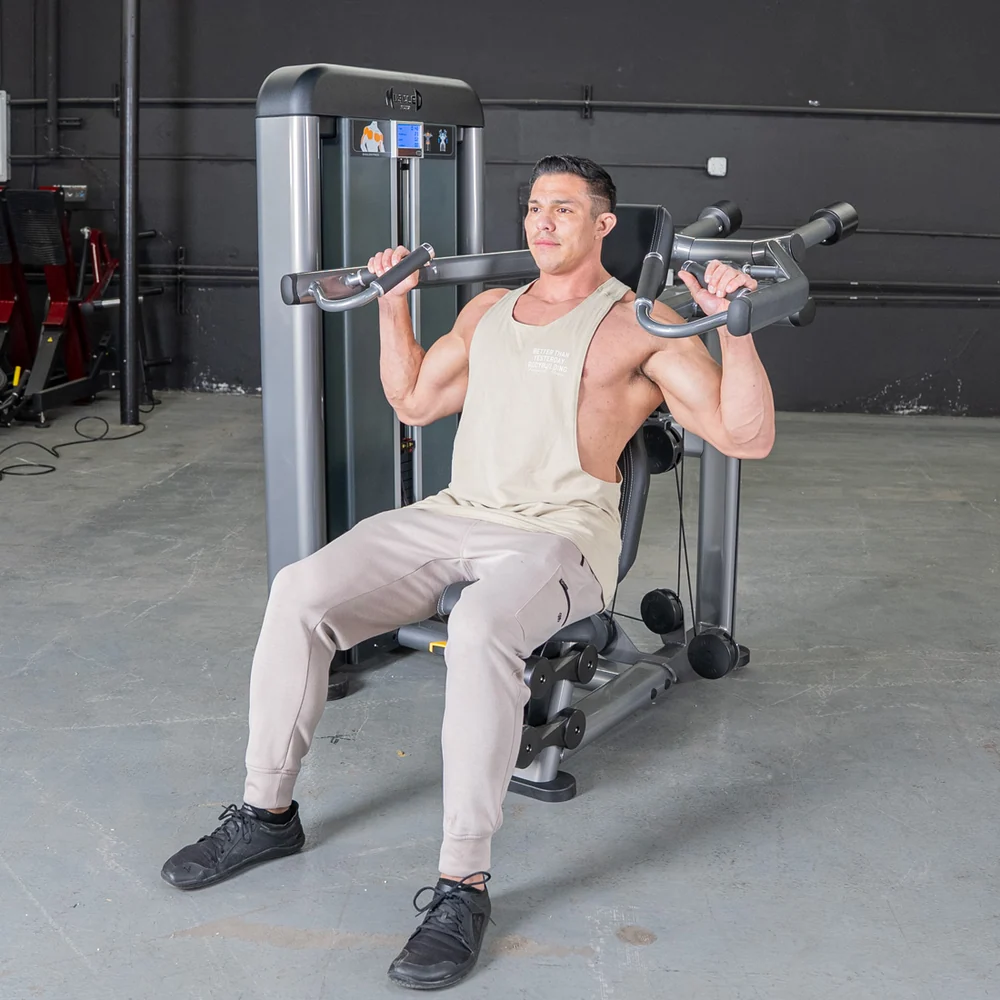
Neutral handles point your palms toward one another and often let the elbows sit a little in front of the torso. Overhand handles turn the palms forward and may spread the elbows wider. Neither is universally superior. If both feel comfortable, choose the grip that lets you press through a controlled range with stable wrists. If one position creates pinching, do not treat discomfort as a signal of better muscle recruitment.
The handle trajectory deserves as much attention as the grip itself. Some machines converge as the hands rise. Others travel almost vertically, and some have independent lever arms. With independent arms you can discover whether one side finishes earlier, rotates differently or needs a lower load. Alternating single-arm sets can make the imbalance easier to notice, but they also create a new exercise with its own loading demands.
Be careful with claims that a wider handle automatically creates bigger side delts. In an overhead-press muscle-activation comparison, front-versus-behind-body position and barbell-versus-machine equipment were also different. Those variables cannot be isolated into a simple neutral-grip-versus-overhand verdict. A rear-delt fly or face pull remains a more direct complement to your pressing than attempting to force the machine into an awkward rear-delt exercise.
For an efficient shoulder session, use the machine for the main press, then add a lateral-raise pattern and a controlled reverse fly. These exercises have different jobs. They do not need to compete for the same maximal weight. If one machine offers several handles, change only the grip for a test set rather than changing grip, seat height and load together and losing your comparison.

Bodybuilding Shirts & Workout Gear
Bodybuilding shirts, tanks and gym gear for lifters chasing muscle, size, symmetry and the pump.

Shoulder Press Dost Thou Even Press Medieval Knight Gym Sticker
Give your everyday gear a playful “Shoulder Press” twist.


Progressive Overload Milo Tee
Bring “Progressive Overload Milo Bull” humor to your next gym day.

Is Calling Answer Decline Meme Hooded Hoodie
Bring “Gym Is Calling” gym humor to lazy days and post-workout plans.

Sir Liftalot Gym | Funny Medieval Workout Sweater & Gym T-Shirt
For laid-back days and medieval humor: “Sir Liftalot”.

One of Us One of Us Gym Cult Member Meme Bodybuilding P T-Shirt
Show some gym-day personality with “One of Us One of Us Gym Cult Member”.

Alpha Stoic Bodybuilder : Sigma Meme Shirt T-Shirt
Bring “Alpha Stoic Bodybuilder” humor to your next gym day.

Swole Stoic Sigma Greek God Marble Sculpture Meme T-Shirt
Rep “Swole Stoic Sigma Greek God Marble” humor in and out of the gym.

Irons Gym Hooded Pullover Iron Hero Workout Fans Hoodie
Bring “Irons” gym humor to lazy days and post-workout plans.
4. A repeatable rep, sensible range and five common mistakes
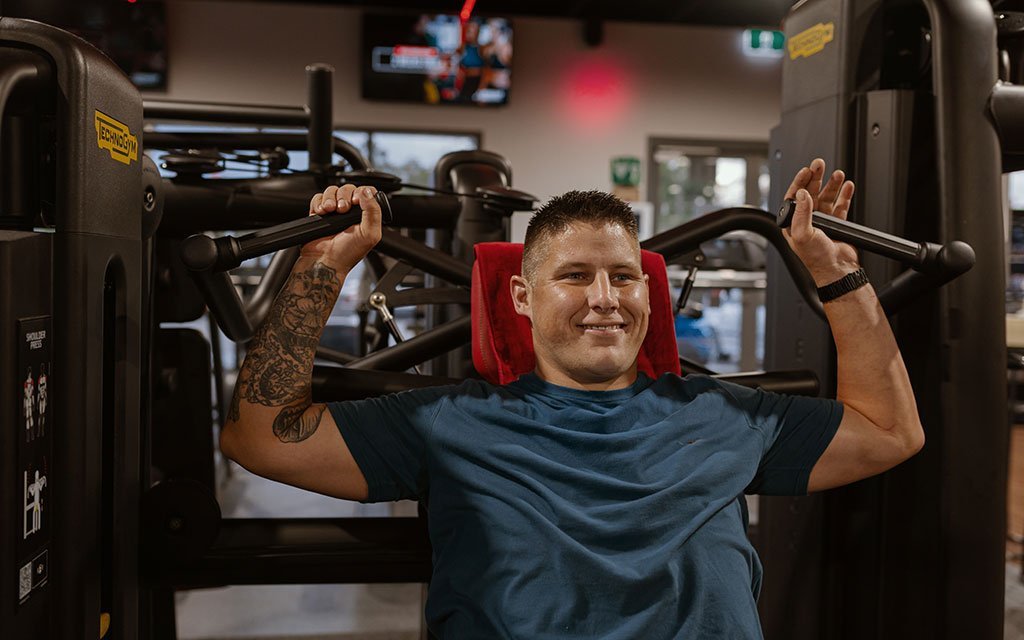
Begin each rep with the trunk supported, feet planted, elbows slightly in front of your body and wrists in line with your forearms. Press smoothly until the arms are nearly straight, without forcing a harsh elbow snap or driving your head backward. Let your shoulder blades move naturally as the arms travel overhead rather than trying to pin the shoulders down at the very top. Lower deliberately to the same comfortable starting point on each rep.
A two- to three-second descent can be a useful pace cue, although no particular second count is magical. Do not slam a weight stack into the resting plates between reps just to claim a bigger set. Briefly control the transition, then press again. Your first and last repetitions should cover broadly the same distance, even when the final reps become slow.
Five frequent faults are easy to check on a short side-view video: a seat set too low that starts the hands above shoulder height; an excessive arch that makes the chest do more of the press; bent-back wrists that place the grip out of line with the forearms; a shrug that begins before the arms push; and a shrinking range as fatigue arrives. Fix one problem at a time. Lower the load first if you cannot maintain the intended movement.
Working toward failure is not compulsory on every set. A sensible default for most training days is to finish with about one to three clean repetitions in reserve, with some harder sets closer to failure when recovery is good. If a shoulder hurts sharply, symptoms travel down the arm, or ordinary movement remains uncomfortable afterward, avoid pushing through that response and seek appropriate professional assessment.
5. A six-week progression and the free-weight alternative
Use two shoulder-focused sessions each week, separated by roughly two or more days when practical. Choose a weight you can lift for eight controlled repetitions without twisting or losing your chosen depth. For weeks one and two, perform three sets of eight to ten machine presses, resting around two minutes between hard sets. Add two or three sets of lateral raises and two sets of rear-delt work. Keep a few good repetitions in reserve while you establish the setup.
In weeks three and four, work within three sets of eight to twelve. When you can complete all three sets at twelve clean repetitions on consecutive sessions, increase the resistance by the smallest sensible increment and return to the lower end of the range. A machine’s displayed stack weight is not necessarily a directly comparable force across manufacturers, so judge progress on the same equipment with the same seat and handle settings.
During weeks five and six, keep the same double-progression rule. If pressing performance and recovery are holding up, you may add a fourth working set to one of the weekly sessions, not both automatically. If you feel beaten up or your rep quality deteriorates, stay at three sets or reduce load for a week. A progression is successful when your execution remains honest, not merely because the stack number rises.
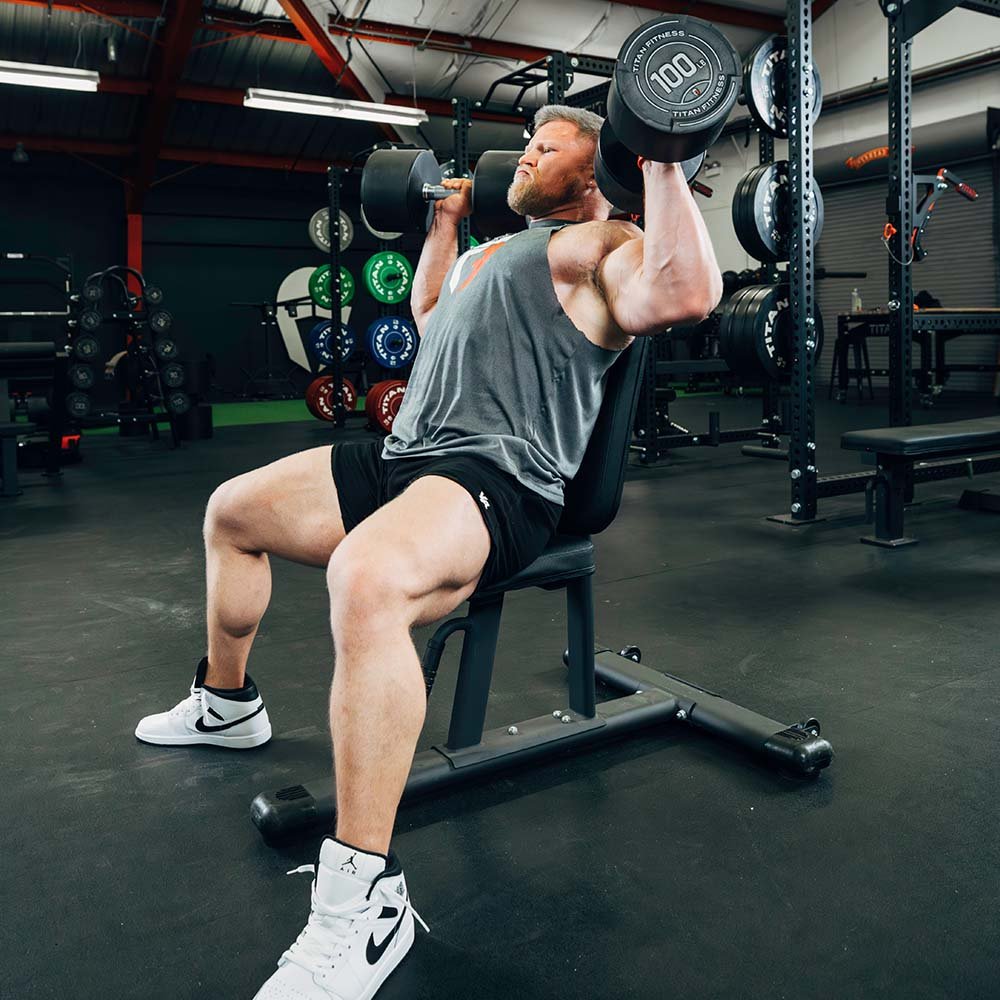
Should you abandon dumbbells? No. A comparison pooling thirteen strength-training studies found no clear hypertrophy advantage for free weights or machines overall, while strength gains showed specificity to what people practiced. That does not prove every shoulder press grows identically. It means the equipment choice can reflect comfort, skill goals and access. A machine is convenient for stable fatigue-focused pressing; dumbbells let each arm find its own path and build free-weight coordination. A Smith press has a fixed rail path, so bench placement matters. You can rotate tools between training blocks rather than trying to use all of them in every workout.
Finish with a simple log: machine model, seat notch, grip, load, reps, whether the bottom range remained consistent, and any shoulder discomfort. This turns six weeks of sessions into a meaningful comparison and gives you a better basis for the next block than a single flattering personal record.
Equipment Worth Exploring
Explore equipment, accessories and gear from our carefully selected range.


Rubber Hex Dumbbells
Rubber-coated hex dumbbell pairs with a stable shape for home and commercial strength training.


VOLTRA
Compact digital cable trainer with smooth, adjustable resistance.

Go-Tone Pro
Portable digital cable trainer with up to 66 lb (30 kg) of adjustable resistance.

Pec Fly/Rear Delt PEC-650
Combination machine with adjustable movement limits for chest fly and rear-delt exercises.
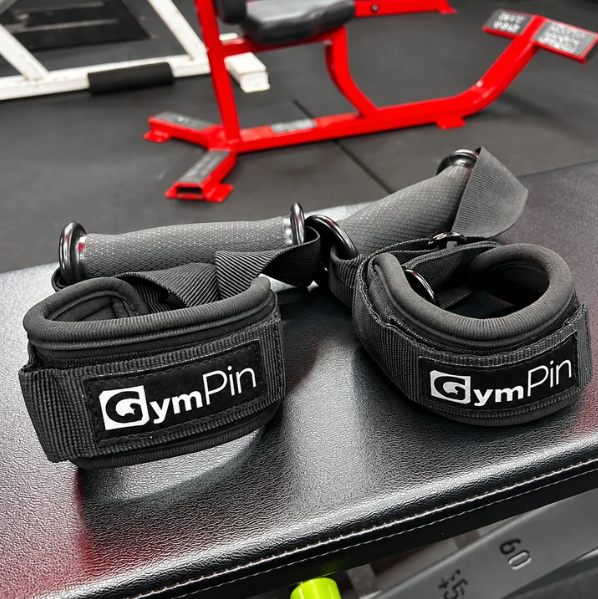
GymPin D Cuffs
Adjustable wrist cuffs with textured grips for supported cable-machine exercises.
Some product links may be affiliate links, which can support Mind Muscle Perfection at no additional cost to you.