Advertising disclosure: This page includes affiliate product links that may earn us a commission, as well as products from our own store.
Box Squats: Choose Your Box Height, Control the Pause and Build Strength
A box squat is not a regular squat with furniture underneath you. The box sets a reference point, and a controlled pause can change how you produce force from the bottom. Both benefits disappear if you crash onto the surface, rock forward to stand, or raise the box whenever the weight increases.
Here is a practical guide to choosing height, setting up a rack, using a repeatable pause and building a six-week progression. The goal is a stronger squat pattern—not a heavier number made possible by cutting the range of motion.
1. Box squatting and squatting to a box are not the same drill
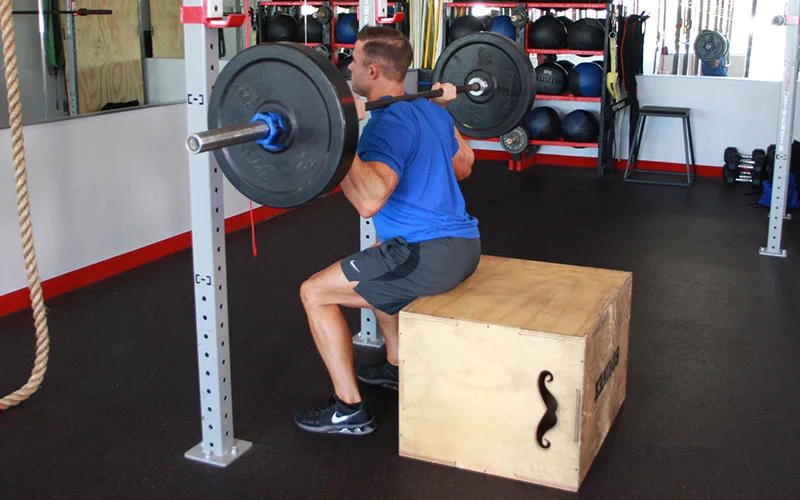
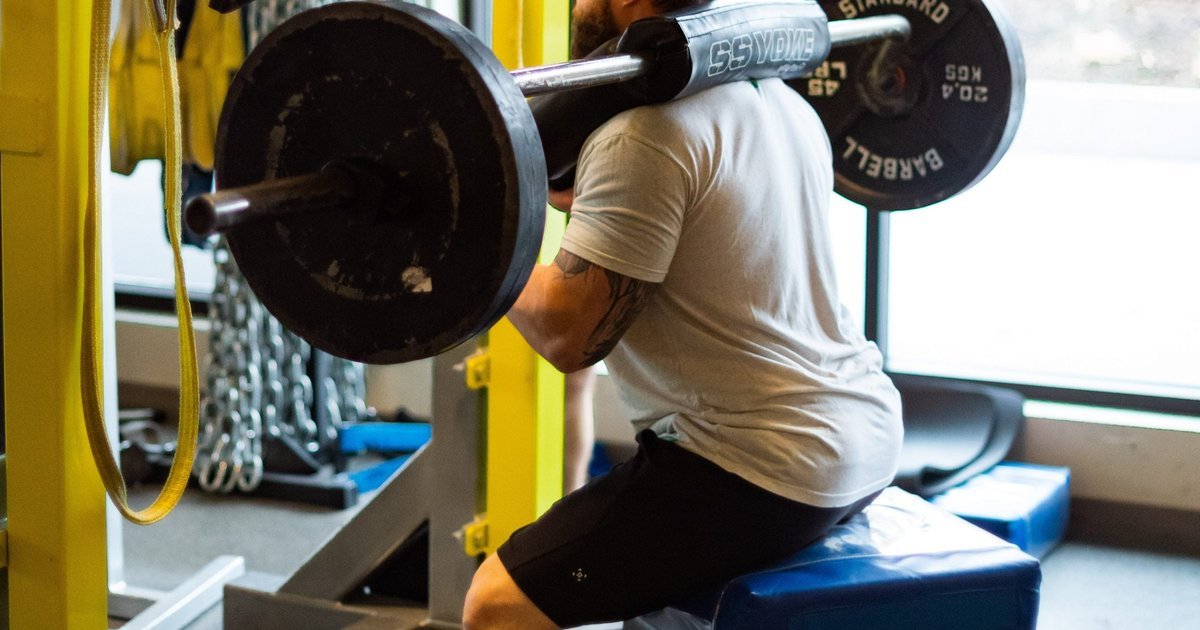
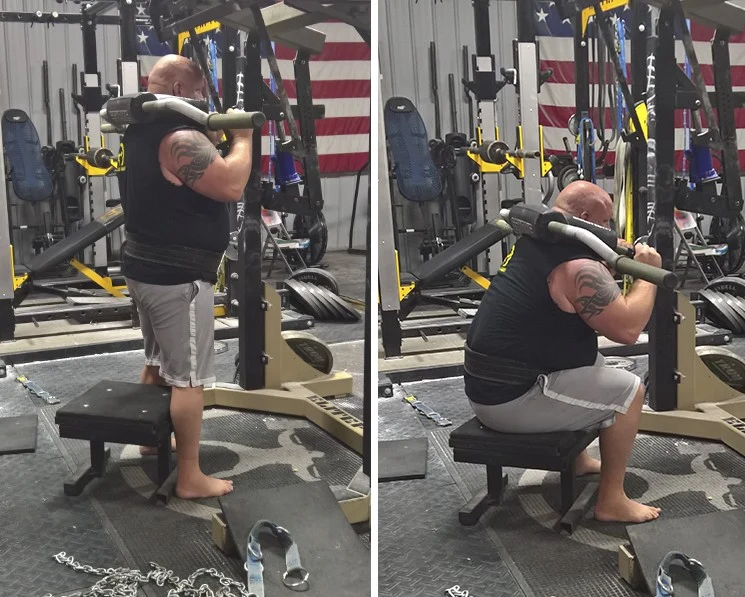
A box can turn a squat into two different exercises. In a true paused box squat, the athlete deliberately sits back to the target, makes controlled contact, stops briefly and drives upward while keeping the trunk rigid. In a squat to a box, the box may be only a depth reminder: the lifter touches it lightly and rises without meaningfully transferring weight onto it. Both are useful, but they change the repetition in different ways.
The distinction matters because a fixed object is not automatically a pause. Touching the top of a box for a fraction of a second preserves much of the rhythm of an ordinary squat. Sitting with control and spending a measured second stationary makes the ascent more demanding because some of the rebound from the descent is lost. Neither style has to use a dramatically wide stance; the setup should match the reason you are doing it.
Powerlifters sometimes use a farther-back hip pattern to practice producing force from a stopped position. A newer lifter may need a more familiar squat pattern with modest knee travel and a higher box simply to establish a dependable depth. For a bodybuilder, a box squat can be a secondary strength exercise, but it does not replace every deeper squat, split squat or leg press used to train quads through comfortable ranges.
Before your first set, choose the purpose. Are you practicing a pause, learning to find the same depth, or managing a temporary range restriction under guidance? Write that answer in your training log. It determines where the box belongs, how long contact lasts and whether you should compare today’s load with a conventional back squat. Treat the two numbers as different lifts rather than chasing a box-squat personal record with a progressively taller box.
2. Set the box height and rack before you add plates
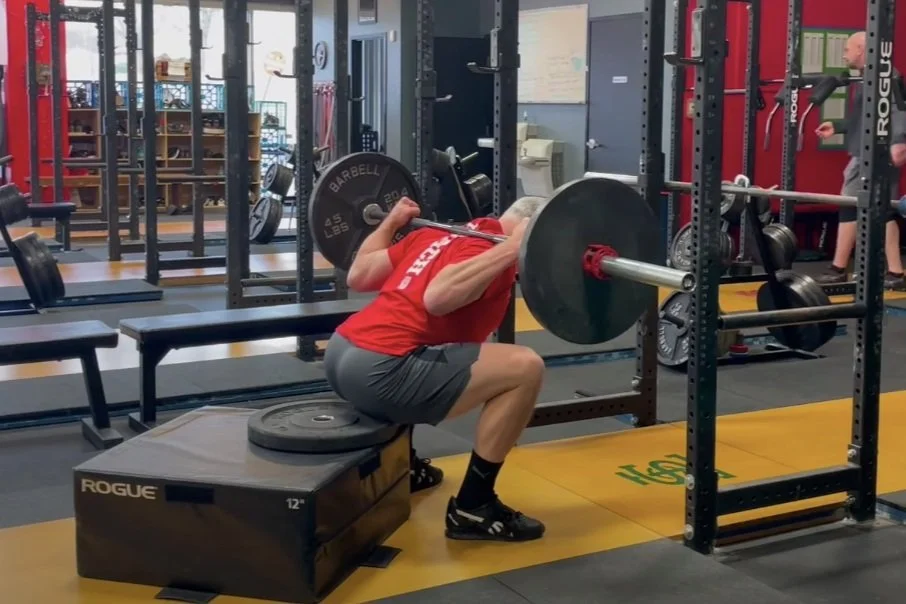
Start with a stable squat rack, a securely placed platform and a bar height that lets you unrack with a small, deliberate knee extension. Set the safety arms or straps below your lowest intended bar position while making sure they can still catch a missed lift. The box should not slide, tip, compress unpredictably or have loose stacked plates. A purpose-built squat box or sturdy plyometric platform is preferable to an unstable chair.
Measure height by what your hips and knees actually do, not by a universal inch number. Put an empty bar on your back, walk out and descend under control until your hips meet the top of the box. Film a rep from the side. A starting target near parallel may suit many trained lifters, while a higher target can be a sensible technique step for someone who currently lacks control at lower depth. If you use a box above parallel, record that limitation honestly.
A box that is too low can pull you into posterior pelvic tilt, an abrupt forward lean or a collapse you cannot control. A box that is too high shortens the movement and may allow much heavier loads that do not carry the same training stimulus as a full-range squat. Reassess height if you change shoes, stance width or bar position; a few centimeters can change whether you are actually pausing near your intended position.
Keep enough distance from the rack uprights to clear the bar, but do not walk backward so far that returning to the hooks becomes a separate workout. Place the box where your hips naturally reach it on a controlled descent, and practice three unloaded repetitions to confirm that the target is exactly where you expect. Record the box height, shoes and stance width once the setup feels repeatable. Those details are as important as the load on the plates.

Equipment Worth Exploring
Explore equipment, accessories and gear from our carefully selected range.


Foldable Wall Rack
Wall-mounted folding squat rack designed to save floor space between workouts.

Multi Pull Smith Rack MPHR-780
All-in-one rack with a Smith machine, functional trainer, lat pulldown and low row.


Safety Squat Handles
Barbell squat handles that reduce shoulder positioning demands during high-bar squats.


Competition Plates
Competition-style bumper plates for Olympic lifts and loaded strength training.

Grip Plates
Rubber-coated weight plates with handholds for loading barbells and machines.

3. Descend, pause and stand without collapsing or rocking
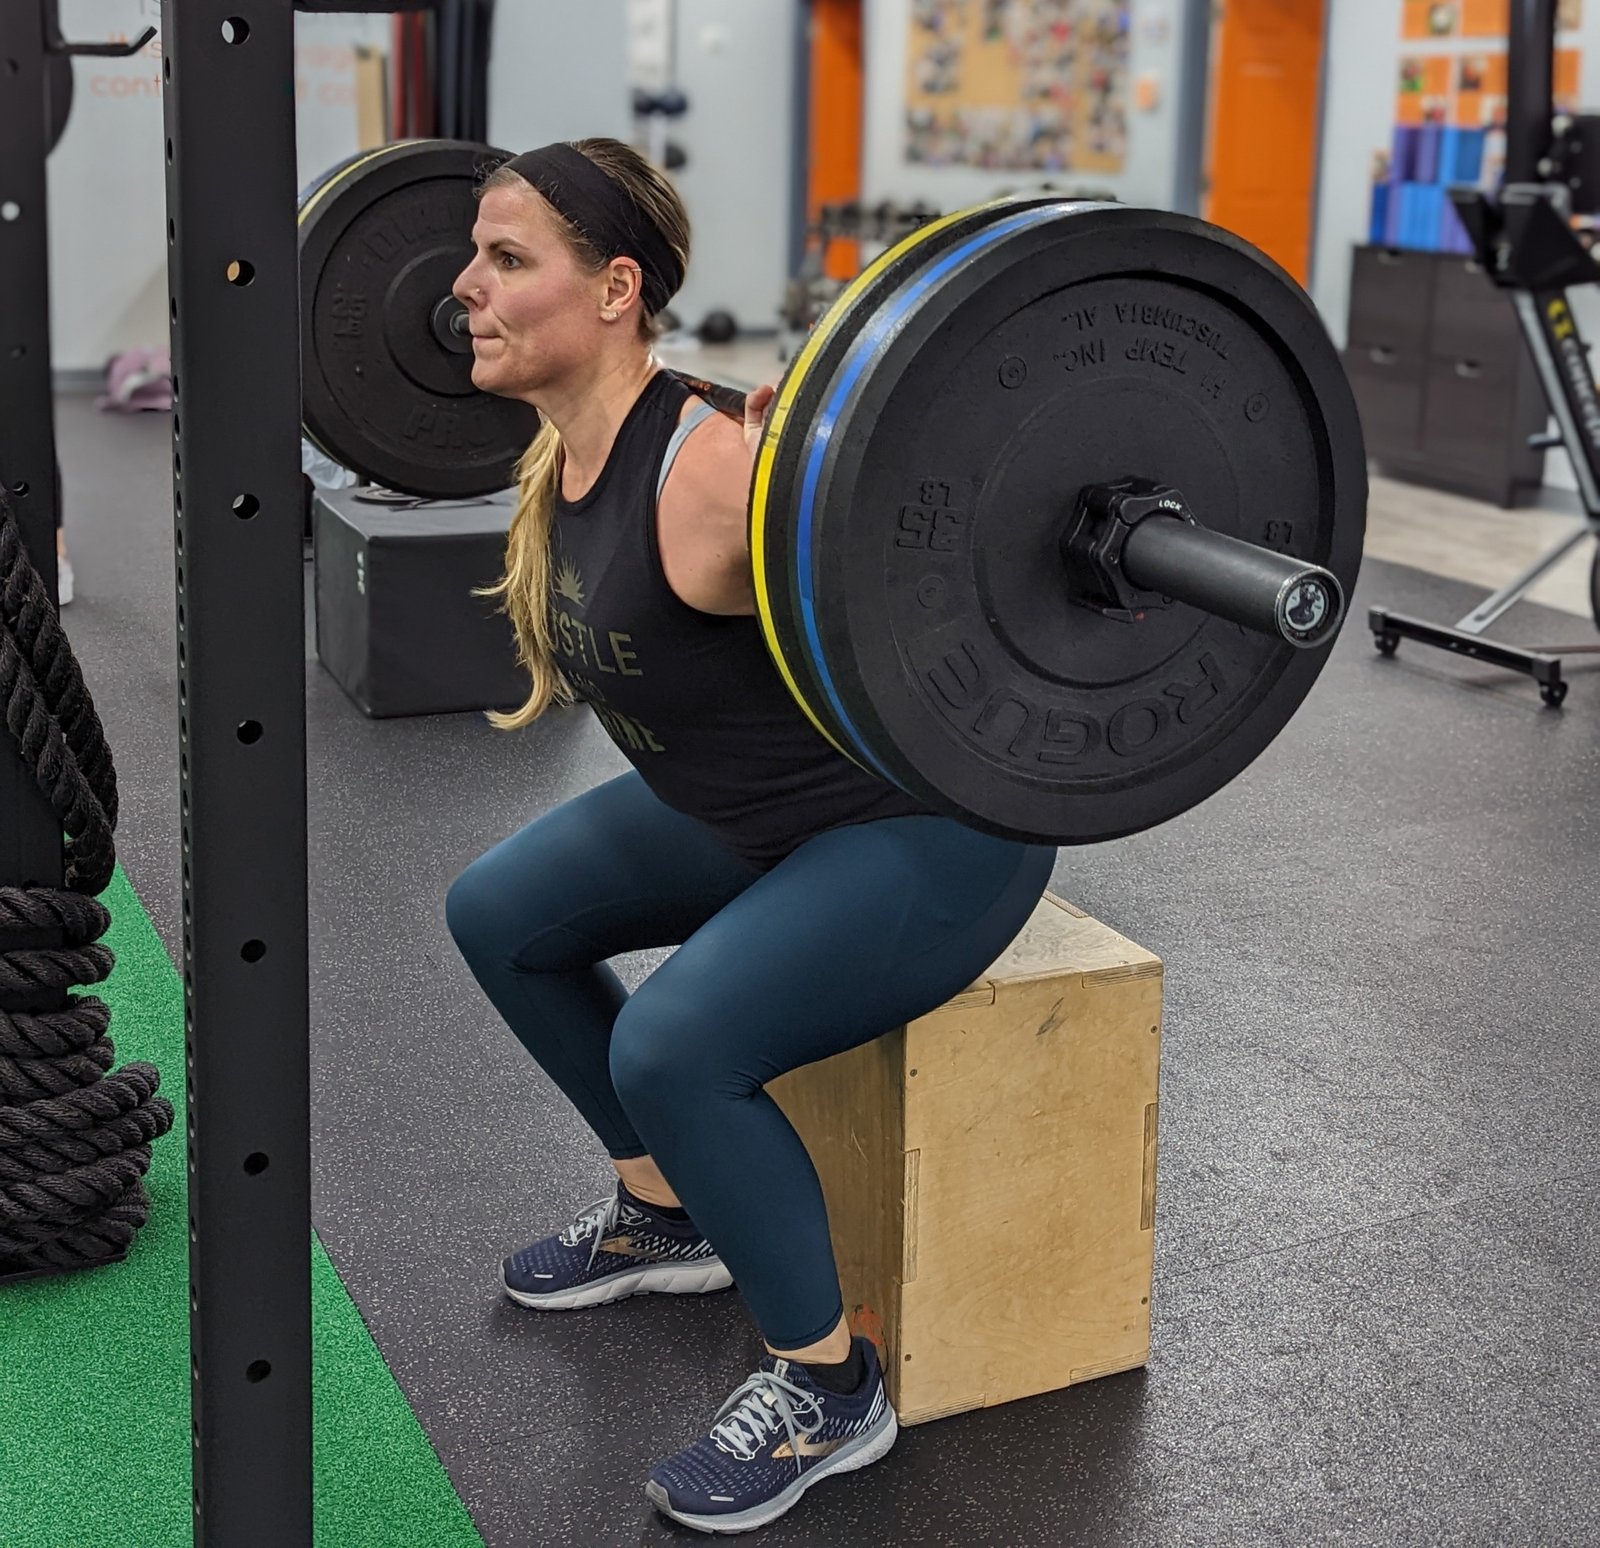
Take the bar out of the rack, set your feet and breathe into a firm abdominal brace. Bend through the hips and knees together at a pace slow enough to find the box without searching backward with your eyes. Keep the whole foot grounded. It is fine for the torso to incline with the hip movement; the goal is a controlled and consistent relationship between the pelvis, ribcage and bar.
As your hips approach the surface, resist the impulse to drop the last few inches. Make contact quietly. For a paused box squat, settle just enough to establish a true stop without losing your torso position. A pause of about one second is an easy starting standard; count it consistently, rather than turning a heavy set into random touch-and-go reps. You can practice a two-second pause later, but first make the one-second version solid.
The two mistakes at the bottom are opposites. Bouncing your hips off the edge turns the box into a spring and adds an abrupt impact. Leaning back onto it and then throwing your chest forward turns the movement into a rocking start. Neither produces the controlled muscular effort the drill is intended to build. Keep your trunk firm, maintain your foot pressure and think of moving the bar vertically as your legs and hips extend together.
Drive upward as decisively as good form allows, without trying to jump or letting your heels lift. An explosive intent is compatible with a bar that moves slowly under a challenging load. Stop the set if the pause becomes a crash, your torso changes position substantially, or your knees cave inward from a position you cannot correct. A crisp set at a lighter load gives you a better baseline than a maximal set rescued with momentum.

Powerlifting Shirts & Lifting Gear
Powerlifting shirts and gym gear for squat, bench and deadlift lifters who live for heavy numbers.

7 Plates Squat Club Shirt – Meme & Leg Day Gains T-Shirt
Rep “7 Plates Squat Club” humor in and out of the gym.

Meme : Squat Rack Top Home T-Shirt
Make gym days more fun with “Powerlifting Gym Meme” style.


Don'T Fart Squats & Leg Day Meme Hoodie
Show off your leg-day humor in a laid-back “Don't Fart Squats” hoodie.

Platehead Powerlifting Tee
Heavy lifts, good laughs, and a little “Platehead Gym Skull” energy.

Heavy Metal Skeleton Squat for Powerlifting, Bodybuildi T-Shirt
Show some gym-day personality with “Heavy Metal Skeleton Squat”.

Ultimate : Meme Squat Rack Gains & Humor T-Shirt
Rep “Ultimate Powerlifting” humor in and out of the gym.

Squat Bench Deadlift Pet Dogs Shirt Dog Lovers T-Shirt
Make gym days more fun with “Squat Bench Deadlift Pet Dogs” style.


4. Make your stance, brace and spotting plan repeatable
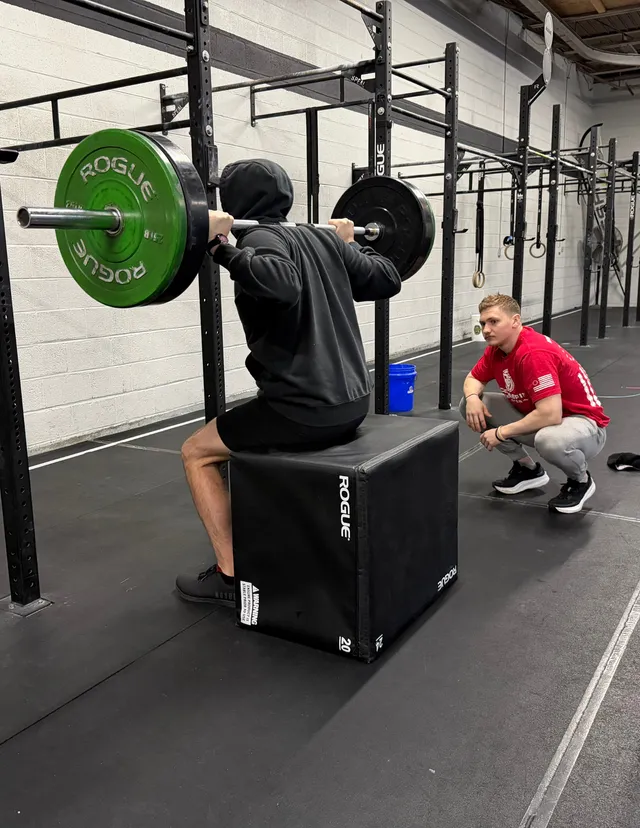
Use a stance in which your feet stay planted, knees track roughly with the direction of the toes, and the hips can meet the box without an exaggerated reach. Some athletes prefer a wider stance and more vertical shins; others need moderate knee travel. Do not force one person’s powerlifting position onto every trainee. If widening the stance makes your knees or hips uncomfortable, narrow it and retest the box height.
Brace before each repetition as if you are preparing to receive a gentle shove, keeping your ribcage stacked over the pelvis. Your upper back should support the bar without collapsing, and your head can remain in a neutral position. If you wear a belt, use it as feedback for abdominal pressure rather than relying on it to hold your posture for you. Breathe and reset deliberately between challenging repetitions.
Always squat inside the rack when available. Set the spotter arms to protect you if you cannot rise. A trusted spotter may help, but the spotter is not a replacement for correctly positioned safeties. Do not assume that a box under your hips will catch the bar if the lift fails; the load can still pin or pull you into an awkward position. Test your bail-out plan with an unloaded bar before working heavy.
Check the contact surface too. A slippery cushion, a rolling bench or loose stacks of plates can shift at the worst moment. Keep the gym floor clear, use collars when appropriate and avoid a box so wide it interferes with your legs or forces you into an unnatural stance. When you train alone, leave extra repetitions in reserve and choose a controlled working weight. A technically tidy paused triple is more valuable than a near-maximal attempt that ends with a wobbling box.
5. When box squats help—and when a free squat is the better tool
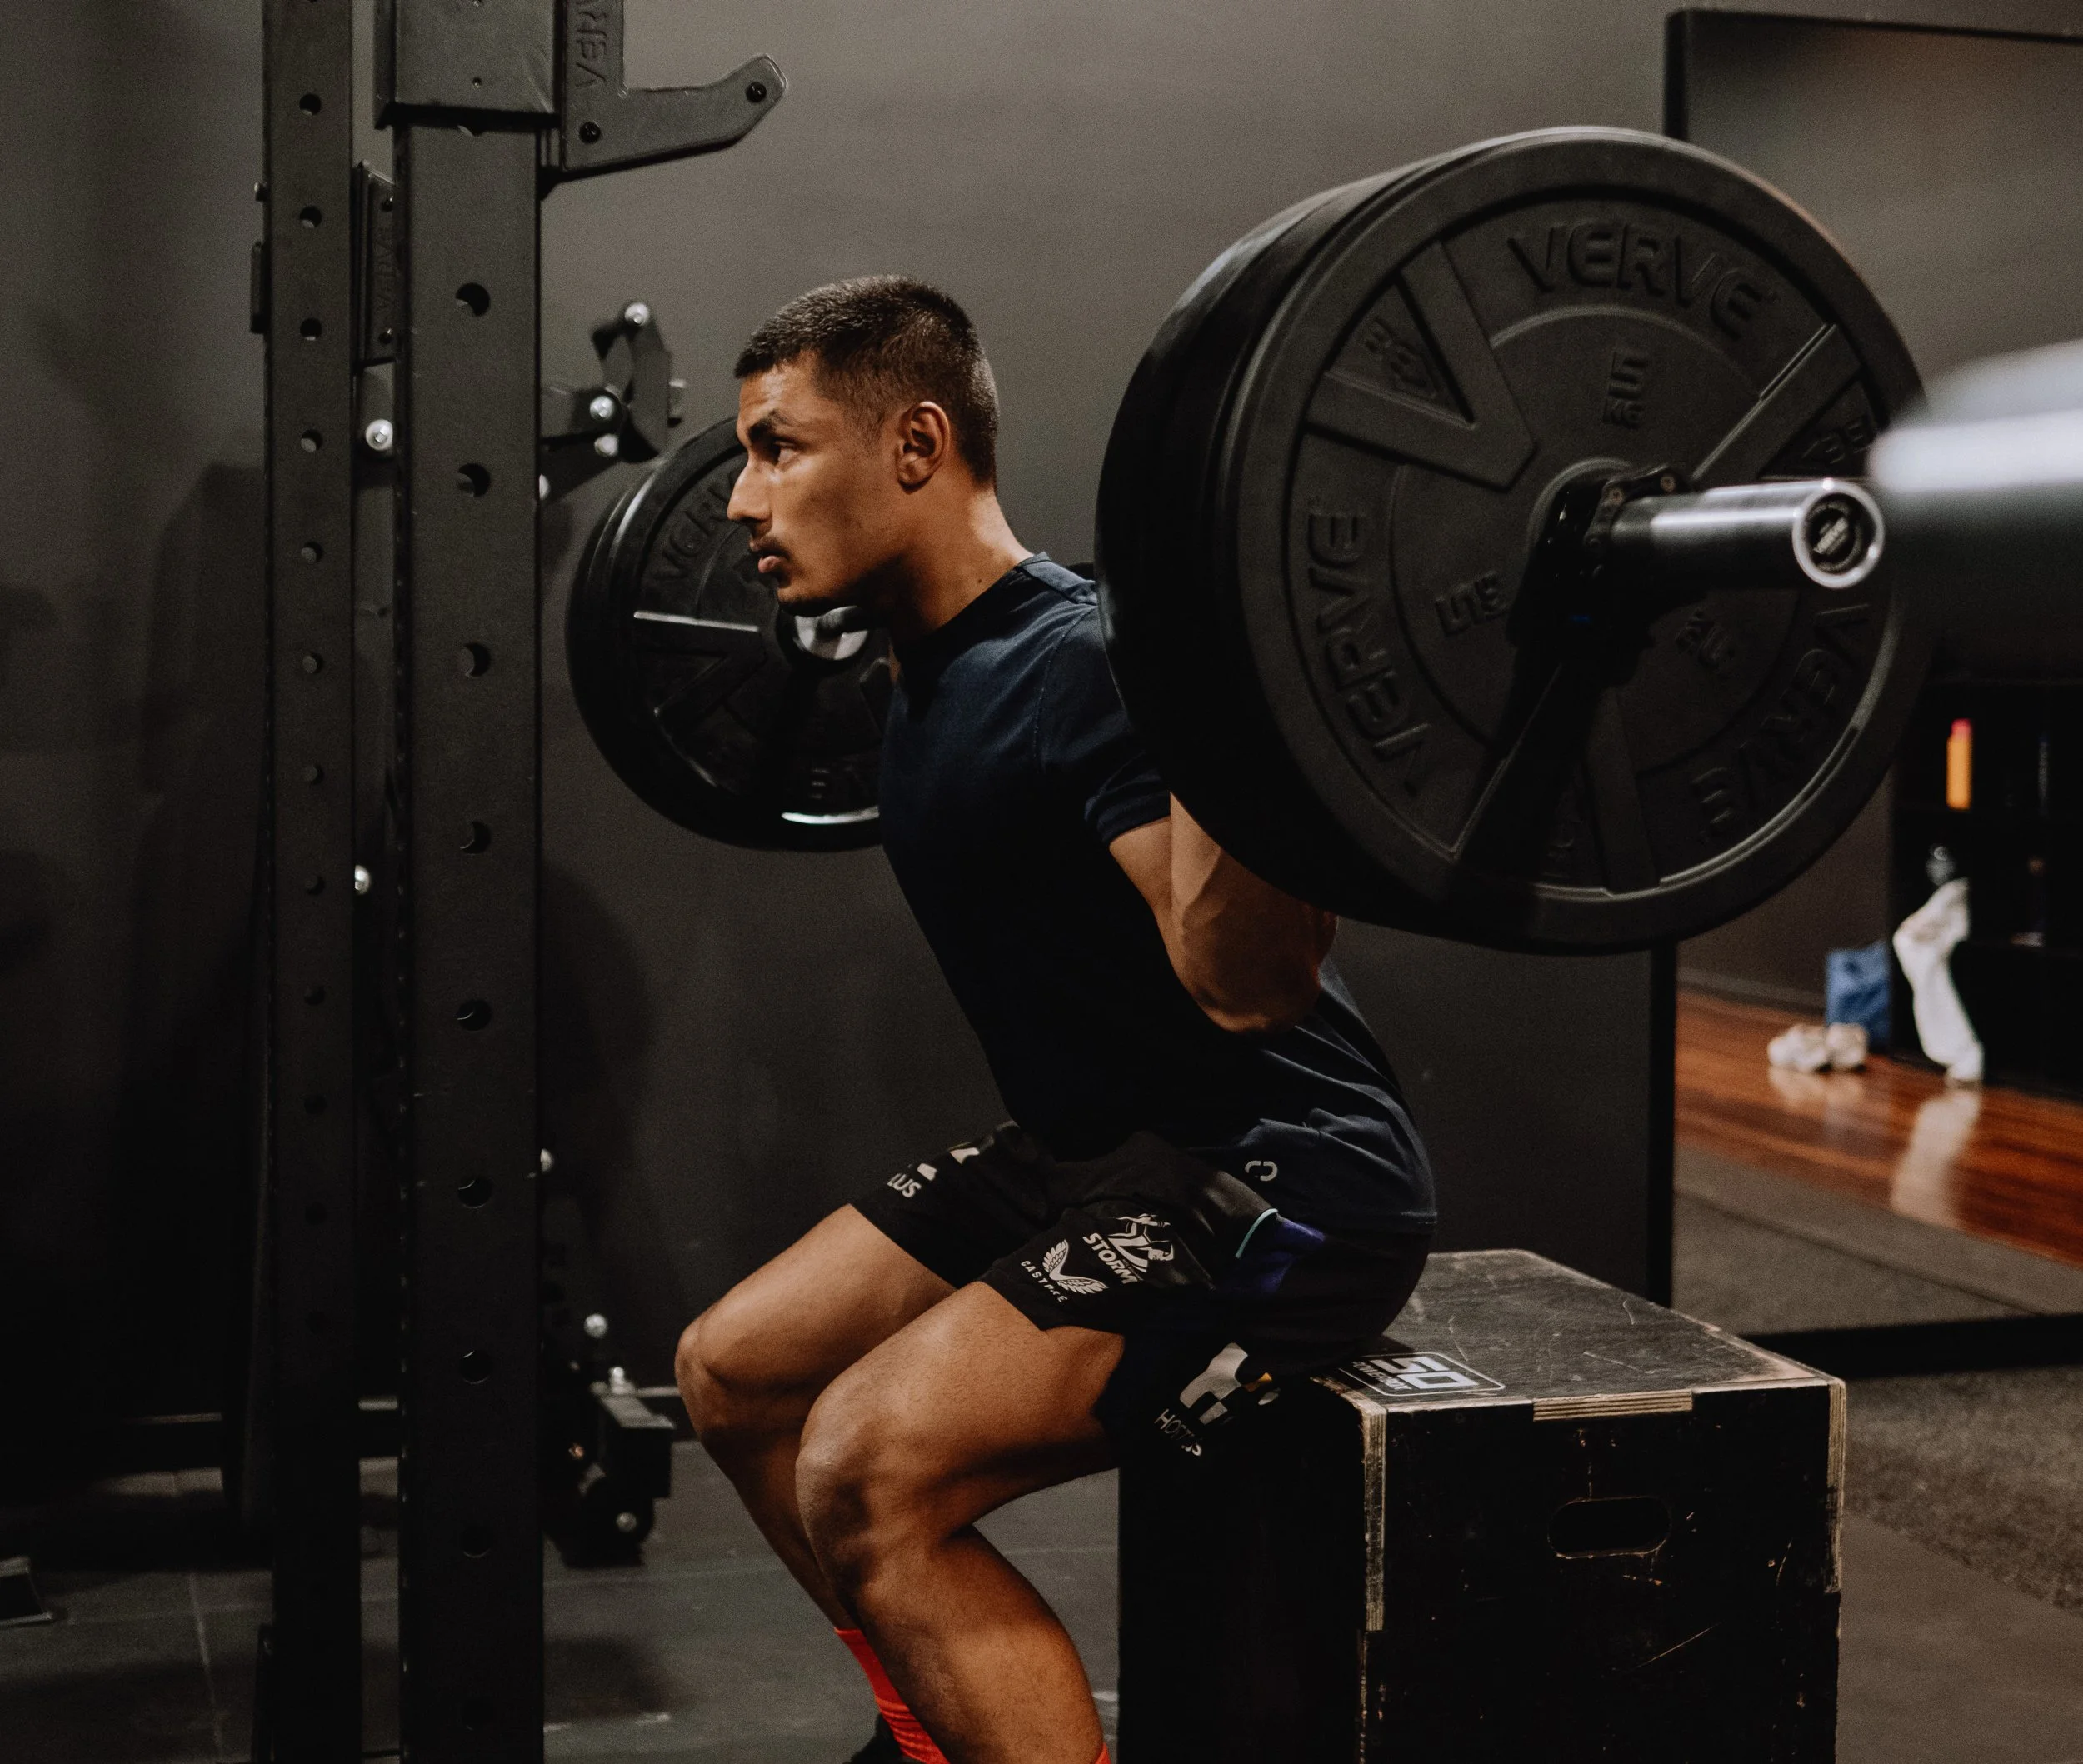
Box squats are especially useful when you want a consistent reference for depth or a deliberate stop before the ascent. The box gives feedback without requiring you to guess whether a heavy repetition went lower or higher than the previous one. It can also teach you to stay organized during a pause. These are training advantages, not proof that the movement is universally better or safer than squatting freely.
Your main goal should still shape your exercise menu. For general leg hypertrophy, full-range squats, hack squats, leg presses and split squats can provide important stimulus in comfortable ranges of motion. For competition squat practice, a free barbell squat remains necessary because there is no box on the platform. Box squats work well as an accessory alongside these patterns rather than as a compulsory replacement.
A paused box squat and a paused free squat are related but not interchangeable. In the latter, your legs support the entire weight while you hold the bottom position; on the box, some weight may transfer to the surface. A pin squat begins from safety pins and has different positioning demands. A machine squat stabilizes the path differently again. Choose between them according to the skill and muscular demand you want, not because one looks tougher in a video.
Equipment should follow the plan, not dictate it. A stable rack, safe bar path and appropriate barbell are more valuable for this lift than an elaborate set of attachments. Squat wedges may suit certain lifters, but they change ankle and knee positioning and are not an automatic solution for poor box placement. A plate-loaded squat machine is an option for training legs when a box squat is not practical, though its load numbers should never be compared directly with barbell work.
Equipment Worth Exploring
Explore equipment, accessories and gear from our carefully selected range.

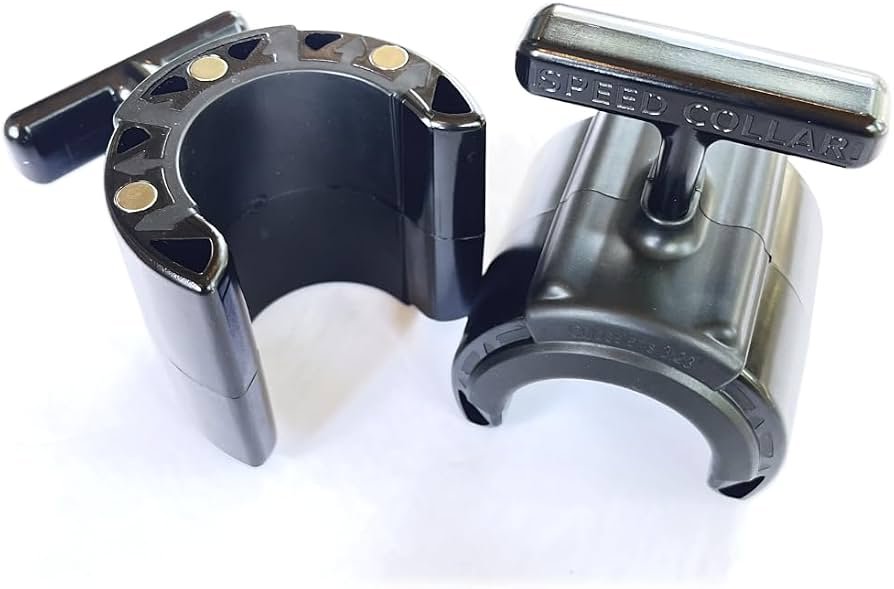
Speed Collar
Quick-release collars designed to secure weight plates on standard two-inch Olympic bars.
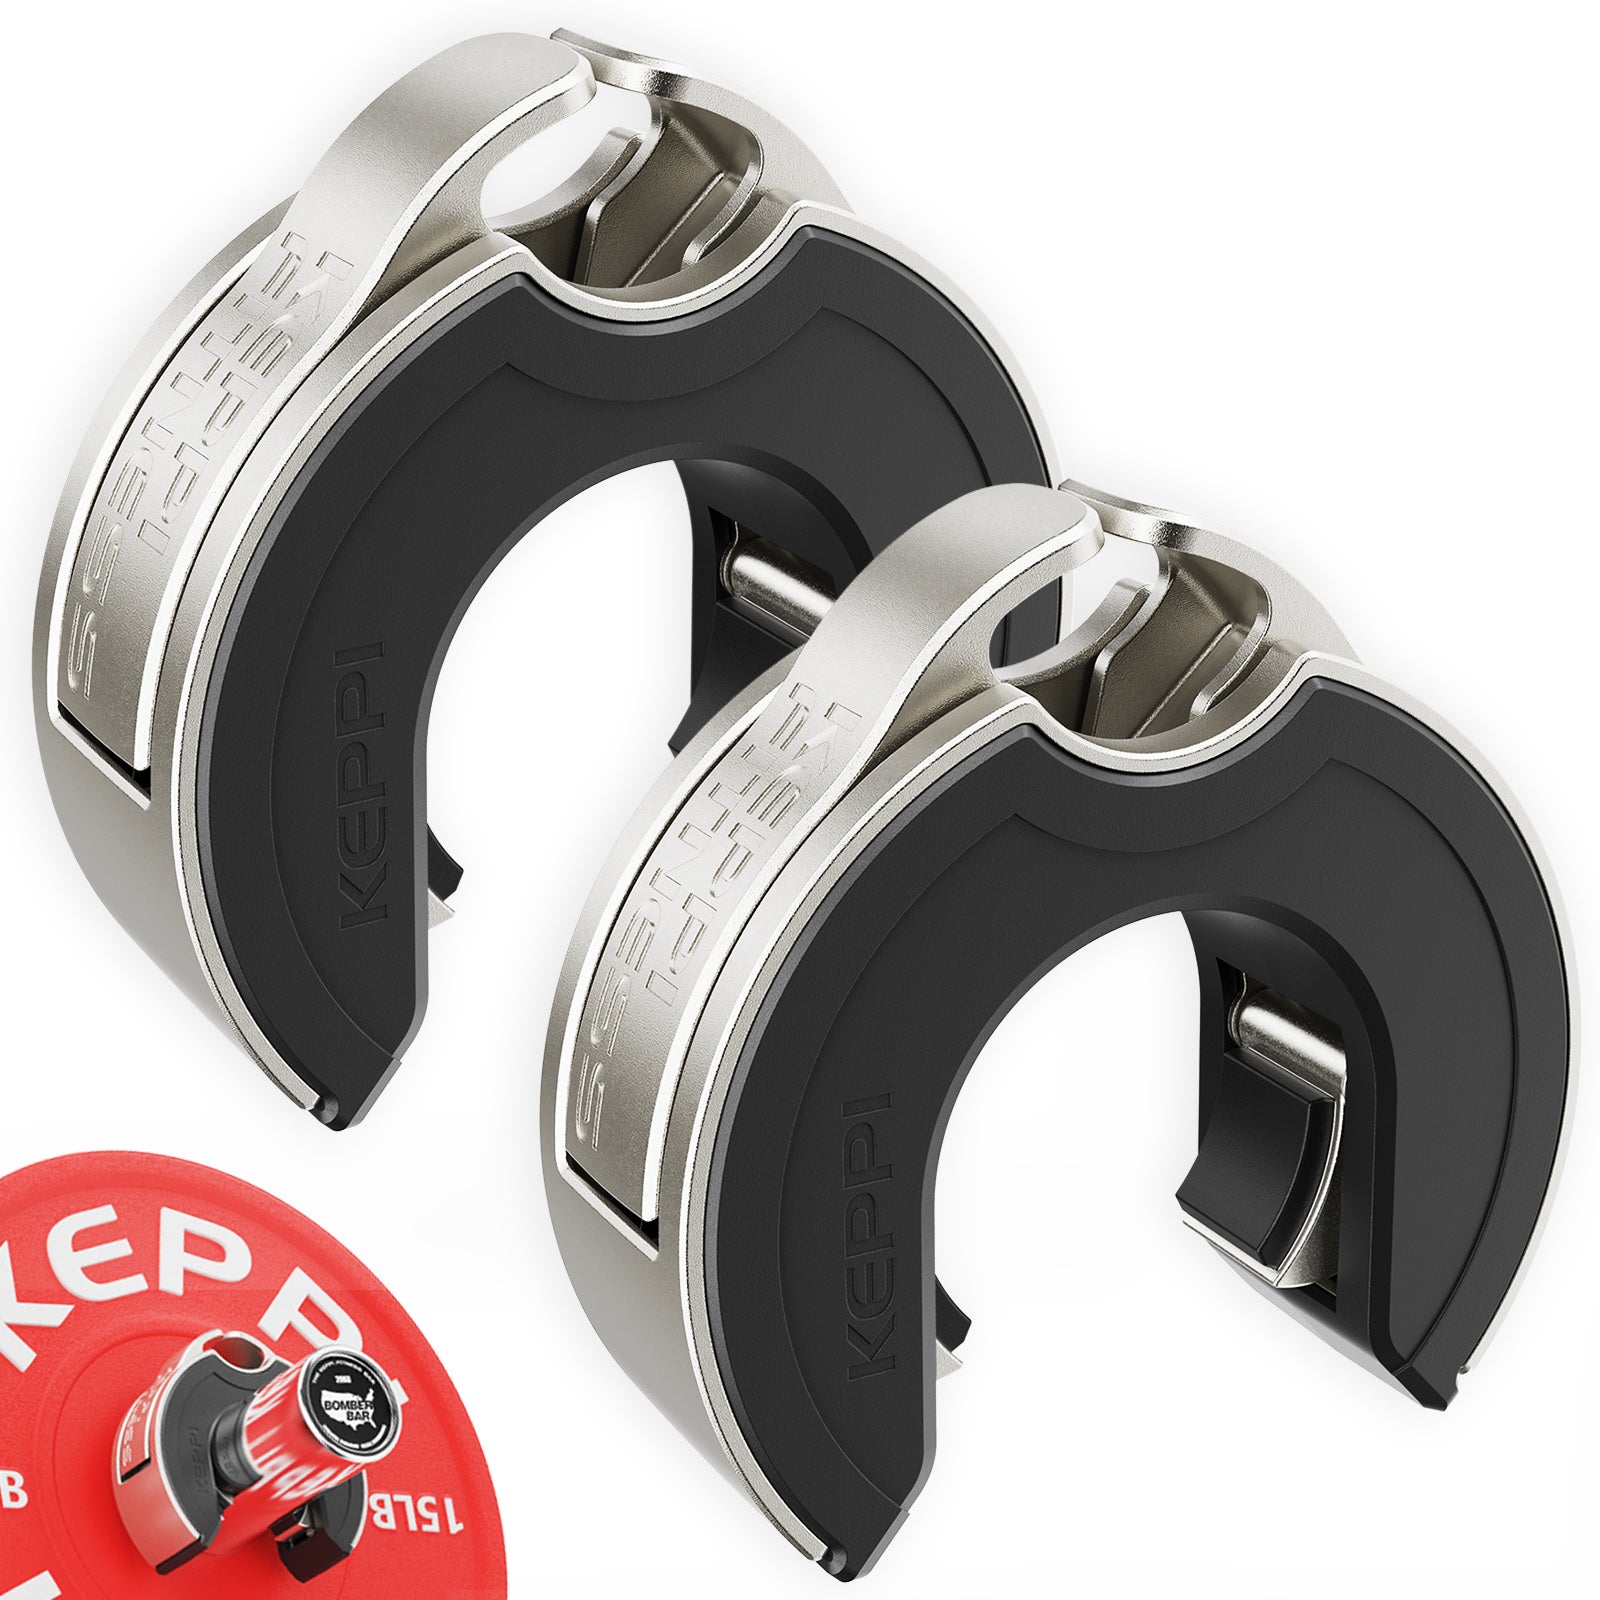
Keppi Open Collars
C-shaped magnetic Olympic barbell collars with a quick-lock mechanism and grippy lining.


GymPin Squat Wedges
Non-slip 15-degree squat wedges help elevate the heels for deeper quad-focused squats.

VForce 2IN1
Half rack and pivot-arm functional trainer with switchable 1:1 and 2:1 pulley ratios.

VForce 3IN1
All-in-one rack combining an adjustable Smith machine, functional trainer, and free-weight station.

Studio V-Squat
Plate-loaded V-squat machine for supported lower-body strength training.

Leg Press/Hack Squat BPR-790
Convertible 45-degree leg press and hack squat machine with a broad footplate and band pegs.
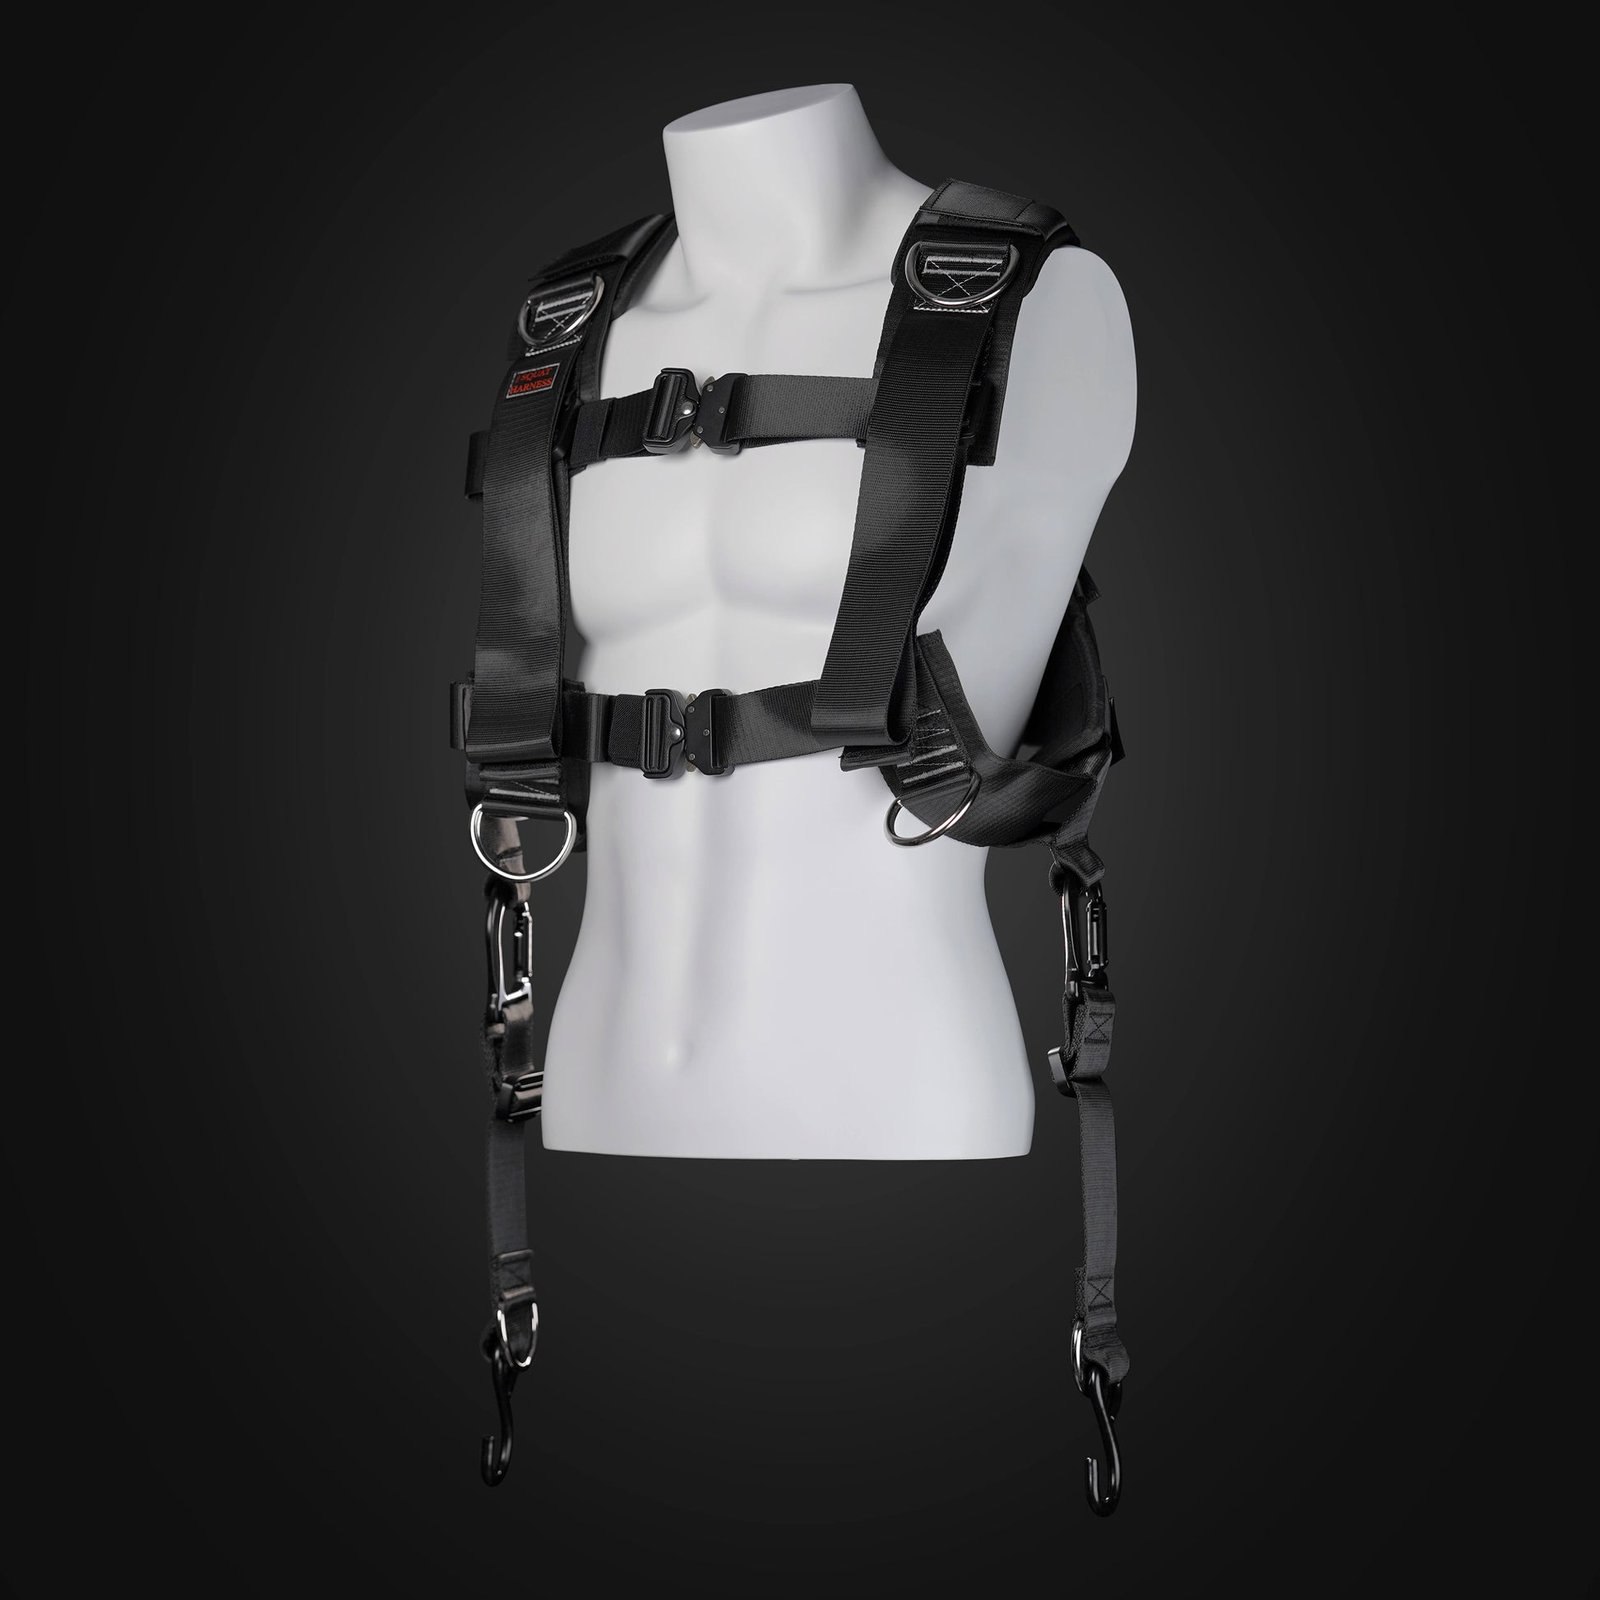
Squat Harness
Wearable harness for hands-free cable squats, sled work, and lower-body training.
6. A six-week box squat progression with clear quality checks
Begin with one dedicated box-squat session per week. Keep another lower-body session if your recovery and experience allow, but avoid adding the box squat on top of an already exhausting program without adjusting total work. The template below is an illustrative practice plan, not a research-tested six-week intervention. Use loads that leave roughly two or three clean repetitions in reserve; all percentages are optional because technique varies widely.
In weeks one and two, use three sets of five with a one-second controlled stop. Start with an empty bar or an easy load and preserve identical contact on all 15 reps. Film the first and last set from the same side angle. If the box moves, your position shifts or the pause becomes a bounce, reduce the load rather than counting the set as a success.
In weeks three and four, increase to four sets of four while holding the box height and pause steady. Add only a small amount of weight after you complete every set with firm bracing and consistent depth. If you are new to the movement, simply repeat last week’s load and improve control; progress need not mean a heavier bar every workout. Rest long enough between sets that your descent and ascent look alike.
In weeks five and six, use four sets of three. Continue with a one-second pause; you may briefly trial a two-second pause on a light back-off set, but do not extend every heavy rep just to make training feel harder. A successful sixth week means the same setup, repeatable pauses and stronger or smoother repetitions. You can then lower the box slightly, return to a free squat phase, or continue the same box height with a new loading cycle. Change one variable at a time so the log still means something.
End each session by noting four things: box height, stance, bar load and whether the pause stayed motionless. Add a short note about how the knees, hips and back felt. If there is sharp pain, unexpected weakness or a loss of control, stop and reassess instead of pushing through it. This exercise earns its place when it improves repeatability and strength within your wider program, not when it gives you an excuse to load more weight at any depth.
Leg Day Shirts & Workout Gear
Leg-day gym shirts and workout gear for lifters who never skip squats, lunges and lower-body punishment.

I Love Squats | Valentine's Leg Day Crewneck Pullover T-Shirt
For laid-back days and leg-day humor: “I Love Squats”.

Leg Day Squats Deadlifts Sweater Meme T-Shirt
Show some gym-day personality with “Leg Day”.


Leg Day Is Calling You Sweater Squats & Deadlifts T-Shirt
Add a playful “Leg Day Is Calling You” touch to your casual rotation.

Not Recommended Leg Day 1 Star Review Squats Hoodie
Bring “Not Recommended Leg Day” gym humor to lazy days and post-workout plans.


Coffee Shots & Heavy Squats for Leg Day, Lifting and Fi Tank Top
Add some leg-day attitude to training with “Coffee Shots & Heavy Squats”.

Quadzilla Massive Quads Decal Leg Day Squat Meme Sticker
Stick a little “Quadzilla” humor on your favorite gear.

Squats Leg Day Heavy Weights Meme – Essential Top T-Shirt
Bring “Squats Leg Day Heavy Weights” humor to your next gym day.

Squats R Us Shirt – Leg Day Gains & T-Shirt
Heavy lifts, good laughs, and a little “Squats R Us” energy.
Some product links may be affiliate links, which can support Mind Muscle Perfection at no additional cost to you.