Advertising disclosure: This page includes affiliate product links that may earn us a commission, as well as products from our own store.
Suitcase Carries: Choose Your Load, Control Your Posture and Plan the Route
The suitcase carry is a walk with one weight hanging at your side. Its simplicity is useful: you can notice when a heavier dumbbell changes your posture, shortens your steps or makes every turn awkward. But holding the weight for longer is not automatically better training. The set needs a clear purpose and an ending you can control.
Use this guide to choose a starting load, keep the walking task repeatable and fit carries around lifting. It treats the pickup, route and put-down as parts of the exercise. Those details often determine whether a carry is controlled practice or just an increasingly desperate trip across the gym.
Choose a Weight You Can Pick Up and Put Down Cleanly
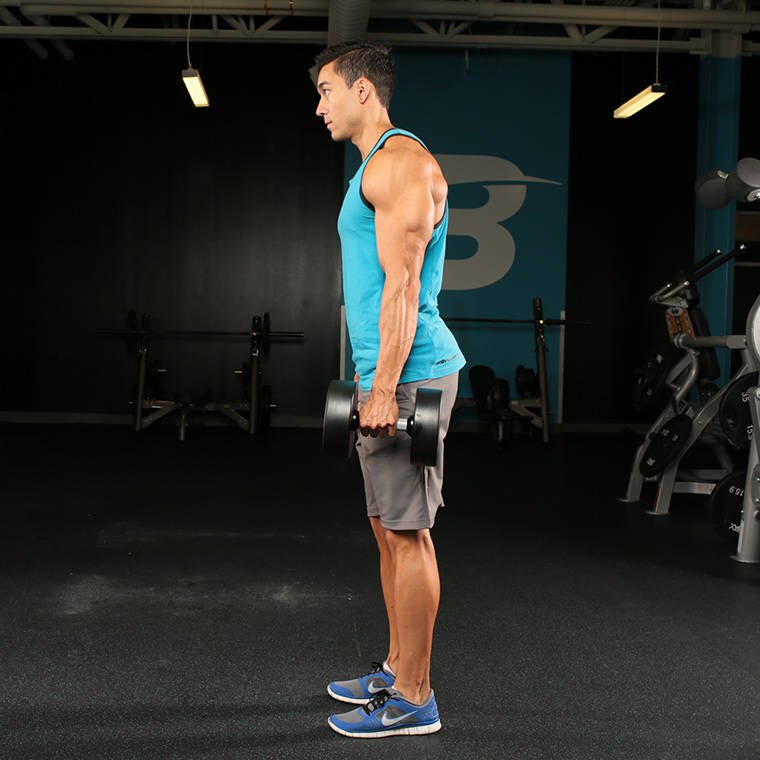
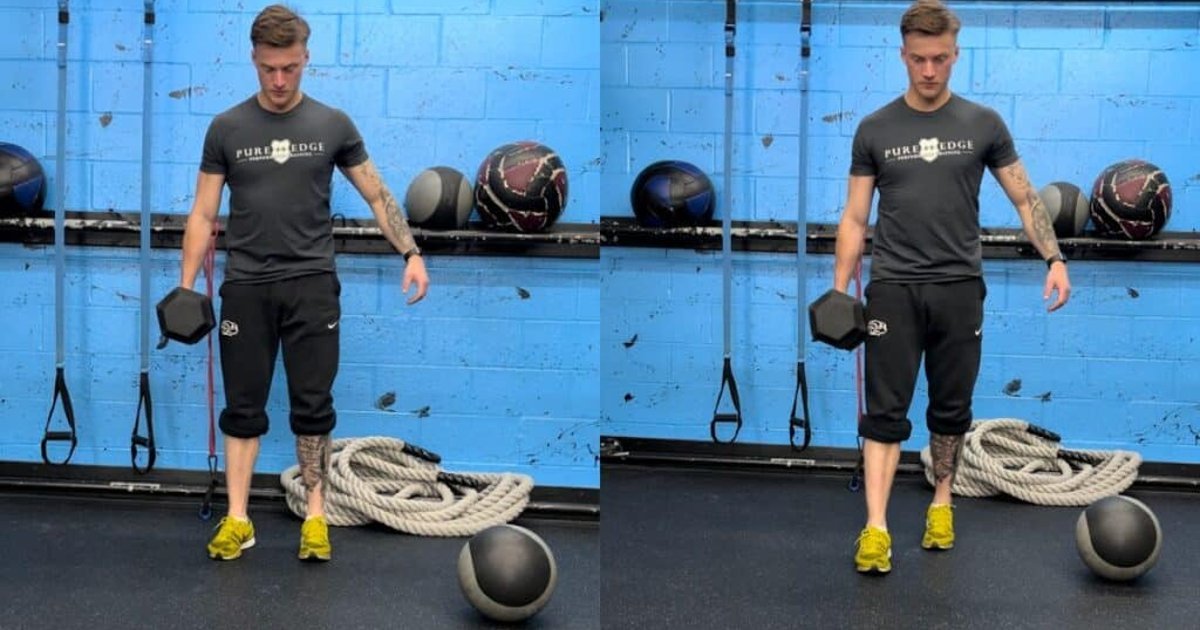
Start with one dumbbell or kettlebell beside your foot, leaving enough room to bend without contacting nearby equipment. Bend through your hips and knees, take a secure grip and stand up with the weight close to your side. Avoid grabbing a heavy implement from a stretched, twisted position. Before your first step, check that you can stand comfortably and breathe without leaning sideways.
The first load should feel manageable for a short walk, not merely possible to lift once. A heavy deadlift does not tell you exactly what you can carry in one hand. Your grip, handle diameter, balance and response to an uneven load all contribute. Test a few short, light trips and increase gradually until the exercise feels purposeful without changing your normal walking pattern dramatically.
Shape matters as well as mass. A large dumbbell head may hit your thigh, while a kettlebell hangs below its handle and needs clearance beside your leg. Adjustable dumbbell collars must be secure; follow the equipment’s instructions before walking with it. If the implement makes you hold your arm far out to the side just to avoid contact, try a more suitable shape or less weight.
Finish deliberately. Stop walking, establish your feet, then bend your hips and knees to place the weight on a clear surface. Do not drop it beside another person’s foot or twist to reach a rack behind you. If putting it down requires an emergency manoeuvre, shorten the next carry. A set includes getting the weight back to rest, not just reaching the distance marker.
Keep Your Torso Organised While You Walk
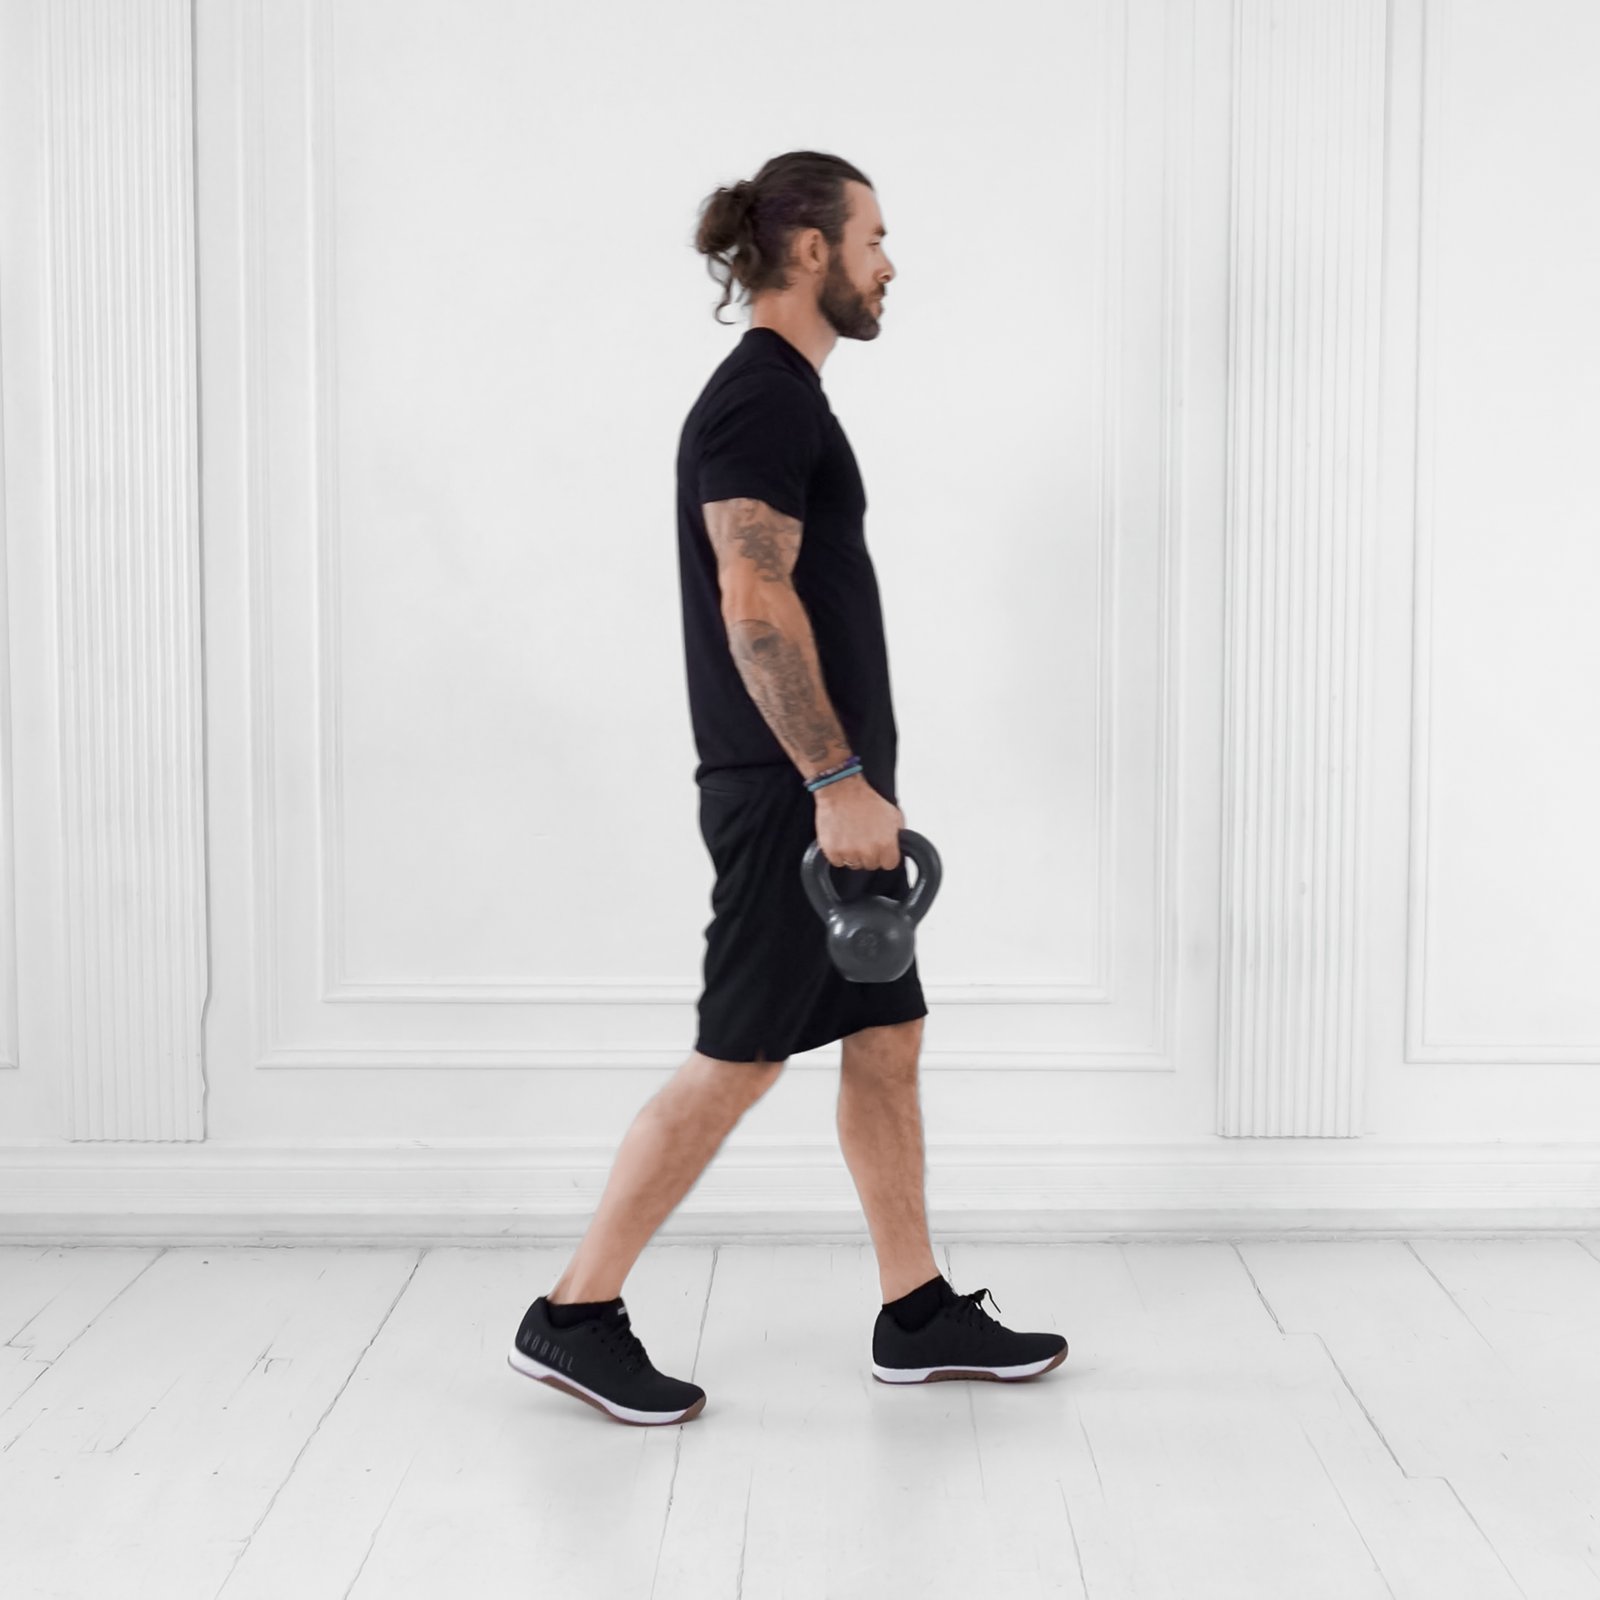
The offset load tends to pull you toward one side. Your task is to walk while managing that pull, rather than exaggerating a lean in the opposite direction. Aim to keep your upper body generally over your pelvis and your shoulders reasonably level. Your trunk muscles and hips help control the position as you move from one supporting leg to the other.
Take comfortable, controlled steps and look where you are going. There is no need to march with high knees, race across the floor or deliberately make the walk unstable. Let the unloaded arm move naturally if that helps balance. Keep enough space between the implement and your thigh that it is not continuously propped against your leg.
A firm trunk does not require one breath held for the entire route. Choose a load and pace that allow you to keep breathing while maintaining the position. If each breath causes a large sideways shift, reduce the challenge. Avoid forcing your shoulder down as hard as possible or shrugging the weight toward your ear; the hanging arm should feel secure rather than jammed into an extreme position.
A brief front-view video can reveal more than a mirror you have to turn your head toward. Compare the start and finish: does one shoulder drop progressively, does the weight start swinging, or does your trunk begin to tip with each step? Small natural movements are unavoidable during walking. You are looking for a growing loss of control, not trying to become a motionless statue.
Know Whether Grip or Posture Is Ending the Set
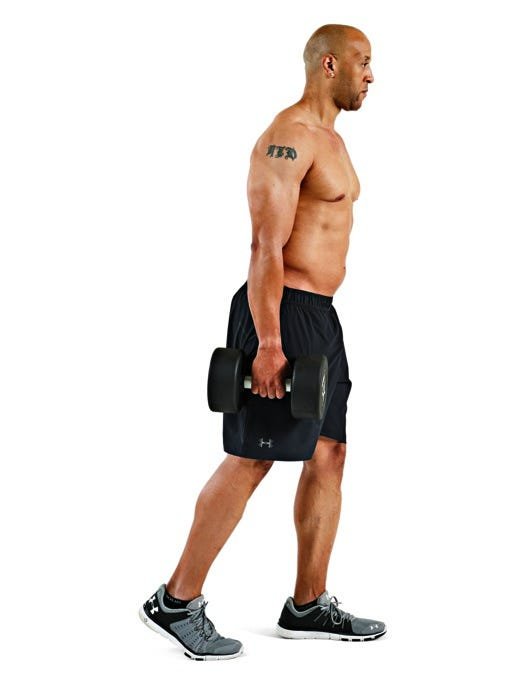
Suitcase carries challenge the hand as well as the rest of the body. Keep the handle securely enclosed rather than allowing it to roll gradually toward your fingertips. A reasonably neutral wrist is a useful starting point. When the fingers begin to open or the weight threatens to slip, stop and put it down under control. Waiting for an accidental drop is not a necessary part of grip training.
Identify your main limitation. If your hand gives out while your walk remains steady, grip endurance may be ending the set. If your grip feels fine but your torso is leaning or your steps become erratic, the load or duration has exceeded your present control of the walking task. The solution can be a shorter trip, a lighter weight or more rest; it does not always mean buying a different handle.
Thick-grip sleeves make the handle harder to hold. They are a separate progression, not a shortcut to carrying more weight. Use them only after the normal handle is familiar and record their use so you do not compare the result with a standard-grip session as though nothing changed. Plate-loaded dumbbells and kettlebells can help with small increments, provided the loading hardware is secure and the plates do not interfere with walking.
A forearm trainer can provide separate grip or wrist work if that suits your programme. It does not replace learning to control a moving load, and adding it immediately before carries may simply make the hand fail sooner. Match the tool to the limitation instead of turning one simple carry into a collection of grip challenges.

Equipment Worth Exploring
Explore equipment, accessories and gear from our carefully selected range.


Rubber Hex Dumbbells
Rubber-coated hex dumbbell pairs with a stable shape for home and commercial strength training.


Cast Iron Kettlebells
Textured cast-iron kettlebells for swings, squats, carries, and full-body training.


Open Hex Bar
Open-frame trap bar with multiple handles for deadlifts, carries, and lower-body training.

Make the Route Part of Your Training Log
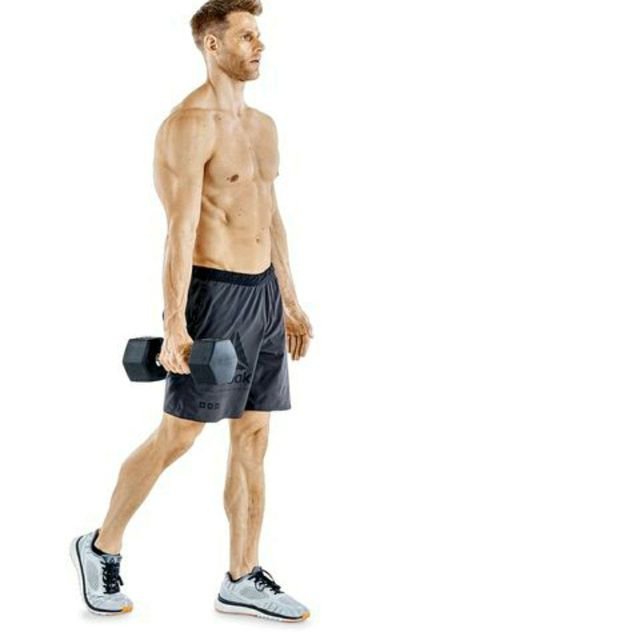
Choose a clear, level lane with room to stop and turn. Count distance, time or steps, then use the same measure when you compare sessions. Twenty steps on a long open lane are not identical to twenty steps around benches, with several tight turns and pauses for other gym users. Neither is inherently useless, but the task changed.
For short lanes, slow down before turning and take several small steps around the turn. Keep the weight clear of your knee and surrounding equipment. Do not plant one foot and swing the load around a sharp pivot. If the room is too crowded, choose a different exercise for that session rather than weaving between people with a heavy object.
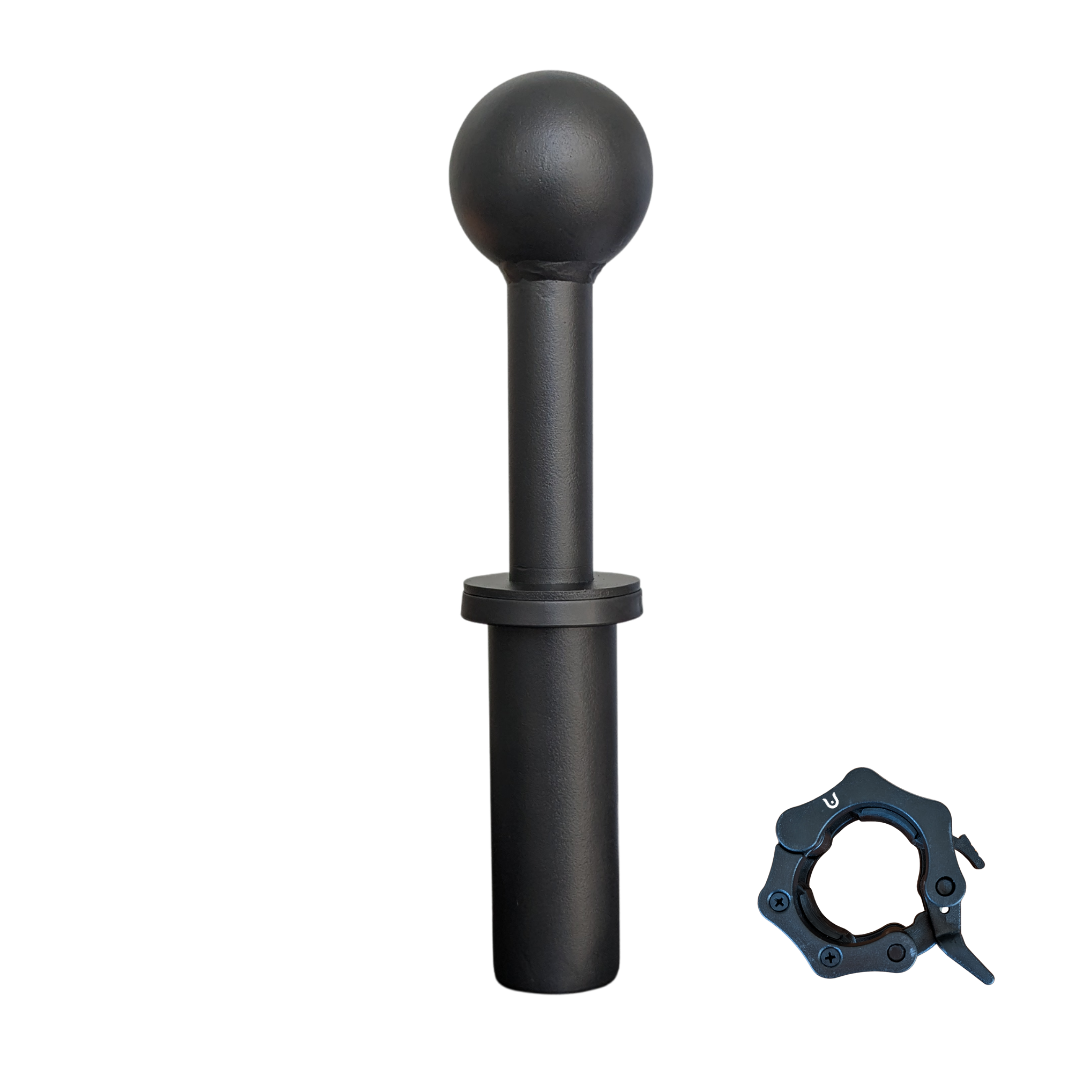
A stationary suitcase hold can be a practical alternative when there is no safe walking route. It removes the stepping demand, so label it as a hold rather than counting it as an equivalent walk. Likewise, carrying equal weights in both hands is a farmer’s carry. It is a different loading arrangement, not simply twice the same unilateral exercise. A trap bar can offer another two-handed carry option only where the equipment, floor and available clearance permit it.
Switch hands after a controlled put-down or from a secure stationary position with a manageable implement. Avoid passing a heavy weight around your body while still walking. Use the same route and starting conditions on the second side, and note obvious differences without forcing the less confident side to match an uncontrolled effort.
Progress the Carry Without Hijacking the Rest of Your Workout
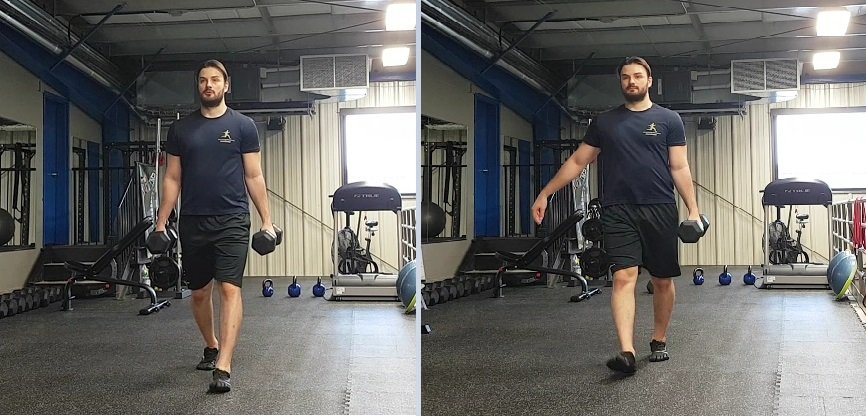
First decide whether you want a short practice exposure or a more demanding accessory. If your priority is heavy pulling, exhausting your grip with long carries beforehand can change what you can do on rows or deadlifts. Placing carries later in the session often makes that trade-off easier to manage. You can also give them their own place on another training day.
A simple starting example is two short trips per side, once or twice per week, using a load you can control for roughly 15–25 seconds. Rest until your grip and breathing feel ready for another comparable trip. This is an adjustable practice example, not a proven optimal prescription. A beginner may start with less, while an experienced lifter should account for the grip and trunk work already present in the programme.
- Establish a baseline: Repeat the same route, implement, hand position and controlled pace for several sessions.
- Build one variable: Add a little distance or time while keeping the load unchanged and the return controlled.
- Then test more load: Use the smallest practical increase, shorten the trip if needed and rebuild from there.
- Reduce when necessary: If fatigue changes your steps or grip, finish earlier instead of compensating until the clock expires.
For example, a steady 20-second trip at a familiar load can become 25 seconds on the same lane. A later increase in load might bring the trip back to 15–20 seconds. Raising load, duration and speed together makes the result harder to interpret and can turn a manageable accessory into the hardest part of the session.
Carry work can train the ability to manage an uneven load, but it is not a guarantee of injury prevention, a treatment for back pain or a way to remove fat specifically from your waist. Stop for pain, dizziness, numbness or an increasingly insecure grip. Persistent symptoms deserve assessment rather than a heavier carry. Judge progress by a steadier trip at comparable conditions and by how well the work fits the rest of your training.

Funny Gym Shirts & Workout Gear
Funny gym shirts, tanks, hoodies and workout gear for lifters who like training hard.

Hells Dumbbells Hells Bells Parody AC/DC Heavy Metal Wo Sticker
Bring “Hells Dumbbells” attitude to your water bottle or laptop.

Heavy Metal Gym – Funny Kettlebell Rock Music Vest Musc Tank Top
Add some metalhead attitude to training with “Heavy Metal”.

Dia De Los Muertos Kettlebell – Day of the Dead Jumper T-Shirt
Add a playful “Dia De Los Muertos Kettlebell” touch to your casual rotation.

Slim Shady Kettlebell Gym | Funny Rap God Workout Pullo Hoodie
Bring “Slim Shady Kettlebell” gym humor to lazy days and post-workout plans.

Smash Dumbbells Muscle Shirt Athletic Vest Hulk Workout Tank Top
Train hard, laugh a little, and rep “Smash Dumbbells”.

Superman Dumbbells Logo – Superhero Bodybuilding Powerl Sticker
A fun “Superman Dumbbells Logo” touch for bottles, laptops, and lockers.

Pancake Kettlebell – Breakfast Gains Meme Jumper Pullov T-Shirt
Show some gym-day personality with “Pancake Kettlebell”.

Gotta Lift 'Em All Shirt – Pokemon Kettlebell Meme & T-Shirt
Show some gaming attitude with a playful “Gotta Lift 'Em All” tee.

Kettlebell Heart X-Ray – Valentine's Workout Hooded Hoodie
Bring “Kettlebell Heart X-Ray” gym humor to lazy days and post-workout plans.

Watermelon Kettlebell – Fruit Themed Workout Hooded Pul Hoodie
Bring “Watermelon Kettlebell” gym humor to lazy days and post-workout plans.