Advertising disclosure: This page includes affiliate product links that may earn us a commission, as well as products from our own store.
Adding weight is not the only way to make pull-ups harder. Archer pull-ups shift more of your bodyweight toward one arm while the other stays extended for support. That is a demanding calisthenics skill, not a proven shortcut to extra muscle growth. This guide shows the form, prerequisites, easier progressions and a six-week practice plan that fits alongside regular back training.
Why archer pull-ups change the challenge
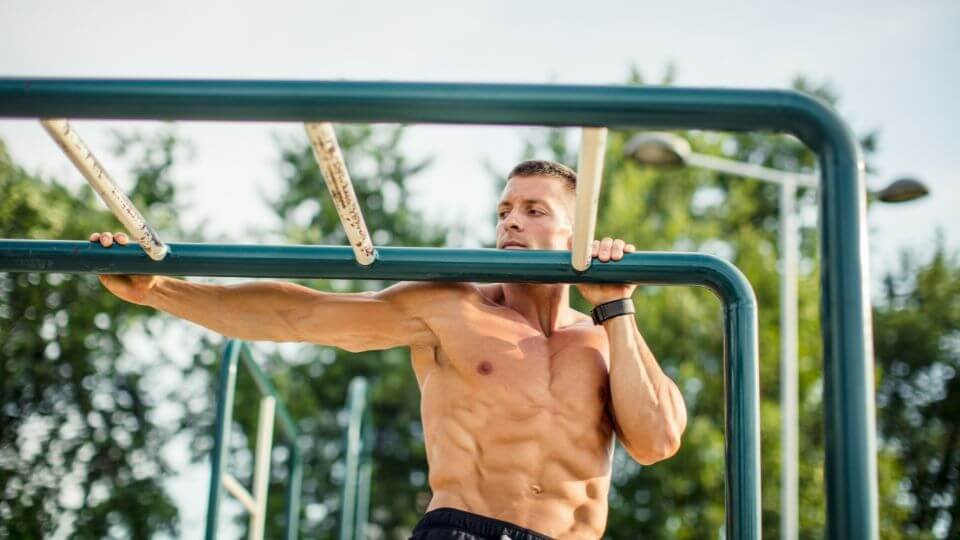
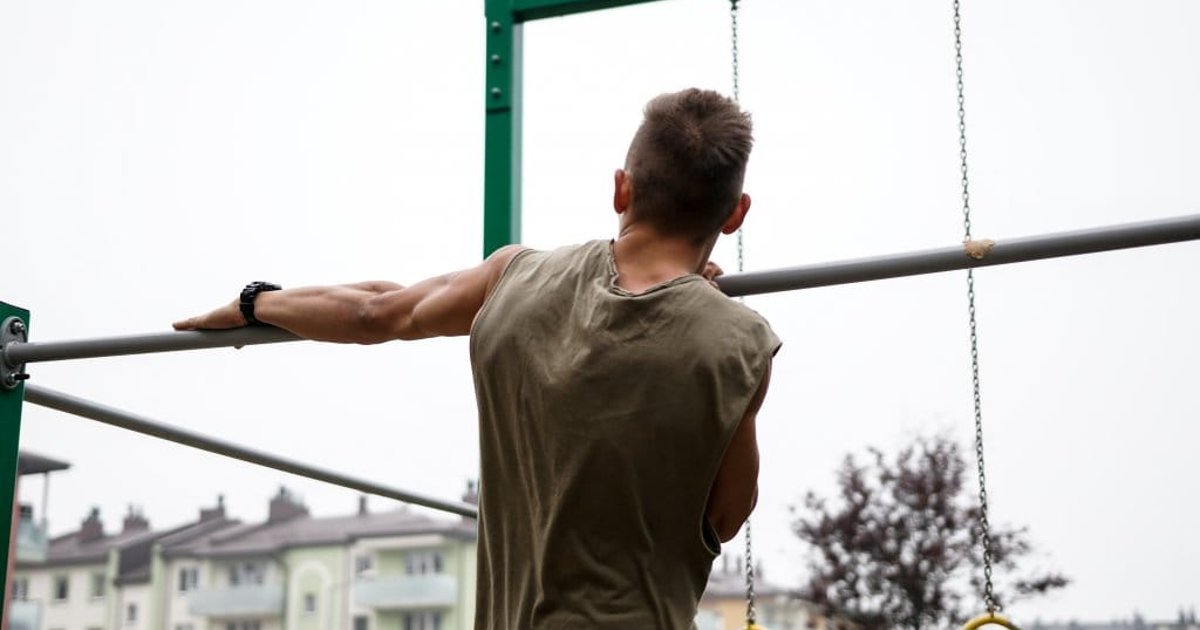
When strict pull-ups get easier, you can strap on weight or change how your bodyweight is shared between your arms. Archer pull-ups use the second option. Begin with a grip wider than usual, pull your torso toward one hand and let the opposite arm gradually extend sideways. Both hands stay involved, but the bending arm takes more responsibility. The extended hand still supplies support and balance, so this is an assisted unilateral movement rather than a true one-arm pull-up.
That uneven distribution changes the difficulty without adding a kilogram. As you lean farther toward the working hand, it must handle more of the movement; a shallower lean is easier. Grip width, how straight the assisting elbow becomes and torso positioning all matter. A regular pull-up with an excessively wide grip does not automatically become an archer.
Your lats, biceps, brachialis, upper back, grip and trunk participate. The movement is valuable for side-specific pulling control and the progression toward one-arm strength. What it has not been shown to do is produce more muscle growth than well-programmed conventional or weighted pull-ups. No direct trial establishes a unique hypertrophy benefit from this archer variation. Treat it as a useful advanced option, not a replacement for every other back exercise.
The technique: pull toward one hand, not straight up
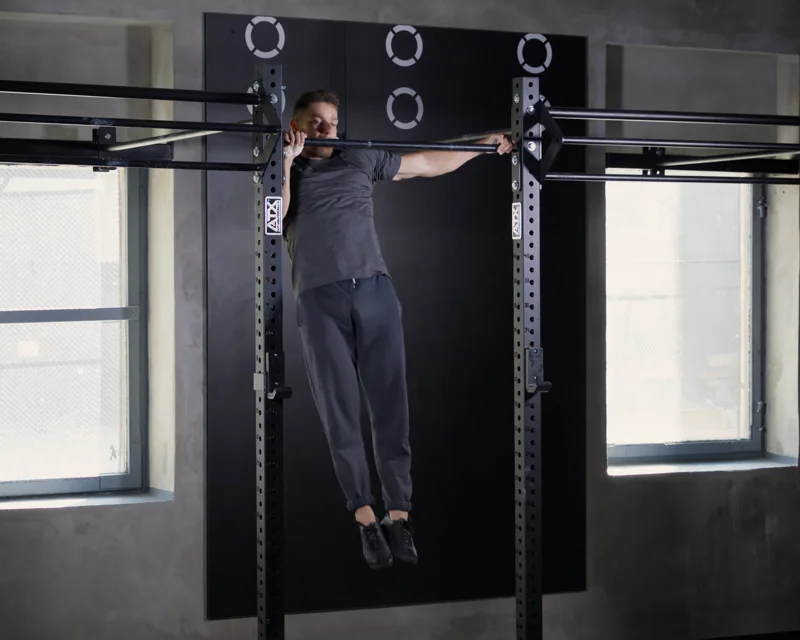
Use a secure pull-up bar with enough clear space on both sides. Take an overhand grip somewhat wider than shoulder width. Start from a comfortable hang with shoulders engaged, ribs over your pelvis and legs quiet. Do not force an extreme grip or painfully stretch the shoulder. Set a little tension through your core before leaving the bottom so the next movement comes from your upper body, not swinging legs.
Pull the right elbow toward your side, letting your chest travel diagonally toward your right hand. As that elbow bends, keep the left arm gradually lengthening along the bar. Aim to bring your chin toward the working hand without jutting your neck forward. Pause briefly when you can hold the position, lower in control, then reset. Repeat toward the left hand with similar range and tempo.
Check the movement on video from the front. Your working shoulder should approach the hand while the assisting arm helps you control the displacement. Avoid twisting the hips, yanking the neck or kicking upward. If you first perform an ordinary pull-up and then slide sideways across the top, you are doing something closer to a typewriter pull-up. That is a valid variation, but the loading pattern differs from a diagonal archer.
Start with small sets. When the extended elbow collapses, your shoulder pinches or a hard rep looks nothing like the first, stop and regress instead of forcing an ugly final repetition. Both sides should receive the same patient technical standard.

Equipment Worth Exploring
Explore equipment, accessories and gear from our carefully selected range.

Power Tower
Freestanding pull-up and dip station with adjustable handles for bodyweight training.


Angles 90 Grips
Flexible grip attachments that allow natural wrist movement during pulling exercises.


Leather Wrist Grips
Padded leather lifting grips help support the hands and wrists on heavy pulling exercises.

Leather Lifting Straps
Padded leather straps support grip during heavy rows, deadlifts and pulling exercises.
Premium Carabiner
Durable carabiner for connecting cable attachments and training accessories.
Are you strong enough? A simple readiness checklist
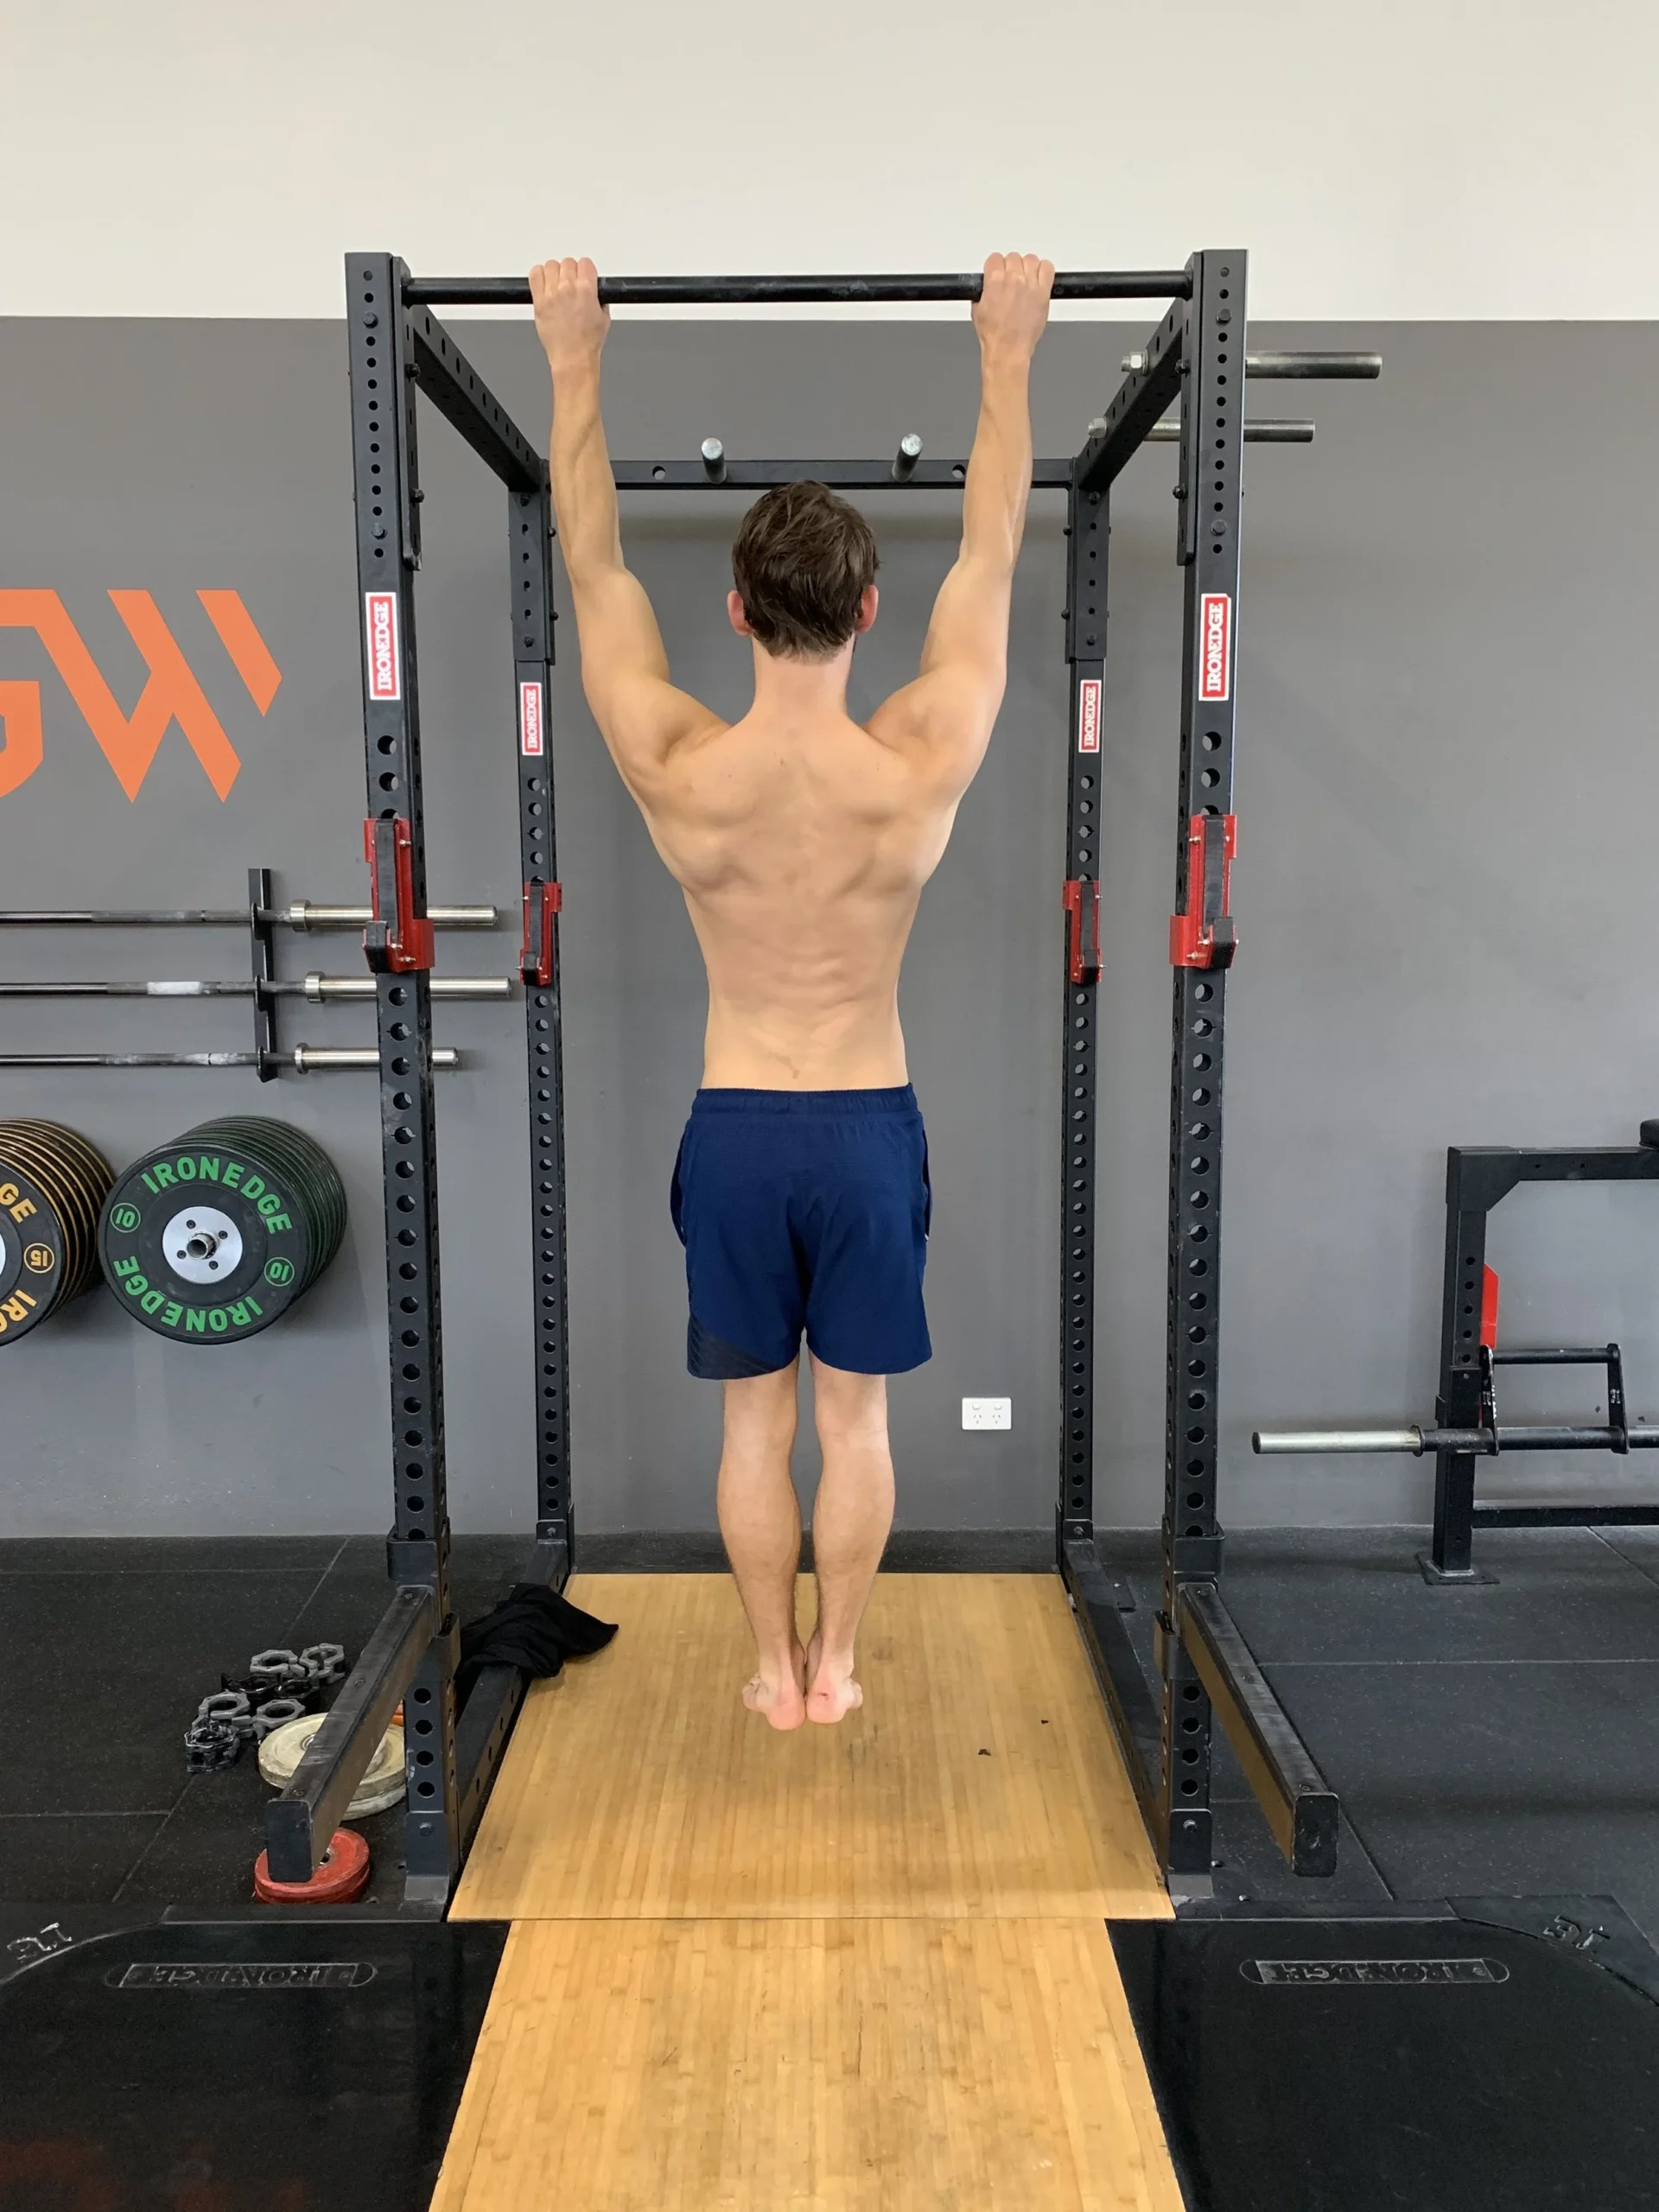
An archer is an advanced exercise even for people who regularly train their back. You should first be comfortable with controlled conventional pull-ups, a repeatable bottom and top position and a stable trunk. Eight clean regular pull-ups can serve as a practical screening benchmark, but it is not an evidence-based pass-or-fail line. What matters is having a strength reserve and being able to manage shoulder and elbow position when tired.
Warm up with easy arm movement, a short hang, shoulder-blade pulls and a few ordinary pull-ups or assisted repetitions. For scapular pulls, create a small shoulder movement without aggressively bending the arms. That rehearsal helps you recognize the difference between a controlled active shoulder and falling passively through the bottom of a rep. Add light rowing if you need more preparation.
Asymmetrical pulling increases demands on the working-side elbow and the extended-side shoulder. Avoid an overly wide position on the first sessions. If the inside of an elbow, front of a shoulder or wrist feels aggravated, reduce the lean and assistance requirements. Persistent pain, tingling, new weakness or unstable-feeling joints warrant ending the exercise and seeking appropriate assessment. There is nothing heroic about progressing through pain when ordinary pull-ups and rows still provide effective training.

Calisthenics Shirts & Street Workout Gear
Calisthenics and bodyweight-training gear for pull-ups, dips, handstands and street-workout athletes.


Always Pull Yourself Up Funny Gym T
Heavy lifts, good laughs, and a little “Always Pull Yourself Up” energy.


Calisthenics Evolution
Show some lifting attitude with a playful “Calisthenics Evolution” tee.


Calisthenics Heartbeat Tank
Add some lifting attitude to training with “Calisthenics Heartbeat”.

Funny Calisthenics Gym Hooded Pullover for Bodyweight W Hoodie
Stay casual and show some lifting attitude with “Calisthenics”.

Human Flag Crewneck Calisthenics Pullover Sweater Worko T-Shirt
Bring “Human Flag” humor to your everyday gym style.

Funny Calisthenics Gym Decal for Water Bottles Laptops Sticker
Bring “Calisthenics” attitude to your water bottle or laptop.
Four steps before the first full archer
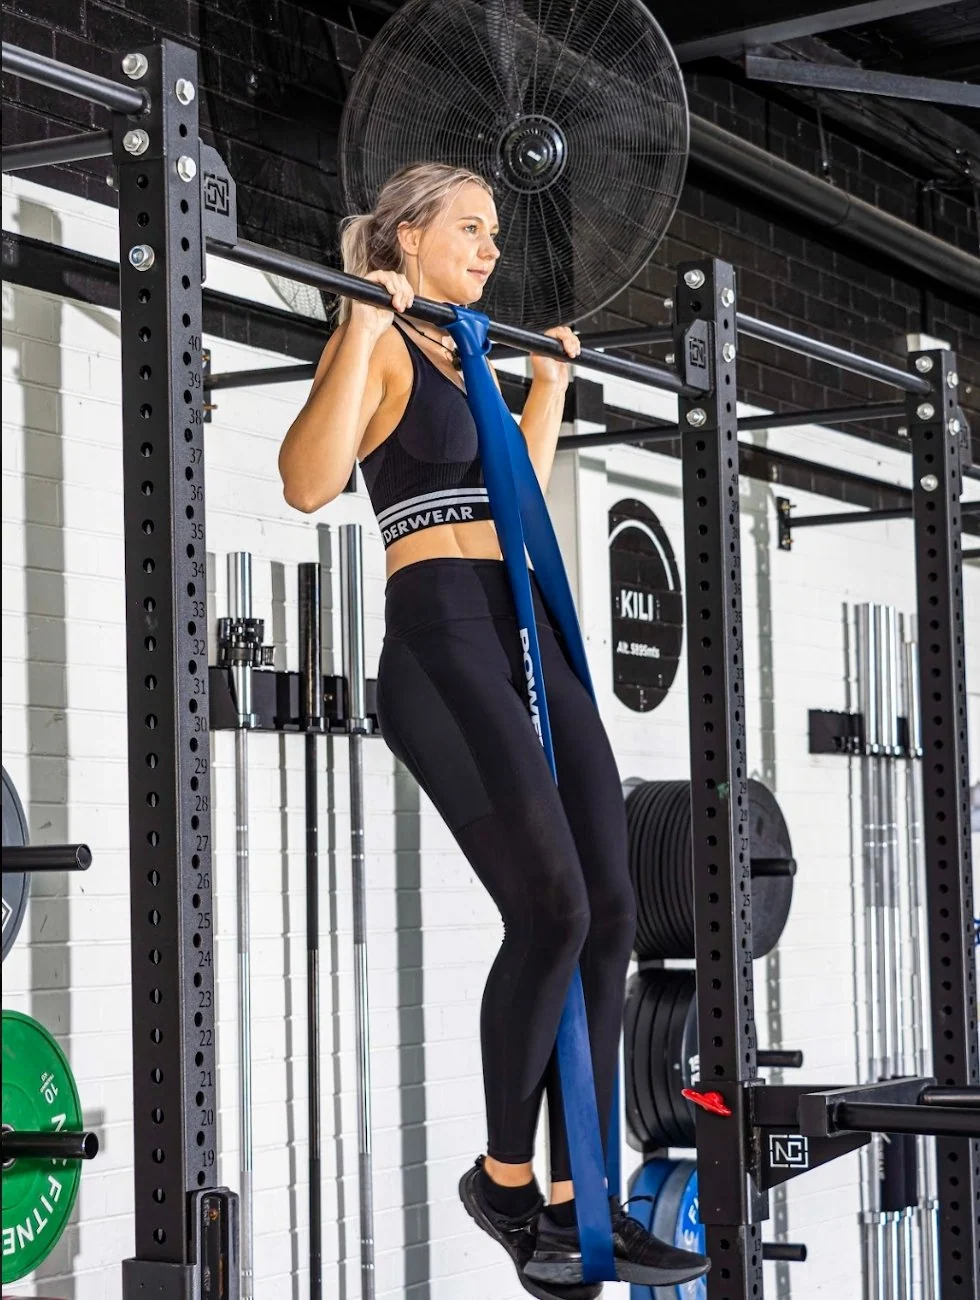
1. Own the bilateral pull-up. Complete several controlled full-range sets without kipping. Use a secure band or assisted machine if necessary. Gradually increase clean repetitions before chasing complex one-arm progressions. Better technique counts more than a rushed milestone.
2. Practise archer rows. Set gymnastic rings or a stable low bar around chest height and keep your feet grounded. Pull toward one hand as the other arm straightens. Stand more upright to make the drill easier. As control improves, walk your feet forward so more of your weight must be pulled. This introduces the lateral pattern with far less suspended load.
3. Use band-assisted archers. Attach a suitable resistance band securely and let it remove enough bodyweight to practise smooth diagonals. A stable foot-supported alternative can also work. Choose assistance that allows both sides to look nearly identical. Do not rely on an unsteady chair or take dangerous jumping dismounts.
4. Lower from a supported top position. Step up from a solid platform, assume a manageable archer position and lower under control for around three seconds. Let the assisting arm contribute enough to keep the shoulder comfortable. Two or three careful repetitions per side provide plenty of initial practice; brutally slow negatives and excessive soreness are not requirements.
Keep the same progression on both sides until the weaker side stops losing form significantly sooner. Changing one variable at a time—less assistance, a slightly larger lean or one extra clean rep—makes progress easier to evaluate.
Archer or weighted pull-ups: choose for the goal
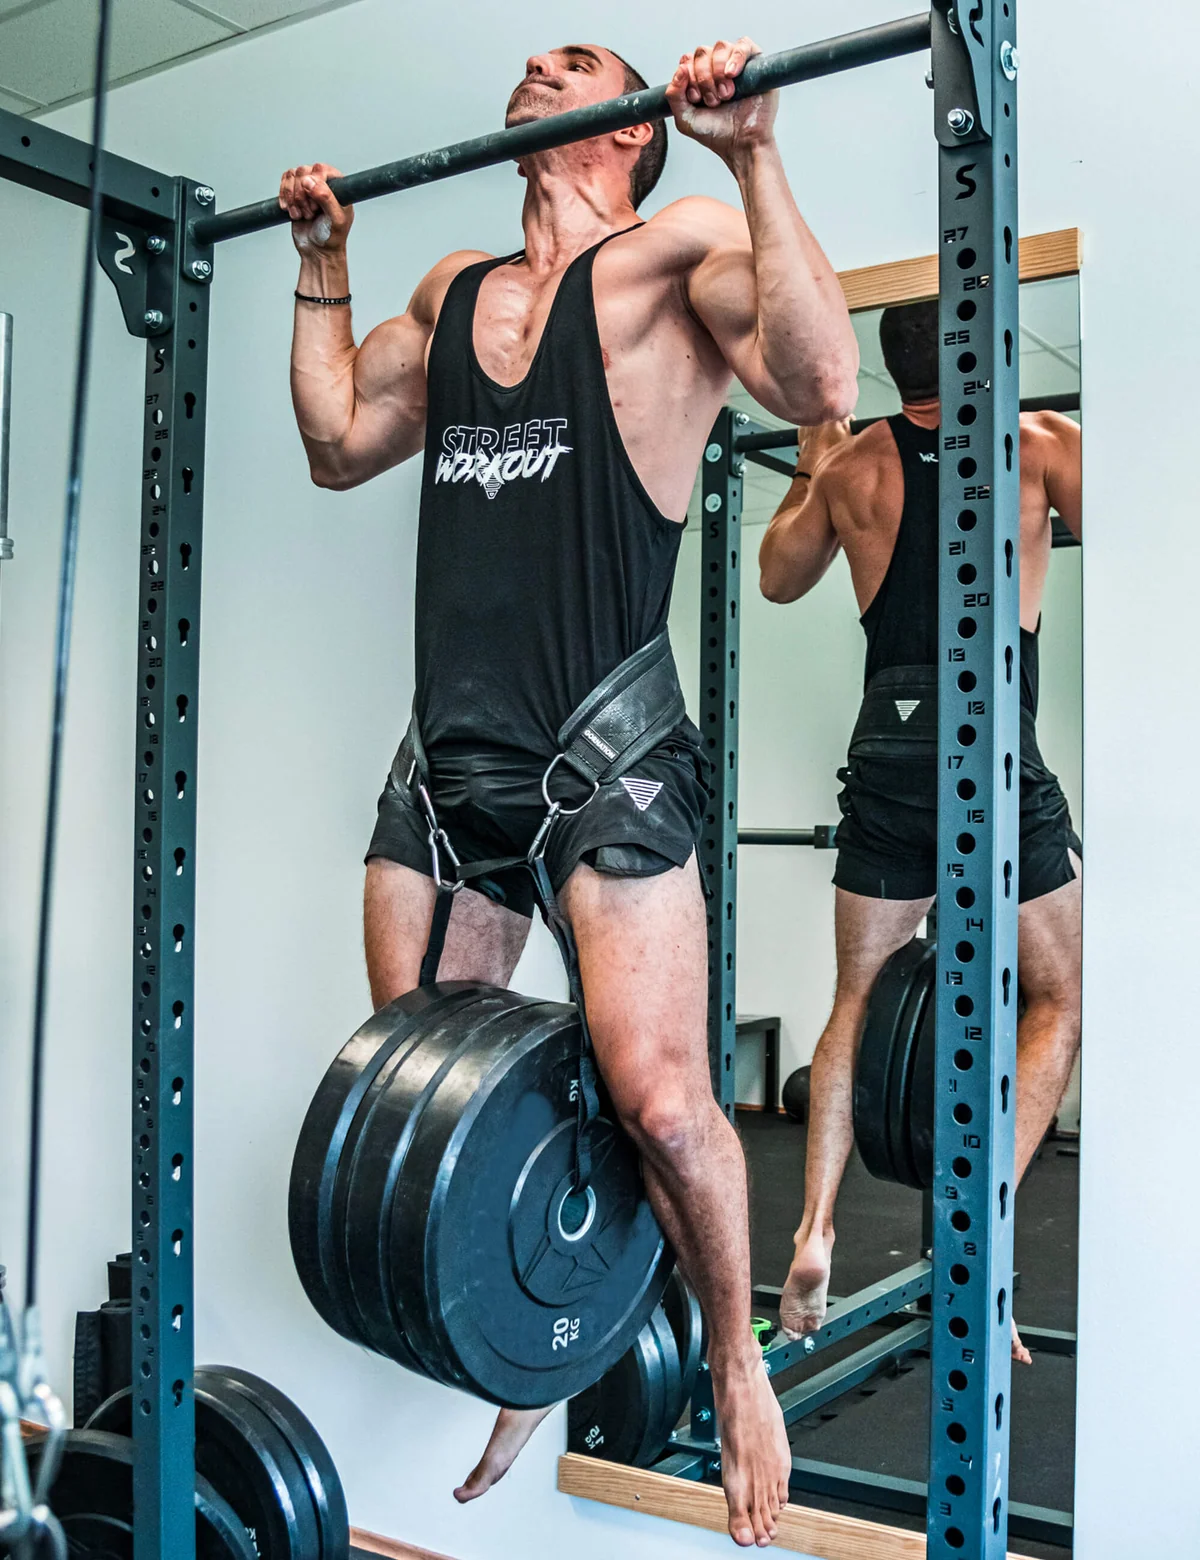
Weighted pull-ups make it simple to measure progressive overload: maintain a consistent two-arm movement and add a small external load once your prescribed repetitions become comfortable. Archers instead alter the distribution of your existing bodyweight. They can demand far more from the pulling arm while being difficult to quantify because the support hand always contributes something.
For straightforward back hypertrophy and bilateral pulling strength, regular and weighted pull-ups remain excellent central exercises. For control with one arm doing more of the work, archers are a more specific progression. If you enjoy calisthenics skills and might eventually work toward a one-arm pull-up, a mixed plan makes sense. Practise a modest number of clean archer reps early, then use ordinary pull-ups, pulldowns and rows for predictable training volume.
Do not confuse perceived difficulty with proven superiority. A working arm under greater relative load does not prove that your biceps will grow faster than they would with heavy two-arm pulling. Likewise, muscle-activation studies comparing conventional grip positions do not establish a growth advantage for archers. Control, comfort and month-to-month progression give more useful information than dramatic claims about how many muscle fibres a variation supposedly activates.
Equipment Worth Exploring
Explore equipment, accessories and gear from our carefully selected range.

VForce Lat Tower
Wall-mounted cable tower with pivot arms and adjustable 1:1 or 2:1 pulley ratios.

48in Aluminum Lat Bar
48-inch aluminum lat pulldown bar with knurled grip and rotating center swivel.

Lat Pulldown Set
Multi-grip cable attachment set for pulldowns, rows, and varied upper-body training.
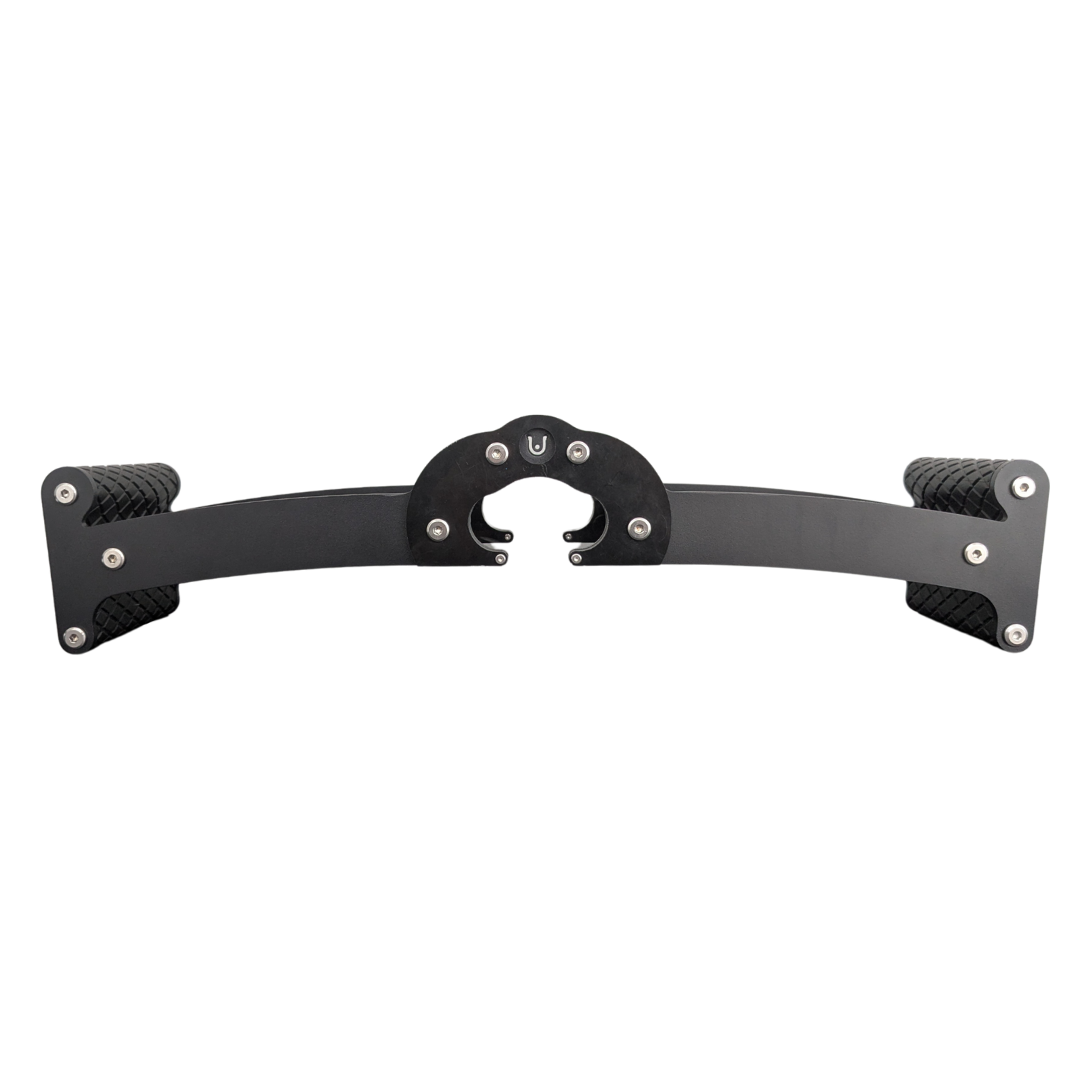
Back Bar
Multi-grip cable and landmine bar with a built-in deadlift jack.
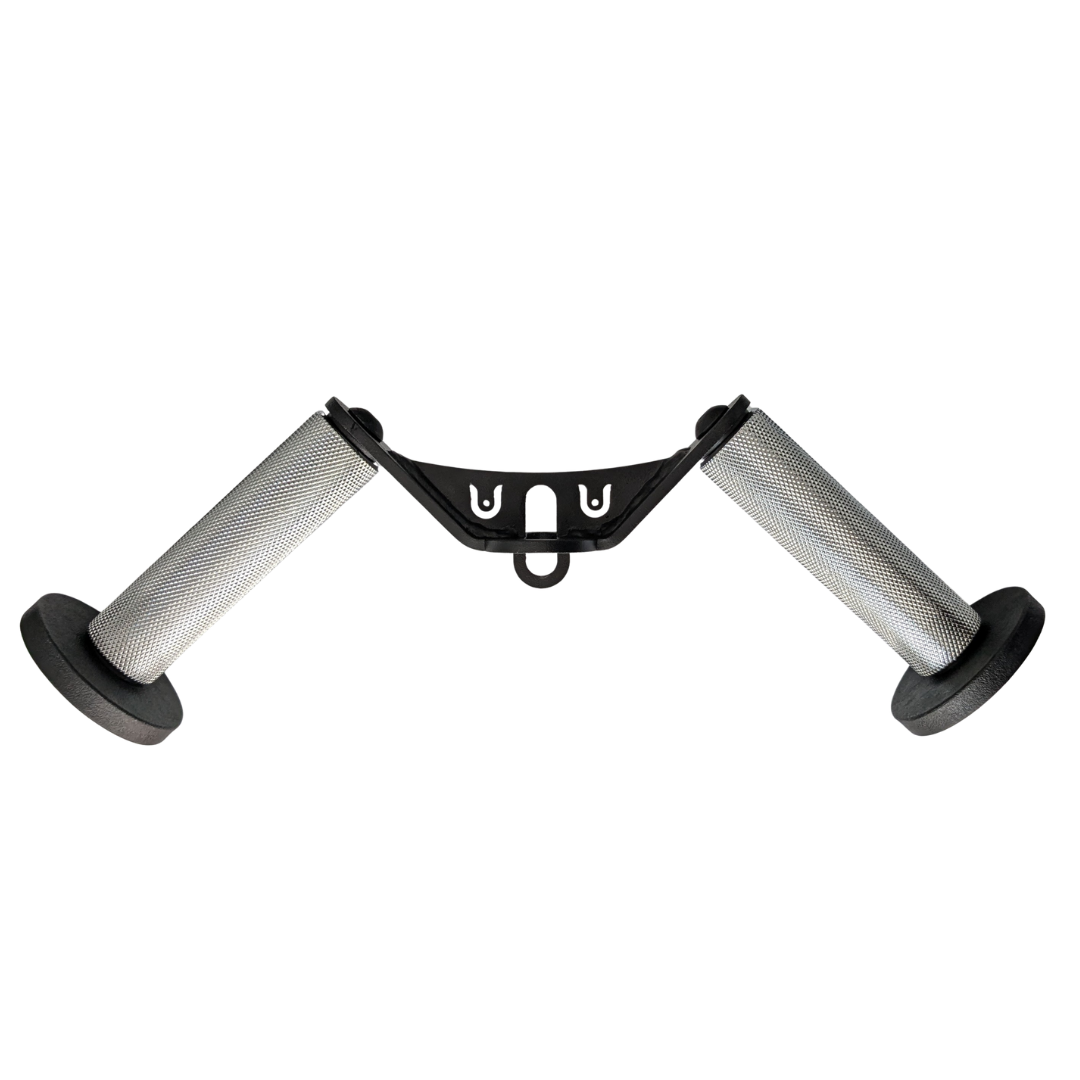
W Grip
Angled cable grip for comfortable rows, pushdowns, and curls.
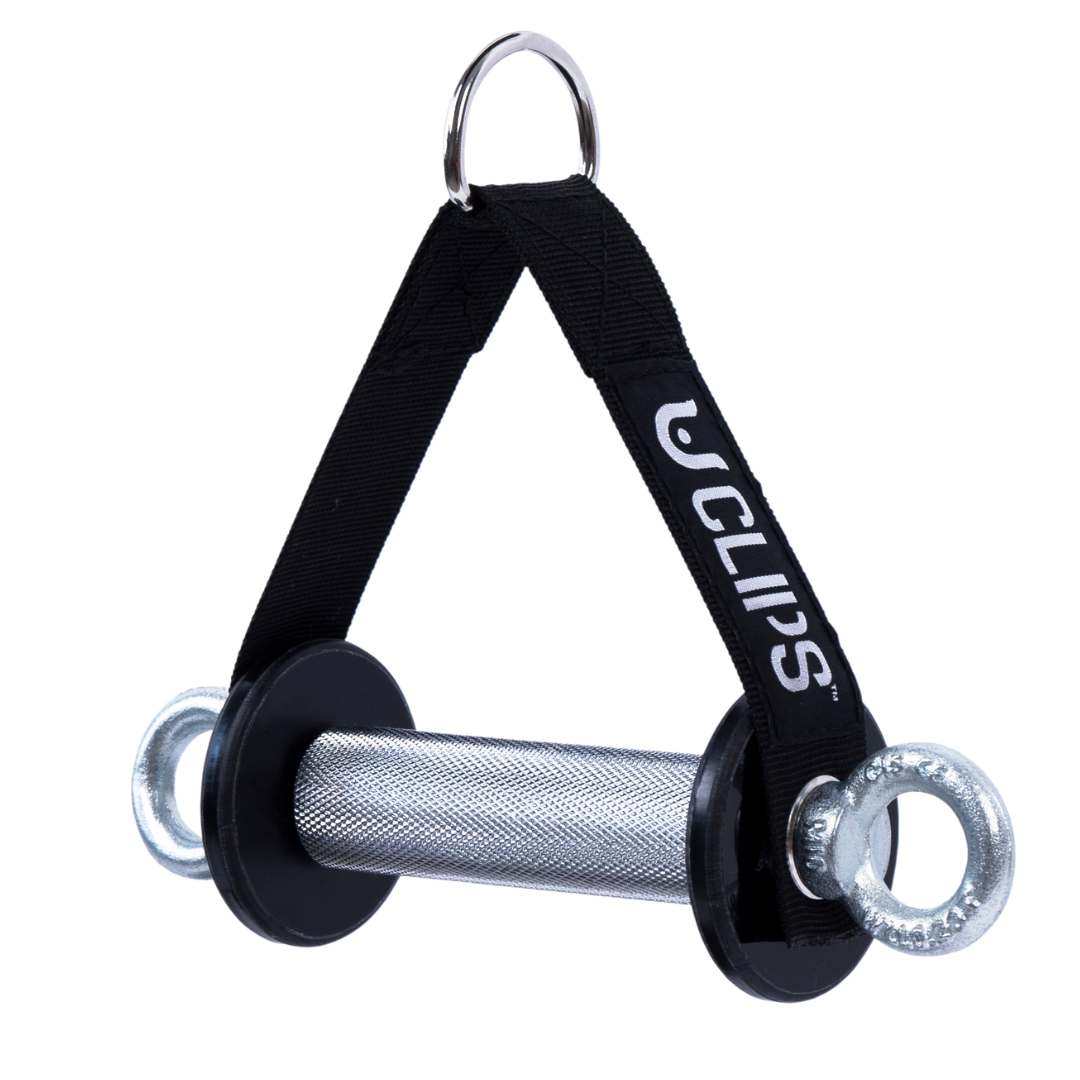

GymPin Ergo Handles
Pair of ergonomic cable handles shaped for comfortable triceps and pulling exercises.
VOLTRA
Compact digital cable trainer with smooth, adjustable resistance.

VForce Lat Seat
Rack-mounted seat attachment for supported lat pulldowns and seated cable exercises.
A practical six-week two-day progression
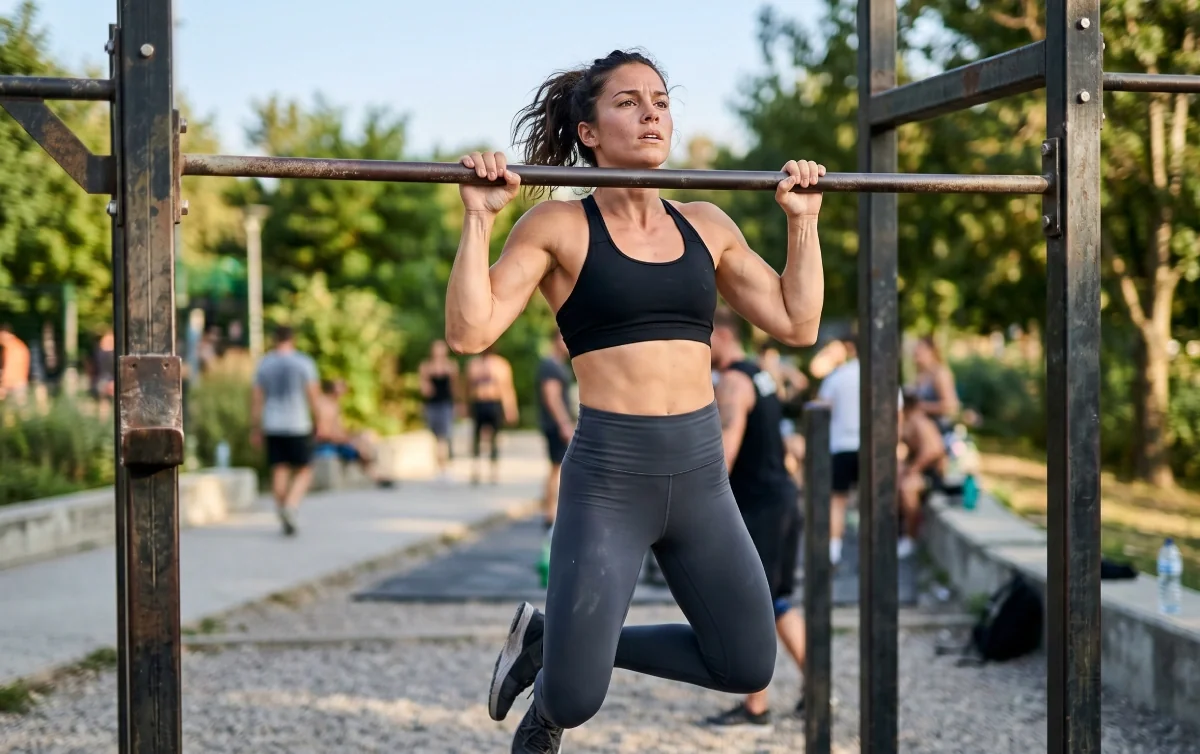
Schedule two pull-focused sessions each week with at least two days between them. Start both with a five-to-eight-minute warm-up that includes scapular control, easy rows and a few ordinary pull-ups. Pick a version of the archer you could perform cleanly for at least three repetitions per side, without reaching technical failure. Keep your first demanding work set early while fresh.
Weeks one and two: Day A consists of three sets of three assisted archer reps per side, then three sets of six to eight ordinary pull-ups or appropriately assisted reps. Day B includes three sets of five archer rows per side and three sets of eight to twelve horizontal rows. Rest around two minutes between difficult archer sets. Do not chase maximum volume during the learning phase.
Weeks three and four: Maintain three archer sets. Reduce assistance slightly, lean a little farther to the working side or add a fourth clean repetition—but only progress one variable at a time. Keep conventional pulling on both days to maintain general back strength. If elbows or hands remain sore beyond normal recovery, reduce advanced-volume first rather than abandoning basic pulling.
Weeks five and six: If form is stable, move toward four sets of three to five archers per side on day A. Day B stays easier with archer rows and two or three slow supported lowers. Continue your rows or pulldowns, but stop each archer set before your shoulder position breaks down. After six weeks, repeat the same test at the same grip width, range and level of assistance. One more identical, clean repetition is real progress even if a one-arm pull-up is still far away.
Common mistakes, substitutions and the real verdict

The largest programming mistake is turning every back movement into a maximal challenge. Hard archers followed by heavy weighted pull-ups, high-volume rows and many curls can overload the grip and elbow flexors before the rest of the back benefits. Use archers as focused practice, limit the number of near-maximal sets and let stable rowing and cable exercises provide your routine training volume.
Another trap is forcing a dramatically wide grip or keeping the assisting elbow locked at all costs. Those cues can push the shoulder into an uncomfortable position without making the repetition more productive. A slightly narrower hand position, a lower bar for archer rows or a supportive band is a legitimate adjustment. If pain appears, abandon the advanced version for now and use neutral-grip pulls, rows or lat pulldowns that you can perform comfortably.
A six-week plan is only a starting point. Progress depends on bodyweight, limb length, past sport experience, sleep, equipment and the amount of pulling you already do. Be suspicious of guarantees that every trainee will achieve a one-arm pull-up on a timetable. The sensible benchmark is controlled left-and-right progress that does not compromise your main training.
Archer pull-ups are an engaging route from strict bilateral reps toward more one-sided strength. They deserve a place when you want that specific skill and your joints tolerate the pattern. If your regular pull-ups are still challenging and productive, there is no requirement to graduate. Better back training starts with a repeatable goal and a movement you can perform well.
Bodybuilding Shirts & Workout Gear
Bodybuilding shirts, tanks and gym gear for lifters chasing muscle, size, symmetry and the pump.

Shirt Pull Day – Back & Biceps Meme Top T-Shirt
Heavy lifts, good laughs, and a little “Pull Day Graphic” energy.


OnlyGains Big Biceps Tee
Rep “OnlyGains Only Gains Big Biceps” humor in and out of the gym.

Shirt – Micro Biceps Club President – Gymbros, & T-Shirt
Rep “Micro Biceps Club President” humor in and out of the gym.


Mind Muscle Perfection Brain and Biceps Gym for Science T-Shirt
Show some gym-day personality with “Mind Muscle Perfection Brain and Biceps”.

Lat Man Big Back – Hooded With Huge Lats – Jumper Hoodie
Stay casual and show some superhero attitude with “Lat Man Big Back”.

Hardcore Gains Gym | Funny No Pain No Gain Muscle Shirt Tank Top
Add some lifting attitude to training with “Hardcore Gains”.

Beauty And The Biceps Decal Water Bottles & Gear Meme Sticker
Bring “Beauty And The Biceps” attitude to your water bottle or laptop.

Gym Dost Thou Even Pull Medieval Knight Back Day Muscle Tank Top
Bring “Dost Thou Even Pull Medieval Knight Back” humor to your next lifting session.