Advertising disclosure: This page includes affiliate product links that may earn us a commission, as well as products from our own store.
Standing Calf Raises: Machine Setup, Better Range and a Six-Week Plan
Calf training looks uncomplicated until you compare repetitions. One lifter sinks into a controlled stretch and rises high onto the forefoot. Another loads twice as much weight but barely moves. The second number looks better in a logbook while revealing less about useful progress.
This guide starts with machine fit, then covers ankle range, Smith and dumbbell alternatives, and a six-week plan. It separates what calf-growth studies can support from coaching decisions that still require judgment. The goal is to make the standing calf raise repeatable enough to improve.
1. Why standing calf raises deserve more than leftover reps
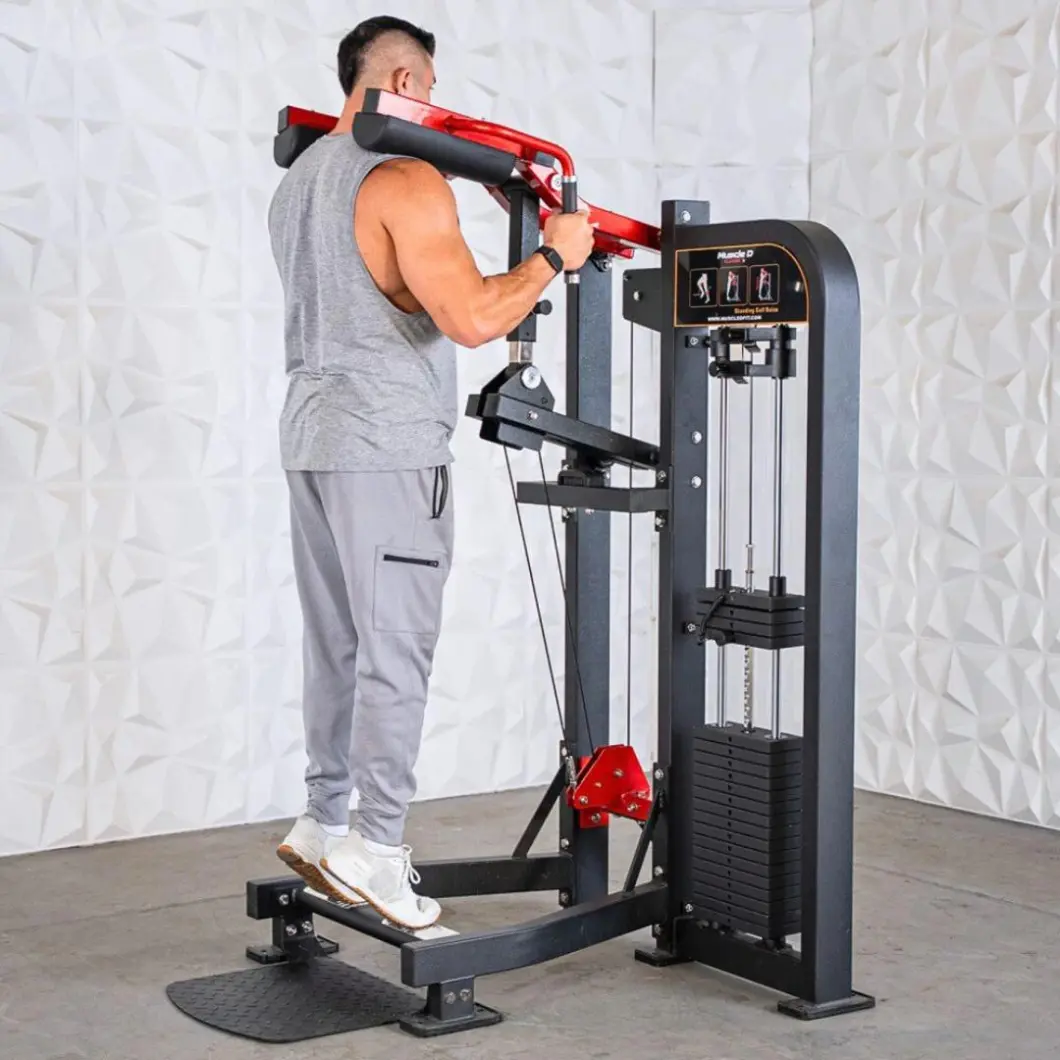
The standing calf raise trains the ankle through plantarflexion: the forefoot pushes into a fixed surface as the heels rise. It is also an easy exercise to turn into a short, bouncing display of how much weight a machine holds. Effective repetitions need more than a heavy stack. The movement must be visible at the ankle, not become a cycle of knee bends and hip bounces.
The gastrocnemius is the prominent two-headed calf muscle crossing both the knee and ankle. Keeping the knee nearly extended places it in a longer position than sitting with a deeply bent knee. The soleus works too; standing raises do not switch that muscle off. Changing knee positions changes muscle lengths and which structures have the opportunity to contribute force.
A 12-week comparison trained one leg with a nearly straight knee and the other with a bent knee in 14 initially untrained adults. Standing work produced greater gastrocnemius growth, while soleus changes were relatively similar. The design helps with exercise selection, but it does not establish one universal set number or tempo for experienced bodybuilders.
A better goal is repeatability. Pick the same machine, foot position and ankle range, then add resistance when you can reproduce them. A controlled range is preferable to forcing a deep heel drop that irritates your Achilles tendon. Progressively loading the calf, rather than maximizing the stretch at any cost, is the objective.
2. Fit the machine before loading the stack
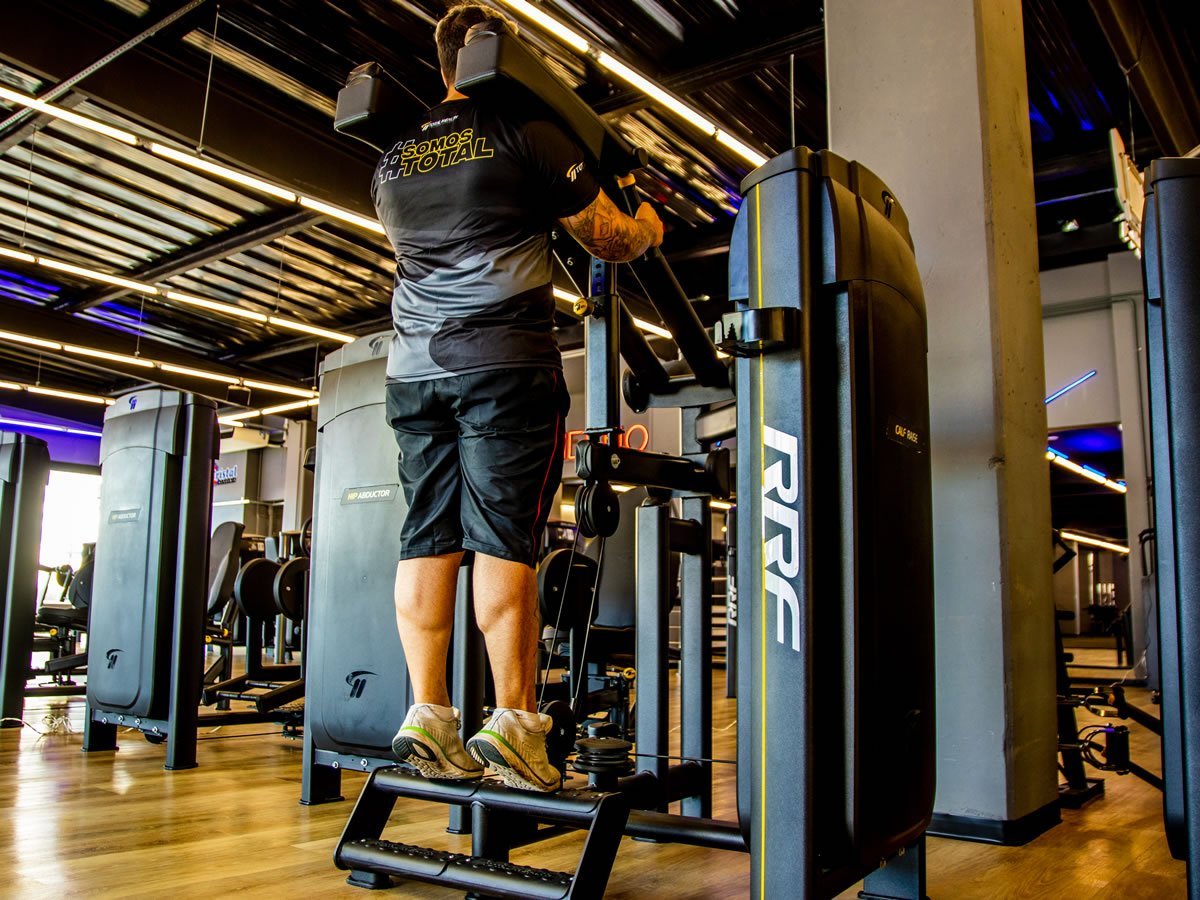
Set the shoulder pads where you can stand upright without rising onto your toes to enter the station. Rest your forefeet securely on the platform and leave clearance for your heels. The ball of each foot supplies pressure; a narrow sliver of contact at the edge is unstable. Grip the handles and brace before lifting or unlocking the apparatus.
Start around hip width, toes pointing forward or slightly outward. Spread pressure across the ball of each foot without rolling your ankles inward or outward. Knees can remain soft and almost straight without being forced backward. If knee angle changes with every repetition, your calf work becomes impossible to compare accurately.
Check that the shoulder pads feel secure rather than sliding into your neck. Choose a light initial load and perform several practice repetitions. Test how the machine releases and reracks before approaching fatigue. Some machines have a moving frame; others use a weight stack. Learn the specific station rather than treating every calf machine as interchangeable.
If you are very tall or the shoulder pads cannot adjust high enough, choose a better-fitting alternative rather than twisting under a poor setup. A Smith machine with a stable calf block, supported single-leg work or dumbbells may be preferable. Record changes in equipment: the same number printed on two different stacks does not guarantee equivalent resistance.

Equipment Worth Exploring
Explore equipment, accessories and gear from our carefully selected range.

Multi Pull Smith Rack MPHR-780
All-in-one rack with a Smith machine, functional trainer, lat pulldown and low row.


Rubber Hex Dumbbells
Rubber-coated hex dumbbell pairs with a stable shape for home and commercial strength training.


Foldable Wall Rack
Wall-mounted folding squat rack designed to save floor space between workouts.


Grip Plates
Rubber-coated weight plates with handholds for loading barbells and machines.
3. Use an ankle range you can measure instead of bouncing
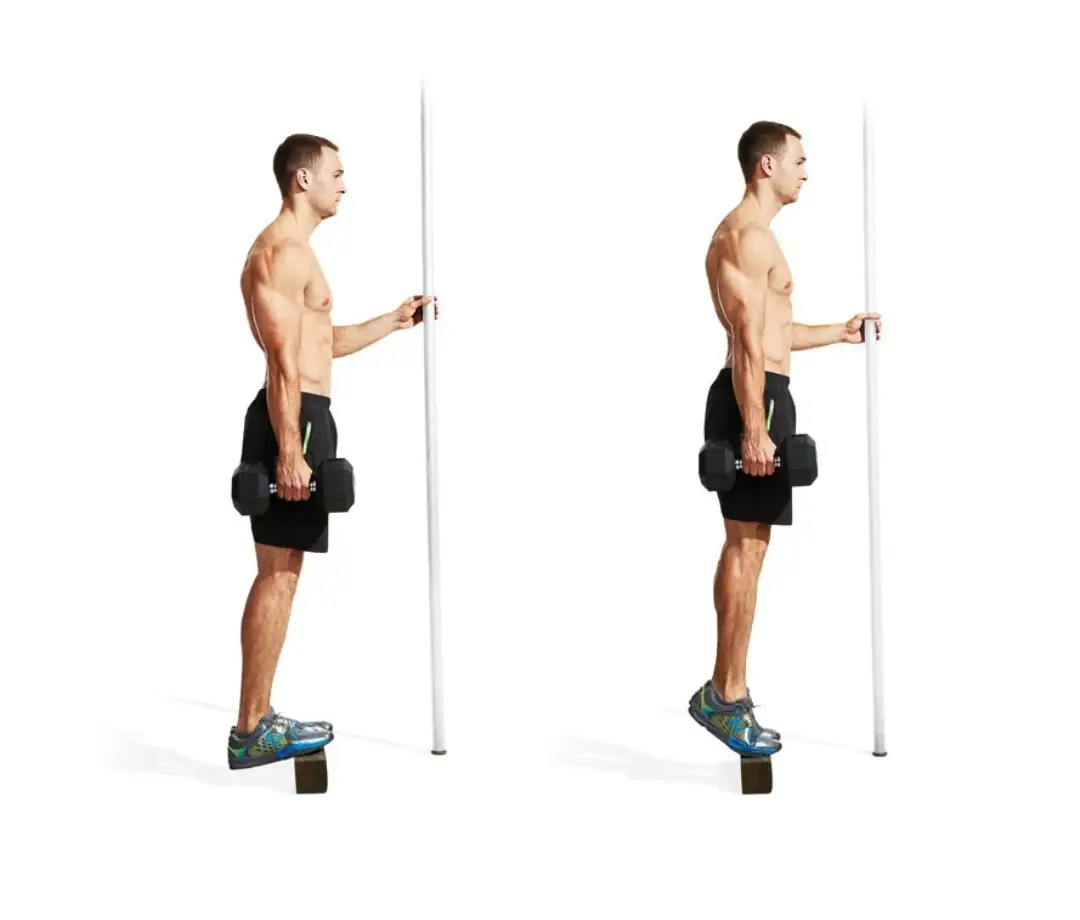
Begin in a comfortable lower position. Allow the heels to sink below the forefeet only as far as your ankles comfortably travel without pain or instability. Pause briefly instead of springing upward. Drive through the forefoot until the heels clearly rise, hold the top deliberately, and lower for roughly two or three controlled seconds. Repeat the same movement each time.
That rhythm is a coaching tool, not a scientifically required six-second repetition. As your form improves, a natural controlled upward phase is fine. The important features are a recognizable bottom, a genuine rise and an intentional lowering. Count a repetition only when it resembles the first one. A heavy stack with a tiny bob does not demonstrate improvement across meaningful ankle travel.
Long muscle lengths are interesting for calf growth, but the research requires context. In an eight-week experiment with 42 young women, lower-half calf-raise repetitions on a horizontal leg-press machine produced more medial gastrocnemius thickness growth than full or upper-half repetitions. This does not justify violent bouncing at the bottom or prove the best procedure for trained men on standing machines.
Start with controlled full-range work because it is easy to audit. If you later include stretch-biased partials, record them separately rather than treating those rep totals as equivalent. If the Achilles region hurts sharply or your ankle collapses inward, shorten the range, reduce the load and address the problem rather than forcing a rep target.
Equipment Worth Exploring
Explore equipment, accessories and gear from our carefully selected range.

Compact Leg Press CLP-700
Compact reverse-style leg press with a moving seat carriage and an adjustable footplate.

Leg Press/Hack Squat BPR-790
Convertible 45-degree leg press and hack squat machine with a broad footplate and band pegs.

Studio V-Squat
Plate-loaded V-squat machine for supported lower-body strength training.

Competition Plates
Competition-style bumper plates for Olympic lifts and loaded strength training.


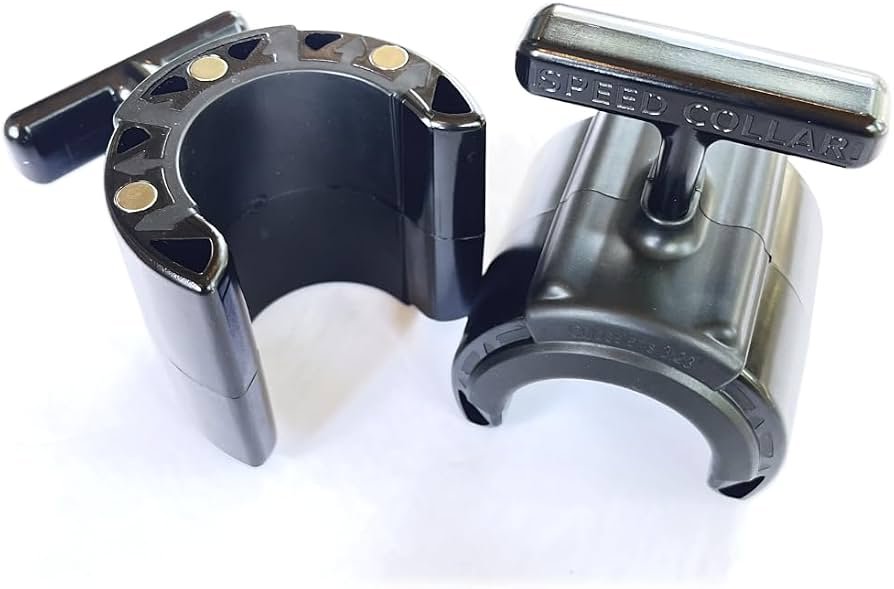
Speed Collar
Quick-release collars designed to secure weight plates on standard two-inch Olympic bars.
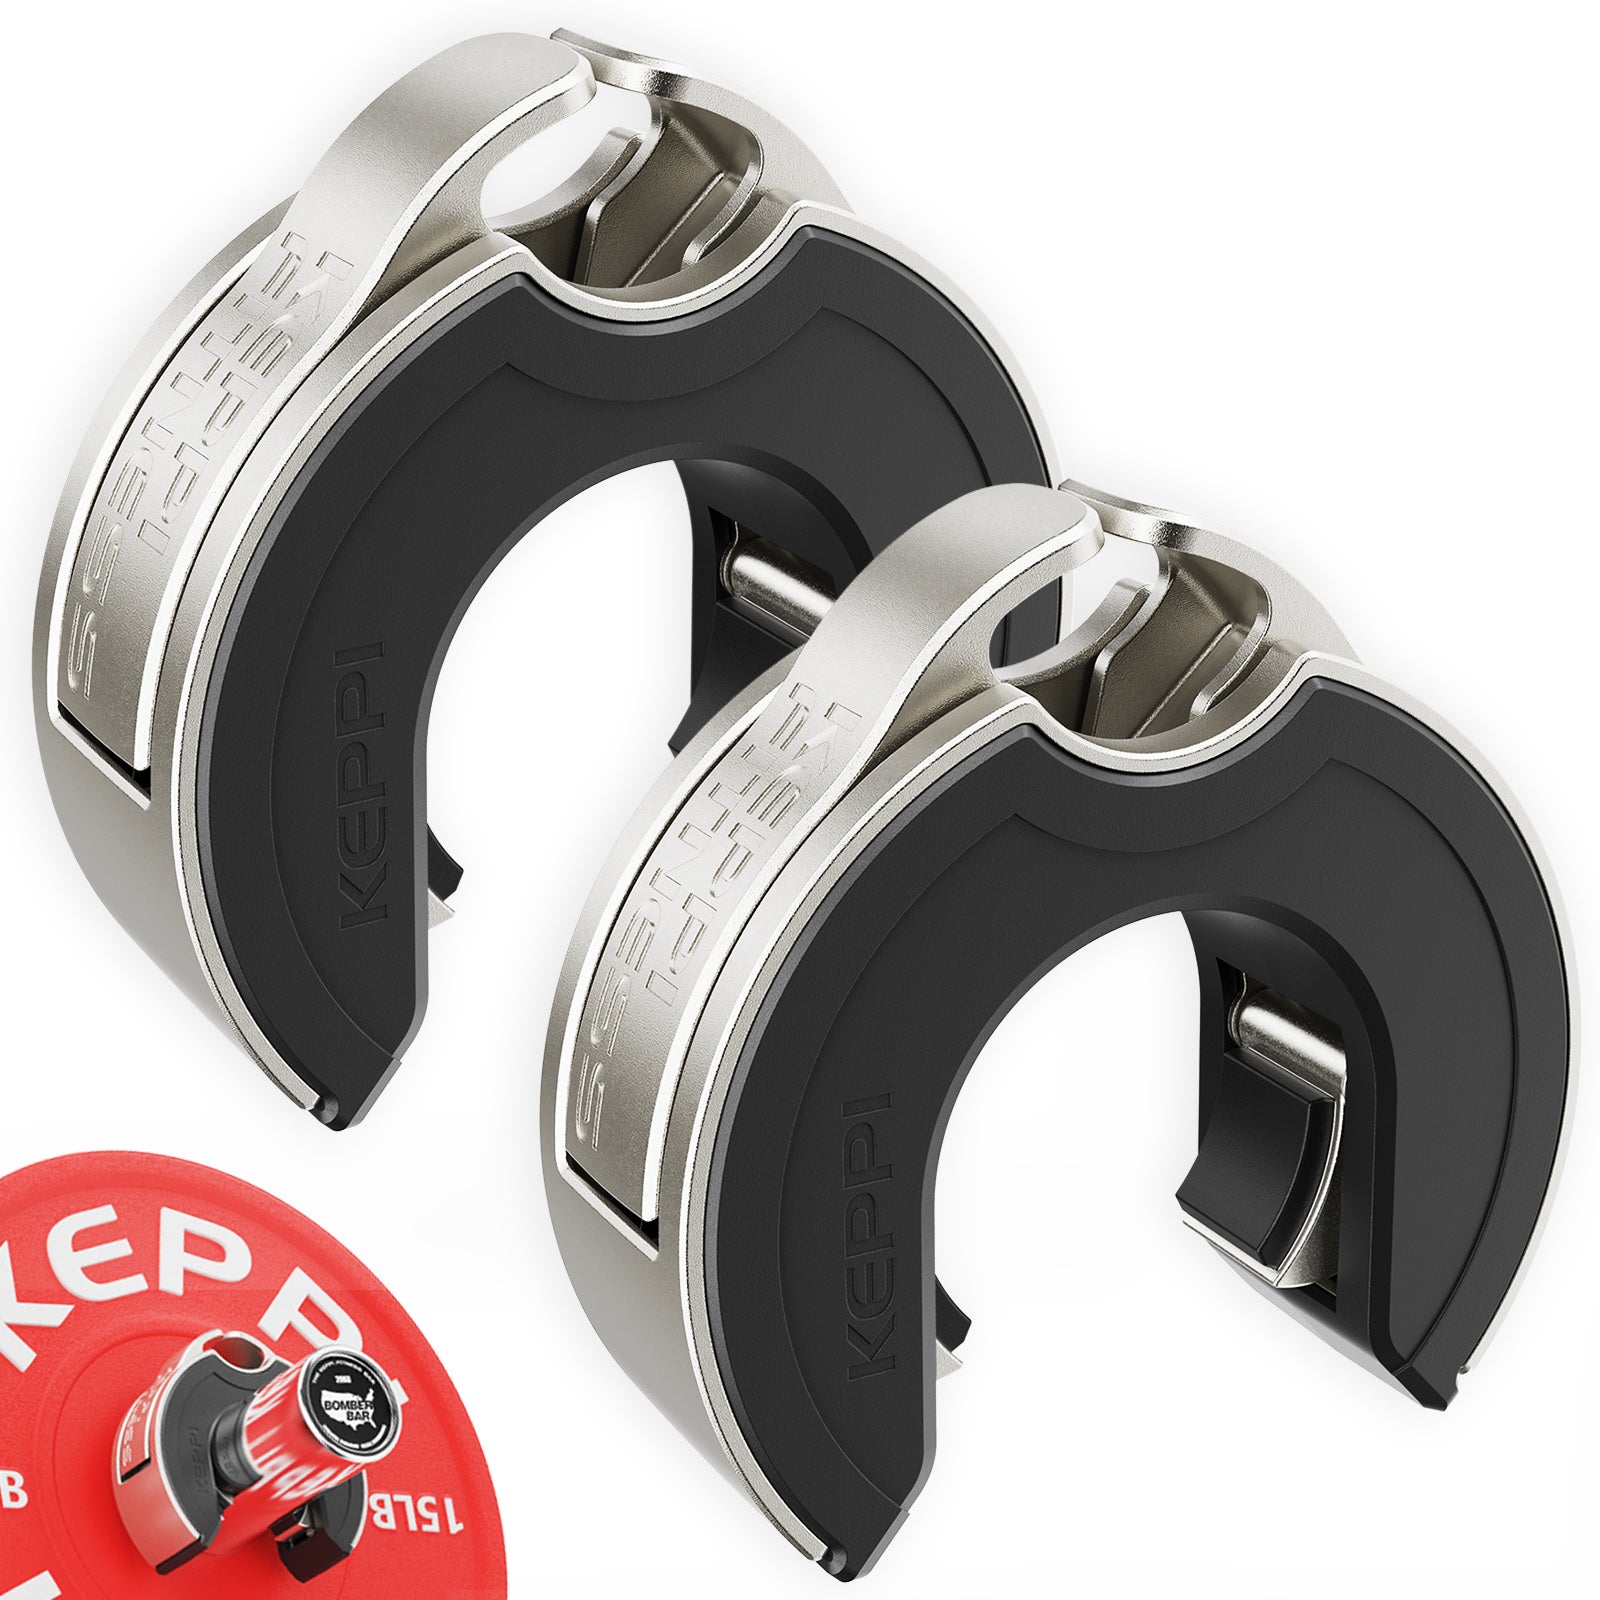
Keppi Open Collars
C-shaped magnetic Olympic barbell collars with a quick-lock mechanism and grippy lining.

4. Choose the machine, Smith or dumbbell version for a reason
A dedicated standing calf machine usually simplifies resistance and balance when it fits correctly. It lets you focus on the ankle while the pads support the load. The drawback is false confidence: a stable frame makes it tempting to add weight until the heels barely lift. Occasionally film a light set from the side. If travel shrinks as weight rises, the video tells you something important.
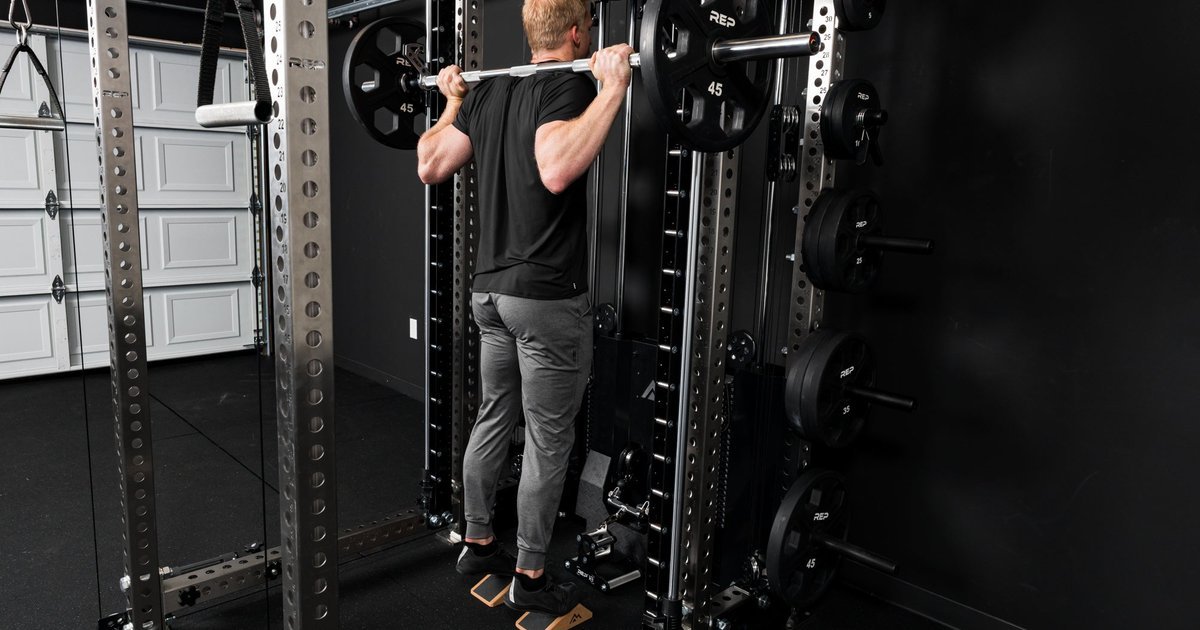
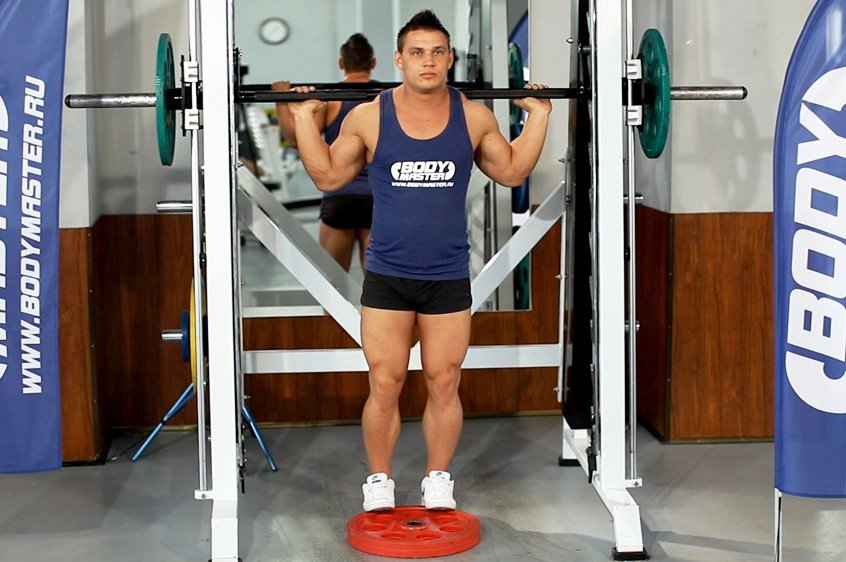
A Smith machine can provide a clear movement with a bar across the upper back and a properly rated, non-slip calf block. Align the block under the bar path, set the safeties and make sure you can rerack from your working height. Do not balance on an unstable stack of loose plates. A safe platform matters more than stretching an extra centimeter.
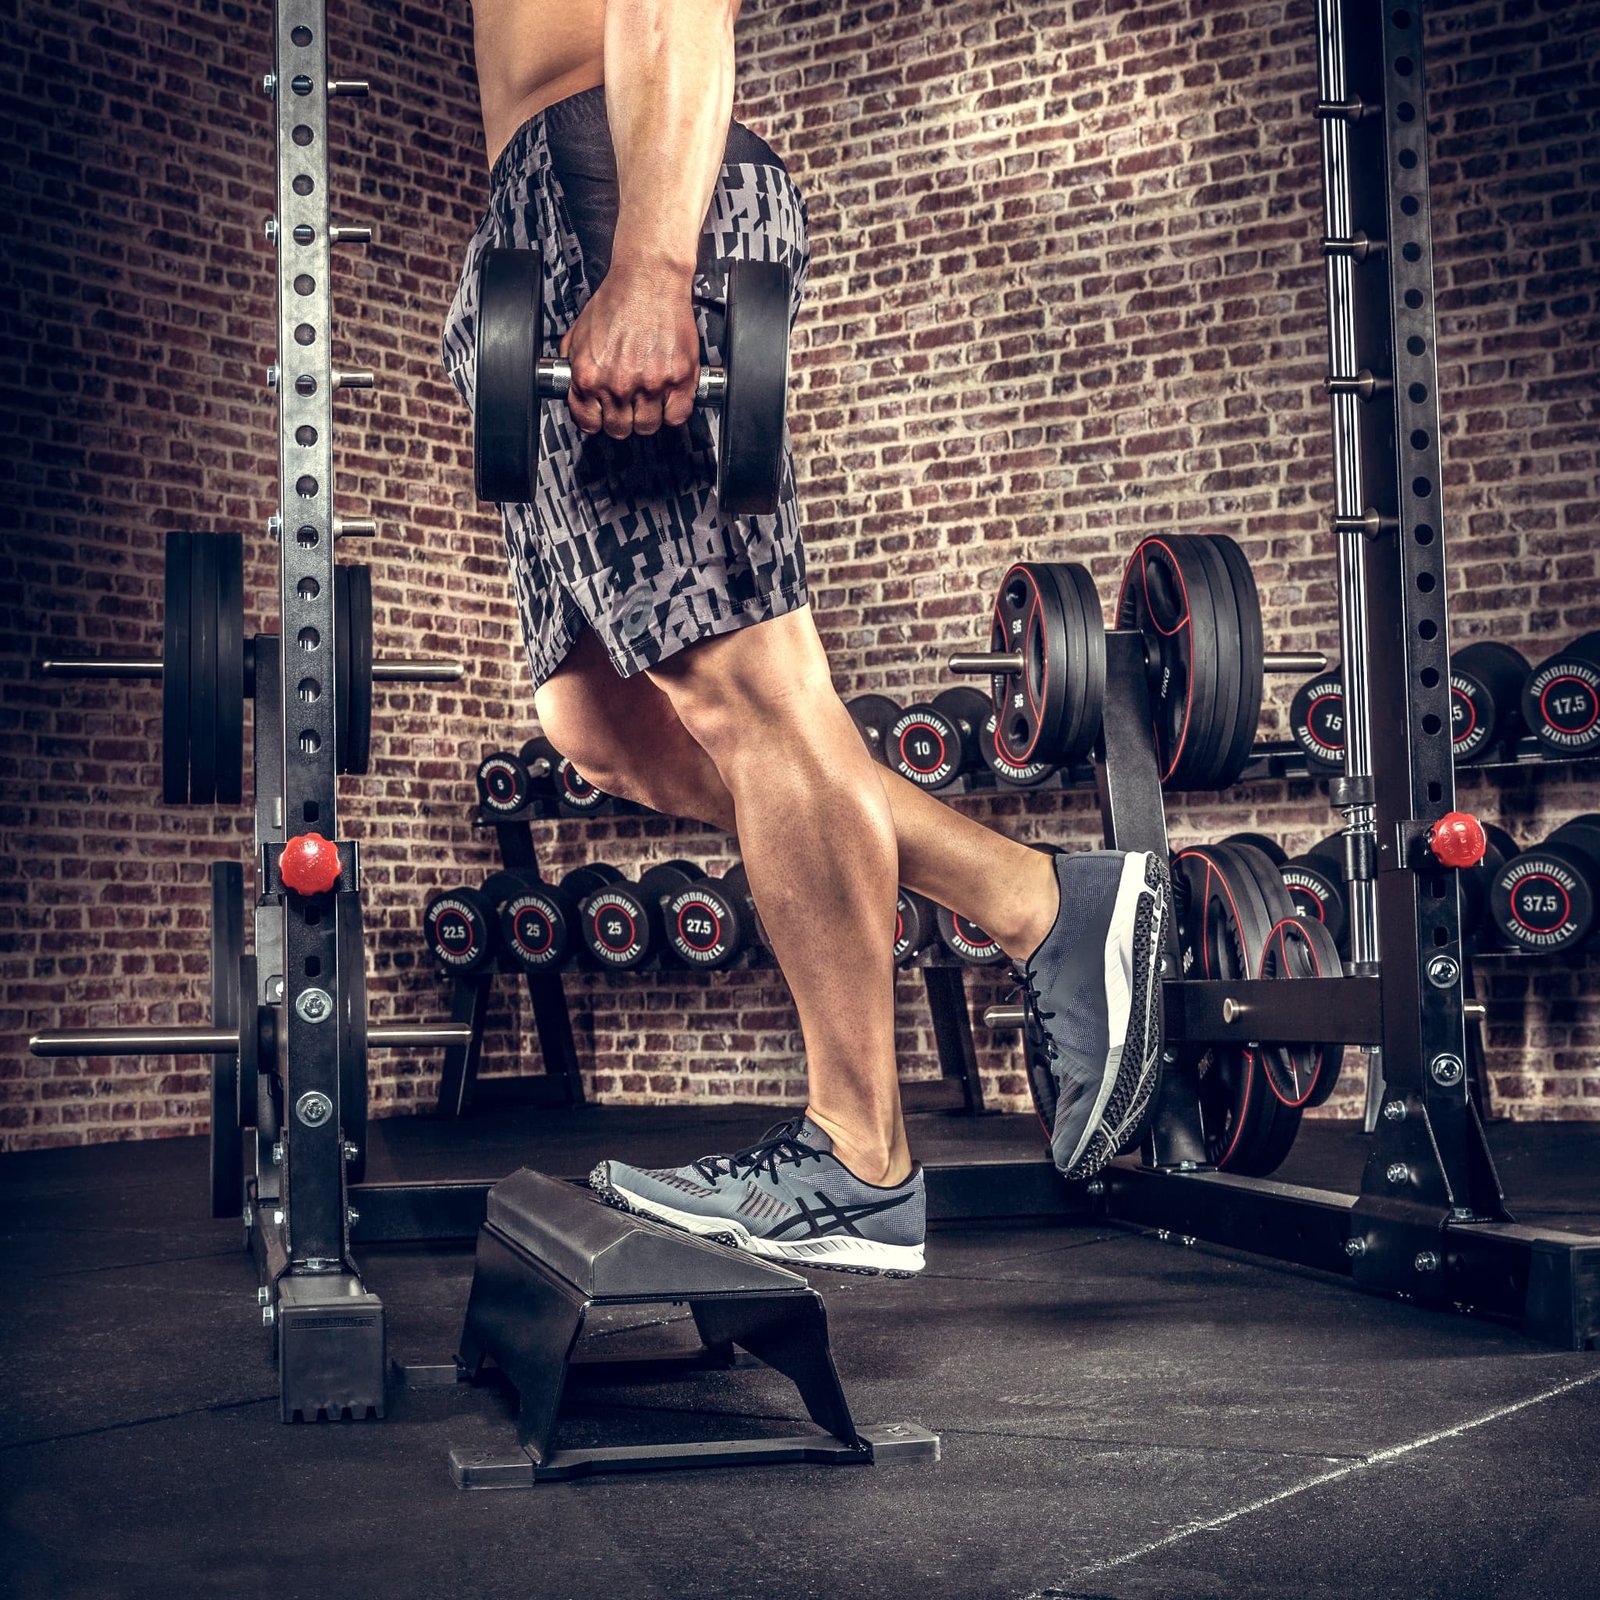
With dumbbells, a free hand holding a support may be more useful than a heavier second dumbbell. Supported single-leg raises challenge the calf with modest loads and reveal differences between sides. Stand on a stable step, hold a rail lightly and lift the working heel without swinging the other leg. Balance should not become the limiting factor when your goal is hypertrophy.
Leg-press calf raises are another possibility, but keep the knee position consistent, stay within the machine stops and never casually disengage the sled safety when your toes are near the end of the plate. Every apparatus changes leverage and useful load. Log the setup, not just a stack number. Choose a version that matches your body and can be progressed safely.
5. A six-week progression built around clean repetitions
Train calves twice weekly to begin. During weeks one and two, do three standing sets each session for 10 to 15 controlled reps, stopping with about two clean reps in reserve. Rest around 90 seconds or longer if needed to maintain quality. First settle on one machine, one foot position and one reliable ankle range. Log weight, clean reps and any tendon discomfort.
In weeks three and four, maintain six weekly standing sets. When all sets reach the top of your rep target without cheating, add the smallest available load increase. If your machine makes huge jumps, add repetitions first. You can try two seated-calf sets on a separate day for additional bent-knee work, but count these as additional training rather than replacing the standing movement.
In week five, add one set to one session only if your calves, feet and Achilles have been recovering well; otherwise repeat week four. In week six, aim to improve the original logbook by a modest amount, perhaps one clean rep or a small weight increase. A more controlled repetition at the same weight is also real progress. A max-out test is unnecessary.
Calf raises work well after your heaviest squats or hinges, where fatigue is less likely to undermine a compound lift. On an upper-body day you can do them earlier while fresher. The lower leg is used every time you walk, but that does not prove unlimited hard calf sets are productive. Use your recovery and actual performance to choose your weekly workload.
Keep this rule across all six weeks: do not count momentum as improvement. Stop or downgrade a set if knee pumping replaces ankle travel, if the range shrinks dramatically, or if you lose control of the descent. Persistent sharp foot or Achilles pain warrants reducing aggravating work and seeking individualized clinical advice. The right load lets you repeat the task and improve gradually.

Leg Day Shirts & Workout Gear
Leg-day gym shirts and workout gear for lifters who never skip squats, lunges and lower-body punishment.

Patriotic Uncle Sam – I Want You To Train Legs Meme Wor Sticker
A fun “Patriotic Uncle Sam” touch for bottles, laptops, and lockers.

Funny Patriotic Gym – The Only Thing To Fear Is Leg Day Tank Top
Bring “Patriotic” humor to your next lifting session.

Patriotic Statue of Liberty – 4th of July Jumper for Sq T-Shirt
Add a playful “Patriotic Statue of Liberty” touch to your casual rotation.

I Love Thicc Girls Funny Valentine's Gym – Thicc Thighs Tank Top
Add some leg-day attitude to training with “I Love Thicc Girls Funny Valentine's”.


Never Skip Leg Day Flamingo – Fitness Meme Hooded Pullo Hoodie
Bring “Never Skip Leg Day Flamingo” gym humor to lazy days and post-workout plans.

I Love Squats – Valentine's Day Leg Day Meme Vest Muscl Tank Top
Add some leg-day attitude to training with “I Love Squats”.

Legday of Legends Gym | Funny League of Legends Meme Wo Sticker
Give your everyday gear a playful “Legday of Legends” twist.


Patriotic Eagle Stars Stripes and Squats Muscle Shirt f Tank Top
Bring “Patriotic Eagle” humor to your next lifting session.