Advertising disclosure: This page includes affiliate product links that may earn us a commission, as well as products from our own store.
Meadows Rows: Landmine Setup, Grip Control and a Six-Week Back Plan
The Meadows row looks like a bent-over barbell row turned sideways, but the details change the feel dramatically. One end of the bar stays anchored, your hand grips the thick loaded sleeve, and the working arm follows a diagonal path rather than a straight pull. A secure anchor and honest range of motion matter more than the amount of iron stacked on the bar. Use this guide to choose a setup, protect the grip, compare alternatives and train both sides consistently.
1. Understand the side-on row before loading the sleeve
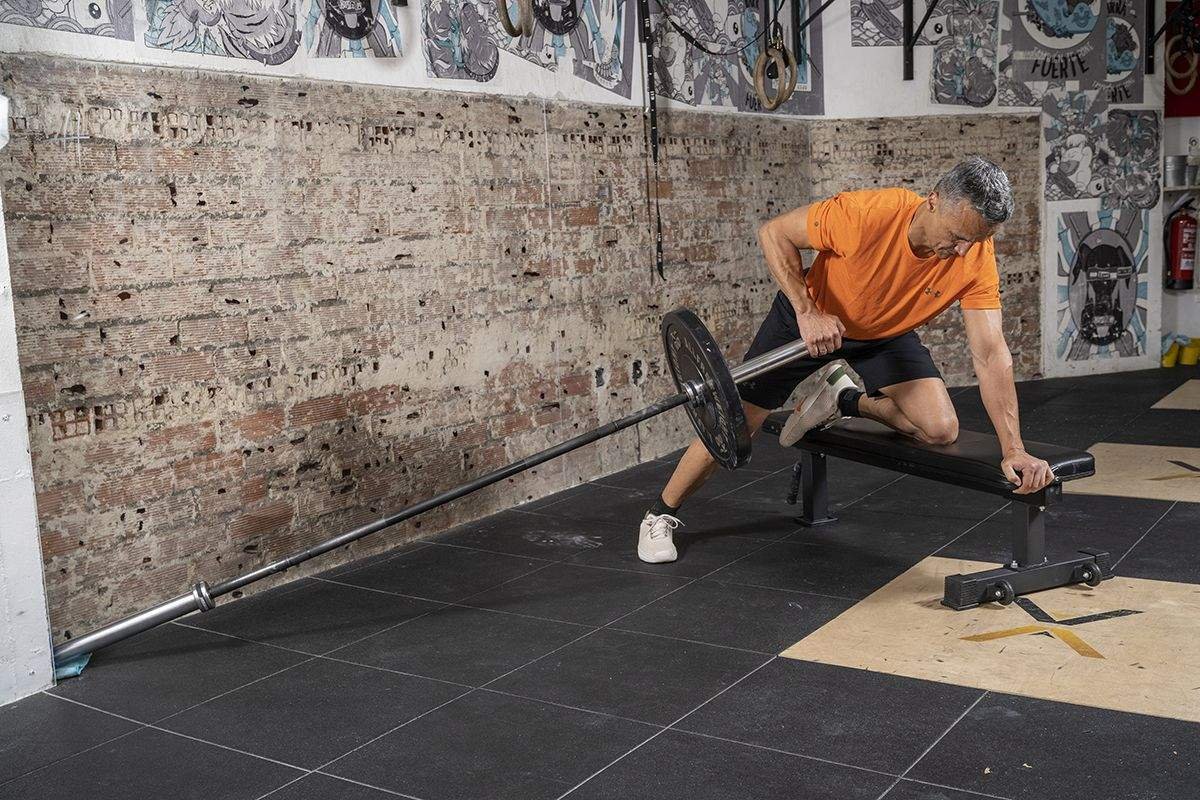
A Meadows row is a one-arm horizontal pulling variation. Stand beside the loaded end of a landmine rather than straddling the bar like a conventional two-handed T-bar row. The planted end rotates as your free hand braces against a thigh or solid support and the working arm draws the sleeve toward your side. The upper back and latissimus dorsi help move the upper arm, while elbow flexors, forearm muscles and trunk stabilizers contribute.
The long, angled bar changes the line of resistance through the movement. Do not assume the exercise places equal tension on every back muscle at every point in its arc. The rear shoulder, upper-back muscles and lat all participate, but where you feel a set depends partly on stance, elbow route and the load you can control. A burning forearm does not prove that your back did no work; it may mean the sleeve is too thick for your grip.
Your first goal is to recognize the real movement. The loaded end travels in an arc toward the lower ribs or hip as the elbow moves back. The shoulders stay approximately square to the floor, and the hips do not spin to create momentum. If the torso rises several inches on each repetition, the set is becoming a different, less controlled row.
2. Anchor the bar, choose small plates and fit your stance
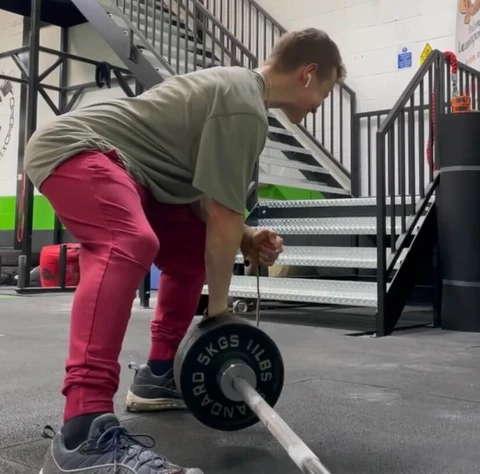
Start with an actual landmine base or another purpose-built, secure anchor. A loosely wedged bar in an exposed corner can slide or damage the wall; test the mounting before putting your face or hands near a moving sleeve. Make sure any rack-mounted landmine is fixed to a stable structure and that the bar has clear space to swivel without striking people or equipment.
Load the opposite sleeve with modest plates for your first warm-up. Smaller-diameter plates often give the hand, elbow and floor more clearance than one enormous plate. Confirm the plate and any collar arrangement do not cover the section of the sleeve you intend to grip. A thick Olympic sleeve is more demanding than the knurling of a standard bar, so the first load can feel unexpectedly heavy even when the stack of plates looks small.
Stand nearly perpendicular to the bar in a staggered stance with soft knees and hips hinged backward. The exact forward foot changes with body proportions and the bar’s angle; use the version that allows the sleeve to pass your leg without contact. Let the working arm reach toward the bar and support the other forearm on the front thigh. A bench support is another option, provided it cannot roll or shift.
Before the first working set, perform several light repetitions on each side. Watch whether the plates clear the floor, the handle stays within reach and your back can hold a consistent hinge. If your supporting wrist, knee or low back becomes the limiting factor, alter the support or choose a chest-supported rowing movement instead. This check is cheaper than discovering a bad setup at the top of a hard set.

Equipment Worth Exploring
Explore equipment, accessories and gear from our carefully selected range.


T-Bar Row Attachment
Welded barbell attachment that connects a D-handle bar for landmine and T-bar rows.

GymPin Barbell Row Handle
Heavy-duty handle attachment for barbell, landmine and T-bar rows.

Grip Plates
Rubber-coated weight plates with handholds for loading barbells and machines.


Leather Lifting Straps
Padded leather straps support grip during heavy rows, deadlifts and pulling exercises.
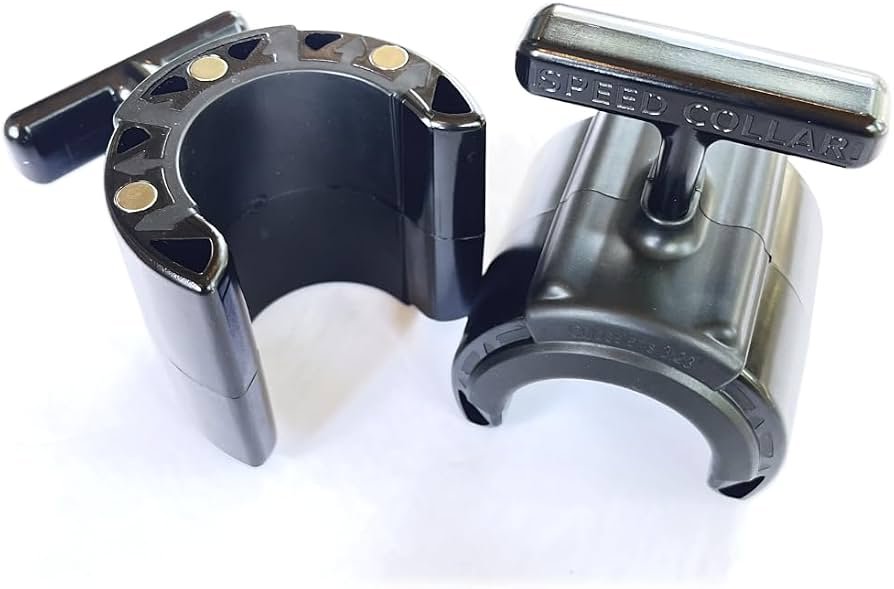
Speed Collar
Quick-release collars designed to secure weight plates on standard two-inch Olympic bars.
3. Lead the sleeve with your elbow, not your whole torso
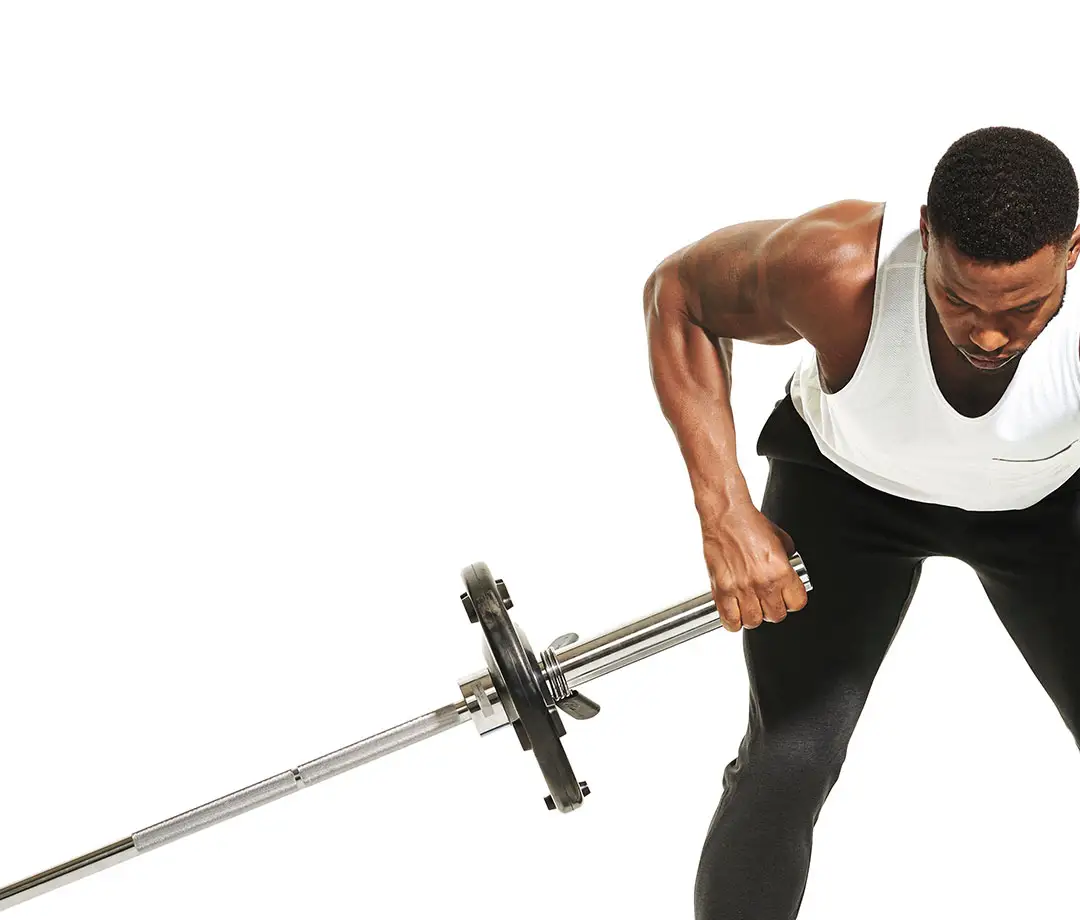
Take an overhand grip on the sleeve, with the wrist reasonably straight. Brace your abdomen and keep the free hand firmly supported. Pull by driving the working elbow up and slightly back, letting the bar follow the path imposed by its fixed pivot. Finish when the arm has moved through a useful, repeatable range; there is no requirement to jam the plates into your rib cage or turn the movement into a shrug.
Return slowly enough to avoid dropping the plate into the ground or wrenching the shoulder forward. Let the working arm lengthen at the bottom while keeping the torso stable. The shoulder blade can move naturally as the arm reaches; it does not have to remain pinned rigidly to the spine. Keep the head in line with the torso rather than craning toward a mirror to watch every repetition.
Grip deserves its own decision. The sleeve is wide and smooth compared with many dumbbell handles. Chalk may be enough to keep the hand dry; lifting straps can help when the forearm gives out long before the back. Neither is cheating, but record whether straps were used because your loading standard changes. Do not attach improvised handles to a moving sleeve if they can slip toward the plates.
A good set has a steady hinge, nearly stationary hips and similar elbow travel on both sides. If the last repetitions include increasingly large twists, bouncing plates or a shortened return, lower the weight. Film from a front-quarter angle to check consistency if useful; do not chase an arbitrary elbow height that pinches the shoulder. Stop an exercise variation that causes sharp pain rather than trying to row through it.

Bodybuilding Shirts & Workout Gear
Bodybuilding shirts, tanks and gym gear for lifters chasing muscle, size, symmetry and the pump.

Black Panther Big Back Gym Funny Workout Pullover Hoode Hoodie
Keep it laid-back with a little “Black Panther Big Back” attitude.


Strong Back Bodybuilder Tee
Show some lifting attitude with a playful “Strong Back Bodybuilder” tee.

Demon Back Big Back Sweater & Lat Gains Meme T-Shirt
Add a playful “Demon Back” touch to your casual rotation.

Nice Traps Big Back – Halloween Horror Jigsaw Meme Deca Sticker
Put “Nice Traps Big Back” gym humor on your laptop, bottle, or gym gear.


Big Back SpongeBob Sweater Back Day & T-Shirt
Bring “Big Back” humor to your everyday gym style.

Hardcore Gains Gym | Funny No Pain No Gain Workout Swea T-Shirt
For laid-back days and lifting humor: “Hardcore Gains”.

Gym Dost Thou Even Pull Medieval Knight Back Day Crewne T-Shirt
Show some gym-day personality with “Dost Thou Even Pull Medieval Knight Back”.
4. Compare Meadows rows with supported, cable and T-bar rows
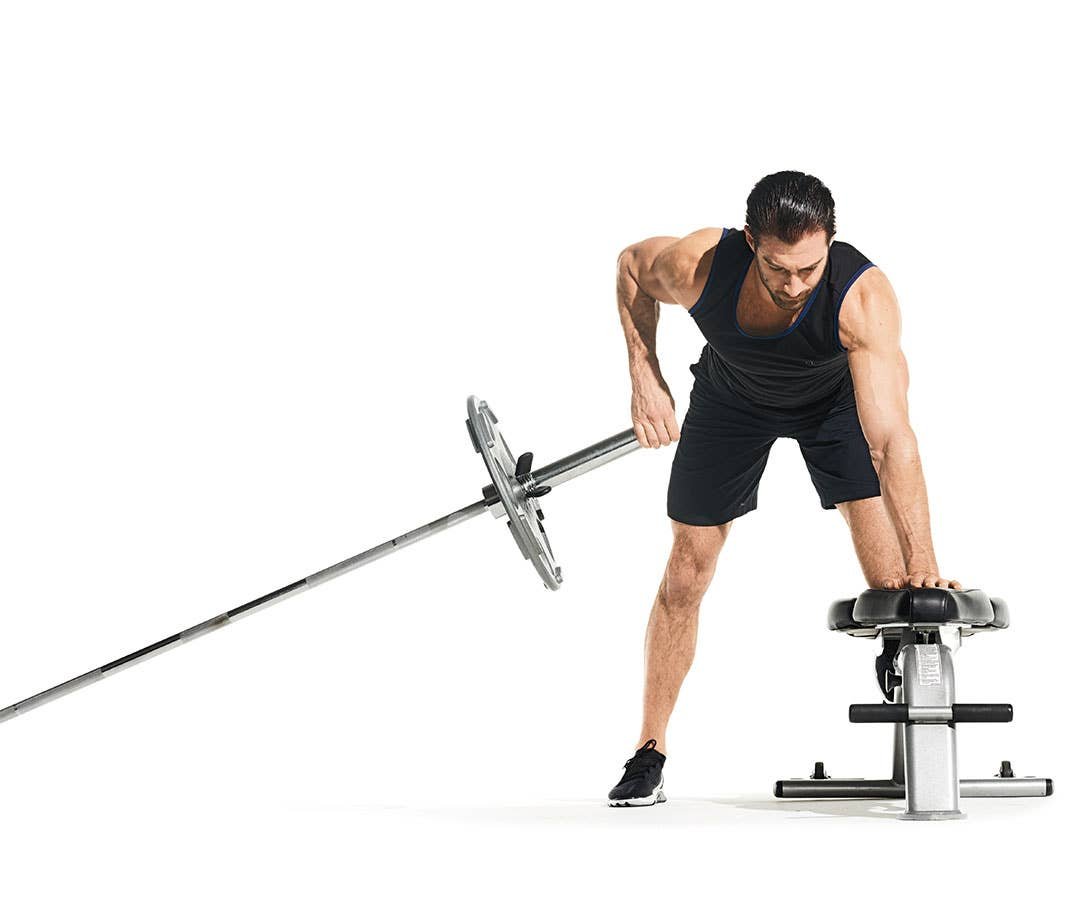
The Meadows row earns its place when you want a free-weight unilateral pull with a distinctly angled path. A one-arm dumbbell row allows a different line of motion and usually an easier-to-hold handle. A one-arm cable row gives adjustable resistance, a predictable handle and the option to change your body position without moving a heavy bar. Neither alternative is automatically less effective for muscle growth.
A chest-supported machine row removes much of the demand to maintain a long hip hinge. That can be valuable when the erectors are fatigued from heavy squats or deadlifts. A conventional two-arm T-bar row makes bilateral loading convenient and often permits substantially heavier plates, but it changes your hand position, torso mechanics and the amount of help each side can contribute. Treat the load numbers as separate exercise records.
For a sore grip or limited rotation, first try a lighter sleeve and a shorter controlled range. If the movement still feels awkward, switch to the dumbbell or machine variation rather than forcing the landmine arc. If you want to train heavy upper-back pulling without much lower-back work, a chest-supported row can be the better main lift and Meadows rows can become a lighter accessory.
Place your equipment choices around the actual motion: a secure pivot, a bar with usable sleeve space, suitable plates and a stable bracing point. Additional landmine handles are not required for the classic sleeve-grip row, and some turn it into a different exercise. Accessories are useful when they solve a real fit or loading problem; they do not need to dictate the article’s training advice.
Equipment Worth Exploring
Explore equipment, accessories and gear from our carefully selected range.

Linear Row LRX-750
Dual-sided rowing machine for supported rows, bent-over rows and varied pulling movements.

Lateral Row Machine LRM-720
Rowing machine with independent lever arms, an adjustable seat and chest support.

VForce Wall Trainer
Space-saving wall-mounted functional trainer with pivoting cable arms and variable resistance ratios.

FID Bench MAX
Adjustable bench offering flat, incline, and decline positions + adjustable headrest.



Rubber Hex Dumbbells
Rubber-coated hex dumbbell pairs with a stable shape for home and commercial strength training.


GymPin Ergo Handles
Pair of ergonomic cable handles shaped for comfortable triceps and pulling exercises.

GymPin D Handle Bar
Multi-use steel D-handle bar for cable rows, pulldowns and other cable exercises.
5. Build a six-week progression around clean unilateral reps
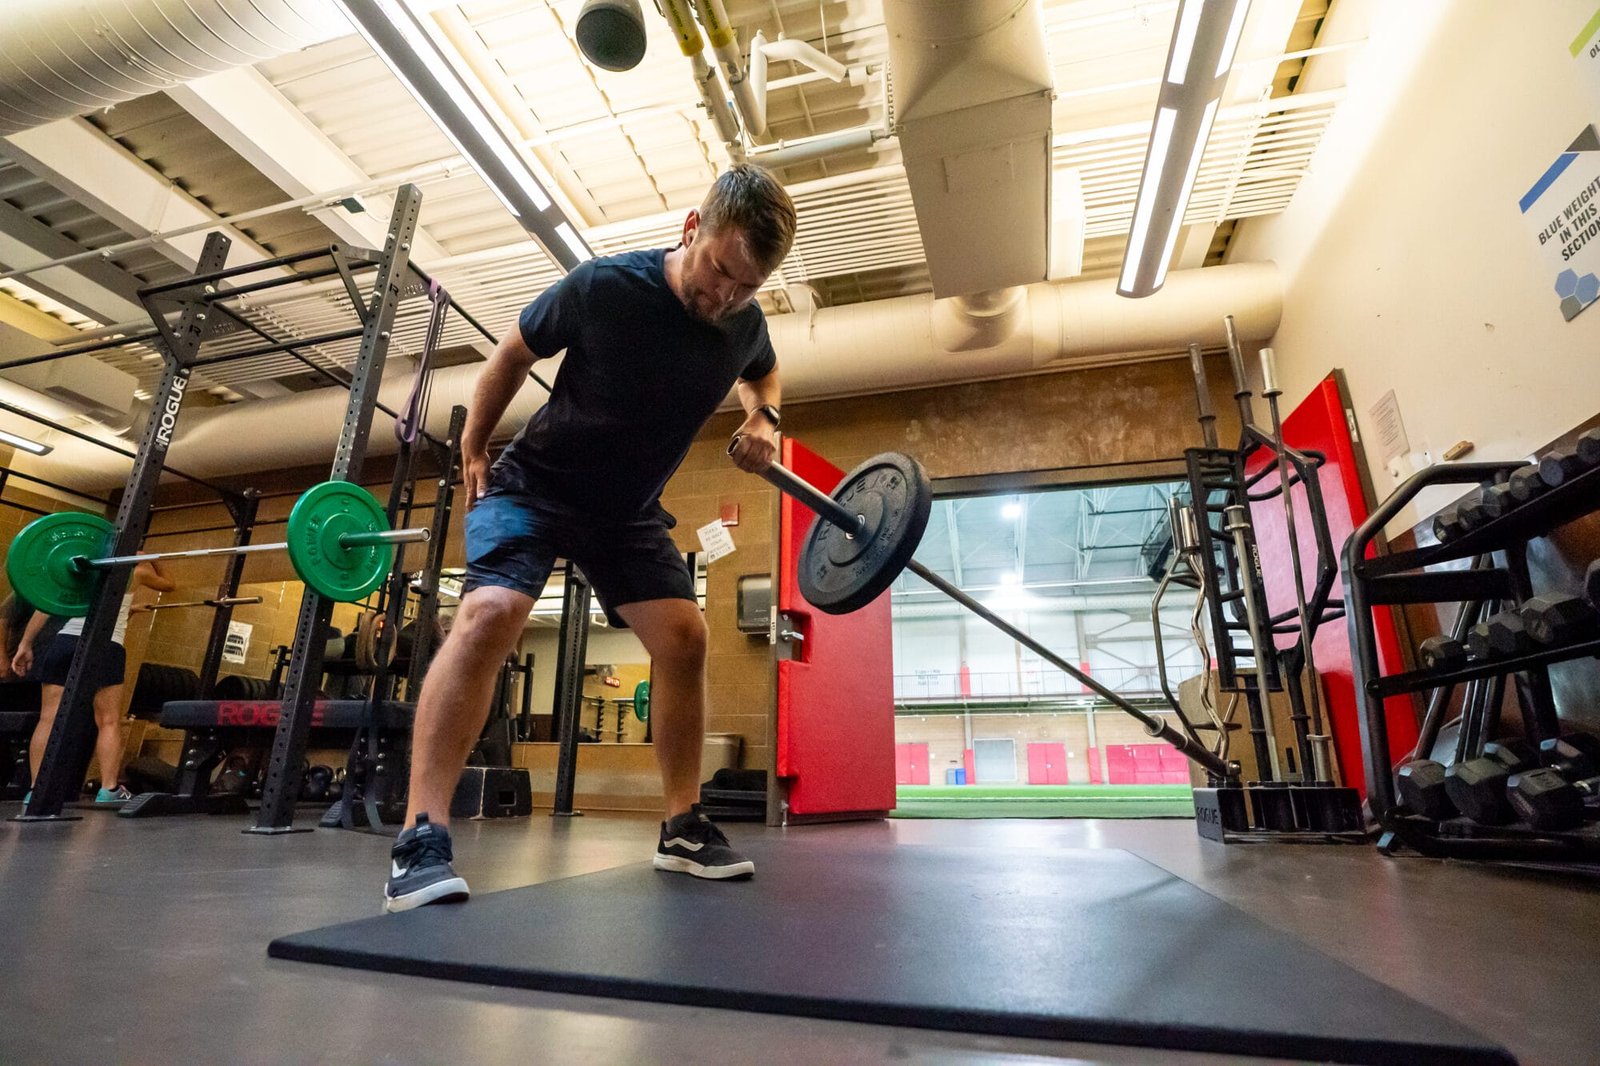
Start with one Meadows row session and one other back-focused session each week, leaving enough recovery between them. On the Meadows day, warm up with very light plates and then perform three working sets of eight to twelve repetitions per side. Rest roughly ninety seconds to two minutes between hard sets, or longer when your grip or breathing needs it. Finish with one or two technically clean repetitions left in reserve on most sets.
In weeks one and two, select a baseline weight that lets you keep the same stance, elbow route and bottom reach on both sides. Record the plate load, number of reps, whether you used straps, and which side went first. Start with the side that has less consistent control, then match its successful reps on the stronger side. Avoid creating an artificial imbalance by allowing wildly different ranges for each arm.
In weeks three and four, apply double progression: add repetitions toward the top of the range before adding the smallest available increment. If you can make all three sets of twelve with controlled returns and no twisting, increase the plate load in the next session. If one side cannot match, stay at the same weight and improve its repeatability. Neither the bar’s full mass nor the angled force equals the number printed on the plates, so compare like-for-like setups.
In weeks five and six, either maintain three demanding sets or reduce to two if your overall weekly back workload is already high. Add horizontal or vertical pulling elsewhere in the week rather than turning every back exercise into five extra hard sets. Your final comparison should look at clean reps, consistent range, grip stability and comfort—not the biggest plate collection you can jerk upward.