Advertising disclosure: This page includes affiliate product links that may earn us a commission, as well as products from our own store.
Kettlebell Windmills: Stack the Shoulder, Hinge the Hips and Build Control
The kettlebell windmill is not a contest to touch the floor with a weight overhead. It is a deliberately slow combination of a sideways hip hinge, a stable overhead arm and a trunk that resists folding under load. When those pieces work together, even a modest kettlebell can feel demanding without the frantic pace of a conditioning circuit.
A good repetition has a clear beginning and end: the feet stay planted, the hips travel back, the free hand follows the leg and the weighted arm remains stacked above the supporting shoulder. Your range may look smaller than somebody else’s, and that is fine. The goal is repeatable control rather than a particular photograph-worthy depth.
This guide treats the windmill as a technical strength movement. You will learn which direction to turn your toes, how to keep the bell above the shoulder, what usually goes wrong and how to practice it across six weeks without confusing heavier loads with better technique.
1. Set your feet and choose a load you can actually control
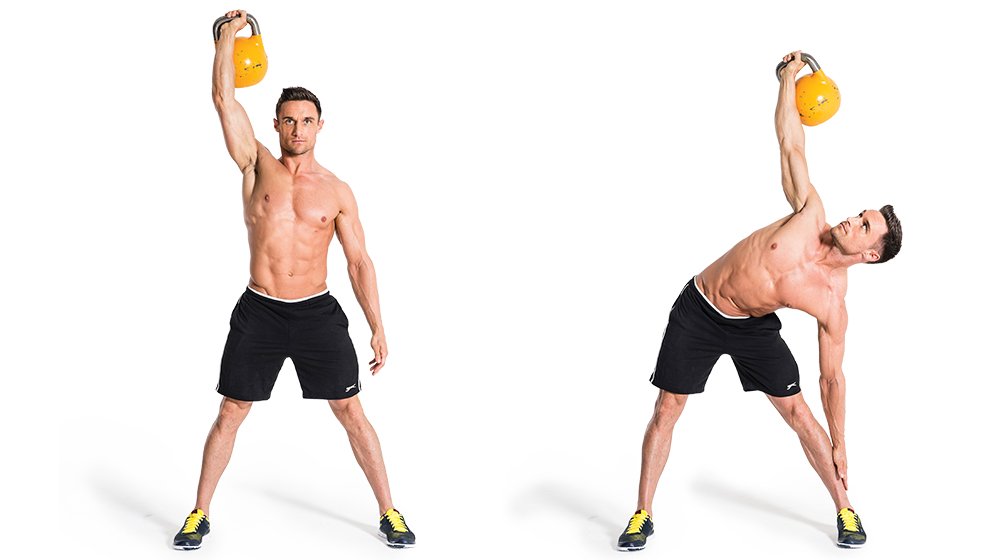
Begin with no kettlebell at all. Stand with your feet roughly hip- to shoulder-width apart and enough space to move your free arm toward the floor. To windmill under your right arm, turn both feet modestly toward the left. The exact angle is a starting point, not a law: a slight outward turn is useful if it lets the hips move back without the knees twisting. Your right arm will be the one held overhead, while your left hand travels down.
Think of your stance as a stable tripod rather than a stretching pose. Keep the heel and the bases of both the big and little toes connected to the ground. A small knee bend is acceptable if needed to keep the knees tracking comfortably. Do not aggressively lock the knees just to copy somebody else’s demonstration. You should feel able to pause at every point without wobbling onto your toes.
First rehearse the movement with the upper hand empty and pointing toward the ceiling. Reach the other hand toward the thigh or knee, then return to standing. Perform three to five slow repetitions per side. Only add an unloaded overhead hold when you can control the hinge; then progress to a very light kettlebell or dumbbell. You do not need the bell size you use for swings, cleans or presses.
If you cannot hold an unloaded arm above your shoulder without pain or compensatory rib flare, do not force the loaded version. An overhead press, a comfortable overhead hold and a shallow bodyweight windmill can identify whether the limitation is strength, balance or range. Persistent shoulder or back pain deserves individual clinical advice rather than heavier practice.
2. Hinge the hips diagonally instead of collapsing sideways
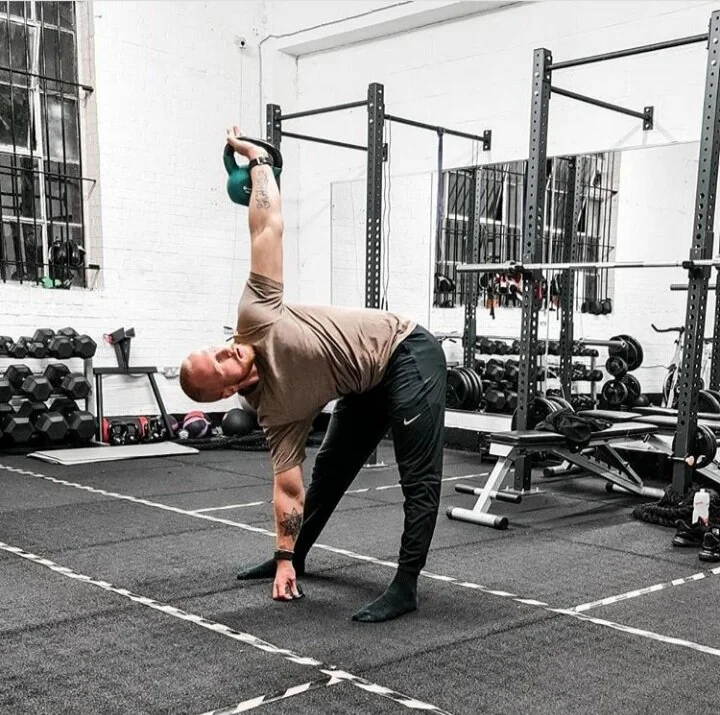
From standing, imagine sliding the hip beneath your overhead hand backward and slightly outward. This is a diagonal hinge, not a conventional forward fold and not a pure side crunch. Keep your upper body long while the pelvis creates room for the torso to incline. Your free arm can brush the inside of the opposite thigh or shin; it is a guide, not a handle you use to pull yourself down.
Lower only as far as you can while maintaining both heel contact and the relationship between ribs, pelvis and bell. The bottom might be a hand at the knee for a new lifter, or nearer the ankle for somebody with more hip range. Touching the floor is optional. If the lower hand dives toward the toes by rounding the lower back, the extra distance is coming from compensation rather than the intended hinge.
One useful test is to pause halfway for two full breaths. You should still be able to brace gently, feel pressure through both feet and reverse the movement without a bounce. On the way up, drive the hips back under the torso rather than yanking the bell toward the ceiling. The kettlebell stays relatively quiet as the body changes position beneath it.
The stretch can register in the hamstrings, adductors and lateral hip, but the sensation should not be sharp or electrical. A tight back is not proof the exercise is rehabilitating it. Reduce depth, shorten the set or use an unloaded hinge if you find yourself twisting through the lumbar spine to chase a lower hand position.
Use a camera directly in front and slightly to the side for a short set. You are looking for the hip moving diagonally, a planted foot, a consistent torso angle and a controlled return—not a dramatic silhouette. Repeat from the opposite side before deciding that the heavier kettlebell is earned.

Equipment Worth Exploring
Explore equipment, accessories and gear from our carefully selected range.


Cast Iron Kettlebells
Textured cast-iron kettlebells for swings, squats, carries, and full-body training.


Rubber Hex Dumbbells
Rubber-coated hex dumbbell pairs with a stable shape for home and commercial strength training.


Leather Wrist Grips
Padded leather lifting grips help support the hands and wrists on heavy pulling exercises.

3. Stack the shoulder, wrist and kettlebell over your base
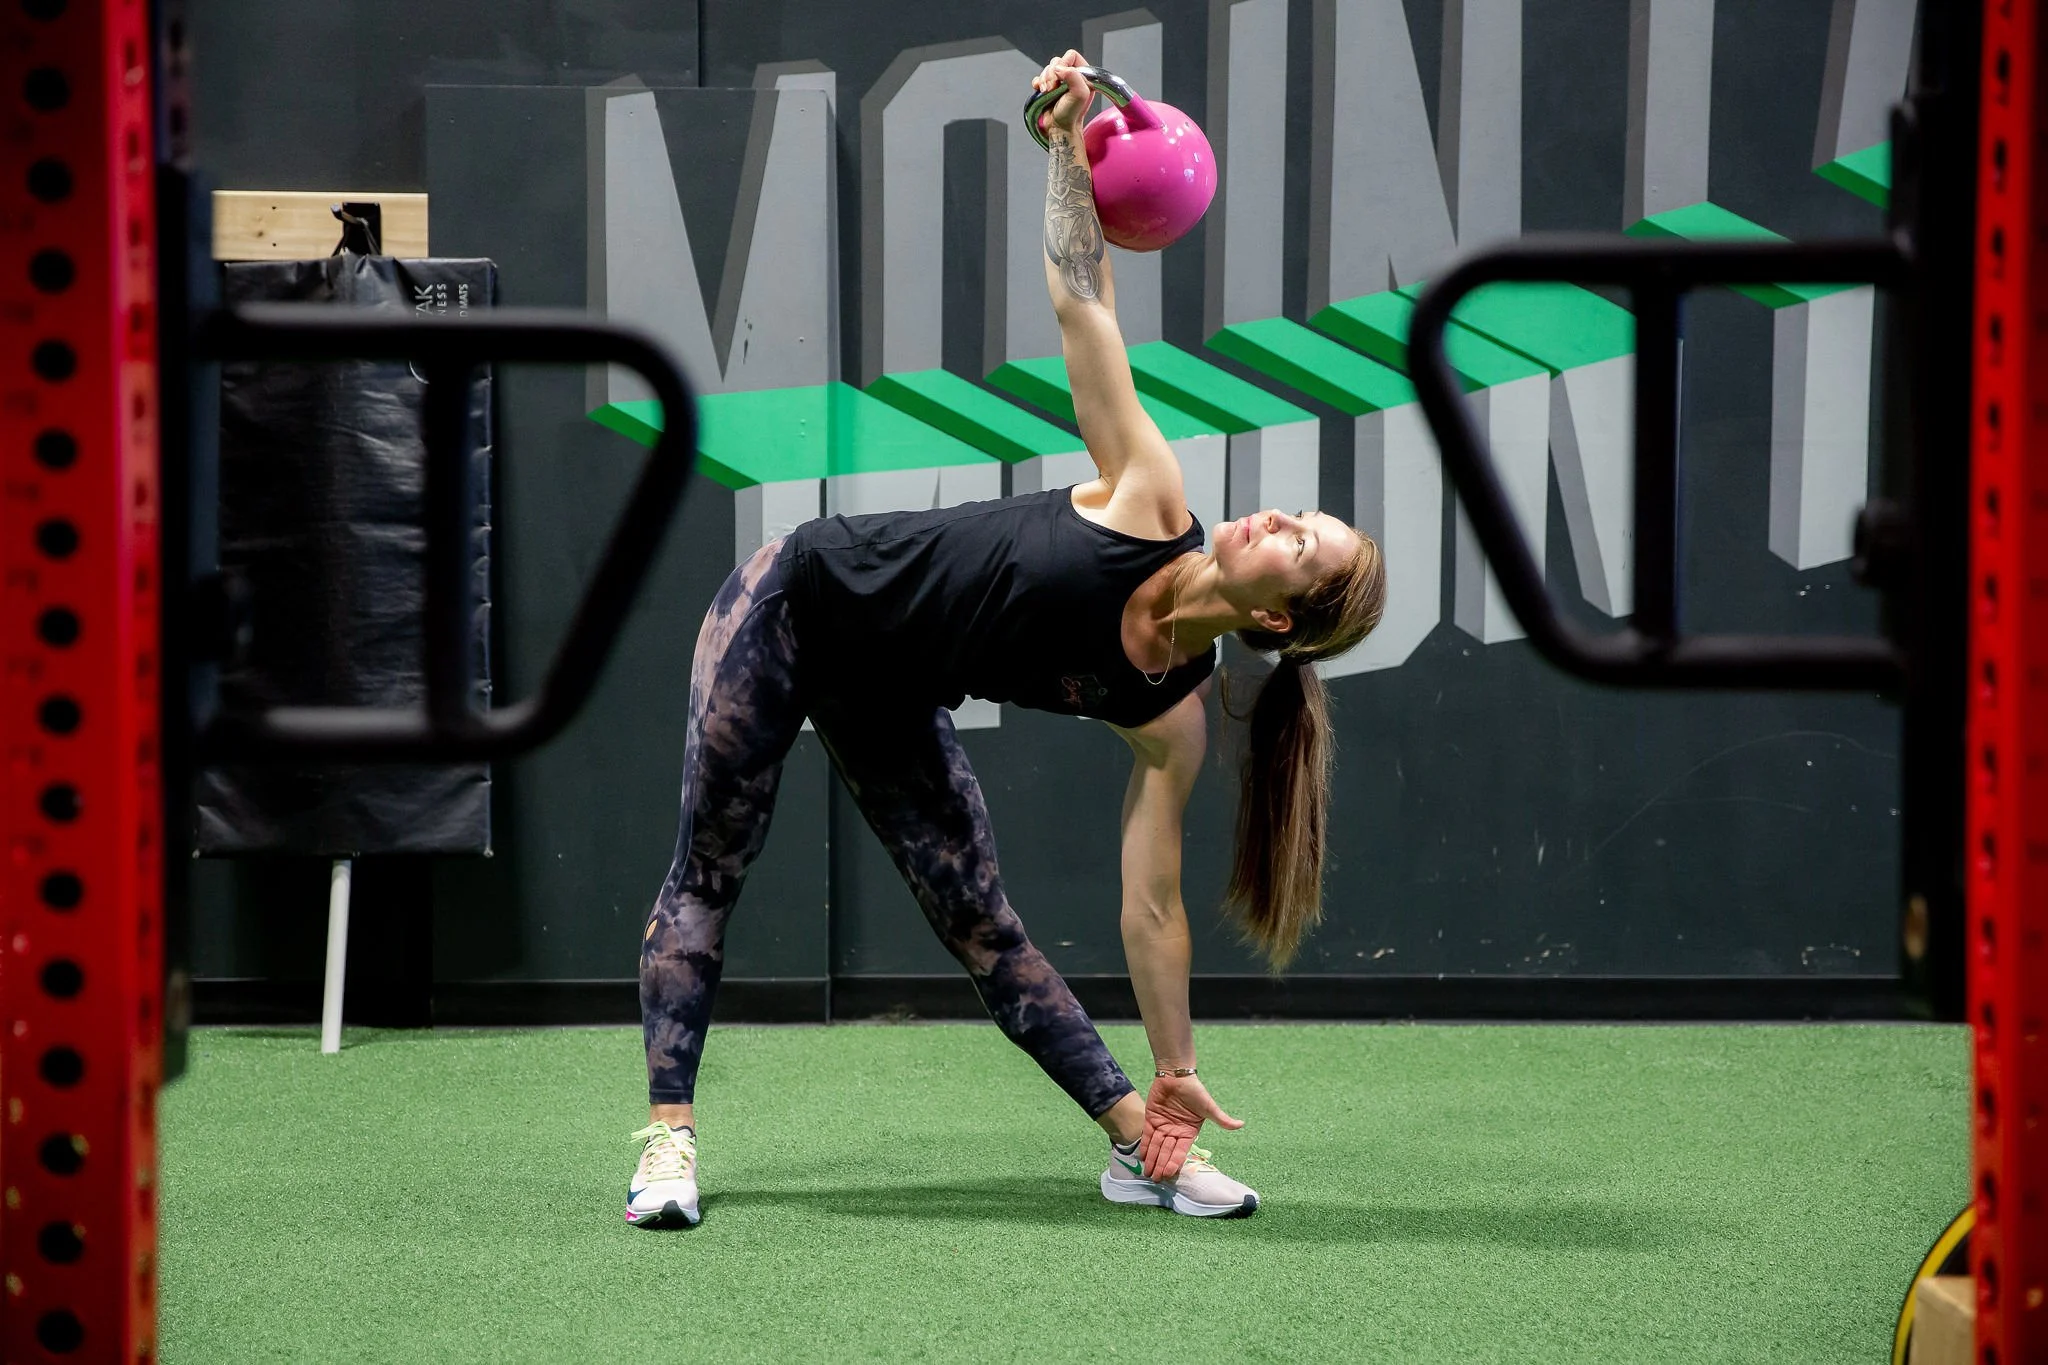
Once a light bell is overhead, the top hand is not simply reaching upward: it is supporting a load while the trunk moves underneath. Press to a comfortable lockout with the wrist close to neutral and the elbow straight without forcing it beyond your natural range. Let the shoulder blade rotate upward as it does during a controlled press. The bell should not hang far in front of or behind your shoulder.
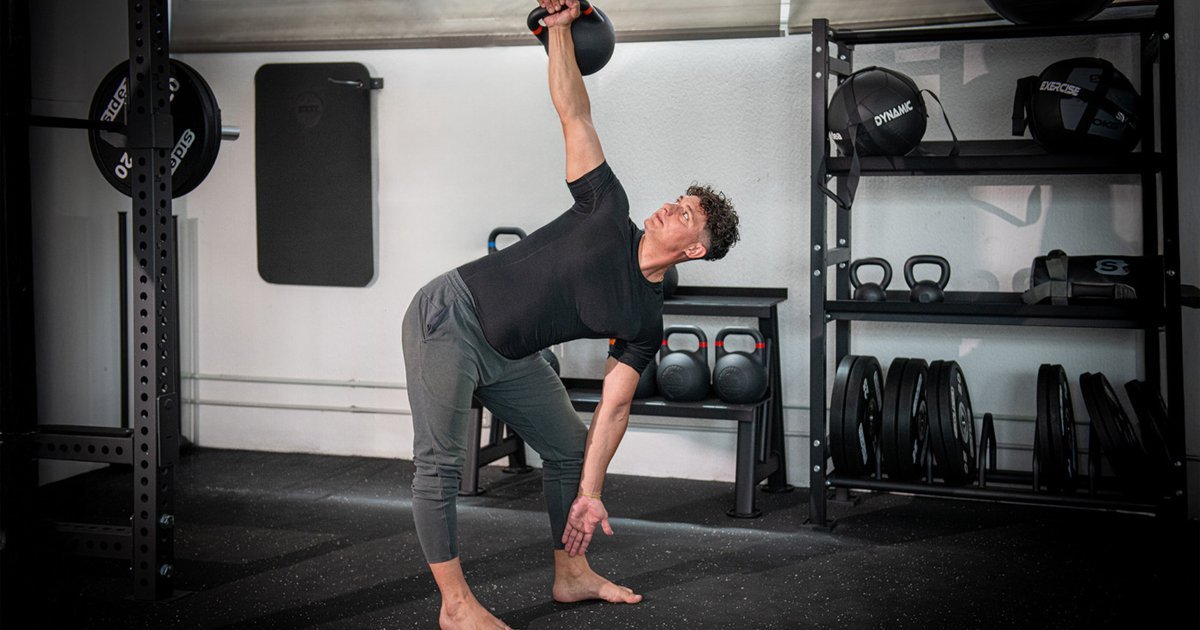
Keep the weighted arm as vertical as practical relative to the floor through the descent. Your chest may rotate slightly toward the overhead hand as your hips hinge, but avoid wrenching the shoulder into end-range rotation to reach lower. A useful cue is ‘move the body around the bell,’ not ‘move the bell to find the floor.’ If the weight swings or changes direction, pause and rebuild the stack.
Looking upward can help some lifters monitor the bell, but forcing your neck into a long end-range gaze is unnecessary. Choose a head position that lets you remain oriented and balanced. If dizziness, neck discomfort or loss of balance occurs, stop, lower the bell safely and return to an easier version. Your grip should be secure, but frantic squeezing is no substitute for shoulder control.
Load the movement according to the weakest link. Being able to swing 24 kg or press 20 kg does not imply that either is an appropriate windmill starter. Many strong lifters benefit more from five precise repetitions with a light bell than ten rushed repetitions with a heavier one. Use a clear and repeatable standard: stable shoulder, clean breathing, smooth descent and no bell drift.
Before a working set, practice two short overhead holds per side at your chosen load. If these already become unstable, reduce the weight or hold the arm unloaded. Control above the head is a prerequisite, not a bonus added after the hips are tired.
4. Diagnose the common mistakes before adding weight
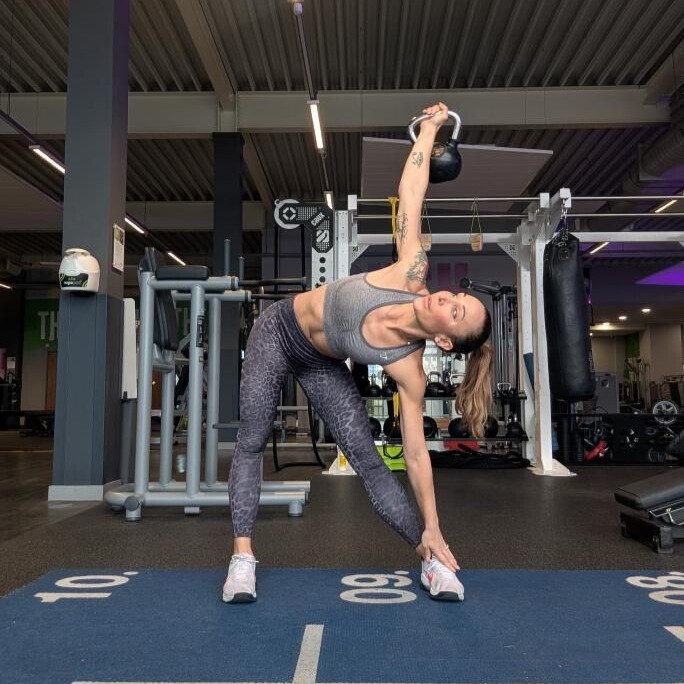
The first mistake is making the windmill a straight-legged toe touch. That usually sends the hips forward, rounds the back and brings the shoulder out of its strongest position. Fix it by turning the feet comfortably, softening the knees if necessary and initiating every repetition with a diagonal hip shift. A shorter, cleaner range is progress.
Second is allowing the bell to travel in a big arc. Rather than pulling the kettlebell back with the shoulder as your trunk tilts, use an empty hand or a much lighter bell and practice keeping the overhead fist over the same point on the floor. A few pauses are more informative than pushing through twelve wobbly repetitions.
Third is racing through the bottom. The windmill rewards the ability to stop under control. Try a three-second lowering phase, a one-second pause and a deliberate return. Those numbers are coaching tools, not magic hypertrophy tempos; slow down enough to see whether the feet, knees, shoulder and wrist stay organized.
Fourth is chasing identical depth on both sides. One hip may turn more freely or one shoulder may tolerate less overhead range. Keep the same technical rules on both sides, but stop each set at its own pain-free controlled depth. Training the weaker side first can help establish a sensible load and repetition count without pretending both sides are mechanically identical.
Finally, avoid treating the windmill as a heavy oblique isolation movement. It asks the trunk to resist unwanted motion while the hips and shoulder coordinate. For muscular size, continue using conventional loaded hinges, presses and appropriately chosen trunk work; for a windmill, prioritize stability and range you can own. A coach can check whether your limiting factor is overhead control, foot position, hip mobility or simple fatigue.
5. Build the pattern with a practical six-week progression
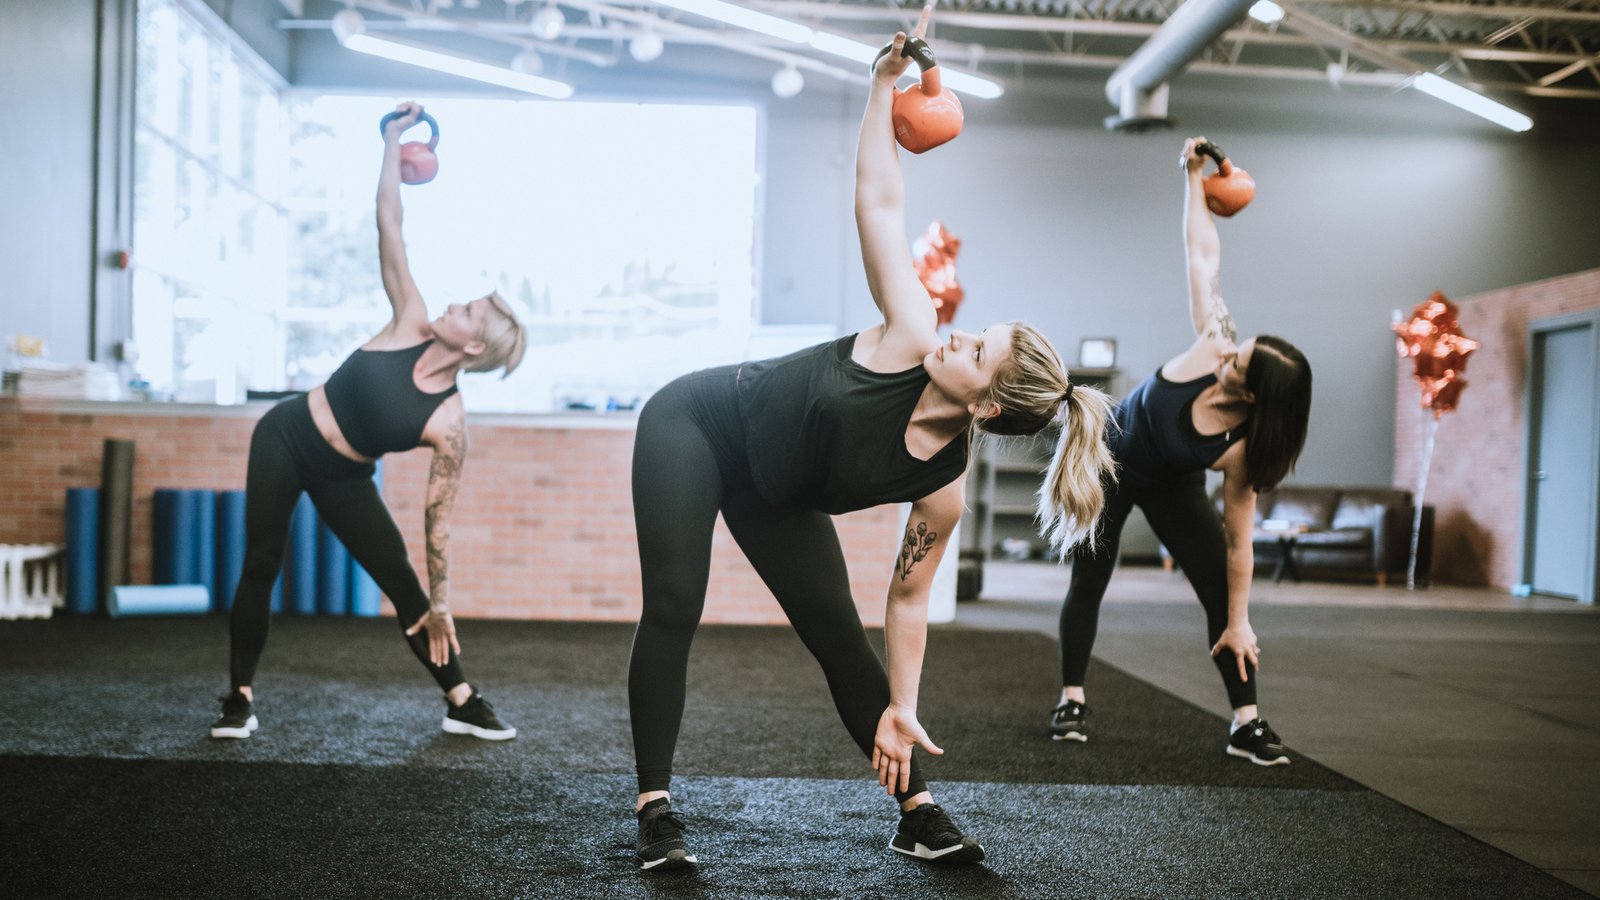
Two short practices per week are enough for most lifters to learn the pattern without stealing recovery from more demanding strength work. Place windmills after a brief warm-up and before heavy pressing or loaded carries if coordination is the priority. Do not put your first attempts at the end of a fatiguing circuit, when shoulder position and balance are already compromised.
For weeks one and two, perform two sets of four to six repetitions per side with no bell or with an empty overhead hand. Pause at a comfortable bottom position. Judge the set by foot contact, smooth breathing and a consistent stop point. If you cannot control the position, reduce range rather than adding speed. For weeks three and four, move to a light overhead implement only if your shoulder is comfortable. Perform two to three sets of three to five slow repetitions per side, with plenty of rest between.
In weeks five and six, keep the same range and add either a small increment of weight or one repetition per set—never both automatically. Two or three sets of four to six may be plenty. A technically smooth 8 kg set can be more productive for this skill than a twisted 12 kg set. If the bell drifts, the wrist collapses or the free hand starts tugging against the leg, return to the previous load.
Keep your log practical: date, bell weight, repetitions each side, controlled depth (knee, mid-shin or ankle) and whether the overhead arm stayed stable. Note if the last rep looked different from the first. Progress is visible when the same movement feels steadier, the usable range expands without compensation or a slightly heavier bell remains quiet through identical positions.
Use the windmill as one piece of a complete program. Combine it with appropriately loaded squats or hinges, rows, presses and trunk work according to your goals. For endurance conditioning, kettlebell swings or carries may be more efficient; for shoulder and hip coordination, the slower windmill fills a different role. If overhead work is not tolerable, a controlled unloaded hinge or another comfortable mobility pattern is the better choice.
The best end point is not the heaviest bell you can hold in a dramatic side bend. It is a movement you can repeat in both directions with a stable base, a comfortable shoulder, deliberate hip motion and no need to rush the next rep.

Functional Fitness Shirts & Workout Gear
Functional-fitness shirts, tanks and workout gear for athletes who train strength, conditioning and everything in between.


Donut Kettlebell – Bakery Gains Meme Hooded Pullover Hoodie
Make your off-duty look more fun with “Donut Kettlebell”.

Pineapple Kettlebell – Kettlebell Meme Decal for Water Sticker
A fun “Pineapple Kettlebell” touch for bottles, laptops, and lockers.

Heavy Metal Skull Kettlebell Gym | Funny Workout Liftin Sticker
Put “Heavy Metal Skull Kettlebell” gym humor on your laptop, bottle, or gym gear.

Gym Equation Kettlebell Happiness Muscle Shirt for Lift Tank Top
Show some personality between sets with “Gym Equation”.

For Whom the Bell Curls Tank
Your gym-day look, with a playful “For Whom The Bell Curls” twist.

Heavy Metal Gym – Funny Kettlebell Rock Music Pullover T-Shirt
For laid-back days and metalhead humor: “Heavy Metal”.

Atlas Kettlebell Earth Meme Greek God Top T-Shirt
Make gym days more fun with “Atlas Kettlebell Earth Lifter” style.

Vive La Resistance Bands Painting Meme – Resistance Ban T-Shirt
Add a playful “Vive La Resistance Bands” touch to your casual rotation.

Gym Is My Happy Place Happy Kettlebell Emoji Graphic Wh T-Shirt
Make gym days more fun with “Gym Is My Happy Place” style.