Advertising disclosure: This page includes affiliate product links that may earn us a commission, as well as products from our own store.
Holding a kettlebell overhead while walking looks simple, but a strong shoulder position can disappear after only a few steps. Rather than treating the kettlebell overhead carry as an endurance dare, build it from the ground up: choose a manageable bell, establish a steady wrist and shoulder stack, move through a clear lane and know exactly when to stop. This guide covers setup, walking mechanics, mistakes, alternatives and practical progression.
Choose a kettlebell you can actually hold overhead
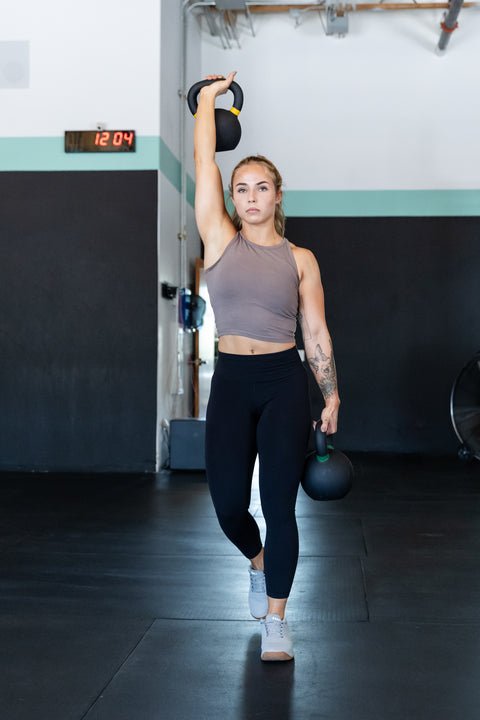
The overhead carry starts with a requirement many people skip: you must be able to establish a comfortable, controlled overhead position before walking at all. If a kettlebell feels unstable during a stationary hold, adding footsteps makes it harder to control rather than more productive. Begin with a lighter bell than you might use for swings or two-handed carries. A bell that is easy to clean is not automatically easy to hold overhead for thirty seconds.
Use a flat, uncluttered training lane with reliable footing and enough headroom for your fully extended arm plus the kettlebell. Look above you for lights, bars, ceiling fans and low beams. Look along your route for plates, bags, moving gym members and changes of floor surface. Plan where you will stop and lower the bell before you lift it. An indoor path with a predictable clear turn is usually easier to control than weaving through a crowded weight room.
Check the handle shape and your hand position. The bell should sit comfortably against the back or outside of the forearm, with a grip that allows the wrist to remain fairly straight rather than folded sharply backward. Some people prefer a slightly diagonal handle across the palm. Adjust the position in a rack hold first so it does not repeatedly strike the wrist or roll against the arm.
Test an unloaded overhead reach on each side. If the arm cannot approach a strong overhead position without the ribs flaring or the trunk arching, reduce the planned height or use a different exercise instead of forcing it with weight. A mobility limitation, soreness or history of shoulder problems deserves individual assessment; the carry itself is not a substitute for that evaluation.
Clean to the rack, press and stack the arm
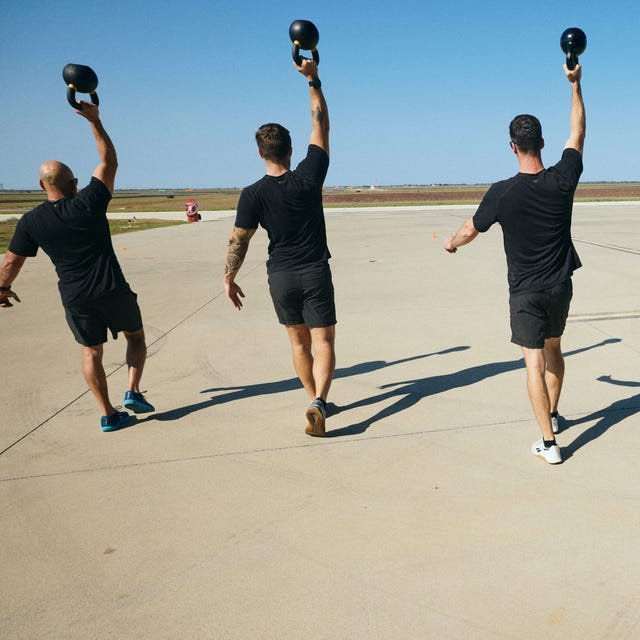
Bring the kettlebell from the floor to a secure rack position using a controlled clean or a safe two-hand-assisted setup. In the rack, the handle sits in your palm and the bell rests near the outside of the forearm rather than dangling on a bent wrist. Keep the elbow close enough to your body that you are not fighting the load at arm’s length while preparing to press.
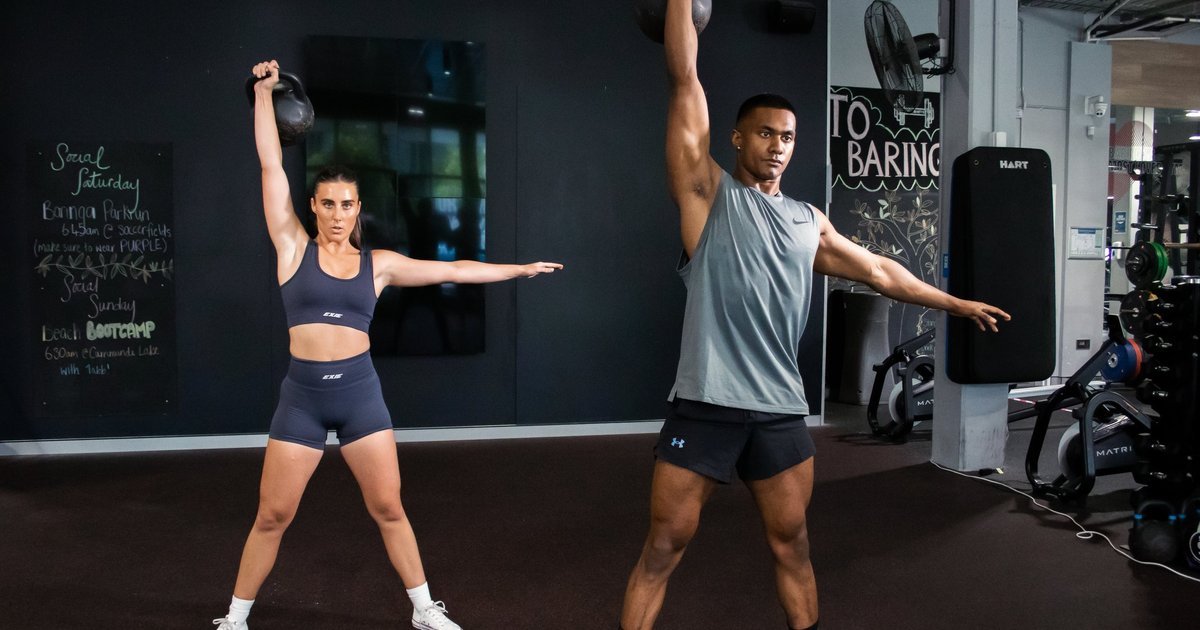
Take a steady breath, tighten the trunk and press the bell overhead. If a strict press is outside your strength range, choose a lighter bell; this is not a test of how dramatically you can use your legs to throw the weight into position. At the top, the working elbow is extended, the wrist stays neutral and the bell is balanced above the shoulder. The upper arm will typically be close to your ear when viewed from the side, although individual shoulder anatomy may change the exact angle.
Stand quietly for a few breaths before walking. Ask whether you can maintain the lockout without tipping the ribs forward, shrugging forcefully, bending the elbow or leaning away from the bell. Keep the opposite arm free for natural balance. Your head stays upright and your gaze forward rather than craning backward to monitor the kettlebell every second.
If the load wanders, return the bell to the rack and reset while stationary. A stable overhead hold is a skill in its own right; chasing a distance target with an arm that is already trembling uncontrollably teaches little. Photograph or film a light side-view hold if your position is hard to feel. Look for a balanced arm above the torso, not a dramatic pose with a hollowed lower back.

Equipment Worth Exploring
Explore equipment, accessories and gear from our carefully selected range.


Cast Iron Kettlebells
Textured cast-iron kettlebells for swings, squats, carries, and full-body training.


Rubber Hex Dumbbells
Rubber-coated hex dumbbell pairs with a stable shape for home and commercial strength training.


Leather Wrist Grips
Padded leather lifting grips help support the hands and wrists on heavy pulling exercises.


Open Hex Bar
Open-frame trap bar with multiple handles for deadlifts, carries, and lower-body training.
Walk slowly without losing the shoulder stack
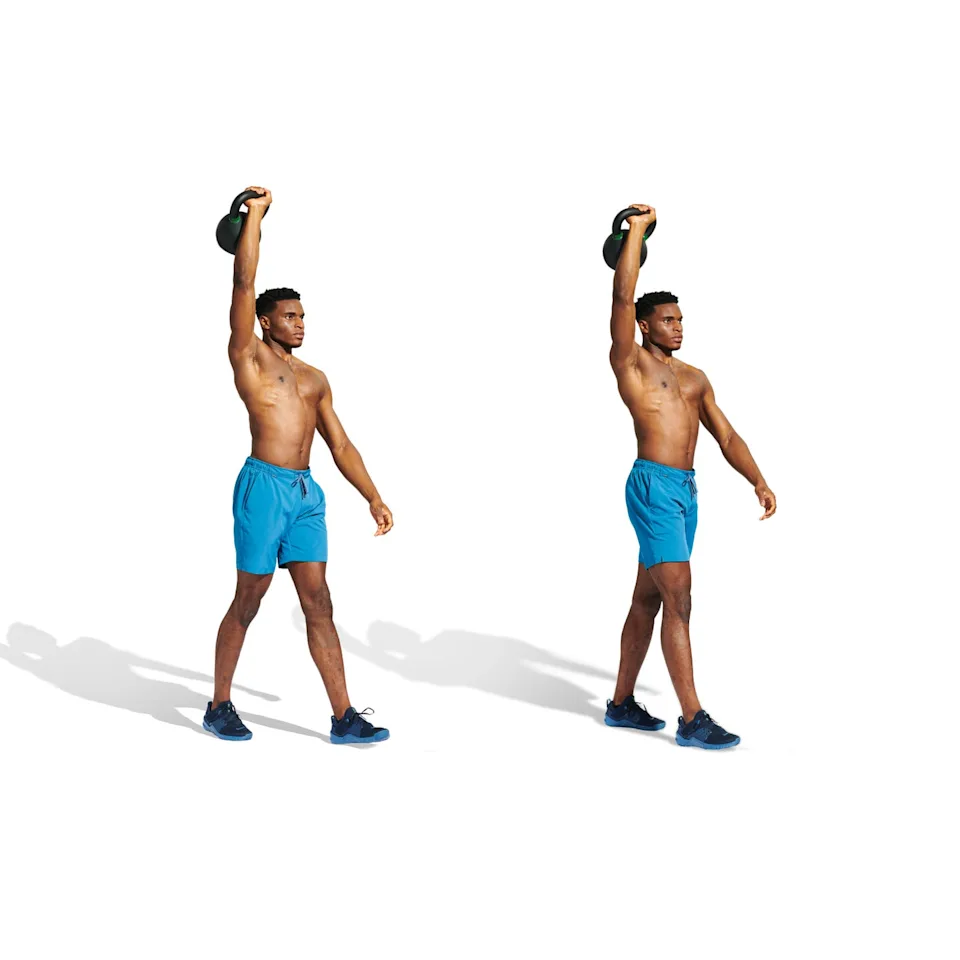
Begin with small, quiet steps. An overhead carry is not a race. Every footfall creates a minor change in how the load wants to move, so a moderate pace gives the shoulder and trunk time to respond. Keep the bell roughly above the base of support; avoid reaching the arm forward or outward as if you were holding an object at shoulder height.
Think of the ribs and pelvis as two surfaces that should remain broadly stacked. You do not need to squeeze your entire body as if preparing for a maximal deadlift, but you do need enough abdominal tension to resist arching or side-bending while the feet change positions. Let the shoulders and hips face forward, resist twisting and maintain a comfortable walking gait. The free arm may swing gently rather than being pinned against your body.
Breathe regularly. A very brief breath hold may help establish the press, but trying to hold one long breath for an entire walking lap can increase strain and make the movement awkward. Exhale gradually while keeping your torso organized, then take another controlled breath without letting the ribs flare. If breathing breaks down before the shoulder becomes tired, use shorter intervals.
Judge quality by how closely the final few steps match the first. A little natural movement is expected; obvious shoulder wobble, increasing lean, a bent elbow or a bell drifting ahead of the body means that the distance or load is already too demanding. Stop while you can still lower the kettlebell deliberately. Remember that someone else carrying a larger bell in a video does not make that weight appropriate for your anatomy or shoulder capacity.
Make turns, swap sides and unload deliberately
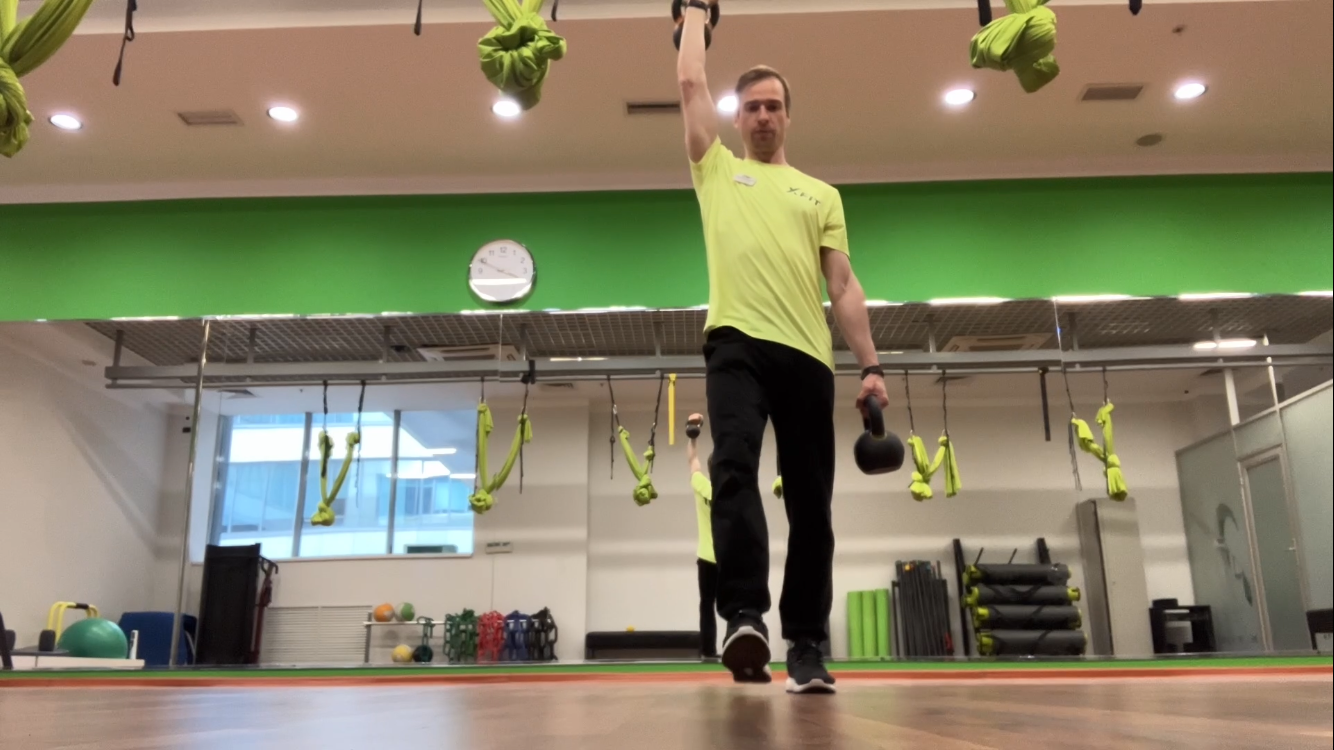
Choose a route that allows you to turn without an abrupt pivot under a heavy overhead weight. The easiest way is often to reach the end, pause, and take several small steps to rotate the whole body rather than spinning on one planted foot. A sharp turn changes balance, trunk rotation and the direction of your shoulder’s stabilizing work all at once. If space is limited, use short out-and-back lengths with a deliberate reset.
Do not switch hands overhead. Return the bell to a stable rack position, guide it down safely and set it on the floor before preparing the other side. An overhead transfer can bring a heavy, swinging load across your face and is unnecessary for a normal training set. Reposition your hands carefully and give the new side the same setup checks as the first.
Match the work performed by both sides rather than automatically chasing the same weight if one shoulder feels distinctly less secure. Equal walking distance, sensible load selection and repeatable overhead control matter more than showing off a larger number with the stronger arm. If the weak side begins drifting while the stronger side remains stable, shorten the walking length for both or reduce the load.
A second weight held at the opposite side creates an offset carry. The stance and walking path may appear similar, but the loading demand is different: you now have one kettlebell overhead and another hanging at the side. Treat it as a variation rather than an easy progression. Its extra load can alter balance, grip fatigue and how you turn. First learn the single-bell version before combining different carry positions.
Correct the five mistakes that end good sets
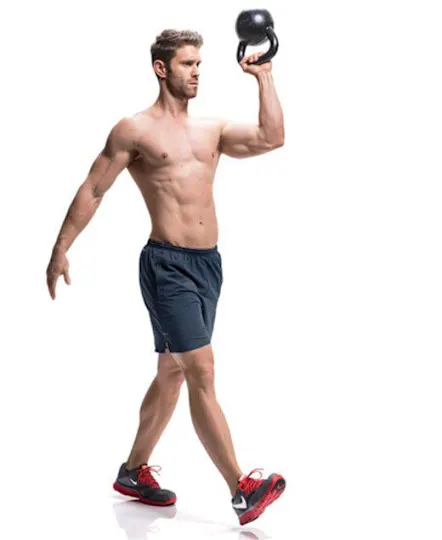
An elbow that gradually softens is the first warning sign. The bell may drift downward toward the ear as the shoulder gets tired, turning the lockout into a moving press. Do not solve that problem by speeding up to the finish line. Stop, lower the bell, take a rest and use a lighter load or shorter trip next set. A bent elbow at the end is not the same exercise position you started with.
The next error is leaning away from the weight. A one-sided load challenges your ability to keep the trunk upright, but leaning the torso far to the opposite side shifts the task into a compensating posture. Check the height of your shoulders and the angle of the trunk on a front-view video. If each step pushes you sideways, reduce the load and walk on a straight, less crowded path.
Excessive rib flare is another common problem. A lifter may create what looks like an impressive overhead reach by arching the lower back and letting the pelvis tilt. Move the load back toward the shoulder stack, soften the ribs toward the pelvis and keep a comfortable amount of trunk tension. It is better to stop the carry than to pretend that a dramatic backward lean represents useful shoulder mobility.
A crushed wrist or bell banging the forearm can make the grip feel precarious. The handle should settle into the palm so the wrist remains in a strong position and the bell is not repeatedly tipping. Revisit the rack and hand orientation while still, and consider whether a different bell shape is appropriate. Heavy wrist wraps cannot rescue a load you are unable to stabilize overhead.
Finally, watch for hurried feet and held breath. As fatigue builds, steps often get shorter but faster, while the chest rises and breathing becomes erratic. Reduce the distance, break the session into more manageable sets or switch to a suitcase carry. If sharp pain, tingling, dizziness or a feeling of the shoulder slipping appears, stop rather than push through.

Functional Fitness Shirts & Workout Gear
Functional-fitness shirts, tanks and workout gear for athletes who train strength, conditioning and everything in between.

Break the Stereotype Tee
Show some gym-girl attitude with a playful “Break The Stereotype Gym Girl” tee.


Vitruvian Kettlebell Tee
Heavy lifts, good laughs, and a little “Vitruvian Man With Kettlebells” energy.

Donut Kettlebell – Bakery Gains Meme Jumper Pullover T-Shirt
Bring “Donut Kettlebell” humor to your everyday gym style.

Dia De Los Muertos Kettlebell – Day of the Dead Jumper T-Shirt
Add a playful “Dia De Los Muertos Kettlebell” touch to your casual rotation.

Watermelon Kettlebell – Fruit Themed Workout Hooded Pul Hoodie
Bring “Watermelon Kettlebell” gym humor to lazy days and post-workout plans.

Cheeseburger Kettlebell – Burger Swings Meme Hooded Pul Hoodie
Bring “Cheeseburger Kettlebell” gym humor to lazy days and post-workout plans.

Strawberry Kettlebell – Viral Kettlebell Meme Vest Musc Tank Top
Train hard, laugh a little, and rep “Strawberry Kettlebell”.

Pink Macaroon Kettlebell – Girly Kettlebell Meme Vest M Tank Top
Train hard, laugh a little, and rep “Pink Macaroon Kettlebell”.

Grunge Kettlebell Sticker
Put “Grunge Kettlebell” gym humor on your laptop, bottle, or gym gear.
Program four weeks and choose the right carry variation
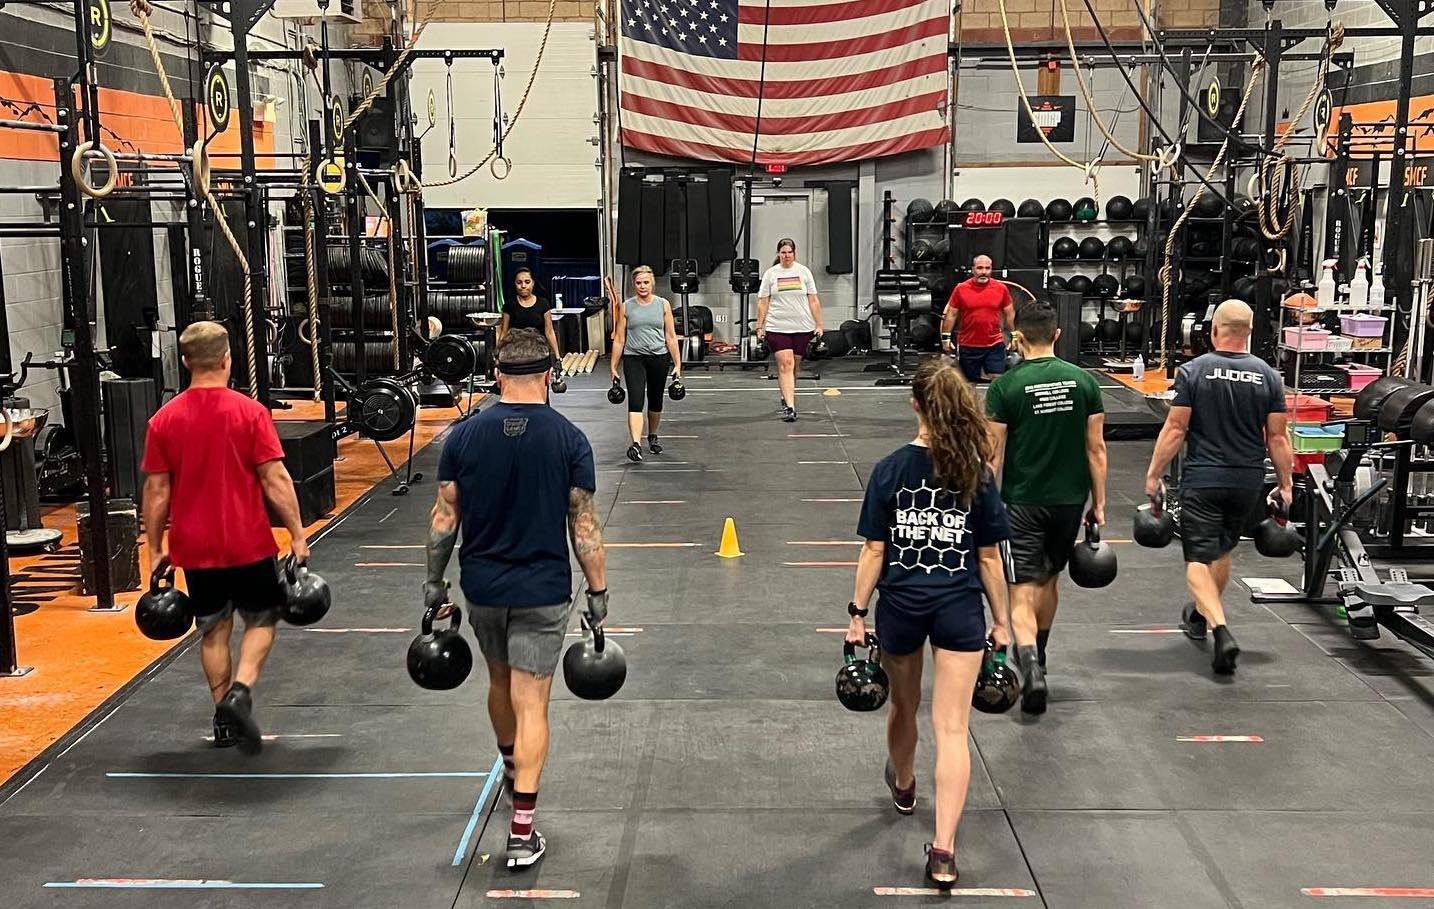
For a new lifter with a secure overhead hold, a useful first session is two or three carries per arm, each lasting fifteen to twenty seconds on a clear, measured path. Pick a weight that lets you complete each interval without notable leaning, locking problems or breath holding. Those numbers are starting examples, not a universal training prescription or a claim that a specific time builds more muscle than another.
In week one, practice the clean, press, quiet overhead hold, straight-line walk and safe lowering. Record weight, side, route distance, time and any change in elbow or trunk position. In week two, if every pass remains stable, increase the distance a little or add five seconds per interval. In week three, aim for similarly controlled lengths with a slight load increase only if pressing and lowering the new bell remain safe. In week four, repeat a comparable session and compare both the distance and quality of your final steps.
Rest between sides when needed; overhead carries are not improved by deliberately preventing recovery until technique degrades. A straightforward plan might put them after warm-up or toward the end of an upper-body workout, but the best placement depends on whether grip and shoulder fatigue would interfere with other lifts. Pair carries with sensible pressing, rowing and lower-body training rather than treating them as an entire shoulder program.
Know the alternatives. A suitcase carry places the kettlebell at your side, trading the overhead shoulder requirement for grip and side-bending resistance. A rack carry keeps the bell around shoulder height. A double overhead carry places one bell above each shoulder and raises the total demand. A bottoms-up overhead carry balances an inverted bell and requires a much higher degree of wrist and shoulder control; it is not the default version for beginners.
The winning progression is one in which you can reproduce the overhead stack, walk a consistent path, breathe and lower the bell just as cleanly as you raised it. Track the boring details, not merely the heaviest kettlebell. A lighter controlled carry is better training than a heavy wobbling lap.