Building strength at home should be simple enough to repeat, not so complicated that planning the workout becomes harder than doing it. Five movement patterns can introduce most of the fundamentals: a squat, a press, a row, a bridge and a plank. They require little floor space and just one or two light dumbbells. What matters is learning to control the movements, recording progress and making small changes over several weeks.
Start with a simple home-gym foundation
Think in movements rather than isolated muscles. Squats train the legs, bridges emphasize hip extension, rows train pulling, presses train pushing and planks help the trunk resist unwanted movement. The combination is not a perfect lifetime program. It is a manageable first month, with a clear way to progress once the movements become familiar.
Set up a clear patch of floor, a mat, a stable chair or bench and light dumbbells. Adjustable dumbbells save space but are not essential. A single dumbbell can work for one-arm rows and alternating presses. A sturdy chair can provide a squat-depth target. Check that furniture cannot slide or tip, and avoid unstable anchors for resistance bands.
Before the first working set, warm up for four to six minutes. March in place, circle the shoulders, practice five sit-to-stands and rehearse the squat and row without resistance. Select loads that leave two or three controlled repetitions in reserve. The final rep should look much like the first, even if it feels challenging.
Start with two nonconsecutive sessions each week, resting about 60 to 120 seconds between demanding sets. If one set per exercise is all you can perform comfortably at first, begin there. Training twice consistently is more useful than an exhausting first session followed by a week of avoidance. The aim is to establish a routine you can improve.
Seated dumbbell shoulder press: learn the push
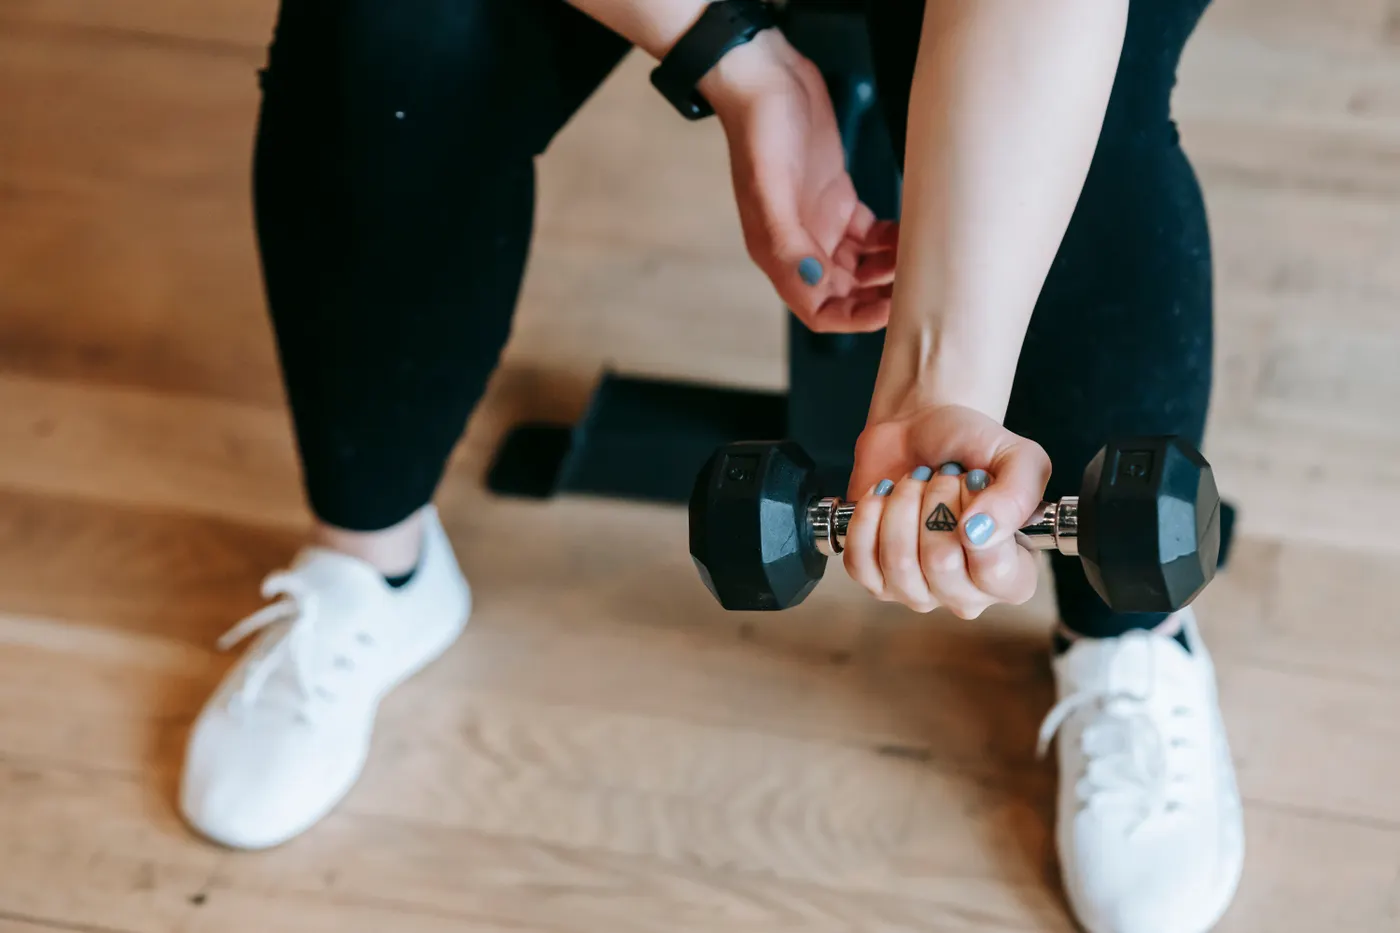
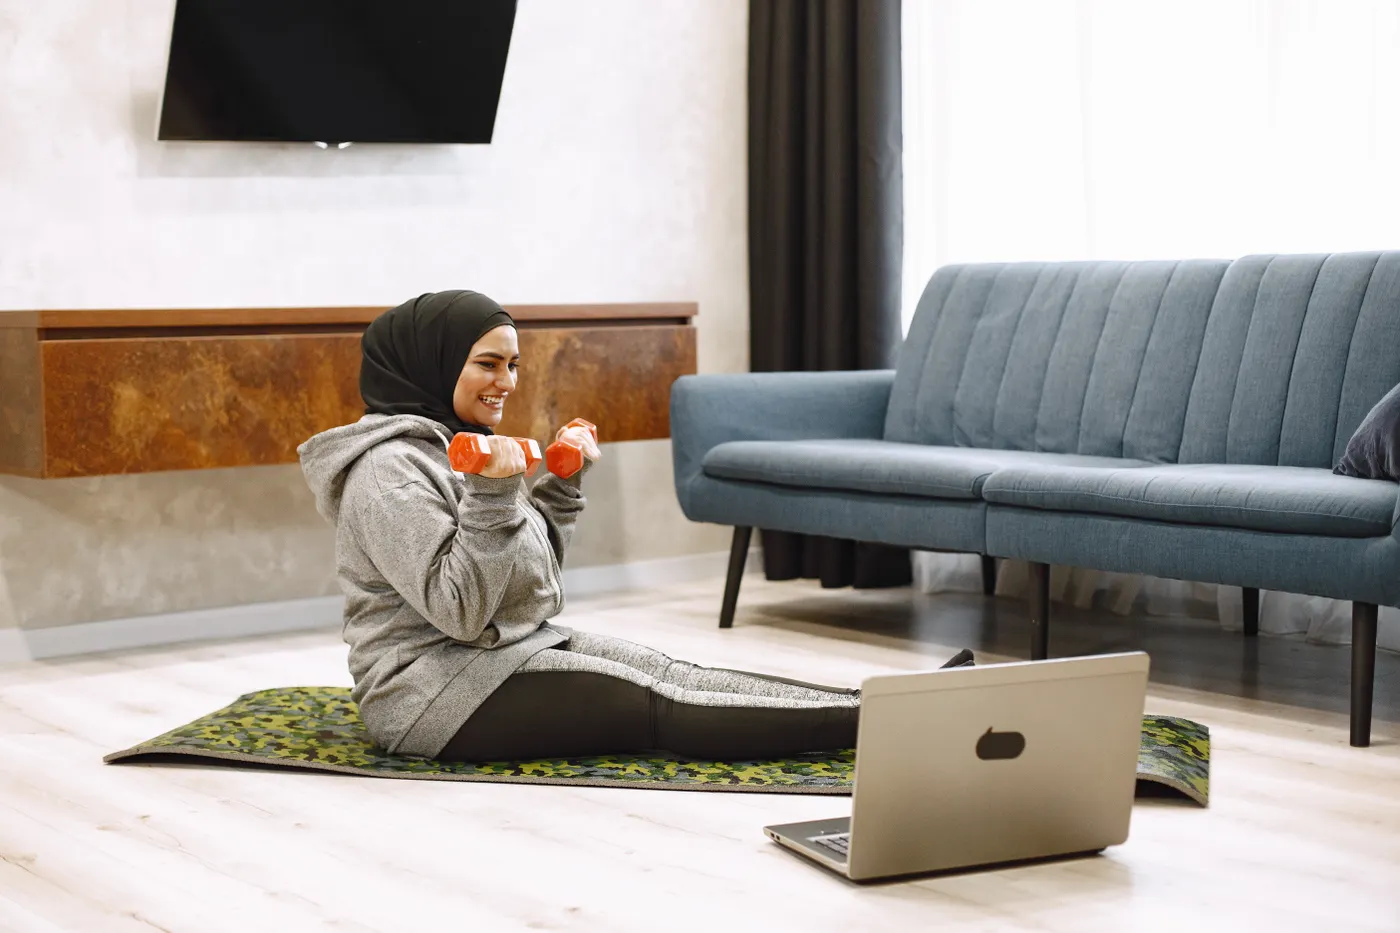
The seated press develops the shoulders and triceps while asking the torso to stay steady. Sit upright on a stable chair or bench with the feet supported. A floor-seated version is possible, but it requires more hip mobility and trunk control than many beginners expect. Choose whichever setup lets you maintain a comfortable position without arching the lower back.
Hold the dumbbells near shoulder height with the wrists stacked over the elbows. Press upward through a comfortable path until the arms approach straight, then lower slowly. A neutral or slightly angled grip is fine if it feels more natural than palms facing forward. Keep the ribs above the pelvis instead of leaning backward to force the weight overhead.
Try two sets of eight to twelve repetitions. Exhale as the weights rise and inhale during the descent. Stop if you have to swing the dumbbells, shrug excessively or twist the torso. If overhead pressing causes pain, substitute a comfortable incline push-up or light floor press instead of forcing a painful range of motion.
Increase the load only after you can perform twelve smooth repetitions on both sets. A small weight increase may take you back to eight repetitions, and that is normal. If the next dumbbell is too heavy, add a repetition or a controlled third set before changing the load. This approach makes progress measurable without turning every workout into a maximal test.
Getting the weights safely to shoulder height matters too. If the setup requires a dramatic swing, use a lighter pair. The correct weight is one you can lift, position and lower under control, not merely one you can push overhead once.
Equipment Worth Exploring
Explore equipment, accessories and gear from our carefully selected range.


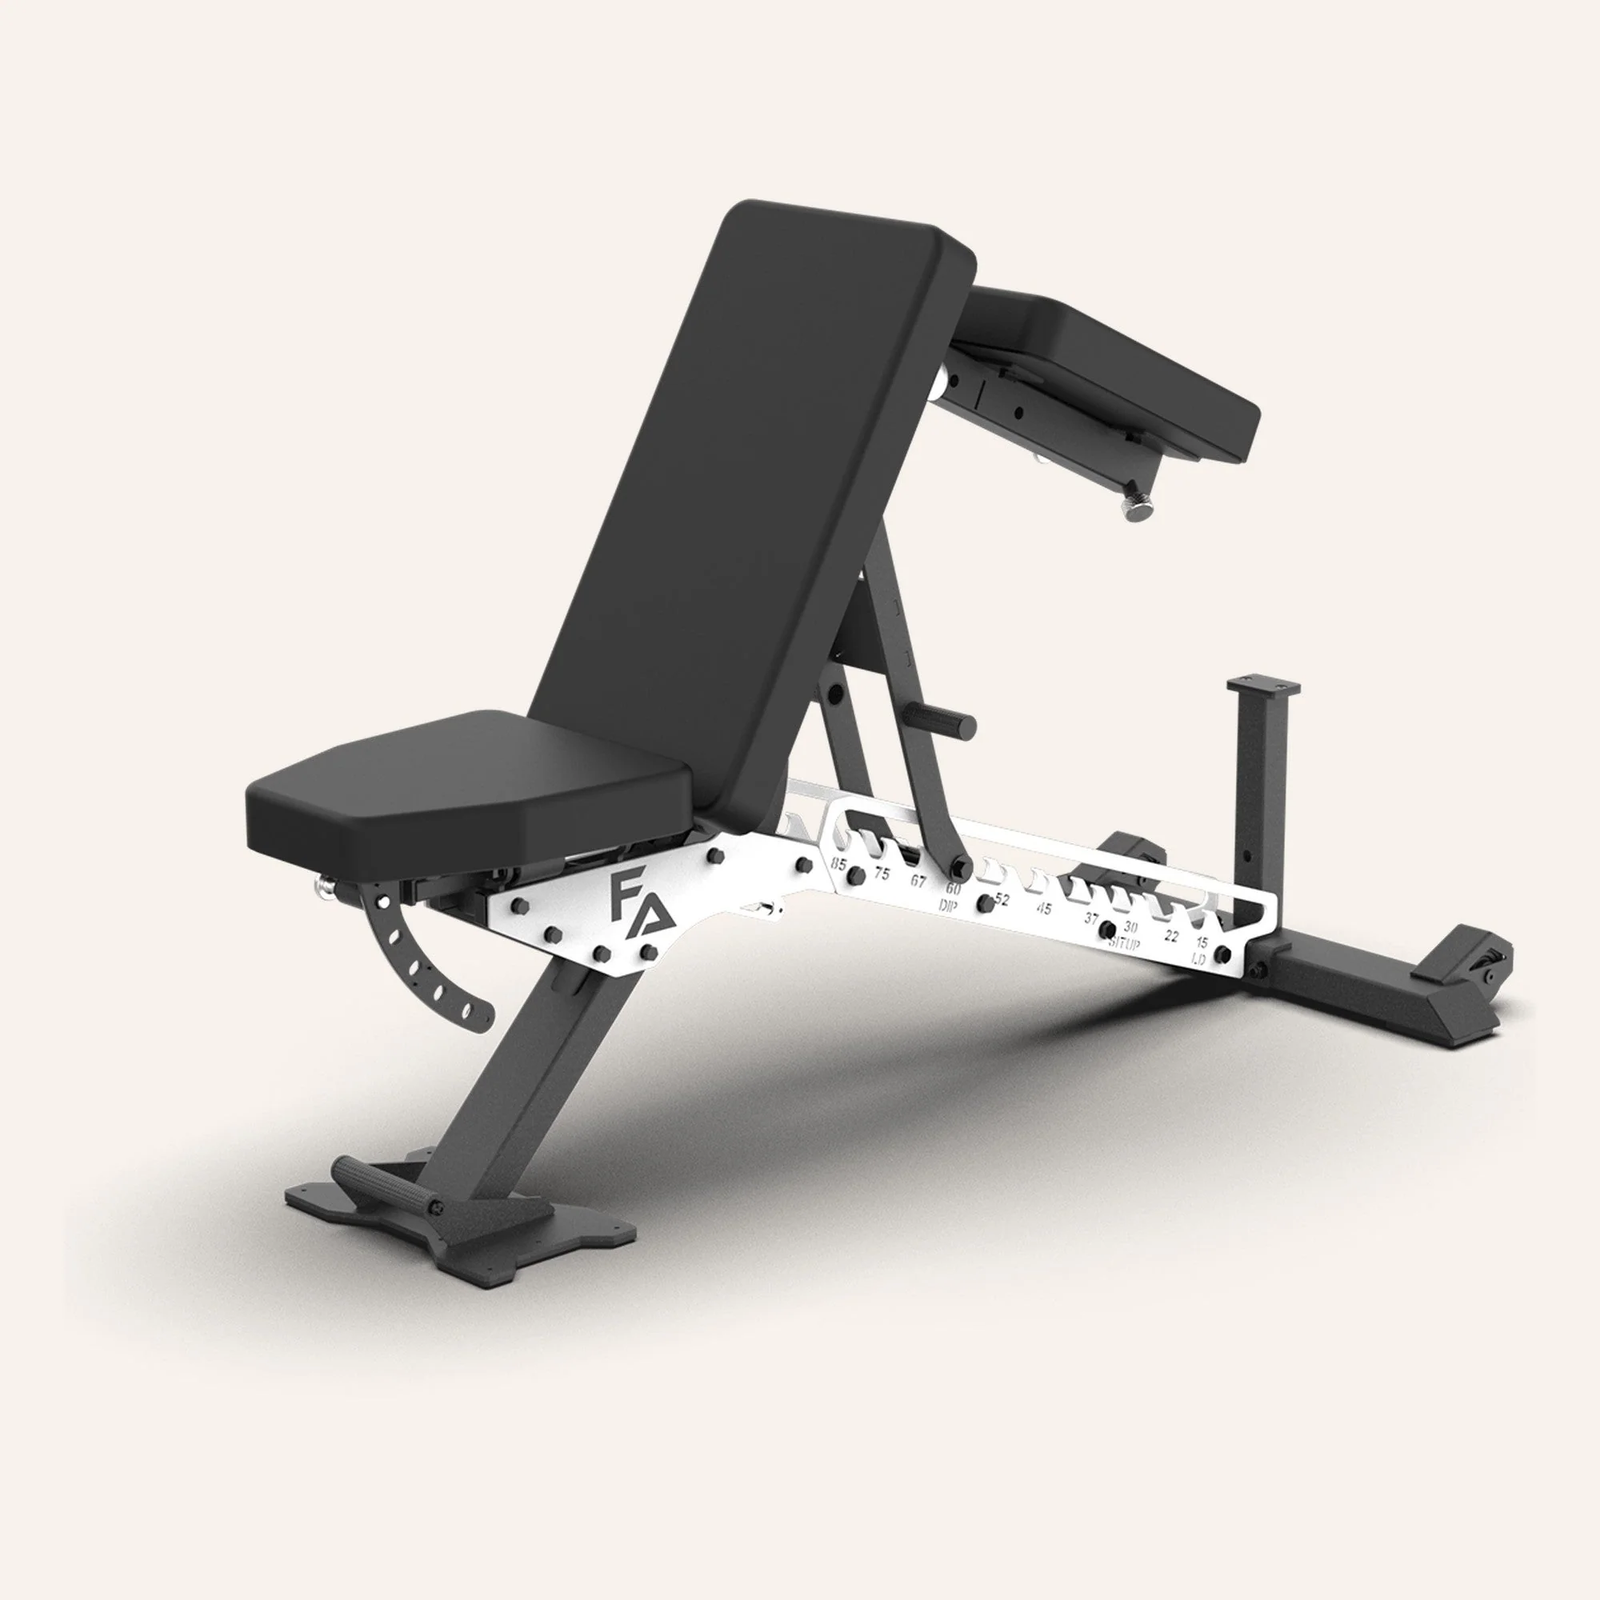

FID Bench MAX
Adjustable bench offering flat, incline, and decline positions + adjustable headrest.


Bodyweight squats: make the legs do the work
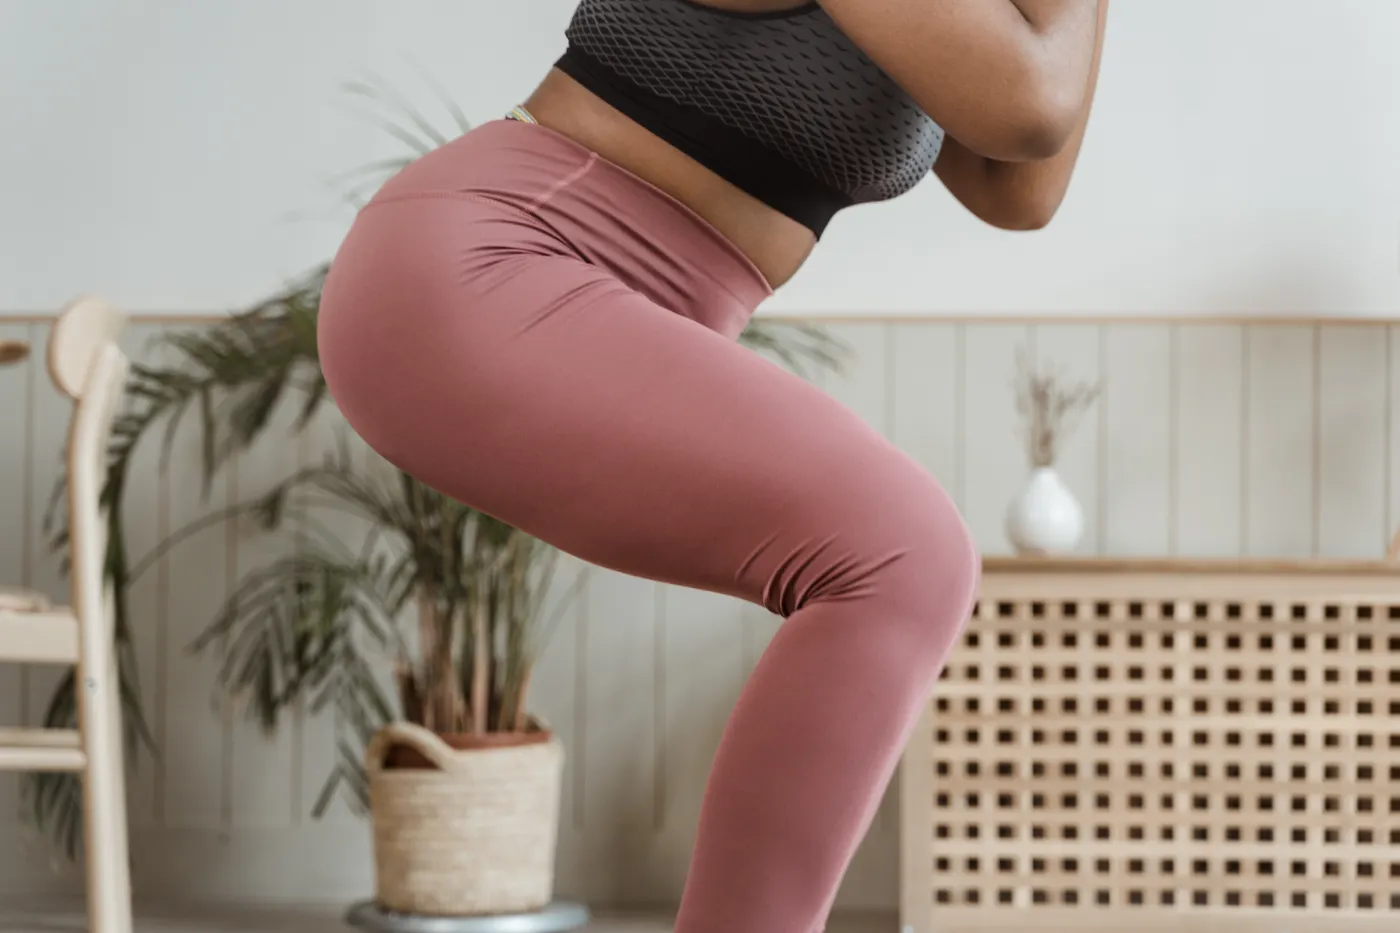
Squats teach the knees and hips to bend together while the feet remain stable. Stand with the feet roughly hip to shoulder width, toes turned slightly outward if comfortable. Bend the hips and knees, keep the whole foot in contact with the floor and stand by pushing the ground away. It is normal for the knees to move forward; they do not need to stay behind the toes.
Choose a depth you can control. A sturdy chair behind you provides a useful reference: lower until you lightly touch the seat, then stand without collapsing into it. A higher chair or smaller range is acceptable when mobility, strength or balance is limited. A squat that can be repeated safely is more valuable than a deeper repetition that loses control.
Perform two sets of ten to fifteen repetitions, taking roughly two seconds to lower. Hold the arms forward for balance. When bodyweight squats become comfortable, hold one light dumbbell at the chest for a goblet squat. Increase resistance gradually, keeping the same depth and tempo so your training log reflects genuine progress.
If the heels lift, experiment with stance width and reduce depth before considering equipment changes. If balance is the problem, keep a stable hand support nearby. Sharp knee or hip pain is a reason to stop and modify the movement, not a challenge to push through.
Record the squat variation, depth, repetitions and load. Otherwise, a shorter movement may masquerade as a strength improvement. Split squats or step-ups can add single-leg training later, but they are not prerequisites for learning this basic pattern.

Funny Gym Shirts & Workout Gear
Funny gym shirts, tanks, hoodies and workout gear for lifters who like training hard.

Anti Home Club – Meme , Gymbros & Home Gains Top T-Shirt
Make gym days more fun with “Anti Gym Home Gym Club” style.

Shirt – Home Nerd – & Meme Gymbros T-Shirt
Show some powerlifting attitude with a playful “Home Gym Nerd” tee.

Home – Garage , Basement & Gains Lovers – Meme Top T-Shirt
Show some lifting attitude with a playful “for Home Gym Athletes” tee.

Funny Home Gym | Home Is Where Your Gym Is Workout Swea T-Shirt
Show some gym-day personality with “Funny Home Gym”.

Process Over Everything Stoic Greek God Marble T-Shirt
Heavy lifts, good laughs, and a little “Process Over Everything Stoic Greek God” energy.

Improvement Stoic Sigma Bodybuilder Marble Statue – T-Shirt
Bring “Improvement Stoic Sigma Bodybuilder Marble” humor to your next gym day.

Dumbbell Gauntlet Hoodie
Bring “Dumbbell Gauntlet” gym humor to lazy days and post-workout plans.


Pullups Heartbeat Sticker
Stick a little “Calisthenics Pullups Heartbeat” humor on your favorite gear.

Calisthenics Evolution Sweatshirt
Keep things casual with a little “Calisthenics Evolution” attitude.
Planks: train the trunk without chasing a record
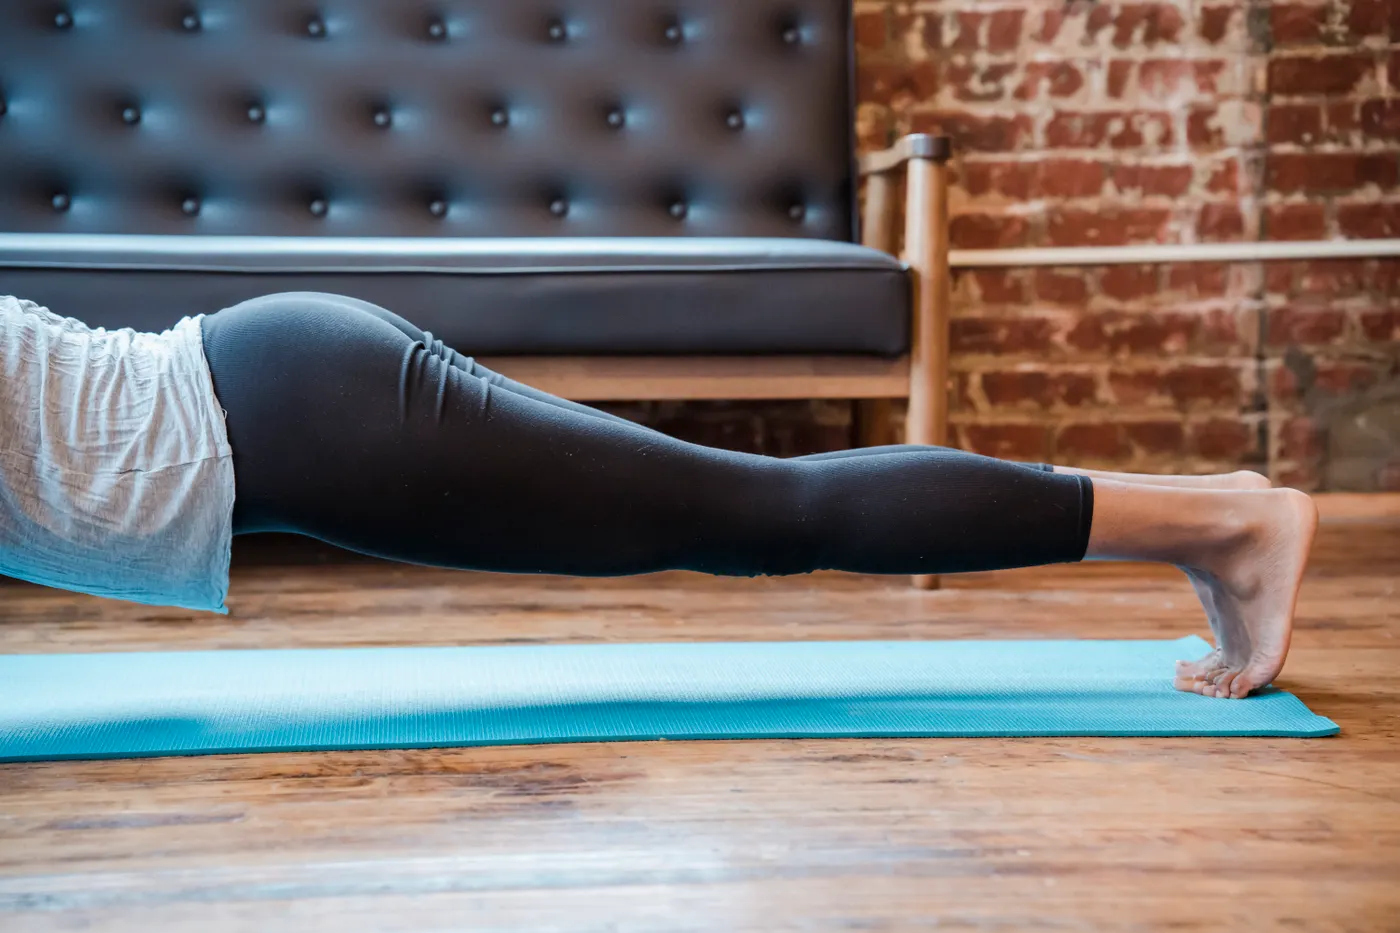
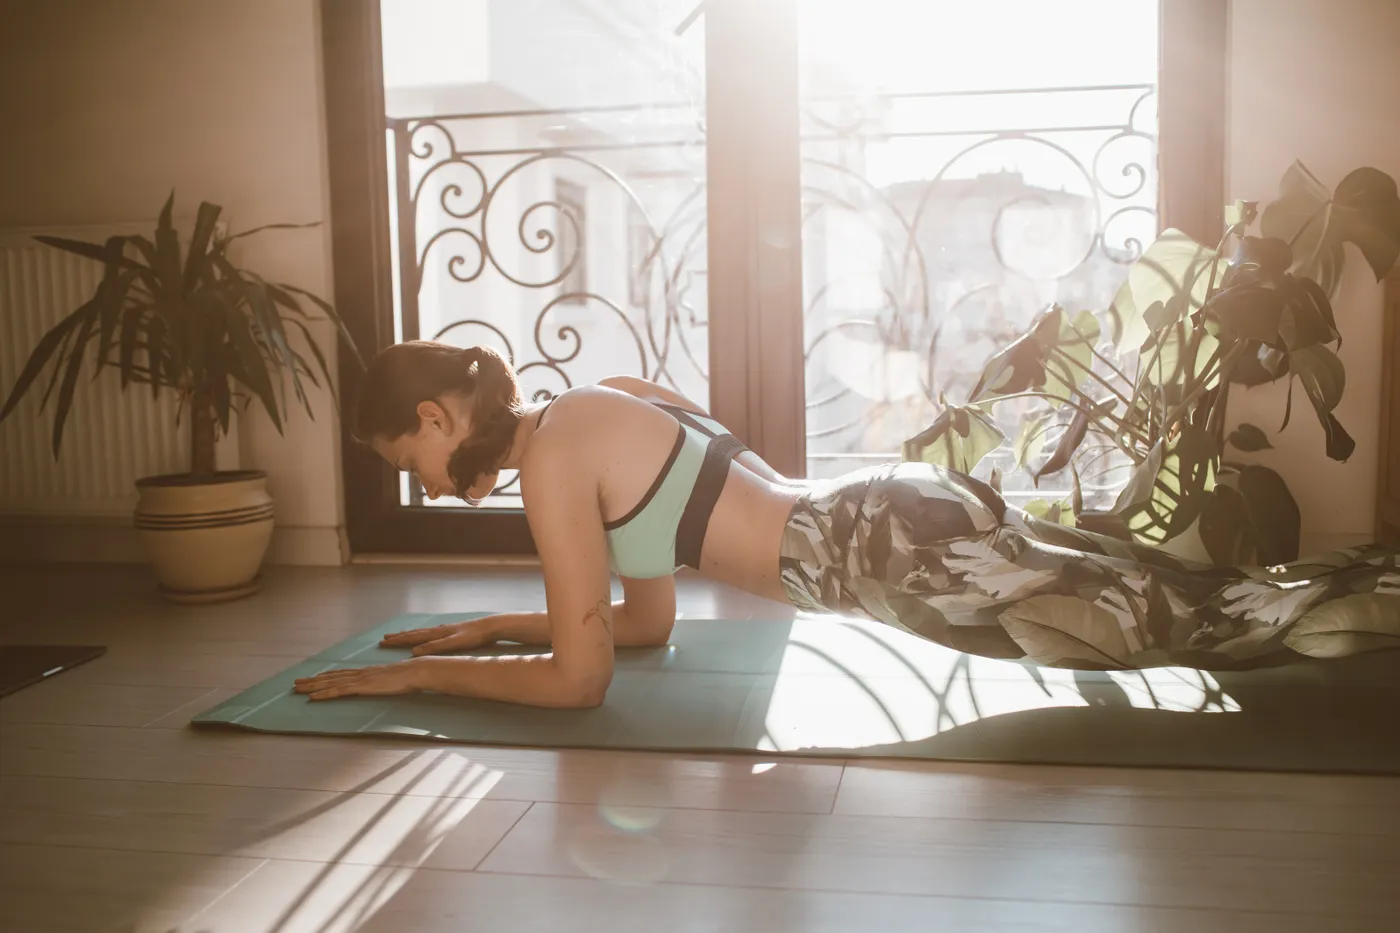
A plank is about resisting unwanted movement, not holding a pose for as long as possible. Place the forearms on a mat with the elbows near shoulder level, extend the legs and gently tighten the abdomen and glutes. Keep the trunk reasonably straight and breathe normally. Avoid letting the hips sag or raising them so high that the position becomes a rest.
Ten to twenty seconds of good alignment is a perfectly reasonable starting point. Perform two or three short holds with a rest between them. When a floor plank is too difficult, place the forearms on a stable bench or countertop to reduce the leverage. A knee-supported variation can also help you learn the bracing sensation.
End each hold when the back starts to arch, the shoulders cannot comfortably support the position or breathing becomes strained. Three controlled twenty-second holds may provide better practice than one shaky sixty-second effort. Add a few seconds over time, rather than increasing the duration at every cost.
Planks help develop trunk control that can support presses, squats and rows. They are not a direct belly-fat reduction exercise, nor do they replace every other form of abdominal training. Their purpose here is to teach the beginner how to create and maintain a stable body position under manageable demand.
Once you can hold the basic position comfortably, increase the challenge with a slightly longer lever or a carefully controlled high-plank shoulder tap. Do not rush into complex variations. The most useful progression is the one that preserves the quality of the position.
One-arm dumbbell rows: add the pulling pattern
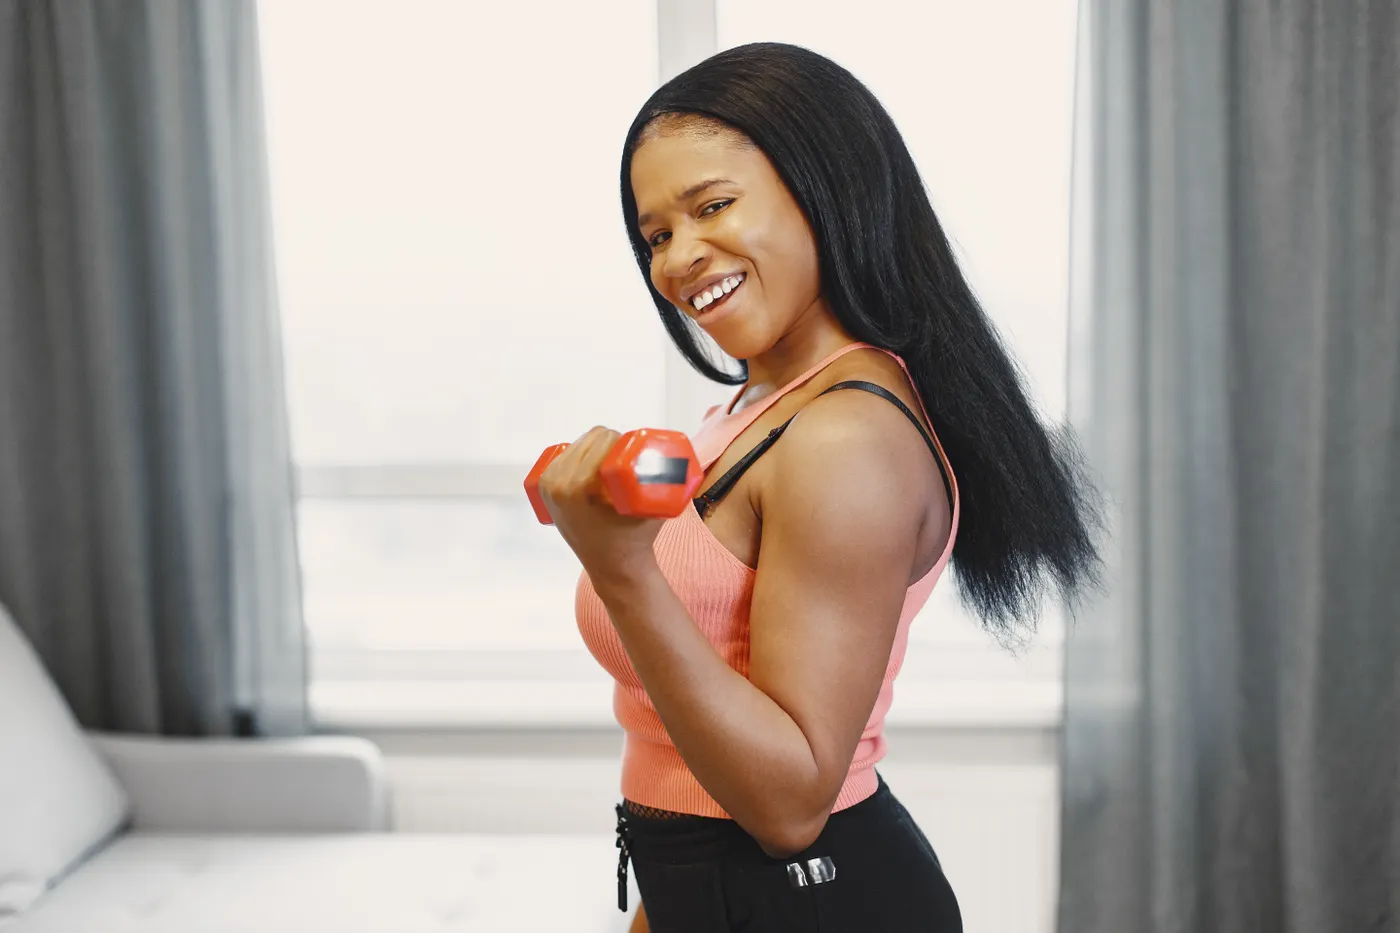
A routine built only around squats and presses misses much of the upper back. A one-arm dumbbell row trains the lats, upper back and elbow flexors without requiring a large machine. Place one hand on a sturdy support, step the feet apart and hinge forward until the torso is inclined. Let the dumbbell hang beneath the working shoulder.
Pull the weight toward the hip while keeping the torso relatively still. Lower until the arm is nearly straight, allowing the shoulder blade to move naturally. Avoid twisting the body to hoist a heavier weight. If you cannot briefly pause near the top of the row, reduce the load and rebuild the movement with control.
Begin with two sets of eight to twelve repetitions per side. Start with the less coordinated side, then match the repetition count on the other. A chest-supported row on an adjustable bench can reduce the effort needed to hold the torso position. A band row is another option, but only with a secure anchor that cannot slip free.
Keep the same torso angle and range of motion across sessions. Otherwise, adding weight can hide a loss of technique. When twelve controlled repetitions become comfortable, raise the load slightly or add another repetition. There is no need to turn a beginner row into a maximal deadlift.
Rows do not automatically fix posture or cure neck pain. They strengthen a useful pulling movement and complement the pressing exercise. Pull-ups and cable rows can provide variety later, but a controlled dumbbell row is enough to establish the pattern.
Equipment Worth Exploring
Explore equipment, accessories and gear from our carefully selected range.
VOLTRA
Compact digital cable trainer with smooth, adjustable resistance.

Go-Tone Pro
Portable digital cable trainer with up to 66 lb (30 kg) of adjustable resistance.


GymPin Ergo Handles
Pair of ergonomic cable handles shaped for comfortable triceps and pulling exercises.
Horizon Grip
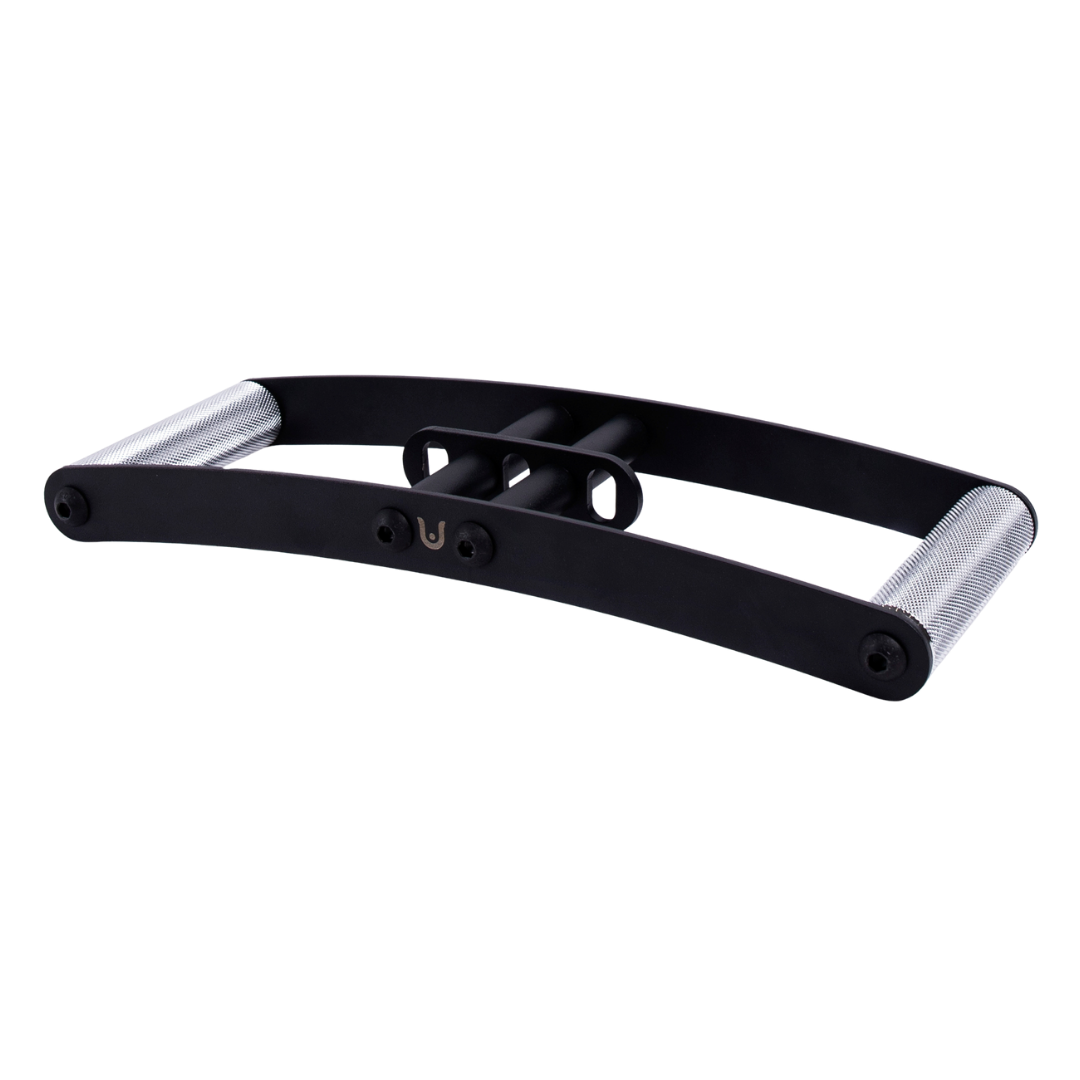
Ergonomic V-style cable grip for rows and back training.


Power Tower
Freestanding pull-up and dip station with adjustable handles for bodyweight training.

T-Bar Row Attachment
Welded barbell attachment that connects a D-handle bar for landmine and T-bar rows.


GymPin Squat Wedges
Non-slip 15-degree squat wedges help elevate the heels for deeper quad-focused squats.
Glute bridges: practice extending the hips
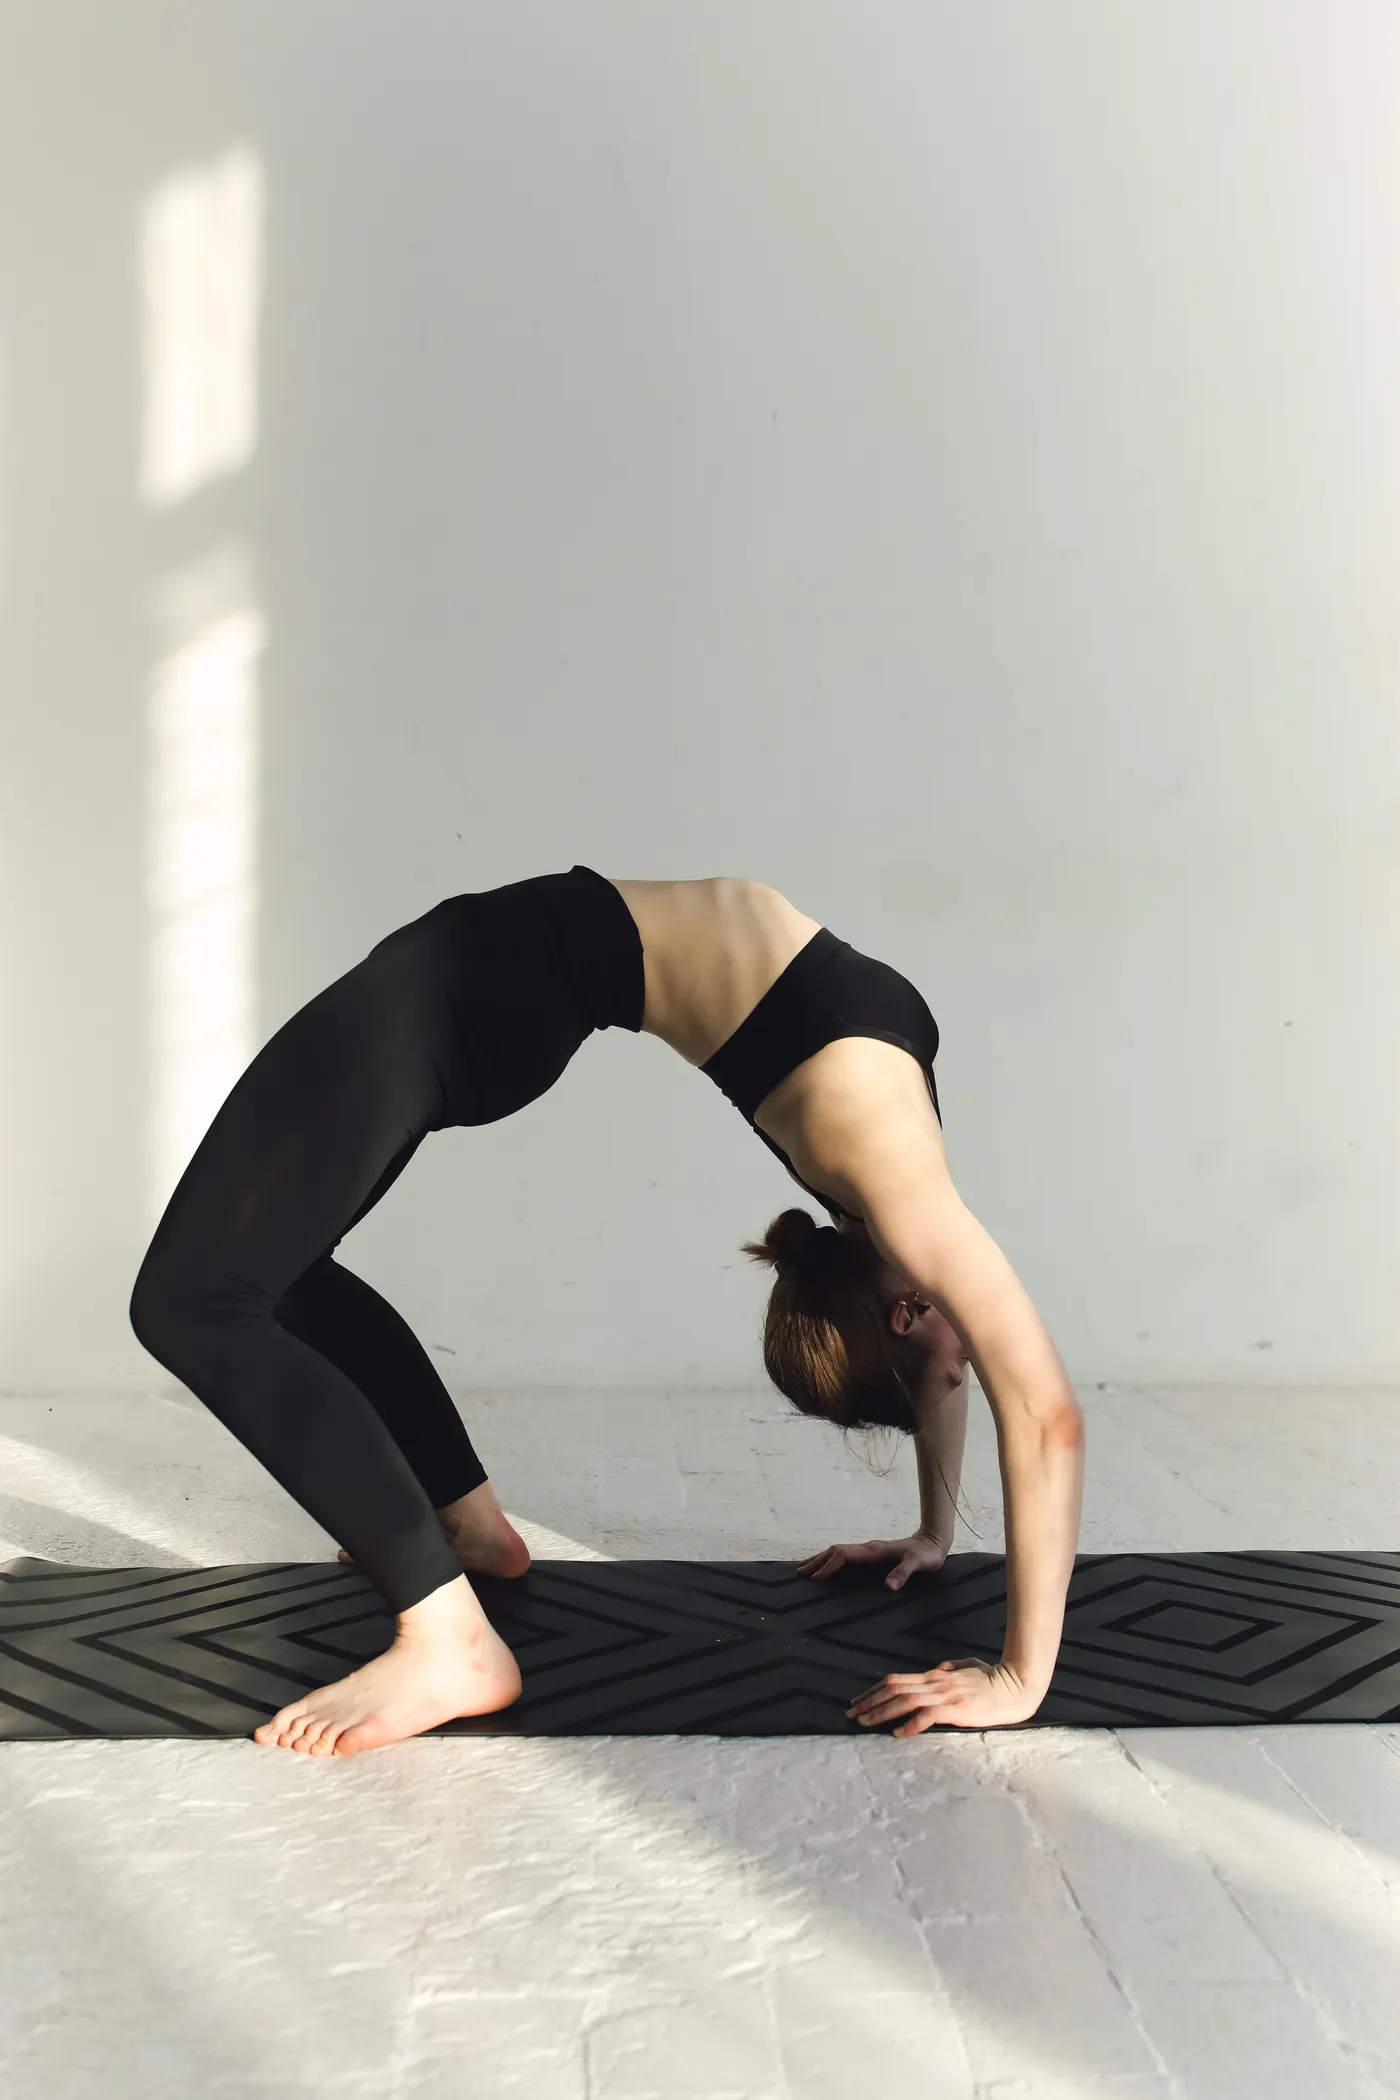
Glute bridges introduce hip extension without a barbell or complicated equipment. Lie on your back with the knees bent and feet flat, roughly hip-width apart. Keep the arms by the sides. Brace the abdomen gently, press through the feet and raise the hips until the torso and thighs approach a straight line. Pause, then lower under control.
The goal is to extend the hips, not exaggerate the arch in the lower back. If the ribs flare or the lumbar spine arches sharply at the top, reduce the height and think about bringing the pelvis toward the ribs. The glutes should contribute strongly. Hamstring cramping may improve by changing foot position or shortening the range.
Try two sets of ten to fifteen repetitions with a brief pause at the top. When that becomes easy, add a longer pause or a light dumbbell secured across the hips with appropriate padding. A single-leg bridge can be introduced later, but it demands more pelvic stability and should not be rushed.
Bridges complement squats by emphasizing hip extension while the torso rests on the floor. They do not replace every posterior-chain exercise. A hip hinge, such as a light Romanian deadlift, can be added in a later training phase when you have learned to control the back and hips together.
Keep the foot position and pause length consistent so improvements are meaningful. If the movement creates sharp back or hip pain, stop and find a comfortable variation. Progress can mean a better range, a steadier pause or a small increase in load, not just more repetitions.
Leg Day Shirts & Workout Gear
Leg-day gym shirts and workout gear for lifters who never skip squats, lunges and lower-body punishment.

I Love Squats Gym | Valentine's Workout Pullover with F T-Shirt
For laid-back days and leg-day humor: “I Love Squats”.

Let It Grow Booty Builder Hip Thrust Meme Hoodie
Stay casual and show some gym-girl attitude with “Let It Grow”.

Bunny Cutie With A Booty Vest Squats Meme Tank Top
Your gym-day look, with a playful “Gym Bunny” twist.

Booty Building Mode Gym Tank Top
Train hard, laugh a little, and rep “Booty Building Mode”.

Squat Game Gym | Funny Squid Game Parody Workout Decal Sticker
Bring “Squat Game” attitude to your water bottle or laptop.

Adventure Girl Booty Builder Leg Day Meme Squats Vest Tank Top
Your gym-day look, with a playful “Adventure Girl” twist.

Hippo Thrust Meme – Hip Thrusts & Leg Day , Gymbro, T-Shirt
Bring “Hippo Thrust Gym Meme” humor to your next gym day.


Muscle Mommy : Squats & Snow White Booty T-Shirt
Bring “Muscle Mommy” humor to your everyday gym style.
Your four-week home-strength schedule
Train twice a week on nonconsecutive days, such as Monday and Thursday. Warm up, then perform the squat, shoulder press, row, bridge and plank. Put the more demanding dynamic exercises first while coordination is fresh. The exact order can change if one movement is a particular priority, but keep it consistent enough to compare sessions.
Week one: perform one or two sets per exercise. Aim for eight to twelve controlled presses and rows, ten to fifteen squats and bridges, and ten to twenty seconds per plank hold. Learn the positions and write down the loads. Finish each set with a few good repetitions available rather than going to failure.
Week two: work toward two sets of each movement. Add a repetition only when the previous session felt controlled. Keep squat depth, row angle and plank position consistent. If you change a variation, note it rather than comparing the numbers as though the exercise were identical.
Week three: add a third set to one or two exercises that recover well, or increase dumbbell weight slightly once the top of the repetition range is comfortable. Do not increase volume, load and frequency all at once. A modest change that you can repeat is more productive than a dramatic change followed by excessive soreness.
Week four: repeat the same movements and compare performance at matched technique. If you can perform twelve rows with a weight that allowed only eight in week one, that is progress. If the same squat feels steadier or a plank lasts longer without sagging, those improvements count too. A third weekly session is optional.
Allow at least a day between hard full-body sessions, sleep consistently and eat enough protein as part of an adequate overall diet. Some soreness is normal when starting, but sharp pain, dizziness or persistent symptoms warrant stopping and seeking appropriate guidance. People with medical conditions or recent injuries should individualize the plan with a qualified professional.
Five exercises are a foundation, not a permanent ceiling. A horizontal push, hip hinge and single-leg exercise can make the routine more complete later. For the first month, mastering the basics and learning to progress them is a meaningful result. The best beginner plan is one that makes the next month possible.