Advertising disclosure: This page includes affiliate product links that may earn us a commission, as well as products from our own store.
Ring push-ups give you several ways to change the exercise before you add a single kilogram. That flexibility is useful, but it can also make your training record misleading: ten reps with high rings and a short descent are a different task from ten low-ring reps through a controlled range. Start by choosing a setup you can reproduce. Then earn harder repetitions by keeping your body position, depth and finish consistent. The aim is a press you can train and assess, rather than a contest to see how much the straps can shake.
Choose a ring height you can repeat
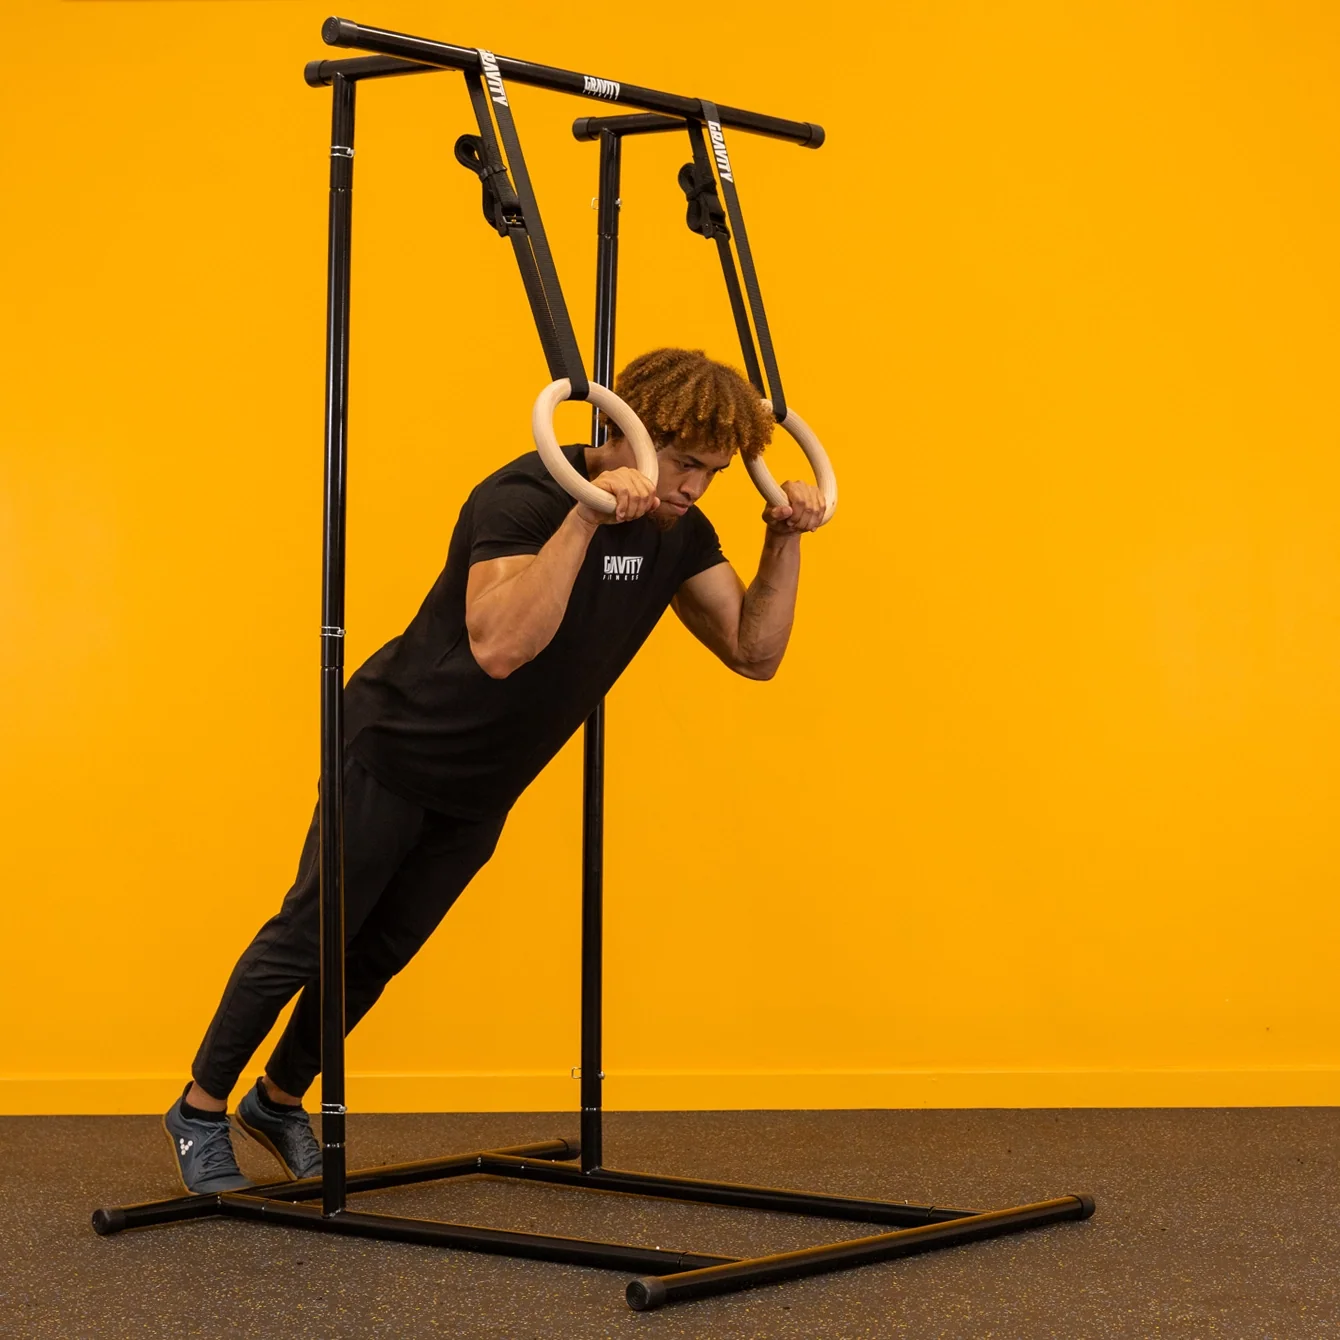
Use a secure anchor intended for the equipment and follow its installation instructions. Check the straps, buckles and rings before loading them, make both sides even, and keep loose strap ends clear. A rack or station needs to be suitable for the direction of force you apply; its presence in a gym does not automatically make every attachment position appropriate. Check that your feet will grip the floor and that there is space to step out of the exercise.
Begin with the rings high enough that you can lean into them and hold a firm inclined plank. You should be able to bend and straighten your arms without the rings running away from you. The useful starting height depends on your current strength and the rest of the setup. Treat waist height as a possible starting point, then adjust from what you can actually control.
Record the bottom of the rings relative to the floor, your foot position and the anchor arrangement. Matching strap numbers is convenient, but check the actual ring heights too. Two straps hung from different points can show the same number and still leave the handles uneven. A floor mark for your toes and a quick setup photograph can make the next session much easier to reproduce.
For example, write 'incline rings, toes on the seam, three sets of eight' alongside the measured height. Keep that arrangement for your next comparison. If you move the feet, raise the anchor or change the strap length, note the change instead of treating the result as an uninterrupted repetition record. You are building a useful reference, not calculating an exact percentage of bodyweight lifted.
Make each repetition recognizable
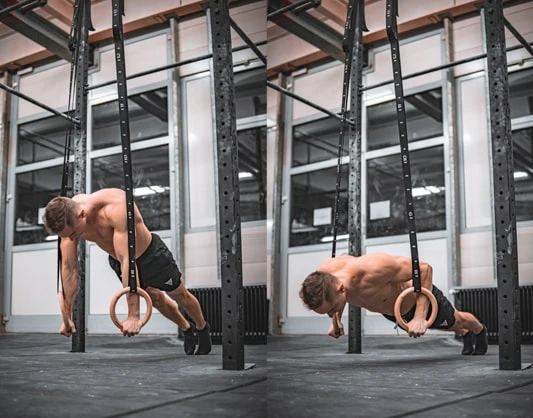
Grip the rings securely and establish your starting position before the first descent. Brace your trunk, keep your head aligned with your body, and move your chest and hips together. Lower under control, let the elbows bend on a comfortable path, and press back to a clear finish. The rings can move naturally with your hands; they do not need to be forced into a rigid imitation of a bar.
Watch for the point at which the movement changes. Perhaps the first six repetitions look similar, then your hips drop before your chest rises. Perhaps one hand travels outward while the other stays close. Those are useful observations for deciding when to end the set or make the setup easier. Counting the extra repetitions without recording the change hides the information you need.
A short side-view video is often more useful than trying to watch yourself in a mirror during the set. Compare the first and last repetition: does the body line remain similar, is the bottom position recognizable, and do both hands return under control? Pick one correction for the next set. Trying to change elbow position, breathing, speed and ring angle simultaneously makes it difficult to learn which adjustment helped.
Use a repeatable cadence without turning every set into a stopwatch test. A deliberate descent and smooth press give you time to notice a loss of position. If you introduce a pause, label it as a different condition. Eight paused repetitions and eight continuous repetitions can both be worthwhile training, but they should not be entered as identical performances.
Separate useful depth from a forced stretch
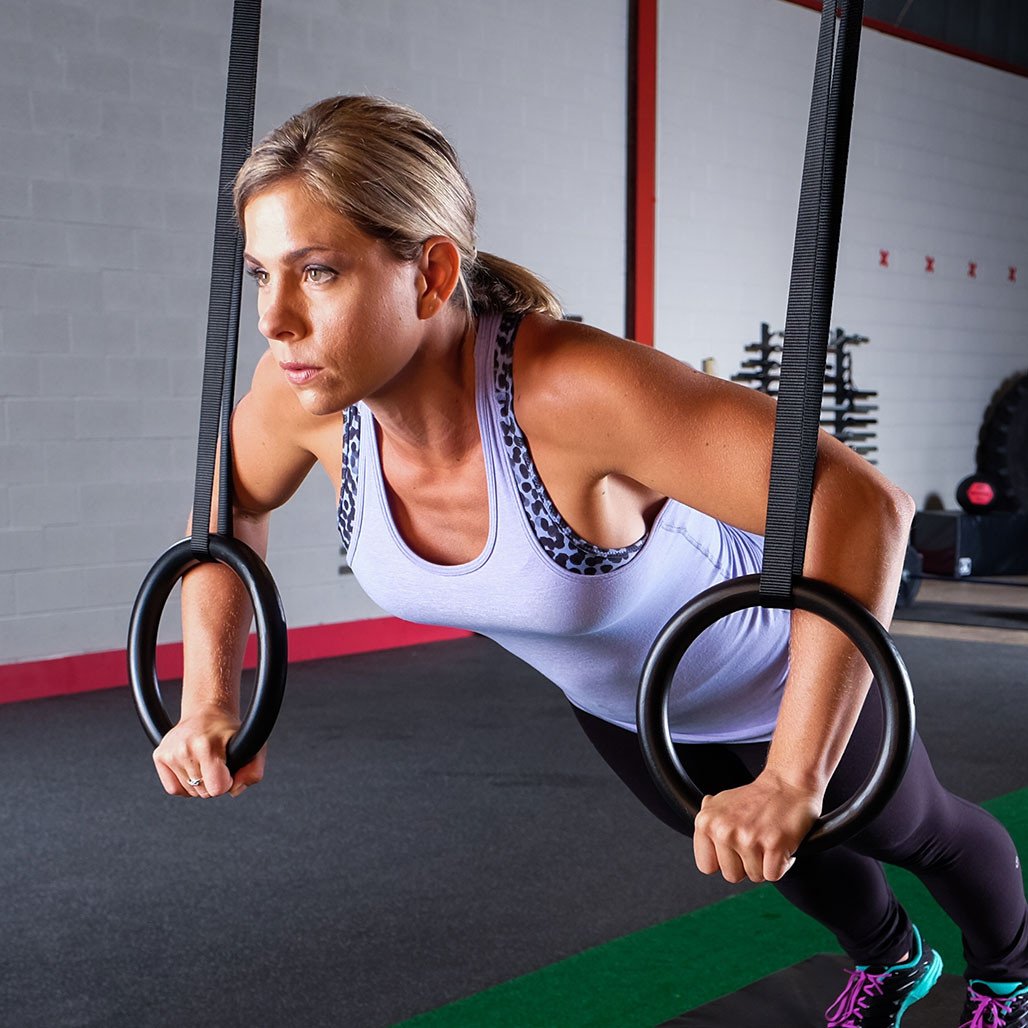
The space between the rings lets your chest travel below your hands. That is an available range, not an instruction to sink as far as possible immediately. Establish a comfortable bottom position you can reach and leave under control. If your shoulders shift abruptly, your trunk changes shape or you cannot reverse the movement smoothly, shorten the range or raise the rings.
Choose a visible depth reference for your own comparisons. A side-view recording can show where the upper arm finishes relative to the torso, without requiring you to touch the floor on every setup. Keep the reference practical and consistent. A lower ring setting changes the relationship between your body and the floor, so a previous contact point may no longer describe the same task.
Turning the rings outward is another variable. You can first learn to finish a repetition with steady hands and a comfortable grip. If you later practice a modest turnout at the top, use an easier setup and keep that practice separate from your main repetition target. A dramatic ring angle is not a requirement for a useful pressing set, and forcing the wrists or shoulders to achieve a look defeats the purpose.
Consider a hypothetical training note: 'Eight controlled reps to the chosen depth; ninth rep lost position.' That gives you a clear next-session target. Writing 'nine reps' removes the distinction. Likewise, a deeper repetition is progress only within the range you can manage. Discomfort that repeatedly changes your movement deserves an adjustment, rather than a plan to push through until the numbers improve.
Progress one variable while the others stay steady
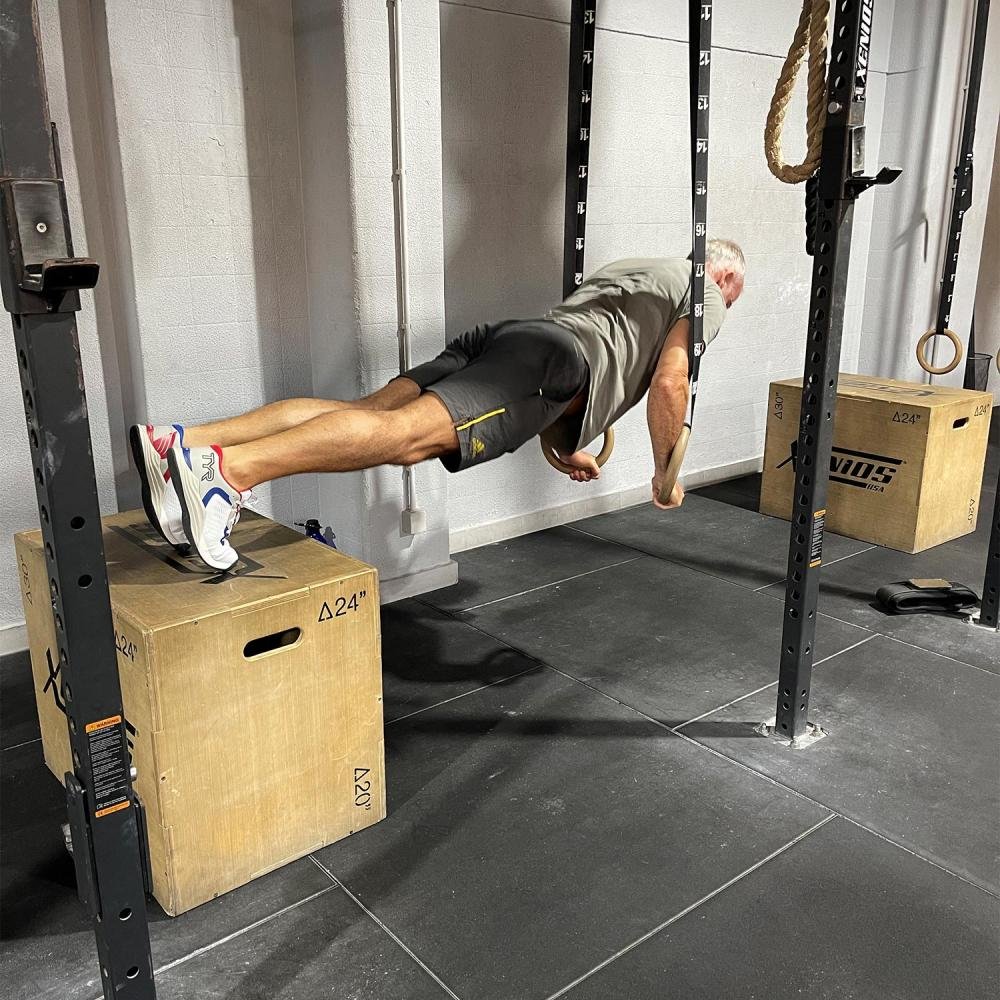
First make your current version repeatable. One practical progression is to add clean repetitions within a chosen range, then make a small setup change and rebuild the count. Lower rings, elevated feet, pauses and external load offer different ways forward. They also change what you are comparing. Select one, document it, and leave the other conditions familiar for a few sessions.
As an example, use three sets of six to ten repetitions. When all three sets reach ten with the same depth and a controlled finish, lower the rings slightly at the next session. You might return to six or seven repetitions. That is an expected consequence of choosing a harder task, not proof that the previous sessions stopped working. The exact range and size of the adjustment are programming choices, not universal thresholds.
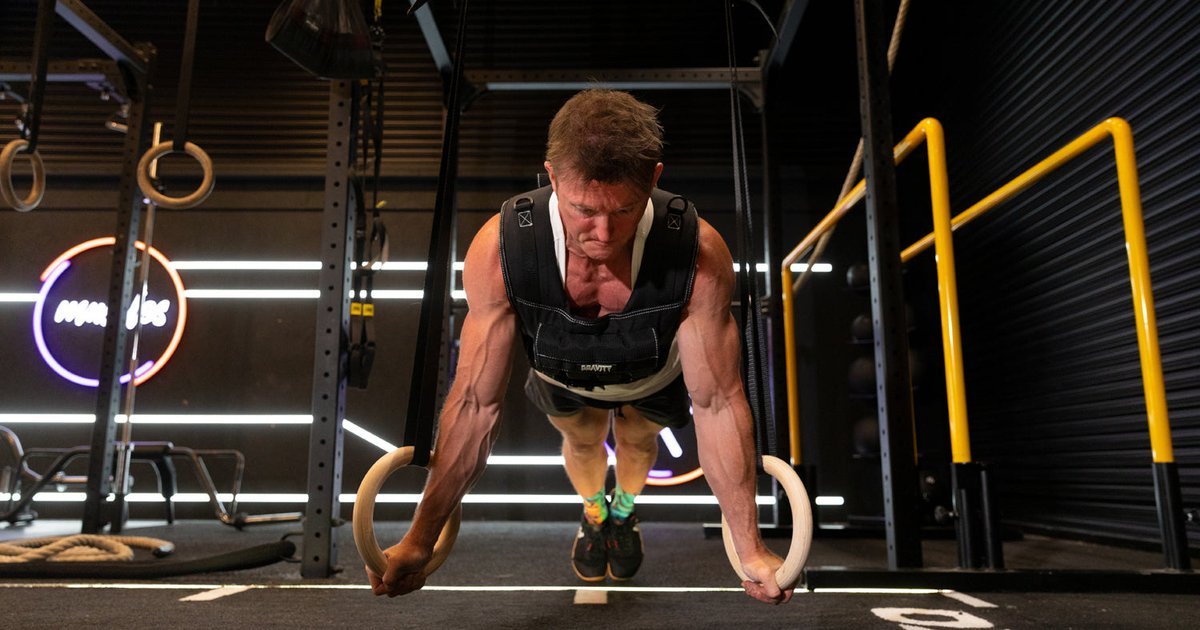
Foot elevation is another option once you can maintain your position, provided the support is stable and appropriate. Added weight belongs later, when you can manage both the movement and the equipment. Use a secure, suitable loading method and begin conservatively. Check the equipment instructions before combining items; plates, vests, benches and ring systems are not universally compatible just because they appear in the same equipment catalog.
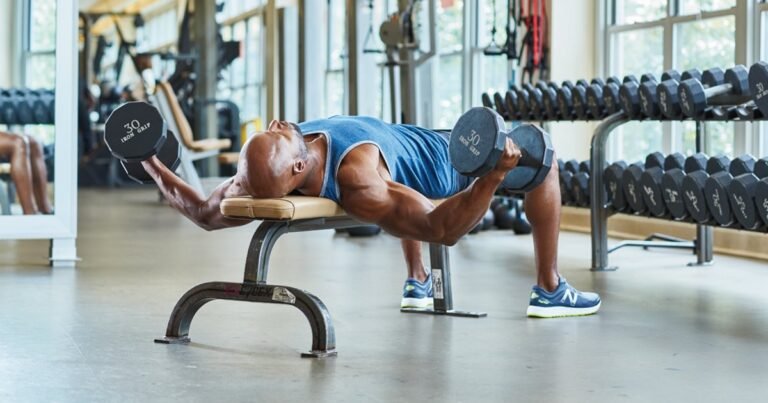
You can also keep a stable pressing alternative in your program. Floor push-ups or push-ups on suitable parallettes provide a different reference; a bench and dumbbells offer another pressing option. These are choices, not equipment prerequisites for ring push-ups. Avoid switching exercises every time a repetition target becomes difficult, because you then lose the chance to see whether a consistent practice is improving.

Equipment Worth Exploring
Explore equipment, accessories and gear from our carefully selected range.


FID Bench MAX
Adjustable bench offering flat, incline, and decline positions + adjustable headrest.


Power Tower
Freestanding pull-up and dip station with adjustable handles for bodyweight training.
Give ring push-ups a defined job in the week
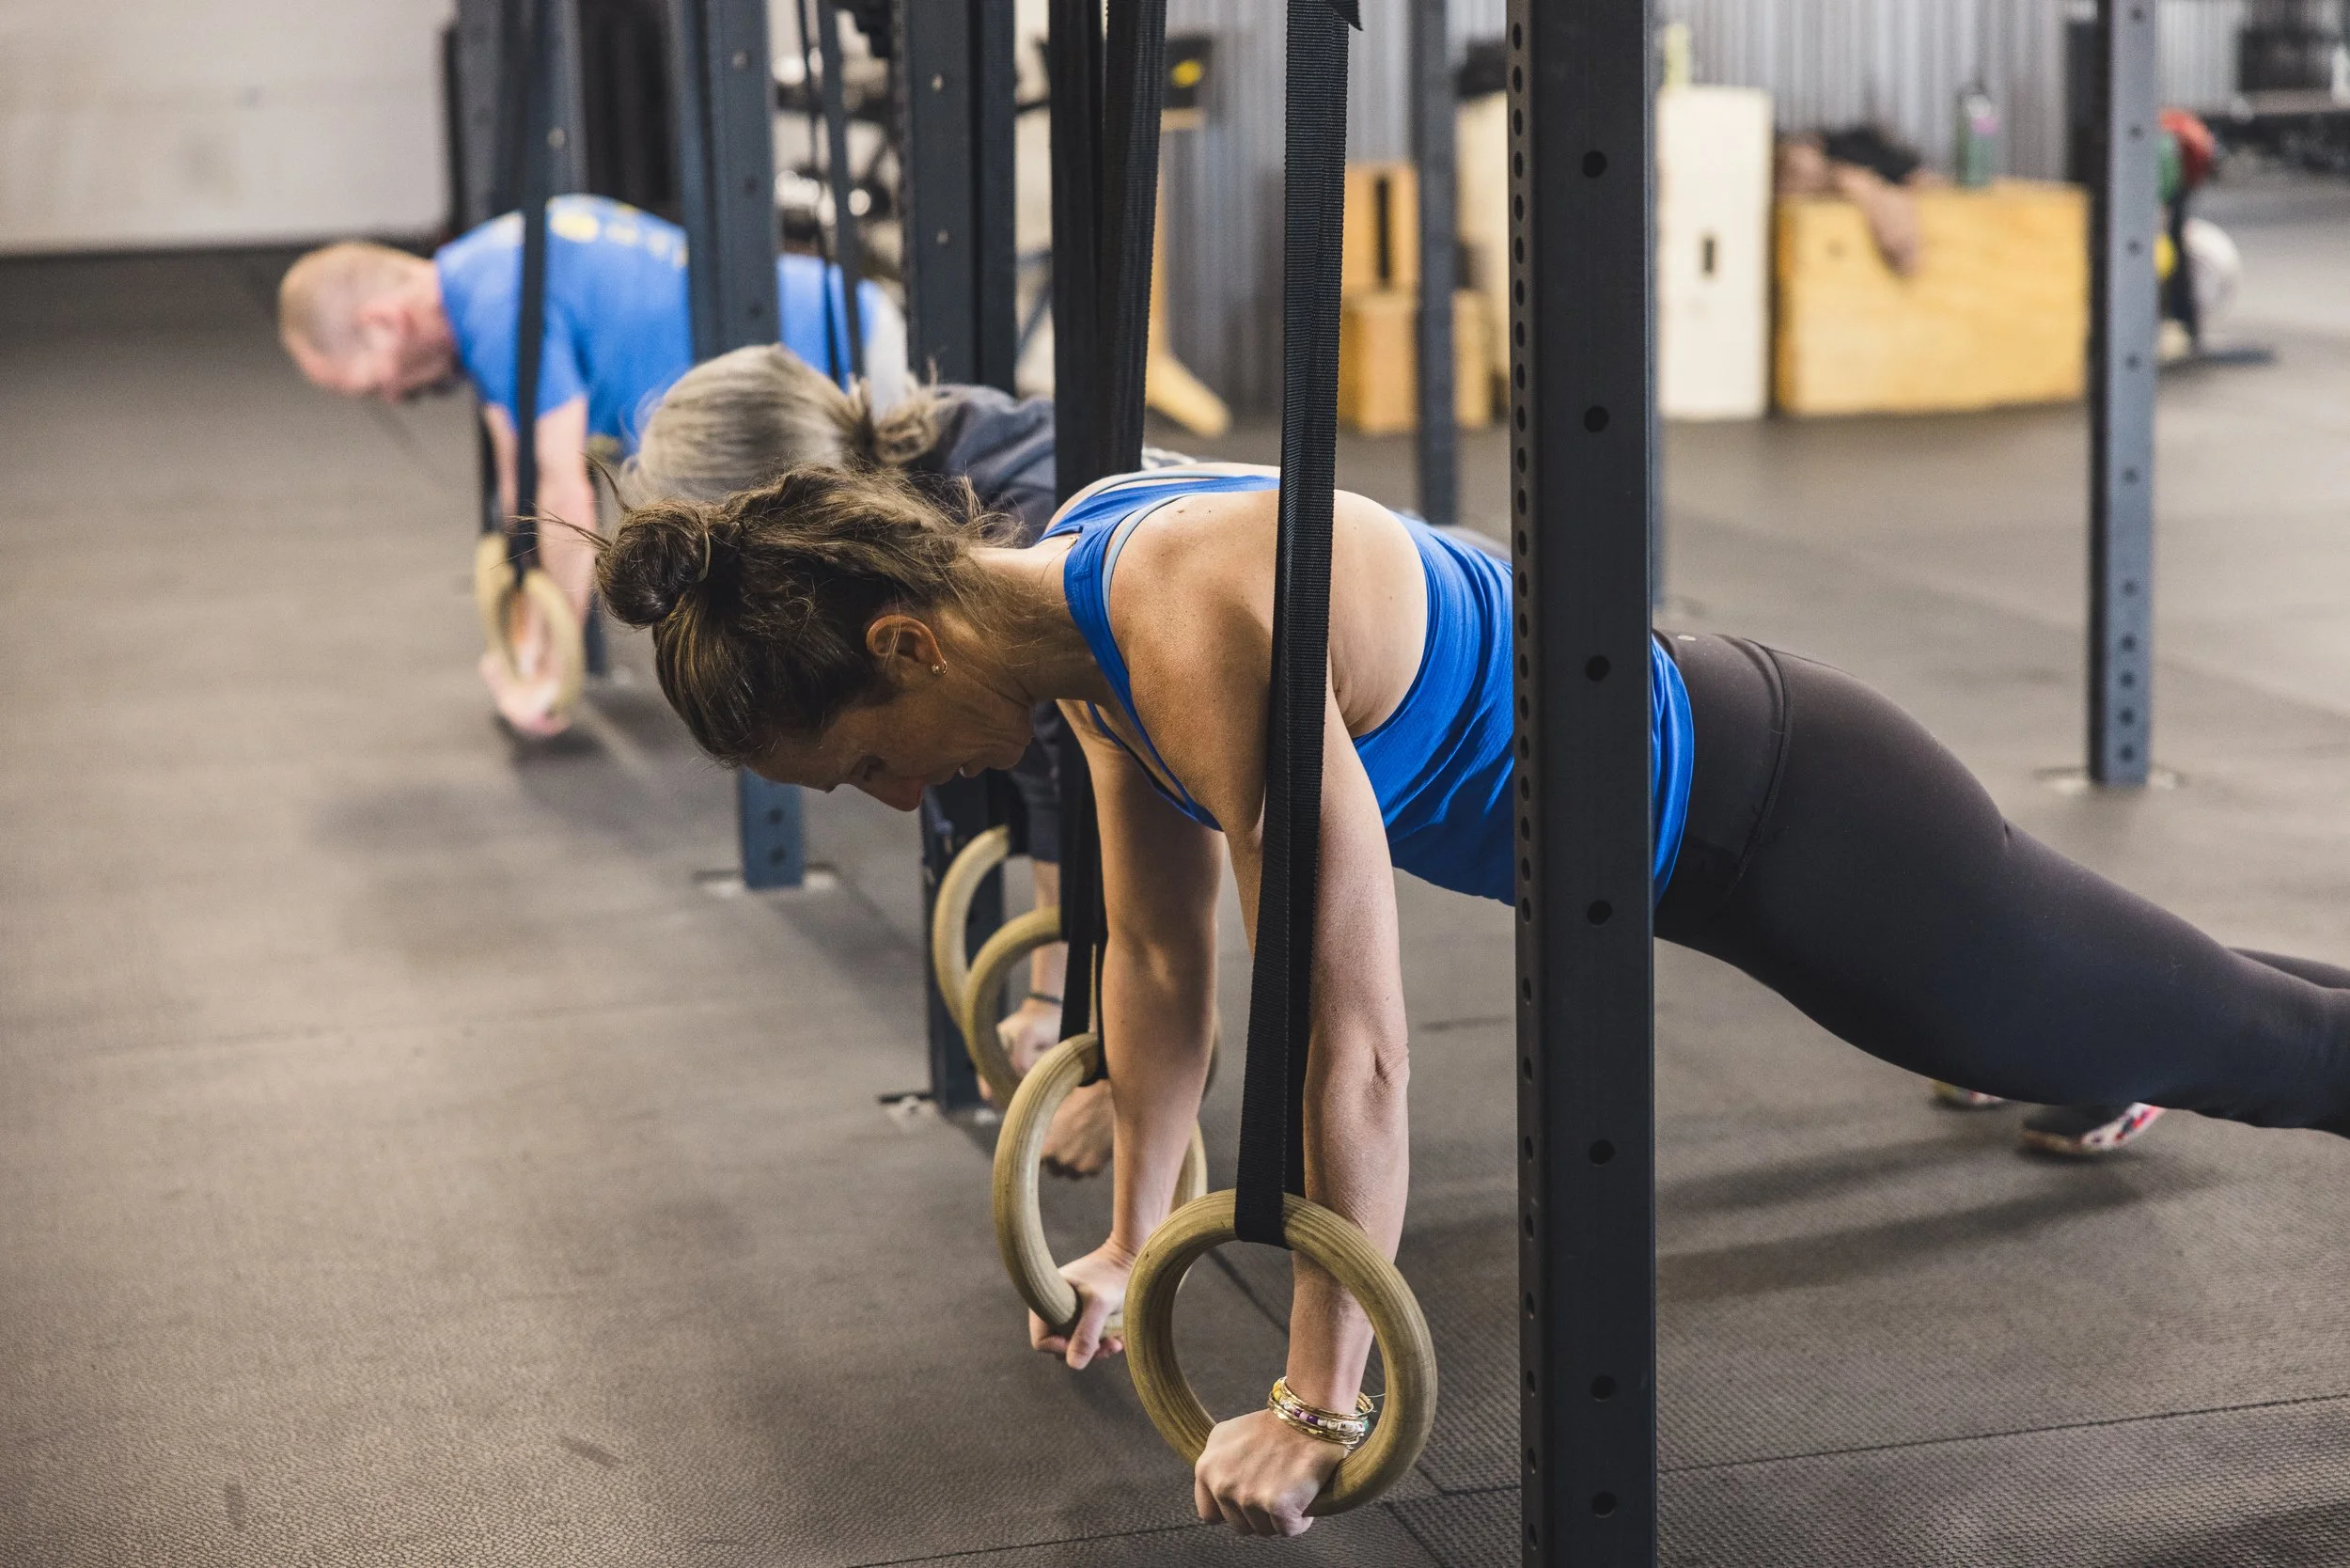
Decide whether the exercise is your main press, a secondary movement or a short skill practice. That decision helps determine where it belongs. If learning ring control is the priority, practice while you can still concentrate. If the movement follows demanding pressing work, expect a different repetition count and compare it with sessions performed in the same order.
A simple starting example is two or three controlled sets on two nonconsecutive training days, adjusted around your existing pressing work. Leave enough capacity to finish each set with the intended technique. If you already perform substantial chest and triceps training, replace some work initially instead of automatically adding more. This is an example to adapt, not a tested optimal ring push-up prescription.
Shaking does not establish that rings build more chest muscle than stable pressing. In a 2014 experiment, 29 trained young men performed brief push-up trials using four suspension systems. Muscle activation varied with the system, and the more unstable conditions were not uniformly better for the chest and front shoulder. The equipment was not a direct trial of ordinary wooden rings, and acute electrical activity does not tell you which program produces more long-term growth.
Review your log after several comparable sessions. Look for steadier repetitions, a manageable increase in reps or a documented setup progression. Also note whether the exercise fits alongside the rest of your training. If progress becomes difficult to interpret, return to one known height and depth for a session. A clear reference can tell you more than another variation. Keep the exercise useful by making the next decision from what you actually performed.

Funny Gym Shirts & Workout Gear
Funny gym shirts, tanks, hoodies and workout gear for lifters who like training hard.


Calisthenics Heartbeat Hoodie
Keep it laid-back with a little “Calisthenics Heartbeat” attitude.

Be Stronger Than Your Excuses – Motivational T-Shirt
Rep “Be Stronger Than Your Excuses” humor in and out of the gym.

Calisthenics Muscle Shirt Athletic Vest for Bodyweight Tank Top
Your gym-day look, with a playful “Calisthenics” twist.

Turn Off Gravity Funny Calisthenics Gym Crewneck Pullov T-Shirt
Show some gym-day personality with “Turn Off Gravity Funny Calisthenics”.

Calisthenics Evolution Hooded Pullover for Bodyweight W Hoodie
Keep it laid-back with a little “Calisthenics Evolution” attitude.

Calisthenics Hanging Out Tank
Show some personality between sets with “Calisthenics Is My Idea of Hanging Out”.

Calisthenics Lovers – Gains & Meme Shirt T-Shirt
Make gym days more fun with “for Calisthenics Lovers” style.

Calisthenics Lovers & – Gains & Meme Vibes T-Shirt
Heavy lifts, good laughs, and a little “for Calisthenics Lovers & Lifters” energy.