Advertising disclosure: This page includes affiliate product links that may earn us a commission, as well as products from our own store.
The Ironmaster Super Bench PRO V2 combines a continuous main pad, a removable incline seat and a locking-ring adjustment system. Evaluate those features as parts of a real training setup: body support, secure adjustment, attachment fit and the route back into storage. This is a specification-grounded buying and setup guide, not a hands-on review.
Check pad support and foot contact before counting features
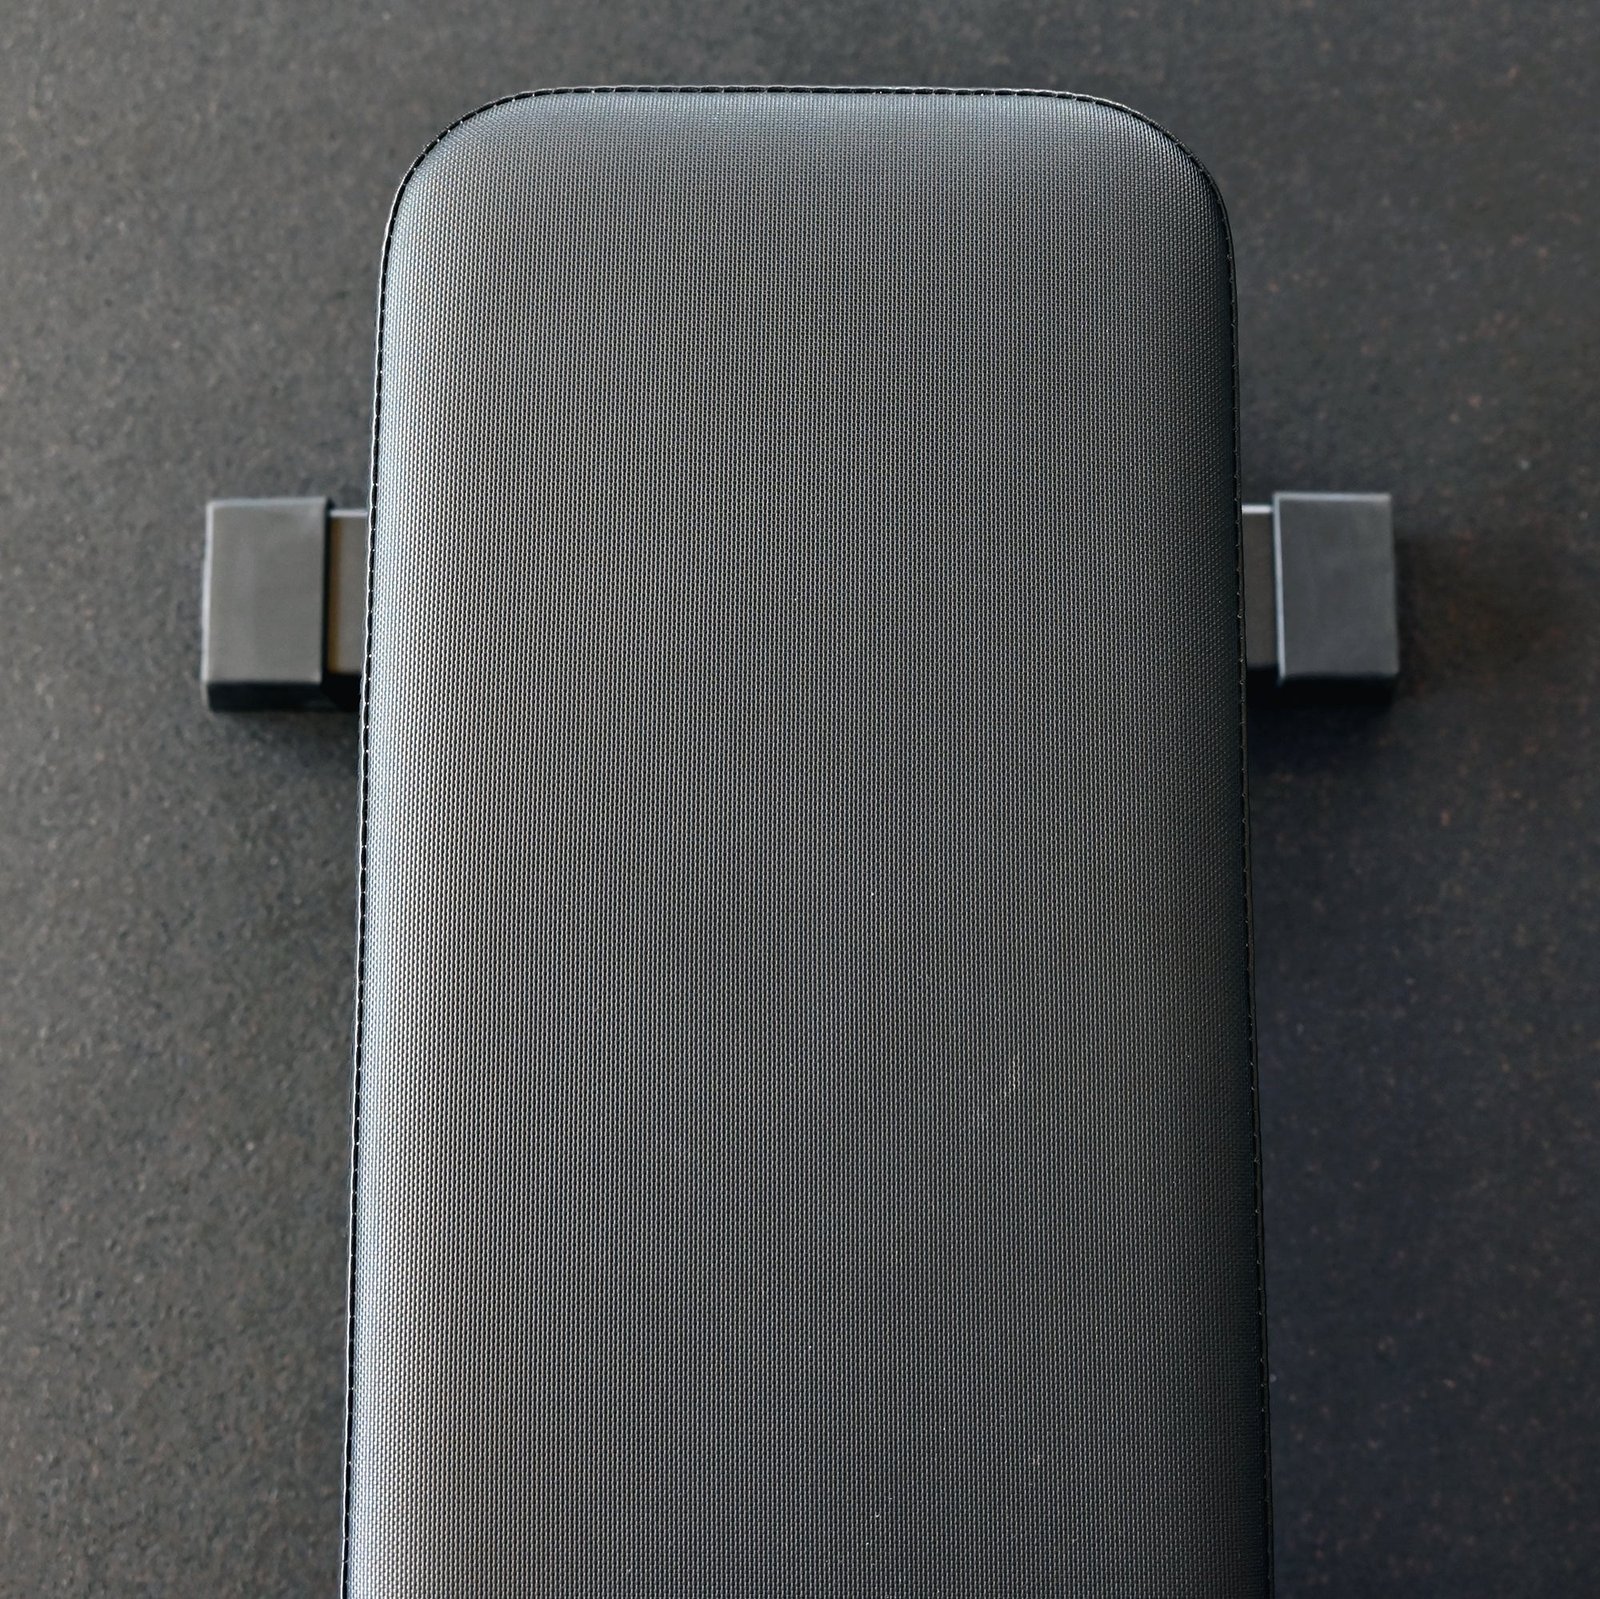
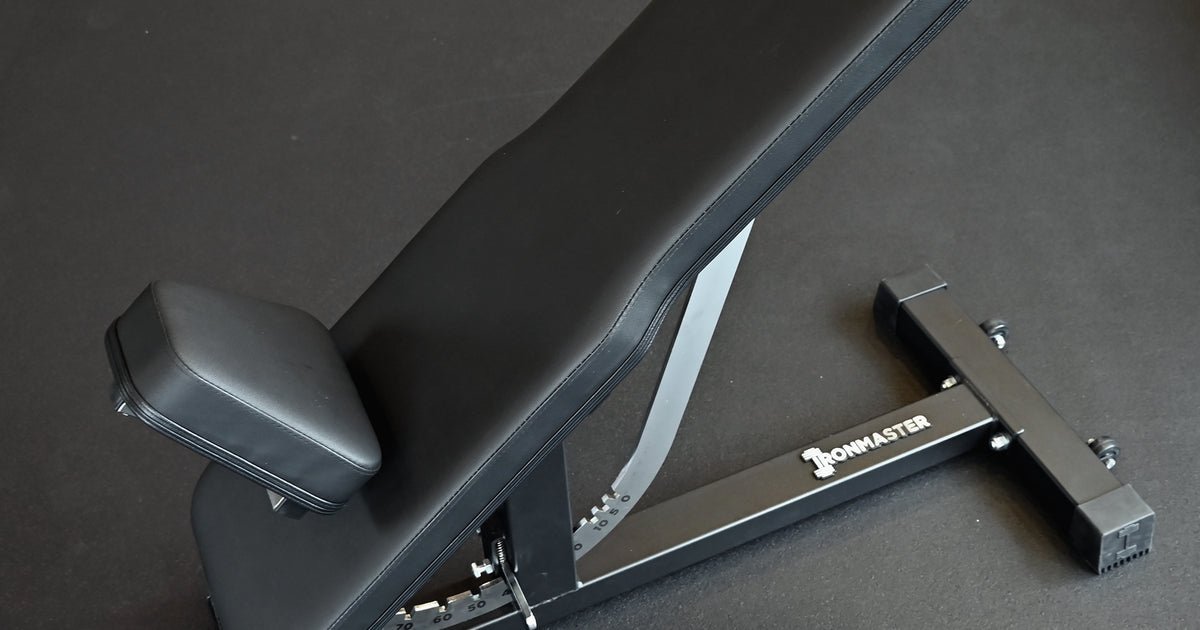
The Ironmaster Super Bench PRO V2 uses a long main pad and a removable incline seat rather than the familiar permanently divided seat-and-backrest arrangement. Its current hybrid pad provides a narrower portion and a wider portion. That is worth evaluating against your actual pressing position: where do your shoulders rest, can you keep your head supported, and does the pad let your upper arms move comfortably through the range you intend to use?
The listed flat height is 17.2 inches. A measurement can help you compare benches, but it does not guarantee a particular person's fit. Your leg proportions, footwear and preferred foot placement still matter. For a flat dumbbell press, establish stable contact through your feet and the supported parts of your body before choosing a working weight. If you need a suitable foot support, plan it deliberately rather than balancing on loose plates that can shift.
Think about how you take the dumbbells into position and return them after the set. A bench that feels comfortable once you are lying down may still be awkward during that transition. Check where your hands, knees and the dumbbell heads travel. If you can try the bench before buying, perform the setup with light weights and appropriate assistance. You are checking the usable movement, not attempting to prove the bench's advertised capacity in the showroom.
Keep your questions specific when a trial is unavailable. Ask for a clear pad measurement, a side photograph and confirmation of the current upholstery and pad supplied in your region. Do not treat a product photograph as a personal comfort test. It shows the design and can help you plan measurements; it cannot establish how the edge of the pad will feel against your shoulders or whether your preferred stance will work without adjustment.
Learn the locking-ring adjustment as a separate task
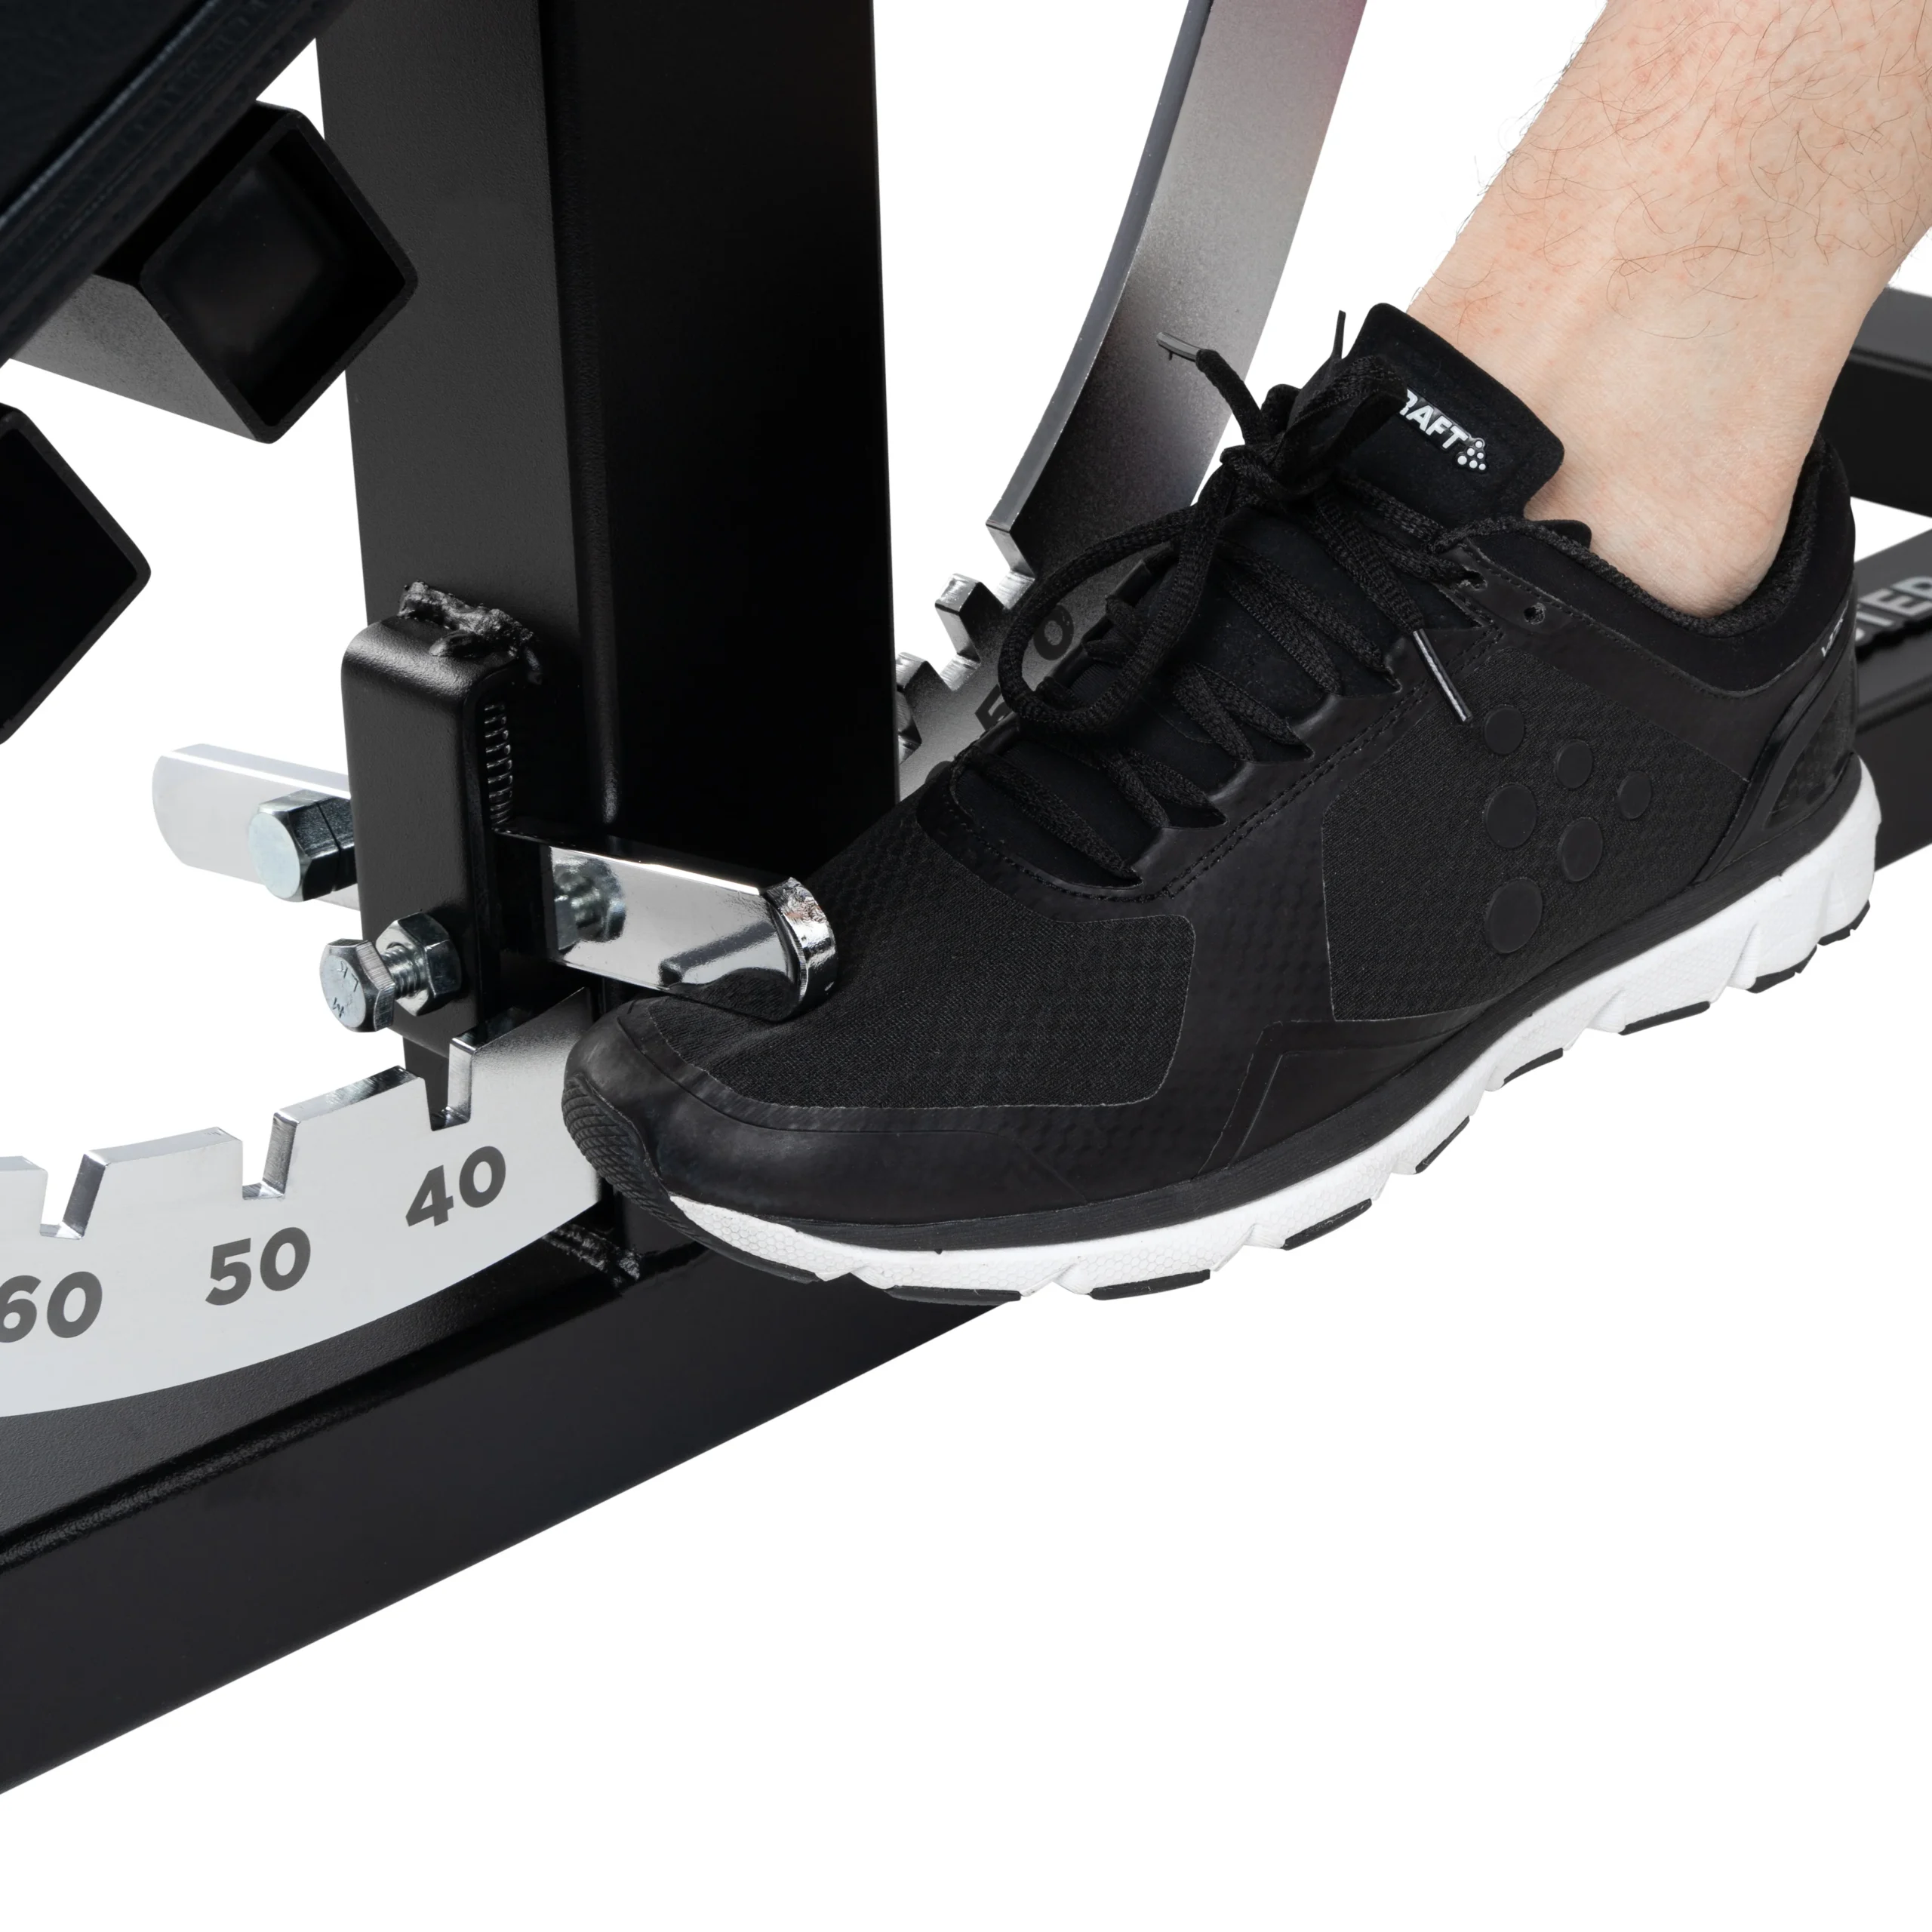
The bench offers eleven angle positions and uses a locking ring operated by a lever. The foot-lever photograph shows the actual adjustment area, which is more useful than imagining a conventional ladder mechanism hidden beneath the pad. Before training, practise changing the angle with the bench unloaded. Keep control of the moving pad and allow enough clear space around the frame so the adjustment does not collide with a rack, wall or stored equipment.
Full engagement of the locking mechanism matters more than moving quickly between settings. Follow the operating instructions and confirm that the lever has seated completely in the chosen position before using the bench. A setting that looks close to the right notch is not enough. If the lock will not locate properly, stop using the bench and seek the manufacturer's guidance rather than improvising a wedge, modifying a notch or relying on bodyweight to hold the angle.
Choose angles for the exercise you actually intend to perform. A small change in incline may alter your comfortable arm path and the weight you can control. That does not mean every available angle needs a place in your program. Start with a manageable load when trying a new position, keep the setup consistent, and record the angle alongside the exercise. A repeatable setting makes a later comparison more useful than a vague note saying incline press.
Avoid turning an angle change into an unplanned intensity technique. Set down or safely rack your weights before adjusting the bench, then establish your position again. There is little value in a fast transition if you lose control of the equipment or cannot confirm the lock. The sensible workflow is to choose the setting, check engagement, take your stable position and begin the next set when the whole setup is ready.
Match the removable seat to the exercise and your proportions
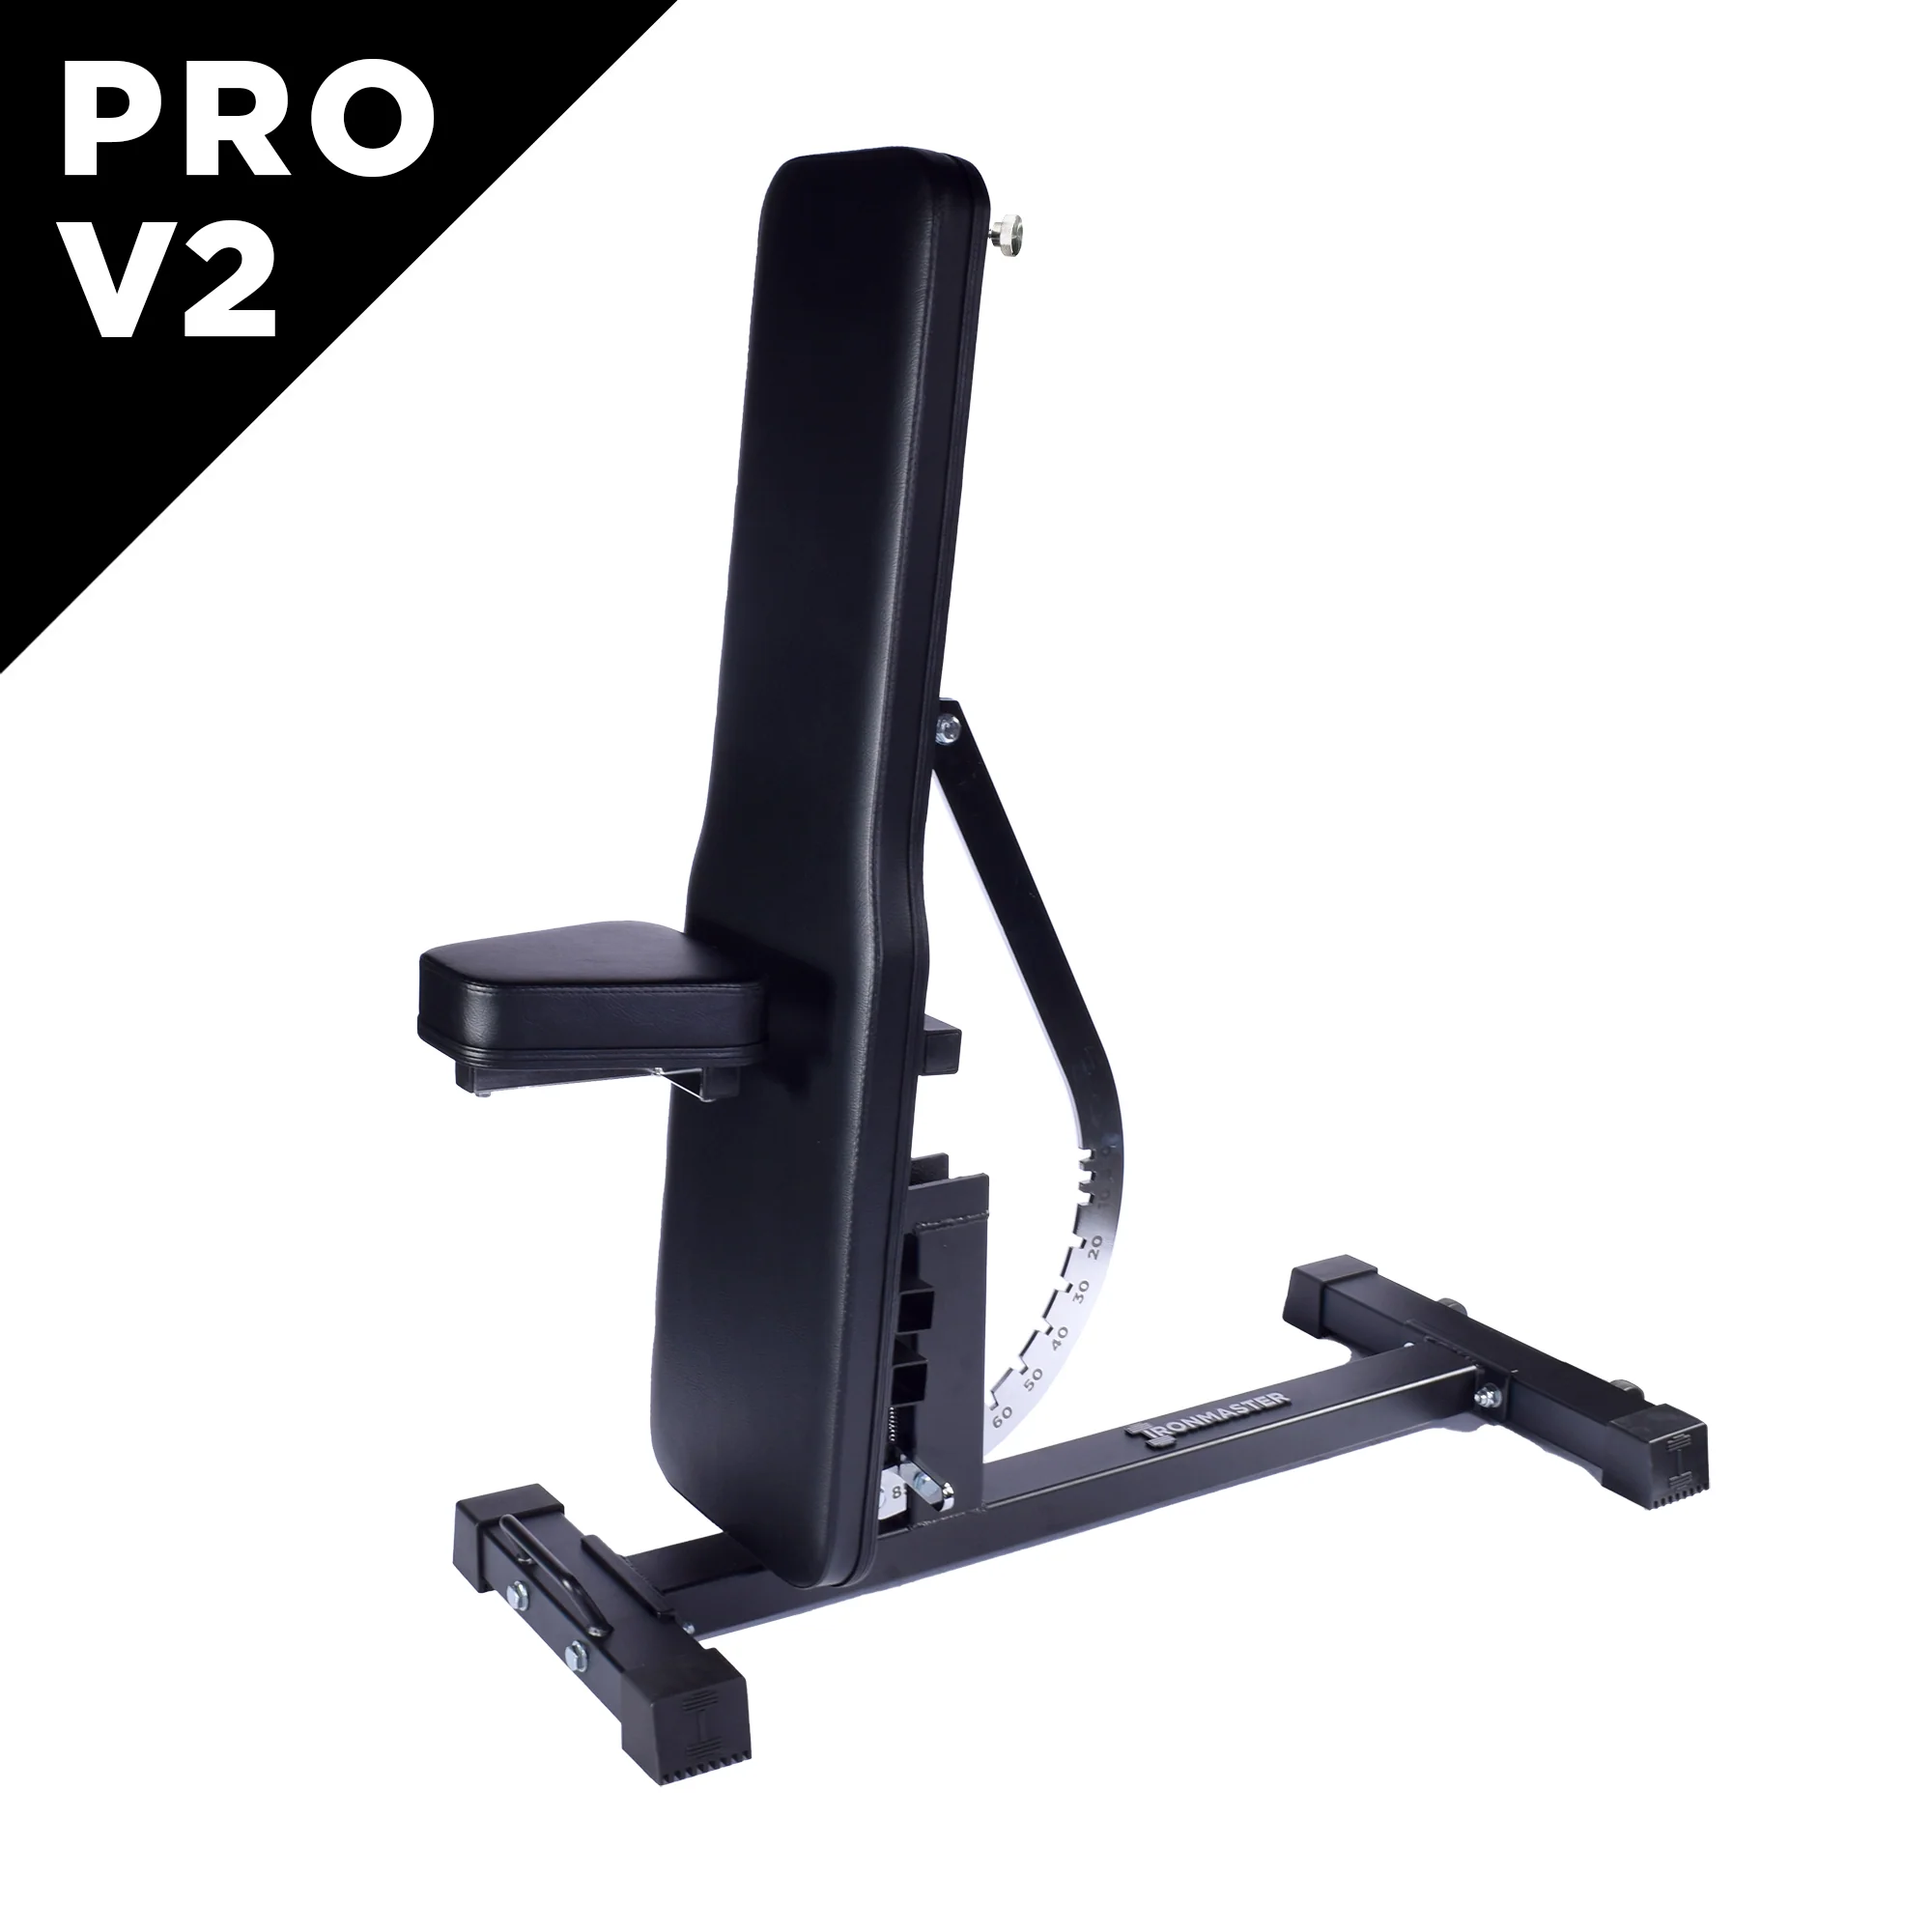
The included incline seat plugs in from the side, with three available insertion positions. It moves with the main pad, so it deserves its own fit check rather than being treated as an afterthought. The upright bench photograph shows how different this arrangement looks from a bench with a permanently attached lower pad. Check the actual configuration before assuming it will support you in the same way as equipment you already use.
For seated work, consider where your hips settle, whether the pad edge interferes with your thighs, and how easily you can keep your feet stable. A setting that suits one person or exercise may be less useful for another. Begin with light resistance and observe whether you keep sliding, reaching or repositioning during the set. Those are reasons to reassess the setup, not automatically reasons to add more effort to compensate for it.
When using the bench flat, removing the seat leaves the continuous main pad available. Plan somewhere sensible to put the detached seat so it does not become an obstacle beside your feet or under a dumbbell. Changing configurations should not require stepping over loose accessories. If several people share the bench, a brief note of the seat position can make switching between users easier without assuming that everyone should train in the same configuration.
Keep the load limits tied to the configuration. The manual specifies a maximum total load, including the user, of 1,000 pounds flat and 600 pounds when tilted or when the incline seat is used. Those are limits rather than training goals. Add your bodyweight to the external load, follow the current instructions for the exact model and attachment, and resolve uncertainty with Ironmaster before loading the bench near any stated limit.

Equipment Worth Exploring
Explore equipment, accessories and gear from our carefully selected range.

FID Bench MAX
Adjustable bench offering flat, incline, and decline positions + adjustable headrest.
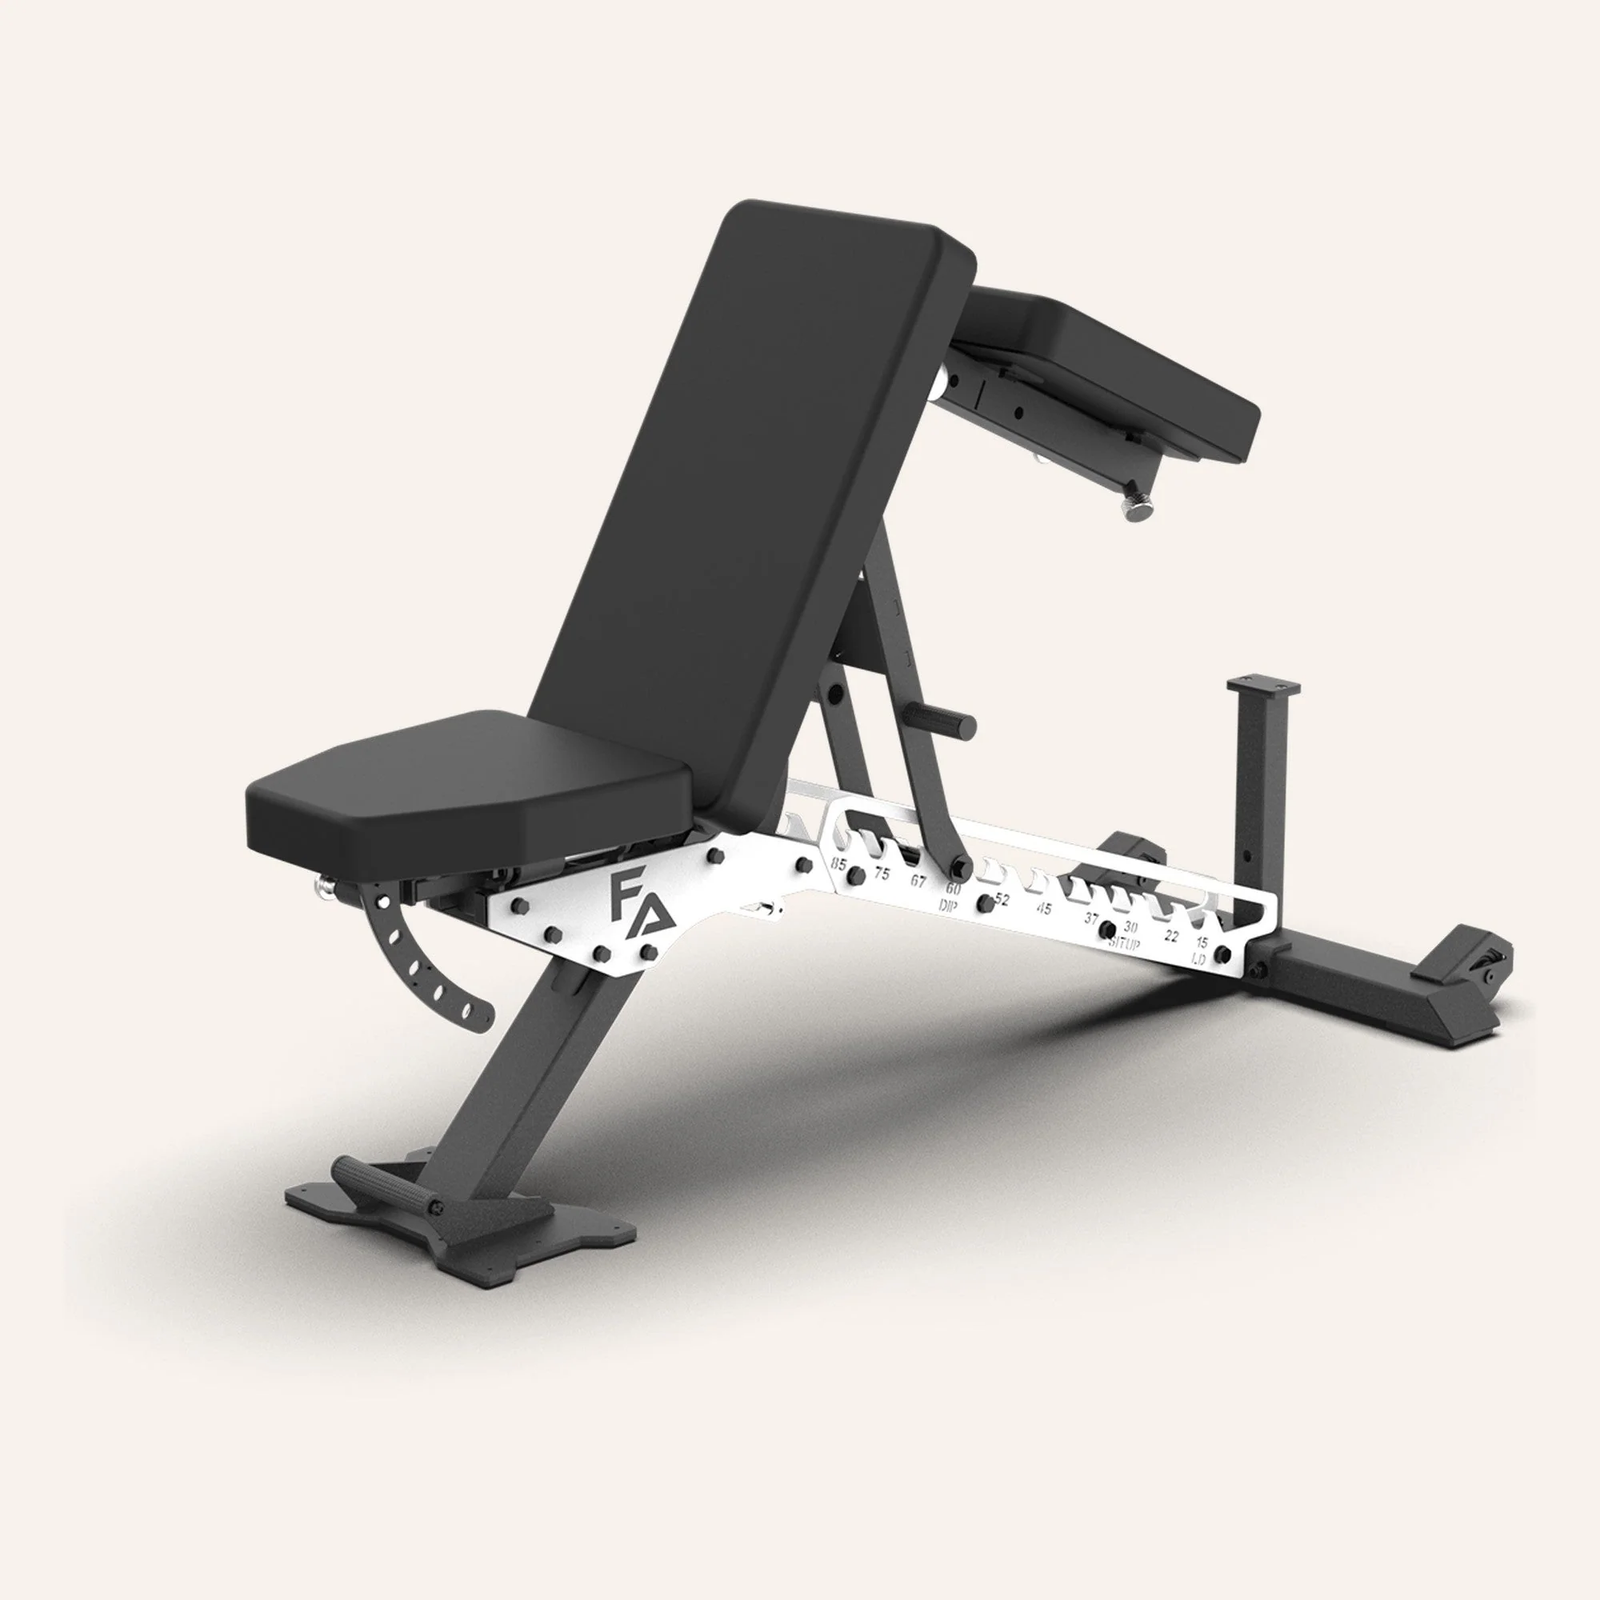

Multi Bench MBX-650 2.0
Adjustable multi-bench with roller adjustment, 15 backrest positions and accessory mounts.


Rubber Hex Dumbbells
Rubber-coated hex dumbbell pairs with a stable shape for home and commercial strength training.


Verify each attachment instead of buying an imagined system
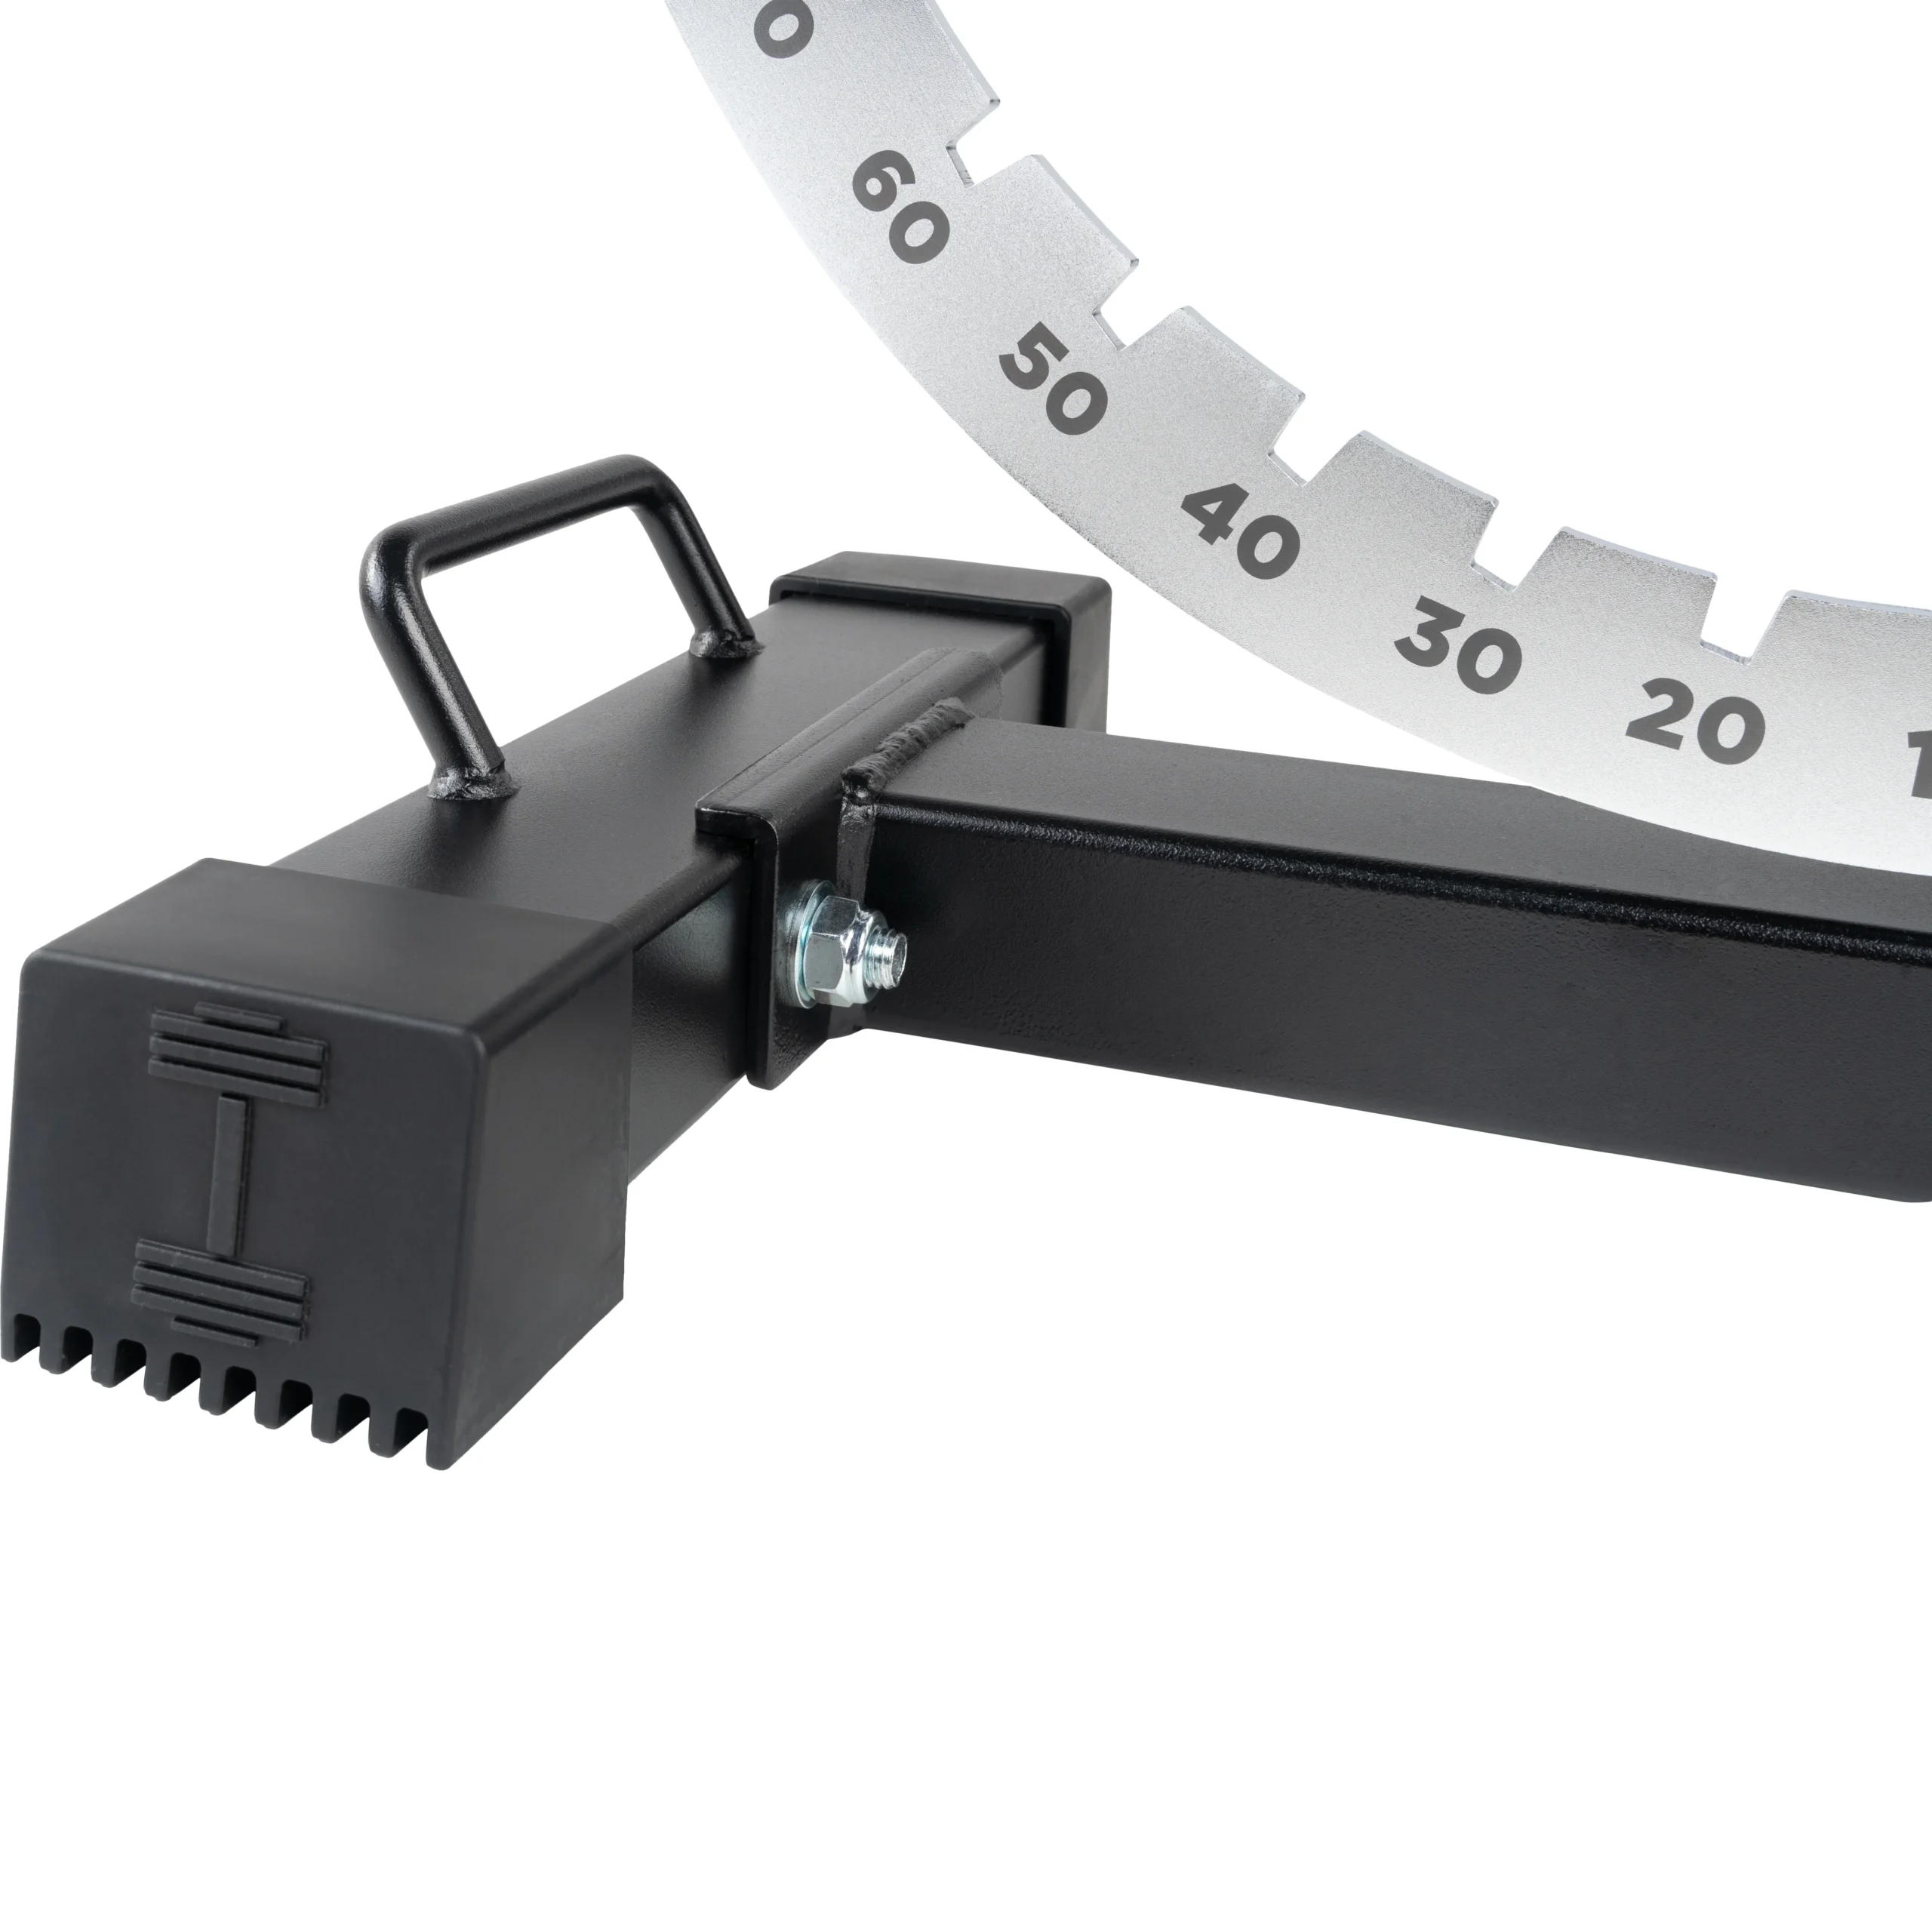
The receiver, pull pin and tightening knob are central to the attachment system. The close-up photograph shows the hardware area rather than a promise that any accessory with a similar tube will fit. Treat compatibility as a specific pairing between the bench, the attachment and any required adapter. Similar-looking steel tubing is not evidence that another brand's accessory is suitable, and a photograph cannot confirm tolerances or locking engagement.
The operating instructions require proper pull-pin engagement and securing the threaded knob when accessories are used. Read the individual attachment instructions as well as the bench manual. An accessory may introduce its own setup, range, loading or clearance requirements. If a pin fails to engage correctly, a missing component should not be replaced by guesswork. Stop and obtain the correct guidance or part before using that configuration.
Build an accessory list from a real exercise list. If you want a supported curl station, identify the appropriate current curl attachment and the space needed to use it. If leg extensions are the priority, check the version intended for this bench rather than assuming an older leg attachment transfers unchanged. Confirm what is included in the specific package, what is optional, and what still needs to be purchased before the planned exercise is possible.
It is also reasonable to begin with the bench alone. Several hypothetical exercise options do not automatically make a better training week. Compare the cost and setup time of one attachment with the work it would actually replace. A useful addition solves a specific problem you already understand. Buying every available attachment first can leave you with more equipment to store while the basic pressing, rowing and seated work remains unchanged.
Plan the move, storage position and repeatable training setup
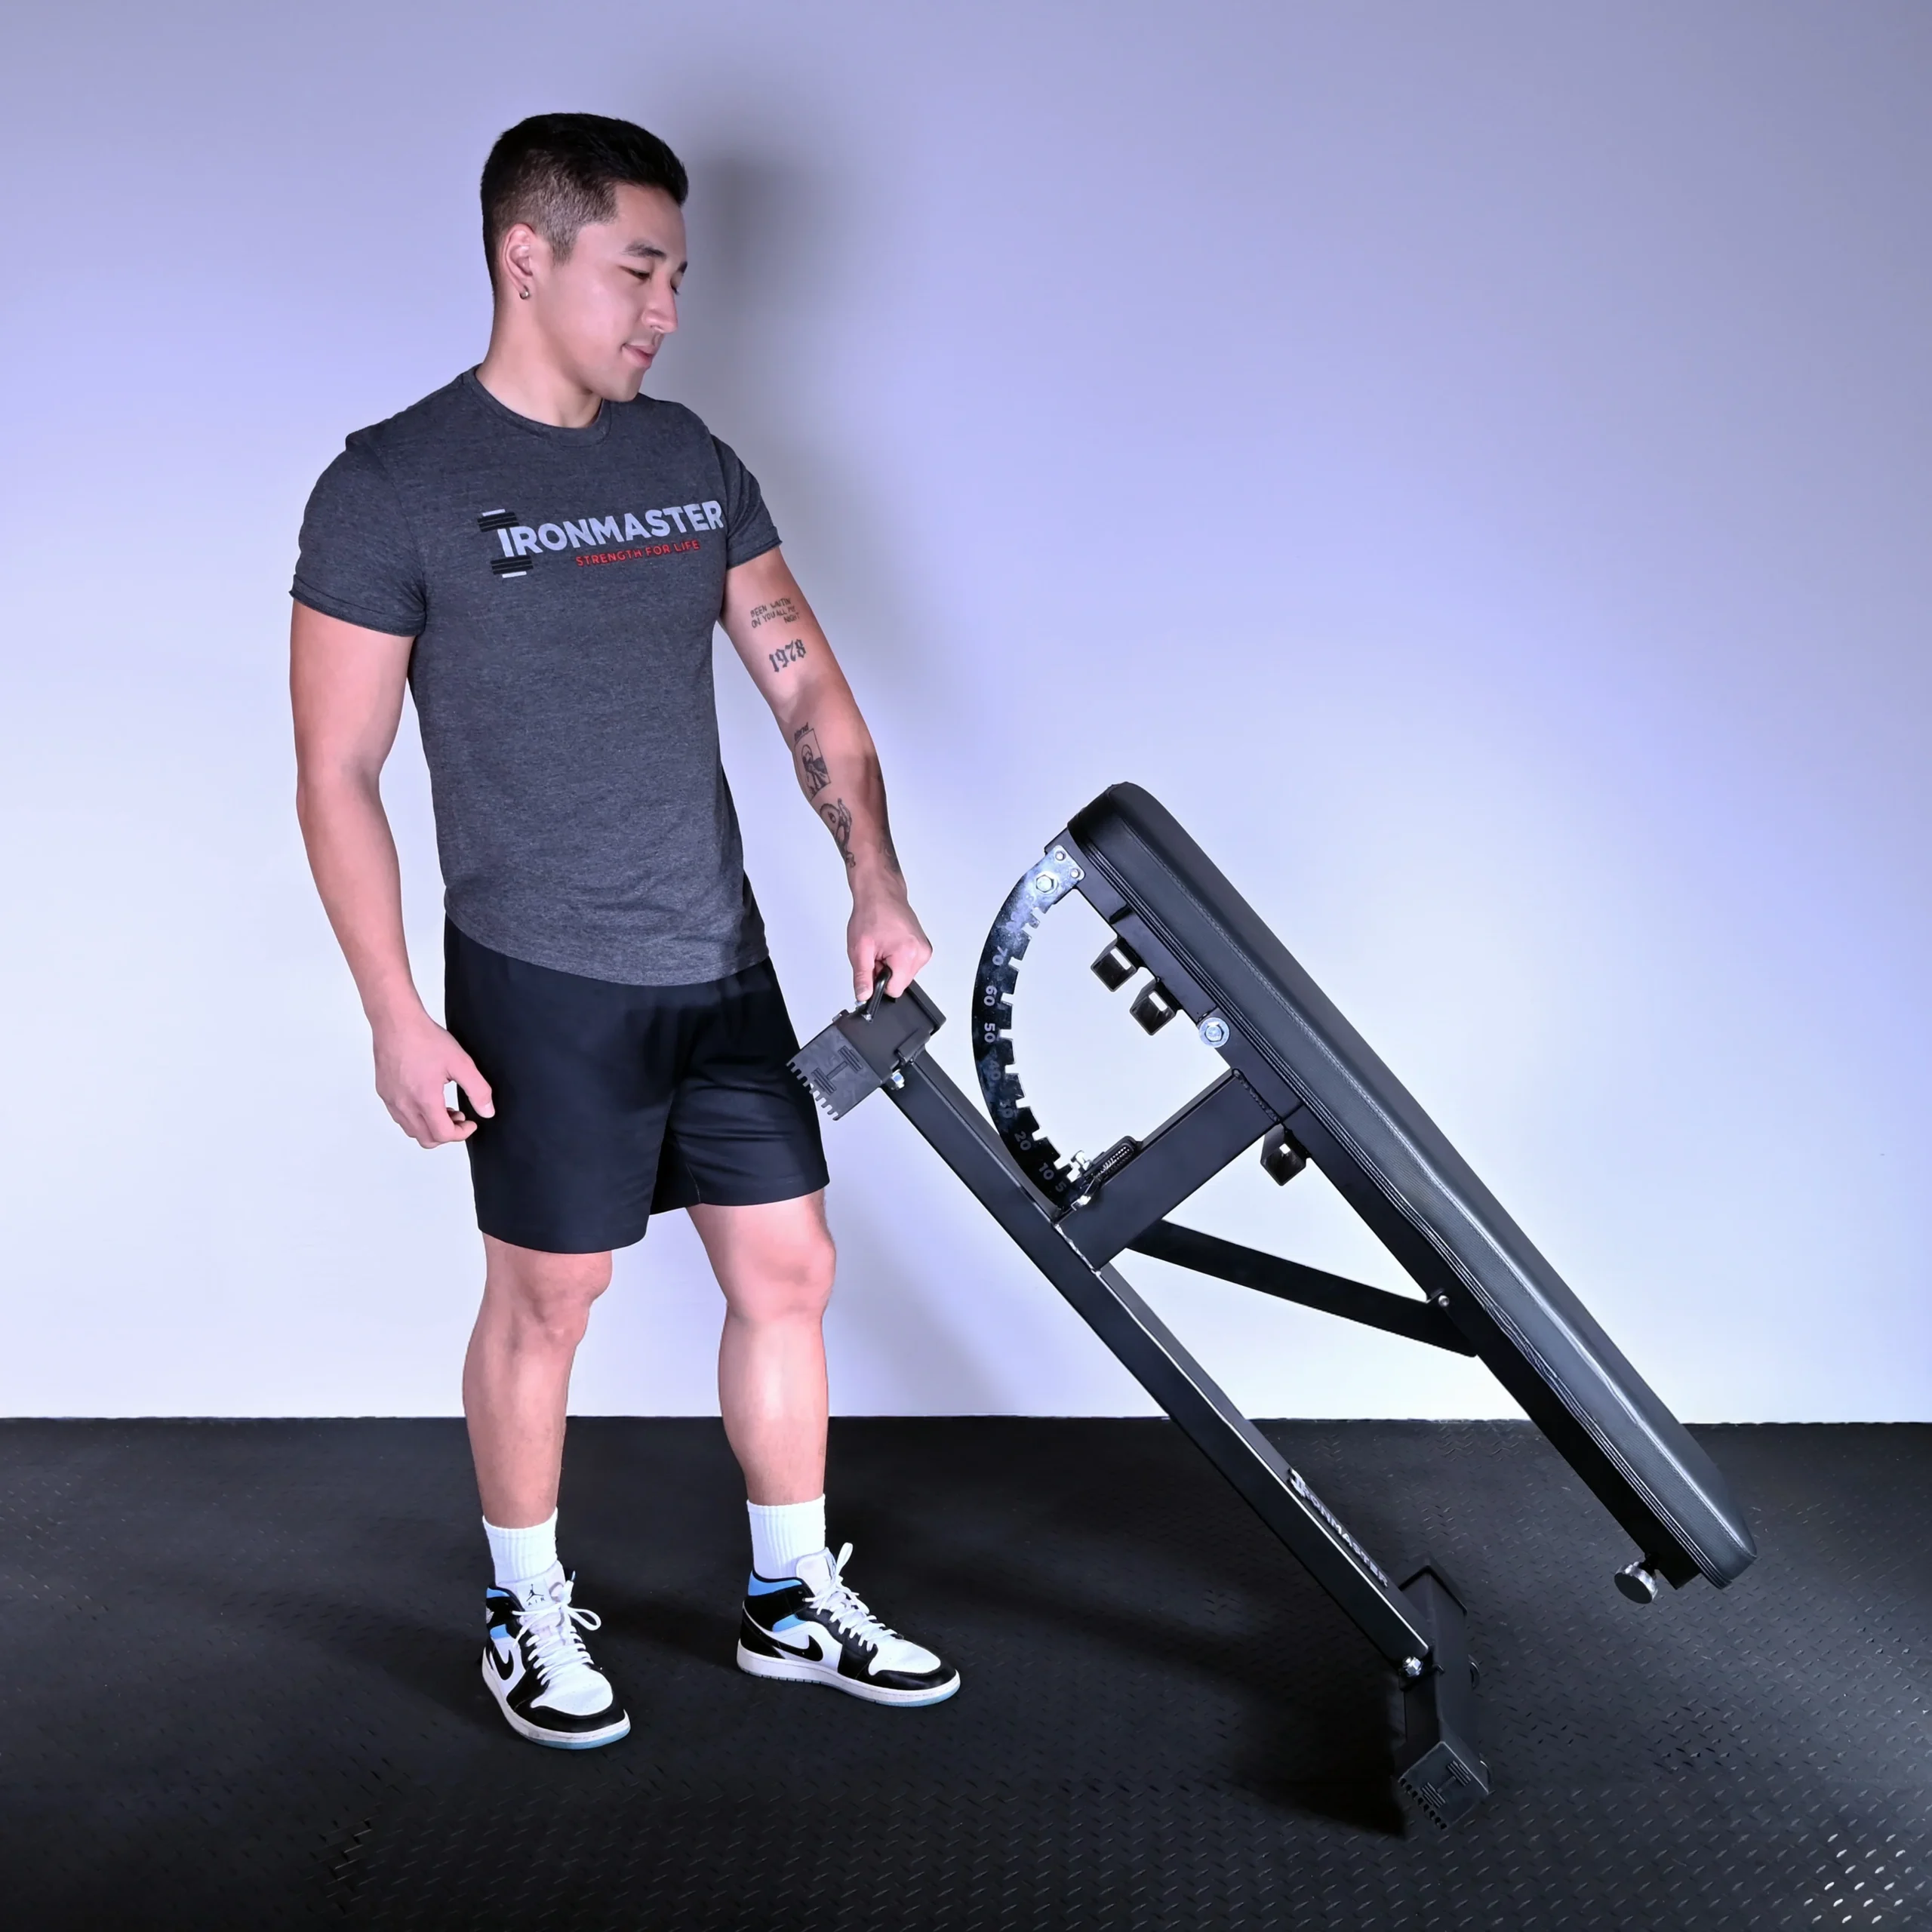
A handle and wheels are included, and vertical storage is an available feature. The moving-bench photograph shows the practical transition: a person tilting and guiding a physical bench, rather than a diagram of its stored footprint. Check that transition in your own room. The path between training and storage needs clearance for the pad, frame, your body and any nearby equipment. A compact final position does not describe the whole movement required to reach it.
Choose a level, non-slip training surface and keep the working area clear. Follow the assembly instructions, including the checks on feet and fasteners, before relying on the bench. For storage, use the manufacturer's intended configuration and a suitable clear location; do not leave loose weights or accessories attached simply because the bench can stand upright. Avoid a location where moving other equipment requires repeatedly bumping or dragging the stored bench out of the way.
Once the layout works, record a small number of useful configurations. For example, note a flat pressing setup, an incline pressing angle and a seated exercise position. Add the load and repetitions to your training record, then progress gradually while maintaining control and allowing recovery. Balanced upper-body training can include rows as well as presses; the purpose of the bench is to support the selected movements, not to dictate an entire program around every available setting.
The buying decision becomes clearer when you can describe the complete session: move the bench into place, confirm the lock and seat, perform the planned exercises, return the weights safely and store the bench without obstruction. That is a practical standard you can assess from measurements, instructions and a suitable trial. The Super Bench PRO V2 offers a distinctive adjustable platform, but its value depends on how well that platform fits the training you will consistently perform.

Bodybuilding Shirts & Workout Gear
Bodybuilding shirts, tanks and gym gear for lifters chasing muscle, size, symmetry and the pump.

Bench Press and Chill Funny Gym T
Make gym days more fun with “Bench Press and Chill” style.


I Love Bench Press | with Pink Heart Weight Plate Desig Hoodie
Keep it laid-back with a little “I Love Bench Press” attitude.

If You're Reading This Its Chest Day
Keep things casual with a little “If You're Reading This Its Chest Day Drake” attitude.

Ultimate Bench Press Tee
Heavy lifts, good laughs, and a little “Ultimate Bench Press” energy.


Shirt: Good Argument But I Bench More Than You – T-Shirt
Make gym days more fun with “: Good Argument But I Bench More Than You” style.


Gym Dost Thou Even Pull Medieval Knight Back Day Crewne T-Shirt
Show some gym-day personality with “Dost Thou Even Pull Medieval Knight Back”.

Mind Muscle Perfection Brain and Biceps Gym for Science T-Shirt
Show some gym-day personality with “Mind Muscle Perfection Brain and Biceps”.