Advertising disclosure: This page includes affiliate product links that may earn us a commission, as well as products from our own store.
A useful BikeErg workout starts with choosing what to control. Cadence, damper setting and session structure work together, while the monitor helps you understand the result. Learn their relationship before adding harder intervals or squeezing another demanding ride into a lifting week.
Set your position before comparing workouts
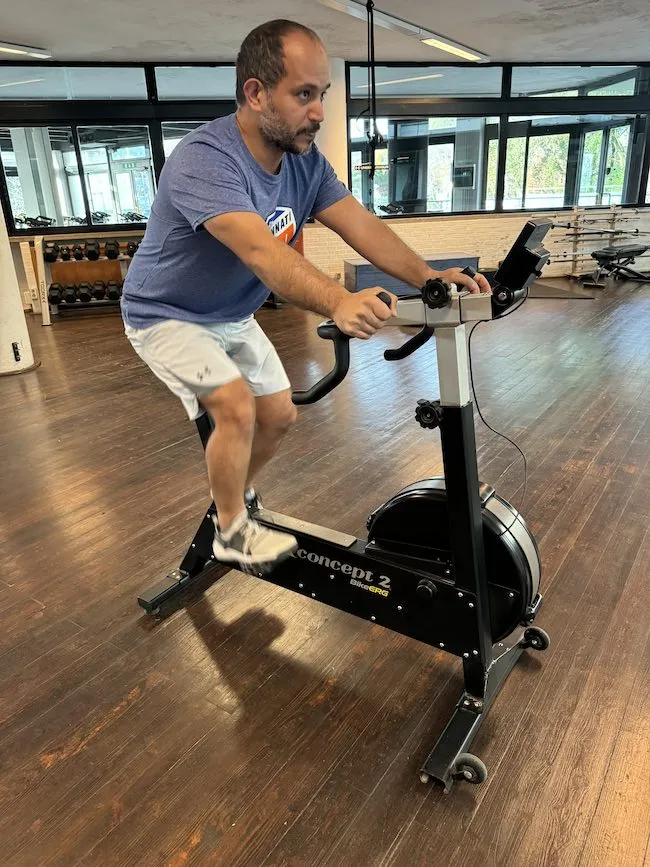
The first useful adjustment is the one that lets you pedal without searching for a comfortable position every few minutes. Start with the saddle, then set the handlebar height and reach. A long reach that pulls your shoulders forward can make a manageable ride feel awkward, while a cramped position can leave little space to move naturally. Make small changes while stopped and confirm that the adjustment mechanisms are locked before riding.
As a starting check, place your heel on the pedal at its lowest point and look for a straight leg without reaching down or rocking your hips. When your normal pedalling contact returns towards the ball of the foot, there should be a slight bend at the bottom. Treat that as an initial setup check rather than a personalised bike fit. Individual proportions, shoes and preferred riding position still matter.
Write down your saddle setting and handlebar position once you find something comfortable. That small habit makes comparisons more useful on a shared machine: a lower seat or unfamiliar reach should not become an invisible change in your next interval test. Recheck after someone else uses the bike rather than assuming the numbered posts are unchanged.
Begin with several minutes of easy pedalling and let your rhythm settle. If discomfort persists, pause and reassess the fit rather than treating it as proof that conditioning has to hurt. The aim is a stable starting point that allows attention to move from the equipment to the session.
Use the damper to choose the feel of the gear
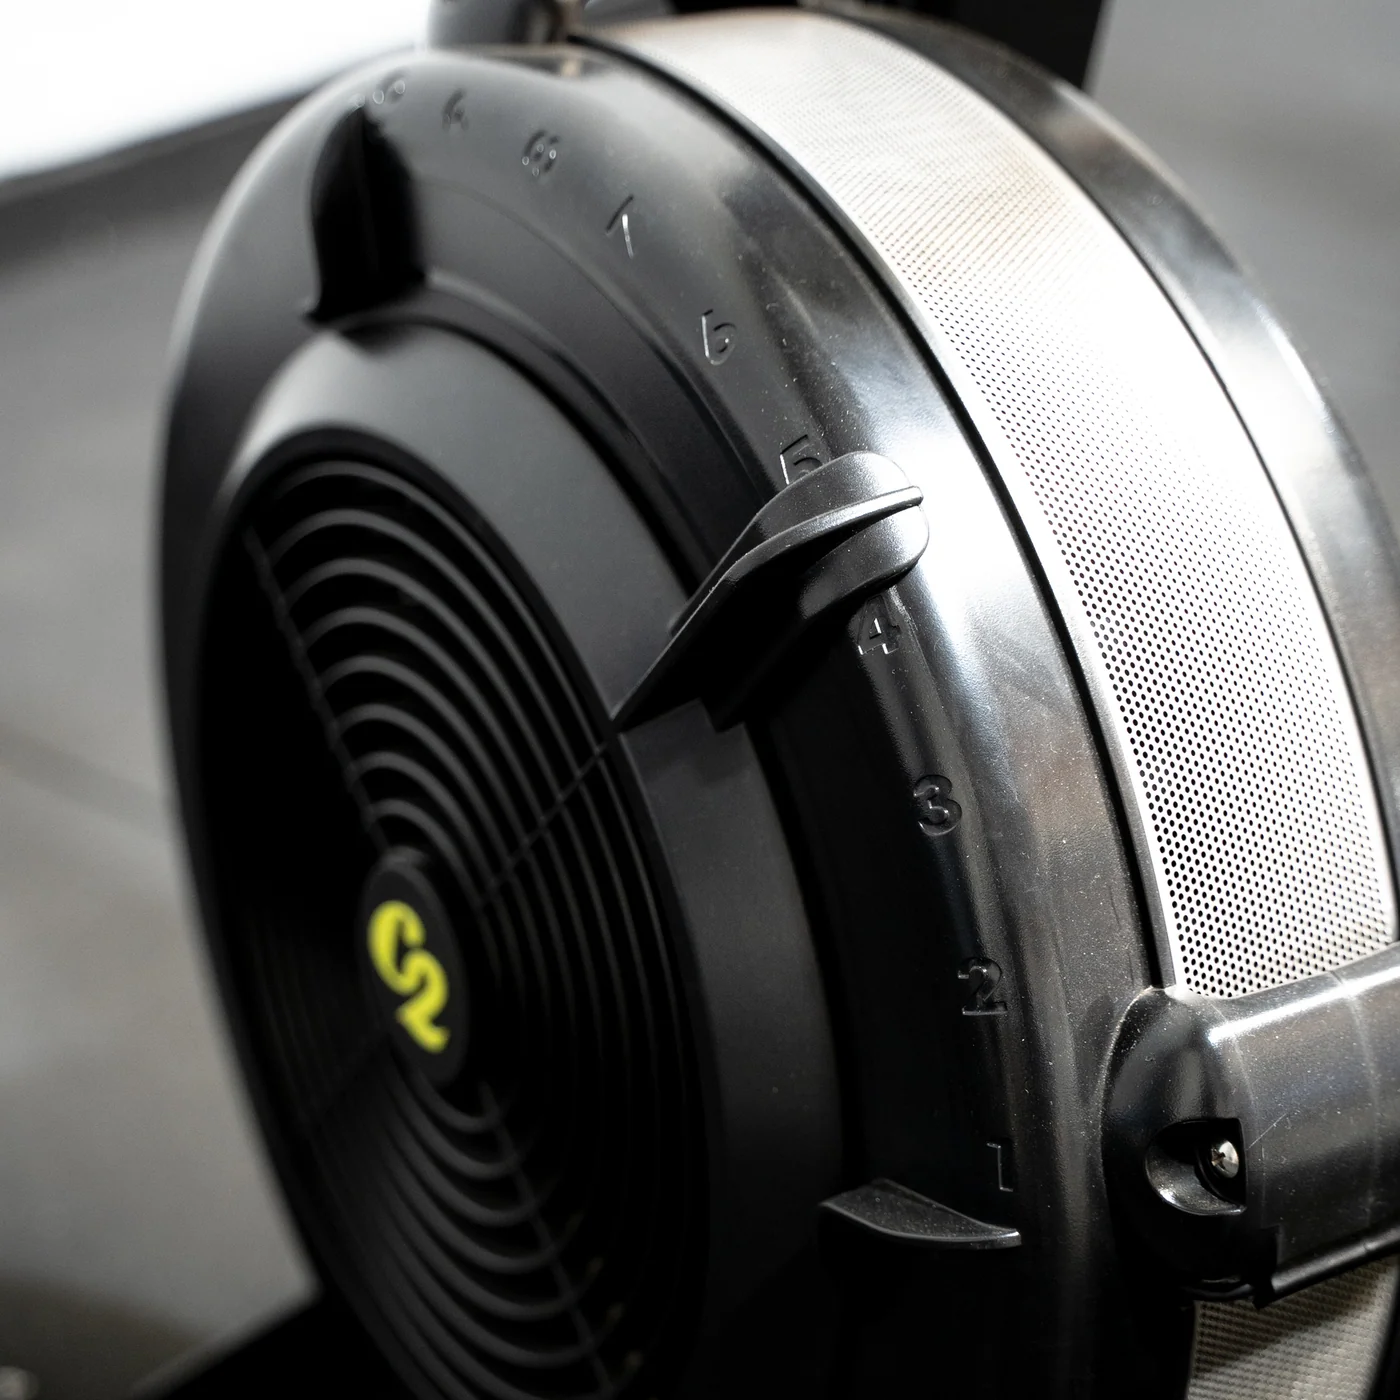
The BikeErg uses an air-resistance flywheel. Its damper changes airflow and therefore how the pedals feel at a given cadence. Think of this as choosing a gear for the task. A larger number does not automatically make the workout better, more advanced or more appropriate for building fitness.
A useful comparison keeps one variable steady. After warming up, choose a comfortable cadence and notice the output and leg effort at a modest damper setting. On a later short effort, make a small damper adjustment while trying to maintain that same cadence. This is a familiarisation exercise, not an obligation to reproduce a particular wattage or reach the highest setting.
If the higher gear makes you grind, rock through the hips or lose your intended rhythm, it has changed more than the number on the housing. Return to a setting that allows the session to serve its purpose. A steady conditioning ride and a brief hard effort may call for different sensations, but neither requires copying the strongest rider in the room.
Avoid changing the damper repeatedly just because the monitor fluctuates. First identify whether the change came from cadence, fatigue or a deliberate change in effort. If you alter everything at once, there is no clear lesson to carry into the next ride. Record the chosen setting alongside your workout rather than treating it as a score.
Cadence changes the demand even when the lever stays still
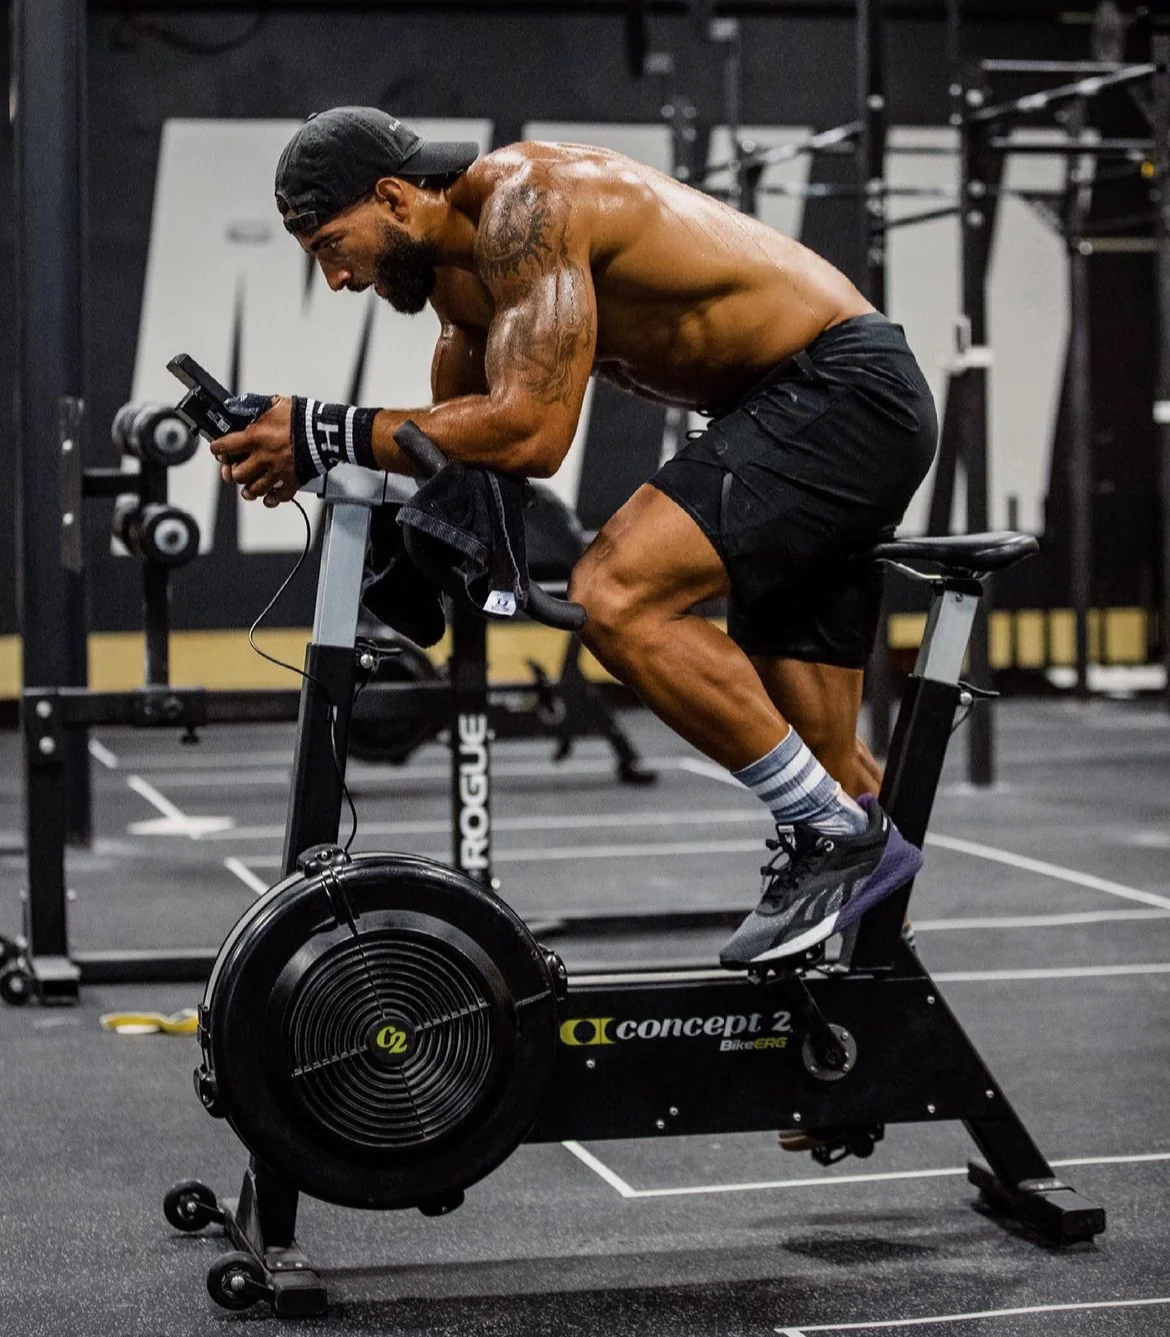
Cadence is the speed at which you turn the pedals, expressed in revolutions per minute. On the BikeErg, increasing cadence at an unchanged damper setting also increases the demand from the fan system. That is why an apparently small acceleration can feel much harder even though your hand never went near the lever.
This differs from interpreting stroke rate on an indoor rower. Rowing includes a separate recovery phase, and a higher stroke rate does not by itself establish a more powerful stroke. Pedalling on the BikeErg is continuous. Carrying a rowing habit of simply adding rate without checking the resulting output can turn a planned easy bike ride into an unexpectedly hard session.
Choose a rhythm you can control before using cadence as a target. Bouncing on the saddle is not a badge of speed, and a slow, heavy grind is not automatically strength training. There is no single rpm that everyone must use. The useful question is whether the chosen combination of cadence and gearing lets you produce the intended effort with a position you can maintain.
For a simple learning drill, alternate a comfortable rhythm with a slightly quicker one for short periods while leaving the damper alone. Keep the quicker periods controlled and return to easy pedalling between them. Observe the change in breathing and monitor output. This drill is an original example for learning the controls, not a validated fitness test or a promise of a particular adaptation.
Read the monitor as a set of related measurements
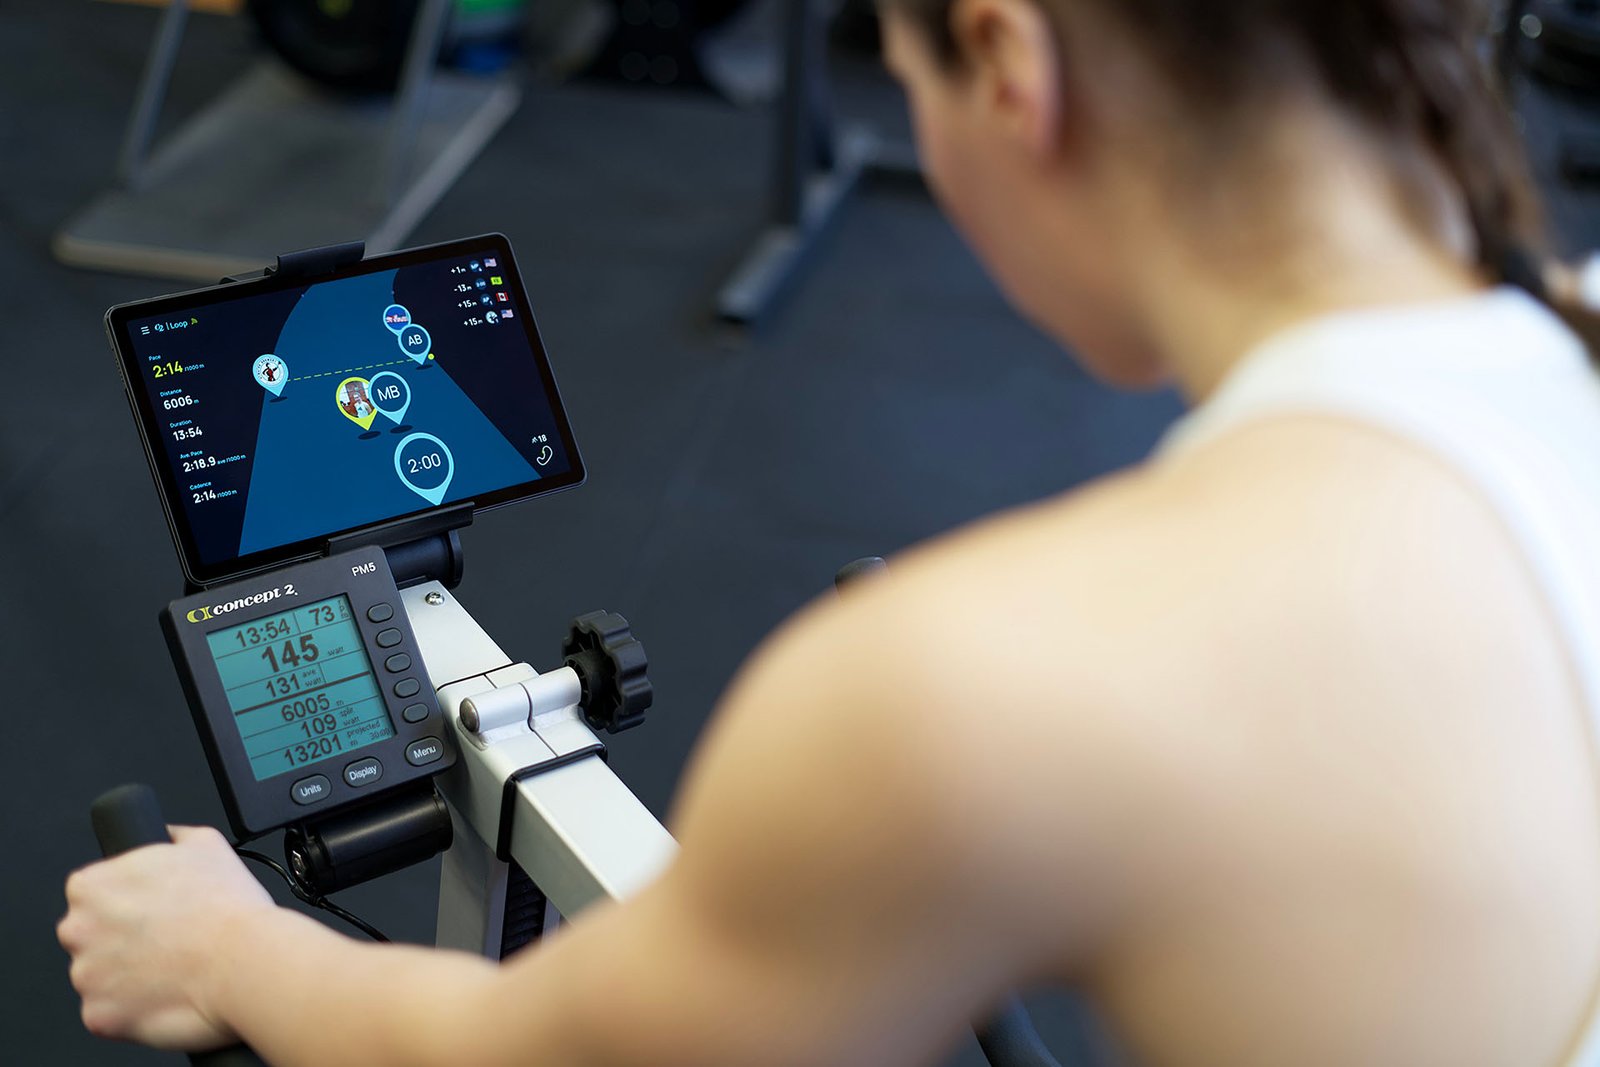
The PM5 provides feedback including time, distance, pace, calories and watts. Each number answers a different question. Cadence describes how fast you pedal; watts describe power output; elapsed time describes how long you have sustained the task. Looking at only one can hide what changed during an interval.
Choose one main output to follow for a session and keep the others as context. For example, use average watts across work intervals while recording cadence and your perceived effort. A brief peak is interesting, but it should not replace the average when you are trying to judge a repeatable effort. Otherwise the hardest two seconds can disguise a long fade.
Consider two rides with similar average output. One may feel more demanding because the intervals were longer, the rests shorter or you began tired. That does not invalidate the monitor. It means the workout contains more information than one finishing number. Note interval duration, recovery and a short effort description beside the result.
Keep comparisons on the same machine type and use the same workout definition. Do not assume that the distance or calorie display on a different exercise bike has an identical meaning. If you are following a challenge, check its exact movement and scoring rules. For ordinary training, a clear log of your own repeatable sessions is often more useful than competing against unrelated machine numbers.
Give the ride one job and finish with a usable result
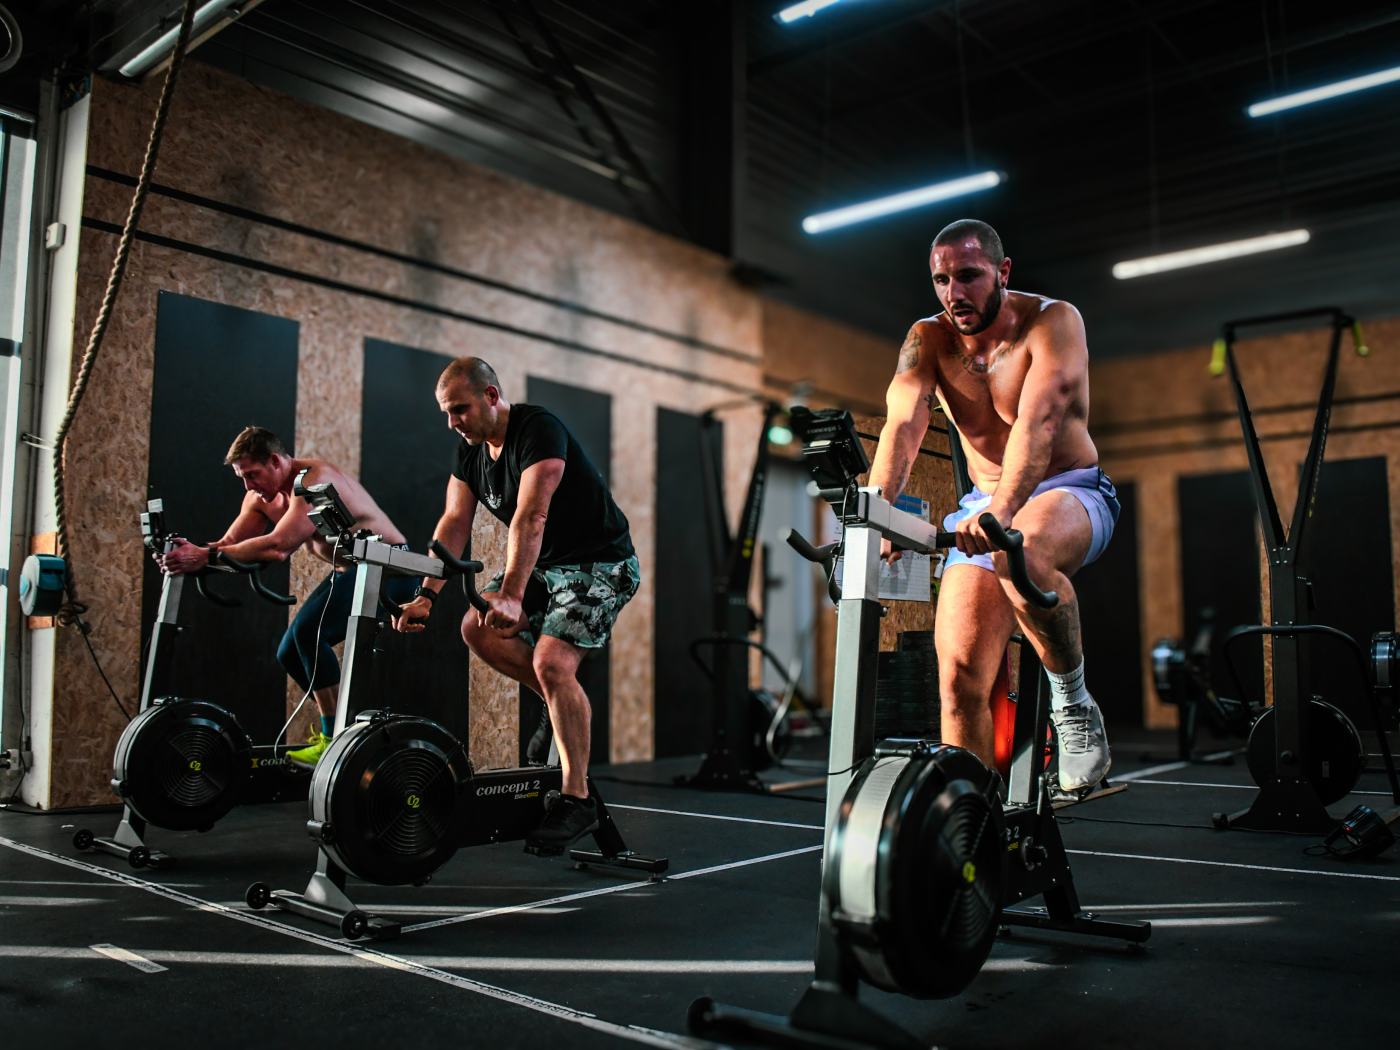
A session becomes easier to pace when you decide what it is for before the first hard minute. A technique familiarisation ride, steady conditioning session and demanding interval workout are different tasks. Trying to make every ride cover all three encourages an overenthusiastic start and a result that is difficult to interpret.
Here is an original controlled-session example for a rider already comfortable on the bike: warm up easily for five minutes, then complete four three-minute work periods with two minutes of very easy pedalling between them. Finish with an easy cooldown. Choose a sustainable effort rather than a sprint, and shorten the session if that amount of work is inappropriate for your current training.
Keep the damper unchanged through the work periods. Aim for a similar output and rhythm from one to the next while noticing how effort develops. If you sprint the first period and struggle through the last three, reduce the opening effort next time. The goal of this example is to learn pacing and repeatability, not to prove that four intervals are a universal prescription.
Progress one feature at a time when the session becomes comfortably repeatable: a little more work duration, a modest output increase or another interval. Keep the rest of the structure recognisable. That gives the next log entry a clear meaning and makes it easier to spot when a change adds fatigue without improving the intended performance.

Cardio Shirts & Workout Gear
Cardio and conditioning gym gear for runners, endurance athletes and anyone who earns the sweat.

Dost Thou Even Pedal Medieval Air Bike CrossFit Parody Sticker
Give your everyday gear a playful “Dost Thou Even Pedal” twist.

Anti Cycling Cycling Club – Ironic Cardio Meme & T-Shirt
Show some cardio attitude with a playful “Anti Cycling Cycling Club” tee.

Cardio Heartbeat for Runners, Cyclists, Rowers and Fitn Sticker
Give your everyday gear a playful “Cardio Heartbeat” twist.


Everything Hurts And I'M Tired Motivation Jumper T-Shirt
Add a playful “Everything Hurts And I'm Tired” touch to your casual rotation.

Cardio Is Hardio – Workout Meme Vest Muscle Shirt For S Tank Top
Add some cardio attitude to training with “Cardio Is Hardio”.

Cardio Is Calling Decline Vest Meme Tank Top
Show some personality between sets with “Cardio Is Calling”.

Negative Cardio Review 1 Star Sweater Cardio Sucks T-Shirt
Show some gym-day personality with “Negative Cardio Review”.

Exercise Your Demons Gym | Funny Workout From Hell Hood Hoodie
Keep it laid-back with a little “Exercise Your Demons” attitude.

Don't Quit Do It – Motivational Workout Vest Muscle Shi Tank Top
Bring “Don't Quit Do It” humor to your next lifting session.
Fit the bike around strength training rather than replacing it
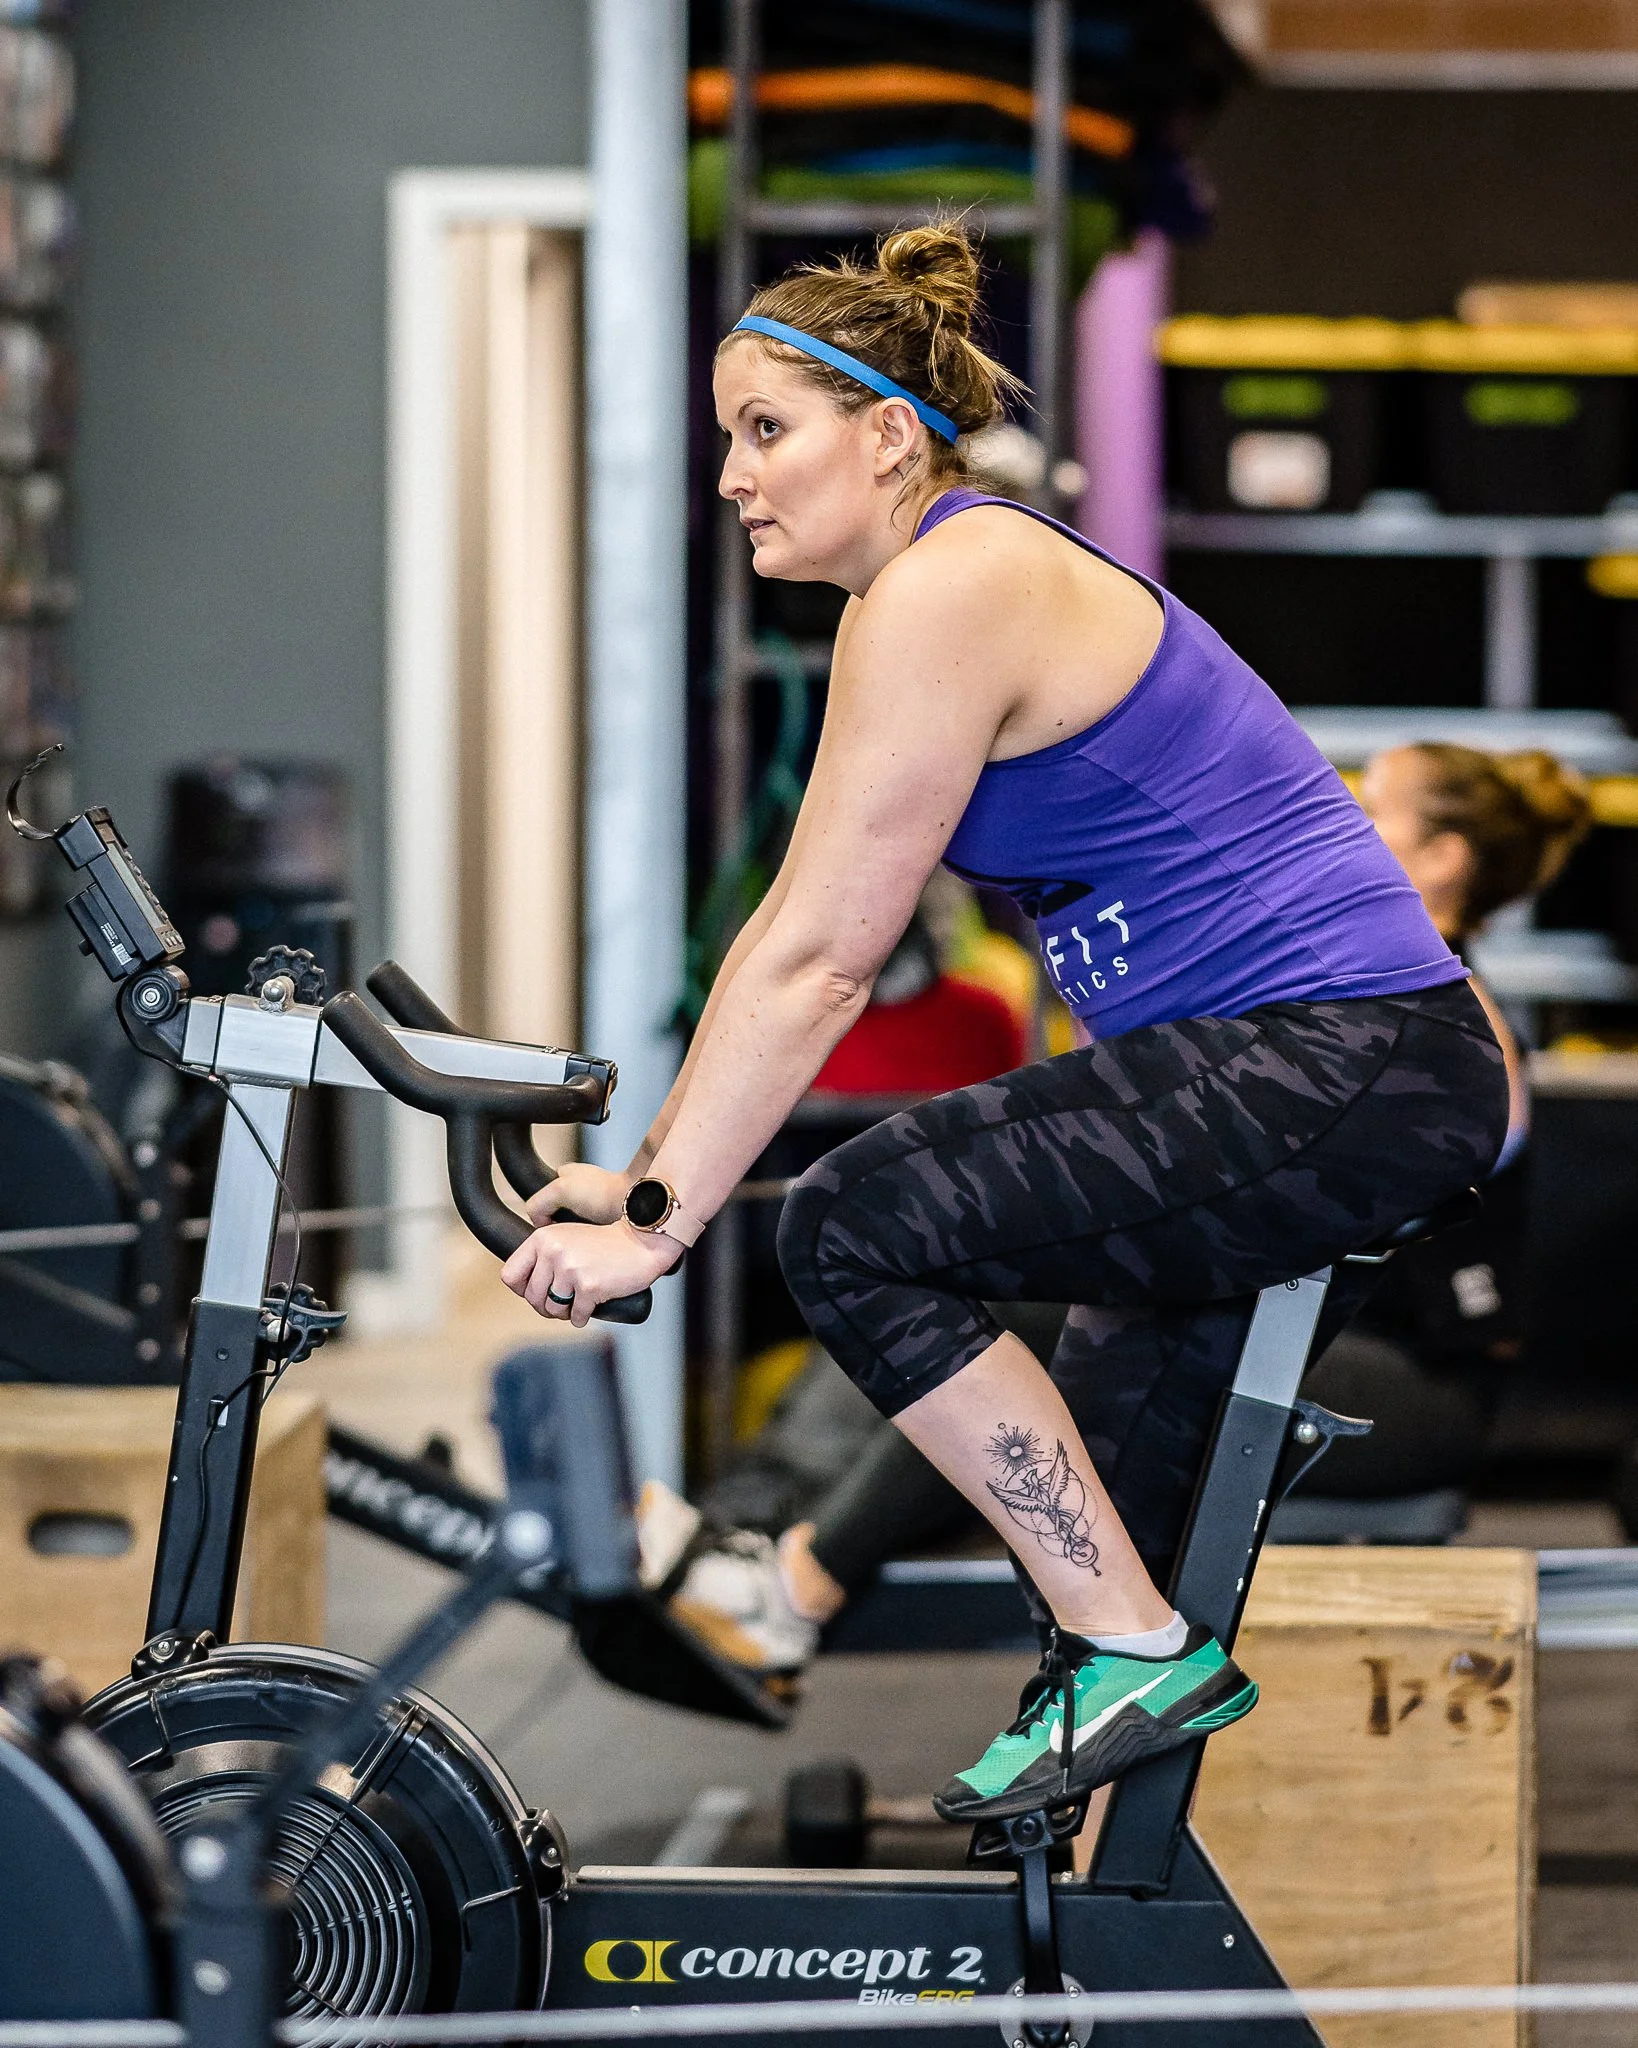
For a lifter, the most useful BikeErg session is one that fits the wider week. A hard ride can leave the legs tired even when the exercise has little impact. Calling it cardio does not make its fatigue invisible. Decide whether the priority that day is the ride, your lower-body lifting or a manageable addition to an upper-body session.
If a demanding squat or deadlift session is the main task, do it with the attention and energy it deserves. Place hard bike work elsewhere when practical, or reduce the ride to an easy, clearly limited addition. There is no universal spacing rule here: use the performance of your important lifts and the quality of the next ride to decide whether the arrangement is working.
Keep separate strength work recognisable as strength work. Dumbbells or kettlebells can support a squat, hinge and loaded-carry session; a barbell, appropriate plates and secure collars suit a more load-focused plan. Those tools are options for a separate training block, not BikeErg attachments, and increasing the bike damper does not reproduce their loading patterns.
For example, a week might include your established lifting sessions, one controlled bike session and one easier ride if recovery permits. Add less than you think you can survive, then assess whether you can repeat it. Record the gearing, interval structure and output along with a brief note on leg fatigue. A programme you can understand and adjust is more useful than a collection of exhausting rides with no clear relationship to your goals.

Equipment Worth Exploring
Explore equipment, accessories and gear from our carefully selected range.


Cast Iron Kettlebells
Textured cast-iron kettlebells for swings, squats, carries, and full-body training.


Rubber Hex Dumbbells
Rubber-coated hex dumbbell pairs with a stable shape for home and commercial strength training.