Advertising disclosure: This page includes affiliate product links that may earn us a commission, as well as products from our own store.
Both legs participate in a reverse lunge, but a muscle-activity result can be misread if the leg labels are unclear. A small descriptive study offers a useful example. Understand what was measured, then build a repeatable backward step, choose a manageable load and track the movement without treating electrical activity as a promise of muscle growth.
What the 20-person muscle-activity study measured
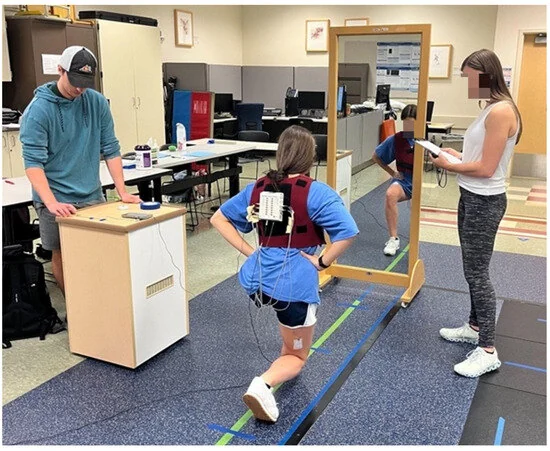
A descriptive study published on 10 December 2024 analysed bodyweight reverse lunges in 20 healthy adults aged 22–25. It recorded surface electrical activity from four thigh and hip muscles on both sides. These were short laboratory observations, not a training programme measuring changes in strength or muscle size.
The terminology matters: the lead limb was the leg that stepped backward, while the stationary limb stayed forward. Peak rectus femoris and biceps femoris activity was greater in the stepping limb; peak gluteus medius and gluteus maximus activity was greater in the stationary limb. Reading lead limb as front leg would reverse the interpretation.
The result helps describe a movement in which both legs participate. It does not establish an ideal training load, prove one lunge variation produces more growth or mean a muscle below an activity threshold cannot benefit from training. Keep the finding in its narrow context. Practical technique and progression still need their own decisions.
Make the step repeatable before making it harder
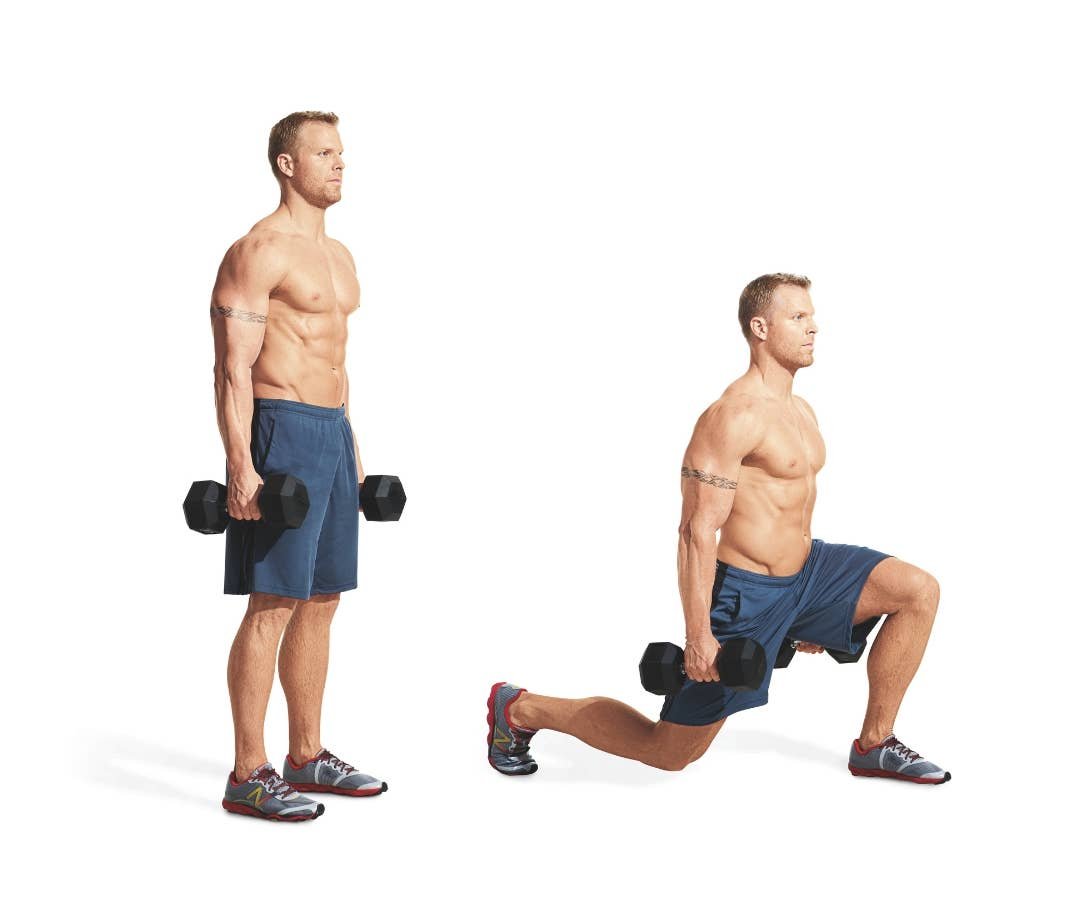
Start upright with your feet roughly hip-width apart and enough clear space behind you. Step one foot backward and lower by bending both knees. Keep the front foot planted and let the rear heel rise naturally. Choose a step that allows you to descend smoothly and return without a scramble, rather than reaching as far back as you can.
Maintain some width between the feet instead of placing them on a tightrope. You need room for your hips and knees to move without the stance forcing a balance correction on every repetition. A floor seam or a small removable mark can help you find a repeatable landing area, but it should be a reference rather than a target that overrides comfortable movement.
Lower the rear knee toward the floor under control. A light touch is different from dropping onto it. Stop at the depth you can manage, and keep your trunk organised rather than pitching forward as you descend. Your exact shin angle can vary with proportions and stance; a single photograph does not define the only acceptable position for every lifter.
Pause in standing long enough to reset before the next step. This separates the return from the next descent and makes loss of balance easier to notice. If the stepping pattern remains confusing, practise an unloaded split squat first, with the feet staying in place. Then add the backward step once the lowering and rising portions feel familiar.
Choose a load you can carry through the whole repetition
Dumbbells held at your sides provide a straightforward starting option once bodyweight repetitions are controlled. Keep them close enough that they do not swing into the knees or pull you off line. Use a weight you can lower deliberately, stand up with and bring back to the starting stance. Picking up a heavy pair is not the same as owning the full exercise.
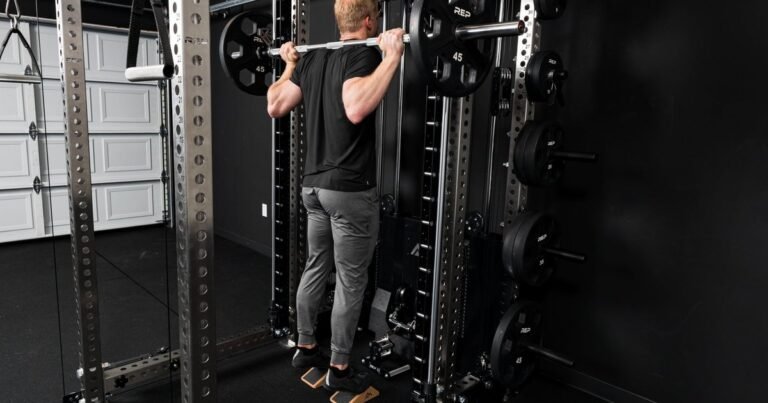
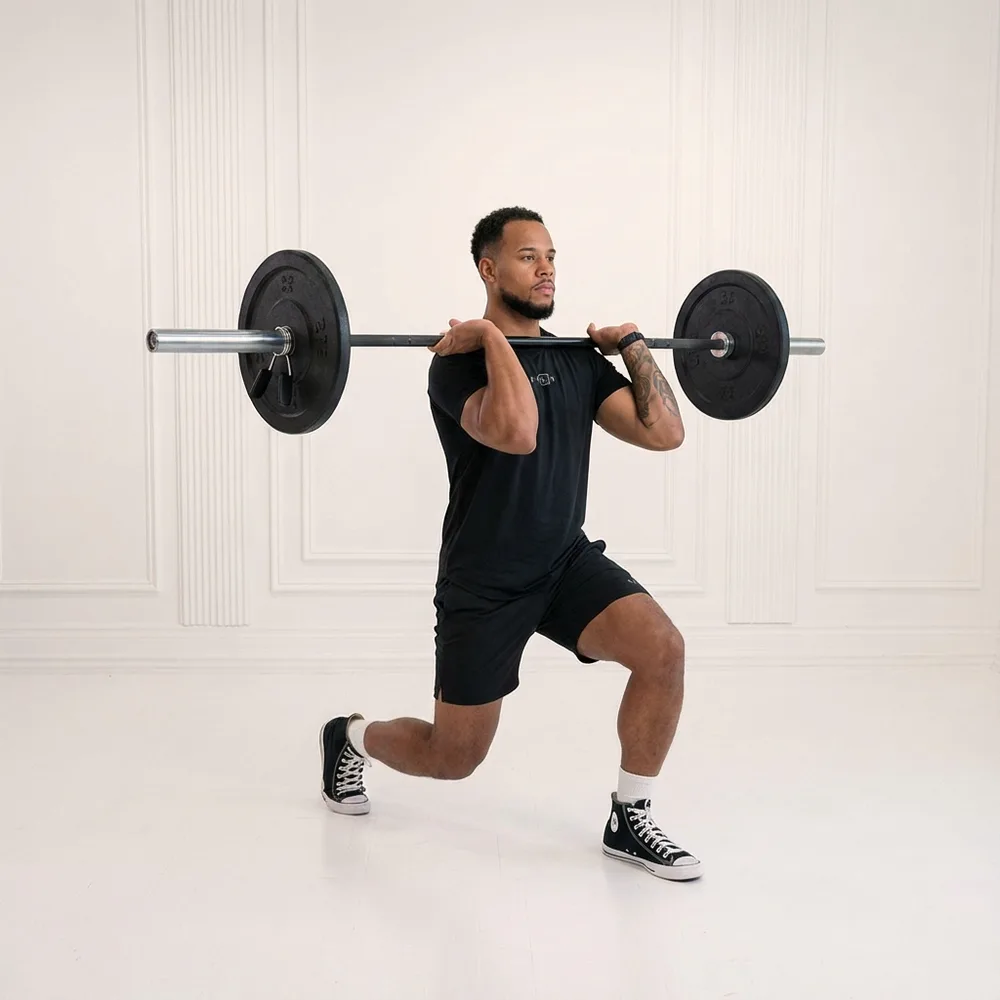
A kettlebell at the chest or a barbell in a front-rack position changes the holding task. These are alternatives to learn separately, not interchangeable ways of recording the same lift. A front rack also requires a comfortable rack position and a suitable way to begin and finish the set. If the hold is the limiting factor, simplify it before assuming your legs need a different movement. A weighted vest is another option when its fit permits an unrestricted step and comfortable breathing; it should not be used to conceal a bodyweight pattern that is still uncontrolled.
Write the loading arrangement in your log. Two dumbbells of a stated weight are different from one kettlebell held centrally, and either differs from a barbell. Include whether you alternate legs or complete one side first. Otherwise an apparent improvement might simply reflect a different rest pattern or a more convenient way of holding the load.
Increase resistance in small steps only while the same range and control remain available. If a heavier selection shortens the descent, makes you bounce at the bottom or turns the return into a hurried shuffle, reduce it. A lighter load with consistent repetitions is easier to progress than a heavier load whose technique changes from set to set.

Equipment Worth Exploring
Explore equipment, accessories and gear from our carefully selected range.


Rubber Hex Dumbbells
Rubber-coated hex dumbbell pairs with a stable shape for home and commercial strength training.


Competition Plates
Competition-style bumper plates for Olympic lifts and loaded strength training.

Grip Plates
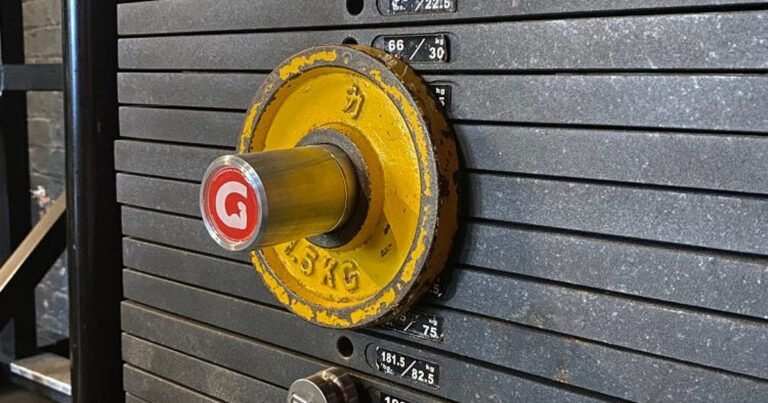
Rubber-coated weight plates with handholds for loading barbells and machines.

Separate balance practice from hard leg work
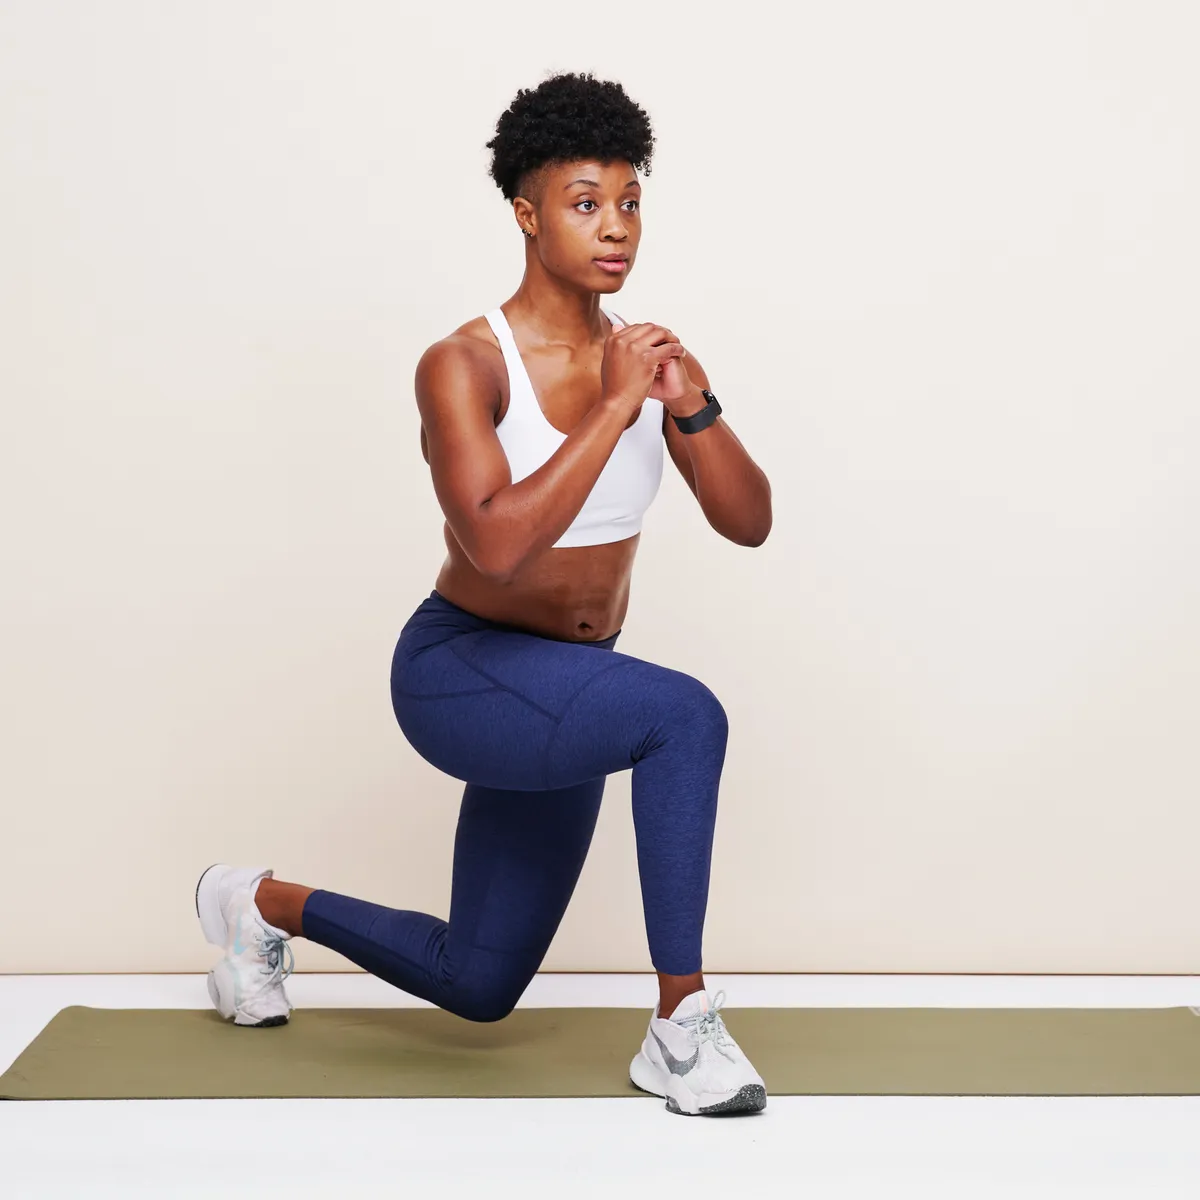
An exercise can be challenging because the muscles are working hard, because balance is demanding or because both are happening together. That distinction helps you choose the next step. If wobbling ends a set while the legs still feel capable, adding weight may make the problem less manageable. First improve the stance, reduce the range or use a simpler version.
Light hand support on a stable surface can help some lifters practise the pattern. It should be a deliberate variation with an appropriate support, not grabbing at a moving object after losing balance. Record that assistance and keep it consistent when comparing sessions. A supported repetition can be useful without pretending that it is identical to an unsupported one.
Watch the front foot and knee as well as the torso. Look for abrupt shifts, a foot lifting unintentionally or a knee movement you cannot control. A short video from the side and another from the front can reveal different issues. Change one thing at a time so that you can tell whether a slightly wider stance or a smaller load actually helped.
Stop a repetition that produces pain rather than trying to satisfy a depth target at any cost. Persistent symptoms or a recent injury deserve an individual assessment. The reverse lunge is an exercise option, not a guaranteed solution for knee pain, and a comfortable variation for one person is not proof that the same setup suits everyone.
Keep the rest of leg day in view
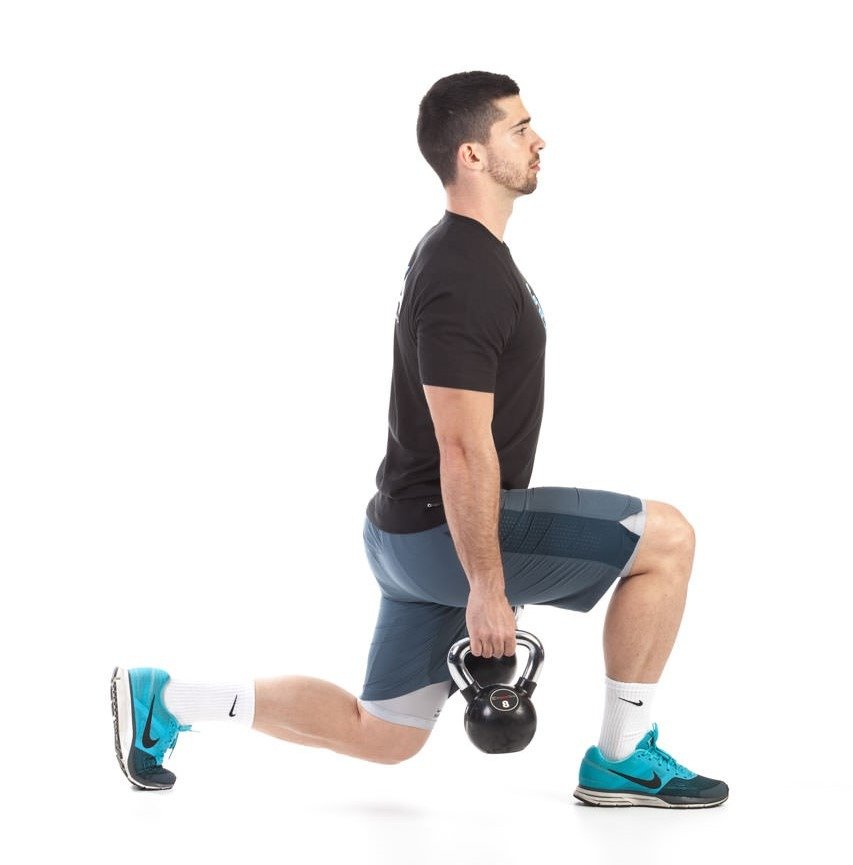
Reverse lunges can sit alongside squats, hinges and other lower-body exercises, but they still contribute work and fatigue. Decide what role they serve before adding sets. You might use them as a controlled single-leg accessory after a main lift, or as a principal movement when that fits the session. The role determines how much energy and time you should allocate.
Do not treat the exercise as a complete replacement for every hamstring or calf movement. A lunge includes several joints and positions, while a hinge, leg curl or calf raise presents a different task. Choose the combination around your training goals rather than assembling a routine solely from muscles listed in an exercise description. Overlap can be useful, but it does not make the exercises identical.
Order also affects what you can repeat. A load that feels smooth at the start of a session may be too demanding after several hard squat sets. Keep the exercise order reasonably stable when judging progress. If you move lunges earlier, recognise that better performance might reflect fresher legs rather than a sudden increase in strength.
Consider the practical setup as well. Leave space for the backward step, put unused weights outside the travel path and choose a place where you can finish the set without obstructing another lifter. Small setup details reduce distractions. They also let you focus on the movement instead of shortening steps to avoid a bench or a pair of loose dumbbells.

Leg Day Shirts & Workout Gear
Leg-day gym shirts and workout gear for lifters who never skip squats, lunges and lower-body punishment.

Leg Day Is Calling You Sweater Squats & Deadlifts T-Shirt
Add a playful “Leg Day Is Calling You” touch to your casual rotation.

Skip Leg Day Meme Leg Day No Thanks Deadlifts Hoodie
Show off your leg-day humor in a laid-back “Skip Leg Day” hoodie.

Negative Leg Day Review 1 Star Not Recommended Decal Sticker
Stick a little “Negative Leg Day Review” humor on your favorite gear.

Never Skip Leg Day Chicken Legs Meme & Bros Tank Top
Bring “Never Skip Leg Day” humor to your next lifting session.

Never Skip Leg Day Flamingo – Fitness Meme Decal for Wa Sticker
Stick a little “Never Skip Leg Day Flamingo” humor on your favorite gear.


Shirt Leg Day Lovers – Fried Chicken & Gains Meme – T-Shirt
Rep “for Leg Day Lovers” humor in and out of the gym.

Everyday Is Leg Day Octopus Meme & Top T-Shirt
Show some leg-day attitude with a playful “Everyday Is Leg Day Funny Octopus” tee.

Leg Day Squats Deadlifts Sweater Meme T-Shirt
Show some gym-day personality with “Leg Day”.
Use a simple four-week practice and progression check
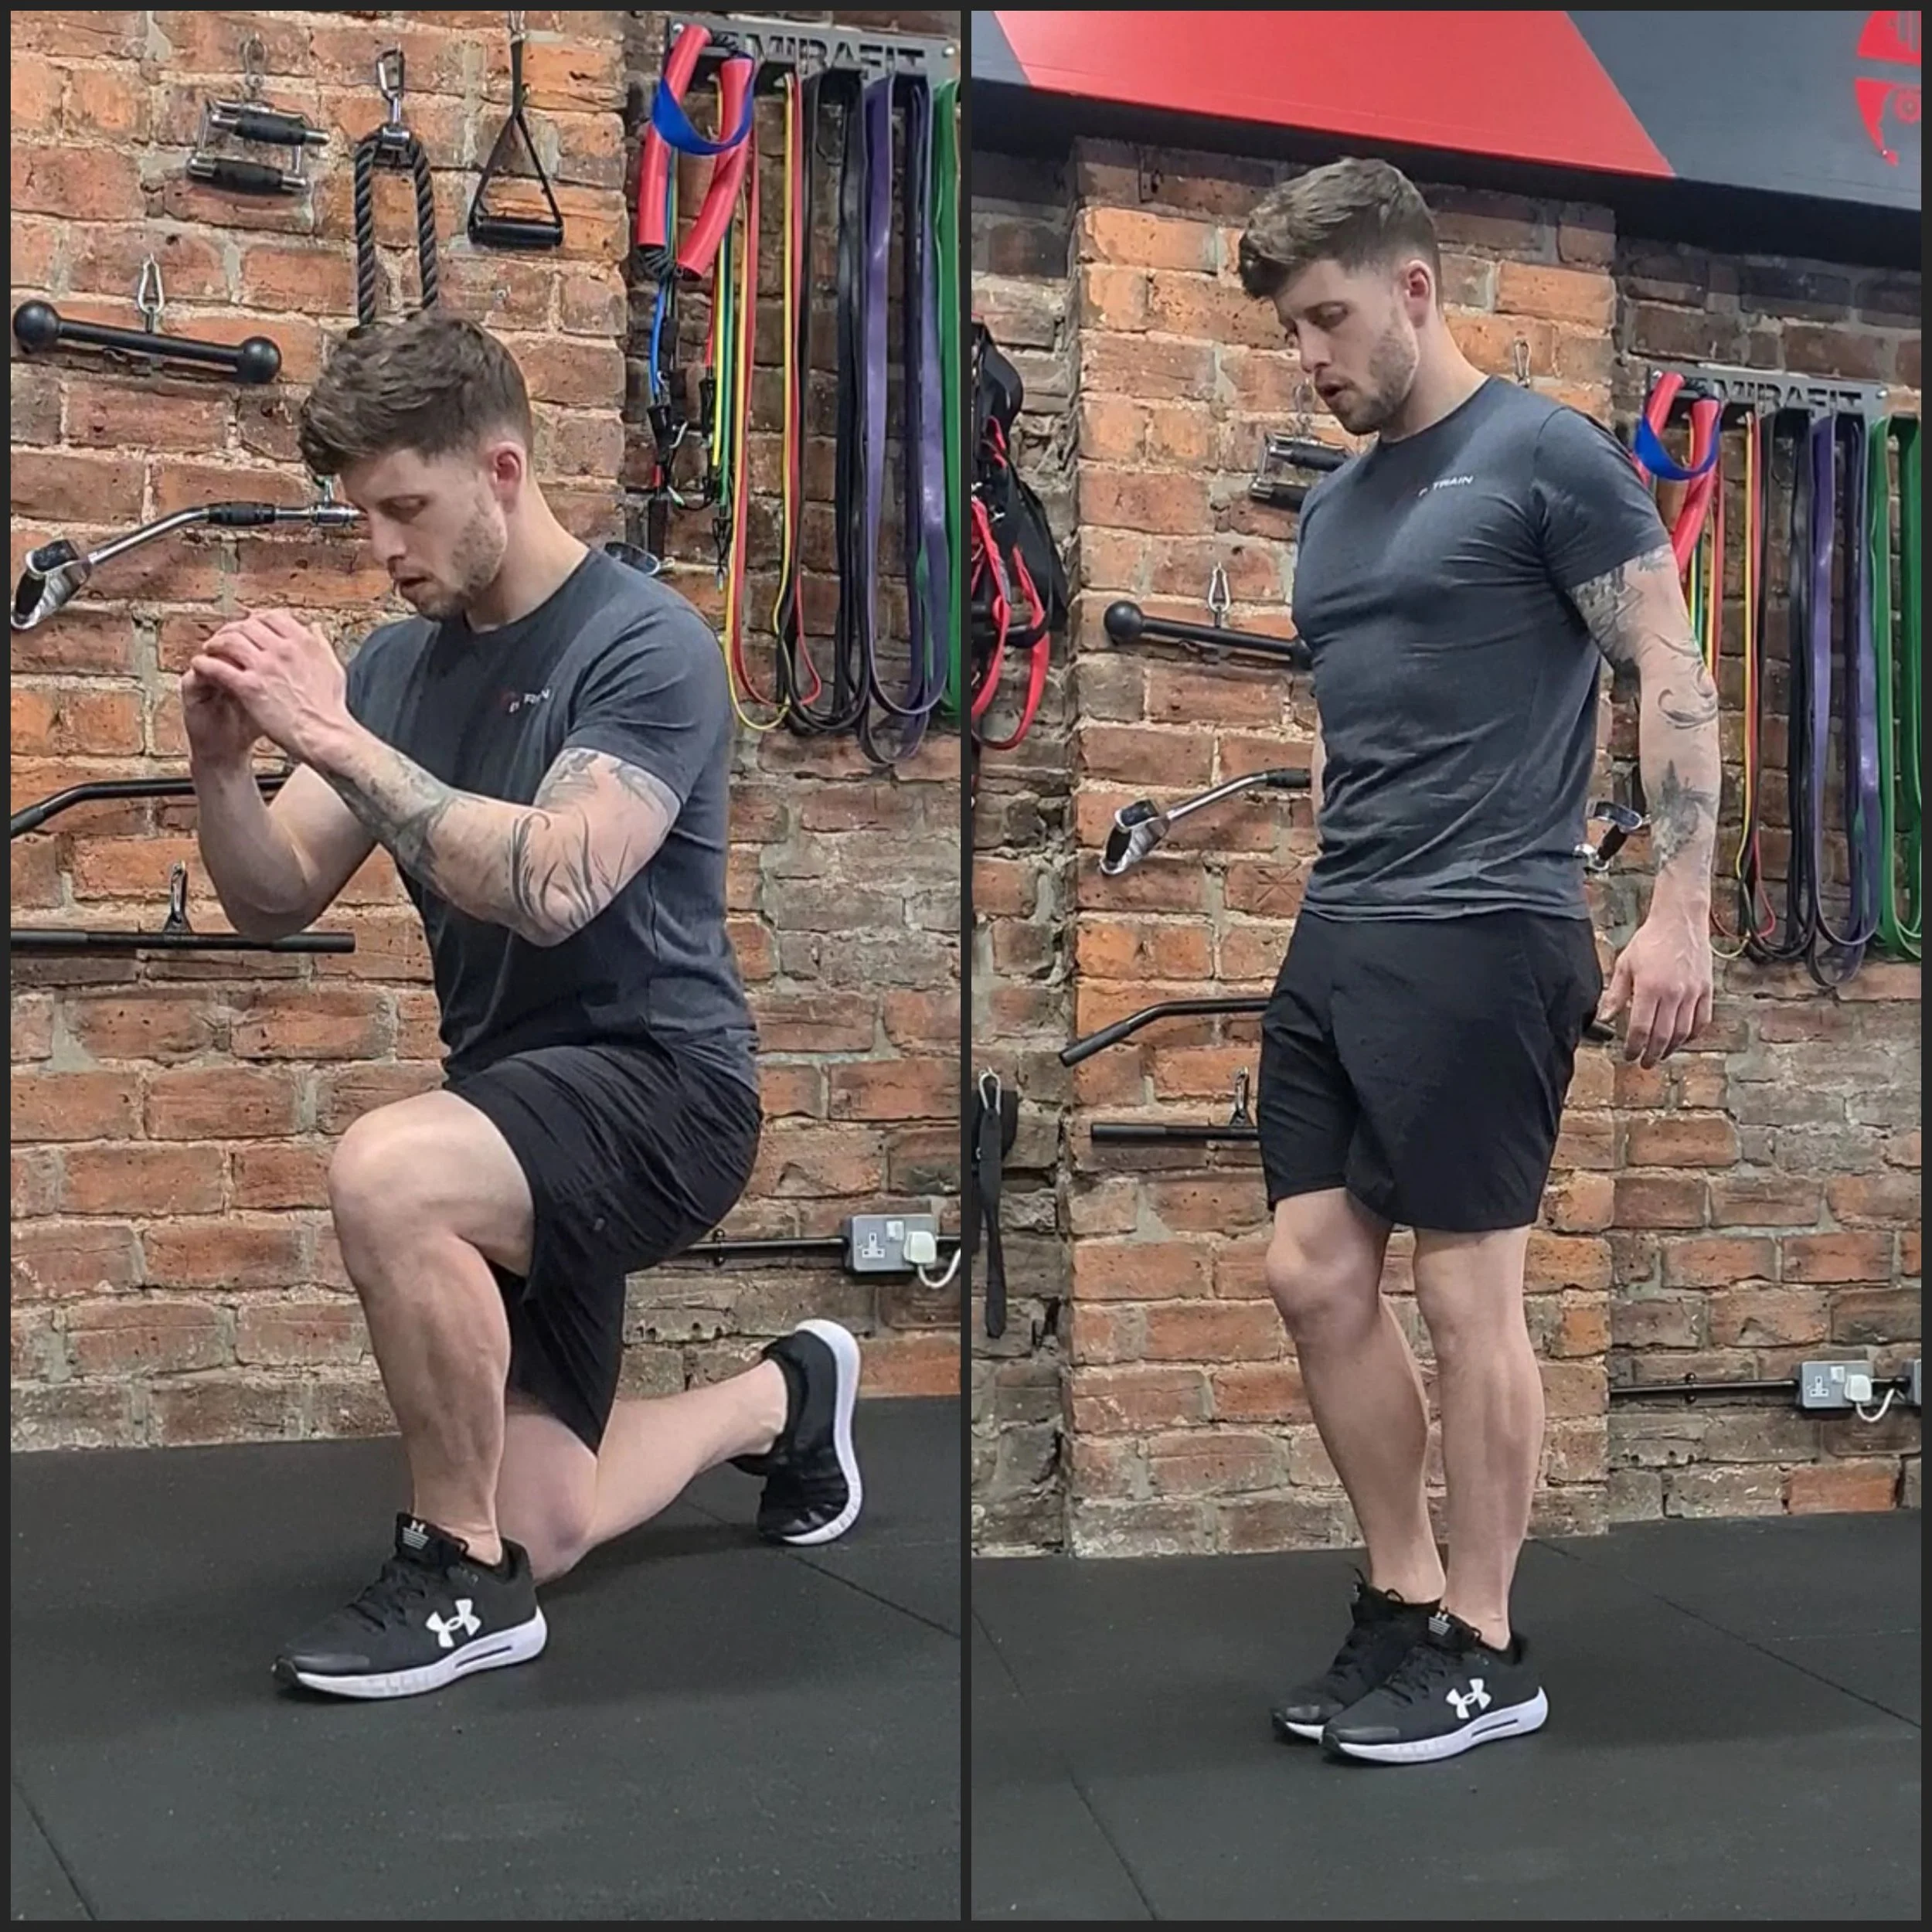
Here is an original example for a lifter learning the movement, not the protocol from the muscle-activity study. Begin with two sets of six controlled repetitions per side in a session that already includes lower-body work. Use bodyweight or a manageable load and keep a few good repetitions in reserve. Adjust downward if the stepping pattern or recovery requires it.
For the first two weeks, prioritise a consistent stance, depth and return. Record the load, repetitions per side and any assistance. Choose enough rest that the next set starts deliberately rather than while you are still fighting to regain balance. If the session already contains considerable leg work, replace some accessory volume instead of automatically adding the new sets on top.
During weeks three and four, add a repetition or a small amount of weight only when both sides remain controlled. Keep the other variables stable. There is no need to improve every session, and the weaker or less coordinated side should not be forced to match an arbitrary target through deteriorating technique. Use the same standard for deciding when either side's set has ended.
At the end of the block, review more than the weight lifted. Are the steps more consistent? Can you return to standing without an extra hop? Does the same depth remain available on later repetitions? Those observations give you a practical progression decision. Muscle-activity data can inform your understanding, while the exercise log shows what you can actually perform and recover from.