Advertising disclosure: This page includes affiliate product links that may earn us a commission, as well as products from our own store.
Decline push-ups can make a familiar bodyweight exercise challenging again without a loaded bar. Raising the feet changes how much weight the arms support, but the height is only useful when the chest, hips and legs move together. Here is how to set up the platform, find a shoulder-friendly rep and progress the exercise without confusing a taller bench with better training.
What raising your feet actually changes
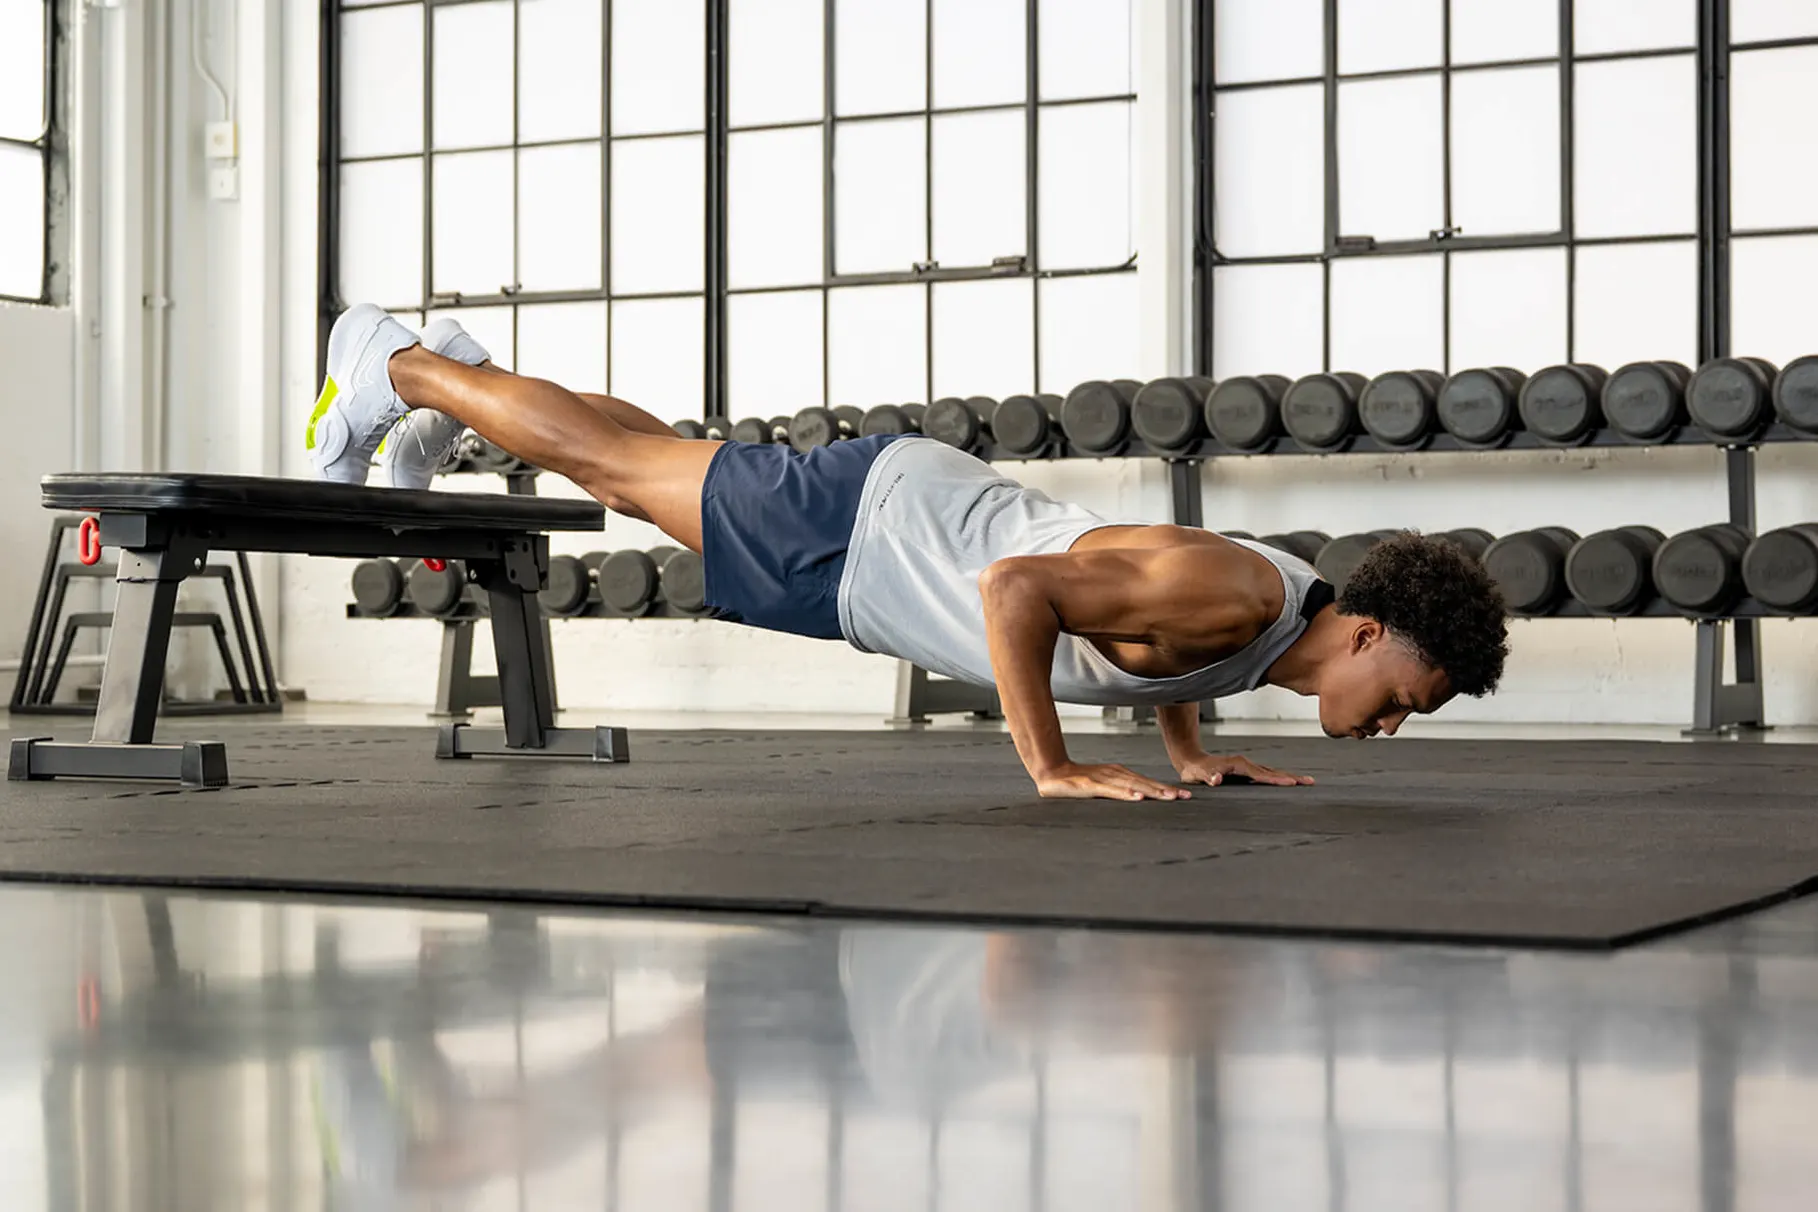
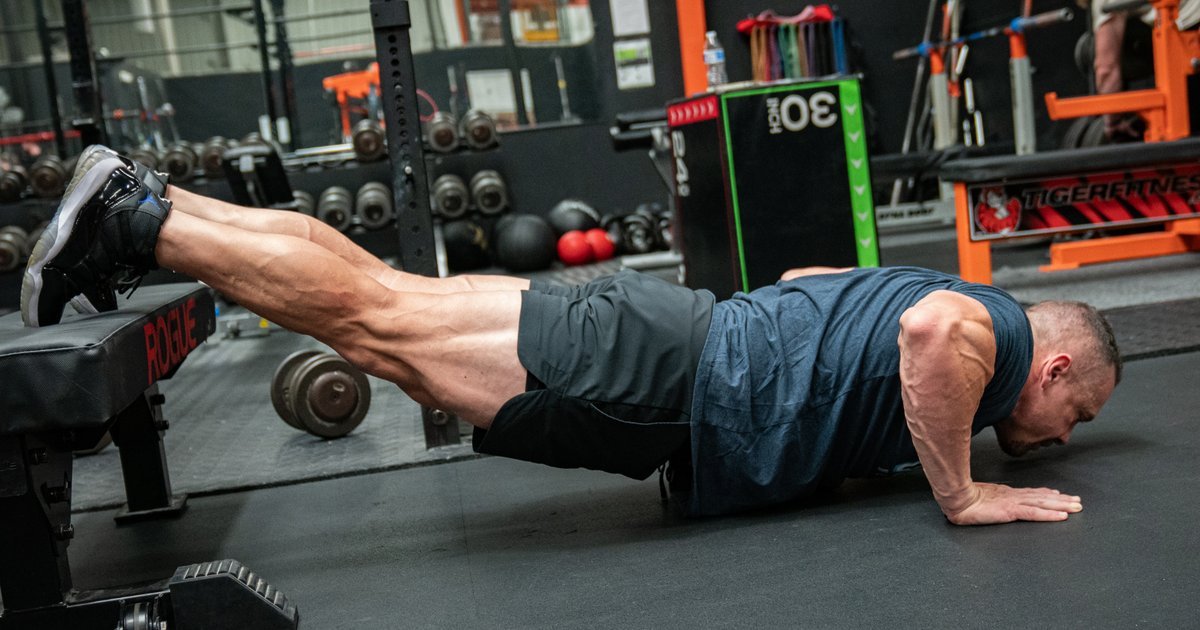
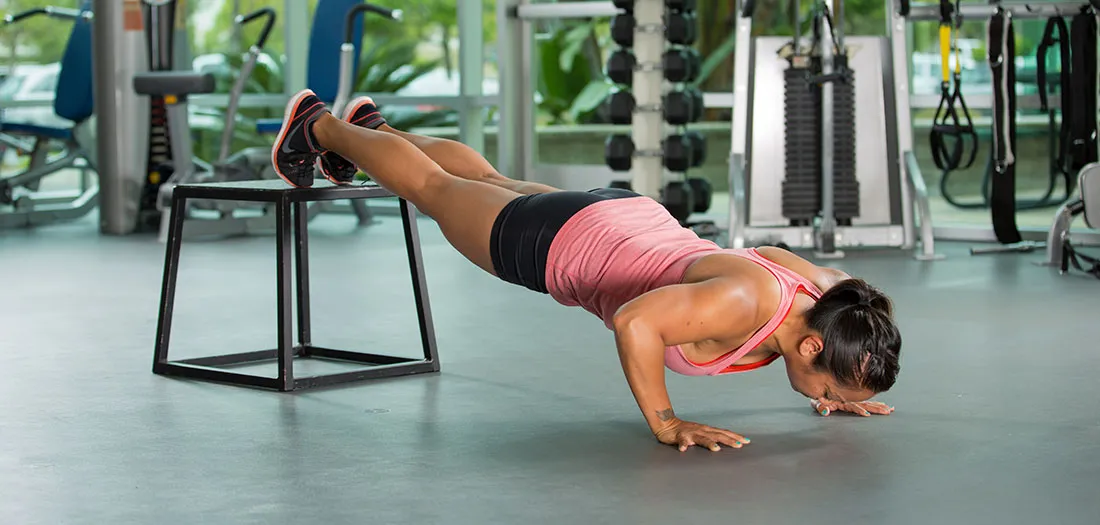
A decline push-up is a regular floor push-up with the feet above hand height. That small-looking change shifts more of your body mass toward the arms and changes the direction of the press. Your chest, triceps and front shoulders still work together, while the abs and glutes must prevent the trunk from bending. It is a progression of the push-up, not a completely different movement or a shortcut to a particular muscle.
The angle encourages greater demand from the upper-body pressing muscles, particularly the front deltoids, and can change which regions of the chest contribute. But be careful with a claim that decline push-ups somehow isolate the upper chest. The pec major has multiple regions that work together; hand placement, individual anatomy, effort and total training all matter. A tougher angle does not automatically deliver superior upper-chest growth, nor does it make the flat push-up obsolete.
Think of the movement as a way to increase difficulty without immediately adding external weight. When a strict floor push-up no longer challenges you for the desired rep range, lifting your feet a little can return the exercise to a demanding strength set. A very high platform is not automatically better. As the body becomes more vertical, the movement shifts toward the shoulder-intensive mechanics of a pike push-up. Choose a height that preserves smooth, repeatable repetitions.
The first useful benchmark is ordinary pressing control: can you lower and press with the ribs, hips and legs travelling together? If not, an elevated-feet version mostly amplifies the mistake. Earn the harder angle through body control, then let the height serve the training goal rather than the other way around.
Set the feet, hands and platform before the first rep
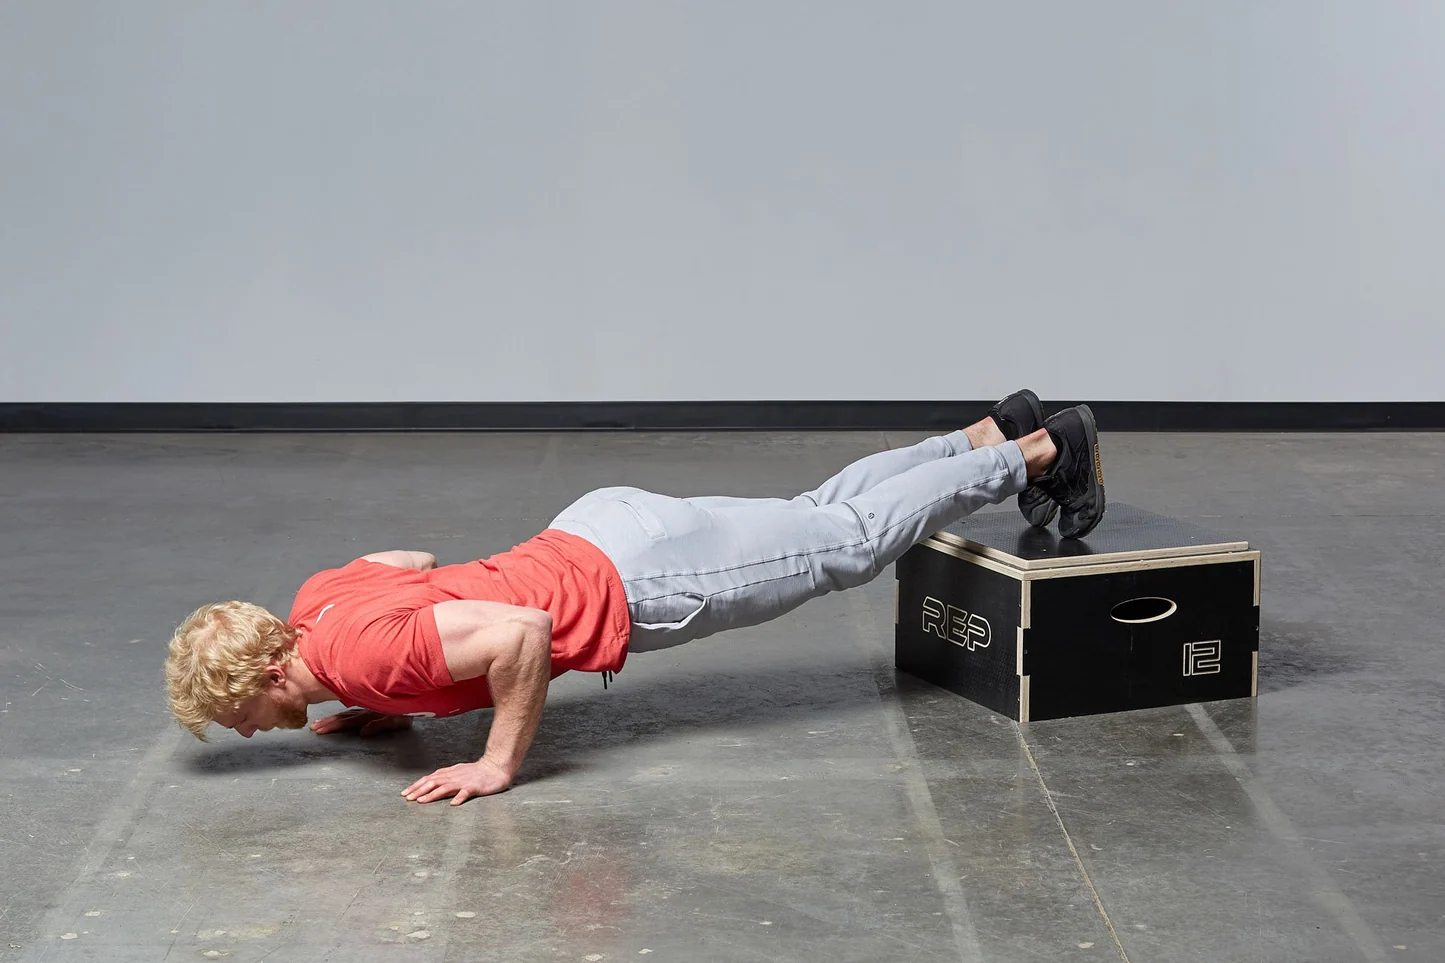
Pick a secure platform that does not rock or slide: a low step, fixed gym bench or properly placed box. A starting height around 15–30 cm (6–12 inches) gives many lifters a meaningful but manageable change from the floor. Test the surface with a little pressure before putting both feet up. Do not use a rolling stool, loose cushion, unstable chair or stacked plates that can shift under your shoes.
Set your palms on a grippy floor slightly wider than shoulder width, or use stable, low-profile parallettes if that position is more comfortable on the wrists. Fingers can face forward or slightly outward. Step one foot at a time onto the support rather than jumping into position. Place the toes securely; avoid a narrow perch that forces the ankles into an awkward position. Once positioned, spread the floor with the hands and let the shoulder blades move naturally around the rib cage.
Your body should look like one long plank. Lightly squeeze glutes and quads, draw the ribs toward the pelvis without rounding aggressively, and keep the gaze on the floor a short distance ahead of the hands. If a side-view video shows the belly hanging lower than the pelvis, the support is probably too tall, the set too long or the brace insufficient.
The setup should be practical between sets. If you must climb awkwardly onto the support or scramble to dismount after the last rep, choose a lower, wider option. A useful pressing station is one you can use and exit confidently when fatigued. Make room for your head to travel down and forward: a wall or rack upright immediately in front of the hands can interfere with the movement even when the feet are safely supported.
Keep the elevation and hand spacing consistent from session to session. Changing all of them at once makes performance difficult to interpret. For your first week, record the actual surface height and a short description of the setup alongside the reps.
Press as one piece instead of folding at the hips
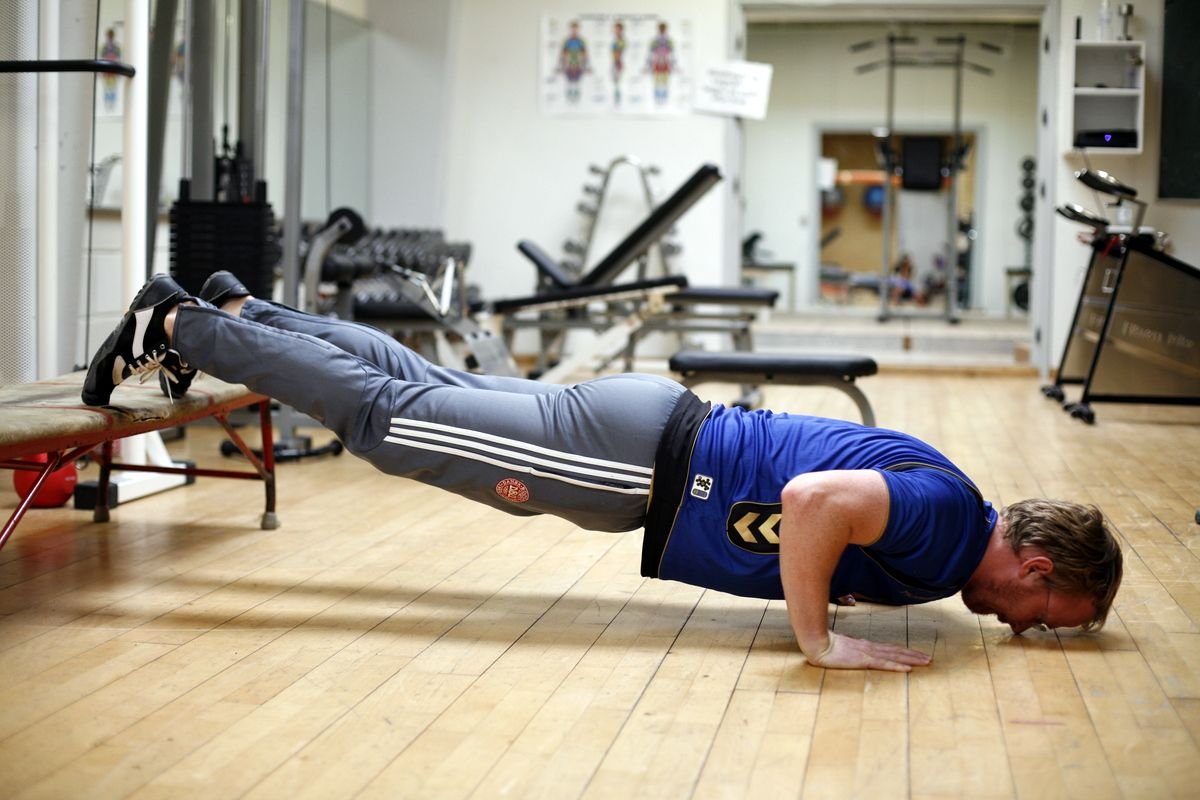
Begin at the top with elbows extended, feet secure and the torso braced. Take a breath before the descent and lower for roughly two controlled seconds. Let the elbows bend diagonally backward rather than flaring straight sideways. An elbow path roughly 30–60 degrees from the torso is a useful starting range, not a forced angle every shoulder must copy. Keep pressure through the whole palm and avoid letting one arm race ahead of the other.
Lower the chest toward the space between the hands while maintaining the same relationship between ribs and pelvis. The head will naturally move toward the floor; do not reach the chin forward just to claim a deeper rep. The bottom should be a position you can reverse without bouncing, shrugging or collapsing through the lower back. Some lifters can bring the chest close to the floor; others need a slightly reduced depth because of shoulder comfort or platform geometry.
Drive the floor away to return to the top. You can allow normal shoulder-blade protraction as the arms straighten instead of holding the shoulder blades pinned together. Finish tall through the upper back with the abdomen still engaged. Exhale as you press through the most demanding part, but do not lose all tension at lockout. Each repetition should have a definite start and finish rather than one long sagging plank.
Here is a quick self-check: film three reps from the side and one from a front diagonal. Look for stable heel height, a nearly constant trunk line, symmetrical hands and a consistent bottom point. The camera will reveal whether the final two reps are genuine pressing work or a series of hip dips. When technique changes substantially, that is the end of the productive set regardless of the target number.
Two common compensations are a pike-like hip lift and a lower-back arch. The first reduces the plank demand and changes the shoulder angle; the second can make the chest appear closer to the floor without a clean arm bend. Correct both by lowering the feet, tightening the glutes and using fewer repetitions.
Troubleshoot shoulders, wrists and slippery foot support
Shoulder discomfort is a reason to change the variation, not to chase a higher platform. Lower the feet first, then check whether the elbows flare, the neck reaches forward or the hands sit excessively far ahead of the shoulders. If the front of the shoulder feels pinched, try a shallower pain-free range, a slightly narrower elbow path or regular floor push-ups. Persistent sharp pain, numbness or symptoms that outlast training merit assessment rather than forced practice.
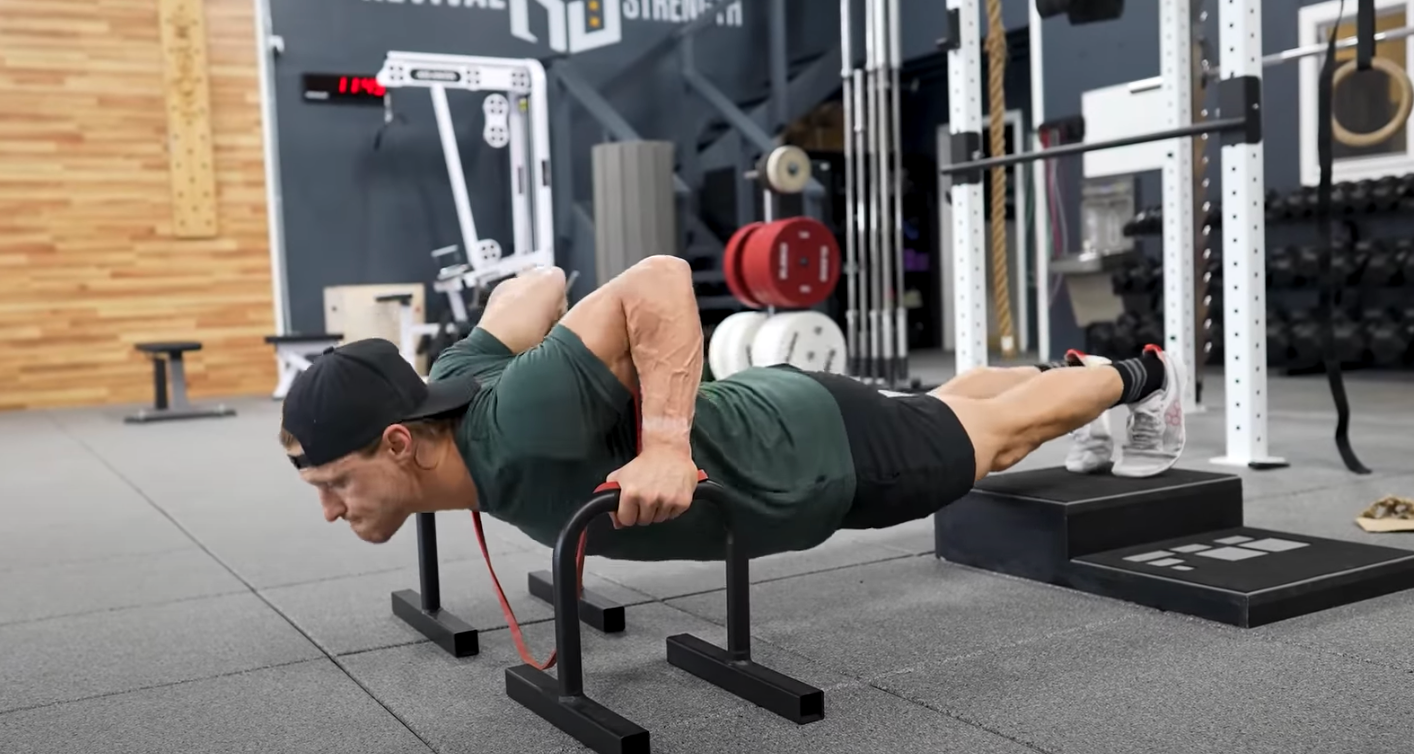
Wrist discomfort can arise because the more demanding angle asks the hands to tolerate substantial pressure in extension. A stable neutral-grip pair of low parallettes can be useful, but only if they are firmly planted and do not tilt. Spreading the fingers, distributing pressure across the palm and allowing a small amount of natural hand rotation may also help. Do not replace one problem with an unstable homemade handle that can roll away.
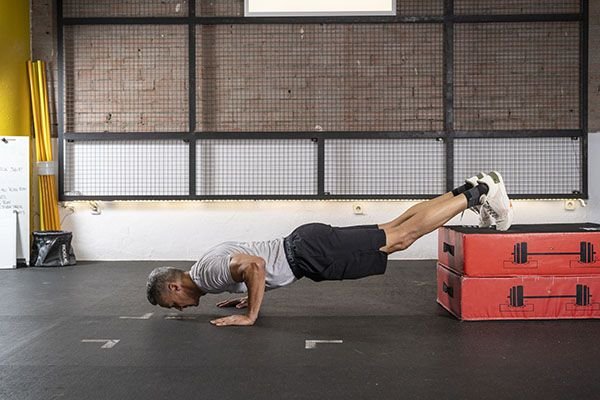
Feet sliding down the bench is usually a setup issue. A smooth vinyl pad, slick socks or shoes without good traction can make the body drift with every repetition. Move to a grippier platform, use the toe contact you can control, or reduce elevation. On narrow benches, keep both feet centered instead of letting one drift to the edge. Avoid putting the heels on a high support if it makes the ankle position insecure.
Fatigue creates predictable form errors. If the bottom range shortens or the pelvis starts dropping at rep nine, repeating rep ten poorly is less productive than ending at eight and returning after a longer rest. Take 90–150 seconds between demanding sets as a practical starting point, extending it if you need more recovery to reproduce clean reps. Most lifters will progress faster by protecting rep quality than by treating every set as a contest to reach failure.
Also consider overall pressing volume. Combining challenging decline push-ups with heavy bench pressing, dips and overhead work can concentrate stress on the same joints. Adjust sets across the session; do not count the decline push-up as free volume simply because it uses body weight.
Use the right push-up variation for the job
An incline push-up has the hands elevated; it usually reduces the load on the arms and works well for beginners, higher-rep practice or pain-free technique rebuilding. A regular floor push-up is the middle ground and a reliable test of trunk control. A decline push-up elevates the feet, usually increasing pressing difficulty. A pike push-up lifts the hips high and emphasizes a more vertical shoulder-pressing pattern. These changes are distinct enough that the same rep count does not mean the same training load.
Parallettes may allow a neutral wrist and more comfortable hand placement, but their extra range of motion should be introduced gradually. Rings add instability and demand control rather than simply increasing difficulty in a predictable straight line. A weighted vest increases resistance without requiring a taller platform, although the vest should fit closely enough not to shift toward the head as you lower. None is necessary to get value from an ordinary stable bench and floor.
For chest and triceps hypertrophy, the best choice is often the version that provides hard, repeatable reps through a comfortable range and allows you to add work over time. For shoulder-dominant pressing strength, a pike progression may be more specific. For high-quality bodyweight practice, alternating low-foot-elevation sets with normal push-ups can give a useful spread of difficulty. A person seeking an upper-chest emphasis can include decline push-ups among several pressing angles rather than relying on them as a complete chest program.
Balanced programming also needs pulling work. Pair a decline push-up session with rows or pull-ups elsewhere in the week so the training plan is not entirely pressing. That does not make pulling a substitute for chest work: it simply prevents a bodyweight routine from becoming one-dimensional. The same principle applies when choosing accessories and training clothing—match them to the real movement and your broader program, not a label claiming an exercise is universally best.

Equipment Worth Exploring
Explore equipment, accessories and gear from our carefully selected range.

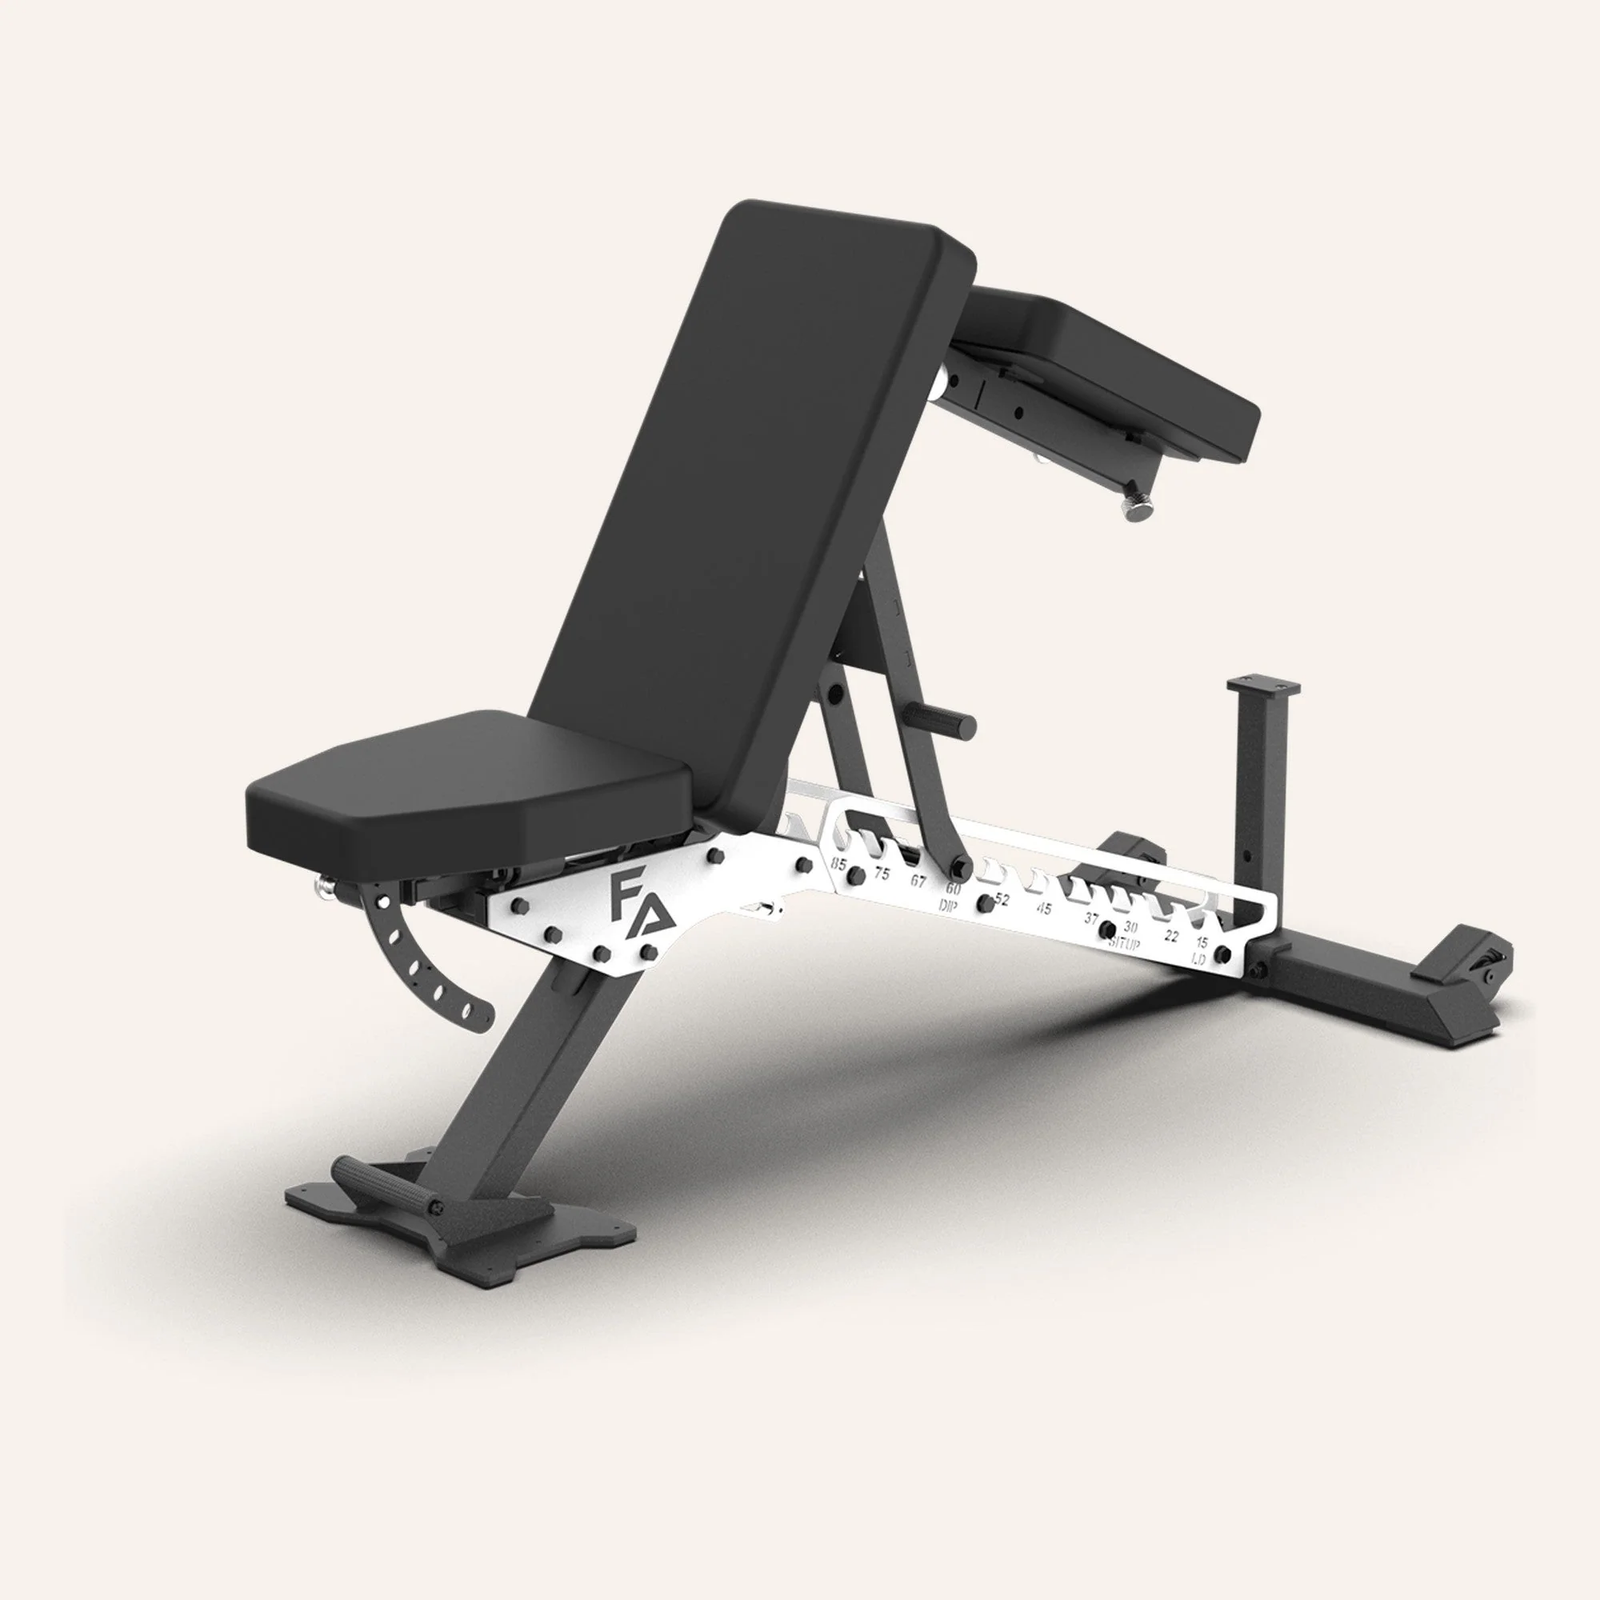

FID Bench MAX
Adjustable bench offering flat, incline, and decline positions + adjustable headrest.


Multi Bench MBX-650 2.0
Adjustable multi-bench with roller adjustment, 15 backrest positions and accessory mounts.


Leather Wrist Grips
Padded leather lifting grips help support the hands and wrists on heavy pulling exercises.

Rubber Hex Dumbbells
Rubber-coated hex dumbbell pairs with a stable shape for home and commercial strength training.

Calisthenics Shirts & Street Workout Gear
Calisthenics and bodyweight-training gear for pull-ups, dips, handstands and street-workout athletes.

T-Rex Hates Push Ups Muscle Shirt Athletic Vest for Cal Tank Top
Add some lifting attitude to training with “T-Rex Hates Push Ups”.

Big Dip Energy Crewneck Pullover Sweater for Calistheni T-Shirt
Show some gym-day personality with “Big Dip Energy”.

Calisthenics Evolution Sweatshirt
Keep things casual with a little “Calisthenics Evolution” attitude.

Turn Off Gravity Funny Calisthenics Gym Decal for Water Sticker
Give your everyday gear a playful “Turn Off Gravity Funny Calisthenics” twist.

Calisthenics Heartbeat Crewneck Pullover Sweater for Pu T-Shirt
For laid-back days and lifting humor: “Calisthenics Heartbeat”.

Be Stronger Than Your Excuses Motivational Workout for Sticker
A fun “Be Stronger Than Your Excuses” touch for bottles, laptops, and lockers.

Funny Calisthenics Gym Hooded Pullover for Bodyweight W Hoodie
Stay casual and show some lifting attitude with “Calisthenics”.


Pull Up Or Shut Up Sticker
Put “Pull Up or Shut Up” gym humor on your laptop, bottle, or gym gear.

Calisthenics Hanging Out Crewneck
Bring “Calisthenics Is My Idea of Hanging Out” humor to your everyday gym style.
A four-week plan that progresses without losing form
Start with a height at which you can complete at least five controlled decline push-ups without the hips, neck or elbows changing noticeably. Train this variation twice weekly with at least a day between demanding pressing sessions. The plan below is an example for a healthy intermediate lifter, not a rehabilitation prescription. If floor push-ups are still inconsistent, spend the first weeks building those instead.
| Week | Main prescription | Progression decision |
|---|---|---|
| 1 | 3 sets of 5–8; low foot elevation | Record platform height and stop at the first form break |
| 2 | 3 sets of 6–10; same height | Add clean reps, not a taller platform |
| 3 | 3–4 sets of 6–10 | Add a fourth set only if recovery and shoulder comfort remain good |
| 4 | 3 sets of 6–10; optional slight height increase | Raise feet only after all sets reach the top of the range cleanly |
Use the same support height, hand spacing and approximate rep tempo when comparing sessions. If you reach the top of the rep range on all sets twice with clean technique, raise the feet by the smallest sensible amount or add a small amount of vest resistance in a later cycle. Do not change height and resistance in the same week. If the first set suddenly drops from ten controlled reps to four grinding ones after an elevation change, reverse the change and rebuild.
On the second weekly session, you can use a slightly lighter variation for two or three sets of eight to twelve, especially if the first session already includes heavy bench or overhead pressing. Keep roughly one to three good repetitions in reserve for most working sets, and let a hard final set be an occasional choice rather than the default. Rest longer before the sets where technique is most likely to fade.
Track three variables: number of clean reps, foot elevation and how comfortable the shoulders and wrists felt. These give a more useful picture than total repetitions alone. Improvements may show up first as better trunk alignment or a more consistent bottom position. Both are legitimate progress even when the number of reps stays the same.
The practical takeaway is simple: stable foot support, a tight plank, repeatable elbow path and modest progressions make decline push-ups productive. Higher feet only help when the actual pressing mechanics improve with them. If you finish four weeks with smoother sets at the same elevation, you have built a stronger foundation for the next pressing variation.