Advertising disclosure: This page includes affiliate product links that may earn us a commission, as well as products from our own store.
The SkiErg lever is easy to mistake for a difficulty dial. Set it to ten, pull hard and call the session serious. A better approach is to choose a feel you can repeat, record the drag factor and judge the whole workout rather than its fastest few strokes. This guide separates machine setup from pace, explains what to watch on the monitor and gives you a practical way to compare settings without turning every visit into a race.
1. The damper changes the feel, not your finishing time by itself
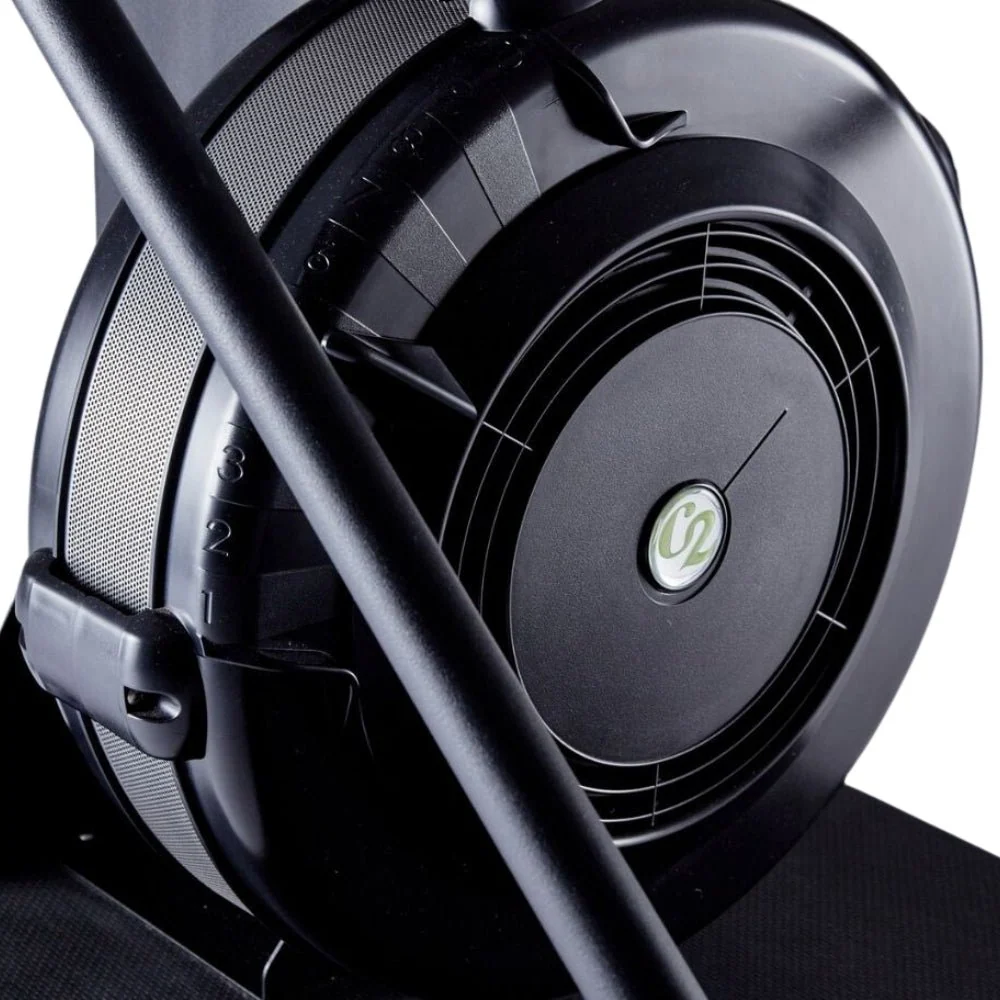
The numbered lever on a SkiErg controls airflow through its flywheel housing. Opening it further makes the wheel lose speed more quickly between pulls. The next acceleration therefore feels heavier. Closing it produces a lighter-feeling connection. Neither position supplies a guaranteed pace: your work against the flywheel still determines your output.
Think of the setting as a choice about how you want to deliver effort. Some people prefer a slower, firmer pull; others find a lighter connection easier to repeat. The useful question is whether that feel helps you sustain the intended session. A hard first minute followed by several minutes of survival is poor evidence that you chose well.
For example, imagine two five-minute efforts that cover the same distance. One uses a high setting and leaves your arms struggling; the other uses a lower setting and finishes with a steadier rhythm. Those are different experiences despite the identical average result. For a repeatable conditioning workout, the second may be the more useful choice. That is a practical comparison, not proof that one setting is universally more efficient.
Do not treat the lever as a strength ranking. Moving it down is a setup adjustment, not a regression. Equally, moving it up is not automatically progressive overload. Judge the complete session: pace, consistency, perceived effort and the quality of your pulling pattern.
2. Record drag factor when you change machines
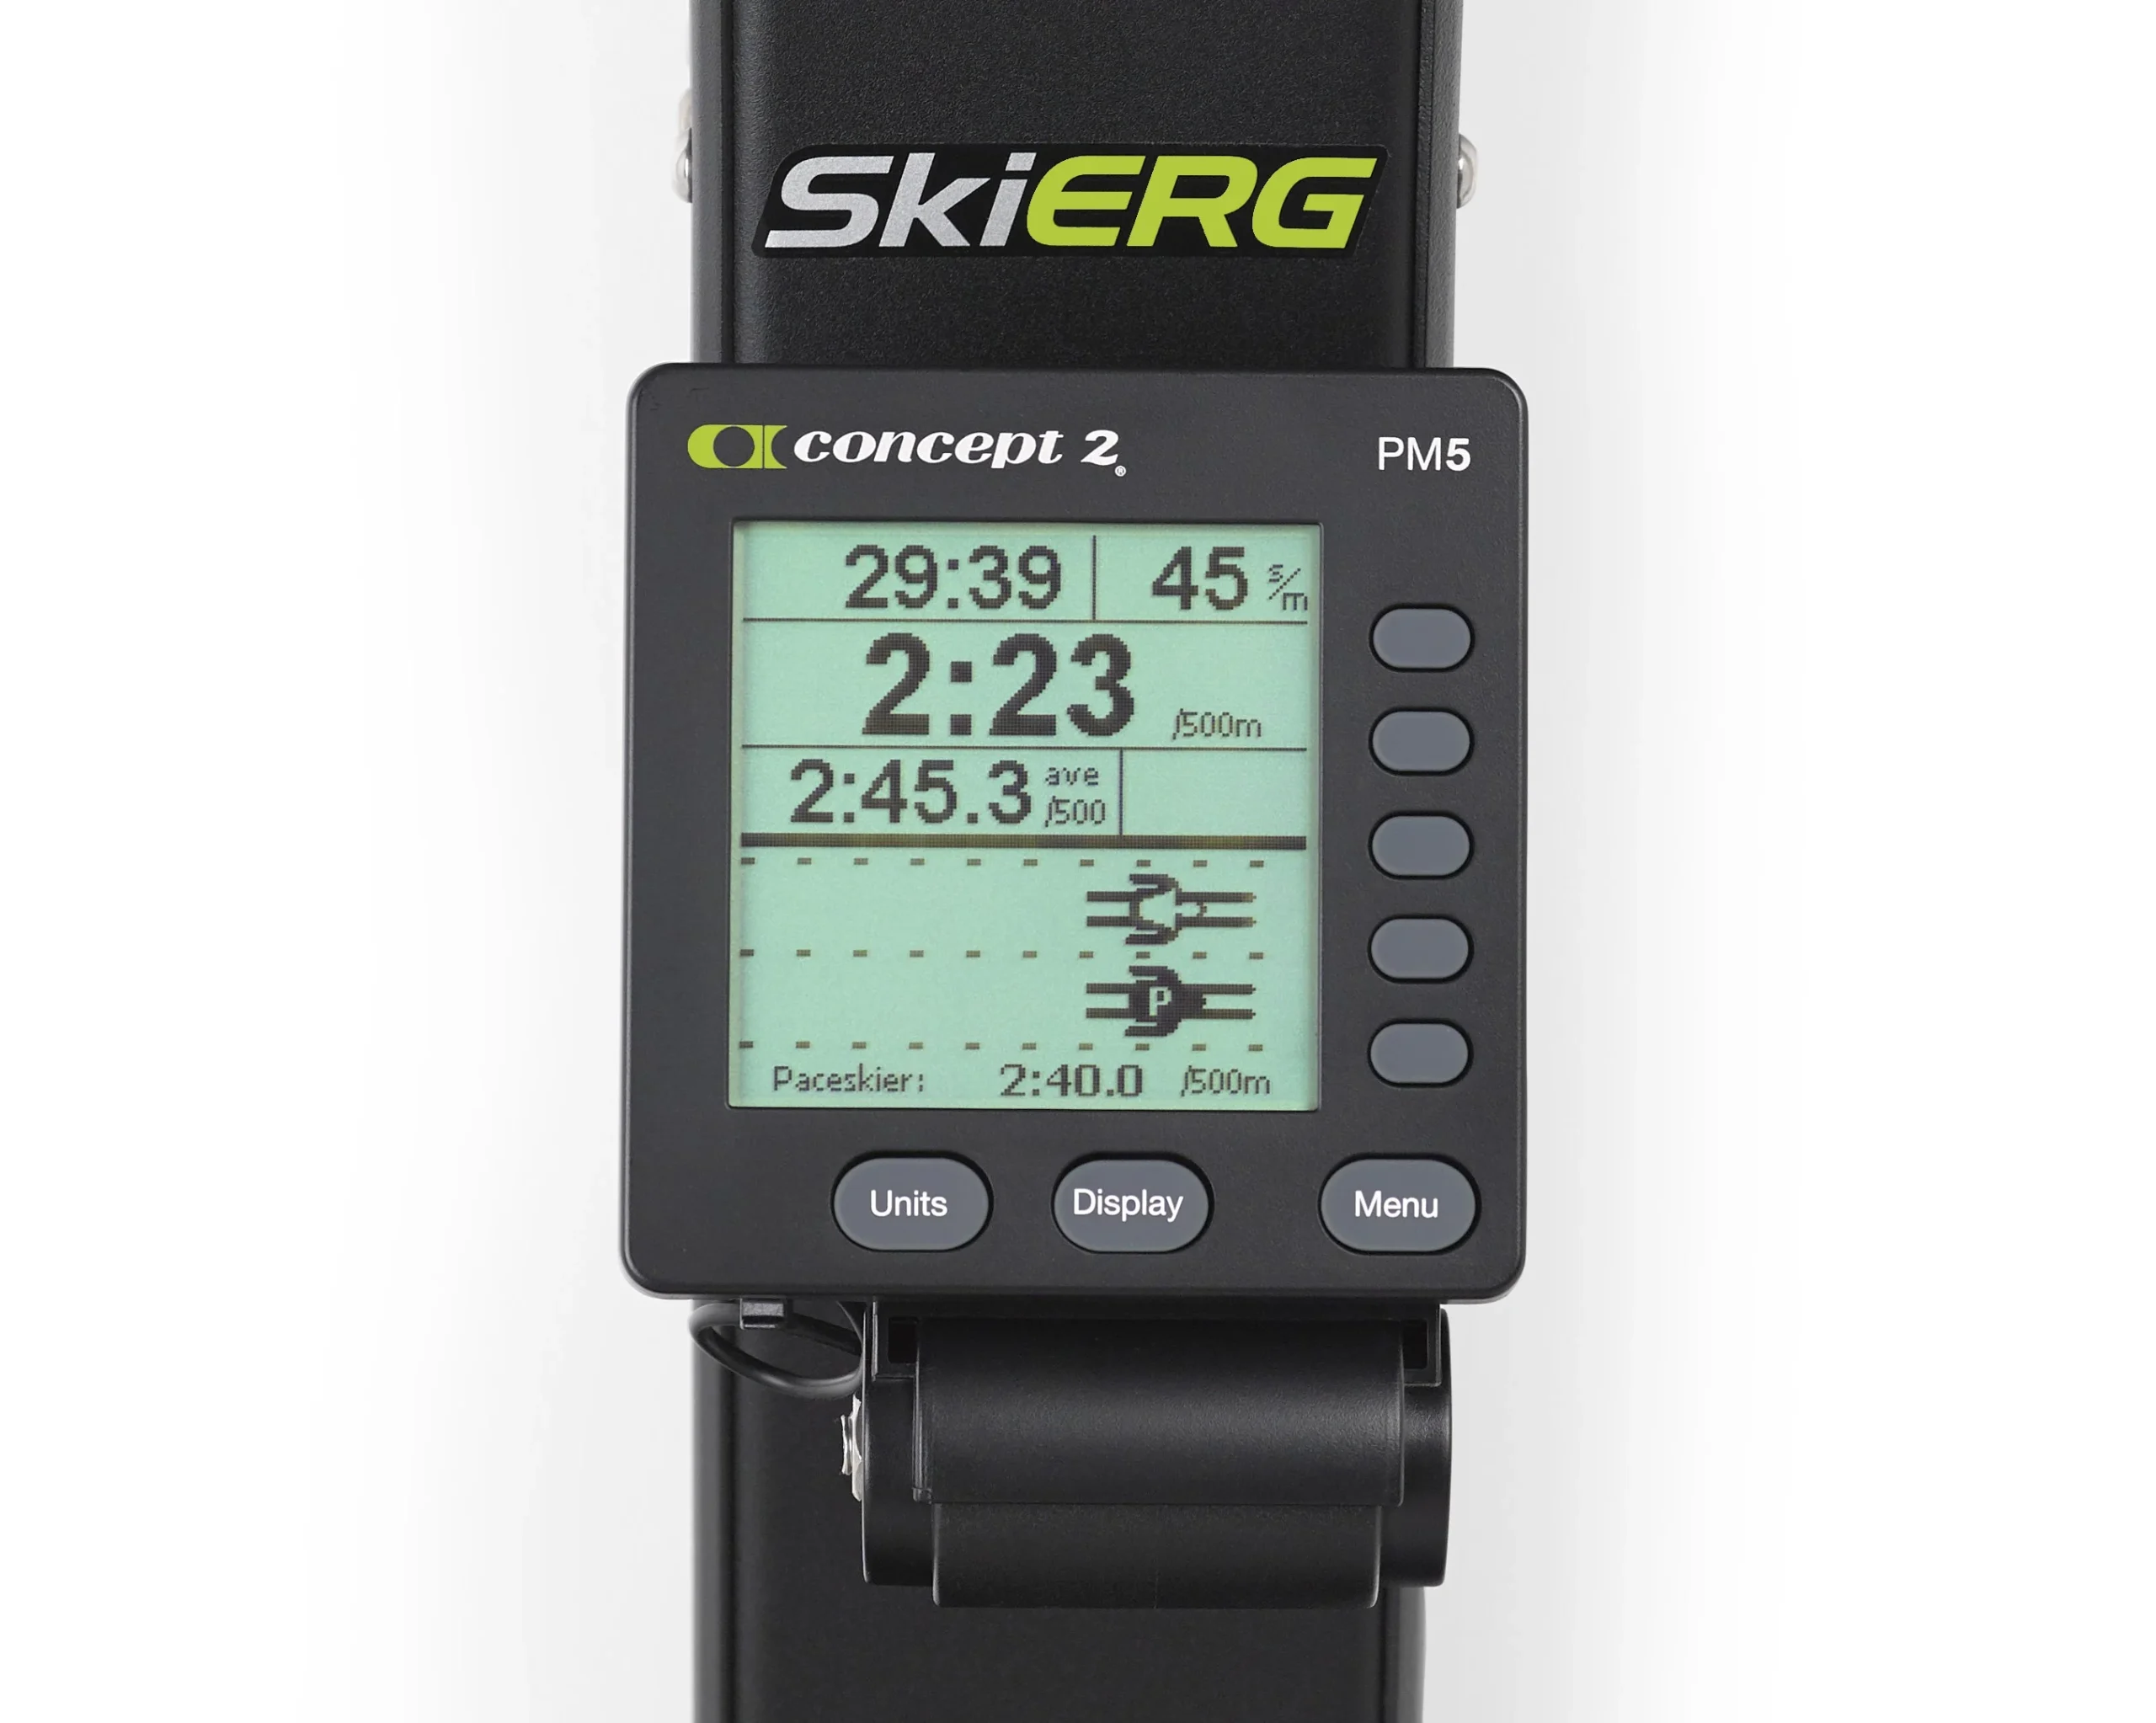
The lever number is easy to remember but does not fully describe the machine's feel. Air conditions and flywheel cleanliness can change the relationship between the numbered position and actual fan load. Two SkiErgs set to the same number may therefore feel different. Drag factor gives you a more useful reference when moving between them.
On the PM5, start at the main menu, choose More Options and then Display Drag Factor. Pull for a few seconds so the monitor can calculate a reading. Record that value alongside your lever position. The monitor recalculates drag during SkiErg use; the number is a setup measurement, not a score you need to maximize.
Keep comparisons within the same machine type. A drag factor copied from someone else's RowErg session is not a ready-made SkiErg prescription. Nor does a particular number prove that you are ready for a specific race pace. Your technique and intended duration still matter. Use the reading to reproduce a familiar setup, then confirm that it feels appropriate during the warm-up.
A simple log can contain the machine, lever position, drag factor, workout format and a short note about conditions. If your usual setting suddenly feels unusually heavy, check the reading before deciding that your fitness has collapsed. Ask facility staff about maintenance when something seems wrong; changing the lever is not a substitute for fixing damaged equipment.
3. Read pace and cadence as separate pieces of feedback
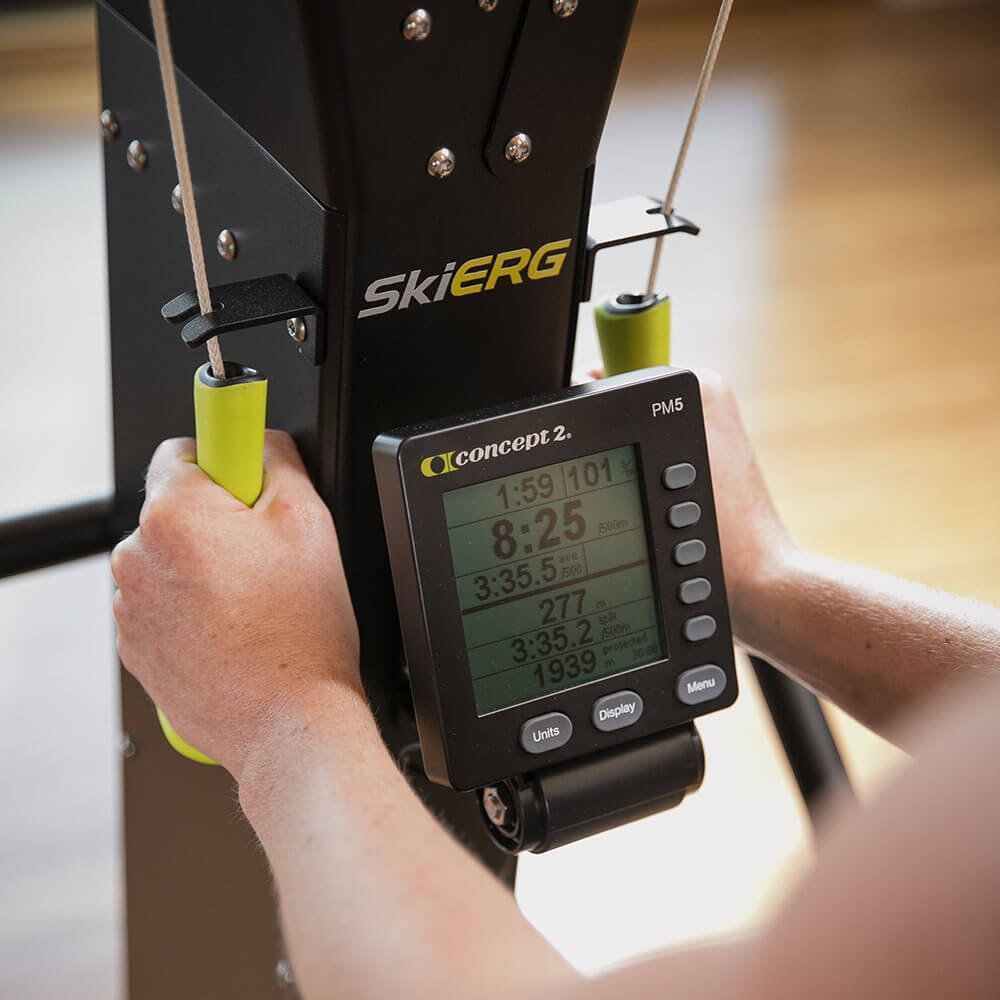
The PM5 can show pace per 500 metres and strokes per minute. Pace tells you how quickly you are accumulating distance; cadence tells you how often you pull. Faster hands do not necessarily produce a faster split. It is possible to increase cadence while shortening the useful pull enough that average pace barely changes.
Read a few strokes together rather than reacting to every flicker on the screen. Establish your rhythm, let the feedback settle and make one adjustment. If the split slows while cadence rises, check whether you are rushing the return or finishing the drive early. If cadence falls and every pull becomes a grind, reconsider the combination of load and target pace.
The arithmetic is useful. Holding 2:30 per 500 metres corresponds to five minutes over 1,000 metres; holding 2:15 corresponds to four minutes thirty seconds. These are examples for understanding the display, not prescribed targets. Choose a pace you can actually sustain before comparing yourself with a training partner.
Use average results to review a session. A brief fast split near the beginning does not describe the whole workout. Record the average for each work interval and notice whether later efforts remain comparable. Your best evidence of progress may be the same average pace with less disruption, rather than a faster opening burst followed by a larger fade.
4. Use a short comparison session before choosing a favourite setting
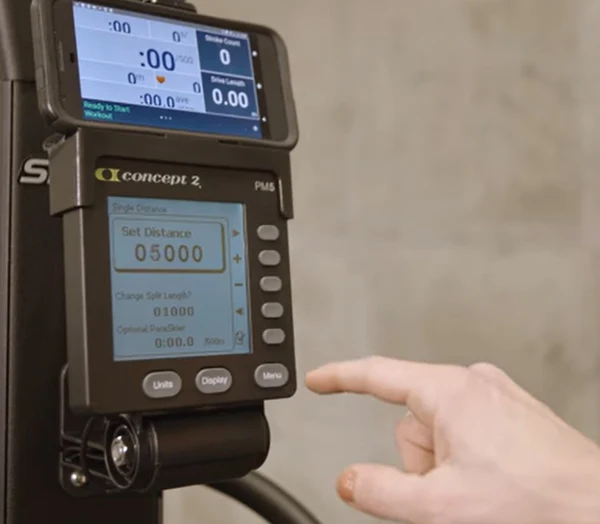
Here is an original practice session for someone already comfortable with easy SkiErg work. It is a decision-making exercise, not a validated fitness test or a maximum-effort challenge. Warm up with several minutes of relaxed pulling. Choose a modest starting setting, settle into a comfortable rhythm and record the drag factor.
Complete three two-minute work intervals with two minutes of easy recovery between them. Use your initial setting for the first interval, one slightly different setting for the second and your initial setting again for the third. Change the lever during recovery. Keep the intended effort moderate and aim for similar average pace rather than trying to win the middle interval.
After each effort, write down average pace, cadence, drag factor and a short note about where fatigue appeared. Did your forearms tighten early? Could you return smoothly? Did you need to shorten the pull? Comparing the first and third intervals also helps you notice ordinary fatigue or familiarisation, although this small session cannot isolate every cause.
Repeat the comparison on another day before drawing a firm conclusion. Reverse the order if you want a less biased practical check. If the higher setting only looks good when it comes first, that matters. If two settings work similarly, choose the one that makes the session easier to reproduce. You do not need a dramatic difference to make a sensible setup choice.

Cardio Shirts & Workout Gear
Cardio and conditioning gym gear for runners, endurance athletes and anyone who earns the sweat.

Cardio Is Calling Decline Bros Meme Hooded Hoodie
Make your off-duty look more fun with “Cardio Is Calling”.

Cardio Is Hardio – Workout Meme Hooded Pullover Hoodie
Keep it laid-back with a little “Cardio Is Hardio” attitude.

Everything Hurts And I'M Tired Motivation Vest Tank Top
Your gym-day look, with a playful “Everything Hurts And I'm Tired” twist.

Straight Outta Shape – Out Of Shape Meme T-Shirt
Add a playful “Straight Outta Shape” touch to your casual rotation.

Death By Cardio Shirt Meme & Top T-Shirt
Bring “Death By Cardio” humor to your next gym day.

Cardio Sucks Shirt Meme & Gymbros Top T-Shirt
Make gym days more fun with “Cardio Sucks” style.

Don't Quit Do It – Motivational Workout Hooded Pullover Hoodie
Show off your cardio humor in a laid-back “Don't Quit Do It” hoodie.

Cardio Heartbeat for Runners, Cyclists and Endurance Fa Tank Top
Bring “Cardio Heartbeat” humor to your next lifting session.

Your Mom Is My Cardio – Edgy Meme Pullover Jumper T-Shirt
Keep things casual with a little “Your Mom Is My Cardio” attitude.

Exercise Your Demons | Cardio Workout From Hell Decal Sticker
Put “Exercise Your Demons” gym humor on your laptop, bottle, or gym gear.
5. Fix the movement before adding more drag
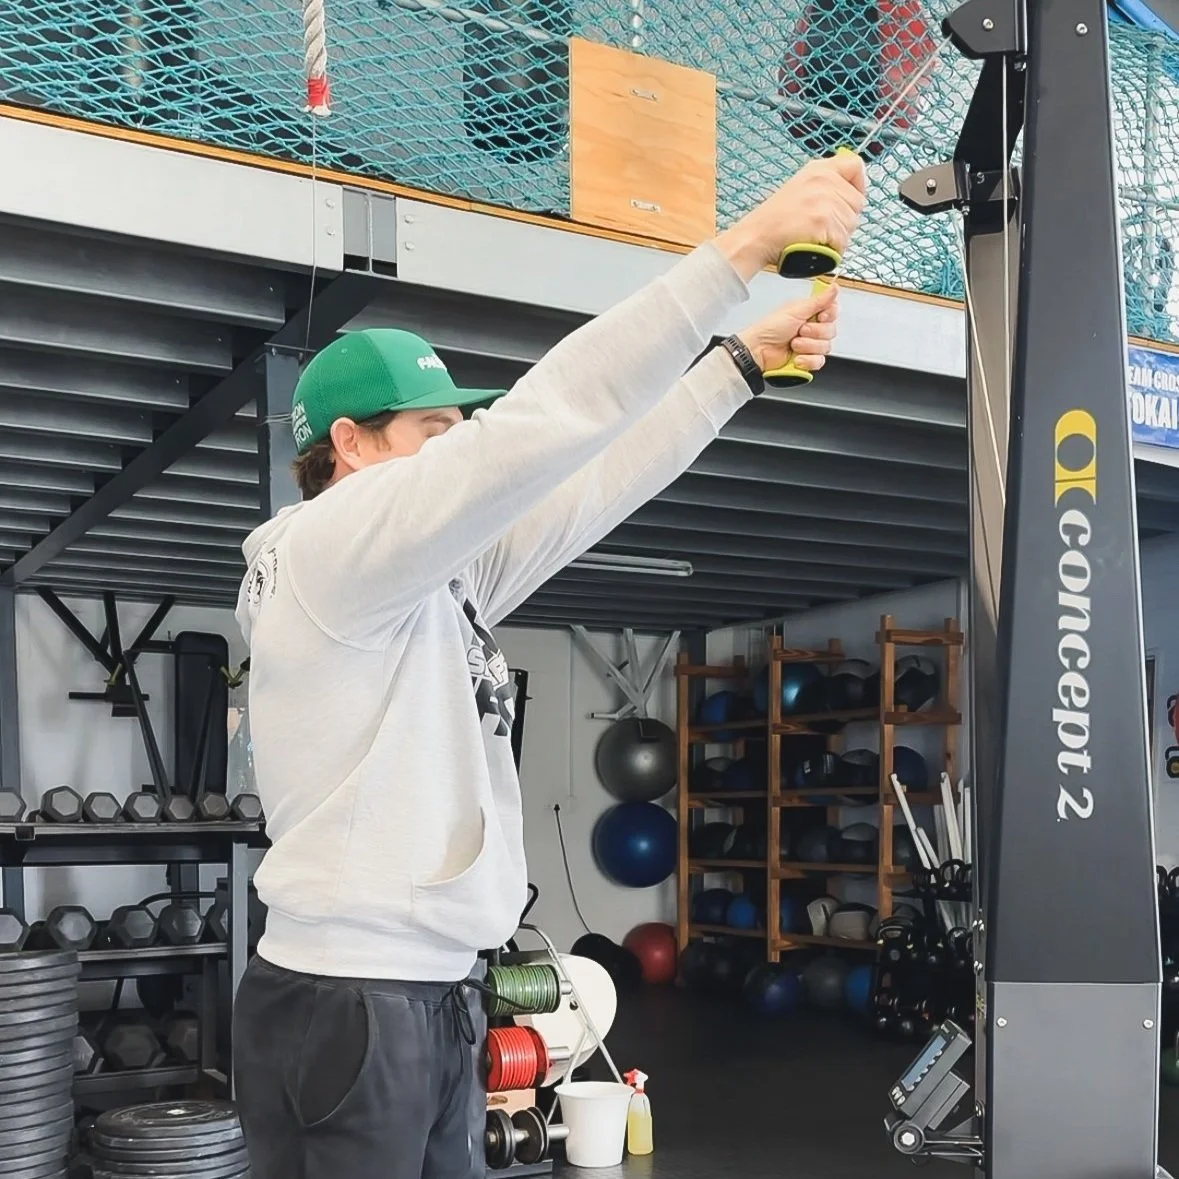
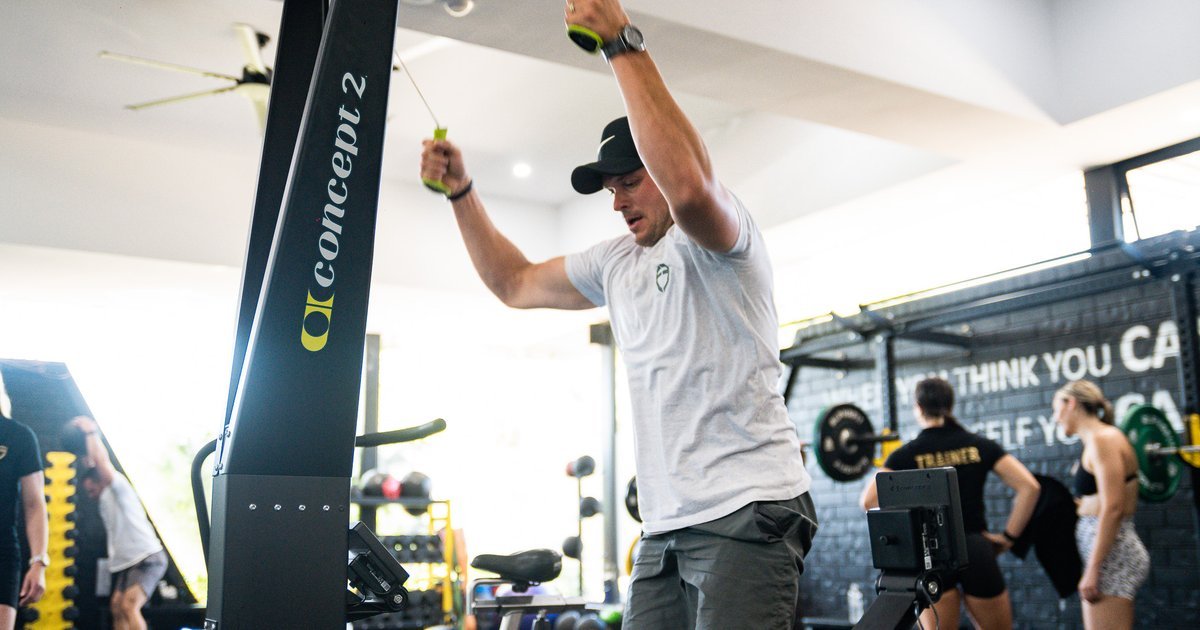
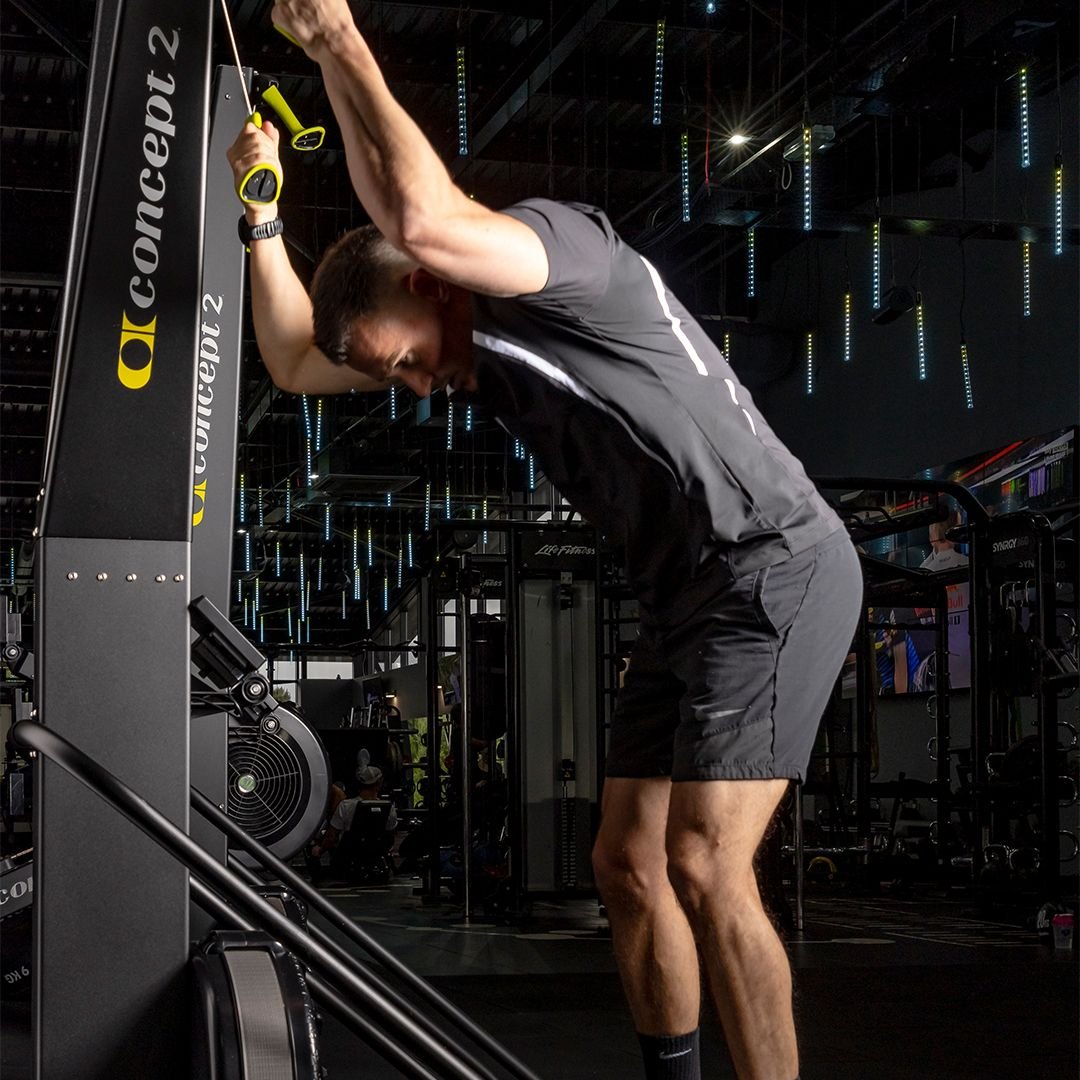
A suitable setting cannot rescue a disconnected pulling pattern. Start with comfortable clearance from the machine and a stance that feels stable. Let your trunk and lower body contribute to the drive instead of turning every repetition into a standing arm pull. Finish the handles down near your thighs and return without throwing them overhead or letting the cords yank you upright.
The goal is a coordinated pull and an unhurried reset, not the deepest possible squat or the longest possible reach. Keep enough space that your head does not approach the monitor during the forward movement. A light practice effort should let you establish this pattern without forcing range or chasing a number on the screen.
If technique changes after sixty seconds, the immediate solution may be less pace, less drag or a shorter interval. Make one adjustment and see whether the pattern returns. Persistent pain is a reason to stop and have the movement assessed, not an instruction to push through until the timer ends.
A side-view recording can be useful if filming is allowed in your gym. Compare early and late repetitions: torso position, handle finish and return timing. You are looking for obvious changes, not trying to diagnose an injury from a phone clip. Keep the setting consistent while practising so you can tell whether a technical adjustment actually helped.
6. Build repeatable conditioning without making every session a test
Once you have a workable setup, keep it stable for a small block of training. An original starting template is two sessions in a week: one easy technique session and one controlled interval session. This is an editorial example that should be scaled to your current training, not a promise of a particular adaptation or a substitute for an individual programme.
For the easy day, use three short three-minute efforts with generous recovery. Finish each one feeling that another clean interval would have been possible. For the interval day, repeat four two-minute efforts at a slightly stronger but controlled effort, again allowing enough recovery to preserve technique. Beginners can do fewer repetitions. More experienced athletes can adapt the structure without turning it into repeated all-out work.
Progress one variable at a time. You might add a minute of total work, improve the consistency of the later intervals or move the average pace slightly while keeping the same setup. Avoid simultaneously increasing drag, pace and volume; doing all three makes the next result difficult to interpret. A repeatable session gives you something useful to compare next week.
If you combine skiing with strength or hybrid training, keep the purpose of each station clear. Kettlebell carries, light dumbbell work, sled pushes, wall-ball practice, rope work and medicine-ball slams create different demands; none is an attachment or direct replacement for the SkiErg. Choose only movements you already perform well, keep space between stations and reduce the ski target when the wider circuit demands it. Complementary equipment can expand a session, but buying more equipment does not solve a pacing problem.
Finish by saving the workout and noting the setting that produced the most repeatable work. The useful outcome is a clear reference for your next session: this machine, this drag factor, this format and this level of effort. Let faster results emerge from better sustained work rather than treating the highest lever number as the goal.

Equipment Worth Exploring
Explore equipment, accessories and gear from our carefully selected range.


VOLTRA
Compact digital cable trainer with smooth, adjustable resistance.


Pro Sled System
Heavy-duty push-pull training sled for loaded conditioning, speed, and strength work.


Cast Iron Kettlebells
Textured cast-iron kettlebells for swings, squats, carries, and full-body training.

Competition Wall Ball
Competition-style weighted wall ball for HYROX, wall-ball shots, and functional conditioning.

Slam Ball
Low-bounce weighted slam ball for explosive throws and high-intensity conditioning.