Advertising disclosure: This page includes affiliate product links that may earn us a commission, as well as products from our own store.
Gironda Sternum Chin-Ups: Lean Back, Reach the Bar and Build Your Upper Back
Can a pull-up turn into something closer to a row while your hands never leave the bar? That is the appeal of the Gironda sternum chin-up. You start below the bar, lean back as you rise and aim to bring the lower chest toward your hands. The result looks unusual and feels substantially harder near the top than a conventional chin-up.
This guide separates what the movement actually does from what people sometimes promise it will do. You will learn how to set up the grip and clearance, perform an honest lean-back arc, avoid the common ways of cheating the finish and progress without making your shoulders or elbows pay for every rep.
1. Why the sternum chin-up is not just a taller pull-up
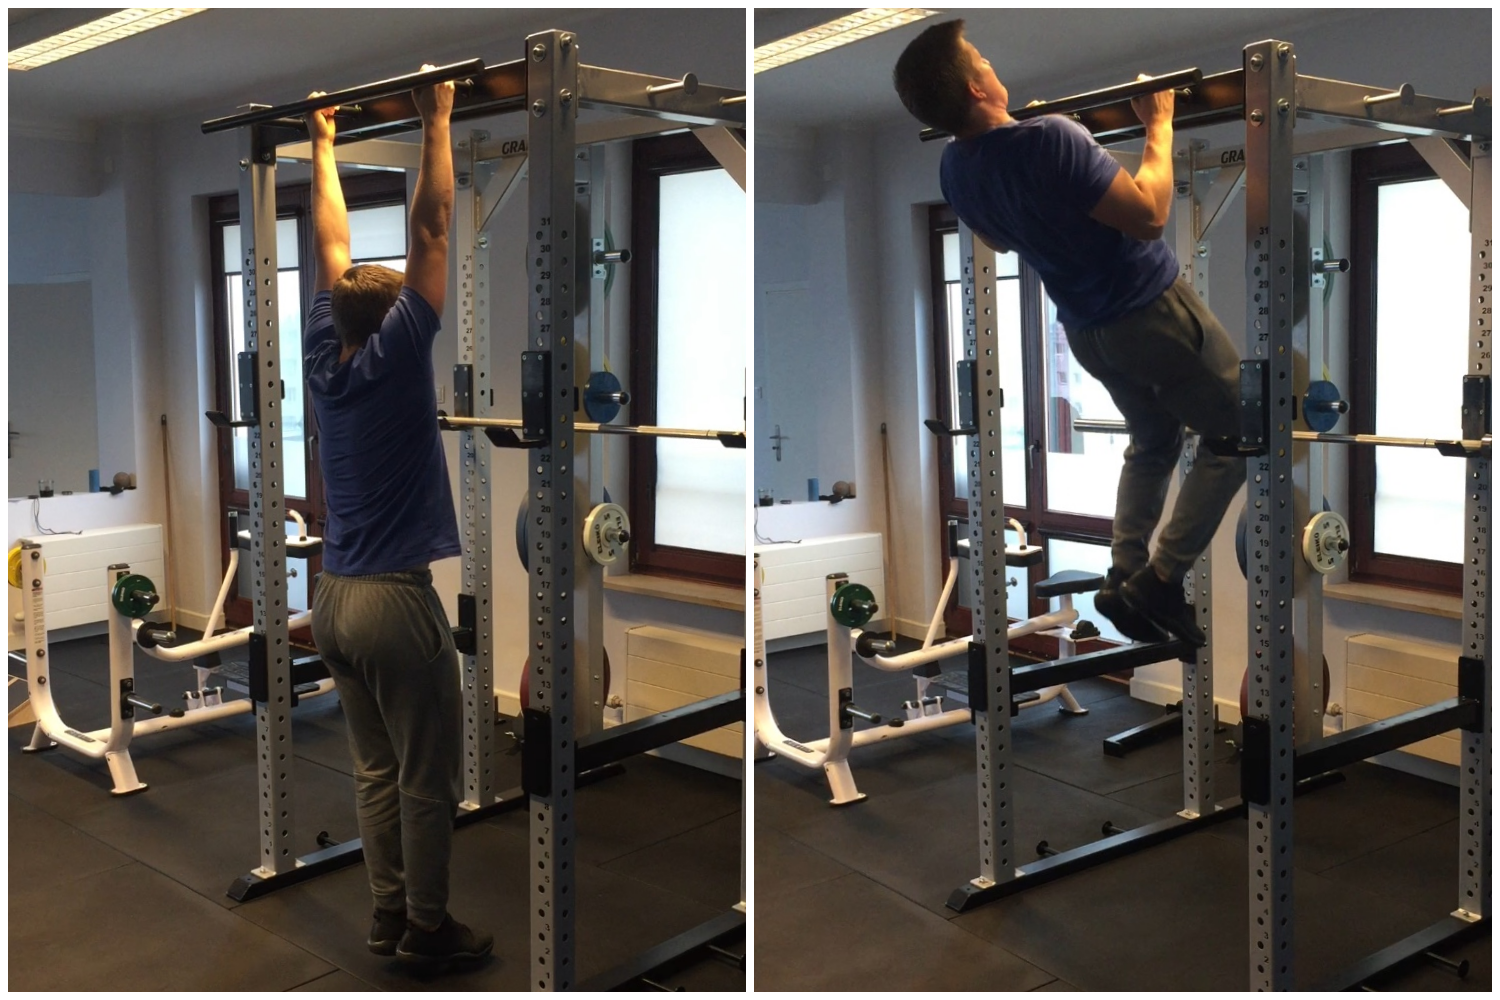
The classic chin-up usually finishes when the chin clears the bar. A Gironda sternum chin-up asks for a very different finish: your upper body gradually leans backward as you pull, and the lower chest travels toward the bar. At the strongest end position the elbows move behind the ribs while the shoulder blades retract. Think of the rep as a chin-up that gradually becomes more row-like, rather than a normal vertical pull with the neck thrown back.
That changing torso angle matters because the line of pull changes throughout the repetition. The lats still contribute to shoulder extension and adduction, but the middle back, rear shoulder and elbow flexors help manage the increasingly demanding top position. It is misleading to promise that the variation isolates any particular muscle or automatically builds more muscle than ordinary chin-ups. The case for including it is mechanical variety, a longer controlled pulling path and the need to own the top of the rep.
The name comes from bodybuilder Vince Gironda. It is a challenging bodyweight skill, not a compulsory back-day badge. If you only have a comfortable, controlled chin-up at present, improving that is valuable training in its own right.
2. Set the grip, bar height and lean-back space
Choose a stable bar with adequate clearance behind your torso and enough distance from the floor to hang without jamming your feet into the ground. A roughly shoulder-width underhand grip is a useful starting point. Some lifters prefer an angled or neutral-grip handle because it feels better on the wrists; treat that as an individual variation rather than pretending that every grip creates the same movement.
Begin in a long hang that you can control, with the ribs and pelvis organized and the head neutral. Before you pull hard, make sure your feet will not swing into a bench, wall or rack upright as you lean back. This small environmental check matters more here than during a conventional vertical chin-up, because the shoulders and hips will travel along a curved path instead of remaining nearly below the bar.
Don’t force an exaggerated lower-back arch to create the picture of a high chest. Your upper back can extend and the ribs can lift while your abdomen stays engaged. If the grip immediately hurts your wrists or elbows, test another handle or shorten the range. The goal is to feel strong at the shoulder, not to create discomfort to prove an exercise name.
3. Pull the sternum toward the bar without kicking
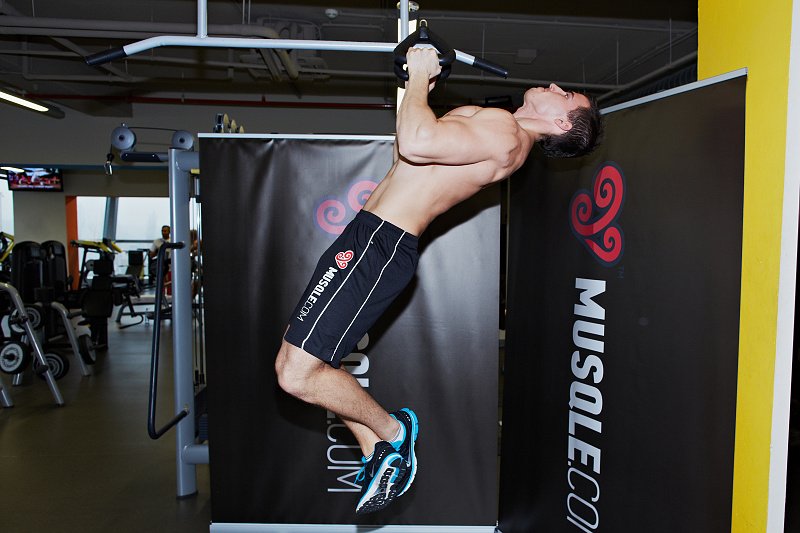
From the hang, initiate the pull with the shoulder blades moving down, then drive your elbows toward your sides. As you rise, allow the chest to lift and the torso to incline backward. Keep pulling until the lower chest approaches the bar, but stop at the best position you can reach without a sudden kick, neck snap or loss of control. Reaching a perfectly photographed chest-to-bar finish is not required on your first session.
The hard part is often the final third: your elbows must keep moving backward while your upper back stays organized. Instead of staring upward and yanking with your chin, imagine your sternum tracing an arc toward the bar. A small pause at your highest honest position makes it obvious whether you arrived there using your back and arms or bounced into it.
Lower deliberately. As your elbows straighten, unwind the torso angle and return to a comfortable hang. Do not drop out of the top while your shoulders are extended behind the body. On early sets, try about two seconds up and two to three seconds down. Film one set from the side: the clip should show a smooth torso arc, not a straight pull followed by a violent lean.

Equipment Worth Exploring
Explore equipment, accessories and gear from our carefully selected range.

Power Tower
Freestanding pull-up and dip station with adjustable handles for bodyweight training.


Angles 90 Grips
Flexible grip attachments that allow natural wrist movement during pulling exercises.


Foldable Wall Rack
Wall-mounted folding squat rack designed to save floor space between workouts.

Multi Pull Smith Rack MPHR-780
All-in-one rack with a Smith machine, functional trainer, lat pulldown and low row.
4. The errors that turn a back exercise into a wrestling match
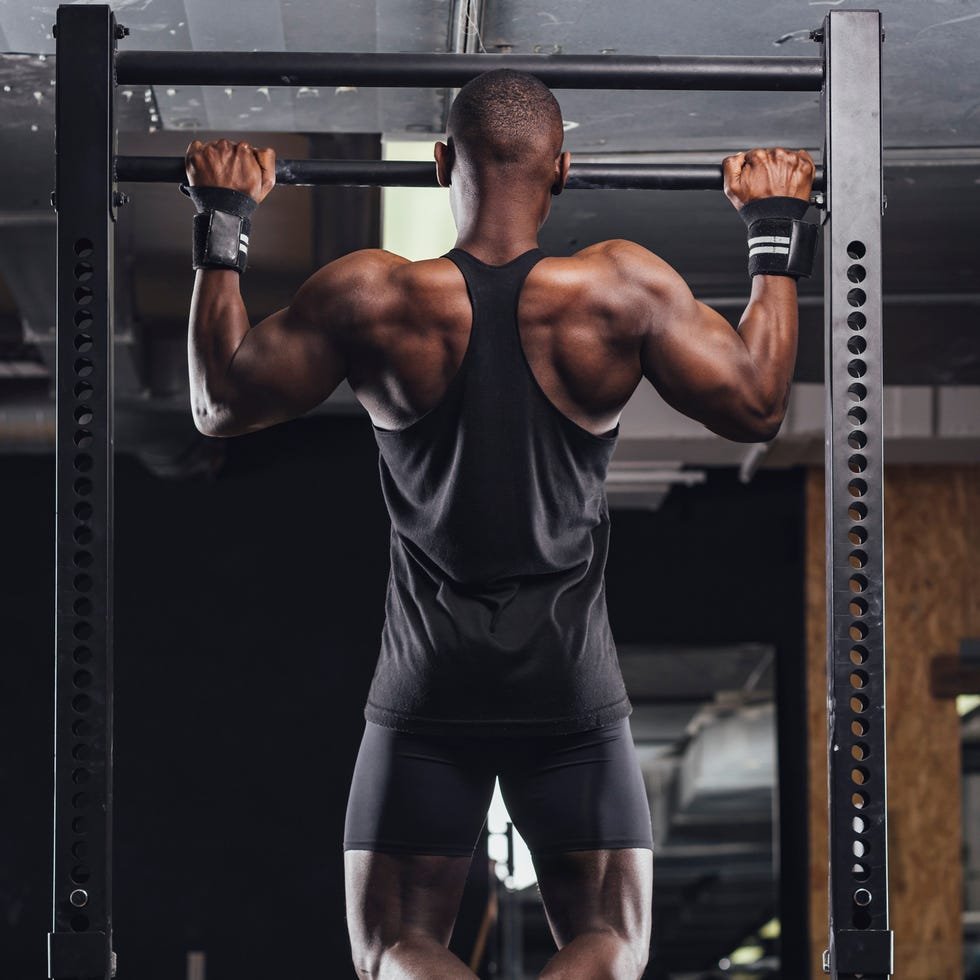
Swinging the knees and hips is the easiest way to fake extra height. It also makes repetitions impossible to compare: a powerful kick on rep six is not proof that your pulling strength improved. Reduce the range or use assistance instead. Another common error is using the lower spine as a hinge to display an enormous arch while the chest still stays far below the bar. Think upper-back movement and scapular control, not a painful bend through the waist.
Grip selection is another tradeoff. Very wide hands can make the top position awkward and may shorten how far your elbows can travel behind you. Very narrow hands may irritate the wrists. Keep a repeatable grip width and change only one variable at a time. If your shoulders rise toward your ears on every hard rep, lower the difficulty so that your shoulder blades can move without feeling jammed.
Pain is not evidence that the variation is working. Sharp shoulder, elbow or wrist symptoms are reasons to stop and switch to a comfortable pulling pattern. Even with a painless movement, treat fatigue honestly: one beautiful chest-high rep plus five swinging half reps is less useful than a smaller number of clean, repeatable arcs.
5. Build the movement in steps before adding weight
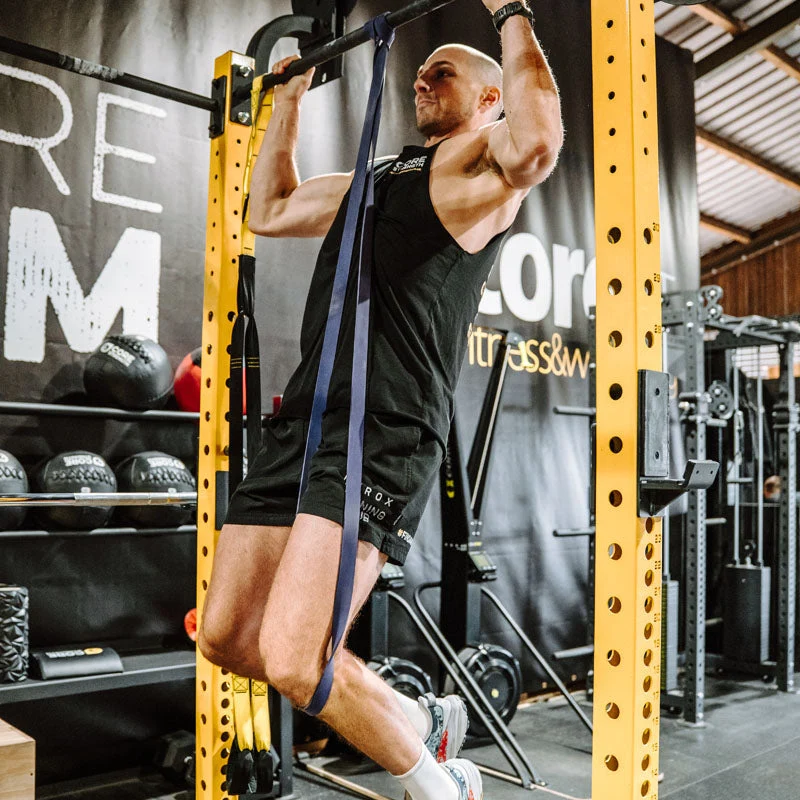
A practical entry test is whether you can complete several strict ordinary chin-ups with full control. If not, start with band-assisted chin-ups, foot-supported bar pulls or a controlled cable pulldown. Those exercises are not identical to a Gironda rep, but they let you develop the requisite pull while choosing a manageable load. An assisted chest-to-bar pull is usually a better bridge than repeatedly failing at the upper range.
Progress the skill in layers. First establish a reliable hang and steady descent. Next raise the chest higher on regular chin-ups. Then introduce a modest lean-back near the top and gradually make that curve earlier in the rep. Add a one-second pause at the best chest position you can reach, without asking someone to push your back upward. Only increase range if the next workout still feels comfortable.
Once you can perform six to eight high-quality sternum chins, adding a little weight with a reliable dip belt can create overload. But additional weight is optional, and a loaded conventional chin-up should not be labelled a sternum chin-up if the torso angle and chest target have disappeared.

Bodybuilding Shirts & Workout Gear
Bodybuilding shirts, tanks and gym gear for lifters chasing muscle, size, symmetry and the pump.


Always Pull Yourself Up Crewneck Calisthenics Pullover T-Shirt
Bring “Always Pull Yourself Up” humor to your everyday gym style.

Calisthenics Pullups Heartbeat Hoodie
Bring “Calisthenics Pullups Heartbeat” gym humor to lazy days and post-workout plans.


Gym Dost Thou Even Pull Medieval Knight Lat Pulldown De Sticker
Give your everyday gear a playful “Dost Thou Even Pull Medieval Knight Lat” twist.

Lat Man Big Back – With Huge Lats – Vest Back Day Tank Top
Your gym-day look, with a playful “Lat Man Big Back” twist.

Demon Back Big Back Sweater & Lat Gains Meme T-Shirt
Add a playful “Demon Back” touch to your casual rotation.

Shirt Pull Day – Back & Biceps Meme Top T-Shirt
Heavy lifts, good laughs, and a little “Pull Day Graphic” energy.

Back Sabbath Back Day Funny Gym Hoodie
Bring “Back Sabbath Back Day” gym humor to lazy days and post-workout plans.

Pumpeye Forearm Gains & Grip Training Decal Popeye Sticker
Put “Pumpeye” gym humor on your laptop, bottle, or gym gear.
6. A four-week back-day progression that you can actually log
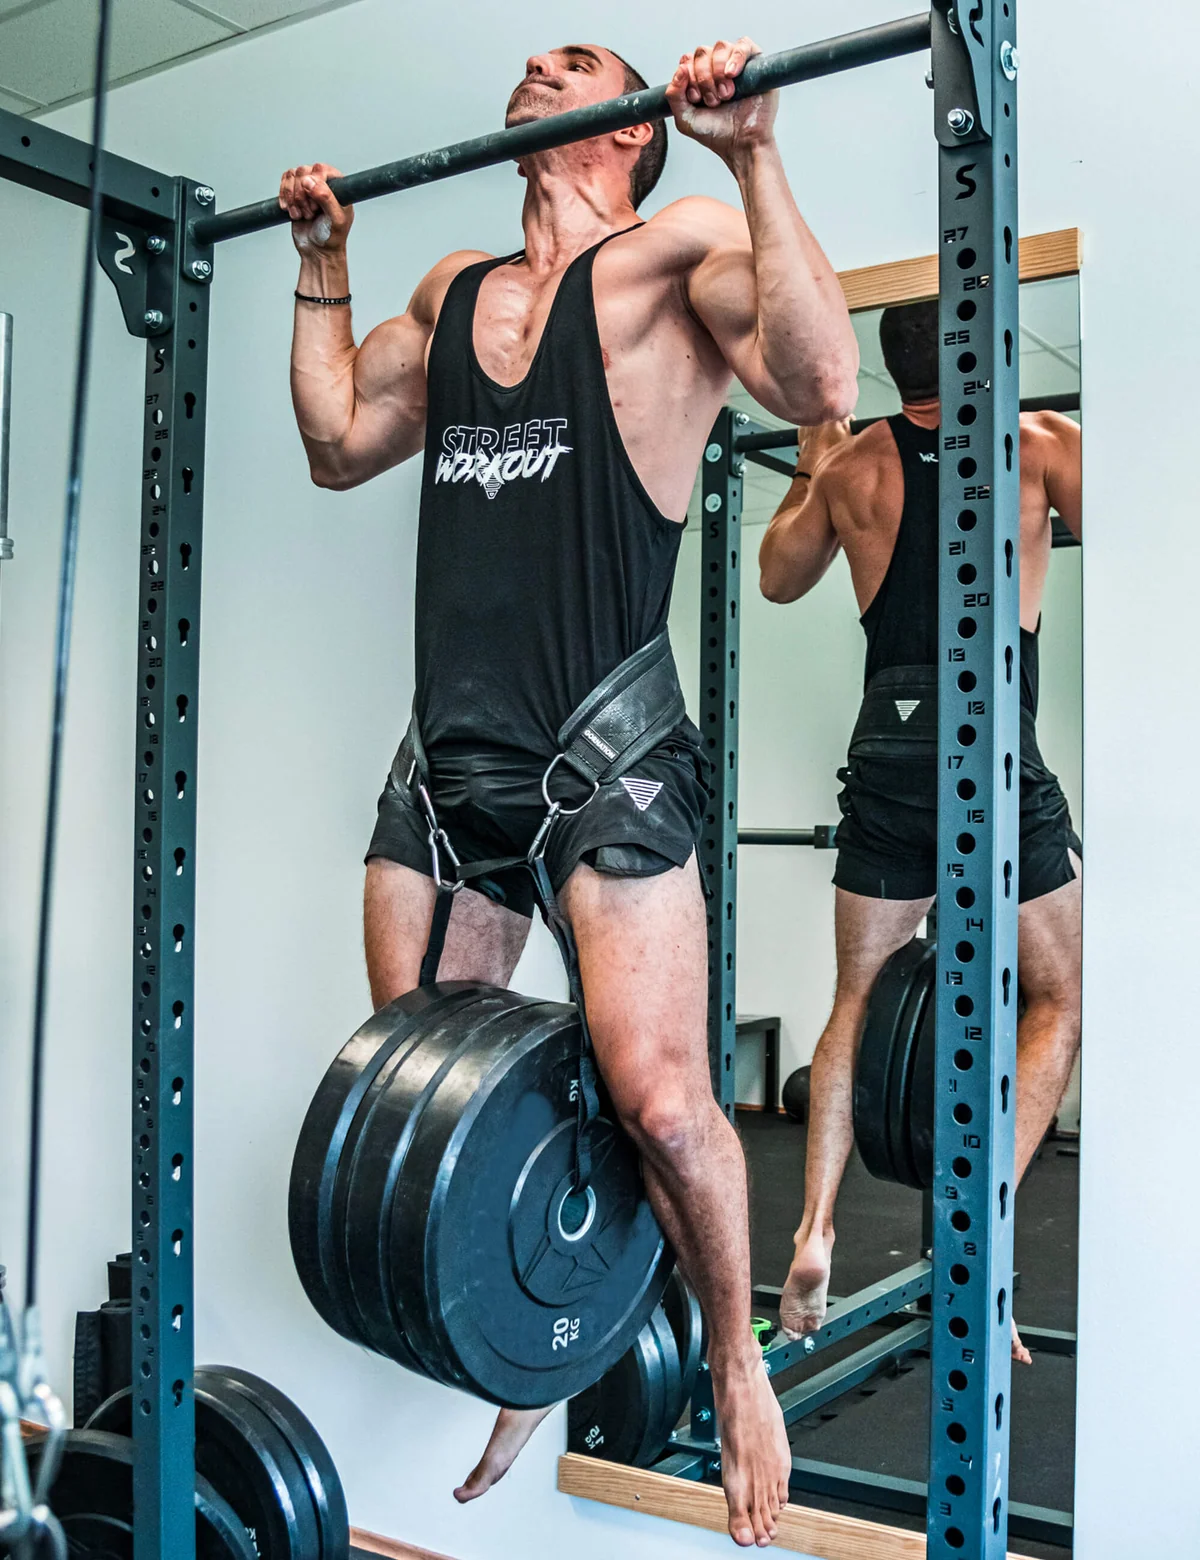
Train the variation once or twice weekly, preferably near the beginning of your pulling workout when you can concentrate. For week one, perform three sets of three to five controlled reps or assisted reps, leaving roughly two good repetitions in reserve. Make your notes about the highest point reached and whether each repetition returned to a quiet hang. Consistency of position matters more than a flattering rep count.
In week two, keep the same number of sets and try to make the last third of every rep smoother. In week three, add a one-second chest-high hold on the first two repetitions of each set or add one clean repetition if the technique is stable. In week four, either repeat the successful load and improve range, or progress the resistance slightly while preserving the same path. Keep at least two minutes between hard sets, and add recovery time if grip or back control deteriorates.
Pair the movement with a horizontal row that lets you train the back through a different line of pull. If your shoulders are already stressed by heavy pull-ups, rows, deadlifts and gripping work, replace an existing vertical-pull slot rather than stacking endless new sets on top. Log grip, assistance, repetitions, pause quality and any joint discomfort. The long-term win is a more capable pull with honest, reproducible technique, not a single dramatic sternum-to-bar photo.