Advertising disclosure: This page includes affiliate product links that may earn us a commission, as well as products from our own store.
Rope Climbs: Lock Your Feet, Save Your Grip and Descend in Control
Rope climbing looks like an upper-body test, but anyone who has attempted several climbs using only their arms knows how quickly the hands and forearms can become the limiting factor. The J-hook foot lock changes the task: instead of constantly hauling your weight with the elbows, you create a temporary platform between the shoes, stand on it and then move your hands higher.
That shift can make rope climbing more repeatable, but it does not make the movement risk-free or automatically easy. An unreliable clamp, a long pause on tired hands or a rushed descent can undo the benefits. This guide covers a safe practice environment, the J-hook sequence, when a more substantial leg wrap makes sense, and a four-week skill progression that puts control before height.
1. Build a safe rope station before you leave the floor
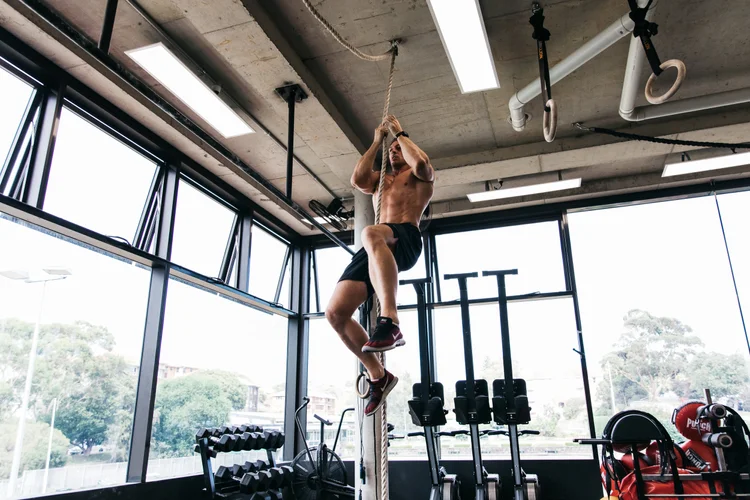
A rope climb is a vertical skill with a real consequence if your grip fails. Choose a properly installed rope approved by the facility, not a makeshift length of hardware-store rope attached to an unknown beam. Ask a qualified coach to check the anchor, rigging, rope wear and landing surface. The correct setup depends on the facility and its equipment; a visually sturdy beam is not proof that it can safely hold a moving athlete. Keep other people and loose equipment outside the climbing area, and follow the gym’s height and supervision rules.
Before climbing, inspect the rope for obvious damage, fraying, slick sections or insecure fittings, and make sure your shoes have a predictable tread. Long socks can reduce friction on the shins when learning leg wraps. Remove loose jewelry and anything that can snag. Rope climbs load the fingers, elbows, shoulders and skin, so a fresh grip and pain-free reach matter more than the number of repetitions written on a workout board.
Start with both feet on the ground. Reach for the rope, engage your trunk and test how it behaves as you lean some weight into your hands. Practise finding the rope with your feet while standing close enough to step down safely. If you cannot confidently clamp it at floor level, a higher ascent will only make the problem harder to solve. A supervised low drill is productive training, not a failed climb.
2. Make the J-hook a platform instead of a panic grip
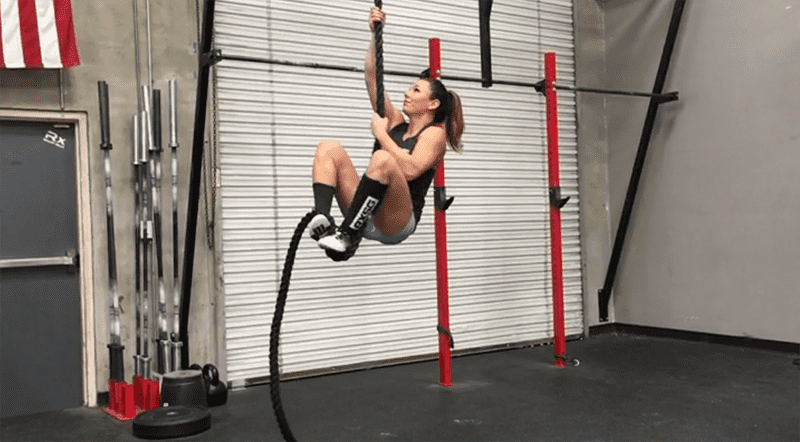
The basic J-hook turns your shoes into a temporary step. With a secure handhold, lift your knees enough to bring the rope toward your feet. Guide the hanging rope along one lower leg, then sweep a foot across or underneath it and trap the rope against the other shoe. The exact threading route can differ slightly by coaching tradition and lead foot; the essential outcome is a firm two-shoe clamp with the rope bending underneath the supporting foot rather than sliding freely past it.
Do not copy a foot path from memory at full height. Stand next to the rope and deliberately rehearse one orientation until you can see where it enters and leaves the clamp. Squeeze the shoes together, put some pressure through the feet and then stand taller. The test is not whether your toes look like an illustration; it is whether the rope remains stationary under a controlled load while your hands maintain an easy, secure hold.
If the rope runs straight through the shoes, recheck which side it approaches, whether you actually caught it underneath the supporting foot and whether the upper foot is pressing firmly. A fast knee raise with a loose clamp simply transfers the load back to the forearms. Aim for a repeatable sequence: look, catch, squeeze, test, stand. When that sequence works near the floor, gradually shorten the time needed to establish it without sacrificing control.
3. J-hook versus S-wrap: understand the trade-off
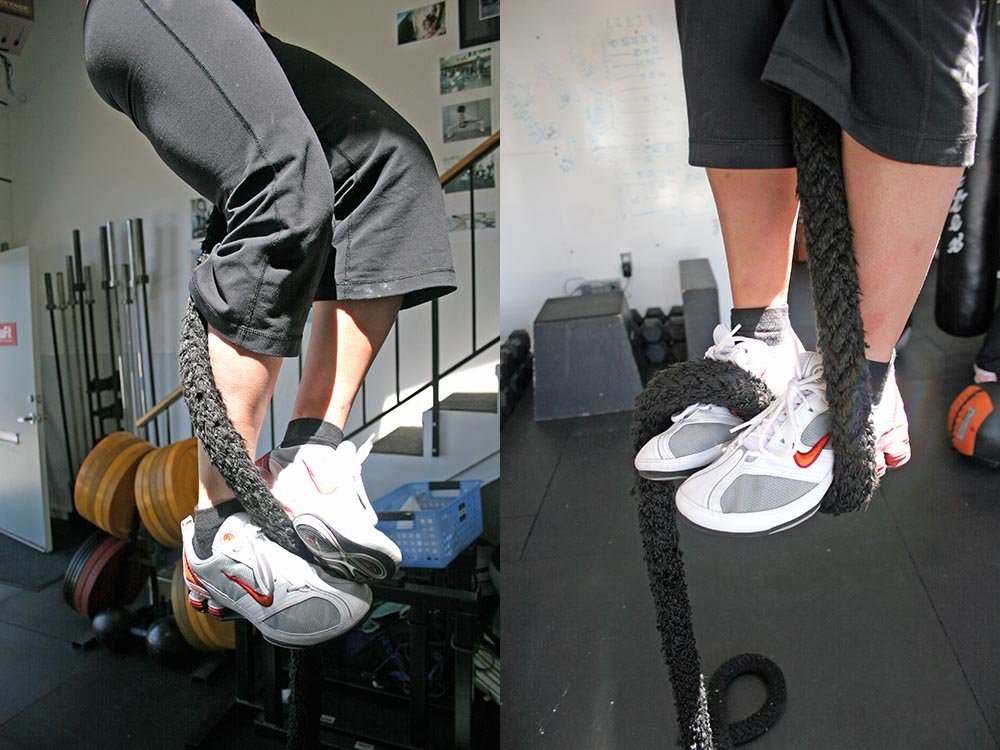
Two common assisted climbing methods share the same idea: use friction and leg drive so the arms are not responsible for lifting the entire body. The J-hook typically uses a shorter rope path around the foot. Once practised, it can be quick to set, release and re-establish. That economy is appealing during workouts with repeated ascents, but a rushed or poorly positioned clamp can slip, particularly as the shoes or rope change.
An S-wrap or more substantial leg wrap routes extra rope around the lower leg before the foot clamp. More contact can make the position feel secure for some beginners, but the additional wrapping may take longer to learn, release and reset. It can also create rubbing against the shin. Neither technique is universally superior: rope diameter, footwear, ankle mobility, body position, training objectives and the athlete’s experience all influence which feels reliable.
Compare them on the ground before making a decision. Establish each foot lock with a coach watching, apply a modest amount of weight and see whether you can stand without frantic hand pulling. Note how easily you can undo the lock and then recreate it. A technique that is theoretically faster but repeatedly slips is not the efficient choice. When preparing for a competition, also check that the chosen foot-assisted method is permitted by that specific event’s standards.
4. Climb by standing on the lock, then moving your hands
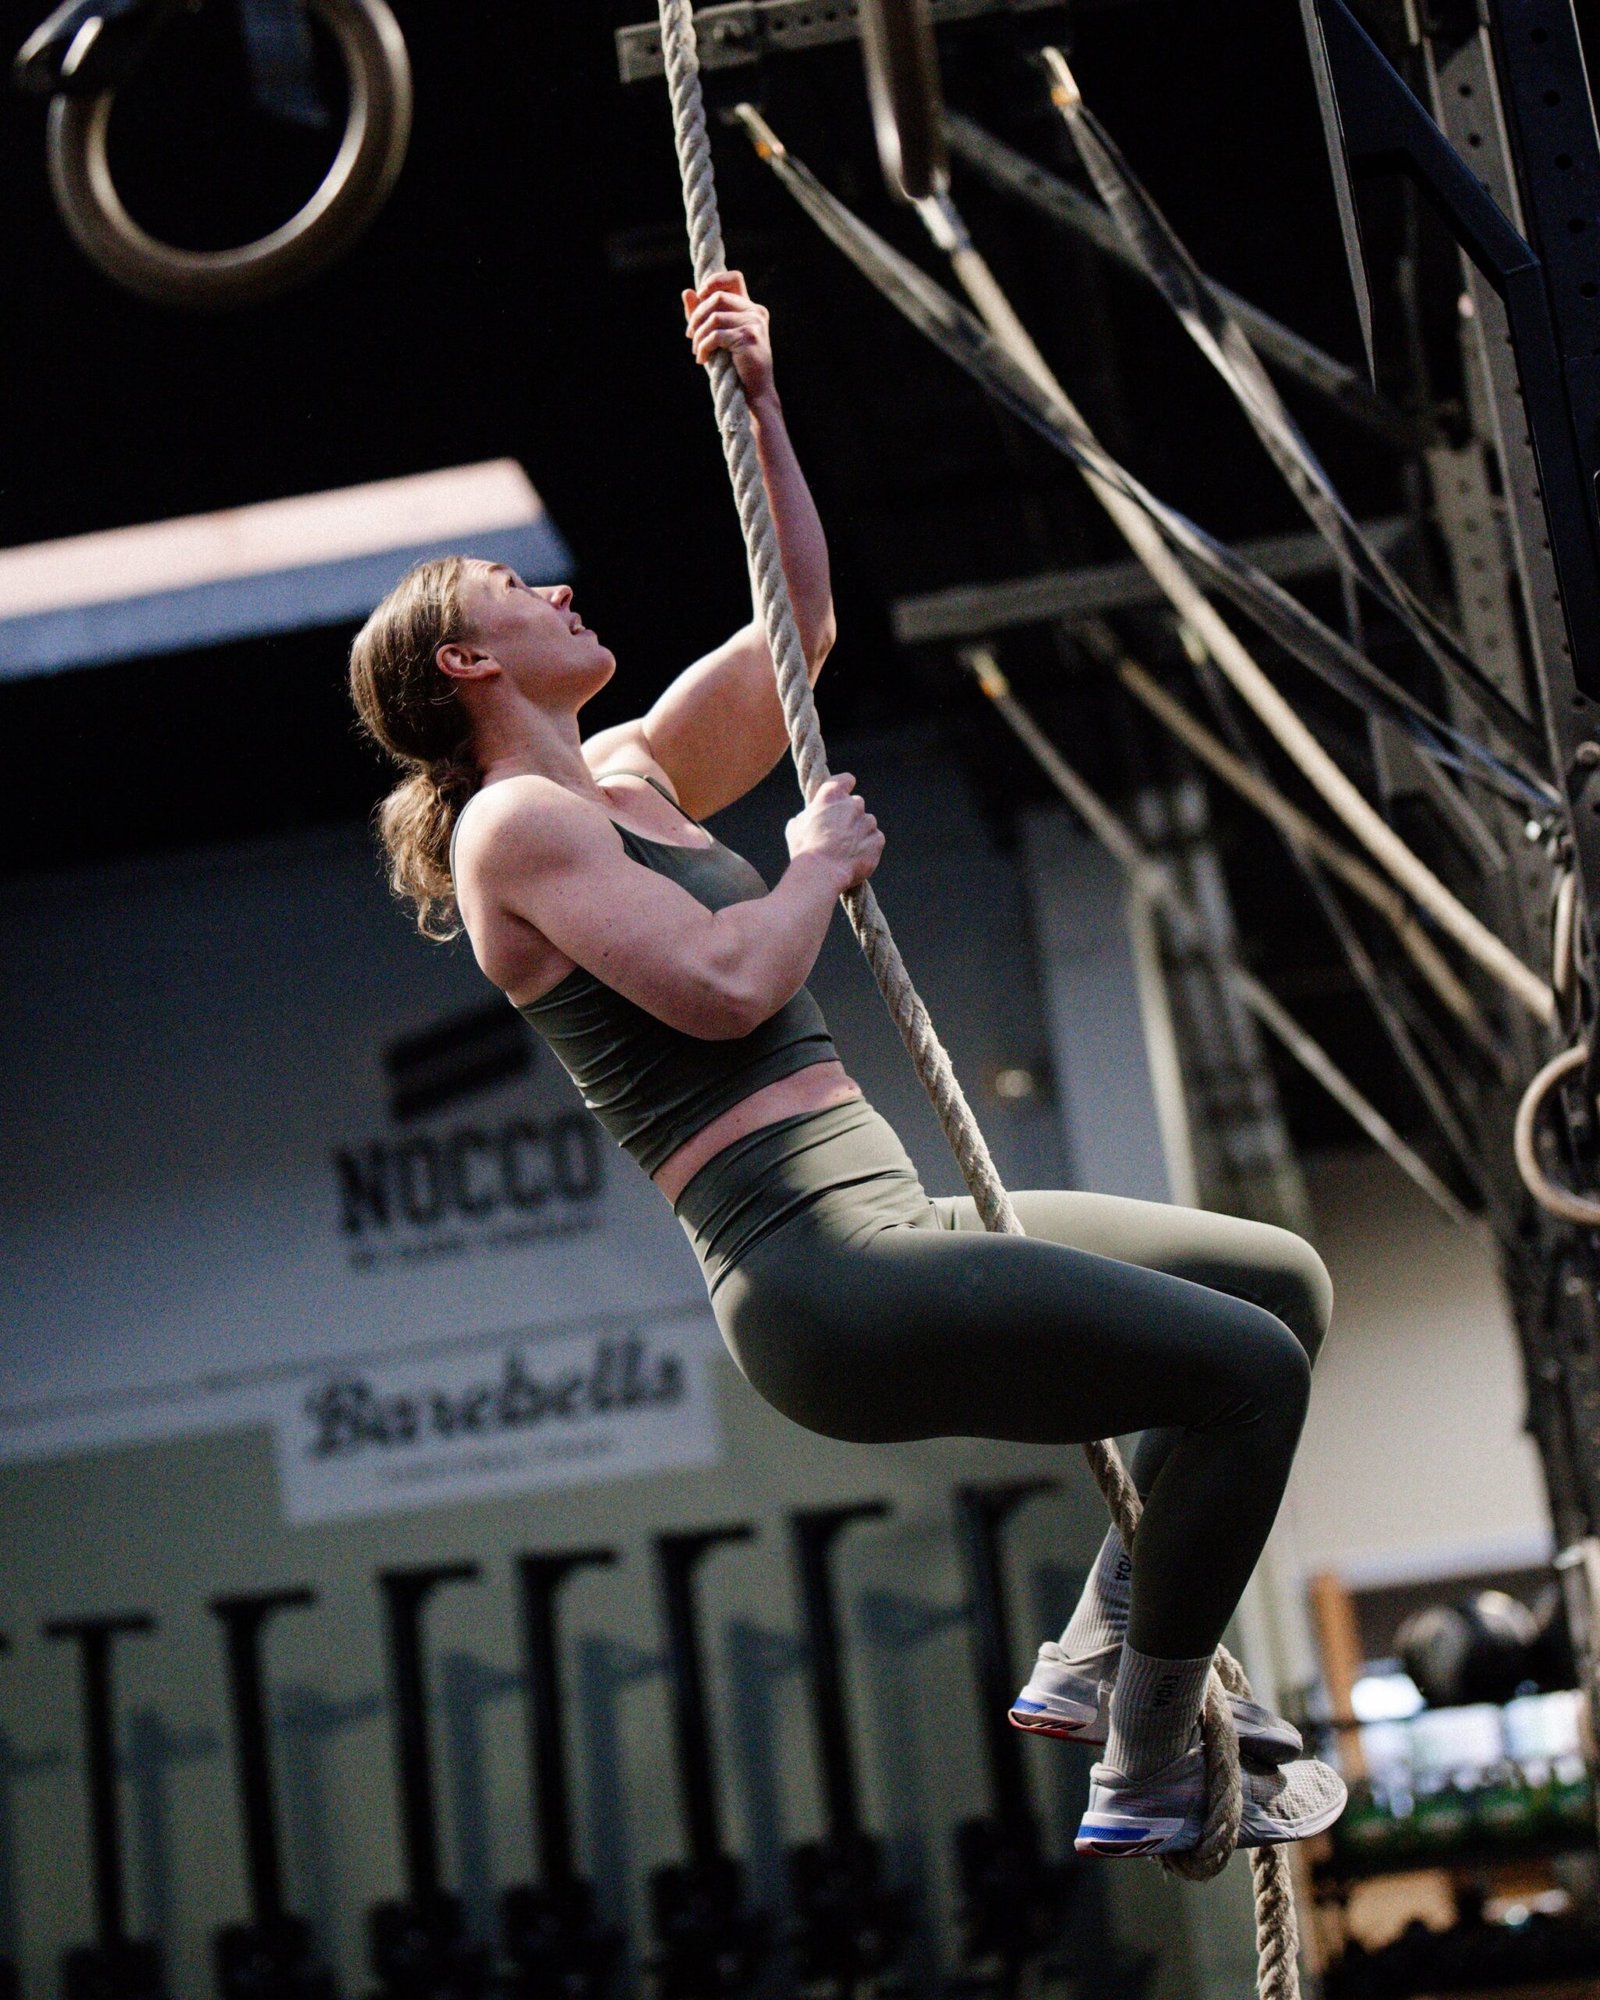
The strongest climbing rhythm is a sequence of supported actions, not a continuous arm curl. Reach high enough to make an initial secure handhold, bring the knees up, establish the foot lock and press through both shoes to rise. Only once the clamp is holding should you move the hands higher in a controlled manner. Keep a deliberate grip rather than trying to loosen both hands at once. Your arms still stabilize the torso and reposition the body, but the legs can contribute substantially to each gain in height.
A common inefficiency is pulling three short times before trying to use the feet. That burns grip strength while leaving the powerful leg extension underused. Another is keeping the feet too low: the lock may hold, yet the athlete cannot gain much height from standing. Look for a comfortable knee lift that produces meaningful upward travel without forcing the hips into an unstable swing. Avoid kicking hard at the rope or relying on momentum to compensate for uncertain contact.
Once the hands are firmly repositioned, reset your feet and repeat. Stay oriented toward the rope rather than twisting around it. Pause when the clamp needs correction; speed is the result of reliable repetitions, not a substitute for them. For early technique sessions, stop well before grip failure and treat each ascent as several technically clean standing repetitions. A useful log is the number of solid lock-and-stand cycles, not merely whether you reached the ceiling.

Equipment Worth Exploring
Explore equipment, accessories and gear from our carefully selected range.


Power Tower
Freestanding pull-up and dip station with adjustable handles for bodyweight training.




Angles 90 Grips
Flexible grip attachments that allow natural wrist movement during pulling exercises.
5. Practise the descent as deliberately as the ascent
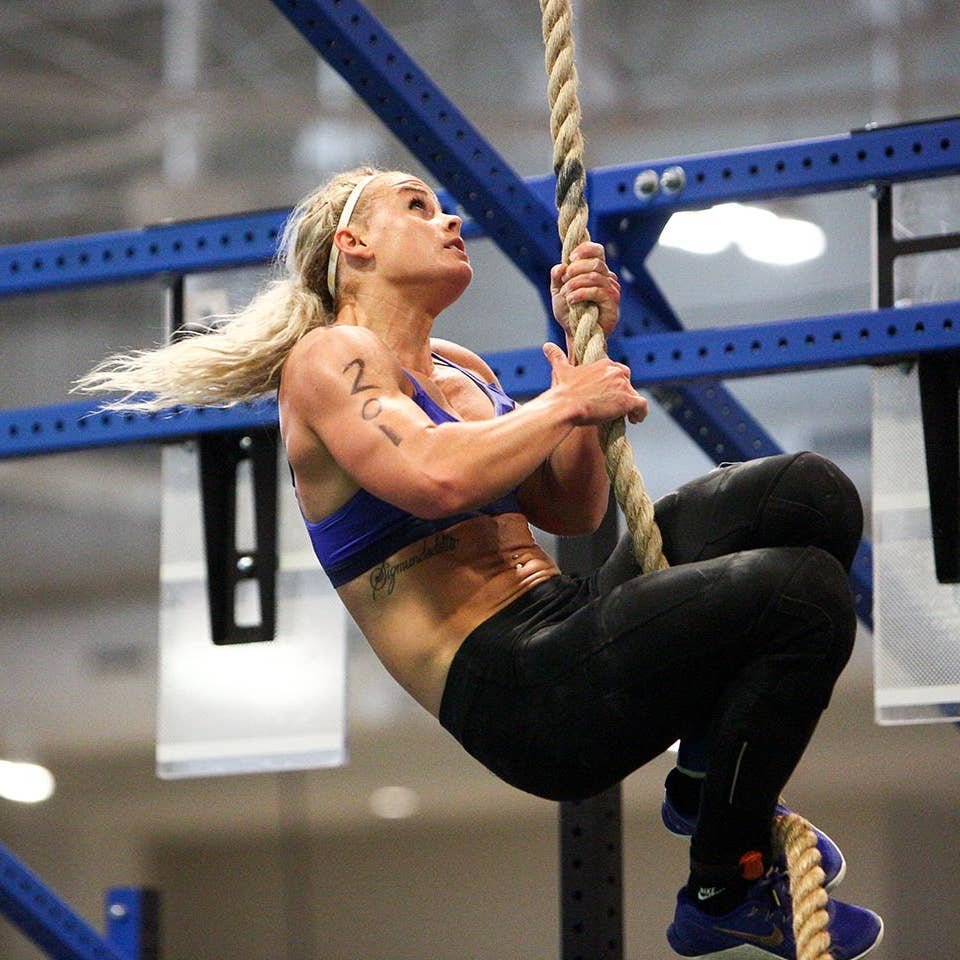
Getting to the top is only half the skill. An athlete who climbs confidently but has no descent plan can become stranded at height with tired hands. Learn how to come down before progressing to a full rope climb. Keep your feet engaged and your hands in control, then lower in small, manageable increments using the friction of the foot lock to regulate movement. A controlled descent should not require an uncontrolled drop or a fast bare-handed slide.
Friction from a rope moving quickly across the palms or legs can damage the skin. Some athletes use suitable shin coverage, but clothing does not replace technique. Do not deliberately burn through the hands to save a second in training. If you notice the rope accelerating, squeeze the foot clamp again, stabilize and return to a smaller step. A coach should determine appropriate low-height practice and emergency procedures for the specific rope station.
Use three troubleshooting questions after a poor attempt. Did the feet actually hold the rope, or did the arms catch a slip? Did the body stay reasonably close to the rope, or did repeated swings waste effort? Could you reverse the climbing rhythm on the way down without panic? These observations are more actionable than simply deciding you need stronger forearms. If the hands, shoulders or elbows hurt, finish the session rather than attempting another exhausted climb.
6. A four-week progression from floor drills to supervised climbs
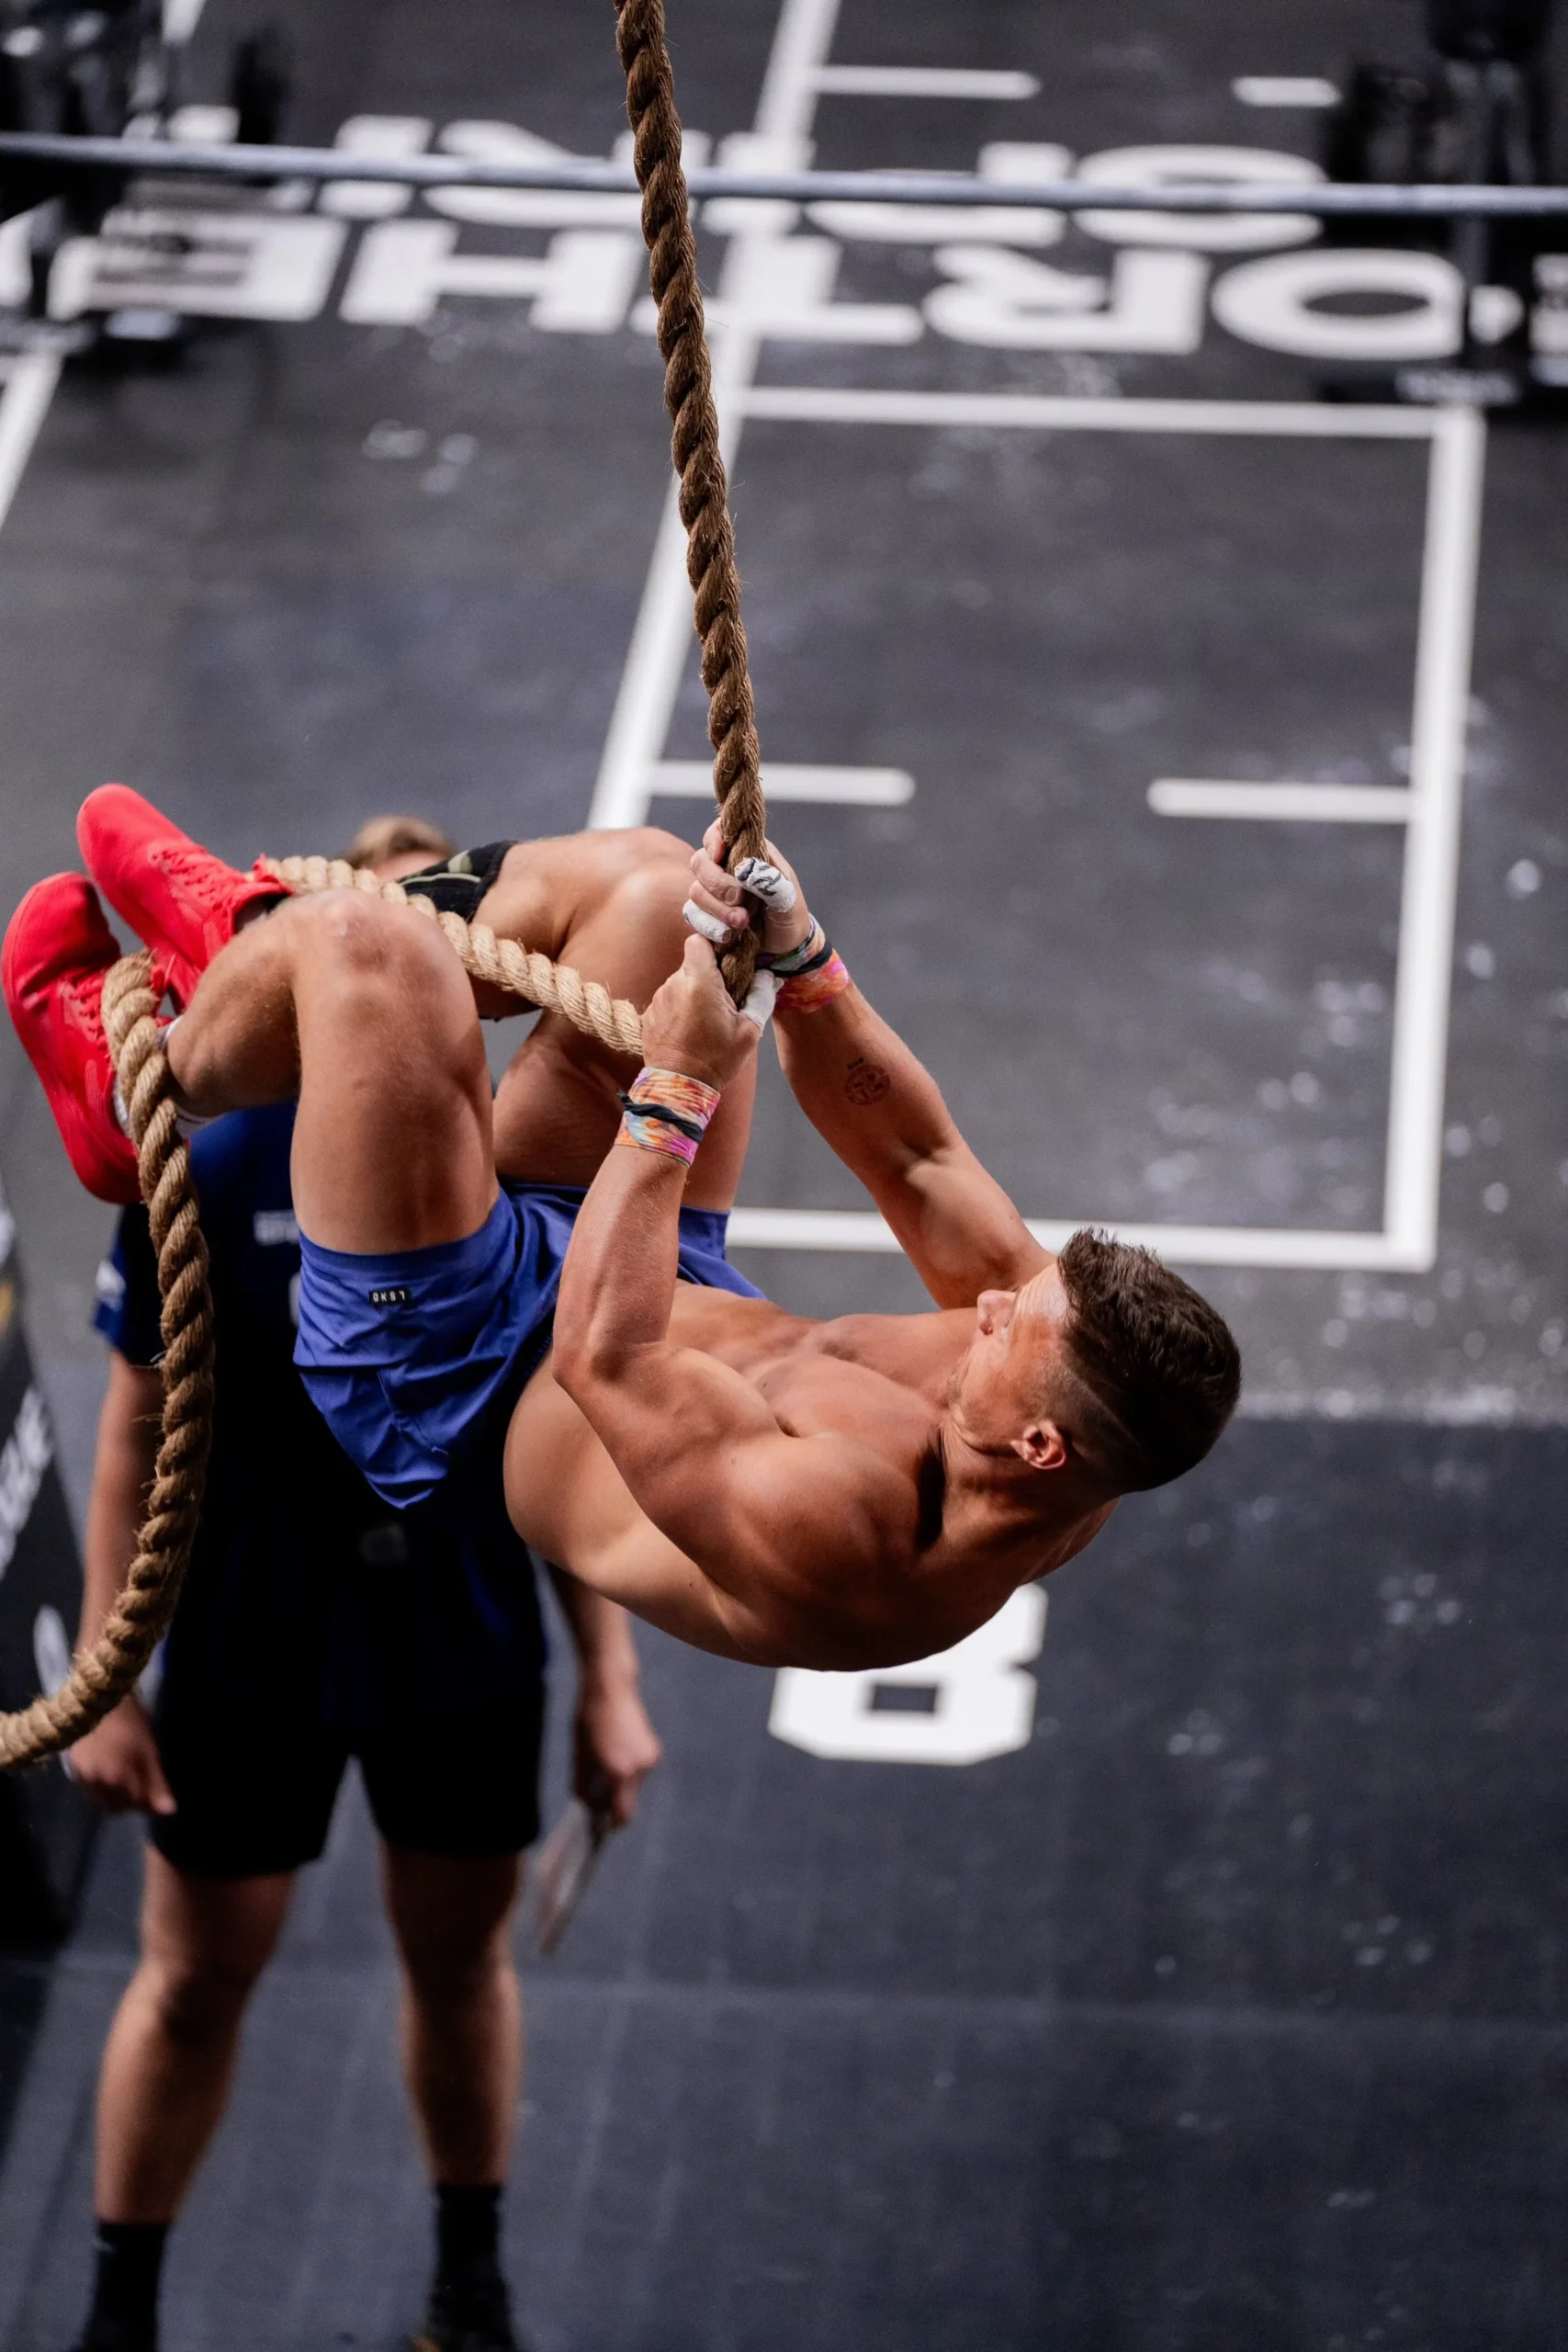
This progression is an illustrative skill schedule, not a promise that every beginner will reach a full-height ascent in four weeks. Practise two nonconsecutive days per week, keep total attempts low and leave plenty of recovery between sets. A qualified coach should adjust the height and progression based on the actual installation, your grip capacity and whether you can reliably descend. Do not advance merely because the calendar says to do so.
Week one: perform three to five slow floor-level J-hook practice cycles per session. Find the rope, clamp, gradually put weight through the shoes, stand tall and step down under control. Finish with a small amount of ordinary pulling work if it does not interfere with the skill. Week two: use a low, supervised rope pull-to-stand drill, with feet beginning on the ground and a deliberate reset after every stand. Record whether each clamp held rather than chasing repetition totals.
Week three: if the rope station and coach allow it, practise short partial climbs with an immediate controlled return. Use generous rests and stop at the first sign that foot placement or descent is becoming inconsistent. Week four: consider a higher climb only if the foot lock, hand changes, controlled descent and site-specific safety conditions are already dependable. Otherwise repeat the partial-climb stage. That is progress, because it converts a risky test into a repeatable skill.
Keep a tiny log: foot-lock success rate, number of controlled transitions, climbing height, quality of the descent and any skin irritation. Progress one variable at a time. More height, faster climbs, heavier loading and legless climbing are different challenges, and none is required to make J-hook technique useful. Finish with a climb you can control all the way down, not the highest point you can barely reach.

Calisthenics Shirts & Street Workout Gear
Calisthenics and bodyweight-training gear for pull-ups, dips, handstands and street-workout athletes.

Funny Lord of the Calisthenics Rings Gym | Jesus Lifter Tank Top
Add some lifting attitude to training with “Lord of the Calisthenics Rings”.

Calisthenics Pullups Heartbeat Hoodie
Bring “Calisthenics Pullups Heartbeat” gym humor to lazy days and post-workout plans.


Calisthenics Hanging Out Hoodie
Make your off-duty look more fun with “Calisthenics Hanging Out”.


Funny Calisthenics Gym Decal for Water Bottles Laptops Sticker
Bring “Calisthenics” attitude to your water bottle or laptop.

Funny Calisthenics Gym Hooded Pullover for Bodyweight W Hoodie
Stay casual and show some lifting attitude with “Calisthenics”.

Calisthenics Heartbeat Tank
Add some lifting attitude to training with “Calisthenics Heartbeat”.

Calisthenics Evolution Crewneck
For laid-back days and lifting humor: “Calisthenics Evolution”.

Calisthenics Hanging Out Tank
Show some personality between sets with “Calisthenics Is My Idea of Hanging Out”.