Advertising disclosure: This page includes affiliate product links that may earn us a commission, as well as products from our own store.
Rogue FM-6 Twin: Understand the Cable Ratios Before Planning Your Gym
A rack with cables can look like a complete gym in a single photograph. The useful questions start after that first impression: which weight stack feeds each handle, where your body goes during a row, and whether the assembled machine can actually be installed in the room. Those details matter more than counting the exercises in a product description.
The Rogue FM-6 Twin combines a full rack with two cable weight sources. This is a specification-based planning guide, not a hands-on MMP review or a claim that every illustrated attachment is included. Work through the resistance paths, training layout and installation requirements before deciding which configuration belongs in your space.
1. Separate the trolley resistance from the stack label
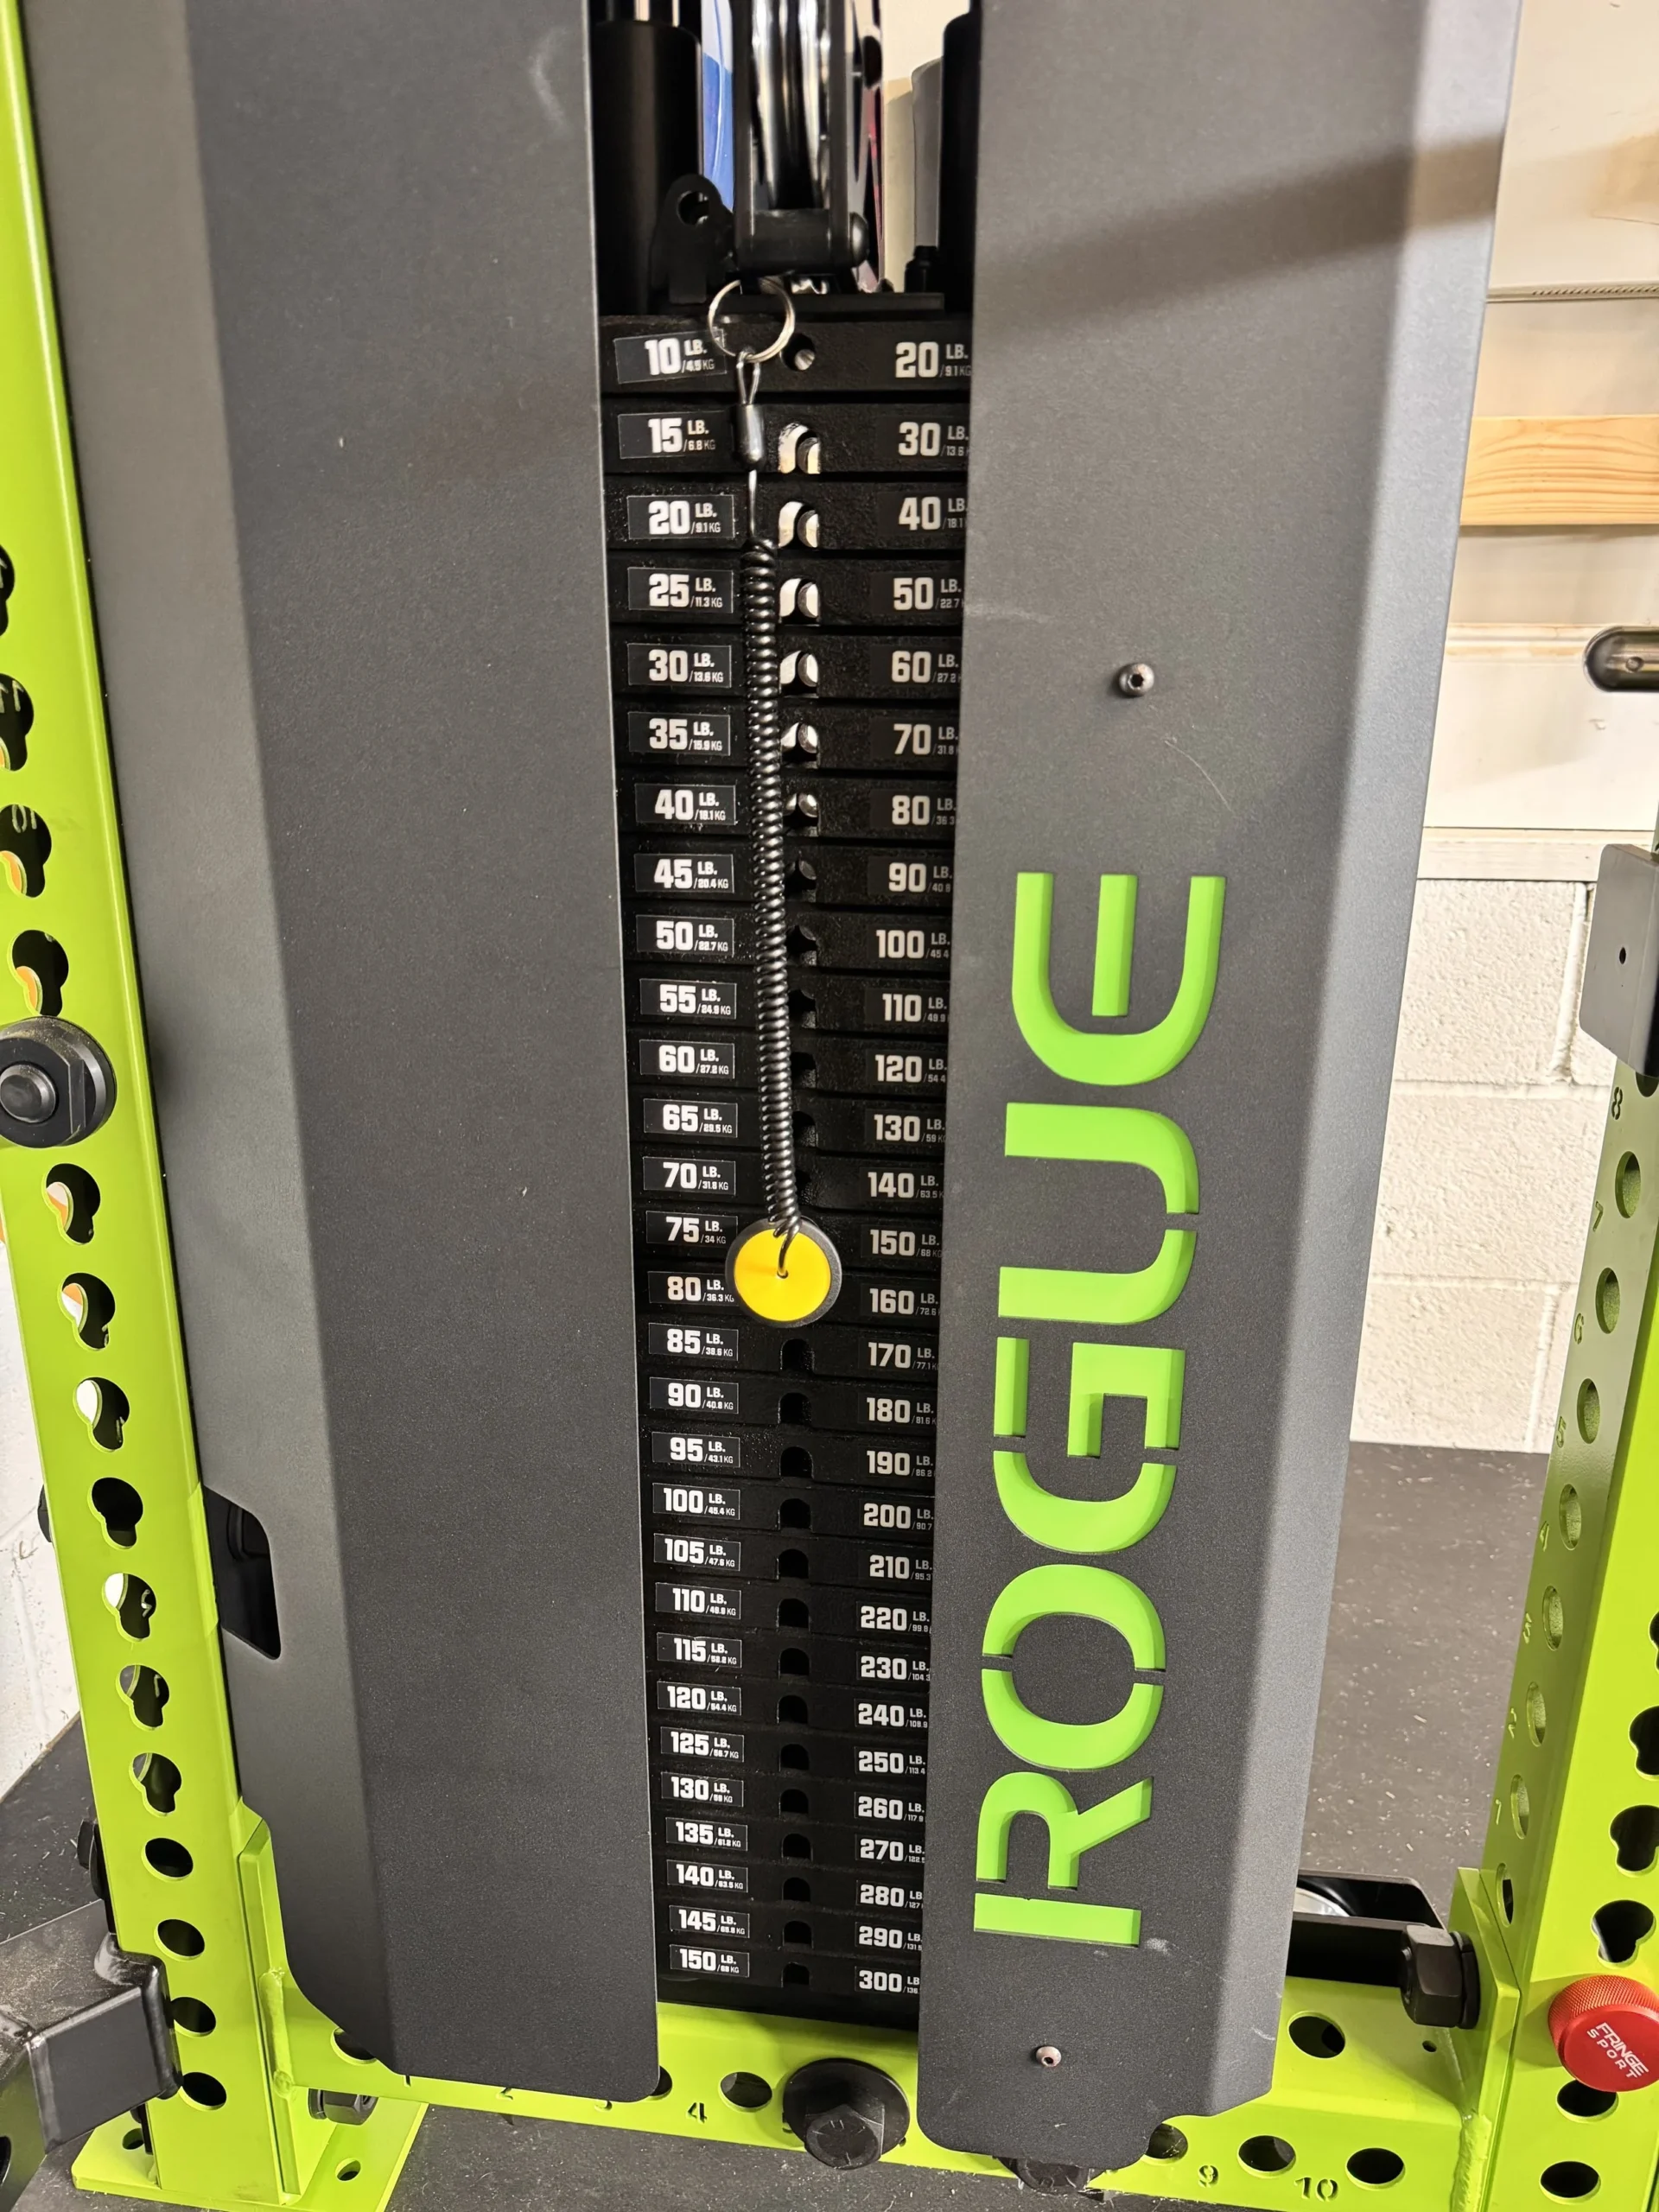
The front functional-trainer trolleys use a 2:1 ratio. The lat-pulldown and low-row stations internally combine the two stacks’ 2:1 outputs, with 250 lb or 300 lb total possible load depending on the selected stack option. The two front trolleys can be set independently.
Think in terms of the resistance path rather than treating every stack number as the load in your hand. In an ideal 2:1 arrangement, selecting 100 lb corresponds to approximately 50 lb at one handle. Friction and the actual machine affect what you feel; that simple calculation explains the ratio rather than measuring a particular unit.
It also explains why moving to the central pulling stations is a different setup from using one front trolley. Record the station, selected load and handle in your training log. A cable row entered only as a number becomes difficult to compare when the next session uses a different station or attachment.
Before choosing a stack option, list the exercises for which you need the most resistance and those where small adjustments matter. Heavy bilateral pulling and lighter single-arm work put different demands on the same machine. More maximum capacity is useful only when the complete configuration supports the work you intend to perform.
2. Check the pulling position, not just whether a handle reaches you
A cable reaching your hands is the beginning of a setup check. You still need a stable position, a clear cable path and enough travel to complete the repetition without an unintended stop. Plan the row and pulldown positions with the bench, floor space and any required support in their real locations.
For a seated row, think about where your feet brace and where the handle finishes. A handle with a different width or depth changes the space around your torso even when it attaches to the same cable. Check the return as well: the starting position should not require an awkward reach around another attachment or a pile of plates.
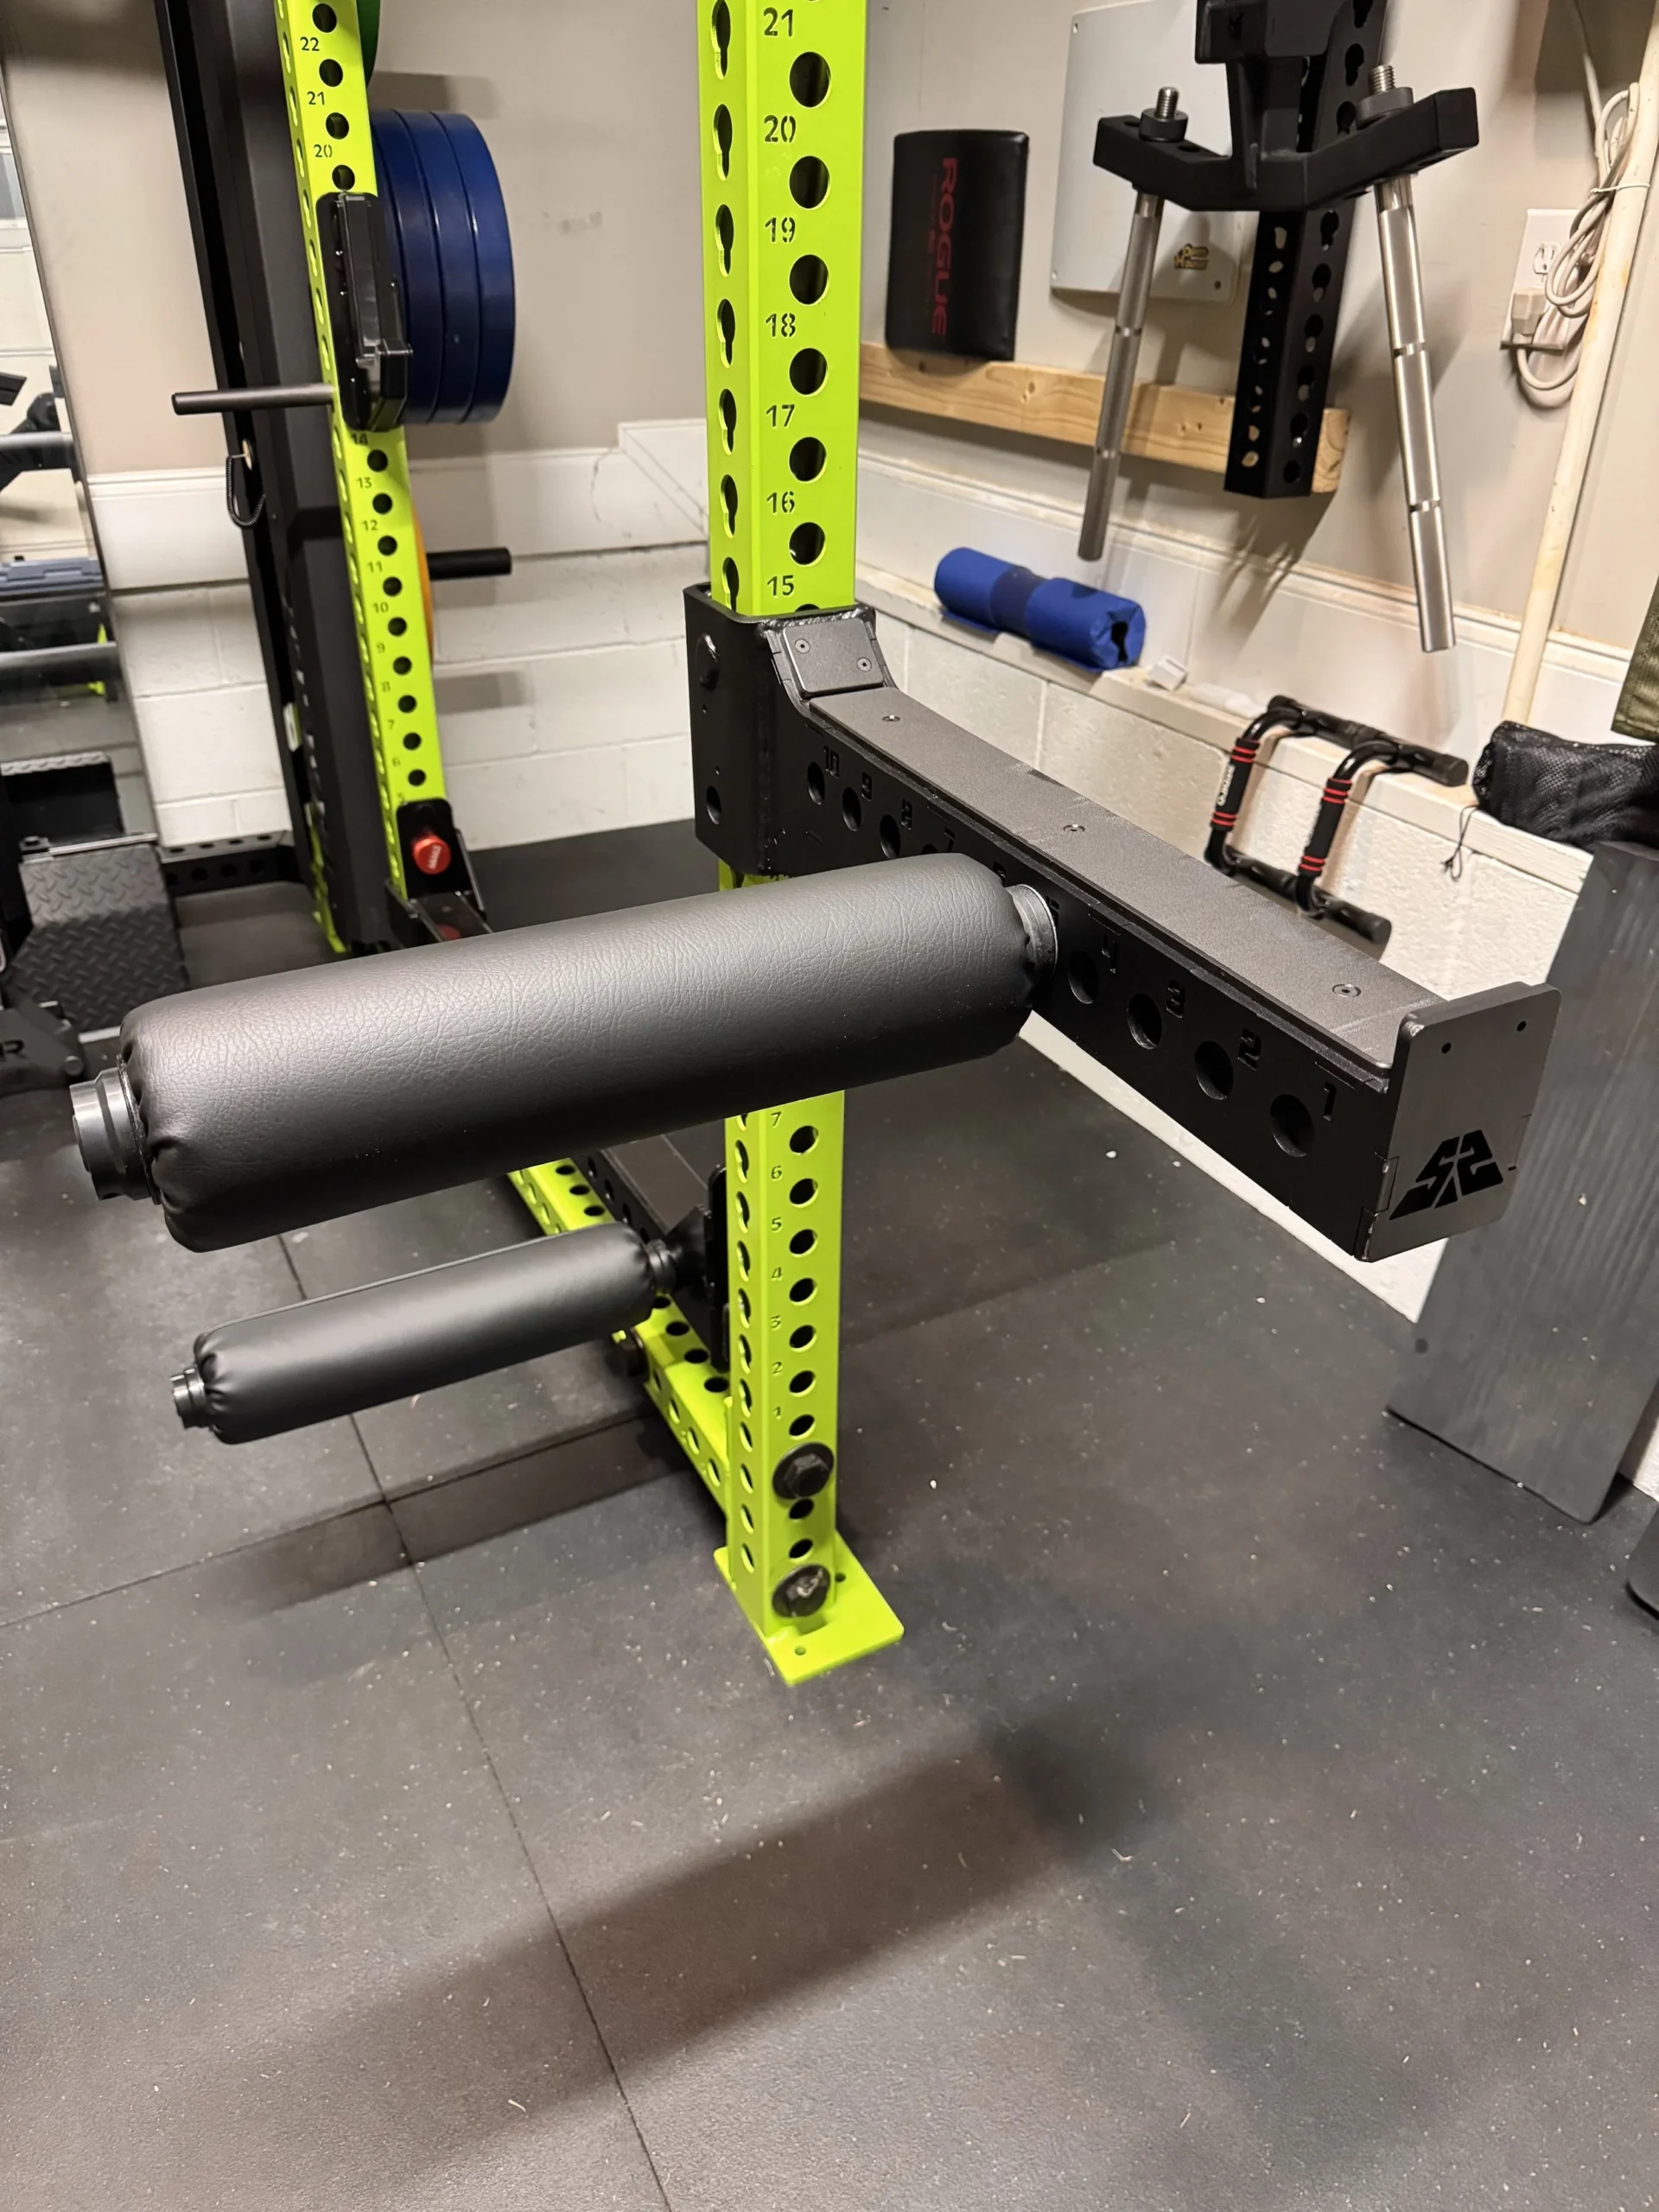
For a pulldown, confirm how the selected seat and thigh restraint keep you positioned. Do not assume that an accessory visible in a room photograph is supplied with the base configuration. Match its exact part number and compatibility to the order, rather than relying on the fact that it looks like a rack attachment.
For lighter cable accessories, establish a repeatable body position before increasing load. A curl still involves controlled elbow movement and a steady wrist; a different resistance source does not make uncontrolled swinging a progression method. Mark useful trolley positions in your log so the next session starts with the same geometry.

Equipment Worth Exploring
Explore equipment, accessories and gear from our carefully selected range.

VForce 2IN1
Half rack and pivot-arm functional trainer with switchable 1:1 and 2:1 pulley ratios.

VForce Wall Trainer
Space-saving wall-mounted functional trainer with pivoting cable arms and variable resistance ratios.

VForce Lat Tower
Wall-mounted cable tower with pivot arms and adjustable 1:1 or 2:1 pulley ratios.

Multi Pull Smith Rack MPHR-780
All-in-one rack with a Smith machine, functional trainer, lat pulldown and low row.

Trinity Lat Machine LSW-850
Weight-stack pulldown tower offering three cable directions and adjustable seated support.
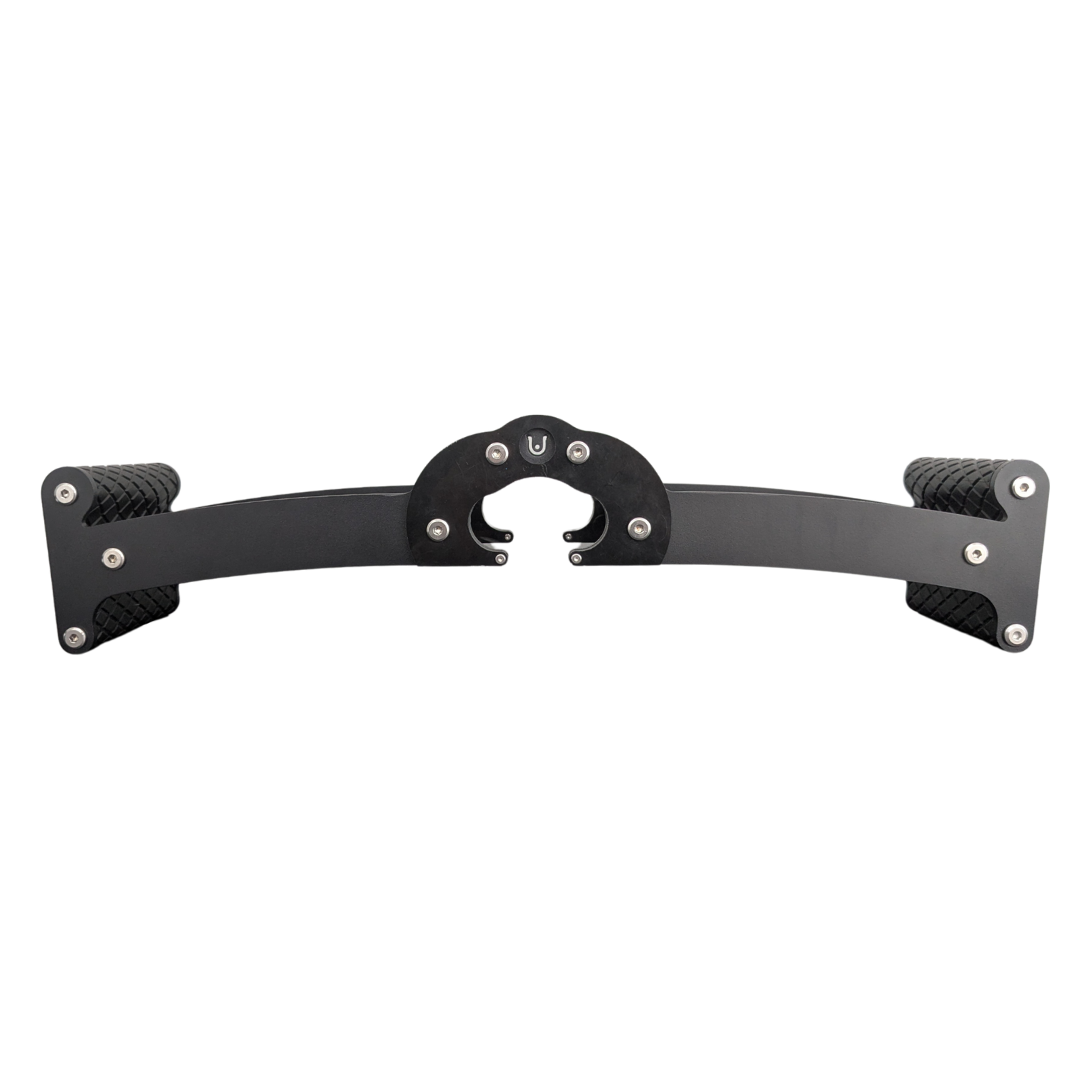
Back Bar
Multi-grip cable and landmine bar with a built-in deadlift jack.
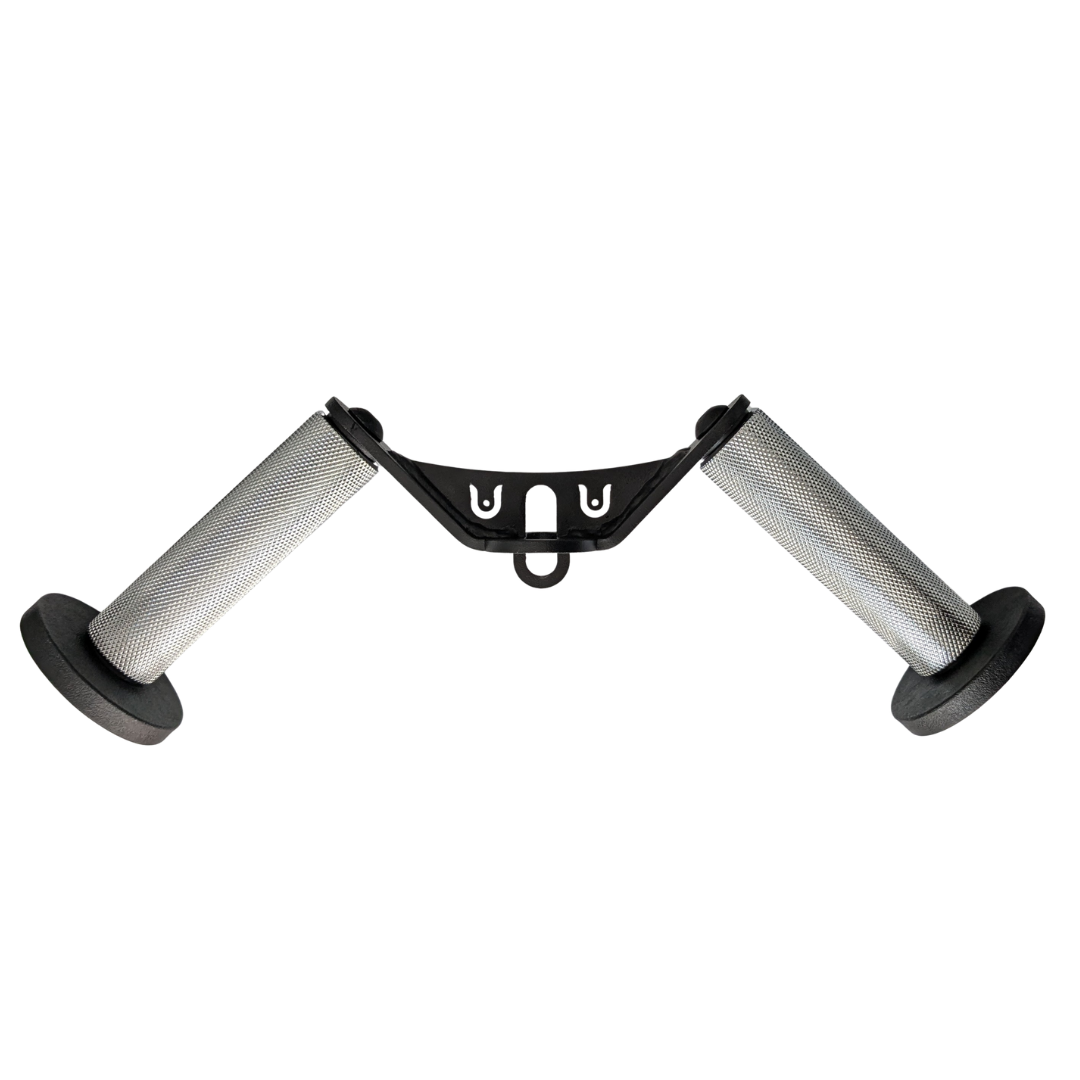
W Grip
Angled cable grip for comfortable rows, pushdowns, and curls.
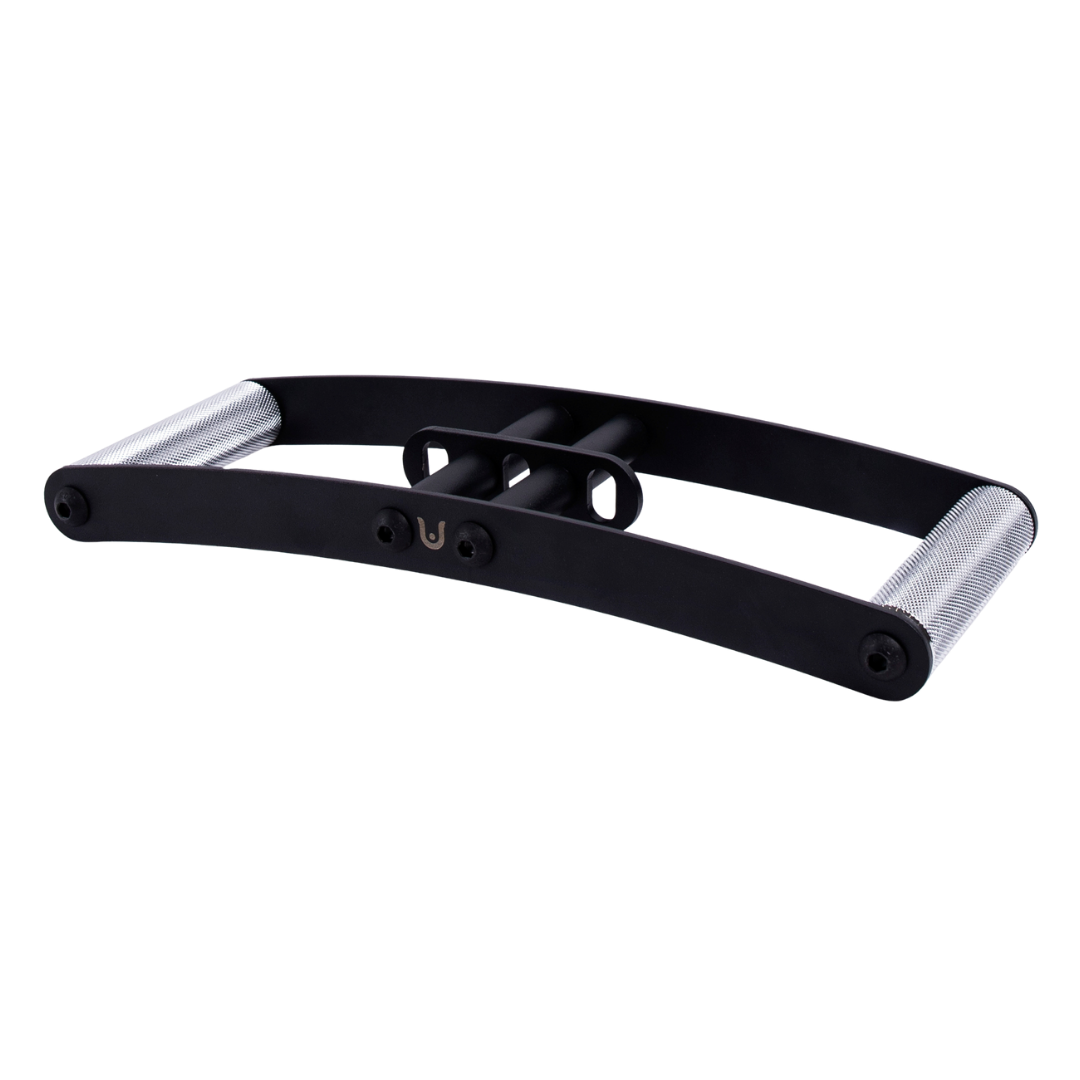
Horizon Grip
Ergonomic V-style cable grip for rows and back training.

Multi-Length Tricep Strap
Adjustable-length cable strap for triceps, biceps and upper-body cable exercises.

Lat Pulldown Set
Multi-grip cable attachment set for pulldowns, rows, and varied upper-body training.
3. Treat the rack and cable stations as one shared workspace

The machine is built around the RM-6 Monster Rack 2.0 platform, using 3-by-3-inch, 11-gauge steel uprights and one-inch hardware. That describes the platform, not permission to assume every rack accessory on the market fits. Verify the actual attachment, mounting position and cable clearance.
Draw a typical session rather than an empty floor plan. Put the barbell where it sits for squats, add the bench for pressing, then consider where a cable handle travels. An integrated machine saves duplicated structure, but its different stations still share physical space. Some exercise changes will require moving a bench or storing an attachment.
If two people train together, walk through their proposed exercises at the same time. Independent front load settings do not guarantee two unrestricted work areas. People, benches and handles can still cross paths. Plan a sensible exercise pairing before assuming the second stack solves every scheduling problem.
Keep barbell safety arrangements part of that drawing. Select suitable safeties for the intended lifts and follow the equipment instructions for their use. For dumbbell pressing, maintain stable contact with the bench and floor, and agree on any assisted handoff beforehand. Cable functionality should complement the rack’s basic lifting setup rather than obscure it.
4. Measure installation clearance separately from finished height
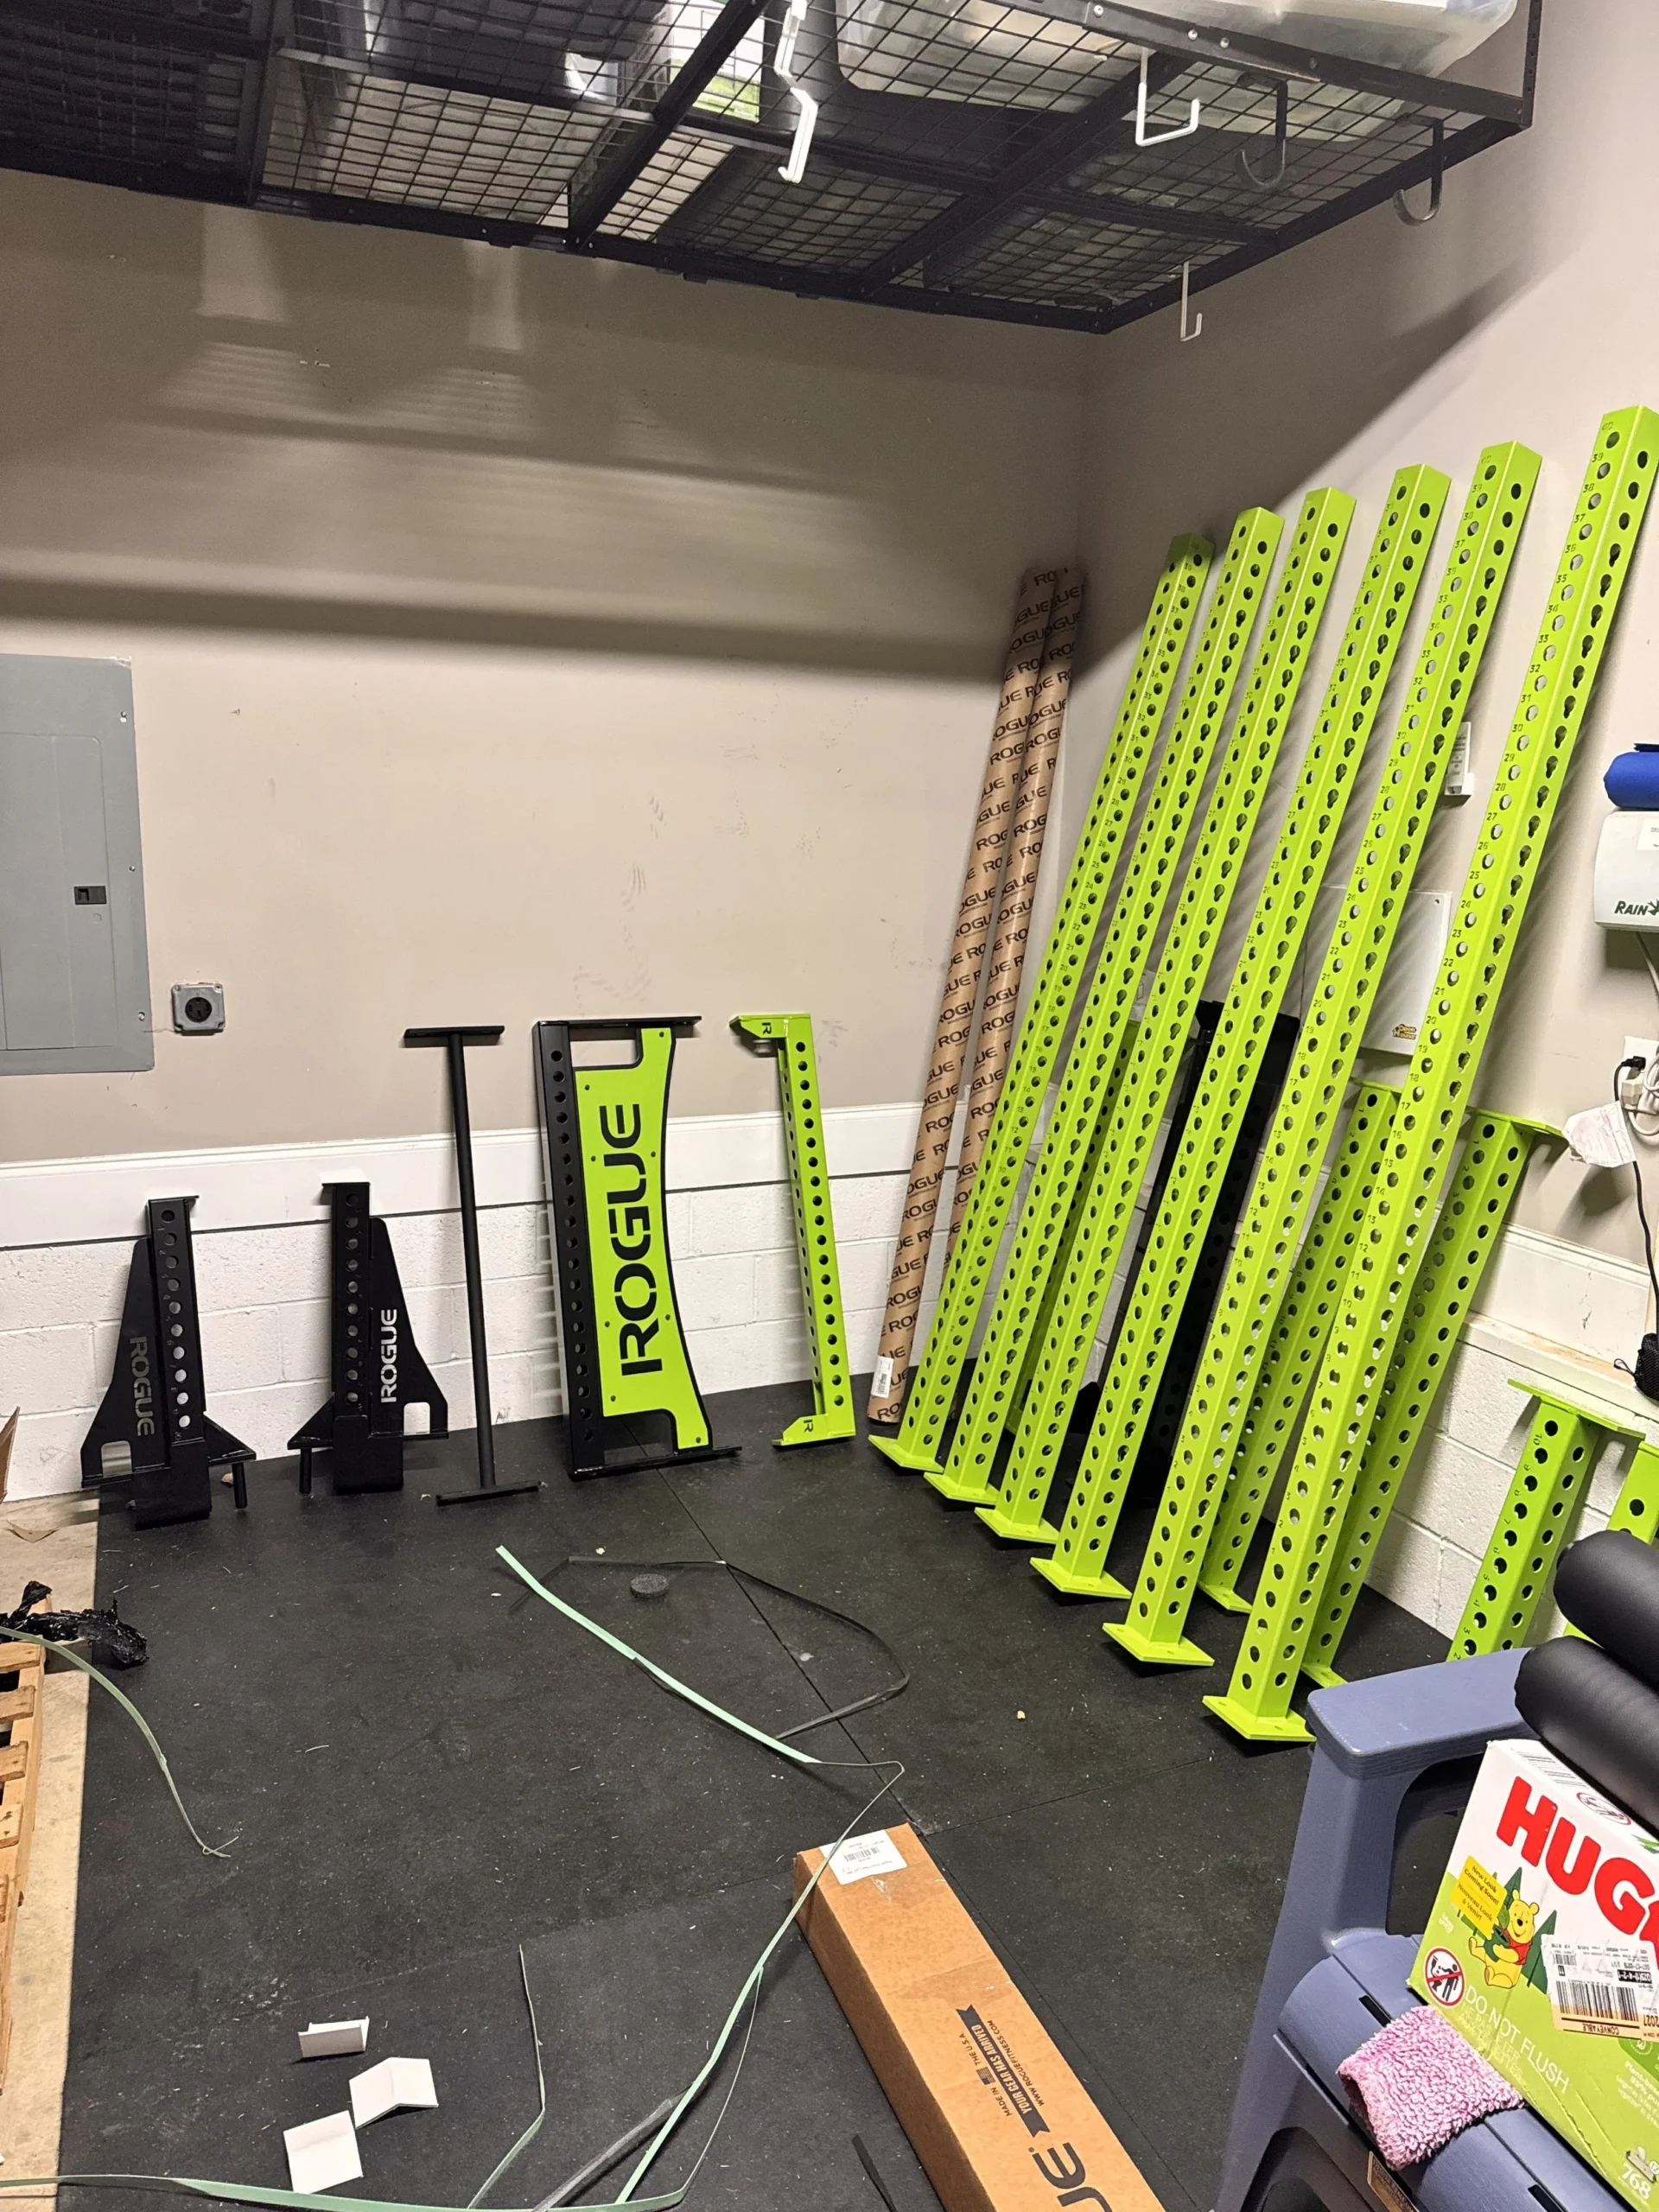
Listed finished heights are 81.5, 91.5 and 101.5 inches; the corresponding assembly clearances are 85, 95 and 105 inches. Rogue also specifies that the rack must be bolted to the floor before use. A ceiling that clears the finished frame is therefore not the whole installation answer.
Check beams, lights, pipes and garage-door hardware at the exact proposed location. Measure the route for bringing components into the room as well as the final position. A doorway, staircase or low section of ceiling may influence how the installation can be staged even when the completed rack fits.
Resolve anchoring against the actual floor construction before ordering. A rubber mat does not tell you what lies beneath it. Where floor construction, services or permissions are uncertain, obtain appropriate installation advice instead of improvising an anchor choice from a photograph. Follow the current instructions for the exact configuration.
Plan a temporary assembly area and a place for packaging and hardware. The floor needed during installation can exceed the finished footprint. Keep the work sequence and access around the frame in mind; a large delivery should not leave the installation trapped behind equipment you cannot easily move.

Funny Gym Shirts & Workout Gear
Funny gym shirts, tanks, hoodies and workout gear for lifters who like training hard.

Gym Dost Thou Even Pull Medieval Knight Lat Pulldown Hoodie
Show off your medieval humor in a laid-back “Dost Thou Even Pull Medieval Knight Lat” hoodie.

Back Sabbath Back Day Heavy Metal Back Training Workout Tank Top
Train hard, laugh a little, and rep “Back Sabbath Back Day”.

Lat Man Big Back – Jumper With Huge Lats – Back Day T-Shirt
Add a playful “Lat Man Big Back” touch to your casual rotation.

Big Back SpongeBob Bodybuilders Back Day Hooded Hoodie
Make your off-duty look more fun with “Big Back”.

The Empire Lifts Back – Star Wars Back Day Meme Decal f Sticker
Bring “The Empire Lifts Back” attitude to your water bottle or laptop.

Nice Rack Meme Power Rack Top & Gymbros T-Shirt
Rep “Nice Rack Gym Meme” humor in and out of the gym.


Hero Spider-Man Comic Book Meme Pullups & Gains T-Shirt
Make gym days more fun with “Gym Hero Spider-Man” style.

Always Pull Yourself Up Crewneck Calisthenics Pullover T-Shirt
Bring “Always Pull Yourself Up” humor to your everyday gym style.

Hardcore Gains Gym | Funny No Pain No Gain Muscle Shirt Tank Top
Add some lifting attitude to training with “Hardcore Gains”.
5. Compare the complete configuration with your weekly training
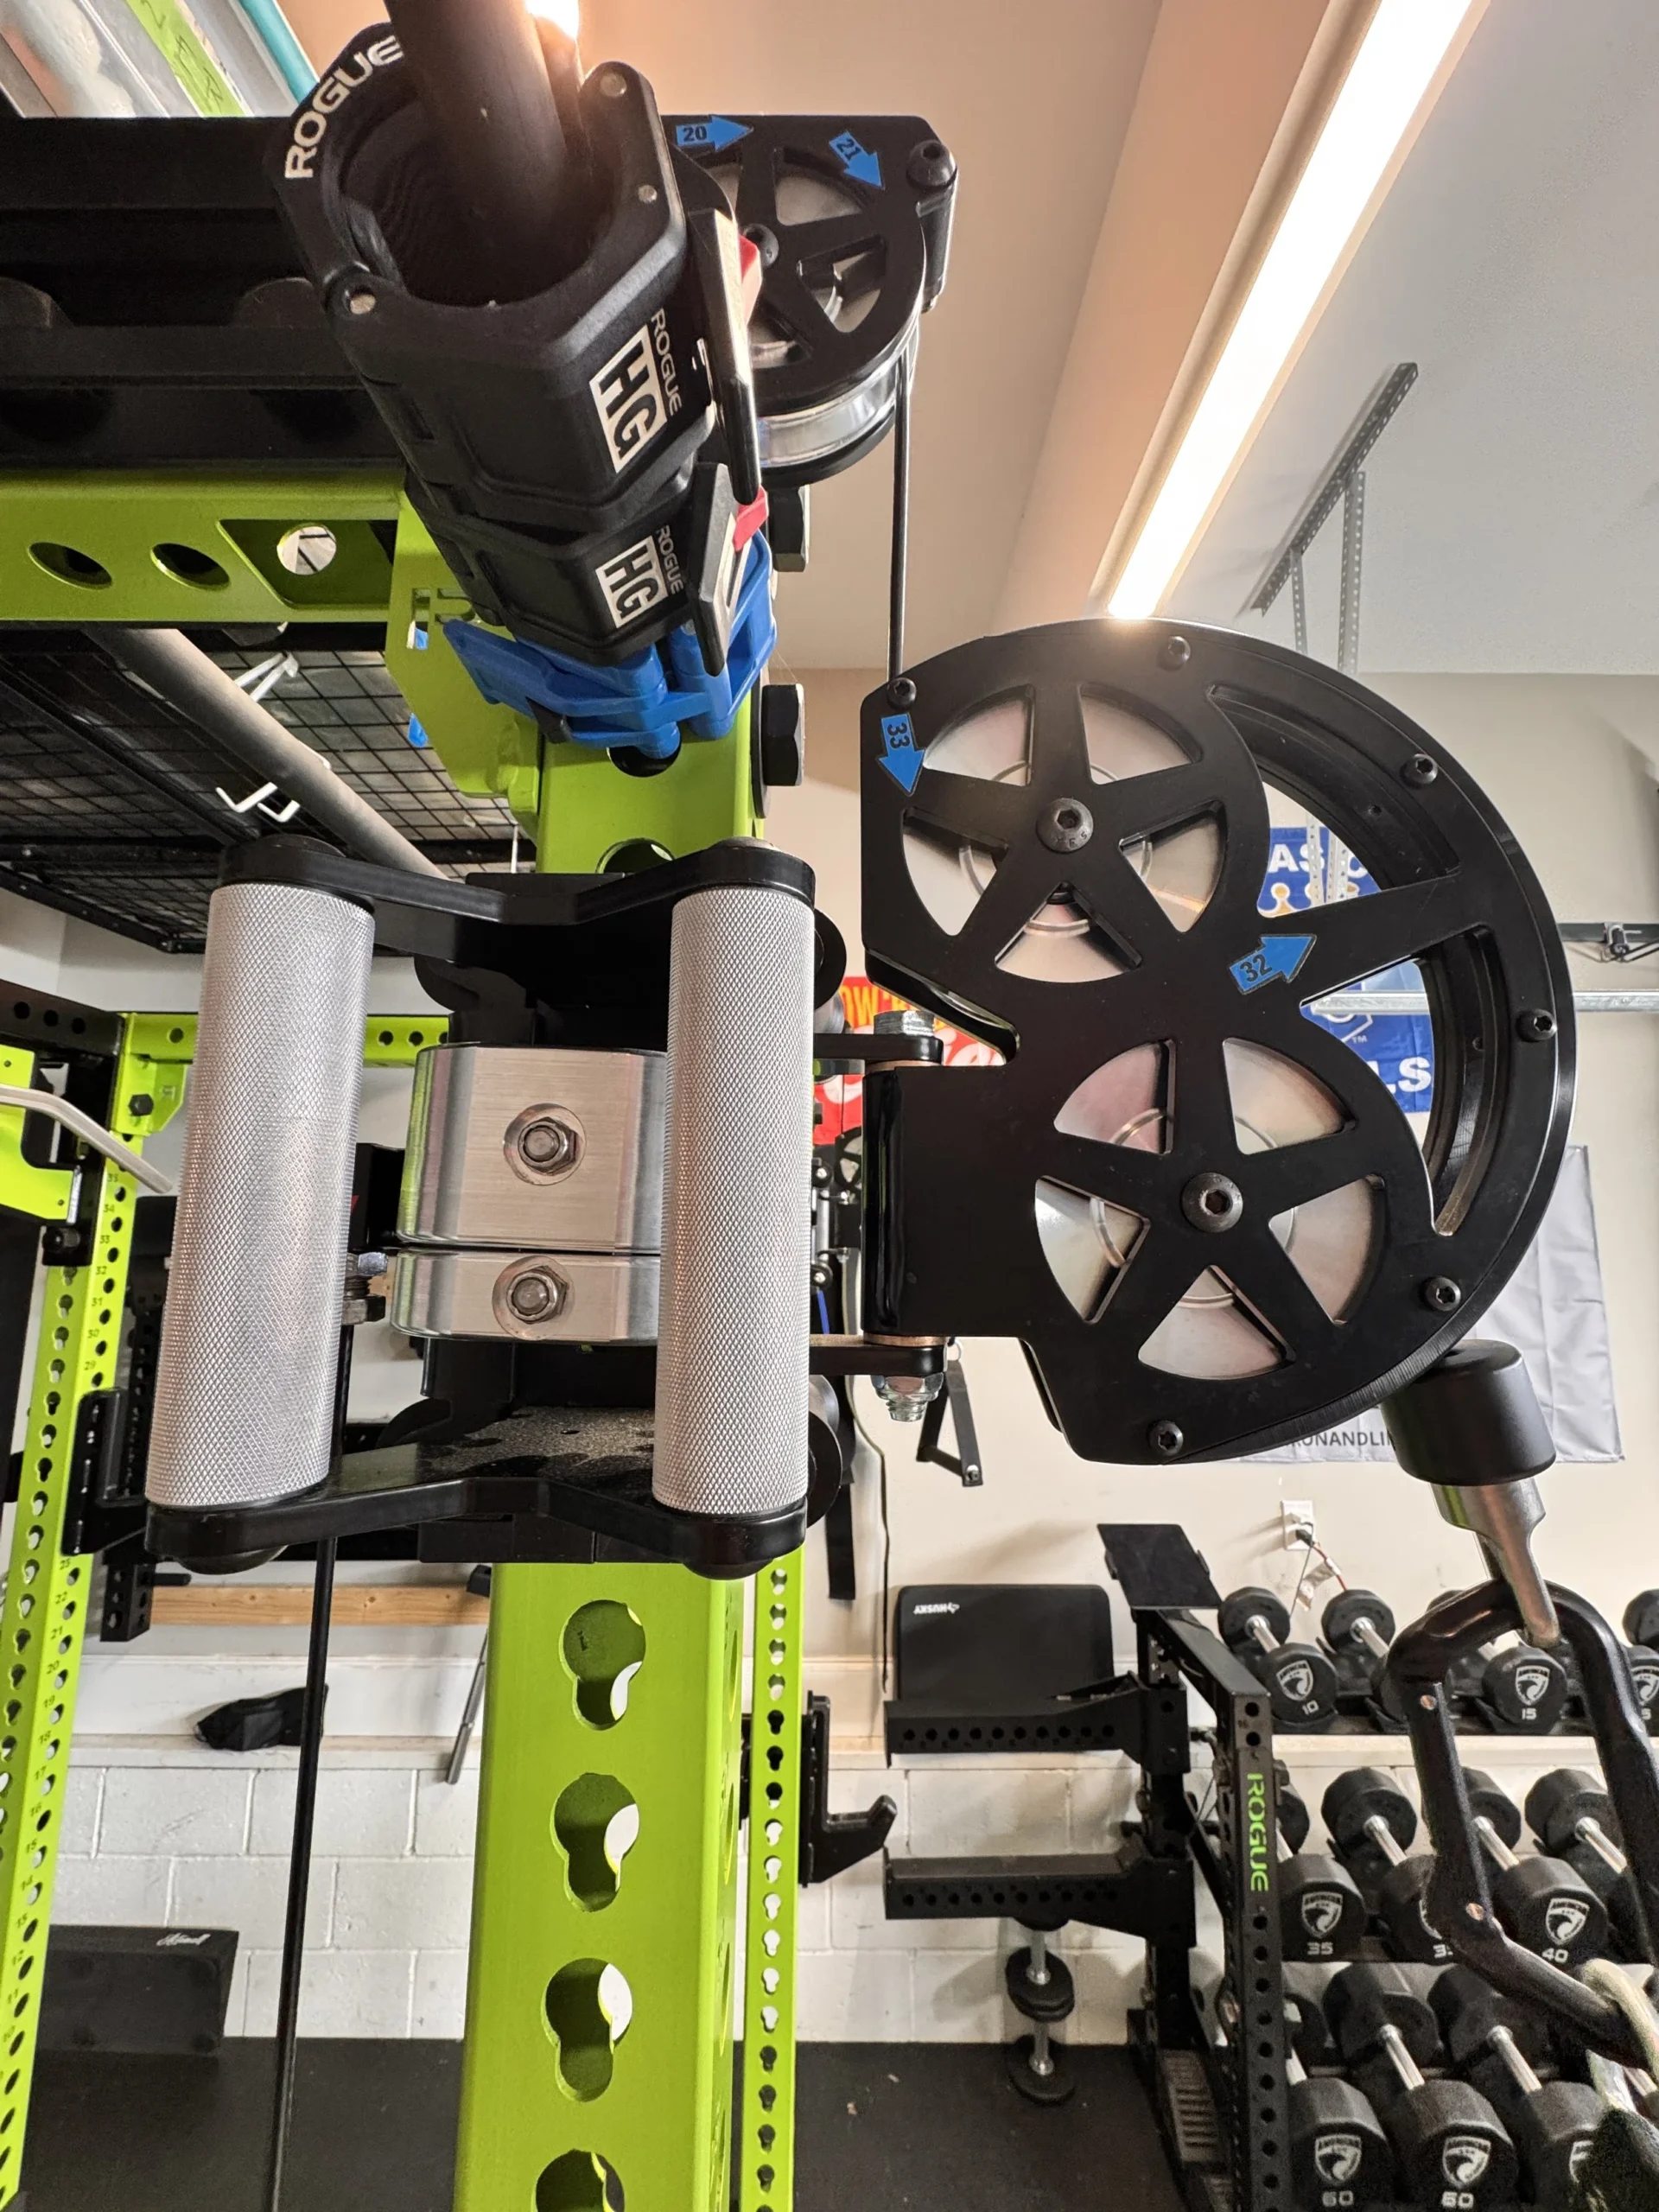
A useful order checklist includes rack height and depth, stack option, safeties, storage, seats or restraints, handles and delivery arrangements. Confirm which items are supplied and which are separate selections. Prices, regional availability and lead times can change, so compare a current complete quote rather than an old screenshot.
Leave working room around storage as well as around the frame. Loading a barbell involves approaching its ends, carrying plates and returning them. A layout that accommodates the rack but leaves no practical route for loading is not finished. Consider the equipment at its busiest point in a normal session.
Then ask which exercises you actually perform every week. A combined rack and trainer can be attractive when barbell work, pulldowns, rows and adjustable cable exercises all have a real place in the program. If only one function matters, compare a simpler solution on the same complete-cost basis. The goal is useful training access rather than the largest menu.
Consistency and a routine matched to your goals matter more than the complexity of the machine. Keep the setup steps manageable, record the station and attachment, and arrange storage so returning equipment remains easy. Related product cards show alternatives and accessories from separate systems; they do not establish compatibility with the FM-6 Twin. Confirm that separately before buying.