Advertising disclosure: This page includes affiliate product links that may earn us a commission, as well as products from our own store.
Leg Press Calf Raises: Secure the Footplate, Control the Heel and Build Your Calves
A calf raise on a leg press can look like a shortcut to heavy lower-leg training: sit down, push the sled out and move your ankles. The catch is that every machine has a different footplate and safety system, and a heavy number means little if your feet slip or your knees help move the weight. Learn the setup before chasing an impressive stack. The goal is a stable platform, a repeatable heel path and a load your calves actually control.
1. Check that the footplate actually supports a calf raise
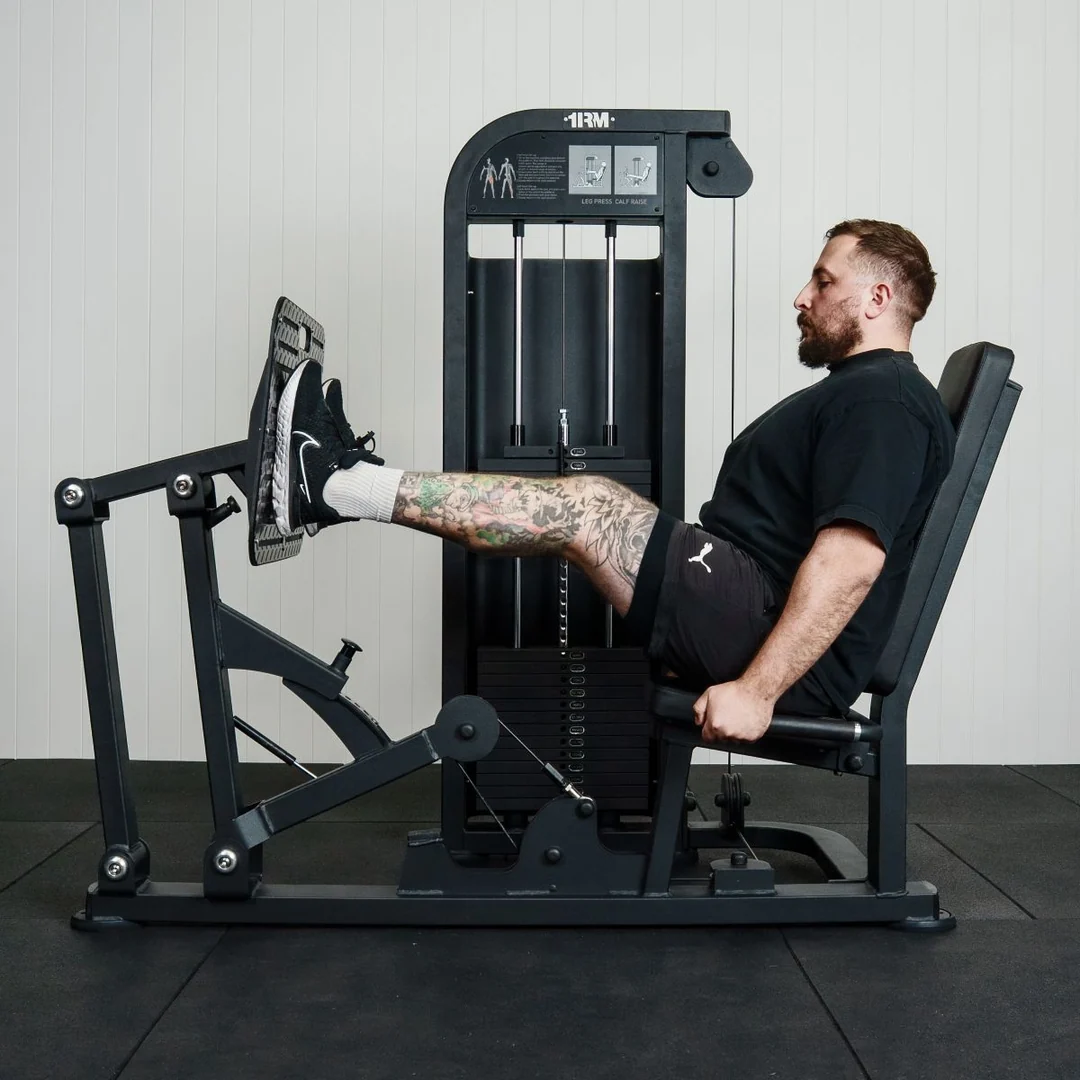
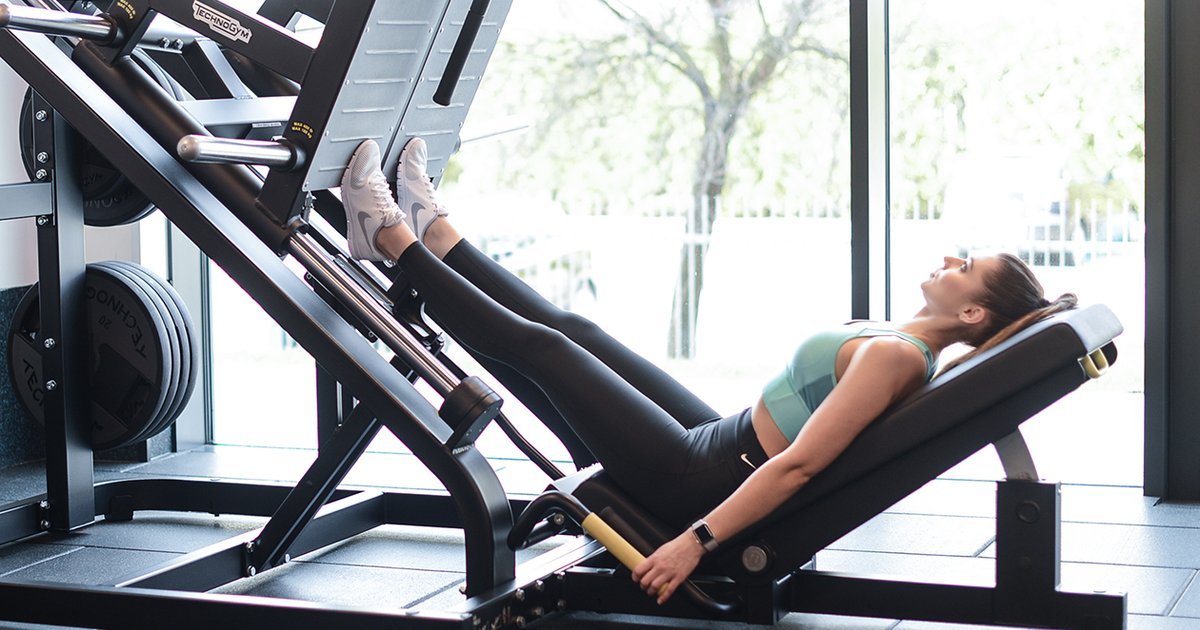
Leg press machines are not interchangeable. A 45-degree sled, a seated horizontal press and a dual-purpose calf machine all load the ankles through different paths. Before adding plates, sit with your back supported and look at the footplate: is there a secure, nonslip edge wide enough to support the balls of both feet without sliding? Is there enough space for your heels to travel without striking a guard, frame or the footplate itself? If not, use a different calf exercise. A machine being labelled leg press does not automatically make it suitable for calf raises.
Learn the carriage’s safety stops and starting mechanism with the platform empty or lightly loaded. The safety catches need to be reachable without shifting the feet or losing control. On a sled, select a seat position that leaves your hips and lower back supported; on a selectorized seated machine, check that the carriage stays on its intended track. Do not remove safeties or improvise a precarious foot support to gain extra range.
Place the forefeet securely on the lower part of an appropriate platform, allowing the heels to move freely only if the design safely permits it. Keep both feet planted symmetrically and use the handgrips rather than reaching toward the sled. Start with a much lighter load than your normal leg press. You are not training the quadriceps to move a heavy sled here: the ankle joint provides almost all the useful motion. If the machine’s travel feels unstable or your shoes slip, stop and choose a standing or seated calf machine instead.
2. Move at the ankles without turning every rep into a leg press
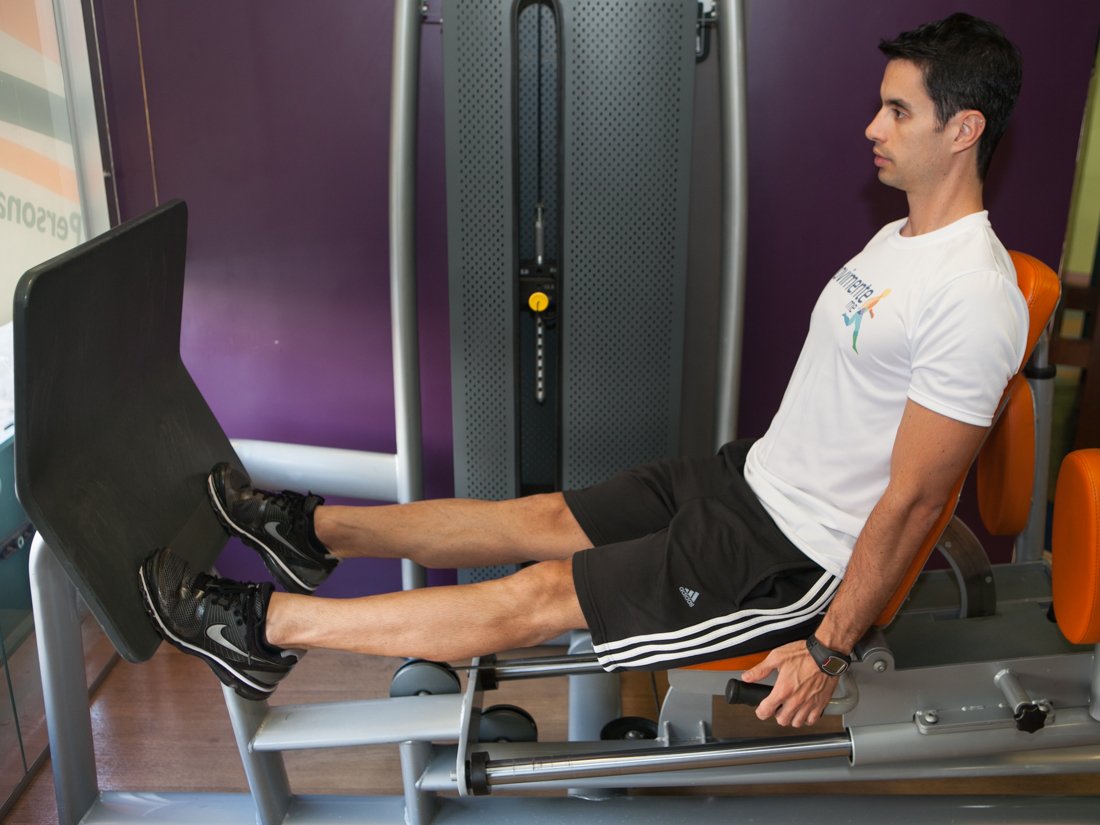
From a stable start, straighten the knees toward a comfortable near-extended position but do not jam them into a hard lockout. Keep that knee angle essentially unchanged while the ankle moves. Lower the heels under control until you reach a manageable calf stretch, pause briefly without bouncing, and push through the forefoot to lift the heels as far as you can without rolling onto the outside of the feet. The carriage should move a relatively small distance because the range comes from plantarflexion, not the knees and hips.
At the top, think about lifting the heel rather than squeezing the toes into the platform. Spreading pressure across the ball of the foot can help you avoid twisting an ankle toward the big toe or little toe. The arch should feel supported, not crushed. Use a steady two- to three-second lowering phase as a practical coaching choice, not a scientifically proven magic tempo. Keep breathing; the exercise does not require a maximal powerlifting brace.
Film one side view at a manageable weight if your machine and gym permit it. Compare the top and bottom ankle angles while checking that your knee position and pelvis barely move. If the sled suddenly travels much farther, you may be pressing with your legs. If the heels hardly travel, the load may be too heavy or the platform shape may limit movement. Count controlled repetitions rather than rewarding the largest number on the weight stack.

Equipment Worth Exploring
Explore equipment, accessories and gear from our carefully selected range.

Leg Press/Hack Squat BPR-790
Convertible 45-degree leg press and hack squat machine with a broad footplate and band pegs.

Compact Leg Press CLP-700
Compact reverse-style leg press with a moving seat carriage and an adjustable footplate.

Multi Pull Smith Rack MPHR-780
All-in-one rack with a Smith machine, functional trainer, lat pulldown and low row.

VForce 3IN1
All-in-one rack combining an adjustable Smith machine, functional trainer, and free-weight station.


Competition Plates
Competition-style bumper plates for Olympic lifts and loaded strength training.

Grip Plates
Rubber-coated weight plates with handholds for loading barbells and machines.


GymPin Squat Wedges
Non-slip 15-degree squat wedges help elevate the heels for deeper quad-focused squats.
3. Fix the four problems that waste most calf-press sets
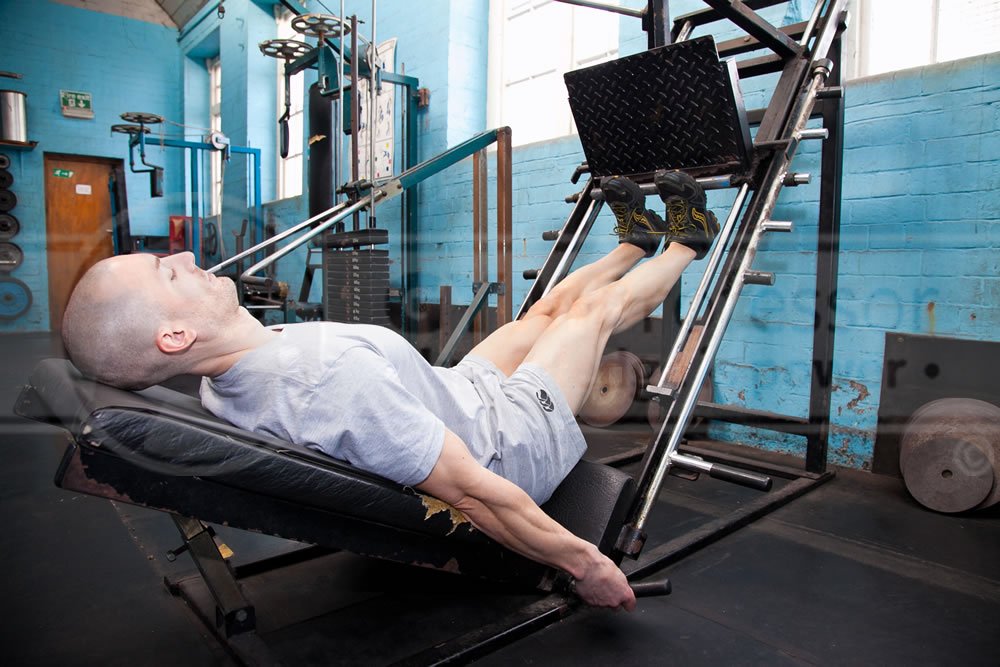
First, do not chase weight at the expense of contact. The forefoot must stay securely supported throughout a repetition. Sliding toward a footplate edge, curling the toes to grip the platform or repositioning the feet while the carriage is moving are stop signs. Reset the machine and reduce the load. A deep stretch is useful only if the foot can remain planted and the ankle feels comfortable; forcing extreme dorsiflexion under a heavy sled is not a requirement.
Second, stop using the knees as springs. Repeated bending and straightening changes the movement into a short leg press and makes calf effort hard to compare between sessions. Keep a soft, steady knee angle and begin with sets you can repeat without losing that position. Third, avoid uncontrolled bouncing at the bottom. It hides how much movement you own and may irritate the Achilles tendon. A small pause is a simple way to identify the real bottom of your comfortable range.
Fourth, watch the body position. Hips creeping off the seat, the lower back rounding, or the head reaching forward can all signal a poor seat adjustment or excessive loading. Neither a higher platform angle nor a heavier stack guarantees superior calf stimulation. If discomfort is sharp, worsening or located in the tendon or joint rather than ordinary muscular effort, end the set. Return to a controllable range later; persistent symptoms deserve individualized assessment rather than a forced six-week progression.
4. Know what this machine does and what it does not prove
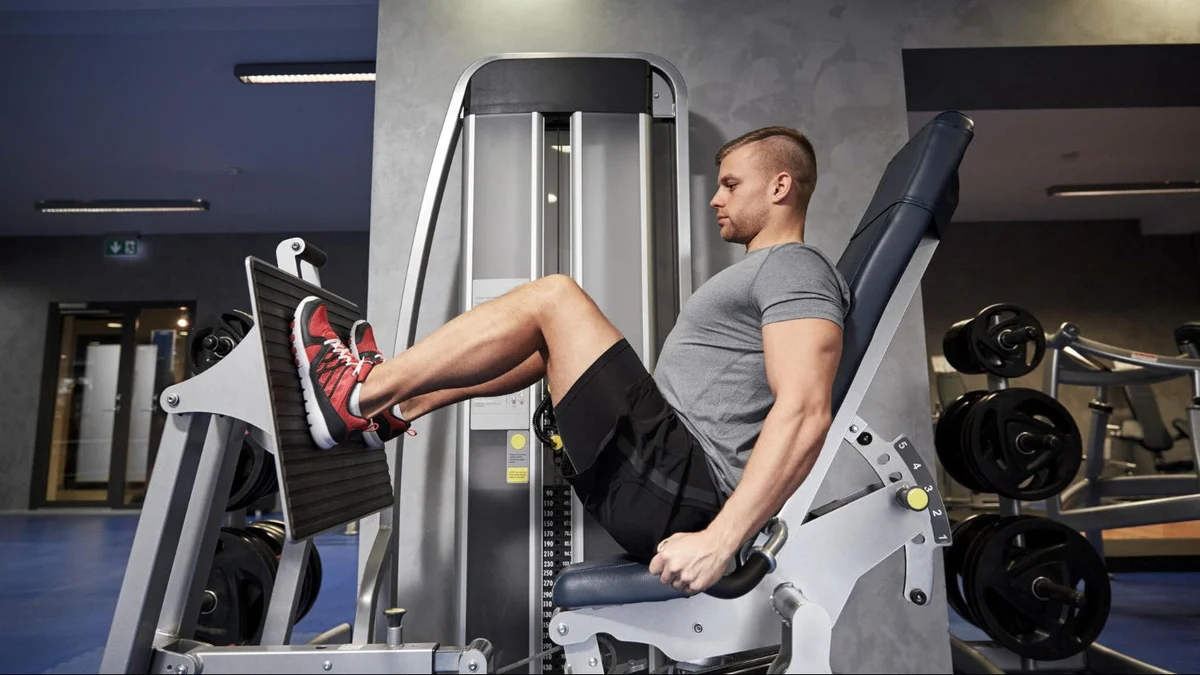
The calf complex includes the two-joint gastrocnemius and the deeper soleus. With the knee relatively extended, the gastrocnemius is at a longer length than it is during a deeply bent-knee seated calf raise. A 12-week experiment in 14 previously untrained adults compared standing, relatively straight-knee calf work with seated bent-knee training on opposite legs. Gastrocnemius growth was greater in the straight-knee condition, while soleus volume increased by a similar amount between conditions. That is useful context for knee angle, not direct proof that the leg-press calf raise beats every other calf exercise.
On a leg press, your torso is supported and resistance follows the machine’s track. That can make balance less distracting than a standing dumbbell raise, but it does not automatically make the exercise safer or more effective. Footplate geometry, safety stops and a stable position matter. A standing calf machine is a sensible alternative if you want a similarly near-straight knee without placing your feet on a moving sled. A seated calf raise deliberately uses a more bent knee and offers a complementary emphasis rather than a useless exercise.
Compare alternatives on practical criteria: whether you can maintain foot contact, reach a consistent ankle range, load the calves progressively and recover. A single-leg bodyweight raise can reveal obvious left-right differences without a machine. A dumbbell or Smith-machine calf raise adds resistance when equipment and stable balance support it. Calf training does not demand every variation, and mixing movements should serve a clear reason rather than adding redundant sets.
5. Build a six-week calf block around repeatable ranges
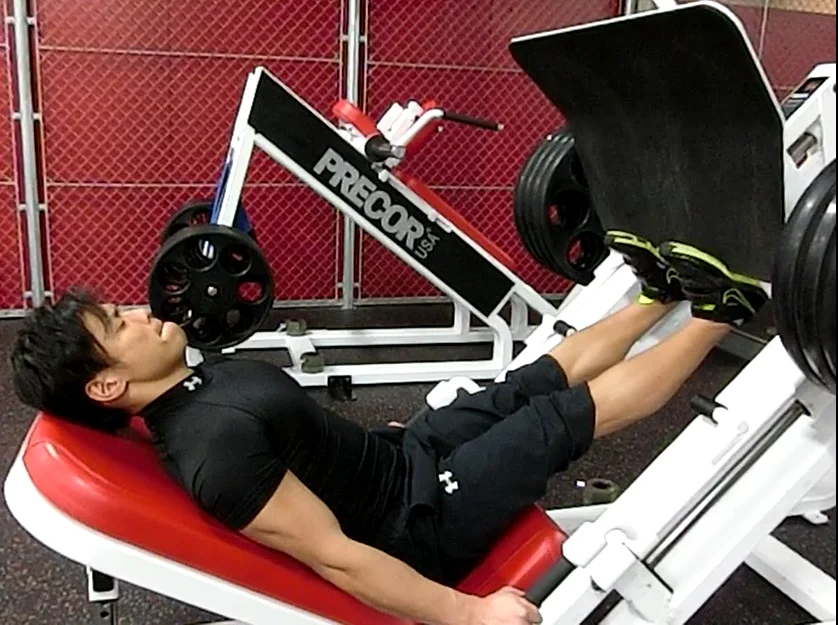
For weeks one and two, use two sessions per week separated by recovery time. Try two sets of 12 to 15 carefully controlled leg-press calf raises each session with a load that leaves roughly two to three technically clean repetitions in reserve. Adjust that starting point if your existing leg training is demanding; this is an illustrative progression, not an individually tested prescription. Before the working sets, perform unloaded ankle motion and a light machine warm-up so the bottom position is familiar.
In weeks three and four, keep the same foot placement, machine settings and knee angle. Progress by adding a repetition within the range before adding resistance. Only increase the load when you can complete both sets near the upper end without bouncing or losing heel travel. A modest additional set may be appropriate if recovery and ankle comfort remain good. Write down the machine, load, repetitions, seat setting and whether the last few reps looked like the first few. Comparing raw stack numbers across different machines is misleading because their leverages vary.
For weeks five and six, retain two weekly exposures or alternate one leg-press session with a standing or seated calf variation. Keep hard sessions reasonably separated, and choose whether extra work improves quality rather than chasing soreness. If your calves remain fatigued, your heel range shrinks or your Achilles tendon becomes irritable, hold the load or take an easier week. The useful outcome is not a particular plate total: it is more controlled repetitions or resistance at the same honest ankle range. Recheck your starting video after six weeks and decide whether this machine still earns a place in your lower-body training.

Leg Day Shirts & Workout Gear
Leg-day gym shirts and workout gear for lifters who never skip squats, lunges and lower-body punishment.

Leg Press Dost Thou Even Press Medieval Knight Gym Shir T-Shirt
Make gym days more fun with “Leg Press” style.


Santa Quads | Fitmas Leg Day Workout & Festive Hoodie
Bring “Santa Quads” gym humor to lazy days and post-workout plans.

I Love Squats | Valentine's Leg Day Decal for Water Bot Sticker
Put “I Love Squats” gym humor on your laptop, bottle, or gym gear.

Viking Deadlift Gym | Funny Leg Day Workout Vest & Musc Tank Top
Show some personality between sets with “Viking Deadlift”.


Gym The Bar Does Not Lie Medieval Knight Crewneck for S T-Shirt
Show some gym-day personality with “The Bar Does Not Lie Medieval Knight”.

Gym Iron Before Honor Medieval Knight Lifting Decal Sticker
Give your everyday gear a playful “Iron Before Honor Medieval Knight Lifting” twist.

Heavy Metal Deadlift – Skeleton Gym Crewneck for Powerl T-Shirt
Add a playful “Heavy Metal Deadlift” touch to your casual rotation.

Thick Thighs Crush Guys Leg Day Meme & Top T-Shirt
Make gym days more fun with “Thick Thighs Crush Guys” style.