Advertising disclosure: This page includes affiliate product links that may earn us a commission, as well as products from our own store.
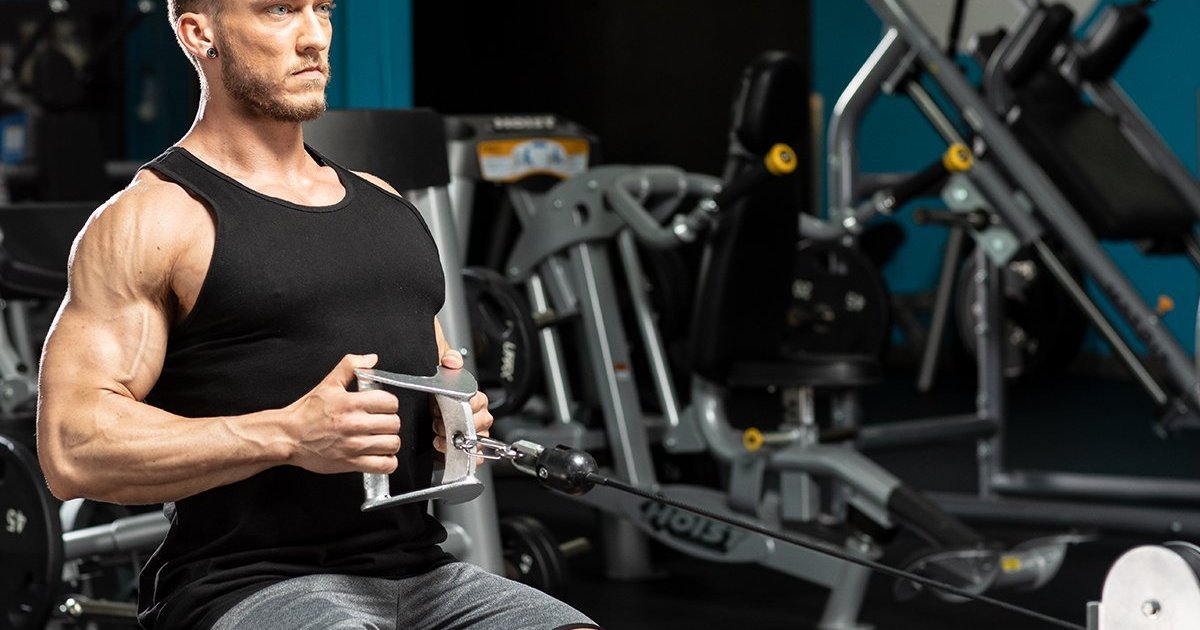
Seated cable rows can develop a thicker, stronger back—provided the elbows, shoulders and torso follow a repeatable path. Learn the muscles involved, neutral versus wide-grip tradeoffs, common mistakes and a practical six-week way to progress without turning the exercise into a full-body swing.
What a Seated Cable Row Trains
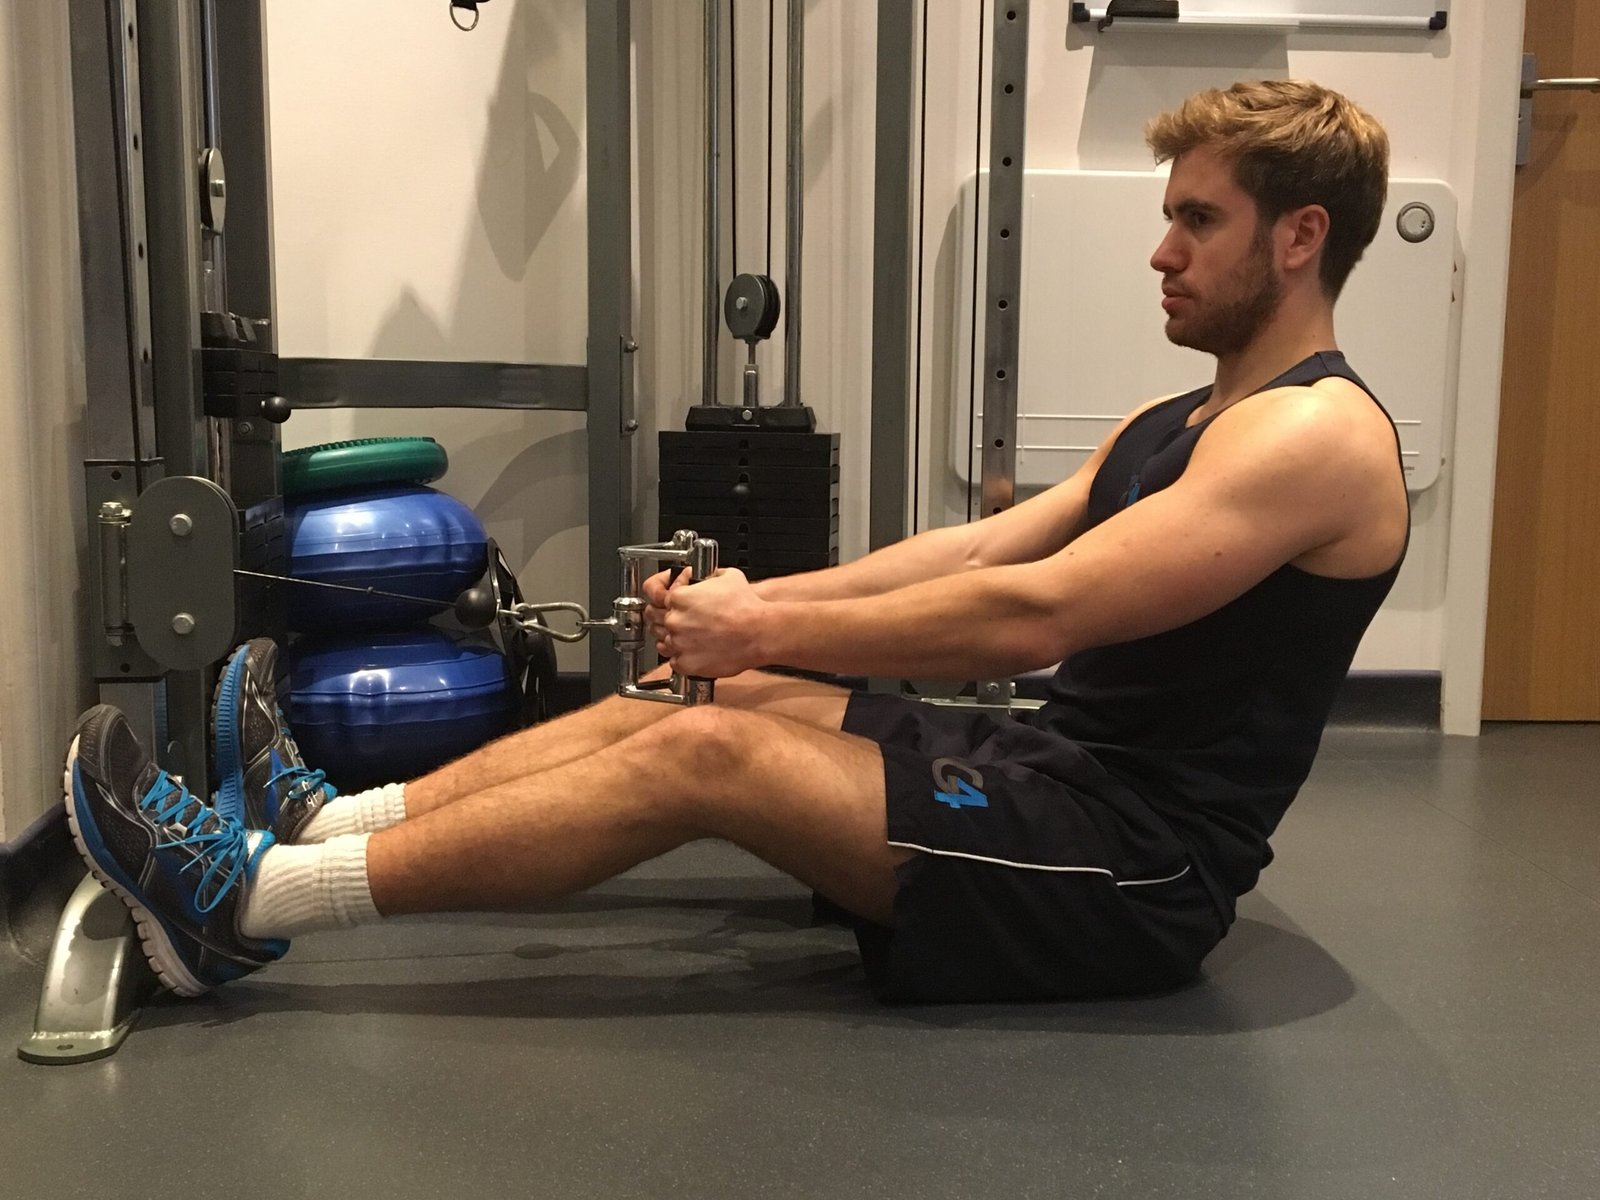
A seated cable row is a horizontal pull: you move a handle toward your torso while keeping your body in a repeatable seated position. That makes it a practical way to train the latissimus dorsi, rhomboids, middle trapezius, rear deltoids and elbow flexors. The precise contribution of each muscle depends on your elbow path, shoulder position and the amount of momentum you use. It is not one magical exercise that isolates the entire back equally.
The lats assist with drawing the upper arm toward the torso; the muscles around the shoulder blades help manage their position as your arm moves. Biceps and brachialis contribute because the elbow bends. Your spinal erectors and trunk muscles also resist unwanted movement, although the row should not become a repeated heavy lumbar extension.
Think of the row as a controlled pulling pattern, not a contest to see how far your elbows can travel. A productive rep starts with the handle moving away under control, then finishes with the elbows traveling backward while the rib cage stays relatively quiet. You should feel meaningful tension through the back without needing to yank your torso into the stack.
The seated row complements vertical pulling such as pull-ups and lat pulldowns. Both can build the lats, but the horizontal direction lets you practice a different arm path and shoulder-blade action. It also works alongside chest-supported dumbbell rows, barbell rows or machines; choose exercises that let you accumulate quality sets and progress without joint irritation.
Set the Machine and Your Torso Before You Pull
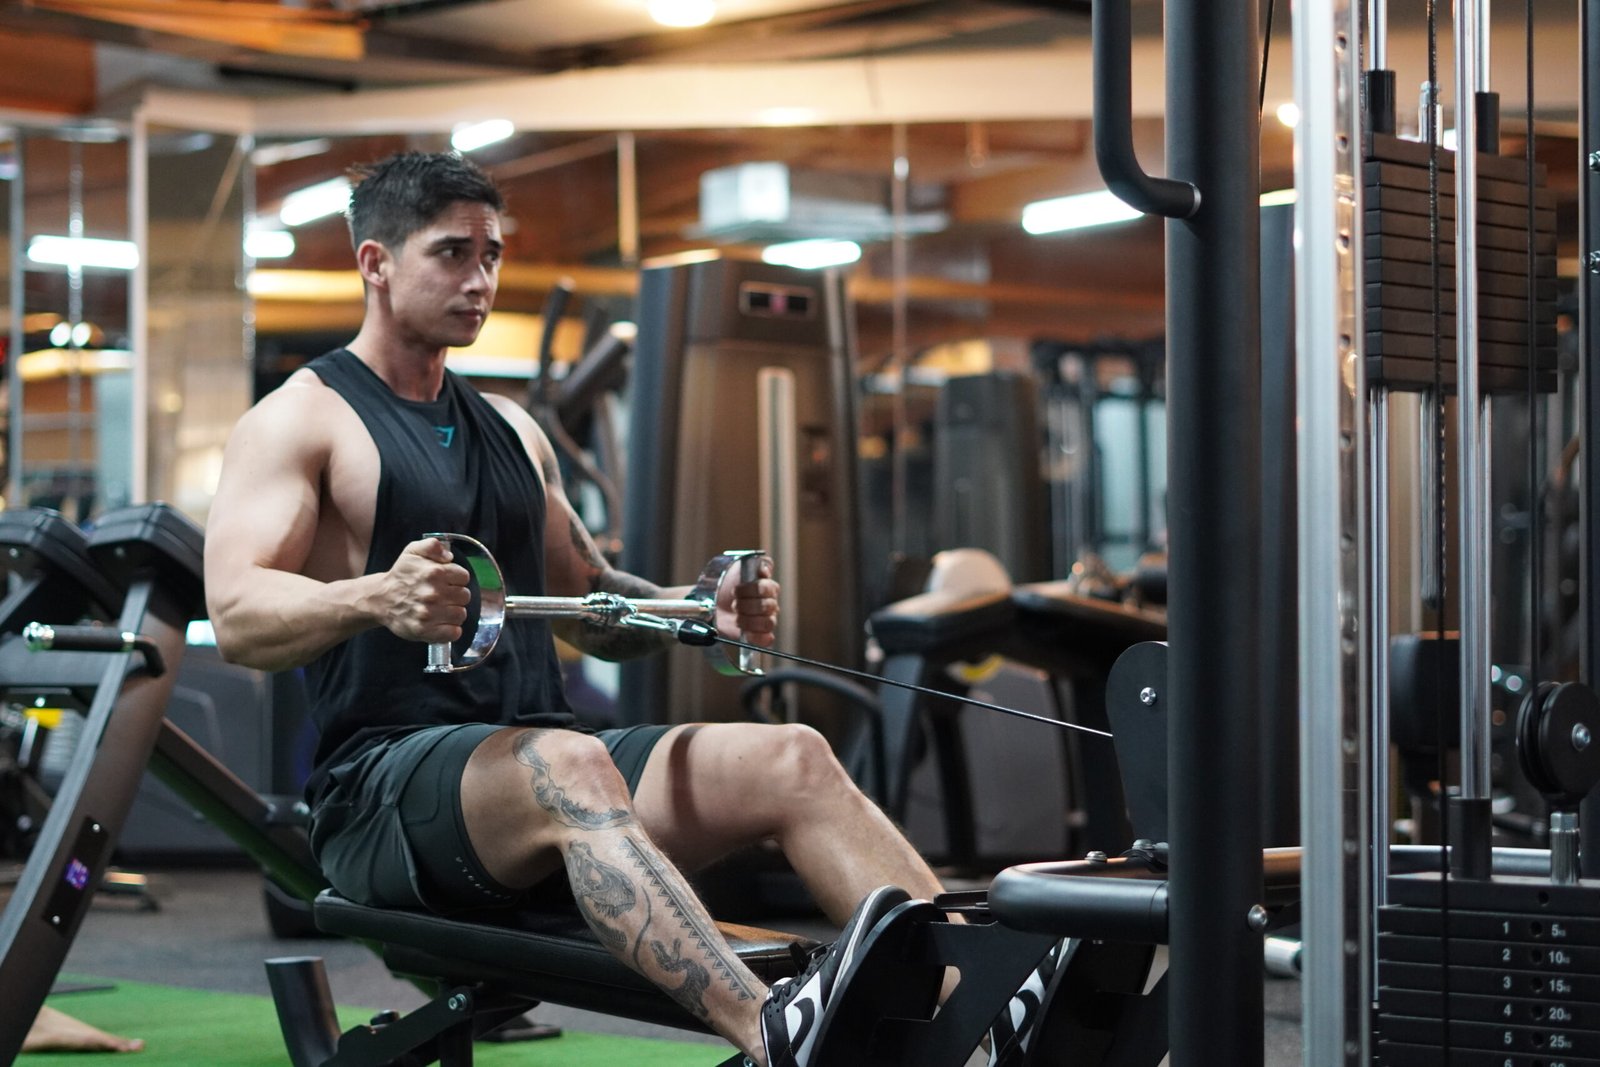
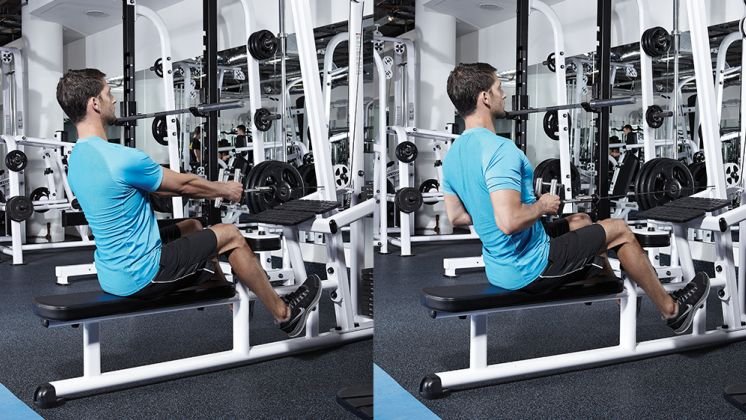
Begin with the weight low enough that you can perform ten smooth reps without leaning back sharply. Put your feet on the platforms, maintain a slight knee bend and sit tall on your sit bones. Reach for the handle with your arms extended, allowing a comfortable forward shoulder movement but avoiding a rounded, collapsed lower back. If the footplate forces your knees fully locked, adjust your distance rather than forcing the position.
Set a neutral, stacked relationship between ribs and pelvis. A small natural torso angle is fine, but it should remain nearly the same throughout the set. Brace as if someone were about to tap your abdomen, then begin pulling by driving the elbows rather than shrugging toward your ears. Keep the cable traveling in a clean line without bumping the stack between reps.
A common misconception is that the chest must be exaggeratedly lifted and the shoulder blades pinned back at all times. The shoulder blades normally move when the arms reach forward and pull backward. Allow comfortable motion while protecting your lower-back position. If the movement causes pinching at the shoulder, experiment with a different handle, elbow path or shorter range rather than pushing through it.
- Foot position: stable contact, knees softly bent.
- Reach: arms extend without an uncontrolled collapse.
- Torso: mild fixed angle, not a swinging counterweight.
- Load: enough resistance to challenge the final reps, not the first inch of travel.
Before increasing weight, take a short side-view video. If your head and rib cage drift backward several inches to start each pull, lower the load and repeat the set with a cleaner torso path.

Equipment Worth Exploring
Explore equipment, accessories and gear from our carefully selected range.
VOLTRA
Compact digital cable trainer with smooth, adjustable resistance.

VForce Lat Tower
Wall-mounted cable tower with pivot arms and adjustable 1:1 or 2:1 pulley ratios.

VForce Wall Trainer
Space-saving wall-mounted functional trainer with pivoting cable arms and variable resistance ratios.

VForce 2IN1
Half rack and pivot-arm functional trainer with switchable 1:1 and 2:1 pulley ratios.

Go-Tone Pro
Portable digital cable trainer with up to 66 lb (30 kg) of adjustable resistance.

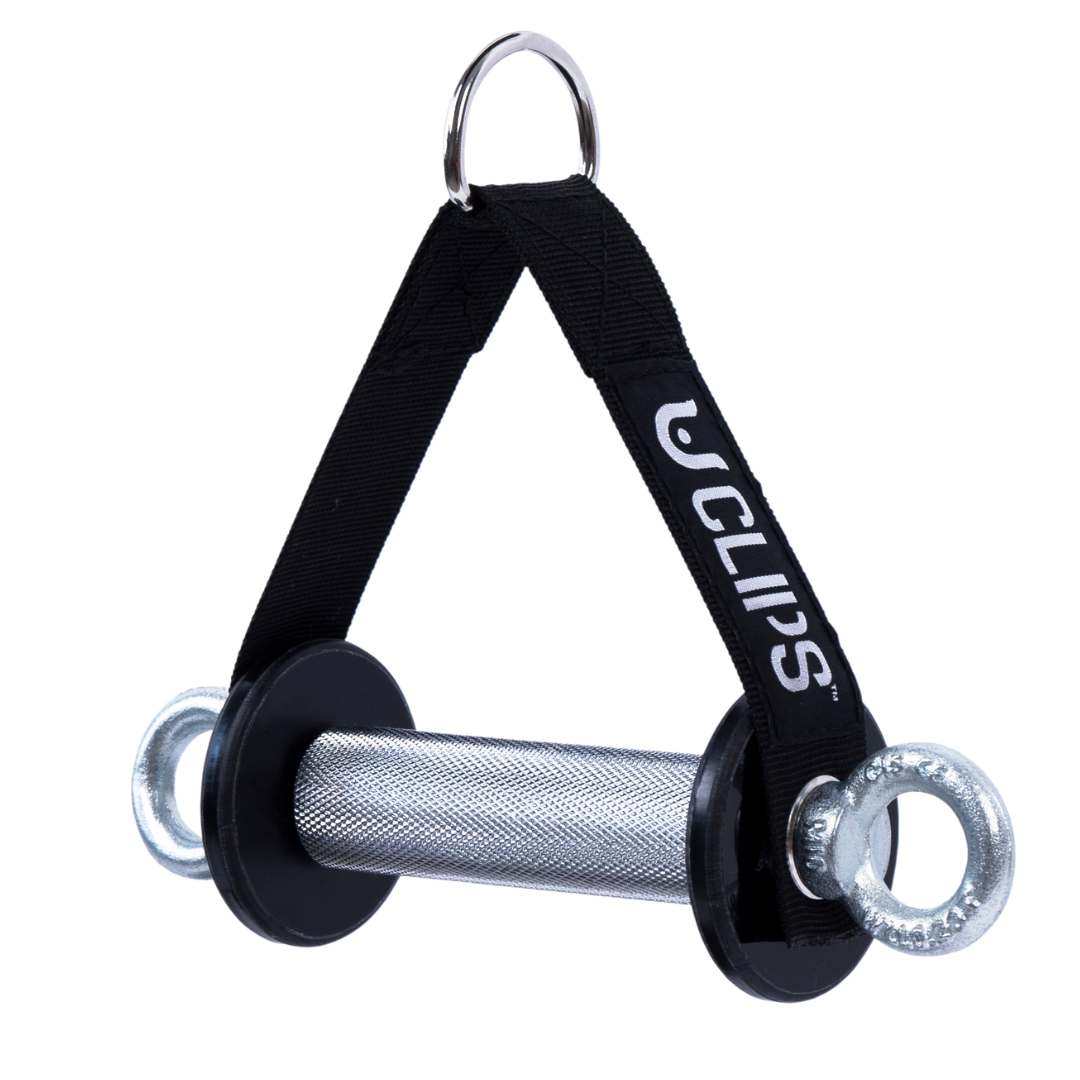
GymPin Ergo Handles
Pair of ergonomic cable handles shaped for comfortable triceps and pulling exercises.
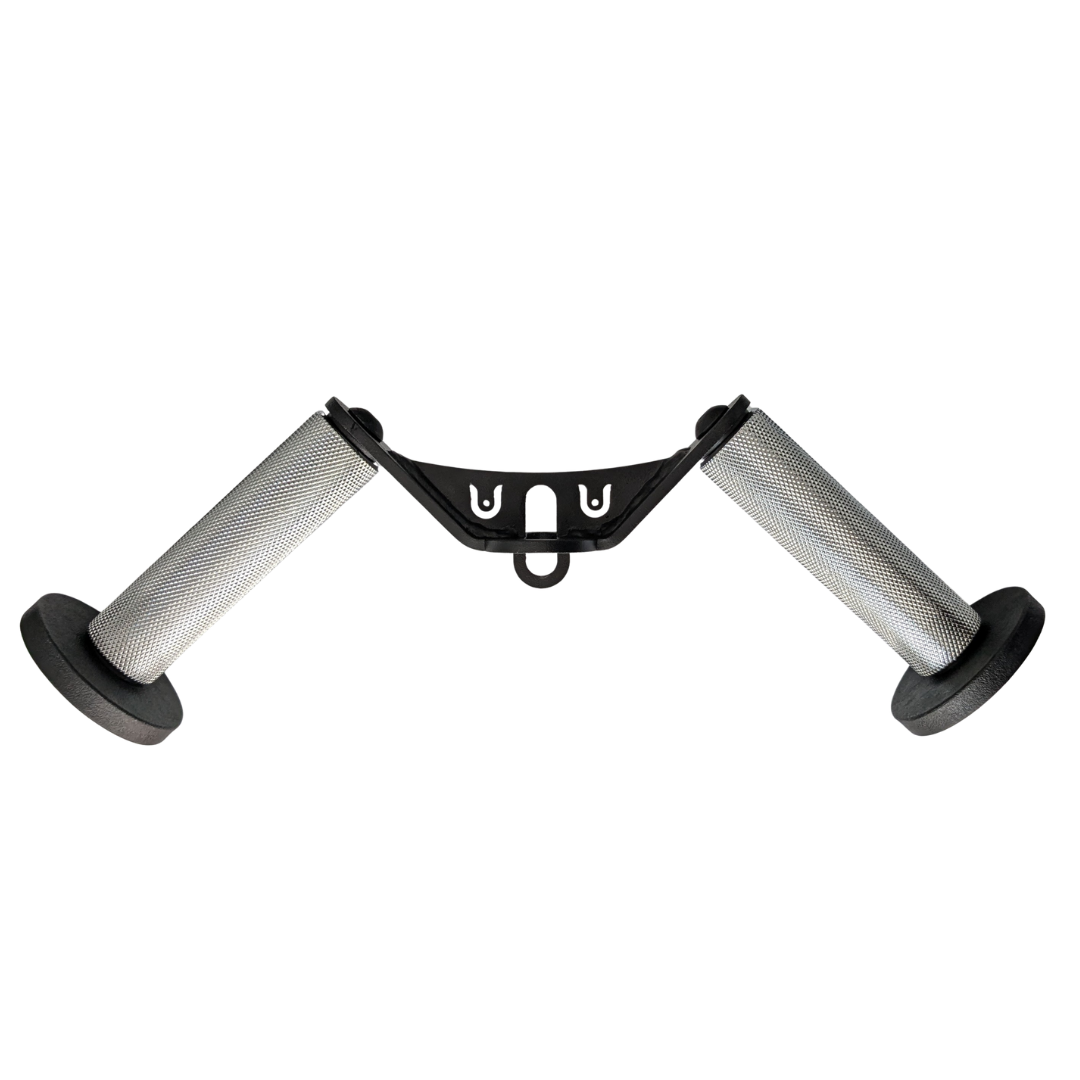
W Grip
Angled cable grip for comfortable rows, pushdowns, and curls.


GymPin D Handle Bar
Multi-use steel D-handle bar for cable rows, pulldowns and other cable exercises.
Grip Width, Handle Shape and Elbow Path
A close neutral-grip V-handle is a useful starting point because it keeps the wrists in a straightforward position and makes it easy to draw the elbows alongside the ribs. However, no single grip is universally best for every back. The handle that lets you achieve a strong, pain-free pull and stable range of motion may be more productive than an attachment chosen for its reputation.
A wider overhand handle generally encourages elbows to travel farther from the torso. That changes how the upper back and rear shoulders are challenged, but it does not prove that every wide-grip rep delivers more growth. A neutral, shoulder-width handle often offers a practical middle ground, while independent handles can allow each wrist to rotate and each arm to find a comfortable path.
For a lat-focused emphasis, think about guiding your elbows toward your lower ribs or back pockets without scraping them forcefully against your sides. For more upper-back emphasis, allow the elbows to flare moderately and pull toward a slightly higher portion of the torso, provided the shoulder feels good. These are useful cues, not guarantees of selectively isolating one muscle.
Grip fatigue can end a set before the back feels challenged. If your hands fail on every working set, experiment with a handle that fits your palms or use straps selectively after you have trained your grip separately. Keep your wrists close to neutral, and do not let a thick attachment twist them into painful positions. Rotate grip styles over training blocks only when the change solves a real comfort, progression or stimulus problem.
Practical test: perform two moderate sets with each candidate attachment using similar range and effort. Choose the one with the best back tension, smoothest motion and least wrist or shoulder irritation. There is no prize for using the most complicated handle.

Bodybuilding Shirts & Workout Gear
Bodybuilding shirts, tanks and gym gear for lifters chasing muscle, size, symmetry and the pump.

Lat Man Big Back – With Huge Lats – Vest Back Day Tank Top
Your gym-day look, with a playful “Lat Man Big Back” twist.

Demon Back Big Back Sweater & Lat Gains Meme T-Shirt
Add a playful “Demon Back” touch to your casual rotation.

Gym Dost Thou Even Pull Medieval Knight Back Day Muscle Tank Top
Bring “Dost Thou Even Pull Medieval Knight Back” humor to your next lifting session.

Big Back SpongeBob Decal Water Bottles Meme Sticker
A fun “Big Back” touch for bottles, laptops, and lockers.

Shirt Pull Day – Back & Biceps Meme Top T-Shirt
Heavy lifts, good laughs, and a little “Pull Day Graphic” energy.


Wide Privilege – Wide Back Meme Vest Muscle Shirt for A Tank Top
Show some personality between sets with “Wide Privilege”.

Nice Traps Big Back – Halloween Horror Jigsaw Meme Hood Hoodie
Keep it laid-back with a little “Nice Traps Big Back” attitude.

We Are So Back Shirt | Bodybuilding Back Workout | Grap T-Shirt
Heavy lifts, good laughs, and a little “We Are So Back” energy.

Strong Back Bodybuilder | Meme Muscle Shirt | The Simps Tank Top
Train hard, laugh a little, and rep “Strong Back Bodybuilder”.
Pulling Mechanics: Elbows, Shoulder Blades and Tempo
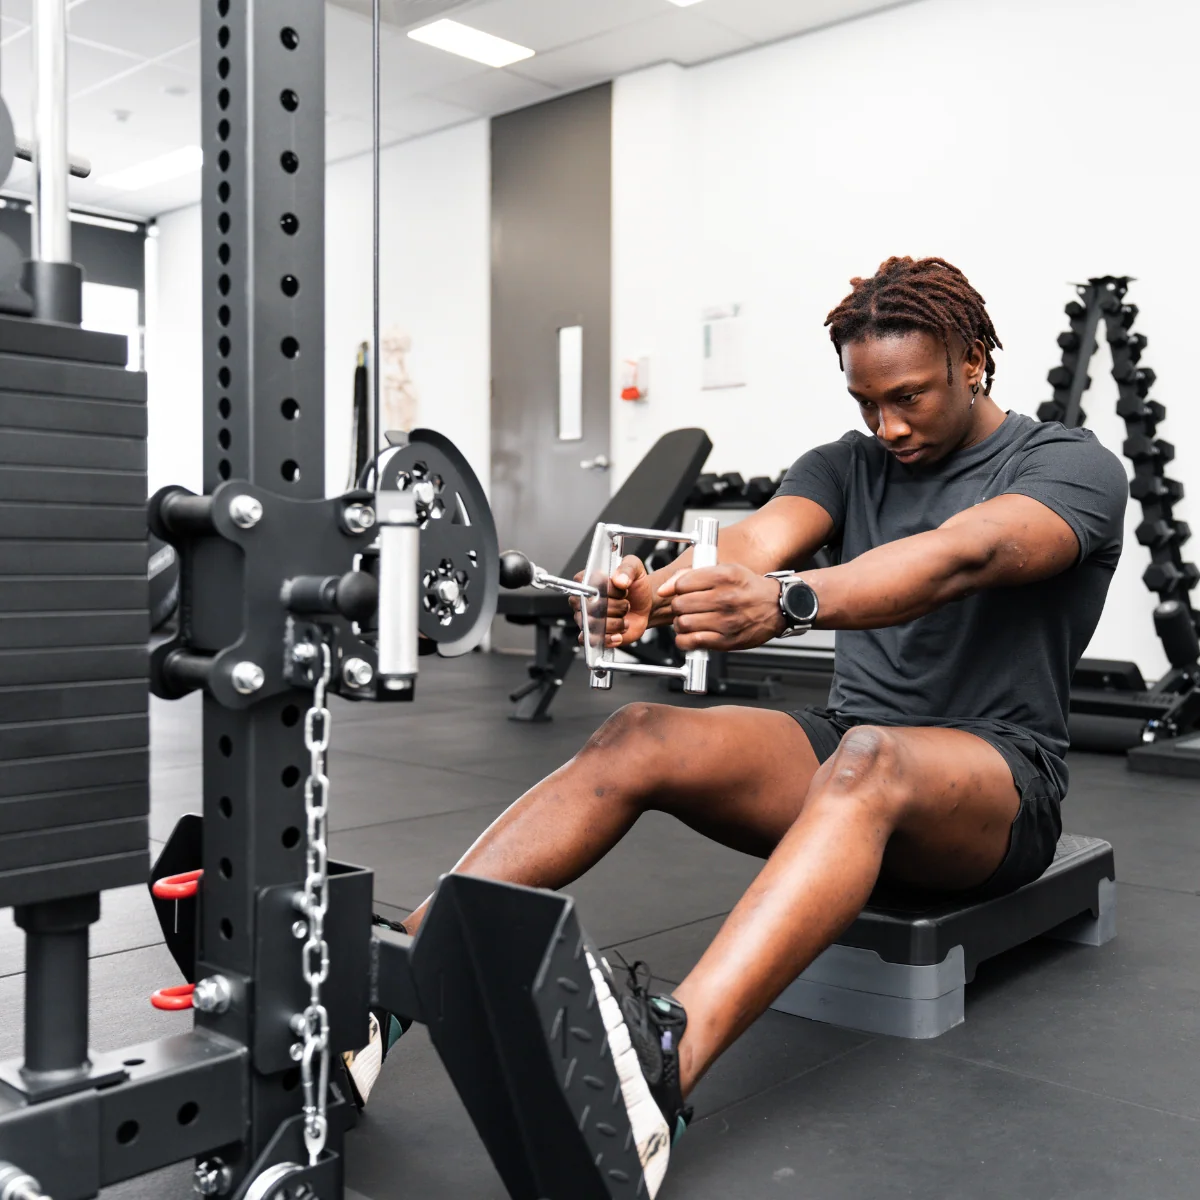
Once the handle is in your hands, start with a quiet breath and a firm torso. Pull smoothly, allowing the shoulder blades to move toward the spine as the elbows travel behind the torso. The handle commonly finishes near the lower ribs or upper abdomen with a close grip. Do not force it into the chest if doing so requires your shoulders to roll forward or your body to swing backward.
At the end position, pause for a short moment while keeping the neck relaxed. Then extend the elbows gradually, letting the shoulder blades travel forward naturally. The return should be controlled; it is not a free fall where the stack slams down and immediately bounces into the next rep.
There is no universally required two-second or three-second tempo. For most hypertrophy sets, try approximately one to two seconds pulling and two to three seconds lowering as a starting rhythm, adjusting to maintain tension and repeatable technique. A longer lowering phase is useful if you tend to rush, but excessively slow reps can simply reduce the load you are able to manage.
Do not confuse a dramatic squeeze with an effective rep. Your goal is to take the target muscles through a useful range under meaningful load. A small reach at the front is fine when your spine stays controlled; an exaggerated full-body collapse is not. Similarly, pulling your elbows as far behind your body as possible may only shift effort into shoulder extension and alter the mechanics without improving the stimulus.
For a set of eight to twelve repetitions, aim for the first and final rep to look recognizably similar. If the last three reps become jerks, the load or rep target is too aggressive for the technique standard you chose.
Six Mistakes That Hold Back Row Progress
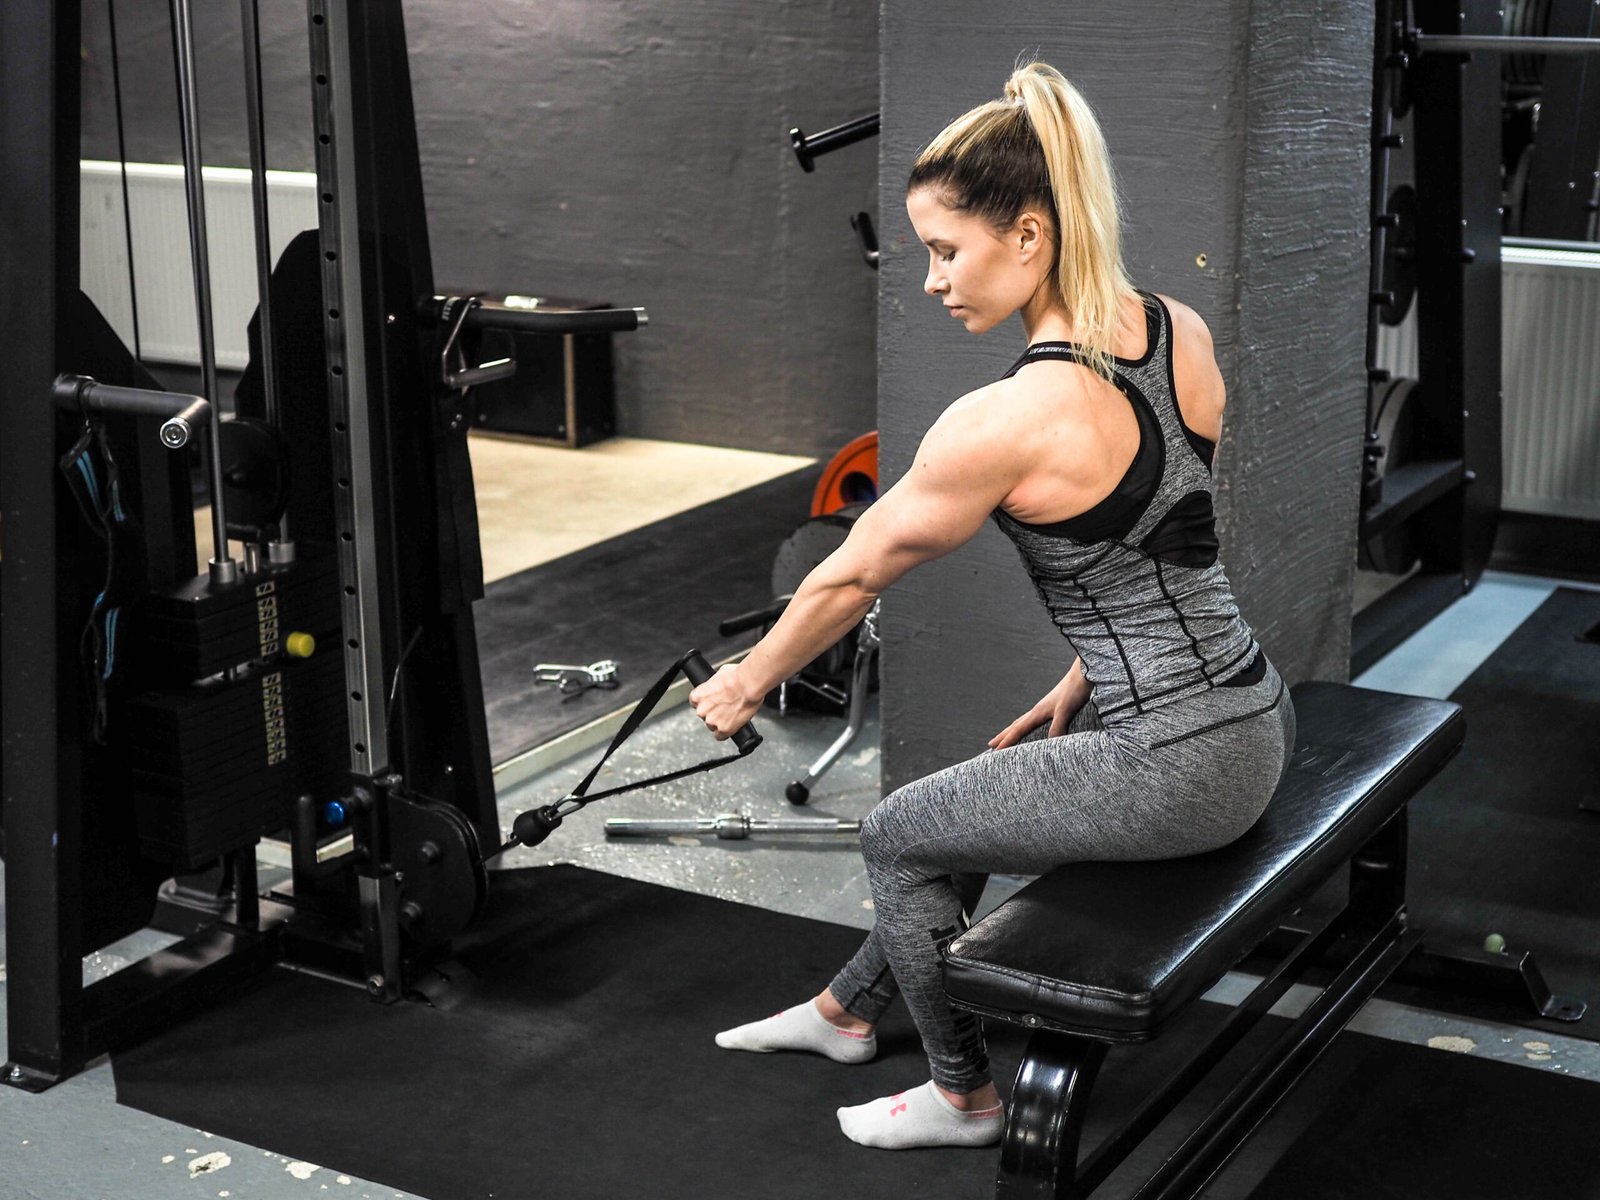
1. Leaning back to start every rep. A small fixed torso angle is normal, but a powerful backward hip swing changes the exercise into a combined pull and bodyweight heave. Reduce the load and let the elbows create the movement.
2. Shrugging the shoulders upward. If your shoulders climb toward your ears, you may be relying on a shorter, tense upper-body pattern instead of a smooth row. Relax your neck, keep the chest comfortably tall and select a handle that allows natural shoulder motion.
3. Flaring the elbows by accident. A flared path can be a deliberate upper-back variation, but uncontrolled flare often comes from a heavy load or poor handle fit. Decide whether you are pulling to the lower ribs or slightly higher torso before the set begins.
4. Dropping the return. If the cable snaps your arms forward, you lose control of a significant portion of the rep. Slow the lowering enough that the plates do not crash and the final stretch remains comfortable.
5. Chasing an extreme backward finish. Your elbow does not need to disappear behind your spine. Stop when the target muscles are challenged and the shoulder remains in a good position. Trying to squeeze harder with the shoulder rolled forward is not an upgrade.
6. Rewriting the technique each week. Changing grip, torso angle, range and machine simultaneously makes progress difficult to interpret. Hold one version steady for several weeks, track the reps you can complete cleanly, and change only what clearly needs changing.
A simple fix is to establish a repeatability standard: stable feet, quiet trunk, chosen elbow path, brief controlled finish and deliberate return. A few hard sets completed with that standard provide better information than a stack number achieved through momentum.
Equipment Worth Exploring
Explore equipment, accessories and gear from our carefully selected range.
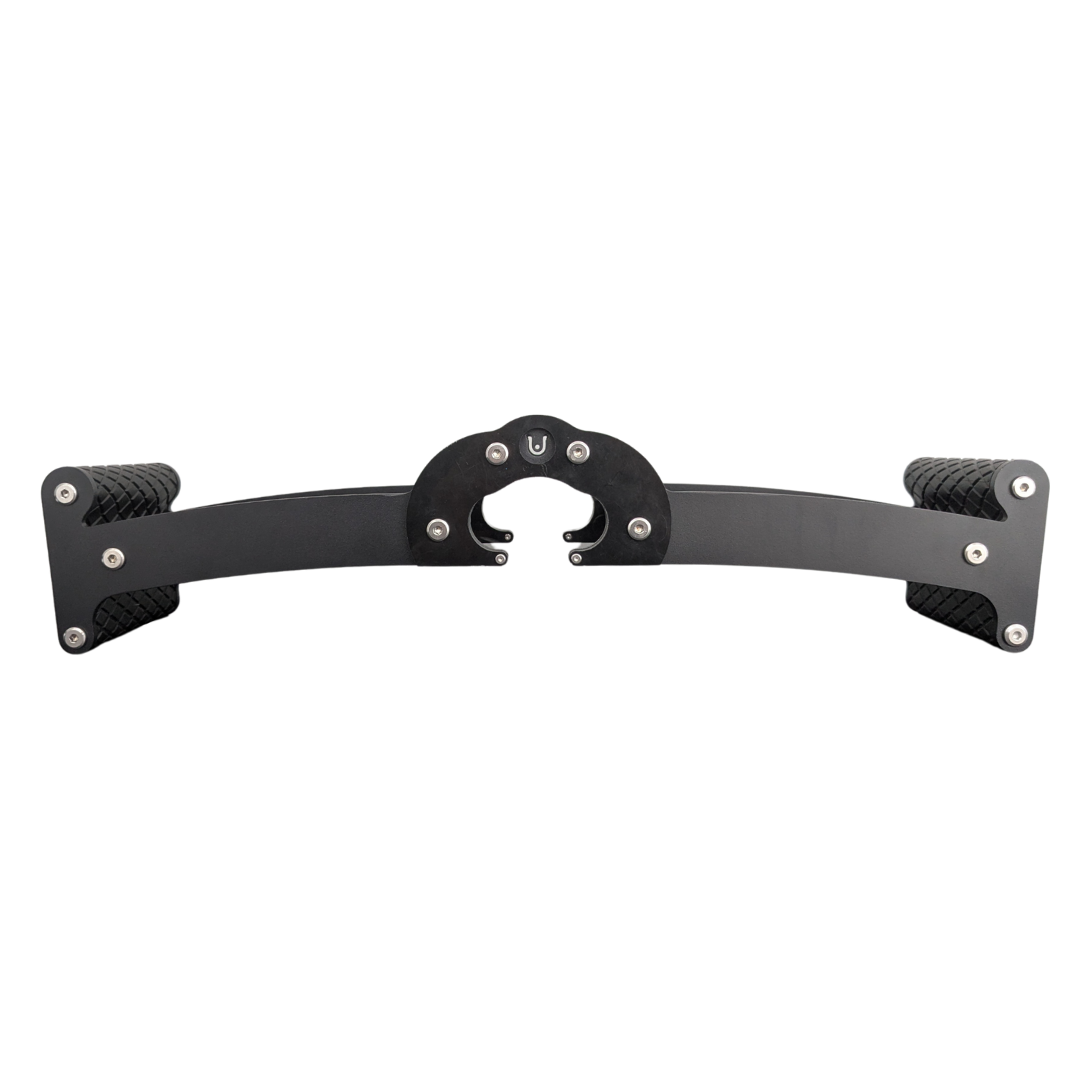
Back Bar
Multi-grip cable and landmine bar with a built-in deadlift jack.
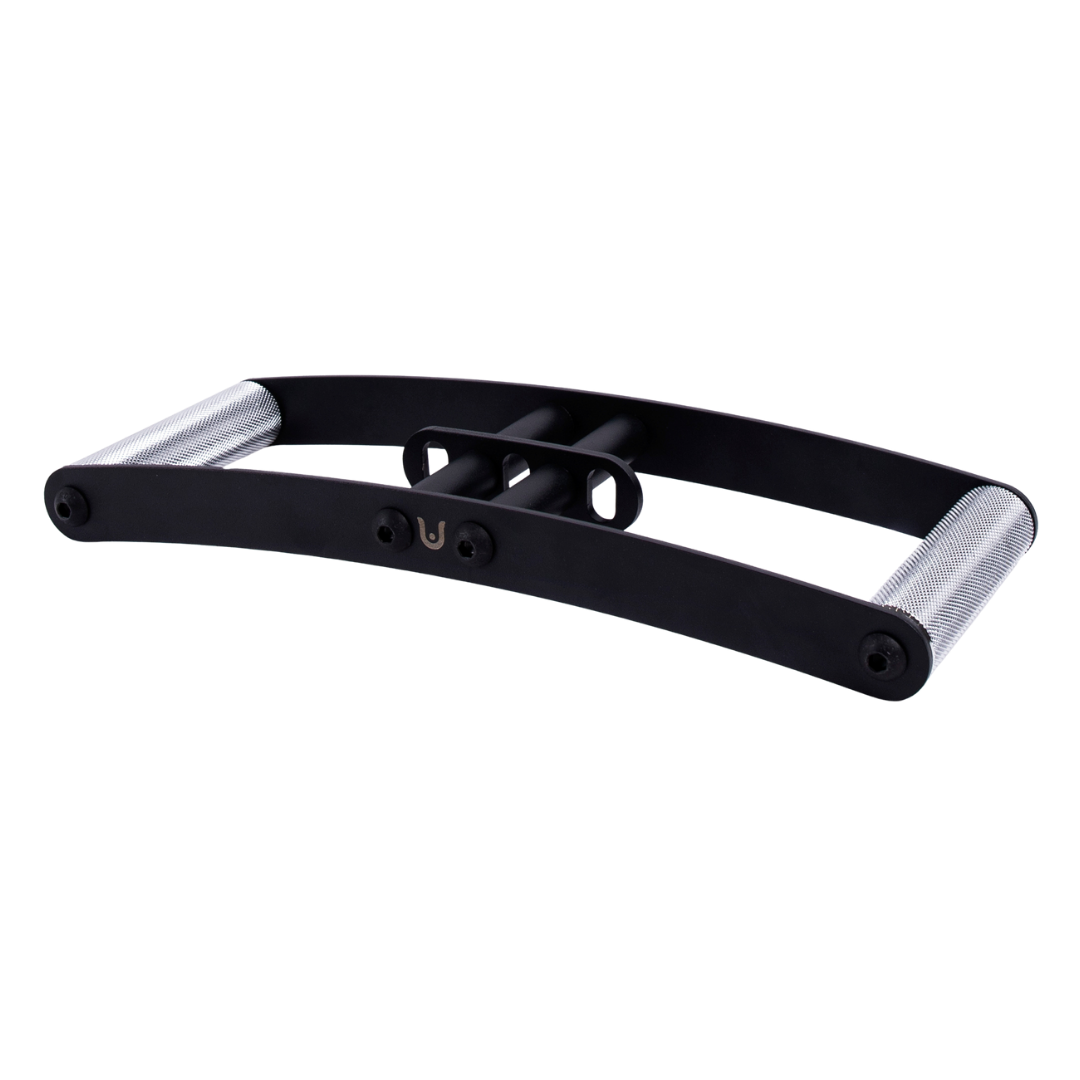
Horizon Grip
Ergonomic V-style cable grip for rows and back training.

Angles 90 Grips
Flexible grip attachments that allow natural wrist movement during pulling exercises.
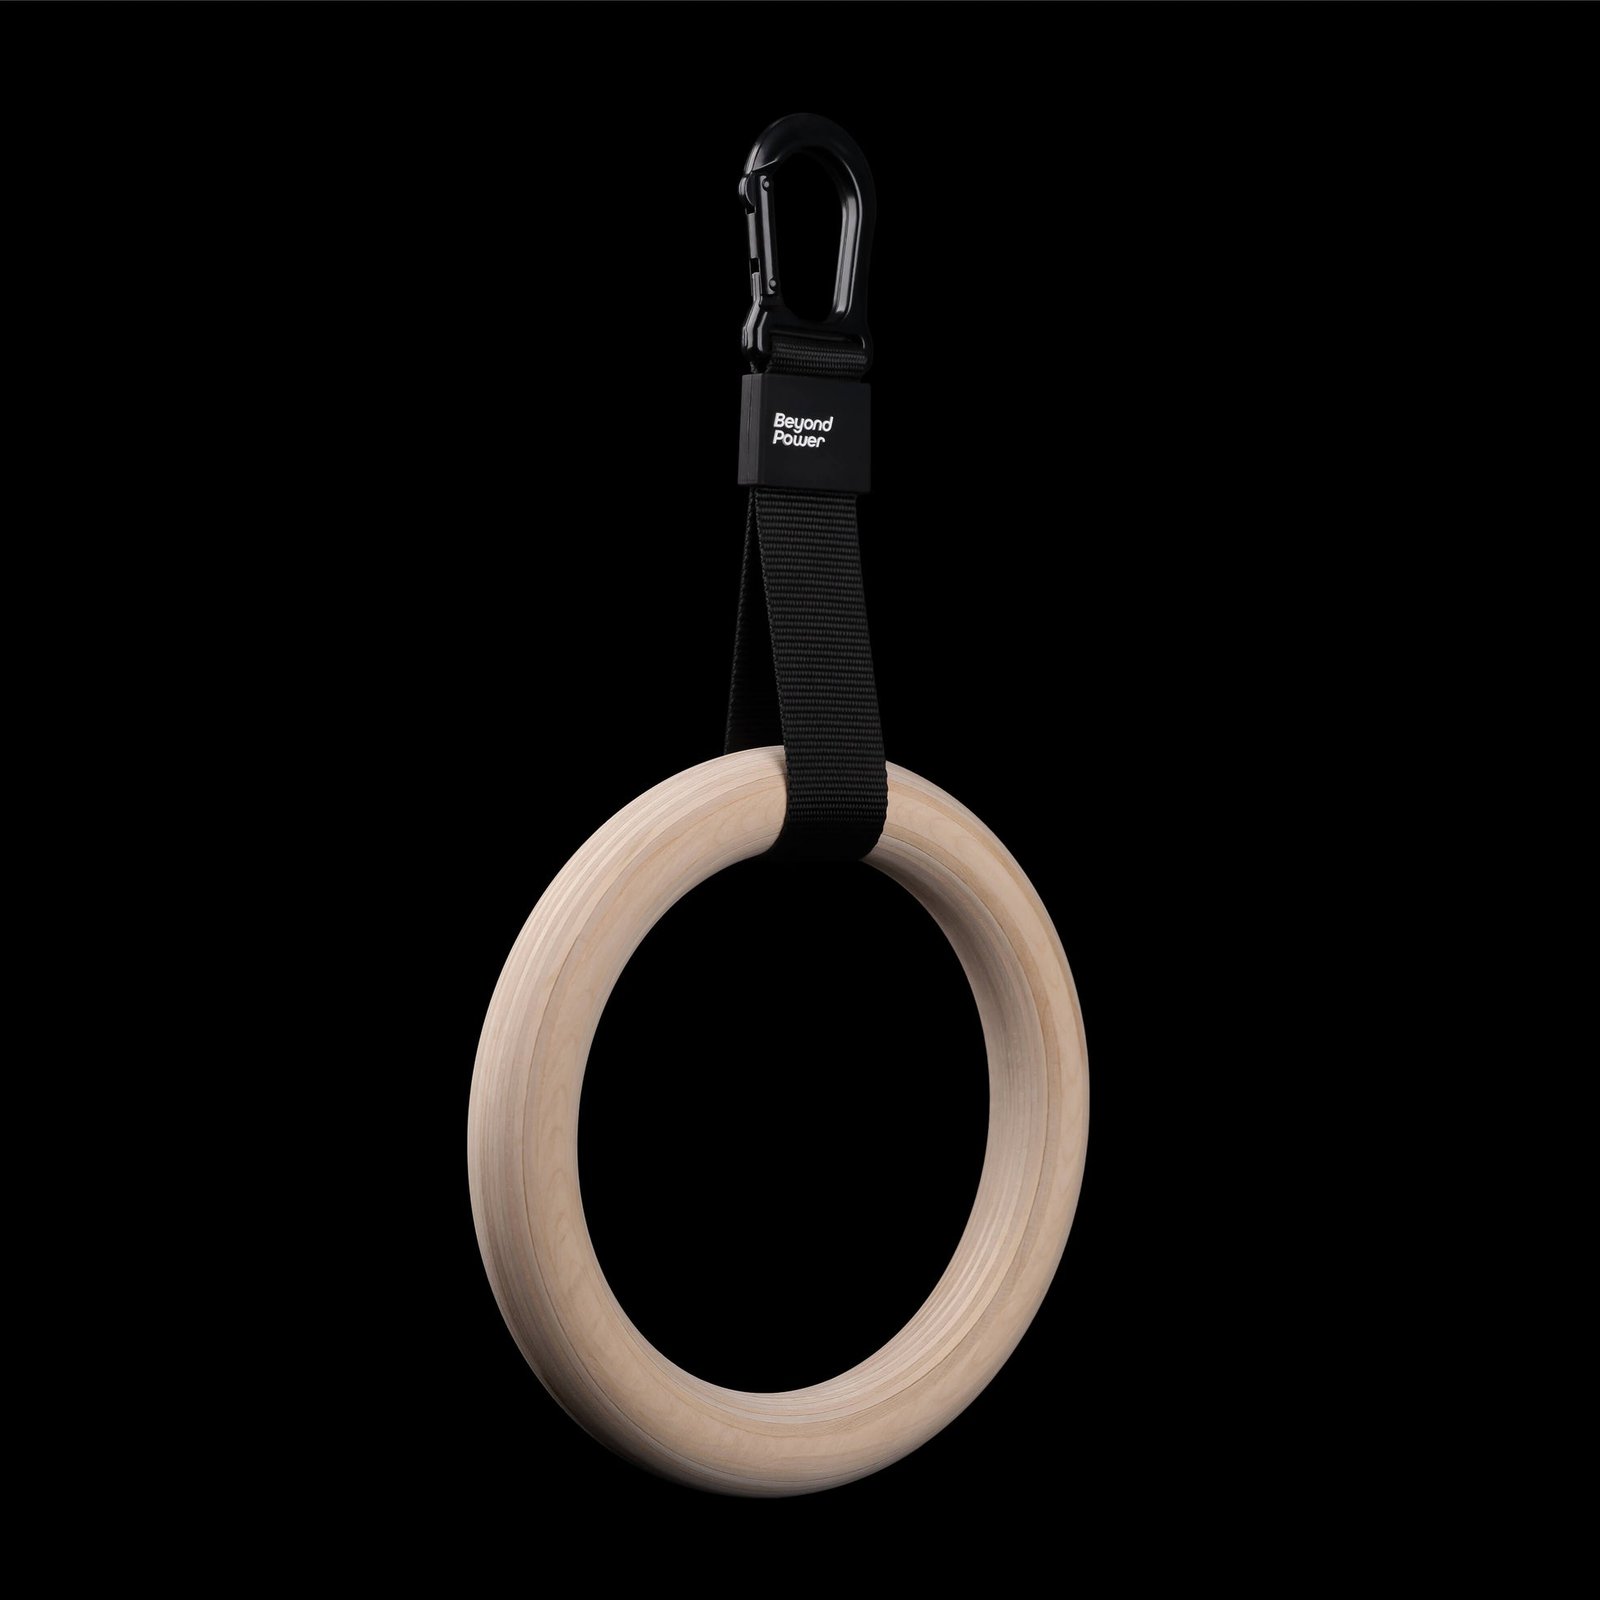

Leather Lifting Straps
Padded leather straps support grip during heavy rows, deadlifts and pulling exercises.

Original GymPin
Adds Olympic plates to compatible cable-machine weight stacks for extra resistance.

GymPin MiniPin
Compact Olympic-plate loading pin for compatible cable stacks with limited clearance.
U Clips
Versatile gym clips for barbell, landmine, and attachment setups.
Single-Arm Rows, Chest-Supported Rows and Alternatives
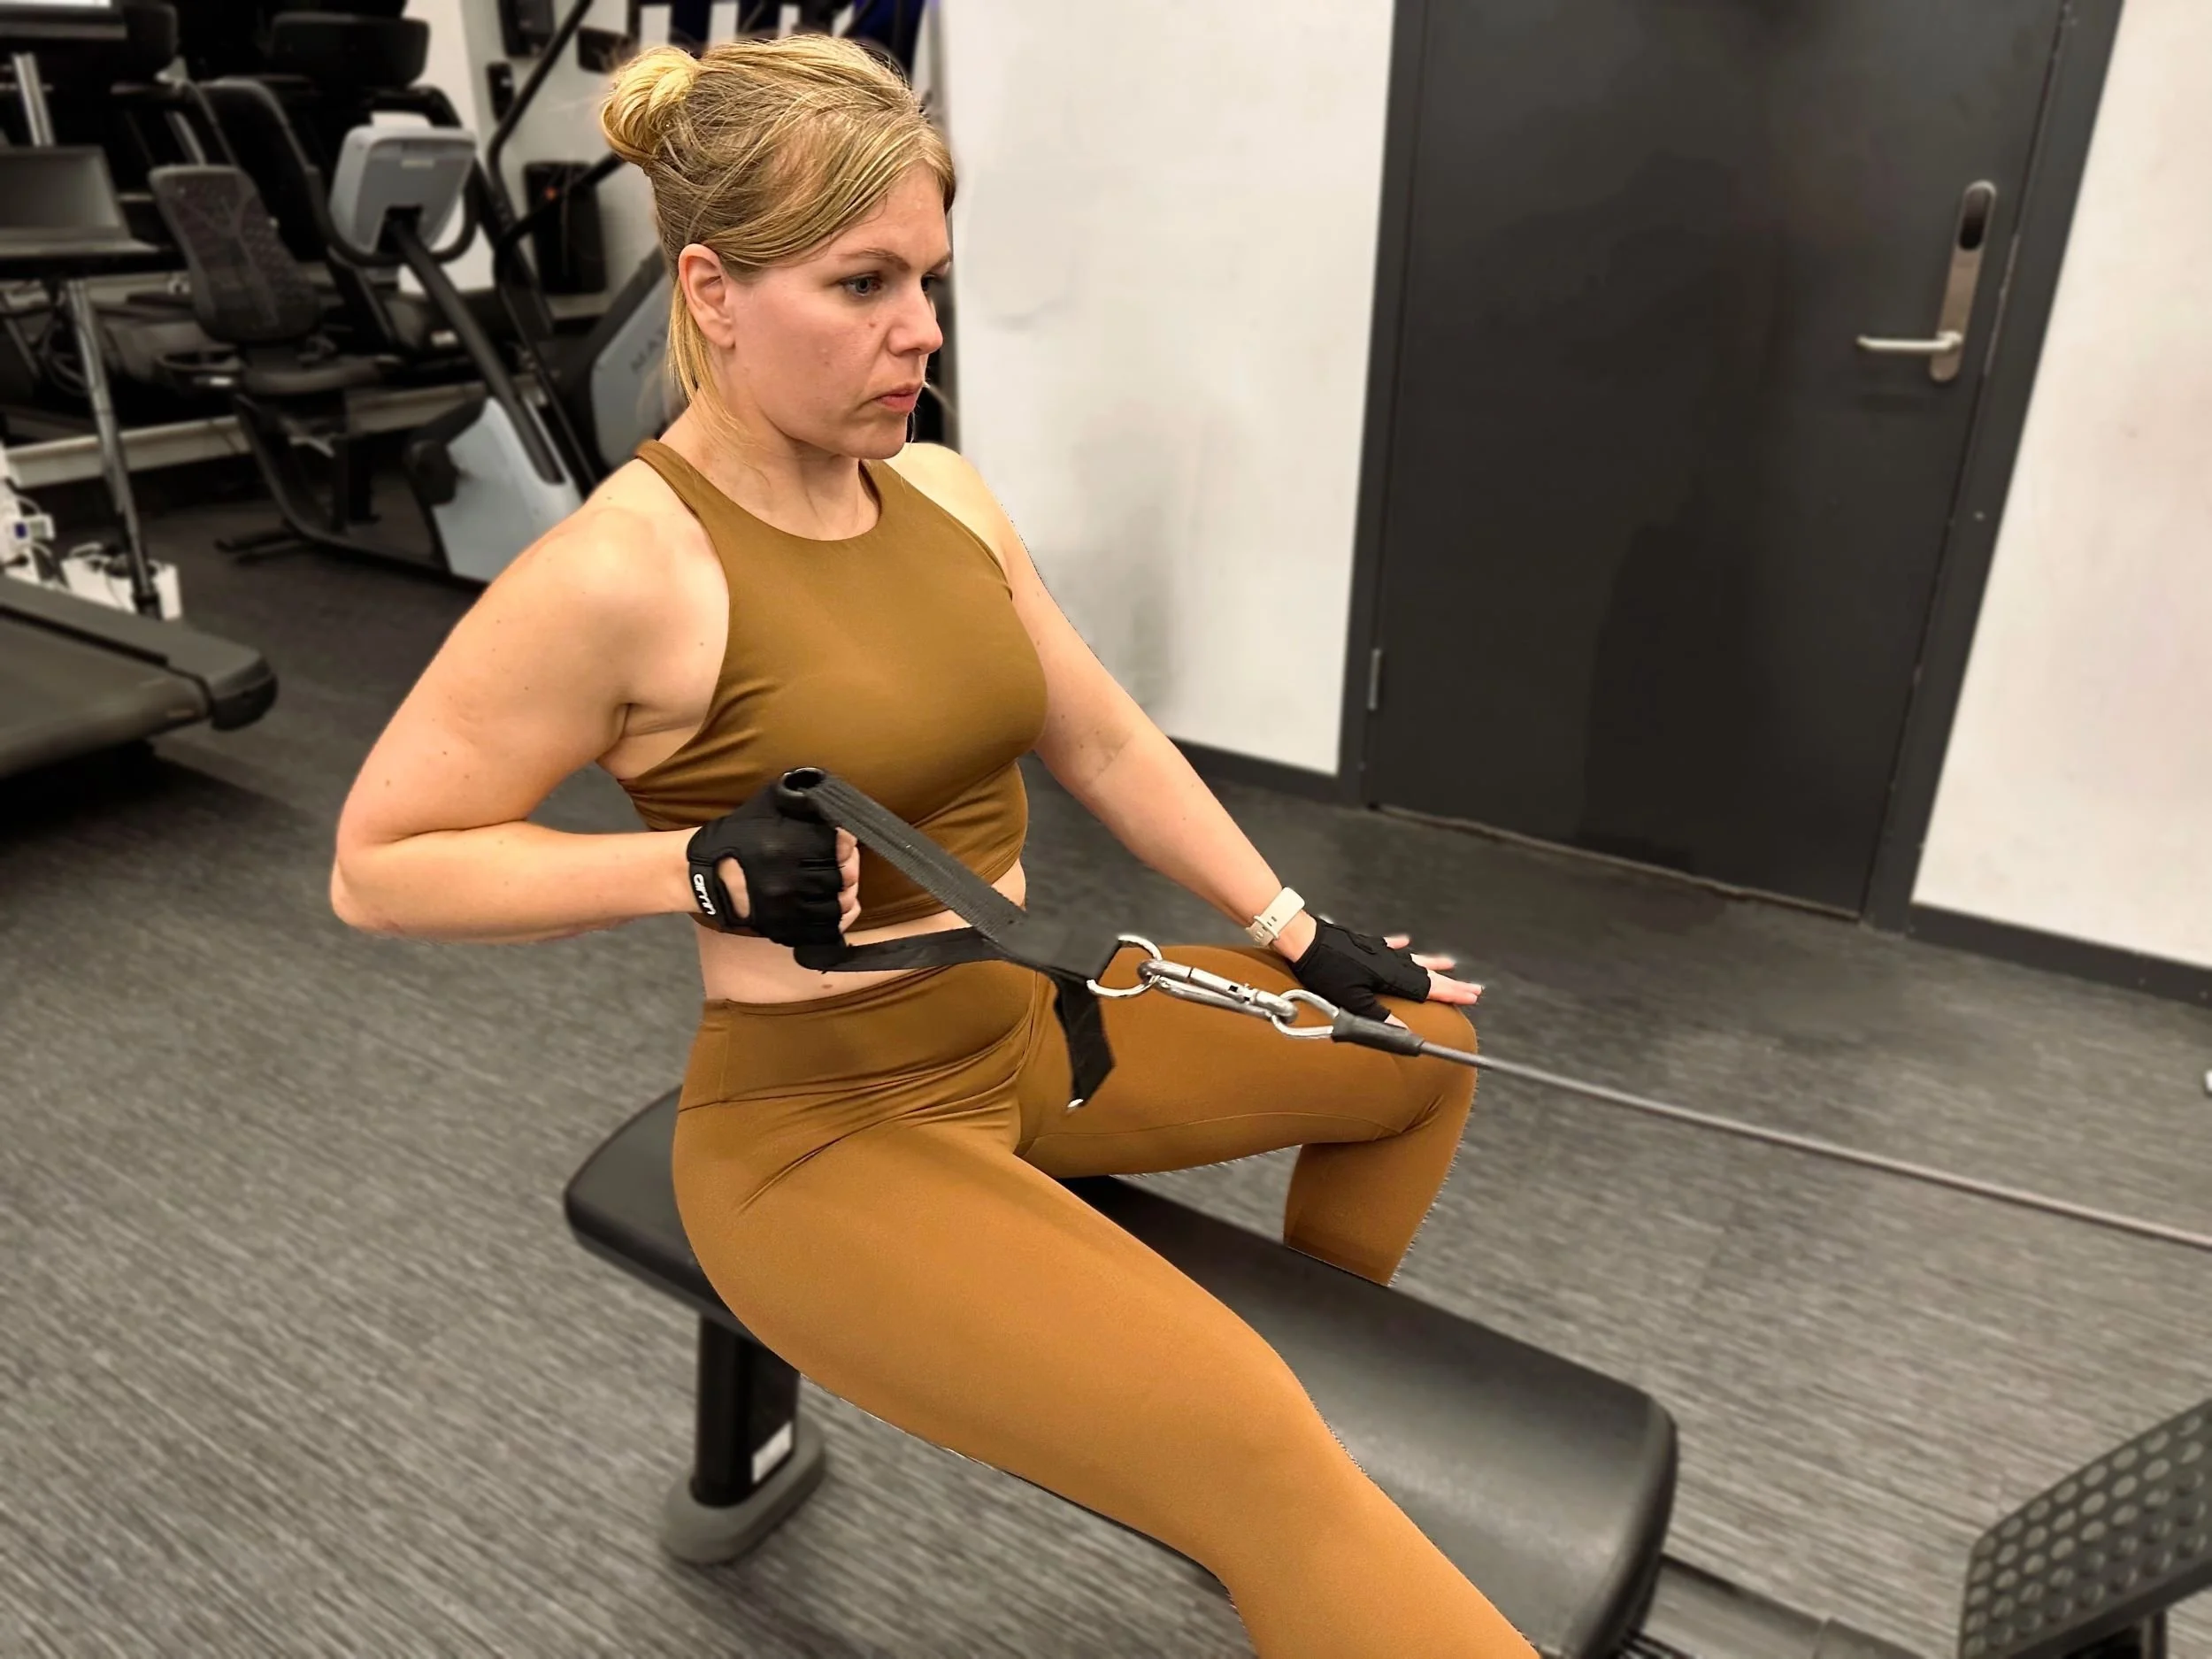
Single-arm seated cable rows let each arm work independently. This can help you notice whether one side uses a shorter range or different shoulder movement. It also gives you freedom to adjust wrist orientation during the pull. Keep your torso squared to the cable and resist spinning to drag the handle farther backward; some rotation can be intentional in other drills, but it changes the comparison.
To perform a single-arm version, attach one handle, sit in a balanced position, brace, and pull the working elbow toward the rear pocket. Let the hand return forward under control. Complete the prescribed repetitions on each side before adding weight. If one arm is weaker, start with that side and match the opposite side’s clean reps rather than adding extra loose repetitions.
A chest-supported machine row removes much of the temptation to lean backward, which may be useful when lower-back fatigue limits your back-training volume. A dumbbell row needs less specialized equipment, but your support position and body angle can change the exercise. A barbell row can be loaded heavily, yet it demands more trunk stability and hip-hinge tolerance. None is automatically superior: each has a different stability and comfort tradeoff.
When choosing an alternative, ask what you need. If the goal is more focused upper-back work after deadlifts, use a supported row. If the cable machine is occupied, substitute a controlled single-arm dumbbell row. If cable resistance feels smooth and your shoulders tolerate it, keep the seated row. There is little value in changing tools just to claim variety.
Two consistent horizontal-pull slots each week, perhaps one neutral-grip cable row and one supported row, can offer more than rotating through five nearly identical attachments without progression.
A Six-Week Plan for a Bigger, Stronger Back
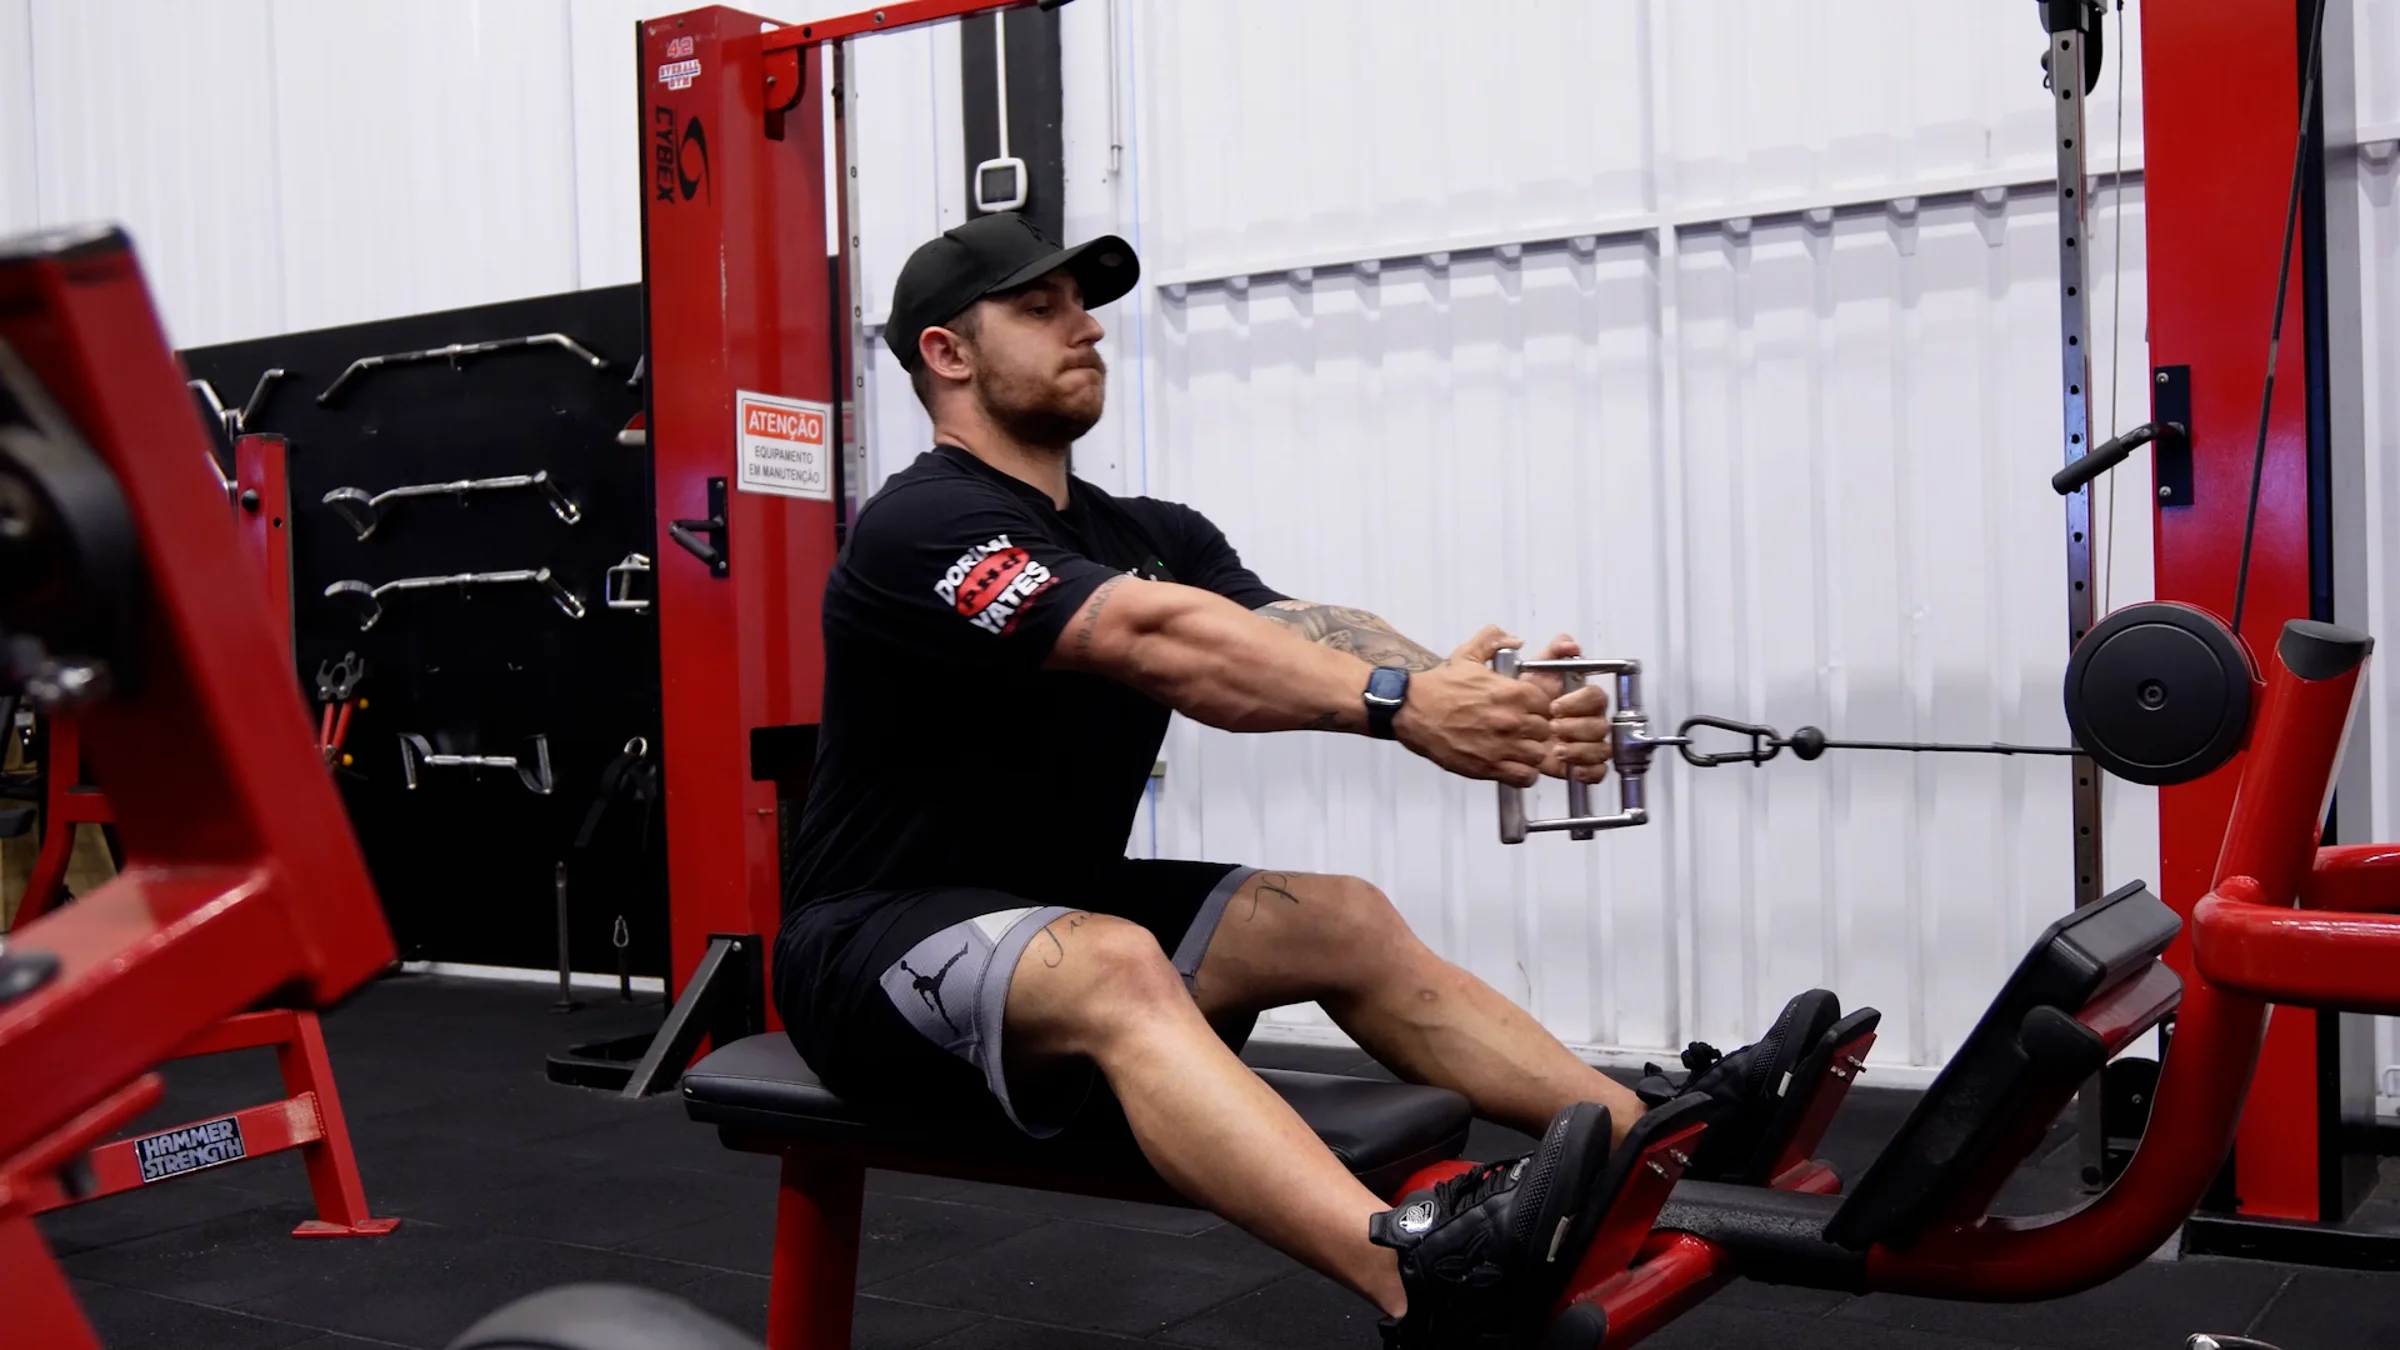
Use this progression twice weekly, leaving at least one day between demanding back sessions. Begin each workout with one or two easy warm-up sets; then perform the prescribed working sets with an elbow path and grip you can reproduce. The plan assumes you already know how to perform the movement without pain. A trainee who is new to lifting can start with fewer sets and slower progress.
| Weeks | Working sets | Reps | Effort and progression |
|---|---|---|---|
| 1–2 | 2 each workout | 10–12 | Finish with about 2–3 good reps left; establish consistent range. |
| 3–4 | 3 each workout | 8–12 | Add a little load only after all sets reach the upper target cleanly. |
| 5 | 3 each workout | 8–10 | Challenge the final set while retaining roughly 1–2 clean reps in reserve. |
| 6 | 2–3 each workout | 10–12 | Evaluate technique and reps; reduce load if fatigue has accumulated. |
Track the weight, repetitions, grip, handle and any noticeable shoulder discomfort. For example, if you complete three sets of twelve with a neutral handle and no torso swing, move the pin one practical increment next session. If that increase drops you to eight clean reps, build back toward twelve rather than chasing the old number with poorer form.
Combine the row with a vertical pull, a rear-delt or upper-back exercise and appropriate lower-body training across the week. Total pulling volume should reflect your whole program, not just this single movement; counting every row, pulldown and chin-up as an independent unlimited allowance can lead to excessive fatigue.
Rest roughly 90–180 seconds between hard working sets, and extend that when your breathing or grip has not recovered enough for a comparable next set. The row is a tool for accumulating challenging, controlled pulling work. Build the habit of better reps and measured progression, not the habit of moving the most weight possible with any technique.
Funny Gym Shirts & Workout Gear
Funny gym shirts, tanks, hoodies and workout gear for lifters who like training hard.

Lat Spread Mickey Mouse Meme Sweater T-Shirt
Bring “Lat Spread” humor to your everyday gym style.

Back Panther – Big Back & Gymbros – Meme Shirt T-Shirt
Show some superhero attitude with a playful “Back Panther” tee.

Funny Hardcore Gains Gym | No Pain No Gain Workout | Fi Hoodie
Keep it laid-back with a little “Hardcore Gains” attitude.

Always Pull Yourself Up Tank
Show some personality between sets with “Always Pull Yourself Up”.

Gymhead Mind Muscle Connection Sweater Meme T-Shirt
Bring “Gymhead” humor to your everyday gym style.

Lift Smart Brain Weight Plate Mind Muscle Connection 45 Sticker
Put “Lift Smart Brain Weight Plate” gym humor on your laptop, bottle, or gym gear.

Get A Grip Grip Strength Vest Tank Top
Bring “Get a Grip” humor to your next lifting session.

Progressive Overload Milo Bull : Greek Mythology T-Shirt
Show some bodybuilding attitude with a playful “Progressive Overload Milo Bull” tee.

Mind Muscle Perfection Brain and Biceps Gym for Science Tank Top
Bring “Mind Muscle Perfection Brain and Biceps” humor to your next lifting session.

Shirt – Train Hard Gains – Meme , & Workouts T-Shirt
Bring “Train Hard Gains” humor to your next gym day.