Advertising disclosure: This page includes affiliate product links that may earn us a commission, as well as products from our own store.
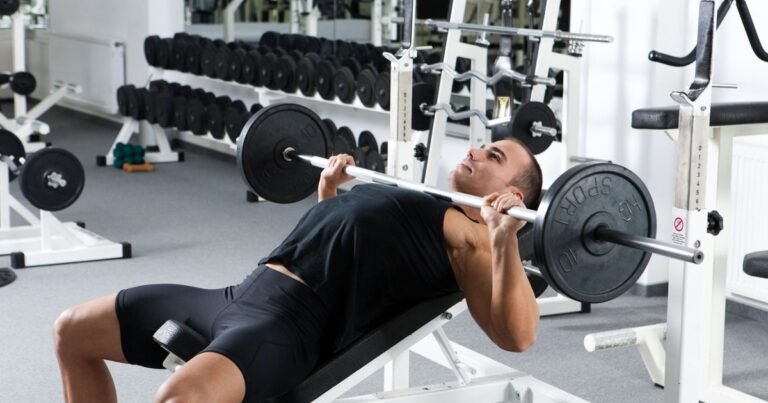
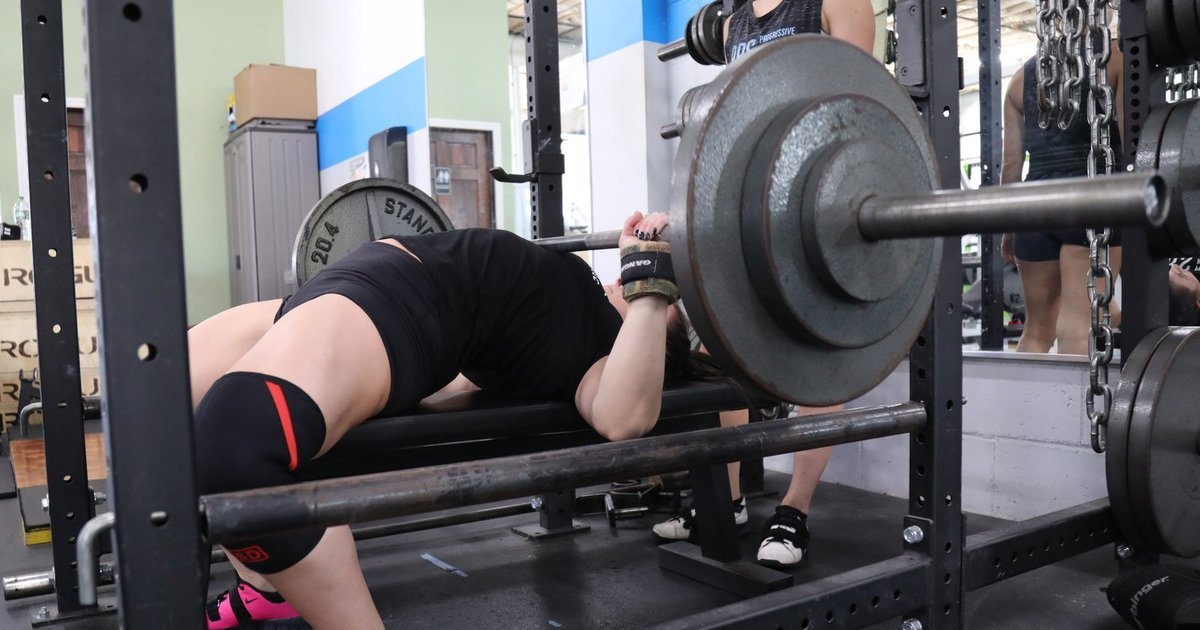
A stronger bench press does not start when the bar leaves your chest. It starts with the contact points that keep your body from sliding underneath it. Leg drive can help you press from a secure position, but only when foot placement, upper-back tension, breathing and bar path work together.
This practical guide explains what to adjust, which mistakes to avoid and how to rehearse a reliable setup over four weeks. It applies to normal gym benches as well as powerlifting practice; competition-specific positions still need to meet the rules of the federation in which you lift.
Leg drive is a stability skill, not a hidden leg press
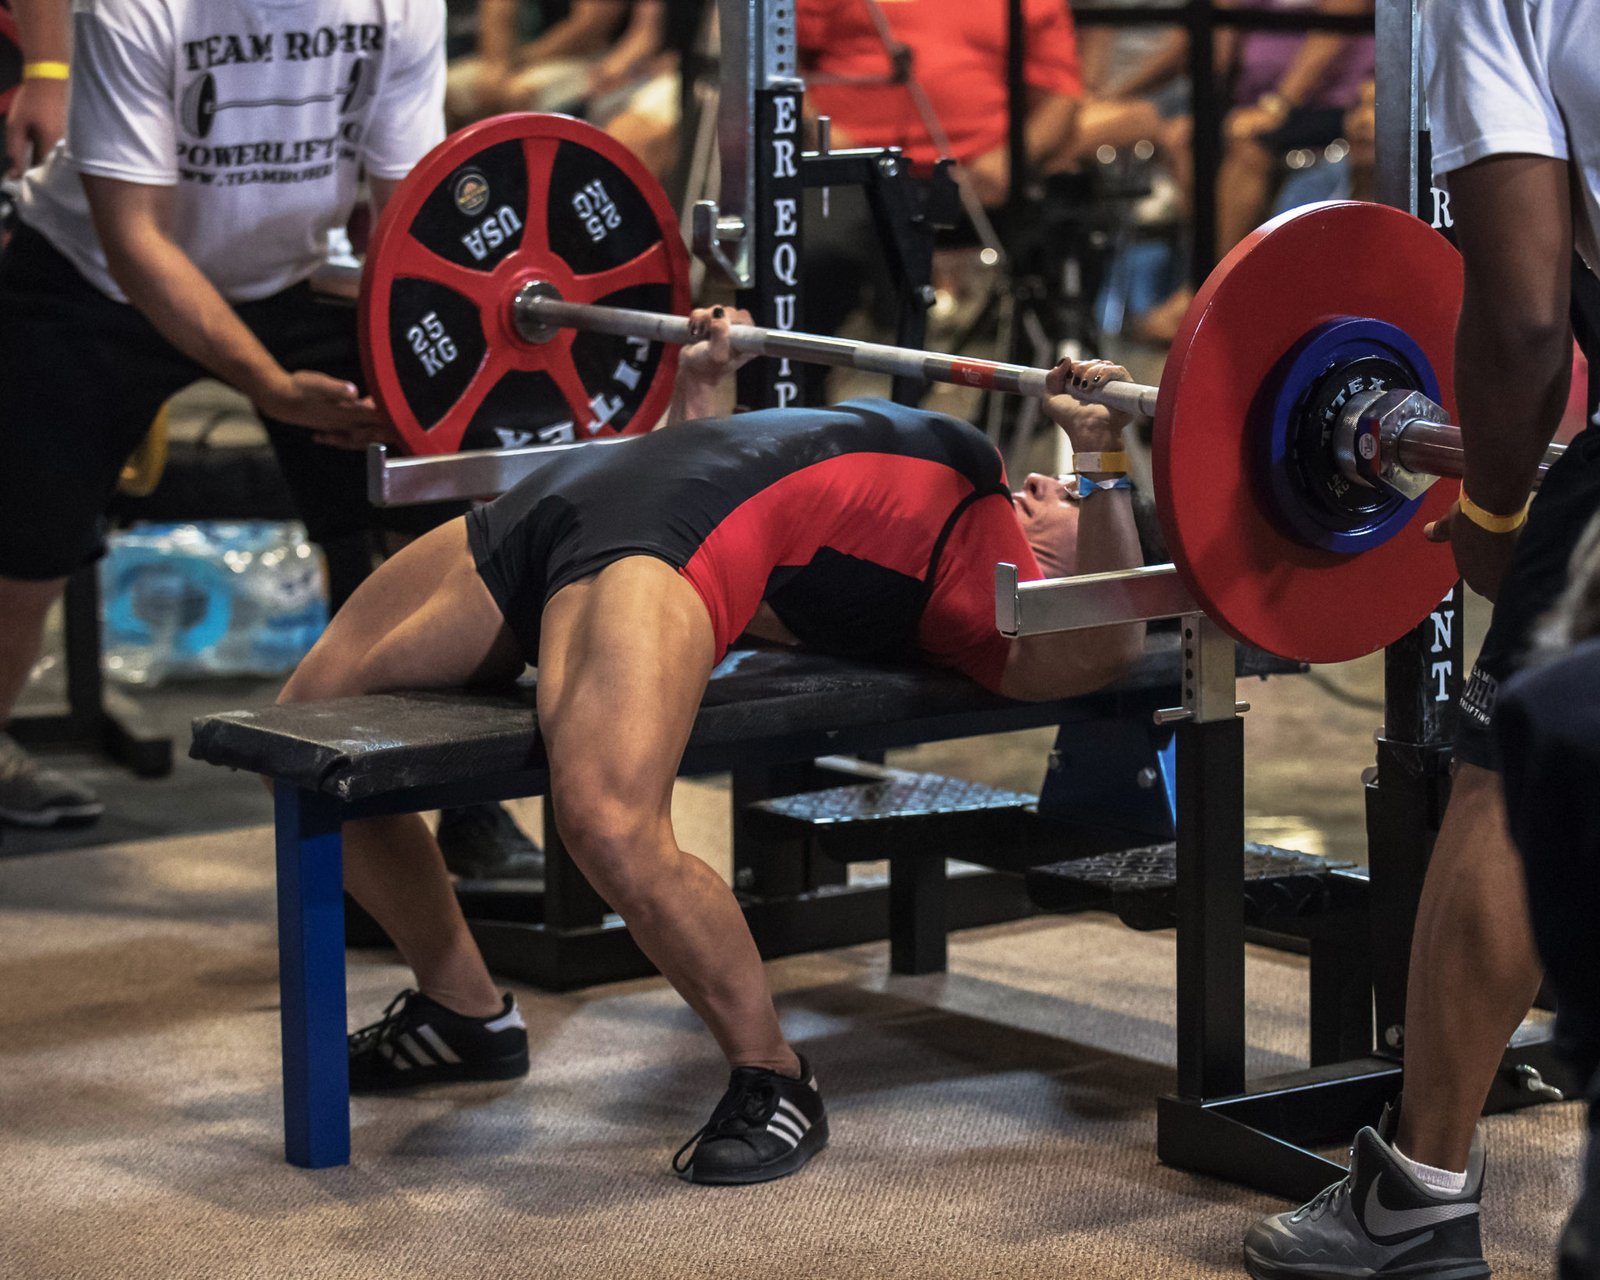
The bar moves because your chest, shoulders and triceps produce pressing force. Your legs do something less visible but still important: they help make the body underneath the bar a stable platform. A loose lower body lets the torso shift on the bench. A stable lower body makes the touch point and pressing path easier to repeat.
That distinction matters because leg drive is often taught as a single aggressive cue: push harder with your feet. If you push so hard that your hips rise, your shoulders slide, or the bar bounces off your chest, the extra effort is working against your setup. The objective is not to turn a press into a bridge. It is to connect foot pressure, tight glutes, a planted upper back and controlled arms into one repeatable position.
Imagine pressing against a firmly bolted surface versus a bench that rolls backward. Your arms could be equally strong in both cases, yet one setup wastes movement stabilizing your body. Foot pressure helps resist that movement. It can also maintain tension while the bar is lowered instead of forcing you to rebuild position at the bottom.
Do not assume there is one universal stance. Leg length, hip mobility, shoe shape, bench height and your preferred arch all change where the feet can create useful pressure. Your best setup is the one that keeps the legal or intended contact points secure while allowing controlled force through the entire repetition.
Choose a foot position you can actually maintain
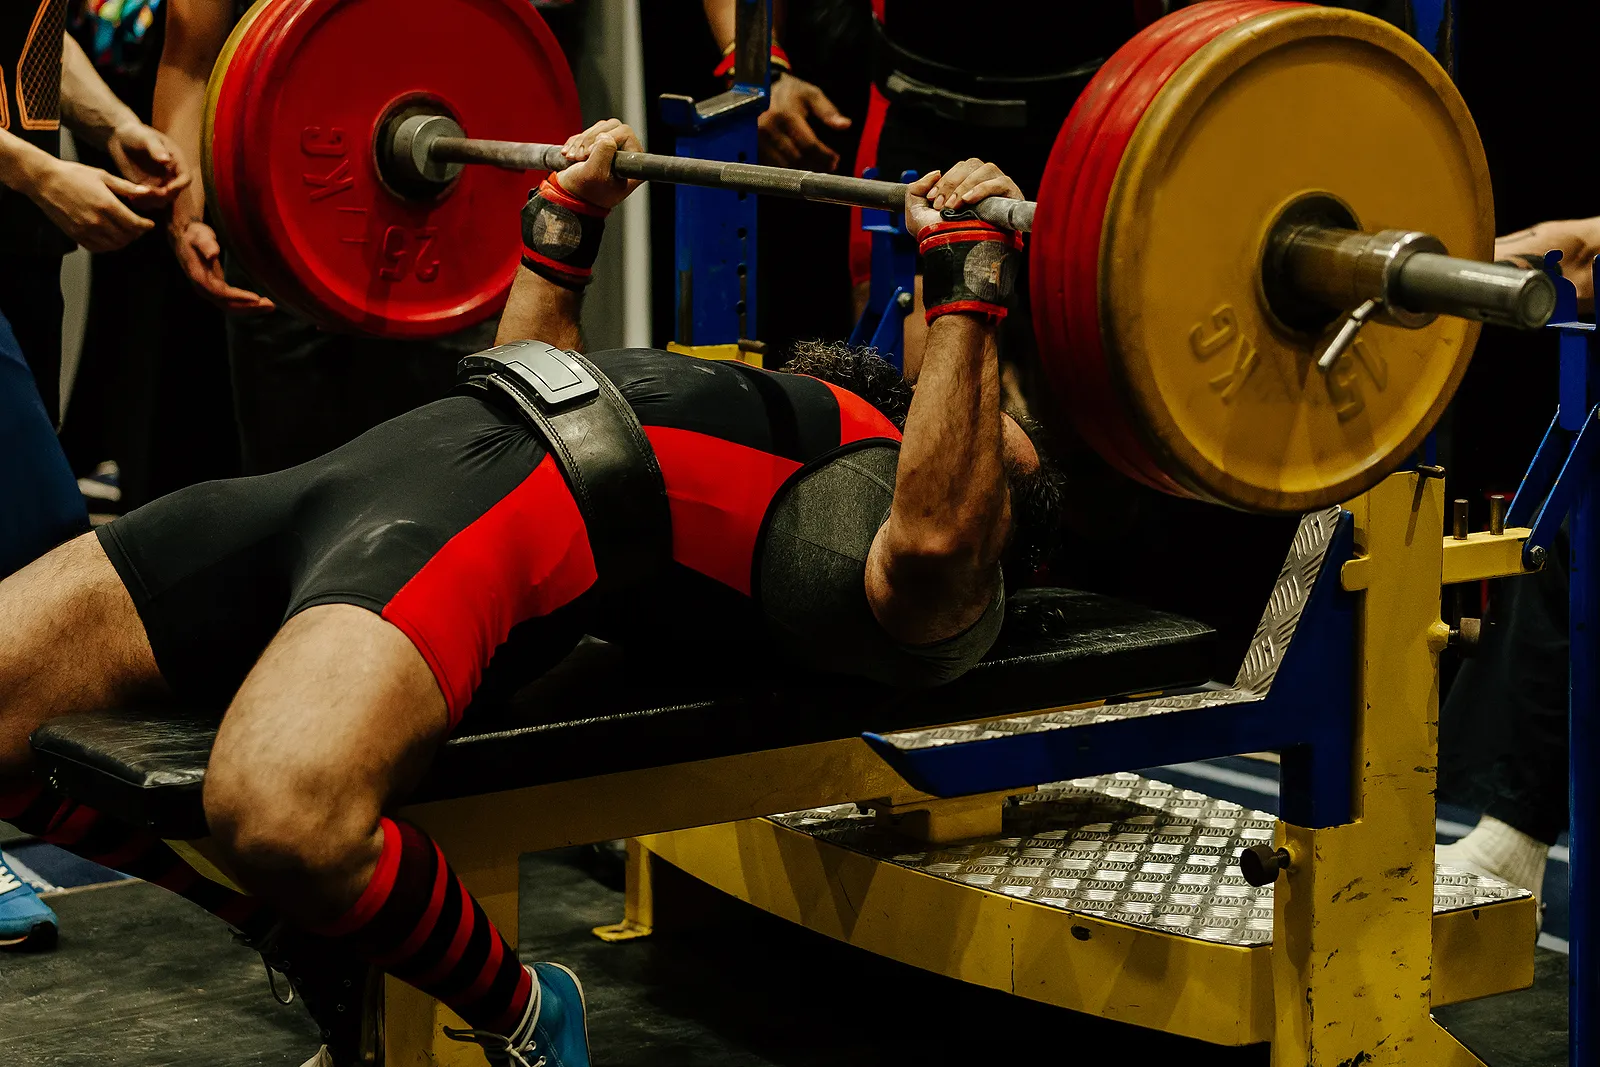
Begin seated with the soles contacting the floor. Lie back, establish your shoulder position and move your feet into a stance that feels strong without forcing an extreme hip stretch. One useful starting experiment is to put the feet approximately under or slightly behind the knees, then compare a modestly farther-forward placement. The exact location is less important than the ability to keep pressure continuous without shifting your hips.
A farther-forward stance can make it easier for some lifters to drive against the floor and maintain a flat foot, especially if they have limited ankle mobility. A more tucked stance can produce considerable full-body tension but may tempt other lifters to raise their heels or lift their buttocks. Neither variation is magic. Record which one allows the same touchdown, pause and press on multiple sets.
Check both sides, not just the stronger leg. A foot turned differently or positioned several centimeters farther away can cause you to rotate under the bar. Start with symmetrical placement and only modify it for a real mobility or injury-related reason. If your shoes are slippery, use stable footwear and a clean, nonslip floor rather than pressing through a sliding foot.
For standard gym training, a moderate stance with the whole foot secured is a simple baseline. If you compete, check your federation’s current rulebook before adopting a heel-raised style: foot-contact rules differ by organization. The 2026 international powerlifting rules require feet flat on the floor through the lift, although permitted foot movement must still preserve contact.
Quick check: With an empty bar, take five seconds to hold the bottom position. Can you keep both feet secure, your shoulders fixed and your glutes down? If not, fix the stance before increasing weight.

Equipment Worth Exploring
Explore equipment, accessories and gear from our carefully selected range.


FID Bench MAX
Adjustable bench offering flat, incline, and decline positions + adjustable headrest.


Foldable Wall Rack
Wall-mounted folding squat rack designed to save floor space between workouts.

VForce 2IN1
Half rack and pivot-arm functional trainer with switchable 1:1 and 2:1 pulley ratios.
Build the upper-back shelf before you unrack
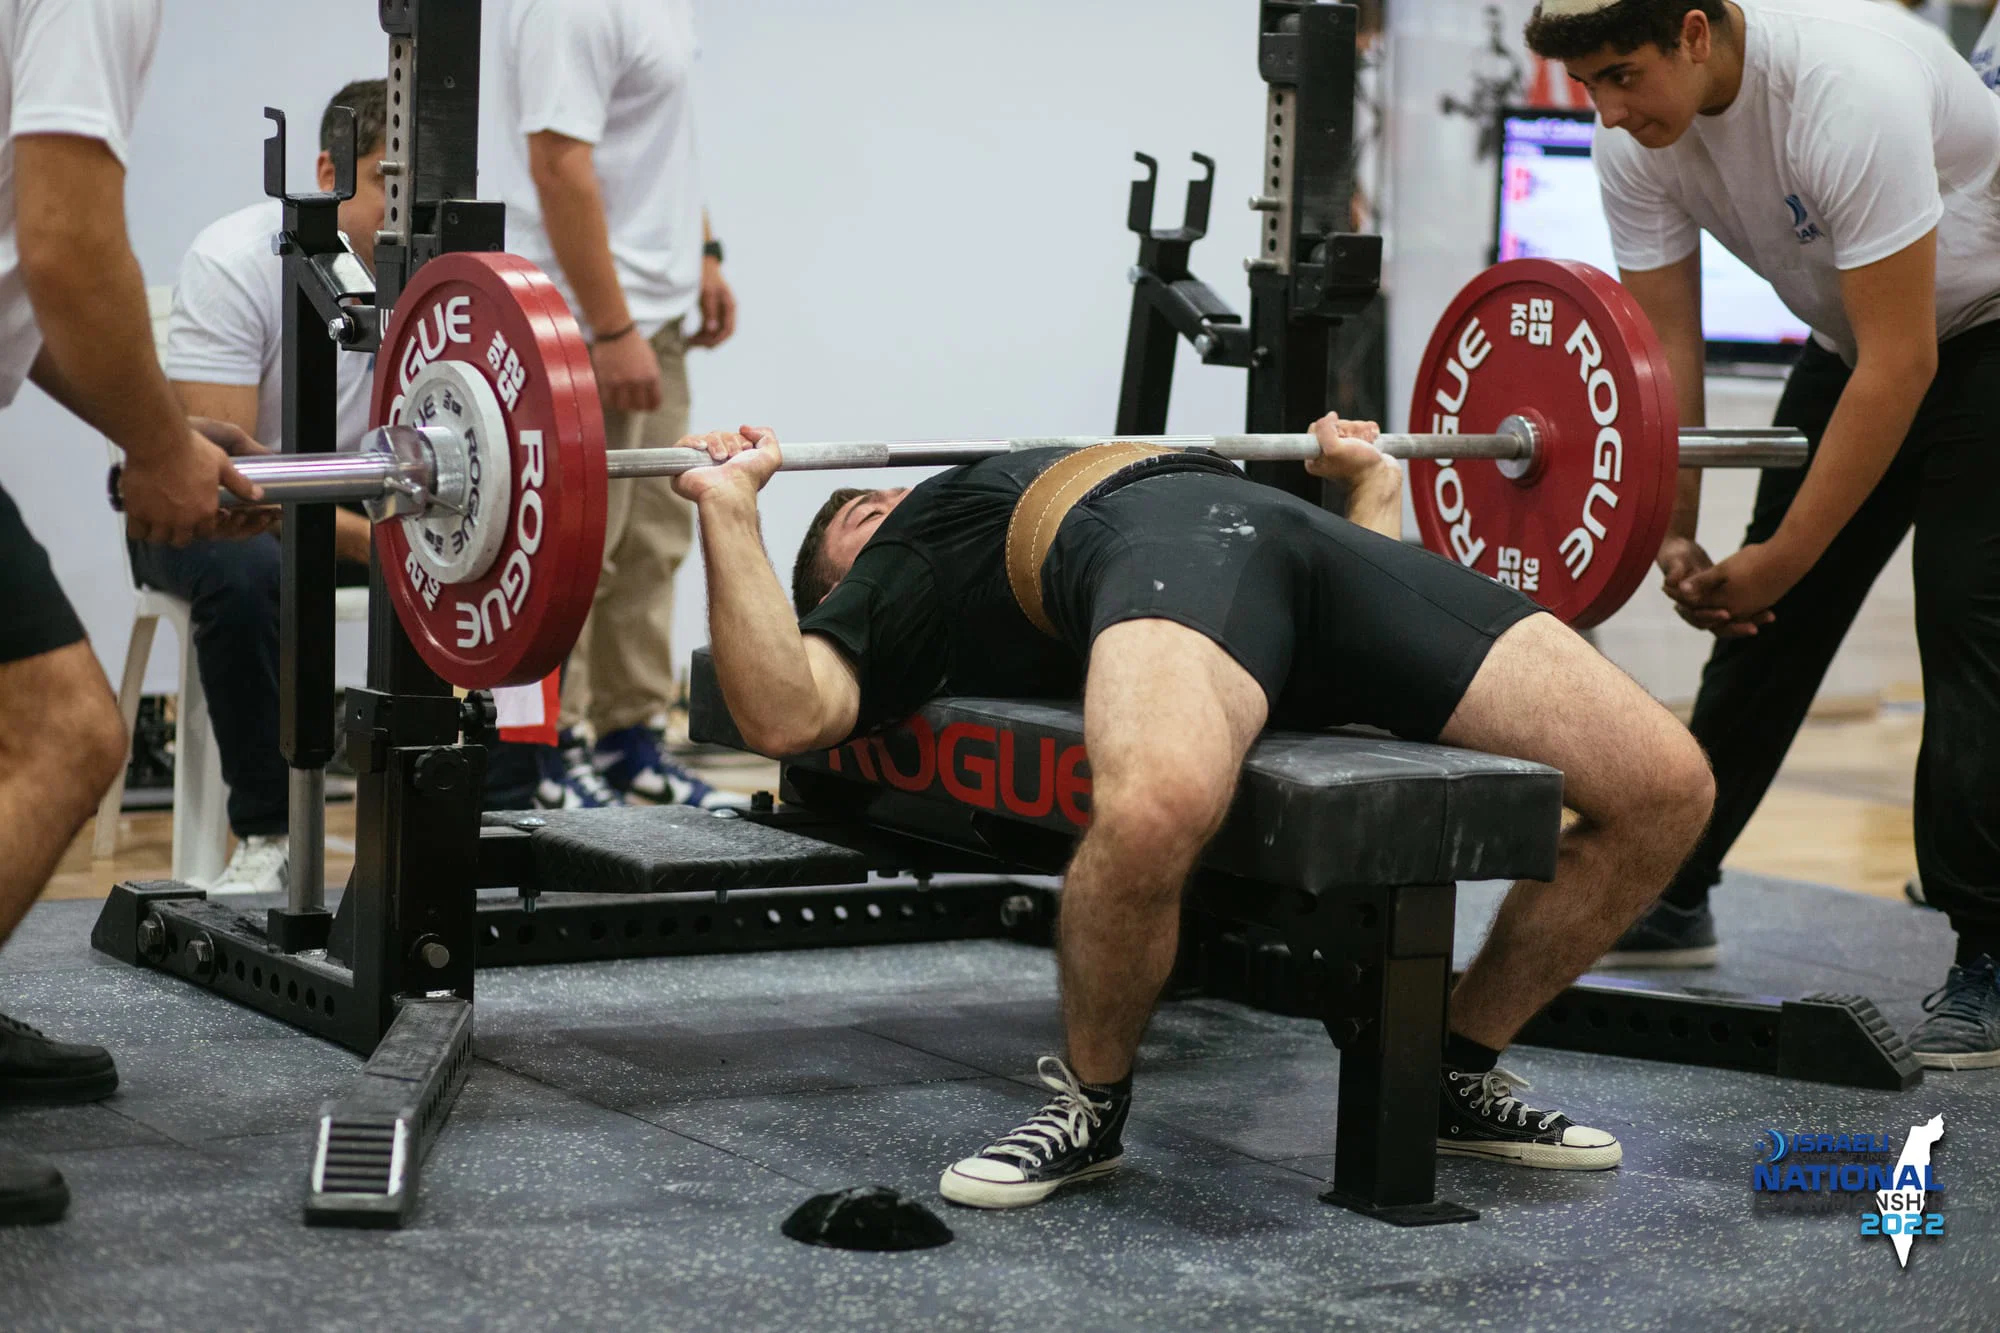
Leg drive works best when the upper body has somewhere reliable to transmit the force. Set your shoulder blades against the bench, pull them back and slightly down into a position you can hold, and keep your upper back engaged. The goal is a firm shelf, not a dramatic shrug or an uncomfortable forced arch.
Bring your eyes under the bar before the lift-off. The rack should allow the bar to clear the hooks without your shoulders reaching forward. If getting the weight out requires an exaggerated protraction or a mini press from a bad angle, move the bench or ask for a competent lift-off. Protecting your starting position matters more than proving you can unrack alone.
Your glutes and head stay where they need to be for your training style and competition rules. Keep a natural, controlled thoracic extension that lets your chest approach the bar; don’t force extra range through the lower back. With very high arches, the bar travels a shorter distance, but the mobility demand, potential discomfort and competitive rule constraints all increase. A moderate arch you can repeat is better than a dramatic position that disappears under load.
Try an empty-bar rehearsal: take the grip, settle your shoulders, press your feet into the floor and have someone lift the bar out. Watch whether your shoulder blades slide when the weight clears the hooks. If they do, adjust rack height, bench location or the lift-off method. The most useful upper-back position is one that survives the unrack and your final repetition.
This matters for hypertrophy sets too. A secure base lets your chest and triceps focus on moving the load rather than endlessly repairing a crooked starting position.

Powerlifting Shirts & Lifting Gear
Powerlifting shirts and gym gear for squat, bench and deadlift lifters who live for heavy numbers.


Four Plates Bench Club Tee
Show some powerlifting attitude with a playful “4 Plates Bench Club” tee.

Shirt: Good Argument But I Bench More Than You – T-Shirt
Make gym days more fun with “: Good Argument But I Bench More Than You” style.


Bending Bars Meme – Barbell Squat Bench Deadlift, & T-Shirt
Heavy lifts, good laughs, and a little “Bending Bars Gym Meme” energy.

Chest Day Sweater Bench Press & Meme T-Shirt
Add a playful “Chest Day” touch to your casual rotation.

Gym Sir Swole of Benchalot Medieval Knight Chest Day Cr T-Shirt
Show some gym-day personality with “Sir Swole of Benchalot Medieval Knight”.

My Bench Press Is Stuck Tee
Heavy lifts, good laughs, and a little “My Bench Press is Stuck Funny Horror” energy.

Chest Day Decal Water Bottles & Equipment Meme Sticker
Bring “Chest Day” attitude to your water bottle or laptop.
Grip, breathing and touch point determine where the bar travels
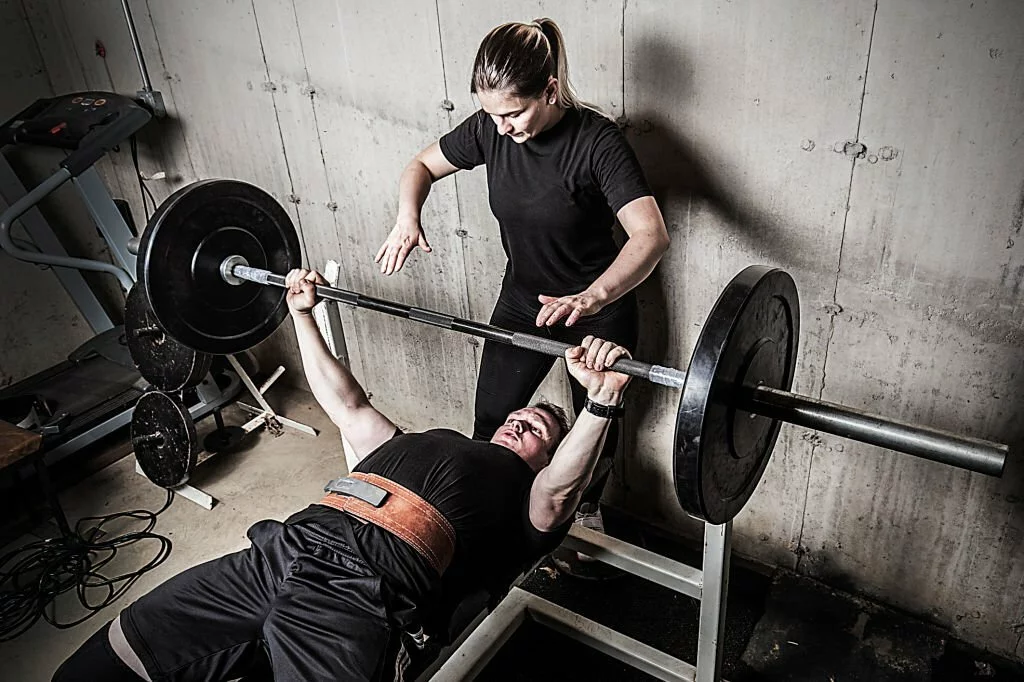
Once your feet and upper back are steady, place your hands at a width that allows a secure grip and a comfortable forearm angle near the bottom. Keep the bar low in the palm over the wrist rather than letting it roll backward toward the fingers. Wrap your thumbs around the bar. An excessively bent wrist adds an unnecessary lever between the plates and the pressing muscles.
Take a breath and brace before the descent. For a heavy rep, that usually means filling the torso, creating abdominal pressure and staying tight through a deliberate touch. For lighter higher-rep sets, breathing can be more fluid, but inhaling at the wrong moment should not cause the shoulders to move around.
Bring the bar toward a predictable location on the lower-to-mid chest or upper-sternum area appropriate for your build and grip. The touch point is not identical for every lifter. A grip that makes the elbows flare aggressively and the bar land too high can feel rough on the shoulders. A path that drifts dramatically toward the abdomen often creates an equally awkward press.
The bar need not move in a perfectly vertical line. In many successful raw benches, the press travels slightly back toward the shoulders as the bar rises. That is a consequence of leverage and coordination, not a command to throw the bar toward the face. Drive the bar through a controlled, repeatable path that finishes balanced over the shoulders.
Film from the side with a moderate load. Review your touch point, wrist stacking and the bar’s return toward the rack. If every rep traces a different line, stabilize the lower body and upper back before chasing a new cue.
Apply pressure through the descent, pause and first inches of the press
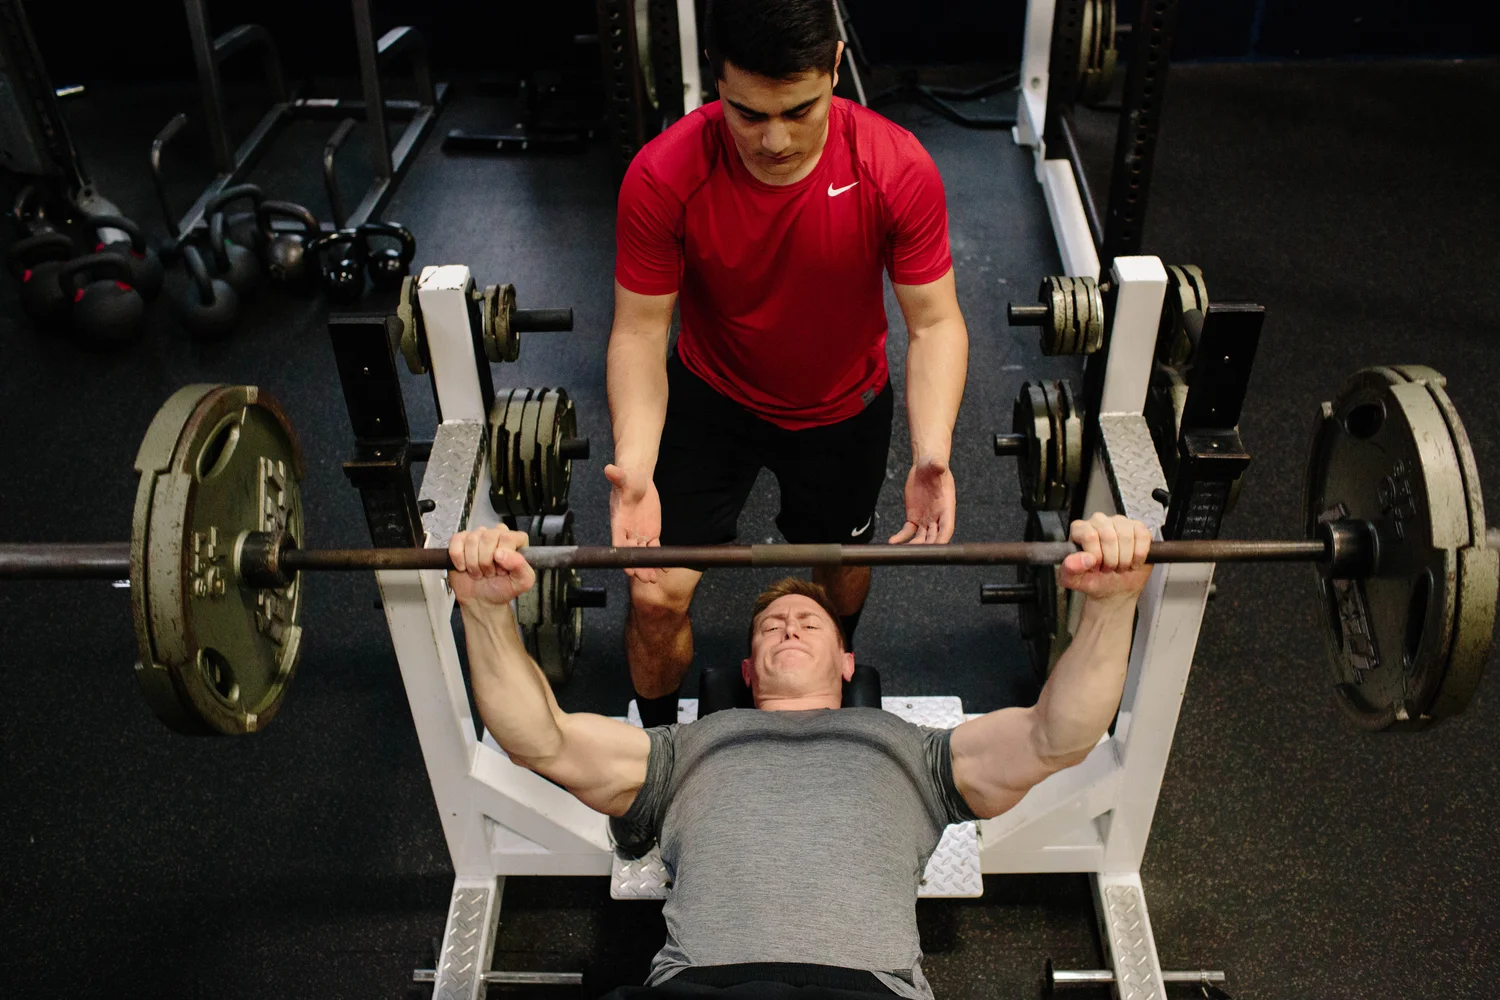
A practical sequence starts before the bar moves. Build foot pressure while the bar is still held at lockout; keep it during the lowering phase, touch the chest deliberately and maintain the same pressure as you initiate the press. Think of driving your body toward the head of the bench while the upper back stays anchored. The floor is a force source; the torso remains on the pad.
The most common timing mistake is waiting until the bar stalls before beginning leg drive. Suddenly kicking the floor can disturb the touch point or lift the hips. Instead, treat pressure as a constant that increases smoothly when the bar starts upward. Many lifters respond better to the cue ‘keep pushing through the floor’ than to a last-second explosive stomp.
Practice two-second descents with a one-second pause on the chest using a light-to-moderate weight. Keep the shoulders engaged and the feet still. On the press, increase pressure without changing the bench contact. A paused repetition reveals whether your setup genuinely supports the weight or only looked tight during a quick bounce.
Leg drive is not a promise of a specific kilogram increase. Different people gain different amounts, and a stronger foot push cannot compensate for insufficient pressing strength, poor shoulder control or a load too heavy for the day. Treat it as a technical consistency tool rather than a shortcut.
For hard bodybuilding sets, use the same stable setup but prioritize safe range, chest and triceps effort, and consistent control. You need not exaggerate powerlifting-specific arch or leg position just to use the principle of full-body tension.
Equipment Worth Exploring
Explore equipment, accessories and gear from our carefully selected range.


Competition Plates
Competition-style bumper plates for Olympic lifts and loaded strength training.


Speed Collar
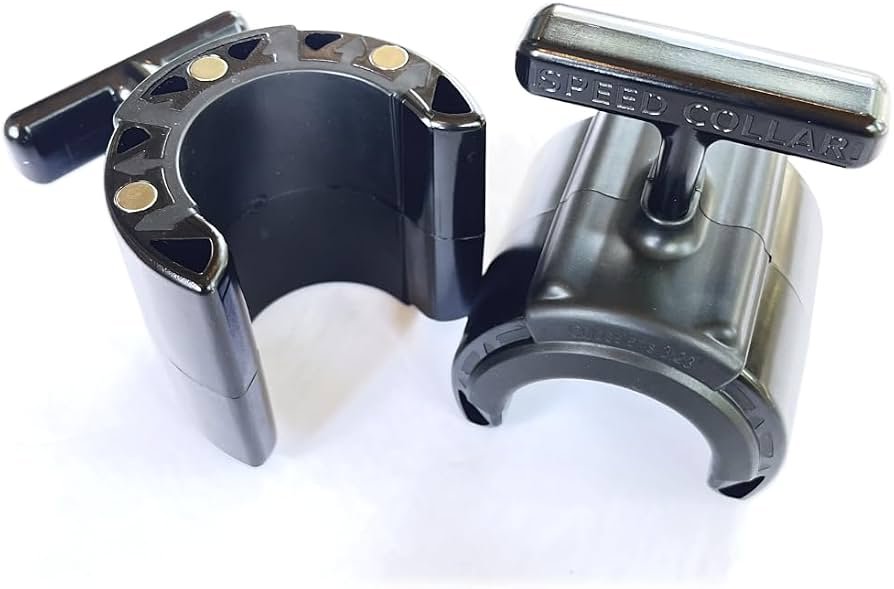
Quick-release collars designed to secure weight plates on standard two-inch Olympic bars.
Keppi Open Collars
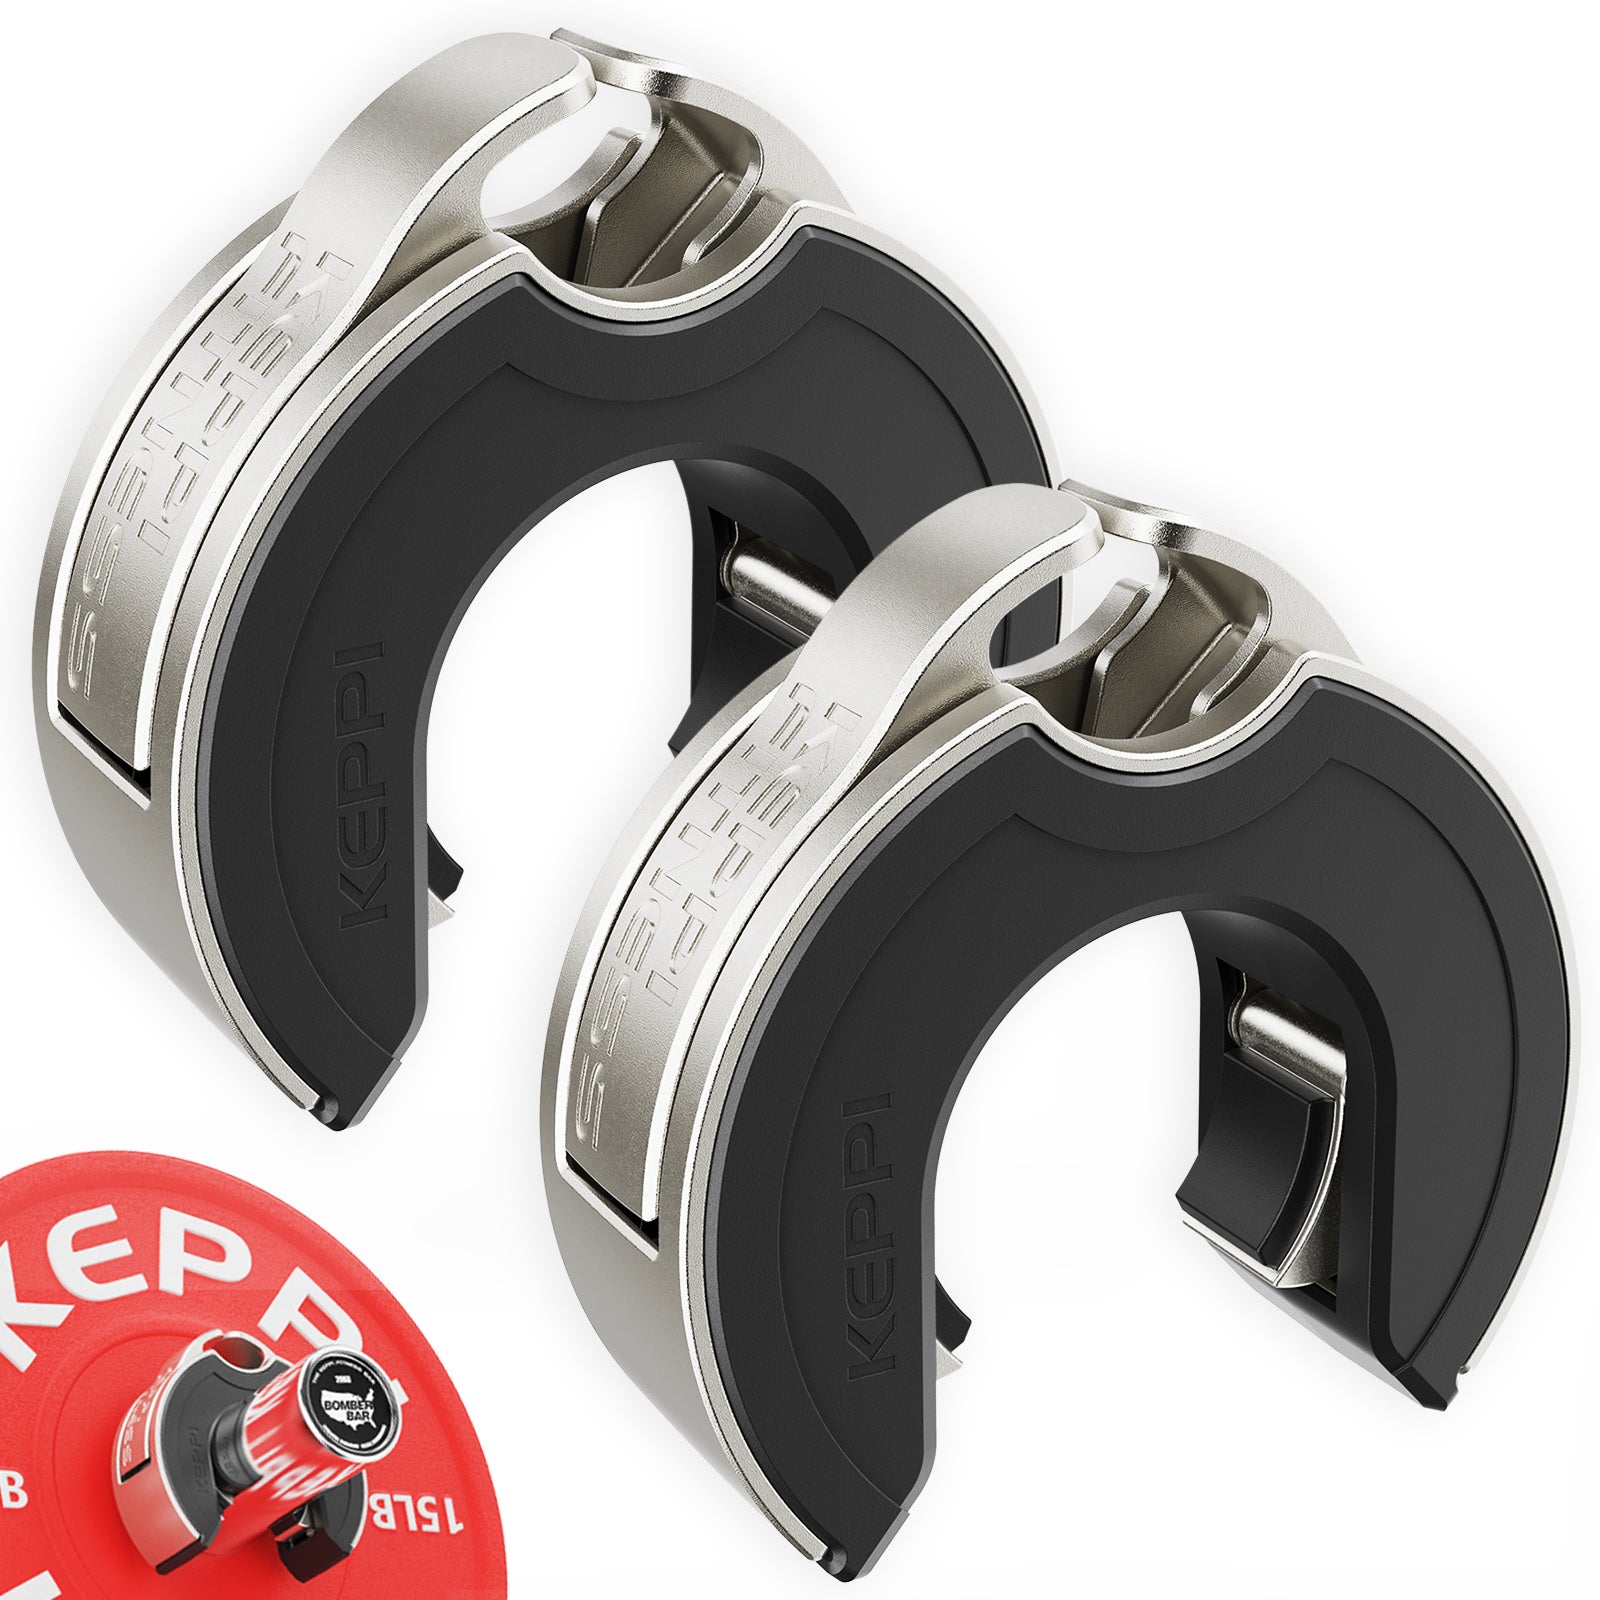
C-shaped magnetic Olympic barbell collars with a quick-lock mechanism and grippy lining.

Leather Wrist Grips
Padded leather lifting grips help support the hands and wrists on heavy pulling exercises.


Grip Plates
Rubber-coated weight plates with handholds for loading barbells and machines.
Four mistakes that tell you the setup is leaking force
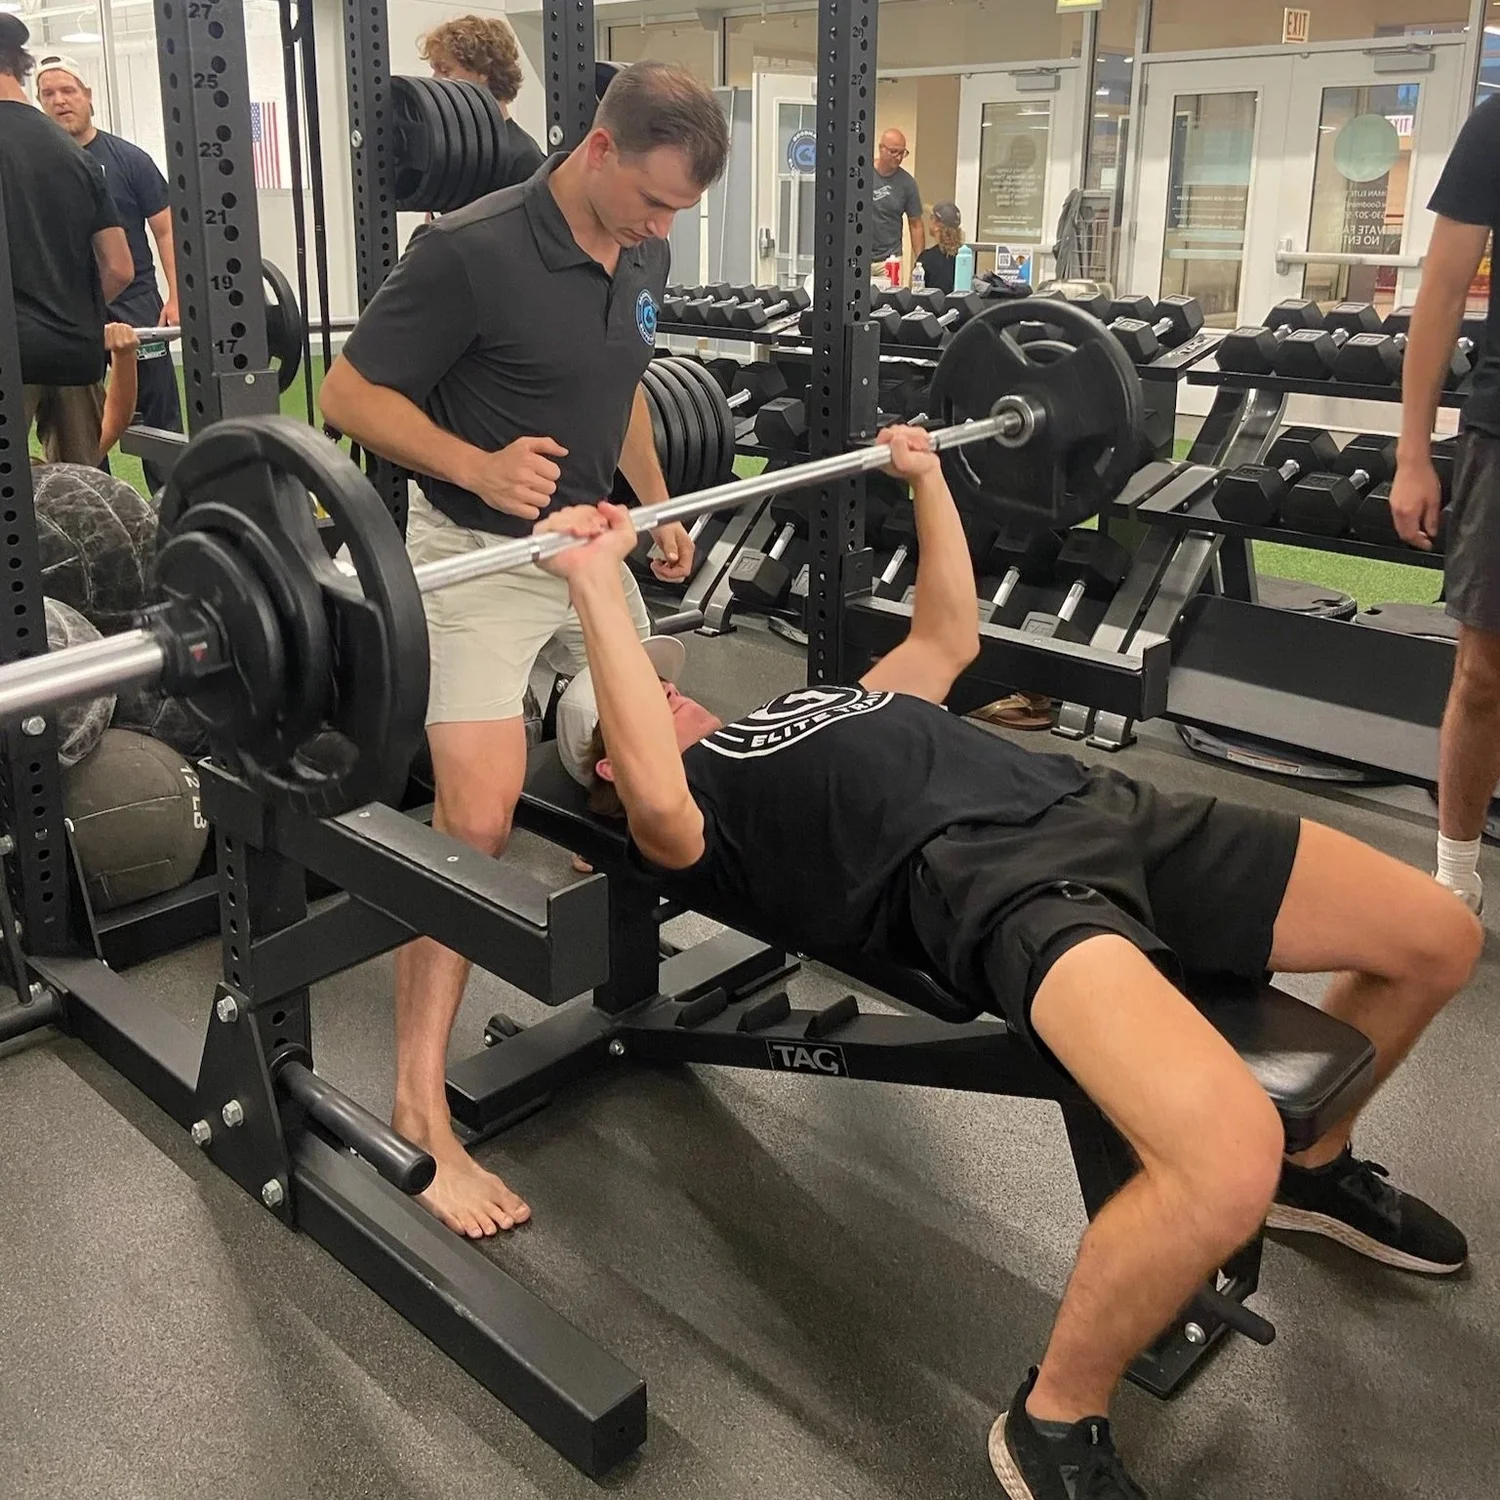
1. Hips leave the bench. You have turned foot pressure into a hip thrust. Move the feet slightly forward, reduce the aggressive arch or scale back the load. Film a side view because even a small hip lift can be difficult to feel. In competition, a lifted buttocks can invalidate an otherwise strong press.
2. The feet slide as you lower. Shoes, the floor surface or a stance beyond your available mobility may be the cause. Move into a more secure position; do not simply dig your toes harder into a slippery surface. If you use blocks to reach the floor, they must be stable and appropriate to the training facility or event rules.
3. The shoulders roll forward during the unrack. The hooks may be too high, the bench too far from the uprights or the lift-off too demanding. Reduce the reach and recruit a spotter. Tightening the legs after the shoulders have shifted will not restore the original shelf.
4. The bar bounces or veers during the press. Heavy leg drive cannot rescue a rushed eccentric or inconsistent touchdown. Try light paused reps with a deliberate two-second descent, and compare video of consecutive attempts. If the first rep is clean and every later rep is not, fatigue may be a bigger issue than foot position.
Also watch for a fifth, quieter problem: breath holding longer than you can safely tolerate. Coordinate bracing with the demands of the set, recover between hard reps when needed and seek individualized medical advice if breath holding, dizziness or pain is an issue. Technique should make training repeatable, not turn every bench day into a risky maximal attempt.
A four-week bench setup practice plan
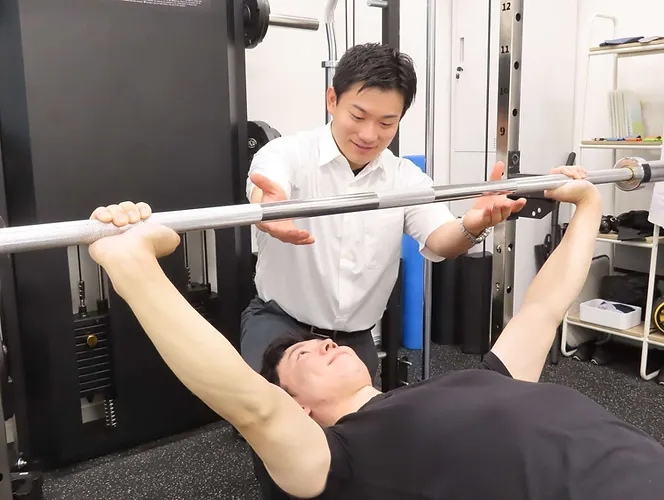
You can improve leg drive without turning a normal chest program upside down. Pick two bench exposures per week: a technique-focused session and a heavier session. Leave at least enough recovery between them to maintain good pressing form. Keep the weight manageable and progress only when foot contact, shoulder placement and bar path remain consistent.
- Week 1, map your stance: At the start of both sessions, record two warm-up sets of five with a moderate stance and two with the feet slightly farther forward. Use the same light weight. Choose the position that provides the steadiest feet and touch point, not the one that produces the most dramatic arch.
- Week 2, lock in the unrack: Perform three sets of five controlled reps with the chosen stance. Add a brief pause at the chest. Get a lift-off if needed and watch for the shoulders sliding once the bar leaves the hooks.
- Week 3, learn consistent pressure: Use four sets of four moderate bench reps. Descend under control, hold your foot pressure through a one-count pause, then press. Repeat only while your glutes and shoulders remain in place.
- Week 4, carry it into working sets: Use your normal programmed bench loads within your abilities. Compare video of the first and final working sets. If the lower-body position holds while the bar moves consistently, the practice has transferred into real training.
Do not interpret this as a one-size-fits-all strength progression: it is a technique block that fits around sensible chest and triceps programming. If your goal is a powerlifting meet, rehearse the actual commands and current technical rules, including flat foot contact, bench contact points and the press pause. If your goal is muscle growth, judge success by steady technique and productive sets rather than a more extreme stance.
The main takeaway: Make the feet reliable, the upper back secure and the bar path repeatable. Leg drive should reinforce those positions throughout each rep. If your feet create movement in the wrong place, reduce the cue until the entire bench press feels connected again.
Bodybuilding Shirts & Workout Gear
Bodybuilding shirts, tanks and gym gear for lifters chasing muscle, size, symmetry and the pump.


The Chestfather Arnold – Big Chest , Meme Shirt, T-Shirt
Bring “The Chestfather Arnold” humor to your next gym day.

Bench Press and Chill Funny Gym T
Make gym days more fun with “Bench Press and Chill” style.

Progressive Overload Milo Tee
Bring “Progressive Overload Milo Bull” humor to your next gym day.

Swolenomics Bro Science Muscle Graph : The Ultimate T-Shirt
Heavy lifts, good laughs, and a little “Swolenomics Bro Science Muscle Graph” energy.


Squat Bench Deadlift Read Shirt Literary Bookworm Top T-Shirt
Bring “Squat Bench Deadlift Read” humor to your next gym day.

I Love Bench Press Shirt | Red Heart Weight Plate Graph T-Shirt
Show some gym-girl attitude with a playful “I Love Bench Press” tee.

Gym Dost Thou Even Fly Medieval Knight Chest Workout Cr T-Shirt
Show some gym-day personality with “Dost Thou Even Fly Medieval Knight Chest”.