Advertising disclosure: This page includes affiliate product links that may earn us a commission, as well as products from our own store.
The hardest part of a Zercher carry may be the last two steps back to the rack. A weight you can lift fresh can become awkward after a walk, especially if your elbows have dropped and the supports are suddenly too high. Treat the exercise as a complete trip: pickup, controlled travel and a deliberate return. That changes how you choose the rack height, route and load. The goal is useful front-loaded carrying practice, with enough control left to finish the job you started.
Set up the destination before lifting the bar
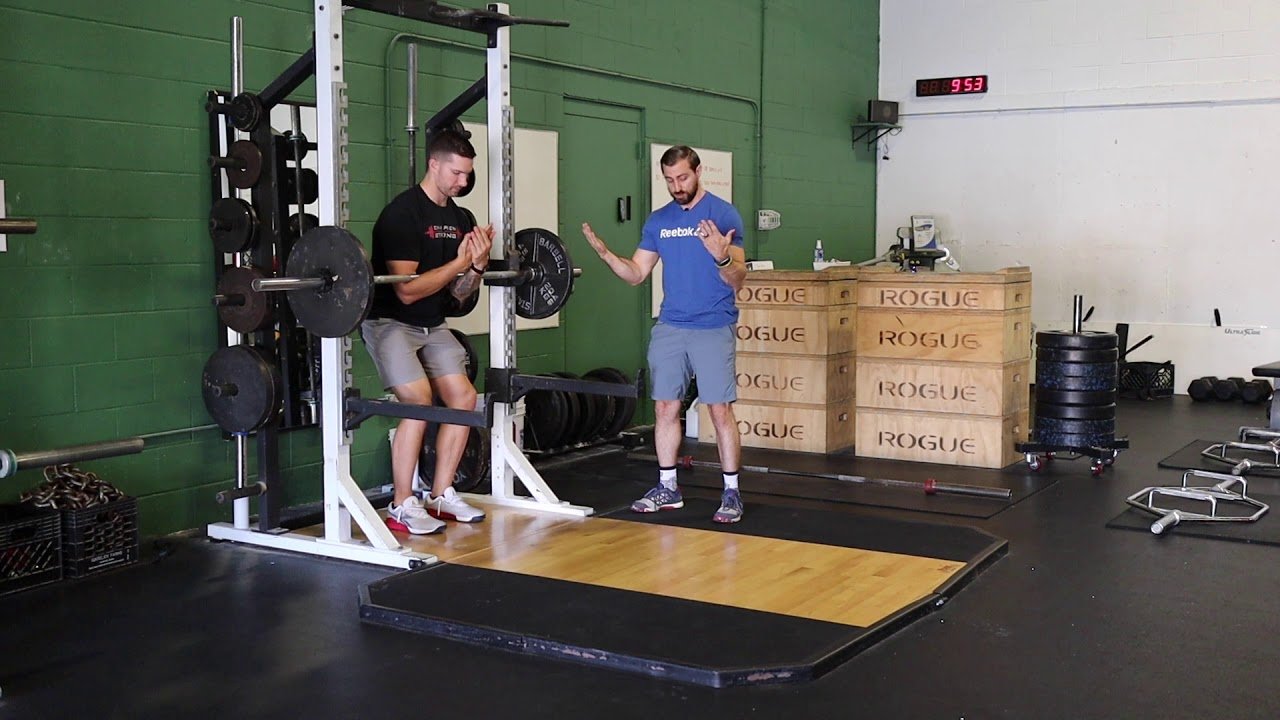
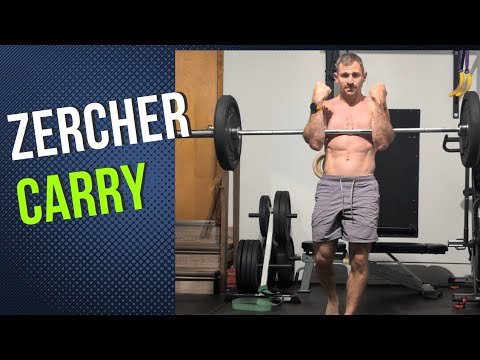
A Zercher carry places the bar in the bends of the elbows while you walk. Unlike a farmer's carry, where the weights hang beside your legs, the load sits in front of your torso. You must hold that position as your feet move. It is a strength exercise with a logistical component: the rack, clear lane and return plan all belong to the setup.
Choose a bar and supports that allow a small knee bend to get underneath the load. The exact height depends on your body and the equipment, so test it unloaded. You should be able to stand the bar clear without shrugging it upward or curling it into place. Then rehearse placing it back. A support height that works only while you are completely fresh leaves little room for the position to change during the walk.
Measure the lane before loading. Check the width of the entire bar, including plates and projecting sleeves, against racks, walls and other equipment. A path that looks clear for your shoulders may be too narrow for the bar. Remove loose plates and bags, choose a level surface, and keep other people out of the route. Do not plan to squeeze past someone halfway through a loaded set.
Begin with a short route that ends at appropriate supports. If your gym cannot provide a clear lane and a practical set-down, use a different carry or perform a controlled static hold beside the rack. Making the exercise stationary changes the training task, but it is more sensible than improvising a difficult return through a crowded aisle. Route planning earns its place in the log alongside load and distance.
Find an elbow hold that stays secure
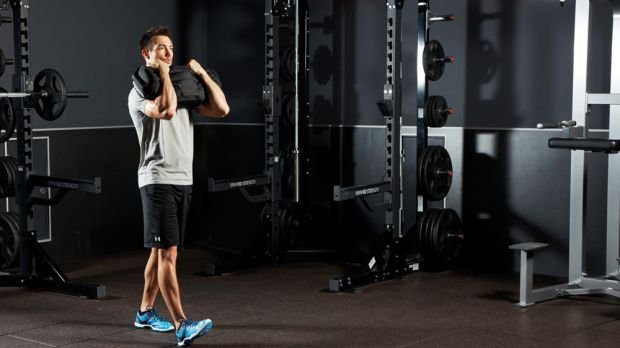
Center yourself under the bar and place it evenly in both elbow creases. Bring your forearms upward to help contain it, keeping the load close rather than suspending it out in your hands. You are cradling the bar, not performing a walking reverse curl. Unequal placement can make one side feel much heavier even when the plates are balanced.
Some lifters prefer clasped hands; others keep the forearms parallel. Use the position that keeps the bar stable and does not force the wrists or shoulders into an uncomfortable angle. Test the hold with a light load before leaving the rack. If you cannot find a tolerable elbow position, there is no requirement to force this particular exercise into your program.
A layer of clothing or suitable padding can reduce concentrated contact, but thick cushioning also changes the effective diameter and how securely the bar sits. Check that it cannot slip or rotate unpredictably. A thicker axle may feel different from a standard barbell; do not assume your usual load transfers unchanged. Secure the plates with compatible collars and check the equipment's instructions before starting.
Pressure from the bar is different from sharp pain, numbness or tingling. Stop if those symptoms appear, and do not use padding as permission to ignore them. The carry should challenge your ability to maintain position, not test how long you can tolerate a worsening joint or nerve symptom. If persistent discomfort rules out the elbow hold, a farmer's carry with dumbbells or an appropriate trap bar offers a different loading position without that direct elbow contact.
Walk with a stable trunk and an honest pace
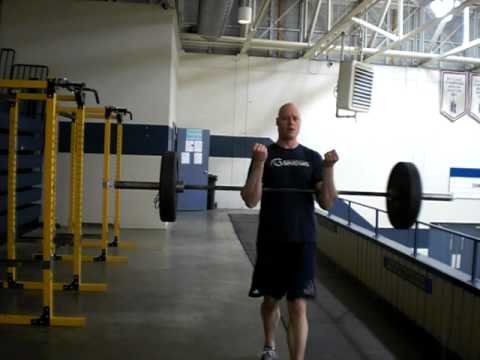
Stand tall enough to organize the load over your base, brace your trunk and take a few controlled steps. Keep the bar close as you move. Avoid leaning dramatically backward to counterbalance it or allowing your chest to collapse over it. Your posture does not need to look rigidly identical to an unloaded walk, but the weight should not be dragging you into a position you cannot manage.
Use a pace that allows the feet to land deliberately. Racing to finish can make the bar bounce and turns a useful strength task into a scramble. Start with shorter steps if that helps control, then find a natural rhythm. Look along the route rather than constantly down at the plates. If you need to check clearance, stop and reset safely rather than steering the loaded sleeves by guesswork.
Breathing is part of the task. Do not plan a long carry around a single maximal breath hold. Select a load at which you can maintain reasonable trunk control while breathing, and shorten the trip if that is not possible. The ability to lift the bar off the supports does not establish that it is an appropriate walking load for the planned distance.
A short video from a safe position can reveal changes that are hard to notice during the set. Compare the first few steps with the last: is the bar moving farther from your torso, are the elbows sinking, or is the stride becoming hurried? Ask a training partner to observe from outside the lane. Their job is to help identify the change, not attempt to catch a falling loaded bar.
Make the turn and rack return part of the set
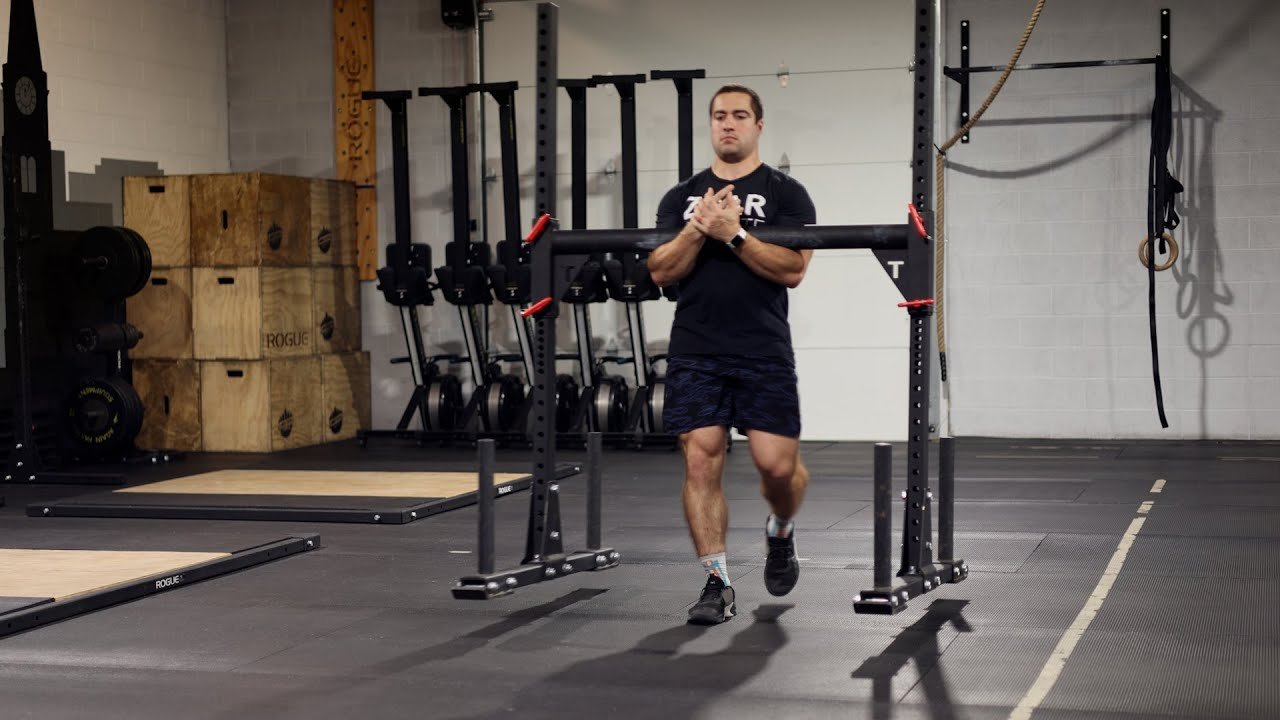
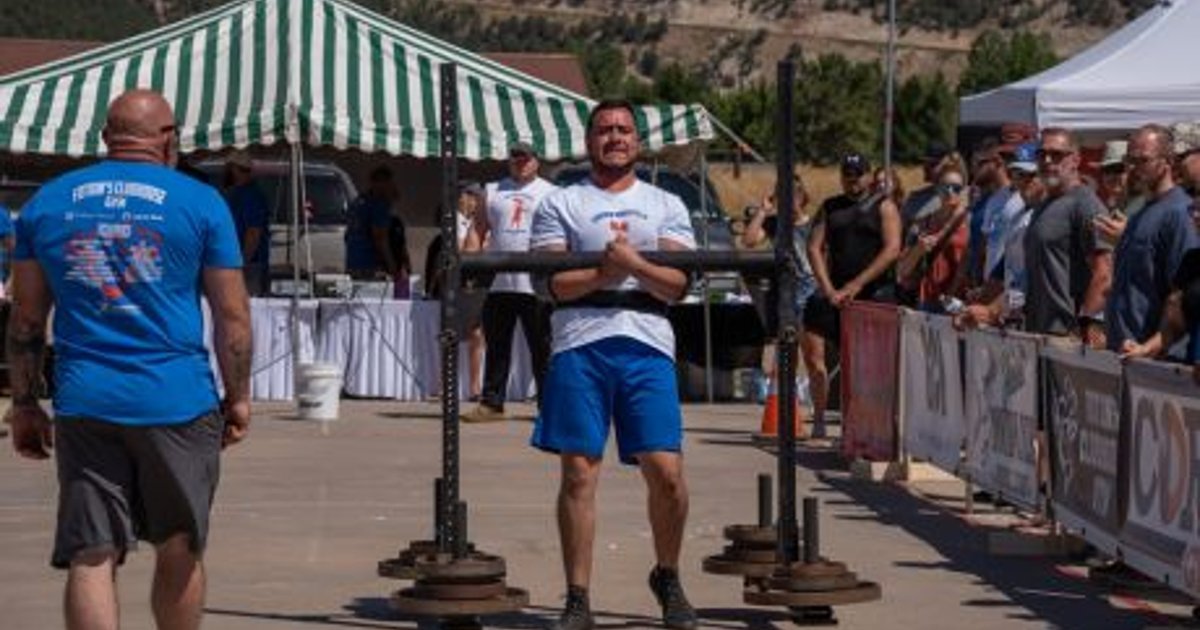
The yoke photograph illustrates a related strongman carry; its upright frame changes clearance compared with a loose barbell. Turning adds a task that straight-line walking does not. The bar ends sweep through space, and your feet must change direction while supporting a load in front. For initial practice, favor a route with a planned set-down before changing direction. Do not invent a tight pivot simply because the distance marker sits at the far end of a narrow aisle.
Where a supervised setup includes loaded turns, use a light enough weight and enough open space to take several controlled steps around. Avoid twisting the torso while the feet remain planted. A turn should be a rehearsed feature of that route, not a surprise at the end of a maximal effort. If the room or equipment does not support it, change the route or the exercise.
Approach the supports slowly and square the bar to them. Make sure both sides have reached the intended resting position before relaxing the hold. Use a small controlled knee bend to lower the load onto suitable supports, then confirm it is secure before removing your arms. Do not keep walking forward against the uprights hoping the bar will find the hooks on its own.
Think of the return as the final technical repetition. End the walk while you still have the posture and clearance needed to complete it. If the bar position deteriorates well before the rack, the next attempt needs less weight or less distance. Repeating the same failing route with greater determination does not fix its geometry. Equipment choices such as bar length, plate diameter, collars and padding should be assessed against that whole pickup-and-return sequence.

Equipment Worth Exploring
Explore equipment, accessories and gear from our carefully selected range.


Competition Plates
Competition-style bumper plates for Olympic lifts and loaded strength training.

Grip Plates
Rubber-coated weight plates with handholds for loading barbells and machines.

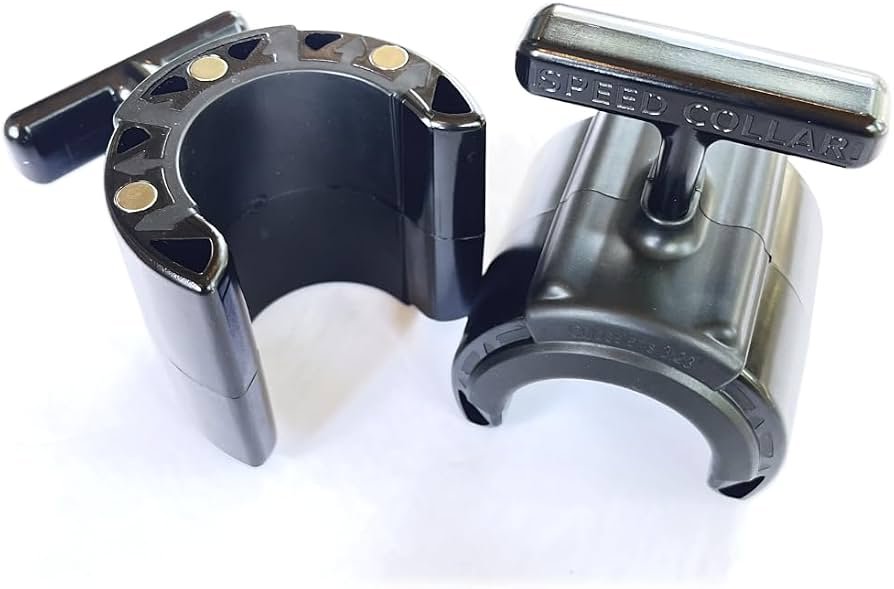
Speed Collar
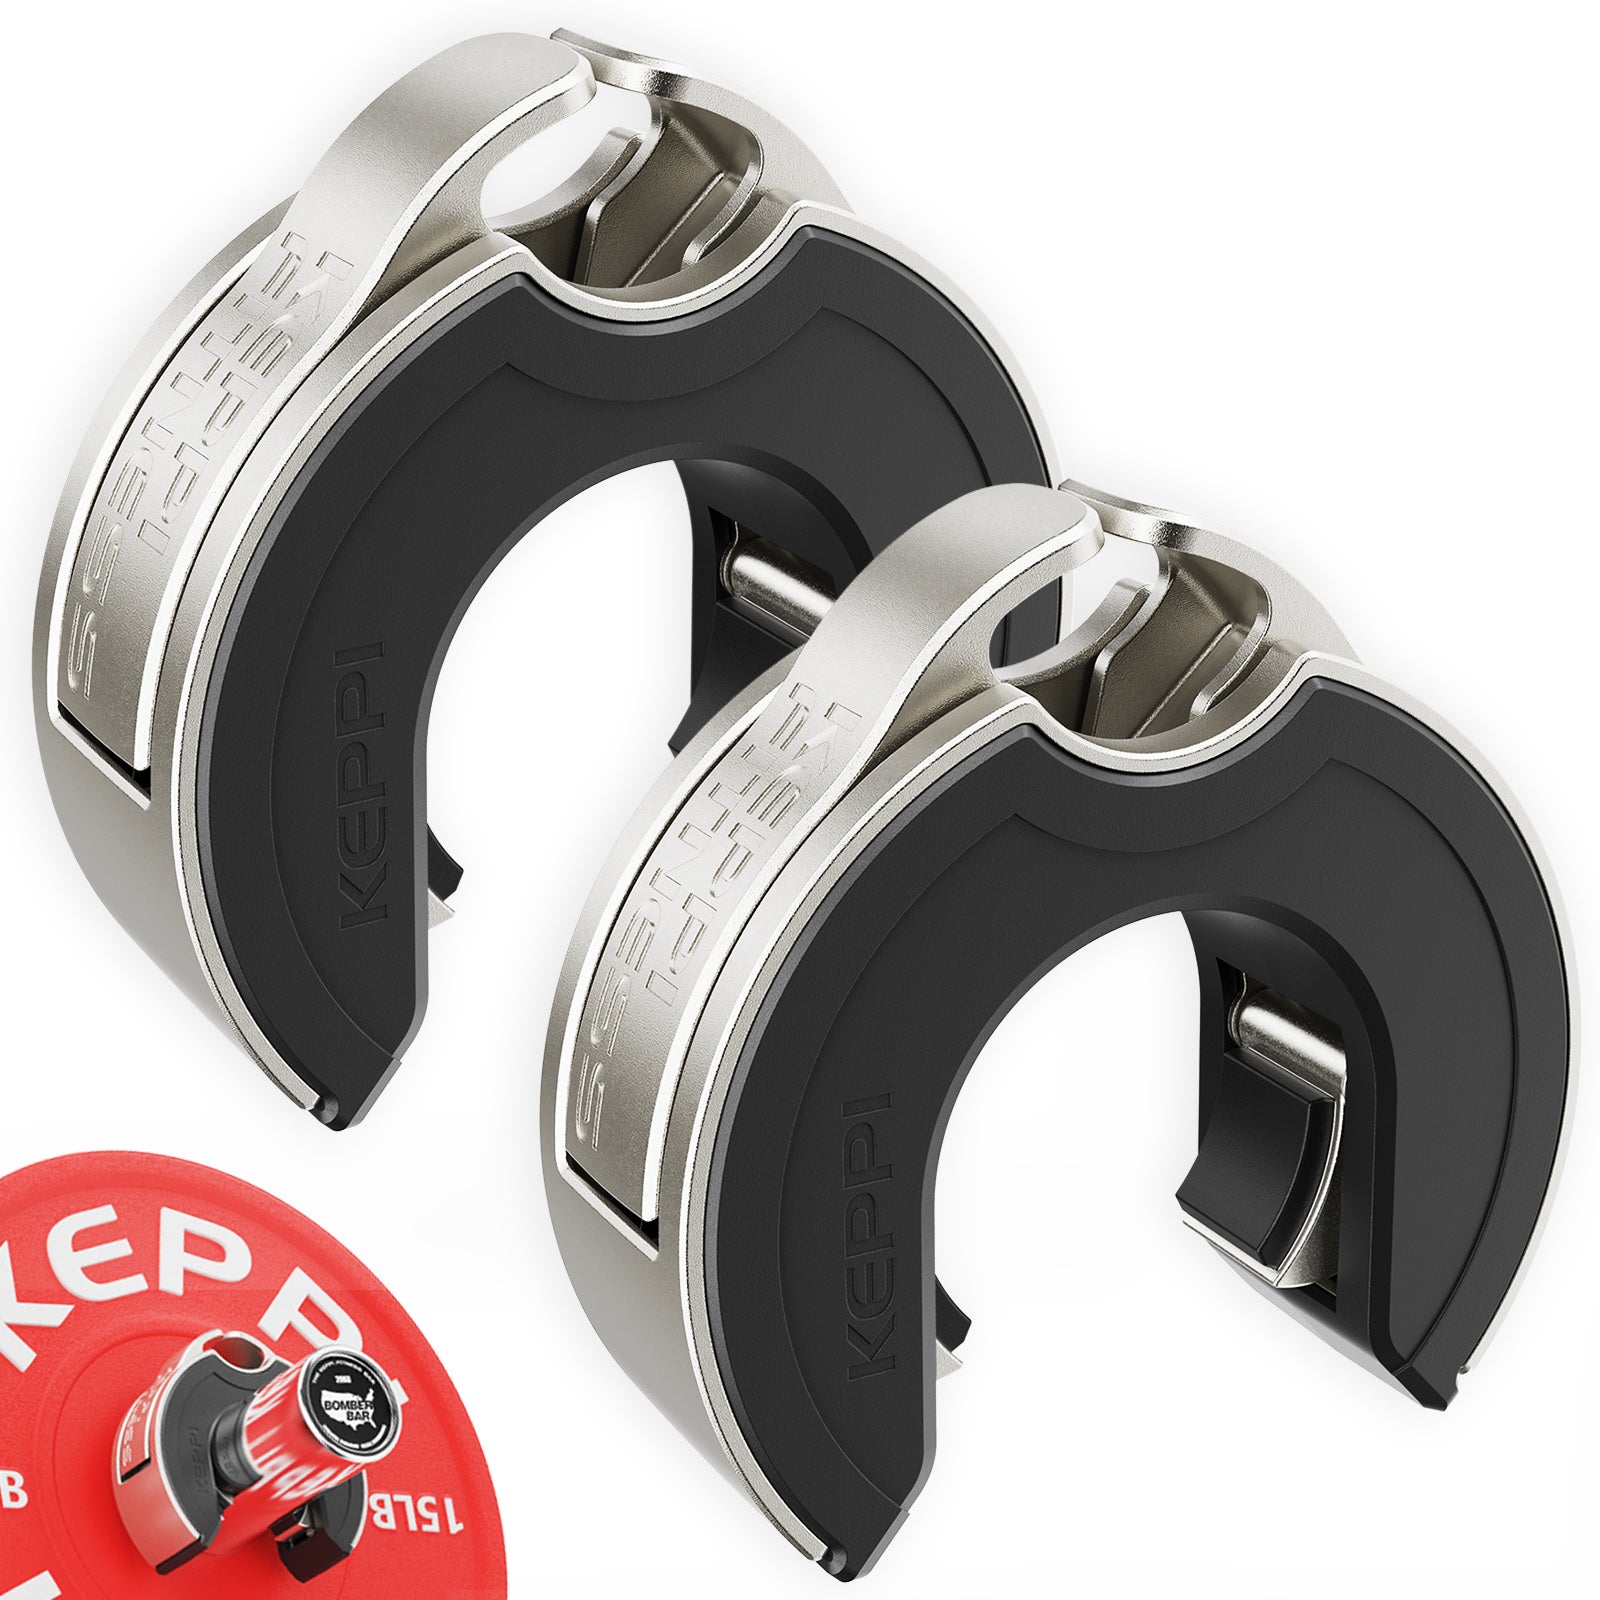
Quick-release collars designed to secure weight plates on standard two-inch Olympic bars.
Keppi Open Collars
C-shaped magnetic Olympic barbell collars with a quick-lock mechanism and grippy lining.


Progress distance and load without losing the task
Use early sessions to establish a baseline, not a distance record. One optional example is two or three short trips of roughly ten meters, resting enough between attempts to repeat the pickup and return cleanly. This is an illustration for a lifter already comfortable with the hold, not a validated universal prescription. The suitable distance may be shorter depending on your route, equipment and experience.
Record total bar load, implement, distance, number of trips and whether turns were included. Add a simple position note, such as elbows stayed level or last return became rushed. Ten meters in a straight line with a set-down is a different task from ten meters containing a tight turn. Changing the bar or padding can also change how the same nominal weight feels.
Once every trip remains controlled, adjust one variable at a time. Add a small amount of load while retaining the distance, or extend the route modestly at the same load. Increasing weight, distance and pace together makes the next result difficult to interpret. If your elbows become the limiting factor before the intended carrying challenge, reassess contact and implement choice rather than assuming every uncomfortable set is productive.
Keep the wider session in view. A carry after demanding squats, pulls or upper-back work may require a lighter load than a fresh practice set. Use enough recovery to make the next walk deliberate. Consistency here means repeating a useful task, with sensible limits and a safe finish. The successful set ends with the bar secure on its supports and you able to explain what improved, rather than simply reporting that you survived a heavier walk.

Funny Gym Shirts & Workout Gear
Funny gym shirts, tanks, hoodies and workout gear for lifters who like training hard.

Enter Strongman Muscle Shirt Athletic Vest Metal Music Tank Top
Bring “Enter Strongman” humor to your next lifting session.

Defy Gravity Shirt Old School Weight Strongman Meme T-Shirt
Bring “Defy Gravity” humor to your next gym day.

Safety Practice Safe Sets Hooded Jumper Top Hoodie
Show off your bodybuilding humor in a laid-back “Gym Safety” hoodie.

Shirt & Barbell Heartbeat , Gymbros & Meme Lovers T-Shirt
Heavy lifts, good laughs, and a little “Funny Gym Shirt & Pump” energy.

Progress Stoic Bodybuilder Greek God Marble Sculpture T-Shirt
Heavy lifts, good laughs, and a little “Progress Stoic Bodybuilder Greek God Marble” energy.

Discipline Stoic Tee
Show some lifting attitude with a playful “Discipline Stoic Sigma Bodybuilder” tee.

I’m Strong Barbell Heartbeat Crewneck Pullover for Powe T-Shirt
Bring “I’m Strong Barbell Heartbeat” humor to your everyday gym style.

Gymhead Lifting Is On My Mind Skull Vest Tank Top
Your gym-day look, with a playful “Gymhead” twist.

Lift Together Grow Stronger for Gym Buddies Who Train T T-Shirt
Show some gym-day personality with “Lift Together Grow Stronger”.

Gym Sworn to the Iron Oath Medieval Knight Crewneck for T-Shirt
Show some gym-day personality with “Sworn to the Iron Oath Medieval Knight”.