Advertising disclosure: This page includes affiliate product links that may earn us a commission, as well as products from our own store.
Tall Cleans: Practise the Pull Under Without Turning It Into a Heavy Hang Clean
A tall clean removes the part of the lift that normally gives the bar most of its upward speed. That makes the remaining job unusually clear: move into a receiving position and connect with the bar accurately. It is a technique drill, so a heavier successful repetition is not automatically a better one.
Use it when you already understand the clean and want more deliberate practice of the transition into the front rack. The useful question is whether the drill helps the next clean feel more organised, rather than whether it makes a warm-up look impressive.
1. Establish a balanced start before asking for speed
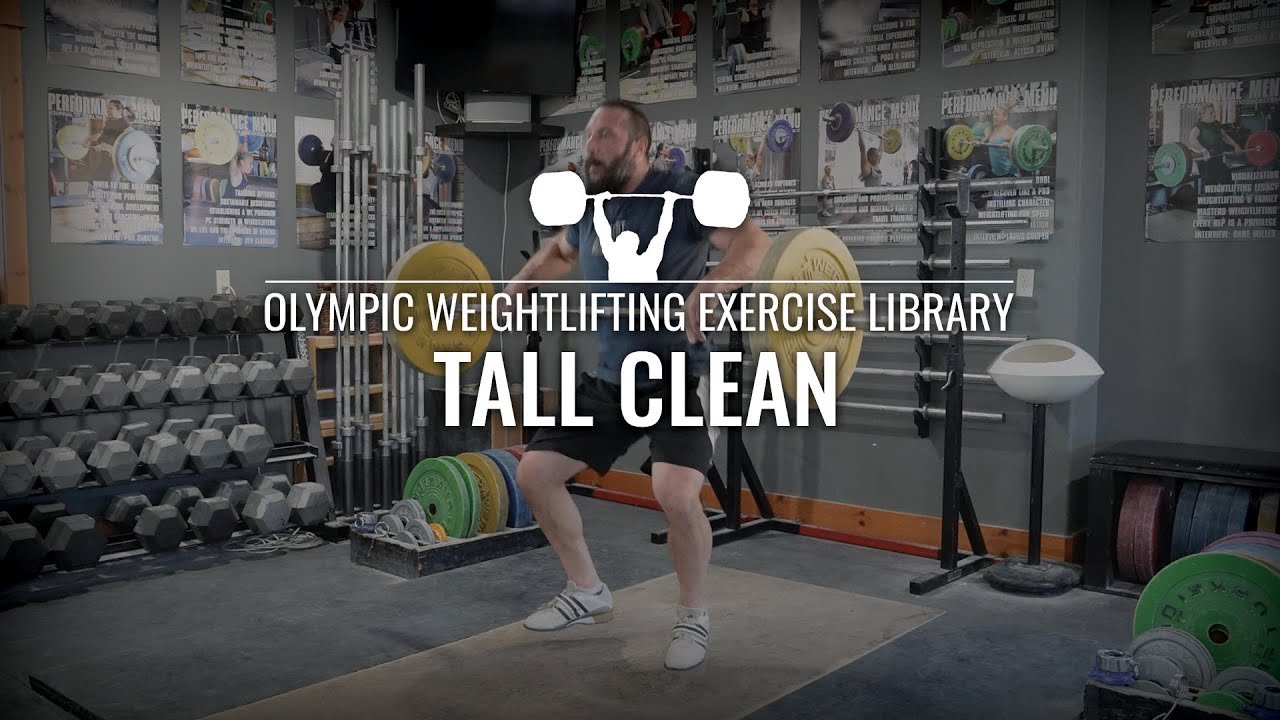
Begin standing upright with a light bar at arm’s length, using your normal clean grip. Settle your balance across the feet and organise the trunk before moving. There is no floor pull to rehearse here and no deliberate dip-and-drive to launch the bar.
Check that the equipment suits the task. A freely rotating straight bar, a clear lifting area and a surface appropriate for weightlifting matter more than adding plates. Use a lighter technique bar if a standard empty bar is already too demanding. Do not assume that every bar sold for strength training is intended for dynamic cleans.
Set a simple baseline before the first repetition: same grip marks, same starting stance, same implement. If you change all three between attempts, it becomes harder to identify why one repetition feels different. A coach watching from the side can help distinguish an upright start from an unnoticed preparatory dip.
Prepare a way to finish each attempt as well as begin it. Practise handling and lowering the light bar under instruction, and follow the facility’s rules for releasing a missed lift. Do not assume that a rack, nearby bench or unsuitable floor will make an improvised miss manageable.
2. Make the foot movement serve the receiving position
The clean’s receiving stance must let you support the bar and squat, rather than simply make a loud landing. The tall variation gives you a short task in which to notice how you arrive there. Move from a balanced start toward a stable receiving position without trying to jump the bar upward first.
Rehearse the stance change without a loaded bar if you are uncertain where your feet belong. Then use a light implement and check whether the same position appears. The aim is repeatability, not copying another lifter’s exact toe angle or stance width from a photograph.
A useful coaching check is to compare three attempts rather than react to one. Are you landing consistently, or progressively spreading the feet wider as the drill gets harder? Does one foot travel much farther? A repeated pattern gives you something concrete to discuss; a single awkward attempt does not explain its own cause.
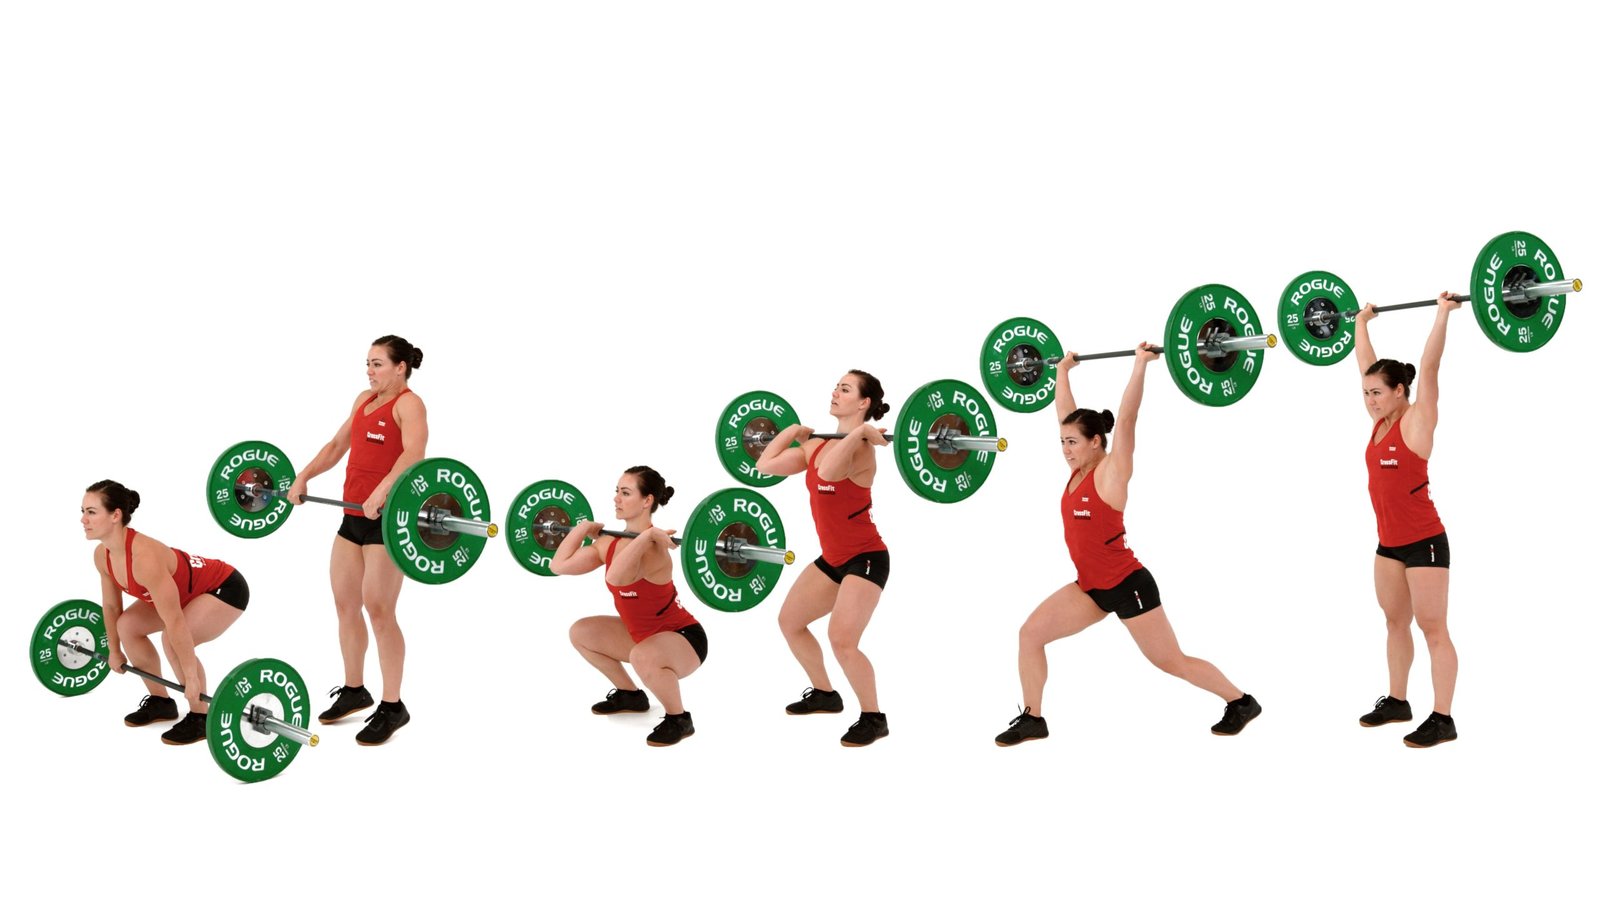
The accompanying clean-and-jerk sequence shows the wider lift, including the receiving position. It is context for what the drill supports, rather than a suggestion that you should add a jerk to every tall-clean repetition.
3. Coordinate the arms with moving under the bar
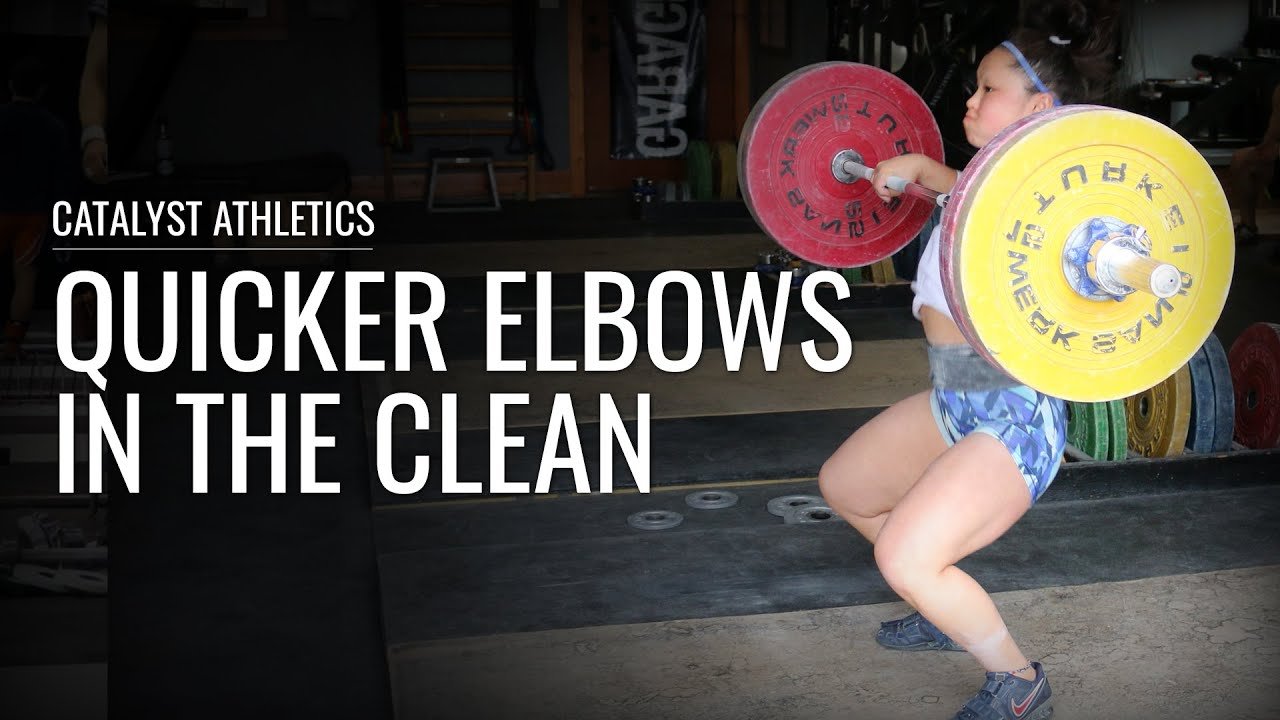
A common error is to pull the bar high first and only then think about getting underneath it. Another is to create a substantial jump so the drill becomes a high-hang clean. Both changes remove some of the constraint that makes this particular exercise useful.
The task is coordinated movement, not a slow upright row followed by a squat. Work with an experienced coach to match the arm action to the foot transition. Keep the implement light enough that you can practise the intended pattern instead of finding a way to rescue a heavy repetition.
Use one cue at a time. For example, spend a short set paying attention to when the feet move, then review it before adding another instruction. Trying to monitor grip, knees, shoulders, elbows, speed and squat depth simultaneously can turn an uncomplicated practice task into a confusing checklist.
If you film a set, put the camera outside the lifting area and keep the view consistent. Review the transition and landing at normal speed before inspecting slow motion. A video is feedback about what happened, not proof of a diagnosis or a reason to keep adding weight.

Equipment Worth Exploring
Explore equipment, accessories and gear from our carefully selected range.


Competition Plates
Competition-style bumper plates for Olympic lifts and loaded strength training.


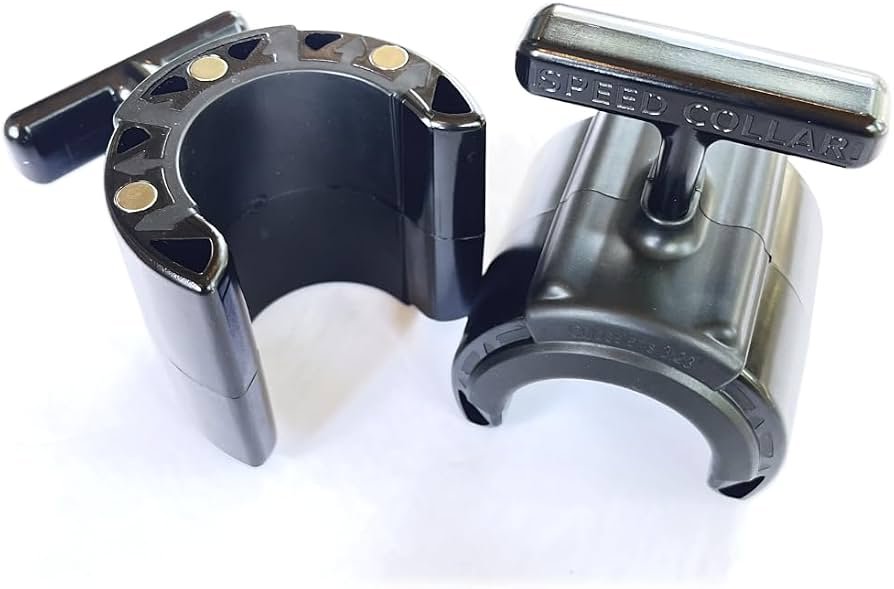
Speed Collar
Quick-release collars designed to secure weight plates on standard two-inch Olympic bars.
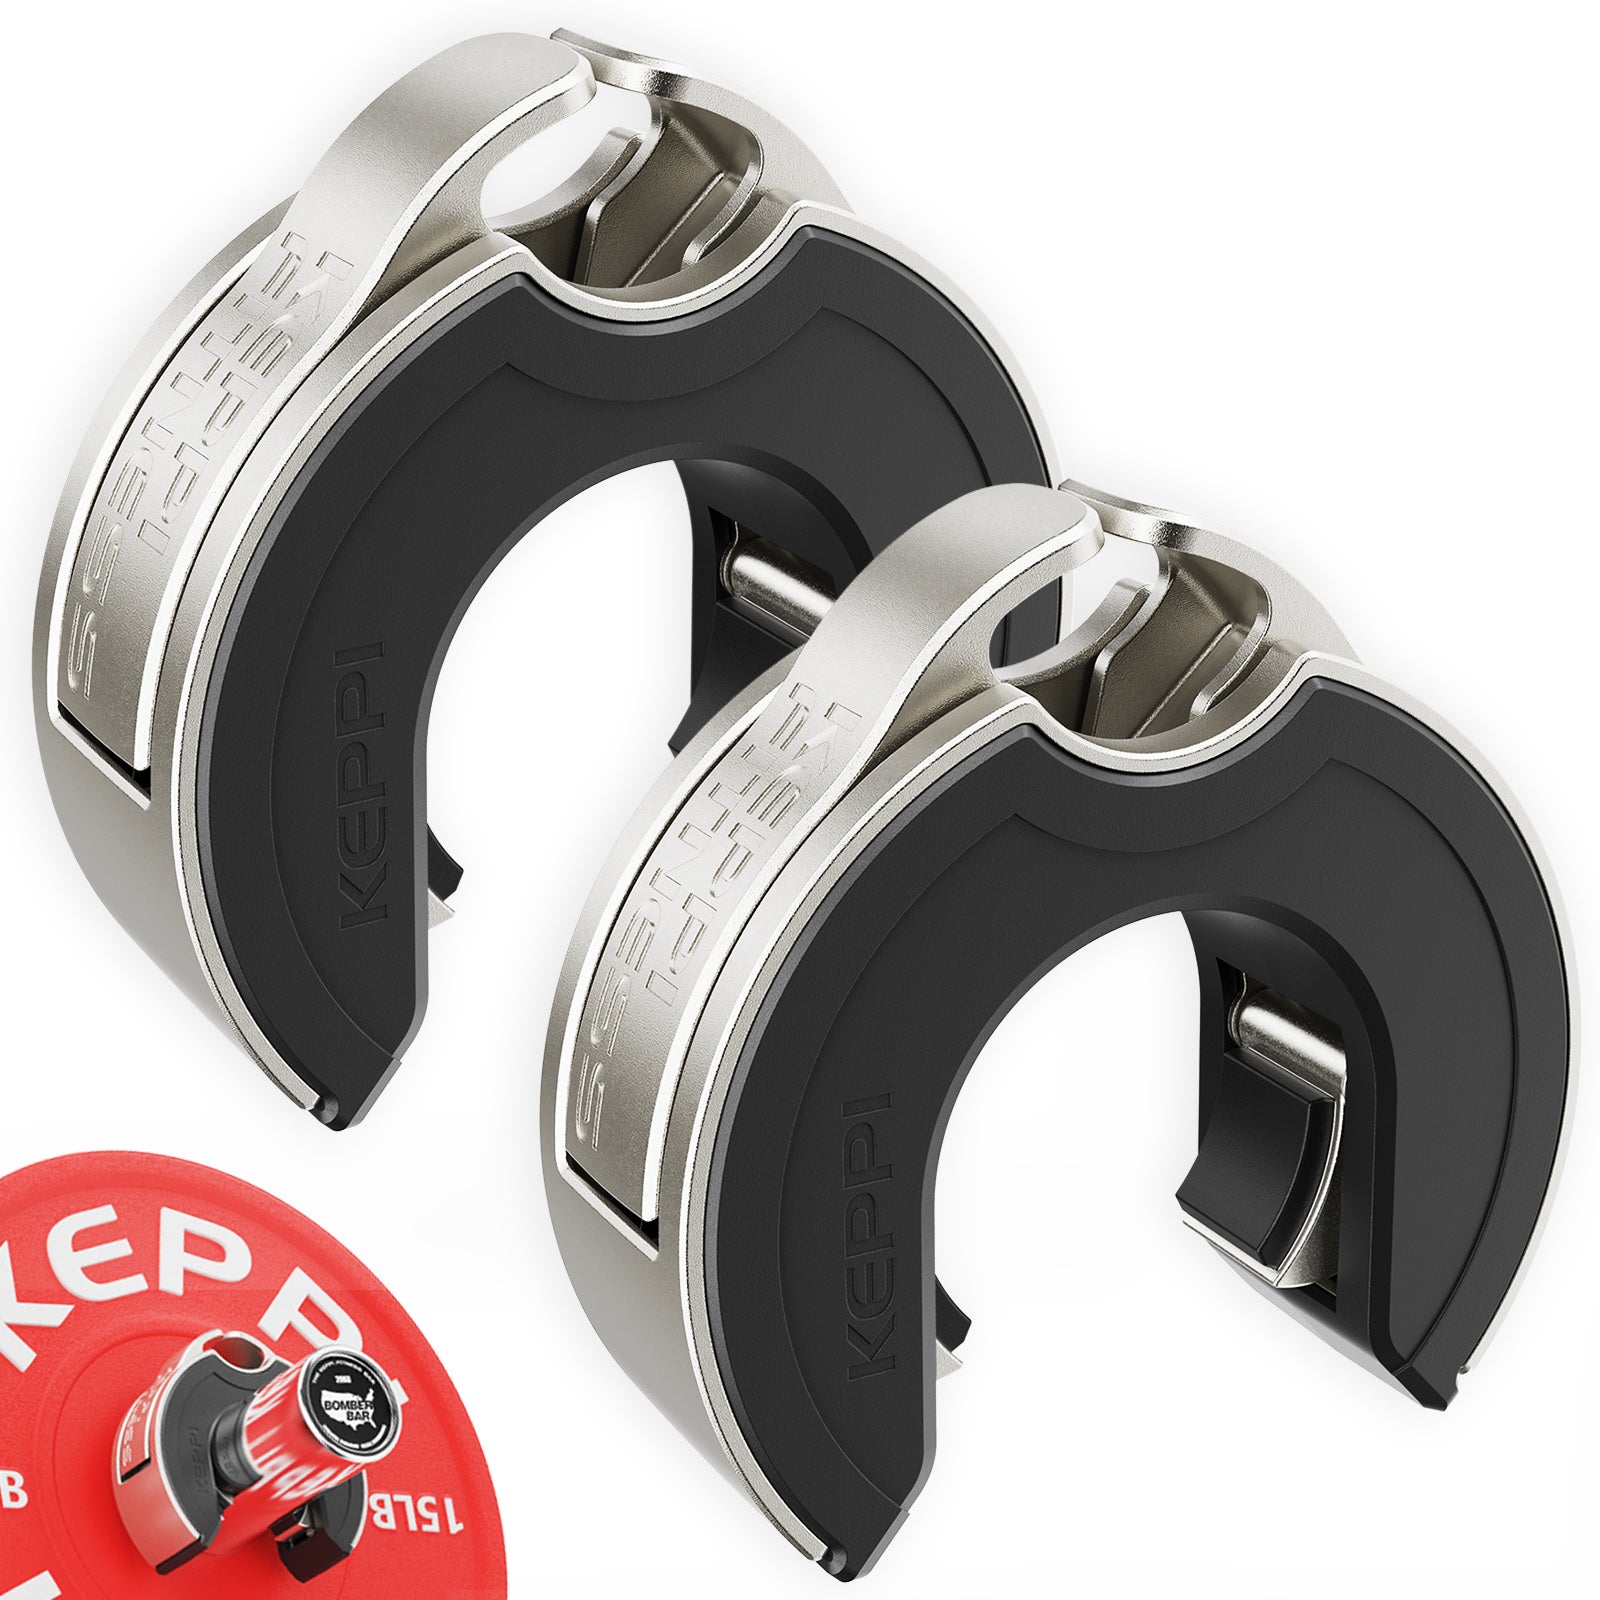
Keppi Open Collars
C-shaped magnetic Olympic barbell collars with a quick-lock mechanism and grippy lining.

Grip Plates
Rubber-coated weight plates with handholds for loading barbells and machines.


Foldable Wall Rack
Wall-mounted folding squat rack designed to save floor space between workouts.
4. Judge the repetition by the rack and recovery
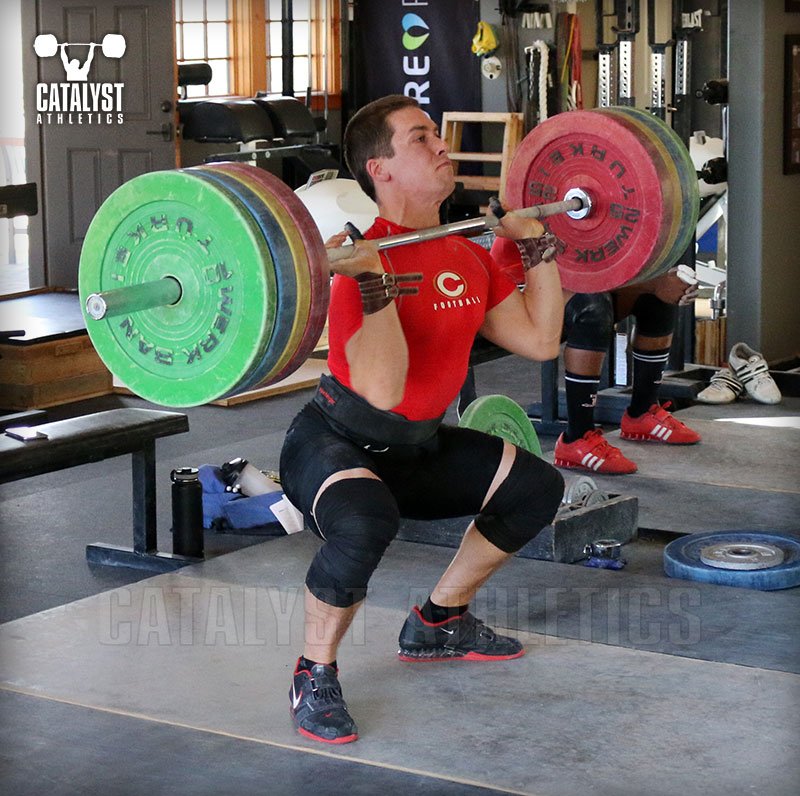
The bar should finish supported at the shoulders in a position from which you can recover. A rack that feels secure when you take a bar from stands is a useful reference, but arriving there dynamically is a different skill. Do not use a fast turnover to hide a receiving position you cannot support comfortably.
Watch for repeated crashing onto the shoulders, a large forward chase or a landing that immediately collapses. These are reasons to reduce the demand and ask what needs attention. They are not invitations to repeat the same increasingly tired attempt until one happens to work.
Separate the observations in your notes. “Bar arrived forward on two repetitions” is more useful than “bad technique.” “Could not hold the front rack comfortably even before moving” points to a different problem from “rack was comfortable but the timing varied.” Keep those distinctions visible when deciding what to practise next.
Receive the bar at an appropriate height, maintain support as you move through the squat and stand up deliberately. Do not race to the deepest position merely to make the attempt look like a full clean. A qualified coach can decide whether you need a simpler rack drill, a tall power variation or another teaching step.
5. Use a short primer, then return to the lift you are training
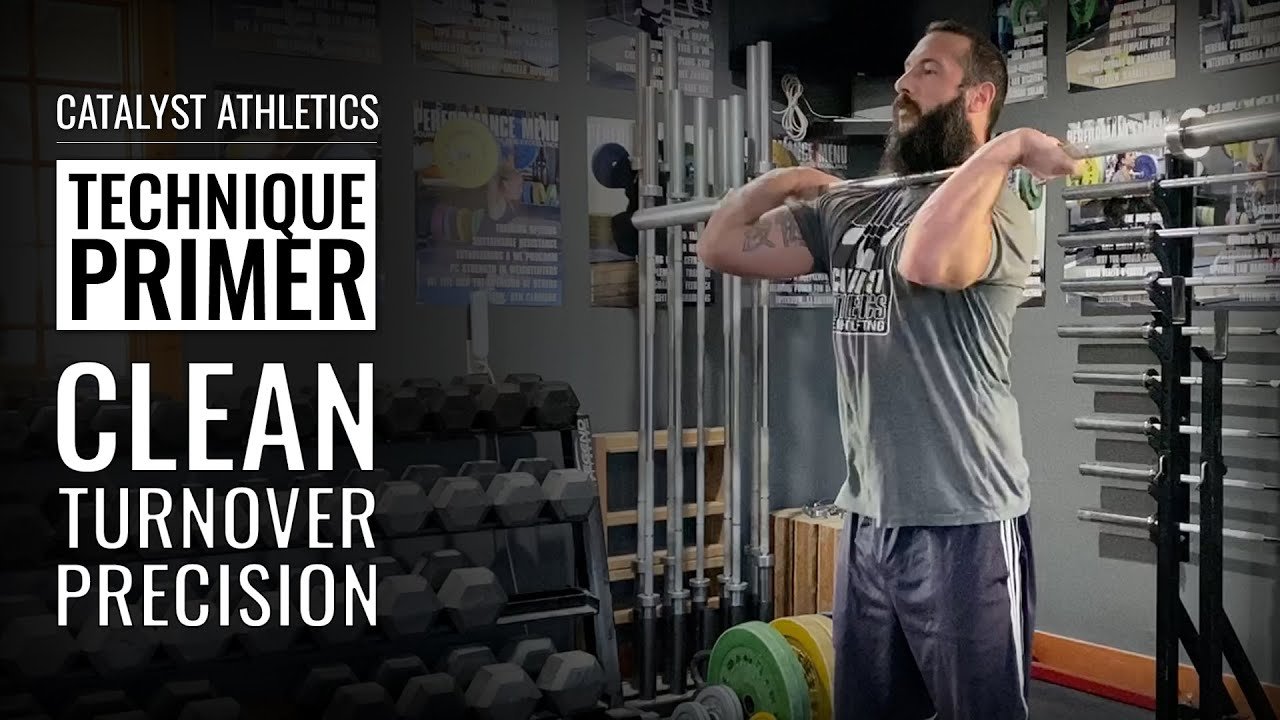
A primer belongs near the beginning of the session, after suitable preparation and before fatigue makes feedback harder to interpret. It has a narrow purpose. Keep it light and brief enough that the following clean work remains the main event.
As a conservative practice example, try a few short sets of two controlled repetitions with a load you already handle easily. Rest, review one observation and repeat only while the pattern remains clear. This is an example to discuss with a coach, not a universal prescription or a requirement to complete extra sets on a poor day.
Then check transfer. Does the next light clean show a more consistent receiving stance or a smoother connection with the bar? If nothing changes, doing more tall cleans is not automatically the answer. Another part of the clean may need attention, or the drill may require a different cue.
Log the implement, repetitions, chosen cue and the one feature you wanted to improve. At the next session, reproduce that small test before changing the load. This makes practice easier to evaluate than judging progress entirely by the largest number on the bar.
Keep normal strength work in its own role. Squats, pulls and other barbell exercises build capacities that a light turnover drill does not replace. Choose suitable bars, plates, collars and storage for the work you actually perform; accessory equipment does not compensate for unclear instruction.
The standard is simple: preserve the intended drill, arrive in a supportable position and use the feedback in the next lift. If adding weight changes the movement, return to a version that lets you practise the skill you came to train.

Funny Gym Shirts & Workout Gear
Funny gym shirts, tanks, hoodies and workout gear for lifters who like training hard.

Funny Patriotic Gym – Statue of Liberty Clean & Jerk Ve Tank Top
Add some lifting attitude to training with “Patriotic”.


Girl She-Hulk Sweater Weightlifting & Leg Day Meme T-Shirt
For laid-back days and superhero humor: “Gym Girl”.

Squat You Must – Leg Day Meme , Top Gains T-Shirt
Heavy lifts, good laughs, and a little “Squat You Must” energy.

SwoleBob Squatpants Meme – Leg Day, & Gains – Top T-Shirt
Rep “SwoleBob Squatpants Gym Meme” humor in and out of the gym.

Heavy Squatter Gym Wizards | Funny Harry Potter Workout Sticker
A fun “Heavy Squatter Gym Wizards” touch for bottles, laptops, and lockers.


Never Skip Legday – Chicken Legs Meme , , & Leg Day T-Shirt
Heavy lifts, good laughs, and a little “Never Skip Legday” energy.


Gym Skull Weightlifting Pullover for Powerlifters Bodyb Hoodie
Bring “Skull Weightlifting” gym humor to lazy days and post-workout plans.