Advertising disclosure: This page includes affiliate product links that may earn us a commission, as well as products from our own store.
The Poliquin step-up looks like an ordinary step-up until you notice how little the body rises. One foot works from a low platform with its heel elevated, the other leg reaches forward, and the free heel only brushes the floor. This small range can be demanding on the quadriceps without a heavy bar. The difference between a useful knee-control drill and a wobbly circus trick is mostly setup: stable wedge, repeatable platform height, quiet foot contact and an honest choice of load. Here is how to build it into a home gym session without making promises about magically curing knees.
What makes a Poliquin step-up different from a box step-up?
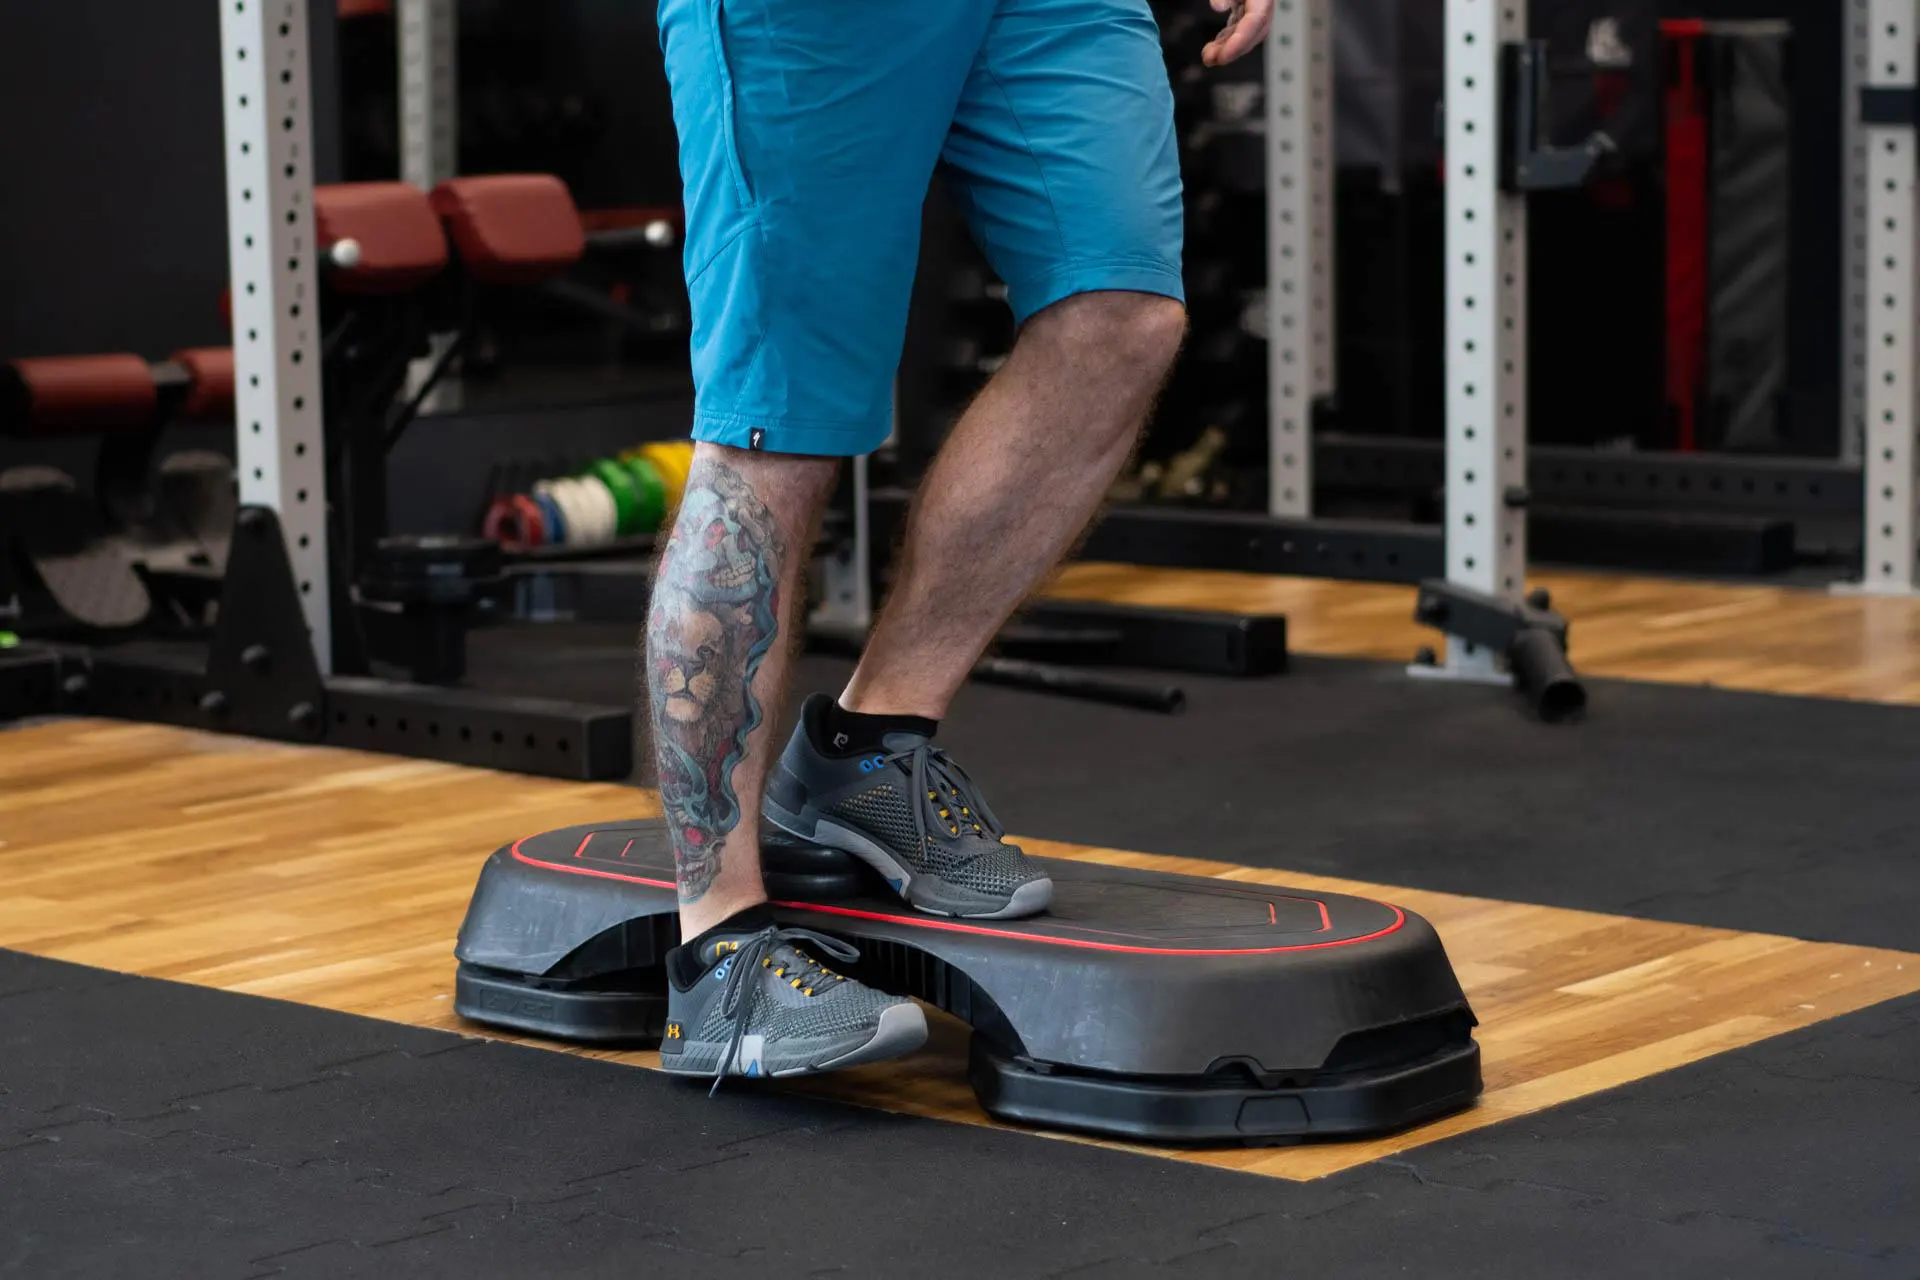
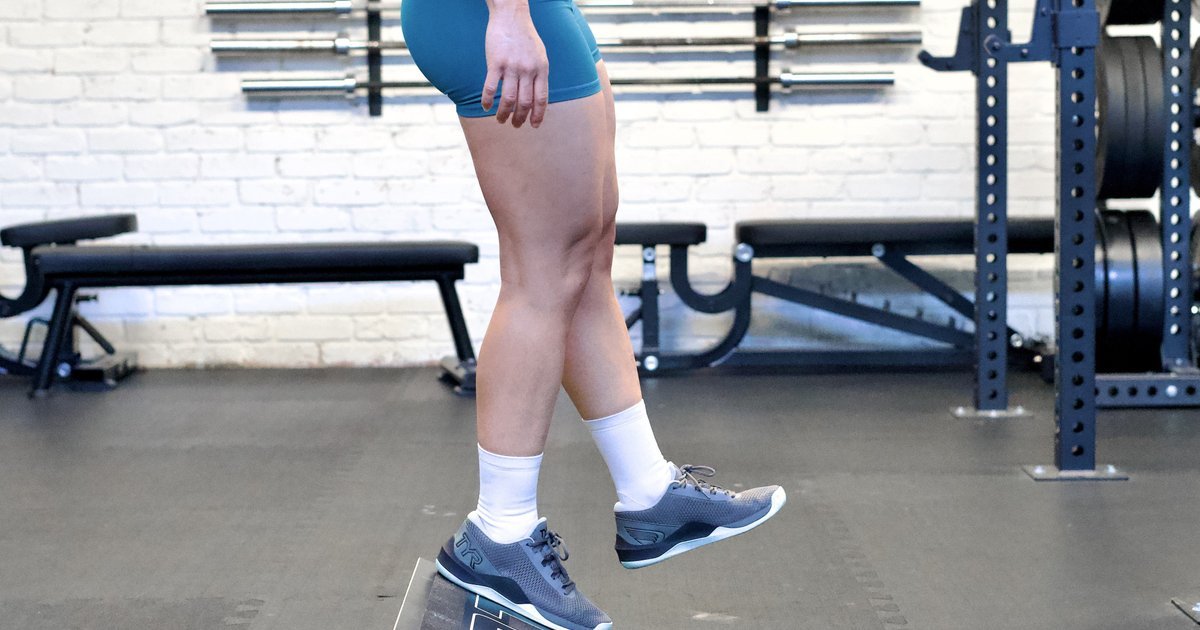
A conventional step-up usually begins with one foot on a fairly tall box. Your job is to lift your body until both legs are nearly level; hip extension, balance and total leg drive all contribute. The Poliquin variation changes the task. Stand on a low platform, support the working heel on a rigid wedge, keep the other knee straight and reach the free heel toward the ground in front. The exercise is commonly performed as a slow step-down, then a return to standing. It is not a race to climb a taller box.
Elevating the heel changes the available ankle position so the working knee can travel farther forward. As the knee bends, the quadriceps must control the lowering and extend the knee to stand again. You should expect considerable effort even when the free foot moves only a few inches. You do not need a dramatic lean or a heavy dumbbell to make the first clean repetitions worthwhile. Set up a range you can reproduce, then earn greater motion through control.
The name is sometimes used interchangeably with the Petersen step-up, but there is a useful distinction. In the Poliquin version your working heel stays supported by the wedge. In the Petersen variation you commonly rise onto the ball of the working foot and manage the ankle position differently. Mixing those techniques inside a set makes your log misleading. Pick one version and record it; comparisons only mean something if foot position is the same.
The vastus medialis is part of the quadriceps, not a muscle that becomes isolated simply because an exercise has a special name. This step-up may be a practical way to train knee extension through a comfortable range, but there is no basis for claiming that it uniquely builds one small section of the thigh or guarantees protection from injury. Judge it by whether you can use it consistently alongside the rest of your lower-body training.
Build a stable low-platform and heel-wedge setup
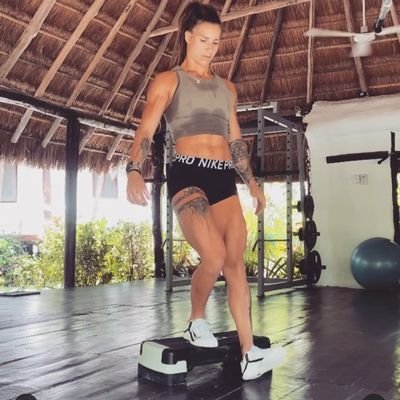
Choose a step that is low enough for the free heel to reach the floor without dropping the pelvis sideways. A sturdy aerobic step, purpose-built low platform or stable weightlifting block can work. The platform should not rock, slide or flex when you shift onto one leg. A tall plyometric box is usually an unhelpful starting choice because it turns the movement into a bigger balance and hip task. Clear the surrounding floor so the reaching foot has a reliable landing point.
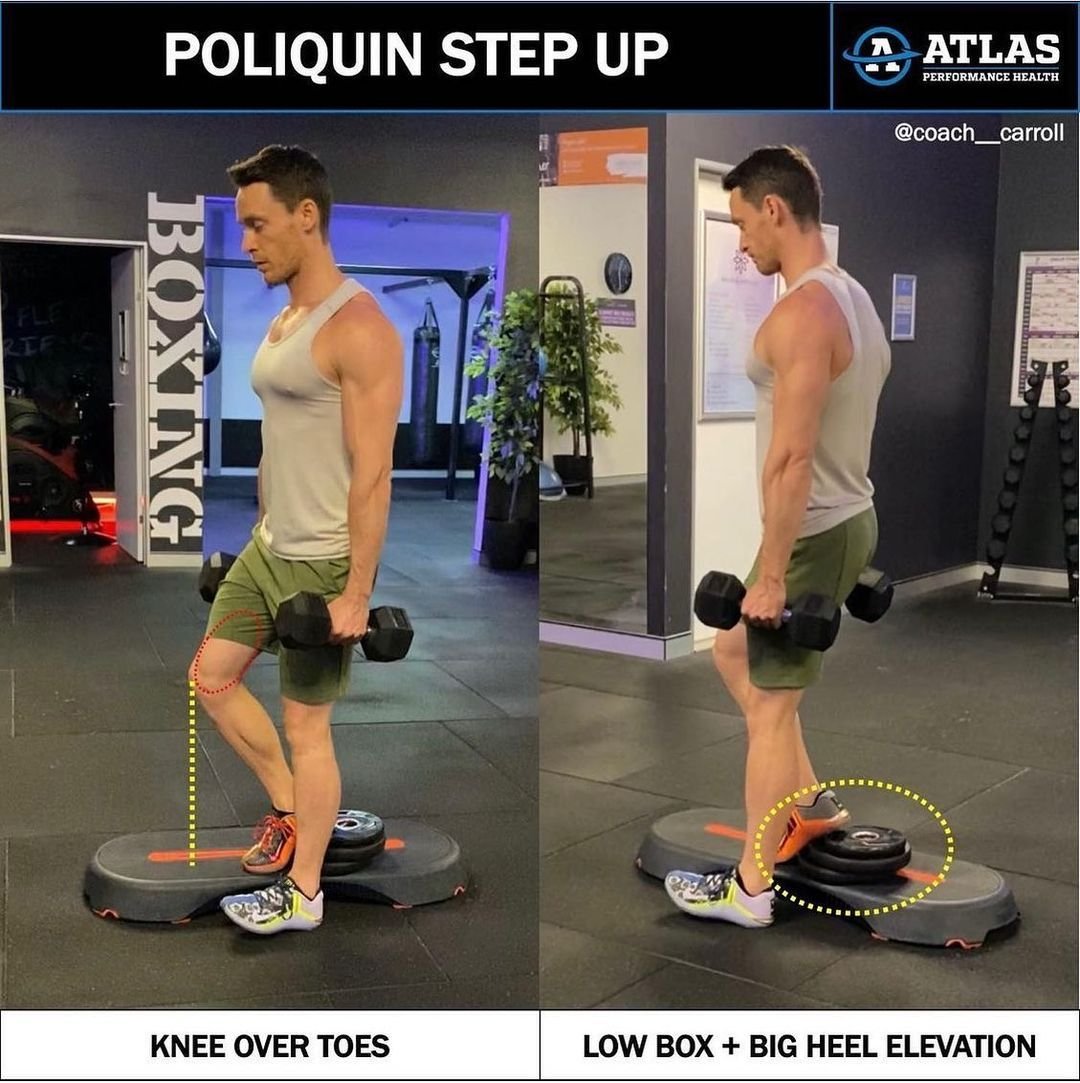
Place a firm, non-slip wedge beneath the working heel while keeping enough of the foot supported for secure pressure. A purpose-made squat wedge can be convenient; a carefully placed stable plate or purpose-built slanted step can serve the same basic function when it cannot move. Avoid improvisations that stack slippery plates, make the shoe roll or put the foot on a loose object. If the wedge shifts during a test rep, stop and solve that before doing more work.
Stand near a rack upright or fixed rail and use a fingertip hold for balance during early sessions. That is not cheating. Removing balance as the limiting factor lets you observe the working knee, the free heel and the tempo. Start with the working foot near the edge, knee tracking in line with the toes, hips reasonably level and the torso tall. The other leg reaches forward with toes pulled up so its heel, rather than the toes, makes a light touch.
Record the platform height, wedge and support method. A five-centimetre change in step height or a different wedge angle can feel like a completely new exercise. If you train in a compact rack, the same setup is easy to recreate next week; that repeatability is worth more than using an impressive-looking stack of equipment. Test two slow unloaded repetitions on each side before you consider extra weight.

Equipment Worth Exploring
Explore equipment, accessories and gear from our carefully selected range.

GymPin Squat Wedges
Non-slip 15-degree squat wedges help elevate the heels for deeper quad-focused squats.


Foldable Wall Rack
Wall-mounted folding squat rack designed to save floor space between workouts.

Safety Squat Handles
Barbell squat handles that reduce shoulder positioning demands during high-bar squats.


Leg Press/Hack Squat BPR-790
Convertible 45-degree leg press and hack squat machine with a broad footplate and band pegs.

Compact Leg Press CLP-700
Compact reverse-style leg press with a moving seat carriage and an adjustable footplate.

Leg Extension/Curl BCO-780
Leg extension and lying leg curl combo with plate loading, band pegs and a cable-loading option.

Lower under control and make the free heel touch quietly
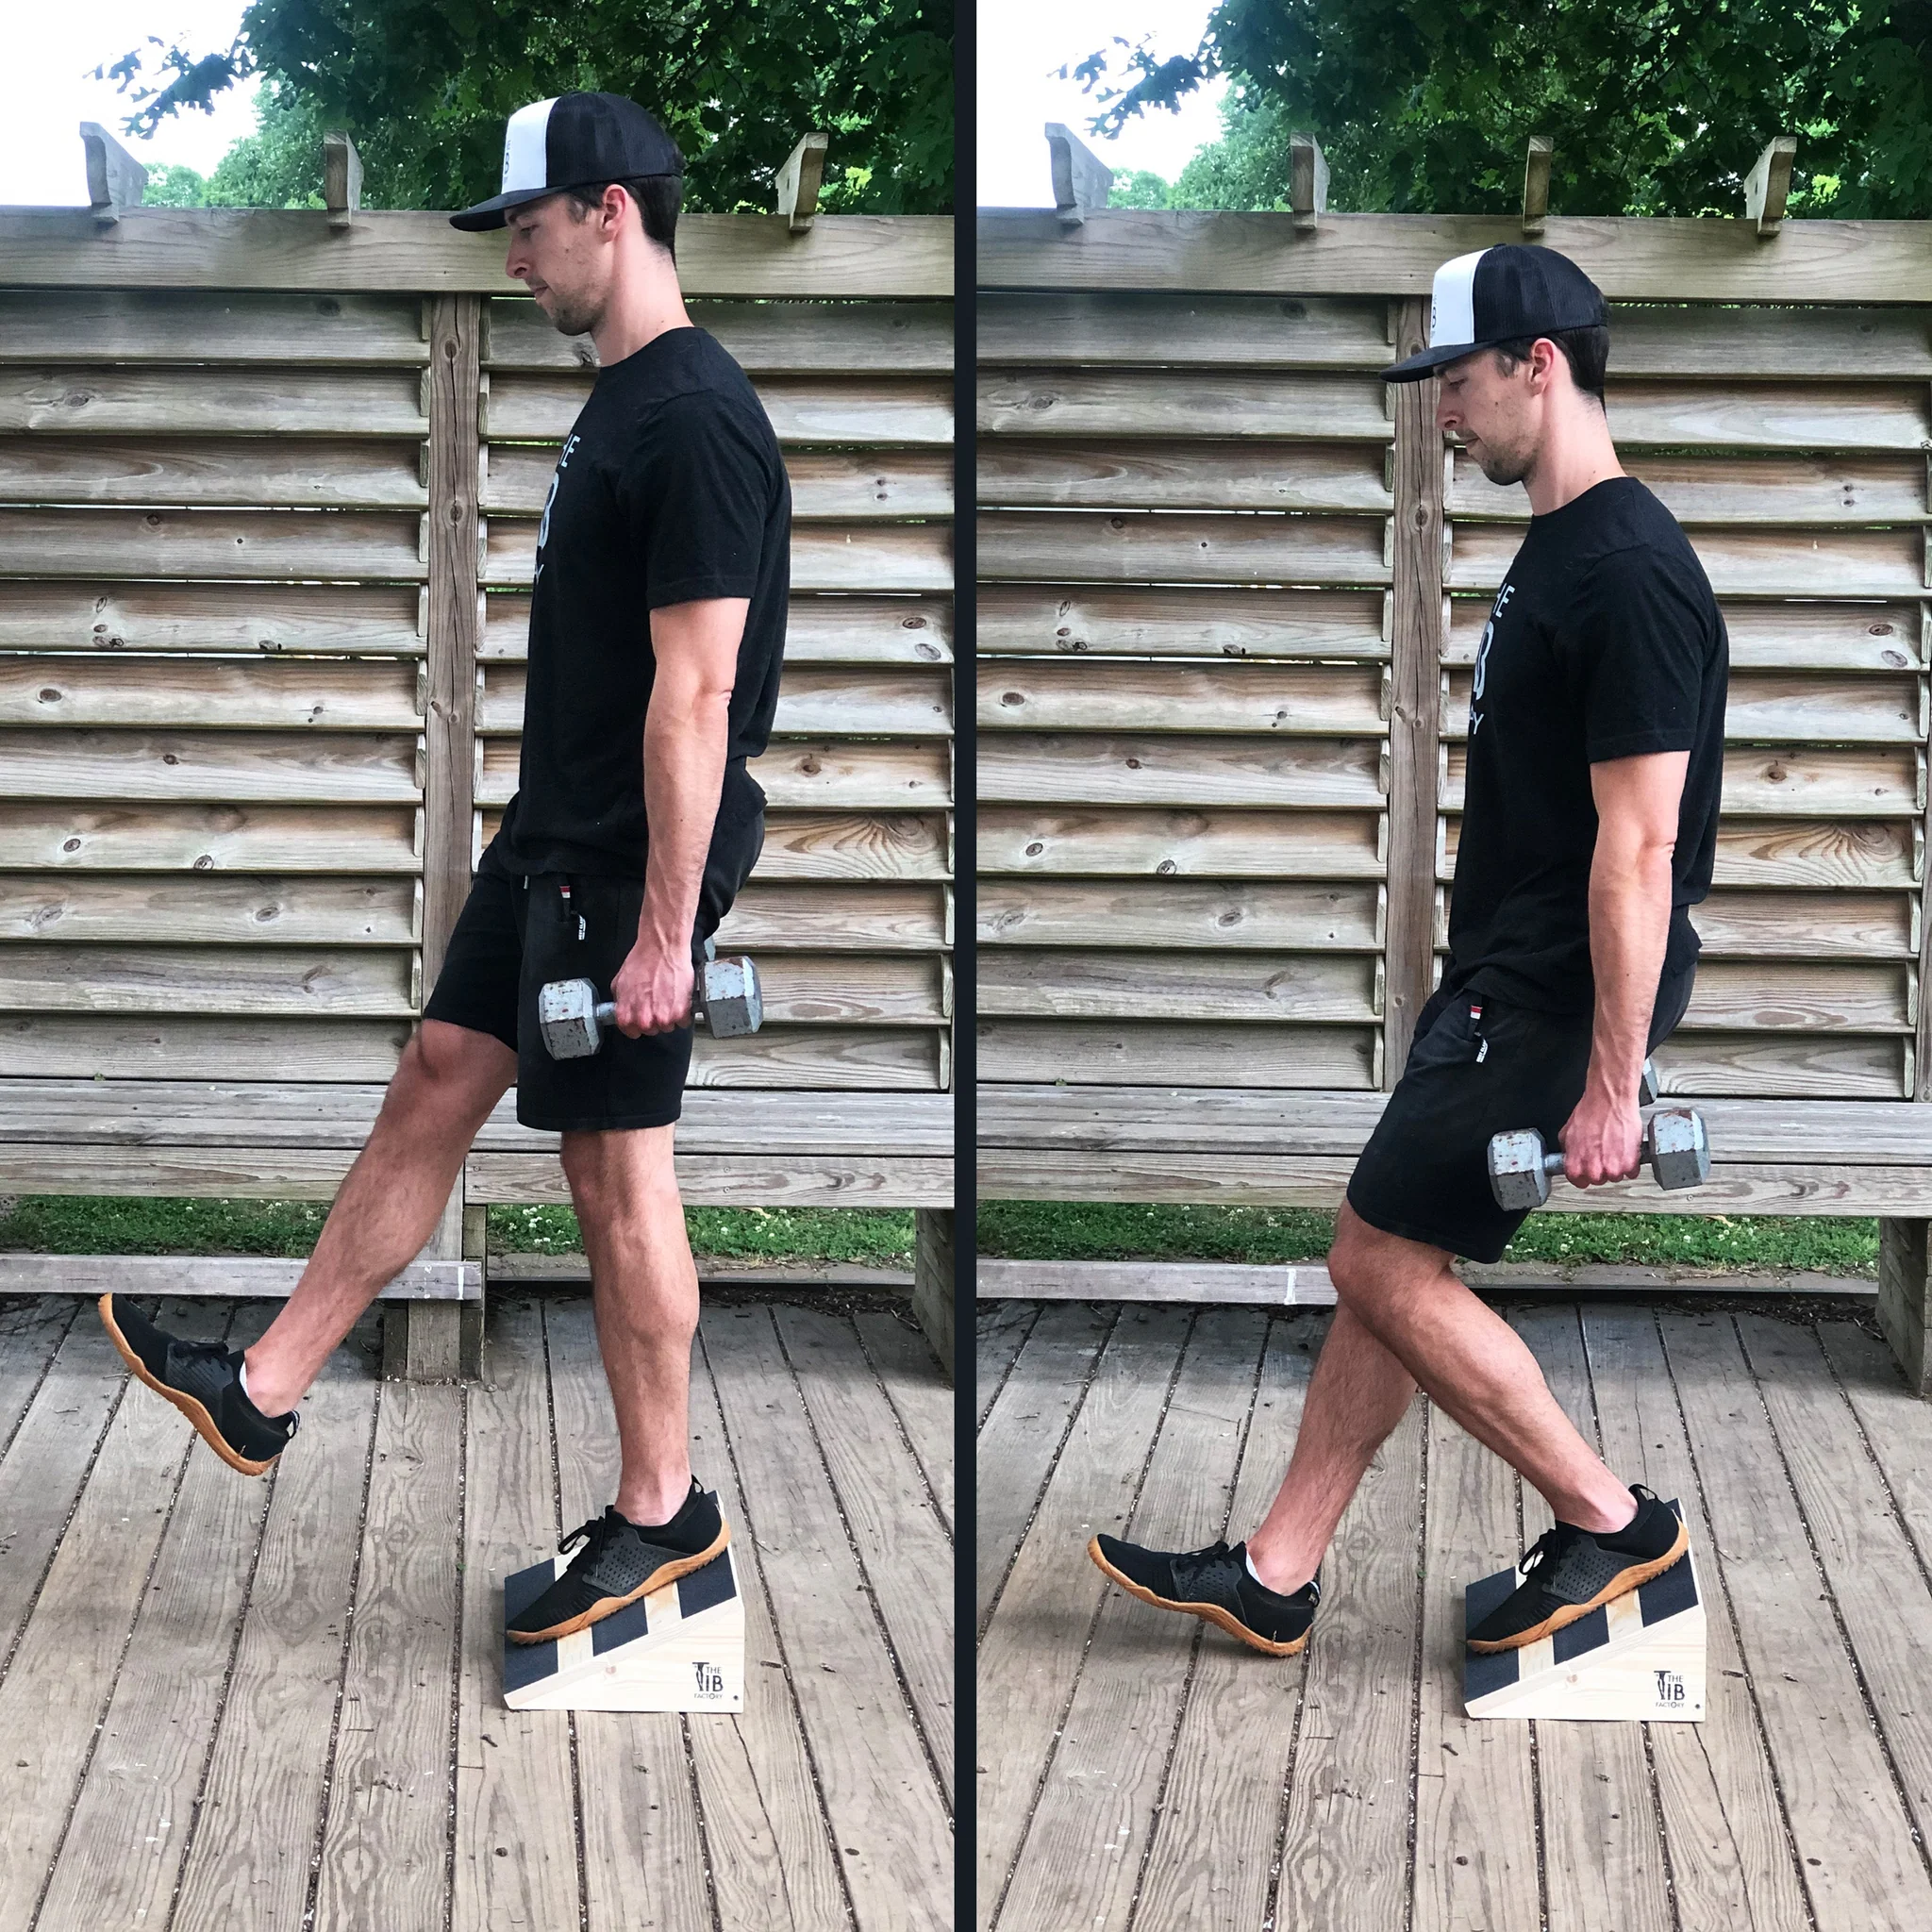
Begin tall over the working foot. Slowly bend that knee forward while lowering your body a few centimetres at a time. Keep pressure through the supported foot and let the free leg reach toward the floor in front. Your hips should stay approximately level rather than swinging outward. The free heel touches lightly to mark the bottom; it should not accept a large part of your body weight. Then straighten the working knee to return to the start without pushing off the floor.
Use an unhurried lowering phase, perhaps two or three seconds, and a brief controlled turnaround. Counting the tempo gives you a more useful difficulty measure than staring at the mirror. If your free foot thuds against the floor, the platform is probably too tall, the descent too fast, the working leg too tired or some combination of those. Shorten the range until every rep can end with the same quiet touch.
The knee can move beyond the toes in this exercise; that is a feature of the pattern, not automatically a mistake. It still has to move in a direction you can control, without the foot collapsing or the knee buckling sharply inward. Excessive forward torso lean, a twisting pelvis and a flailing free foot tend to hide weak control. A short phone video from the side or front can reveal those changes without turning every session into a biomechanics laboratory.
For your first few sessions, stop a set when the rep changes character, even if the quads could grind out more. A useful log might read: low step, same wedge, one hand on rack, three seconds down, eight clean taps each side. That tells you considerably more than a vague entry labelled “step-ups, three sets.” When you can reproduce the pattern, loading choices become straightforward rather than guesswork.
Poliquin, Petersen and conventional step-ups are not interchangeable
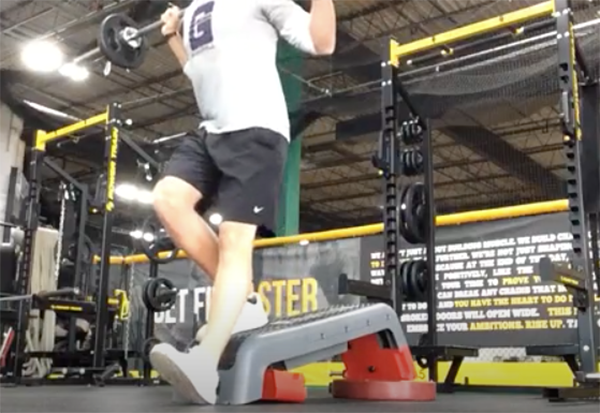
The Poliquin and Petersen step-ups overlap in their knee-focused intent, yet they ask the ankle and foot to behave differently. In the easier heel-supported version, the wedge carries the working heel throughout the repetition. In the Petersen variation, the athlete often works more through the forefoot and heel position changes. It can be a useful later challenge, but there is no requirement to move to it if the supported version already provides the desired quadriceps work.
A normal step-up onto a knee-height box has a different purpose. It requires more vertical travel, generally involves more hip extension and may be loaded heavily as a general strength exercise. That does not make it inferior. If you want a heavier compound leg movement, ordinary step-ups, squats or split squats can fit the bill. If you want a controlled single-leg knee-extension accessory that occupies little floor space, the low wedge variation often makes more sense.
A heel-elevated squat is another distinct option. Both can challenge the quadriceps and allow significant knee travel, but a squat distributes work over both legs while a Poliquin step-up demands unilateral control with an easily measured floor tap. A leg-extension attachment is different again: it can load knee extension without making balance an issue. Rotating these options is reasonable, although adding new exercises does not automatically improve a programme.
Do not confuse an exercise that is tolerable today with a tested treatment for tendon pain. Knee rehabilitation depends on the actual diagnosis, total training load, symptoms and progression. A small knee-bend trial is not proof that everyone with a sore patellar tendon should do the same prescription. Sharp pain, unexpected swelling, giving way or symptoms that worsen after training are reasons to stop and seek an individual clinical assessment rather than forcing a deeper repetition.
A four-week progression for a repeatable home-gym accessory
Week one is calibration. Twice a week after your main squat or deadlift work, perform two easy sets of six to eight controlled repetitions per leg. Use a low platform, a stable wedge and light hand support as needed. Work within a range that feels manageable and finish with the same tempo each time. Note the step height, heel angle and quality of the floor tap. If one side struggles, match the cleaner side rather than chasing identical depth at any cost.
In week two, keep the equipment unchanged and add repetitions only when they remain quiet and symmetrical. Two or three sets of eight to ten per leg are a reasonable practice target for someone already comfortable with unloaded step-ups. Rest enough that you can stand still before the next set. If the first repetition is crisp and the last is a stumble, the set is too long for the purpose of this exercise.
Week three introduces one new challenge, not four at once. You might slow the descent slightly, add a short pause just above the floor or reduce the amount of fingertip support. Choose the change that improves the quality of the movement you are trying to build. Do not automatically increase step height and wedge angle together. More range can be useful, but only if the working foot stays secure and the pelvis does not tilt to manufacture extra depth.
In week four, consider a light dumbbell in one hand or one small weight in each hand if bodyweight repetitions are genuinely controlled. The equipment should not pull you off the step or force a shortened descent. If loading changes the movement, return to the unloaded version or use a lower step. A few clean reps remain valuable even after heavier squats; this drill does not have to become your main lower-body lift to earn a place in the programme.
Reassess after the fourth week. Can you repeat the same setup with fewer balance corrections, a quieter floor touch or a little more controlled load? If yes, retain it as a warm-up or accessory. If it does not contribute to your training, swap it for a more useful quad exercise. The sensible goal is steady leg training, not becoming attached to a movement because it has a famous name. Keep the routine manageable and let the log, not the novelty, decide.

Leg Day Shirts & Workout Gear
Leg-day gym shirts and workout gear for lifters who never skip squats, lunges and lower-body punishment.


Girl – Witch Redhead Bootybuilder – Squats Leg Day T-Shirt
Show some gym-girl attitude with a playful “Gym Girl” tee.

Funny Leg Day Gains Gym | LEGO Workout For Squats & Dea Hoodie
Keep it laid-back with a little “Leg Day Gains” attitude.

I Love Squats | Valentine's Leg Day Hooded Hoodie
Keep it laid-back with a little “I Love Squats” attitude.

I Look Better Bent Over Sweater Squats Deadlifts & T-Shirt
For laid-back days and leg-day humor: “I Look Better Bent Over”.

Superman Squats Funny Gym Sweatshirt Crewneck Pump
Add a playful “Superman Squats” touch to your casual rotation.

Swolebob Squatpants Gym | Funny SpongeBob Meme Muscle S Tank Top
Your gym-day look, with a playful “Swolebob Squatpants” twist.

Adventure Girl Booty Builder Leg Day Meme Squats Vest Tank Top
Your gym-day look, with a playful “Adventure Girl” twist.

Squat You Must Star Wars Leg Day Meme Decal Water Sticker
Give your everyday gear a playful “Squat You Must” twist.

Squats Booty Builder Barbie Leg Day Decal Water Sticker
Give your everyday gear a playful “Squats Booty Builder” twist.