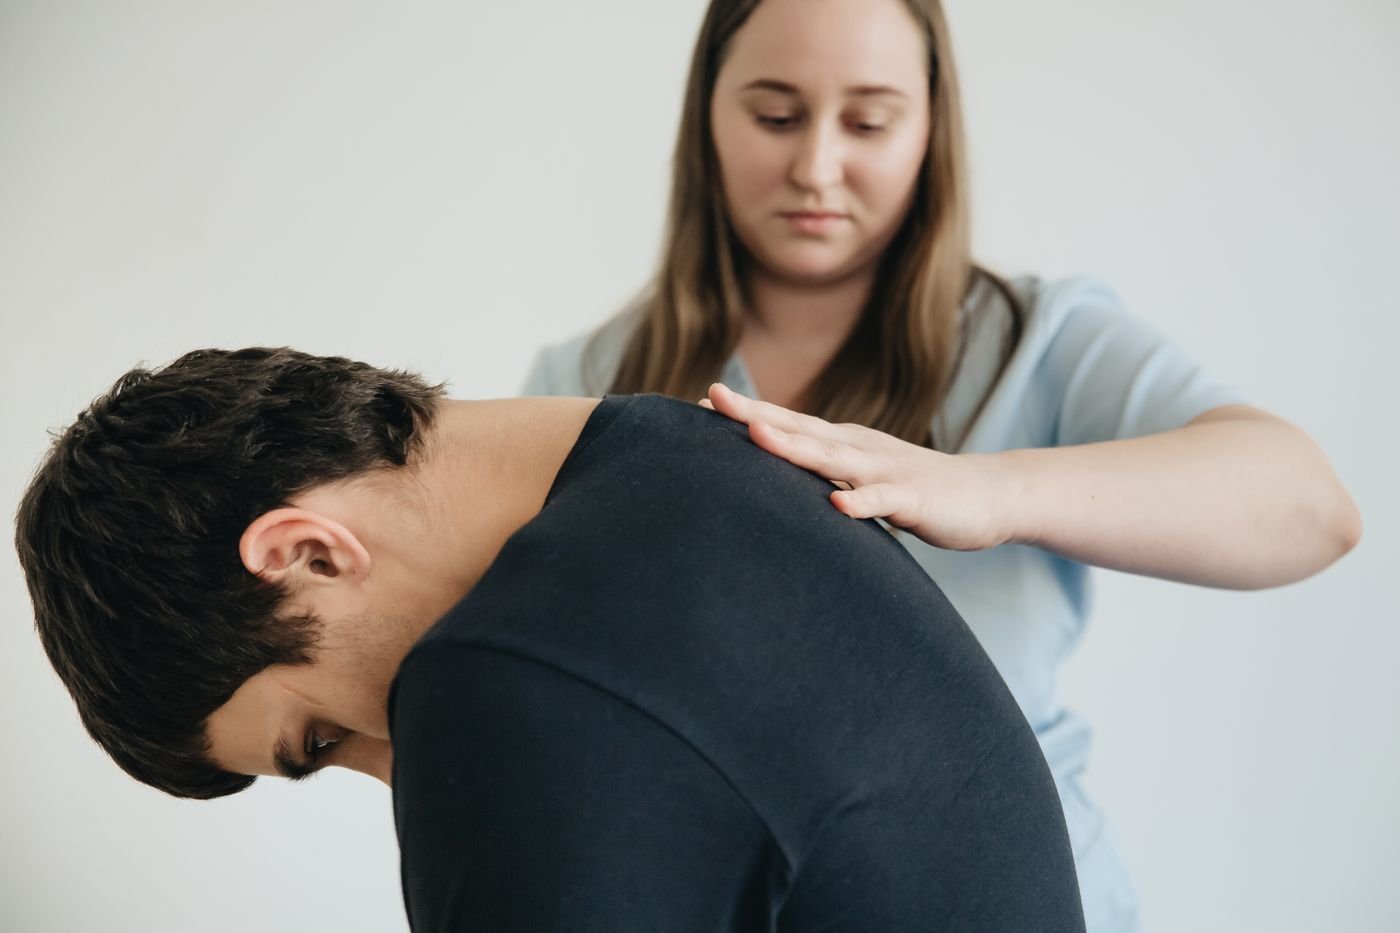
Low-back discomfort can make an ordinary home workout feel like a negotiation. A movement that was effortless last month suddenly feels uncertain; a loaded hinge becomes intimidating; even getting up from a chair may demand extra attention. The tempting response is to search for the single best exercise to fix the spine. There is no universal winner. A more useful approach is to rebuild movement confidence, trunk endurance and everyday capacity with exercises that can be adjusted to the person in front of them.
A practical starting menu includes side bridges, bird dogs, glute bridges, clamshells and controlled wall-supported movements. None is a magic cure, and none must be performed through pain. Their value comes from giving you manageable ways to practice bracing, hip control and gradual loading. The broader evidence supports exercise for many people with persistent nonspecific low-back pain, while also showing that different exercise styles can work and that individual responses vary.
1. Check the Symptoms Before Choosing the Exercises
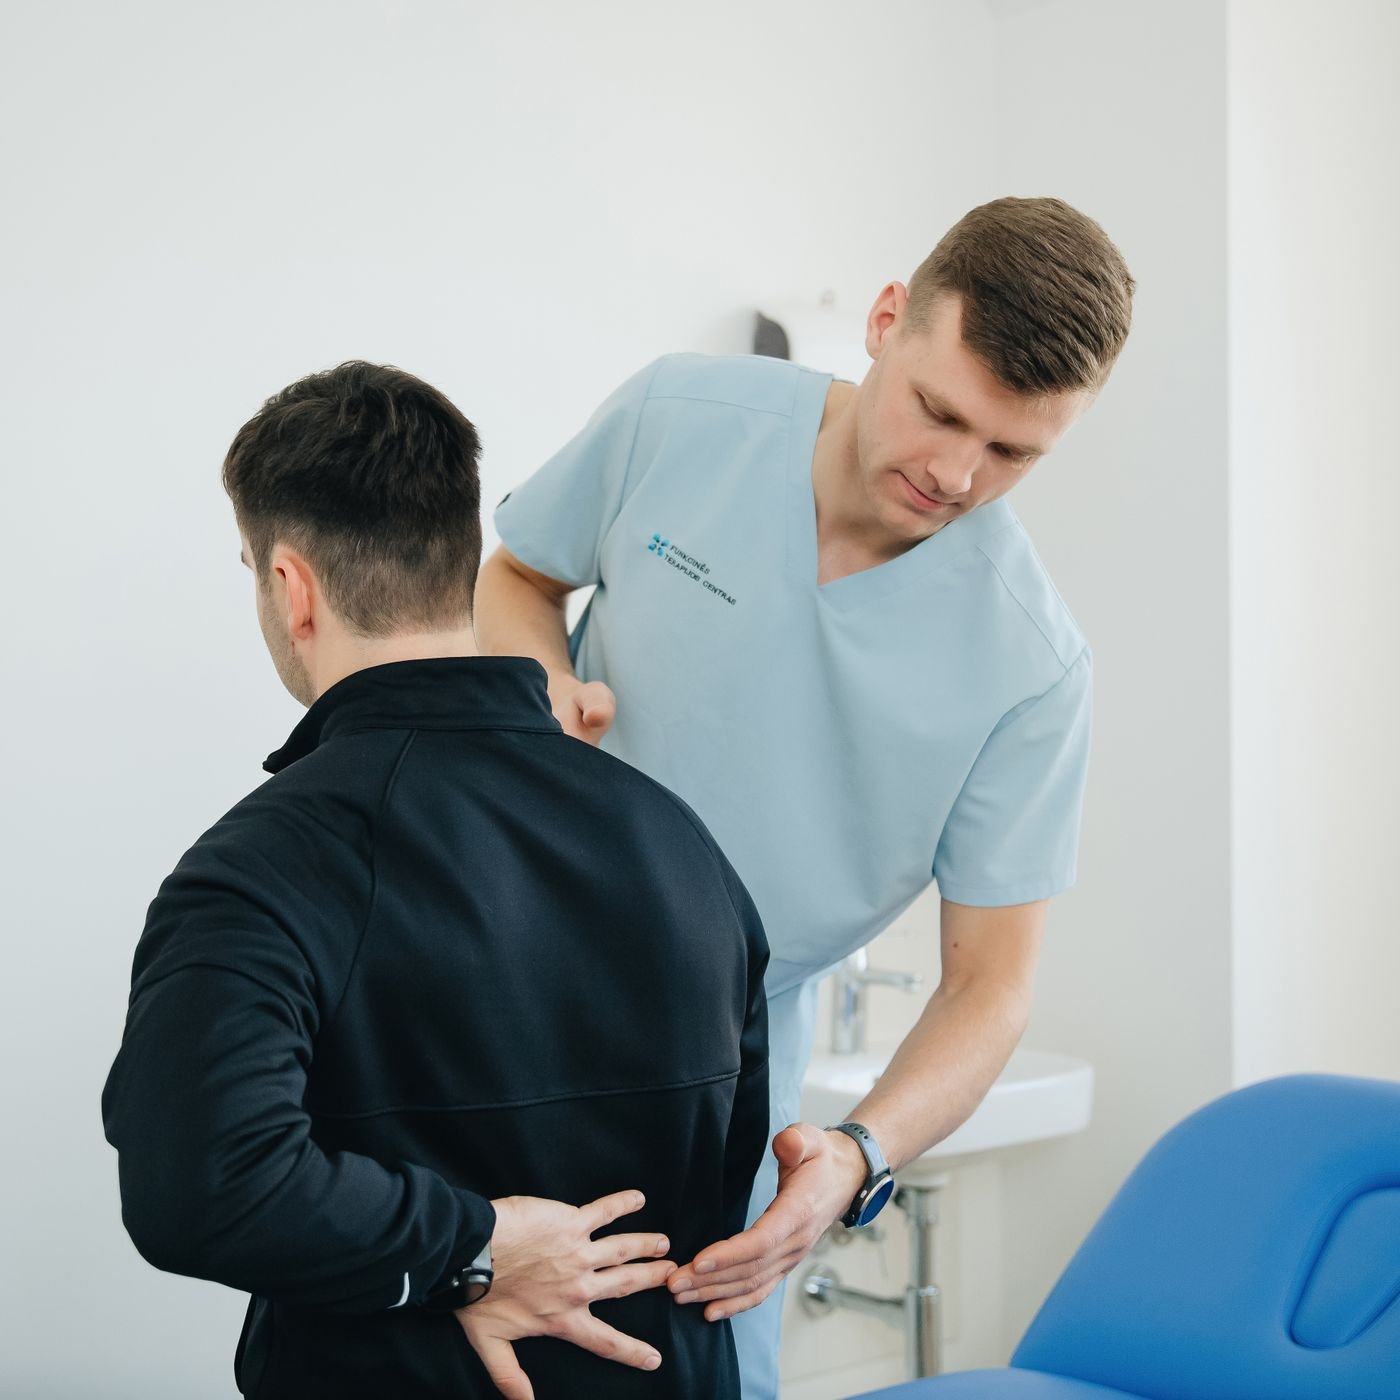
First distinguish a routine training problem from a situation that needs clinical assessment. Back pain is a symptom, not a diagnosis. A strained muscle, irritated joint, nerve-related problem and persistent nonspecific pain can feel different and respond differently. A short home routine is not an appropriate substitute for an assessment after major trauma, with unexplained fever or serious illness, or when symptoms are rapidly worsening.
New difficulty controlling the bladder or bowel, numbness around the groin or saddle area, or progressive weakness in the legs requires urgent medical attention. Pain accompanied by unexplained weight loss, a significant cancer history or other concerning symptoms also deserves professional evaluation. If pain radiates down the leg, causes numbness, or remains persistent and disabling, discuss exercise choices with a qualified clinician rather than trying to force a generic plan.
For a person who has already been assessed and cleared to exercise, start by noticing which movements feel tolerable today. Can you walk comfortably for ten minutes? Can you lie on your back, roll to your side and stand up without a dramatic increase in symptoms? Does gentle hip movement feel easier than bending through the lower back? These observations help select a starting position. They are not a pass-fail test of whether your spine is strong.
Think of symptoms as information rather than a scoreboard. A manageable level of discomfort may occur during rehabilitation, but sharp pain, spreading leg symptoms or a clear worsening that persists after the session are reasons to modify or stop the activity. The objective is improved function over weeks, not proving toughness in one workout.
2. Learn to Brace and Breathe Without Freezing Your Spine
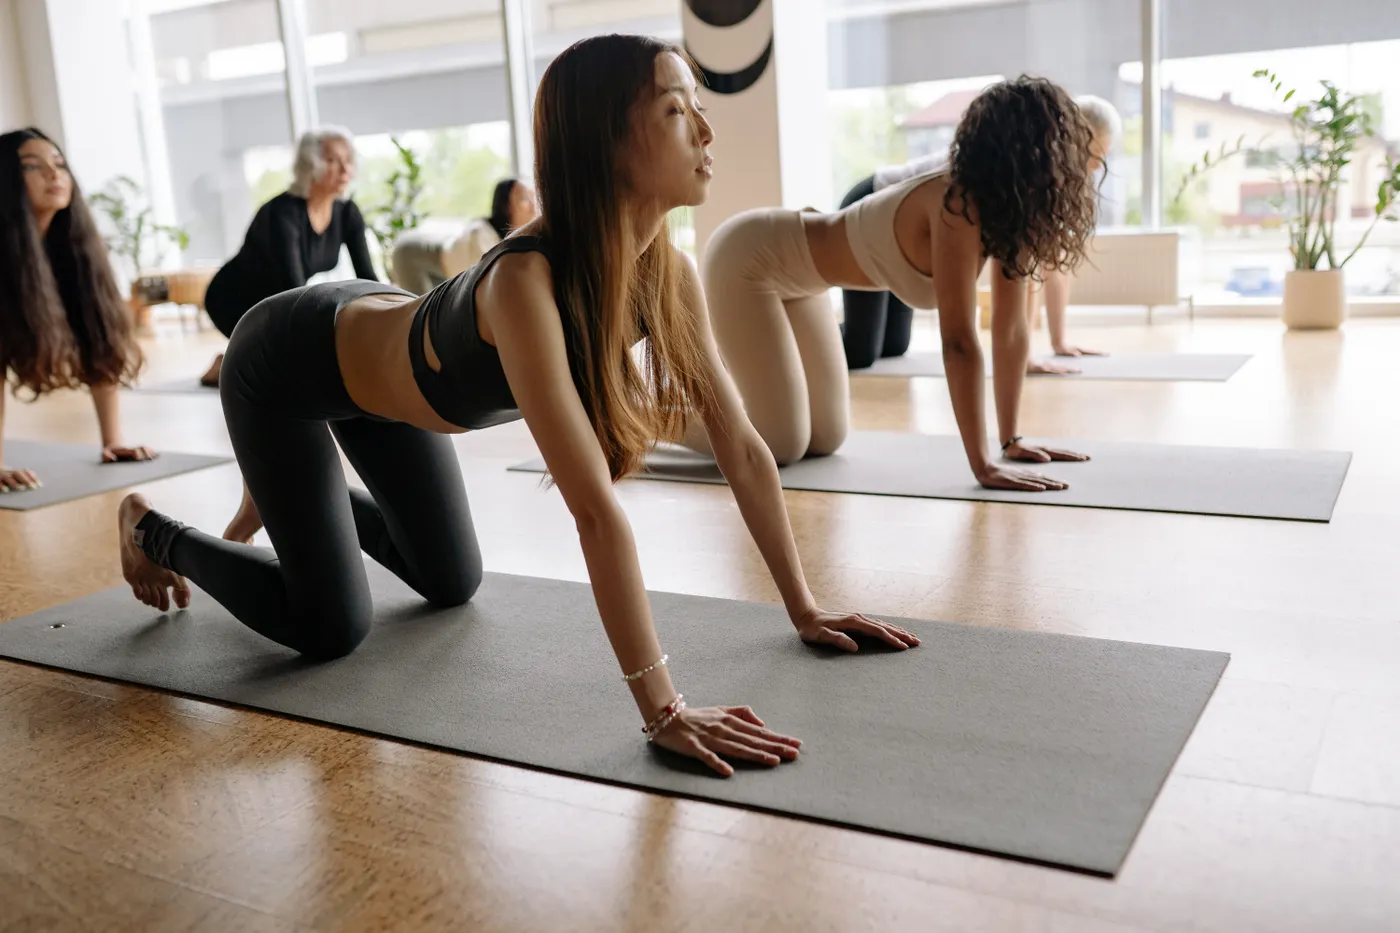
Before you add resistance, learn what a controlled trunk contraction feels like. Lie on your back with knees bent or begin on hands and knees. Breathe in comfortably, then exhale while gently tightening the abdominal wall as though preparing for a light tap to the stomach. Keep breathing. The aim is coordinated tension, not a maximal squeeze or a long breath hold.
A neutral-looking spine is a useful teaching position for many beginners because it makes movement easier to monitor. It is not the only safe position a healthy back can adopt. Spines are designed to bend, rotate and extend; the long-term goal is to tolerate those movements, not to avoid them forever. Early in a flare-up, however, a smaller, less provocative range can make practice possible.
Try five slow breaths in a supported position, then six to eight small hip hinges with hands resting on the thighs. Move from the hips while keeping the torso relatively quiet. If this is easy, add a short wall-supported plank: place forearms against a wall, step the feet back slightly and hold for ten to twenty seconds while breathing normally. Two rounds are enough at first.
The progression is simple: improve the quality of the movement before increasing leverage, duration or load. A wall plank can become a counter-height plank and later a floor plank. But if a particular plank increases symptoms, choose a different exercise. Core training is a menu, not an exam that everyone must pass.
Equipment Worth Exploring
Explore equipment, accessories and gear from our carefully selected range.
VOLTRA
Compact digital cable trainer with smooth, adjustable resistance.

Go-Tone Pro
Portable digital cable trainer with up to 66 lb (30 kg) of adjustable resistance.
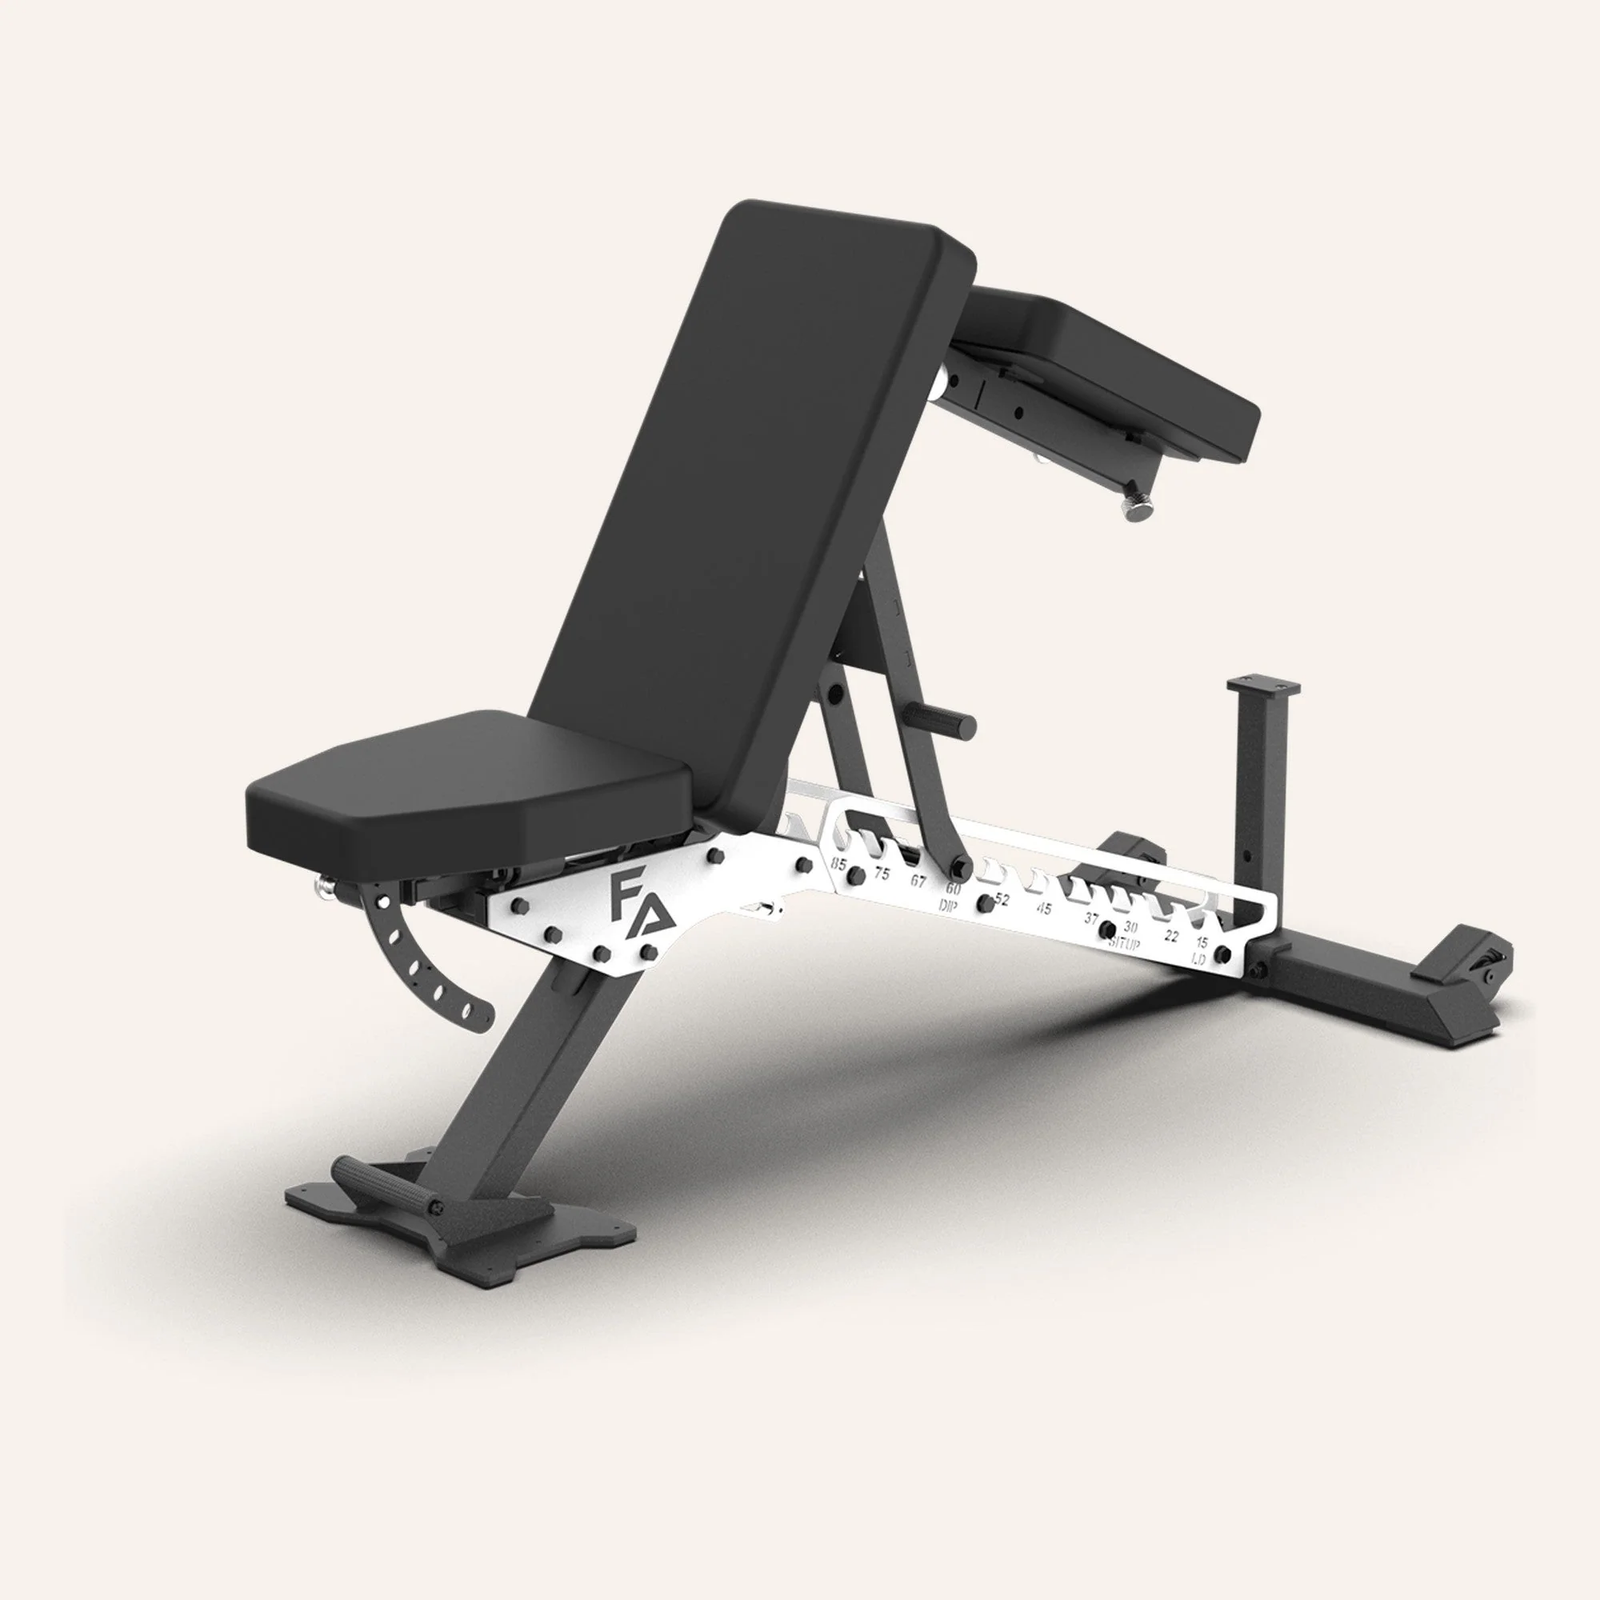

FID Bench MAX
Adjustable bench offering flat, incline, and decline positions + adjustable headrest.


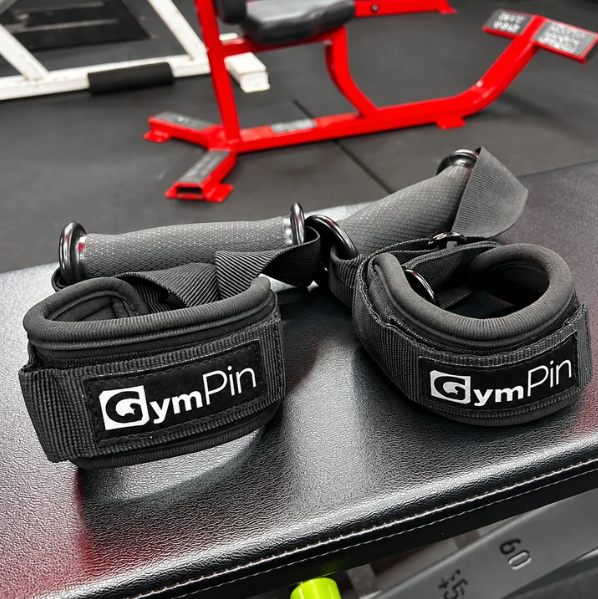
GymPin D Cuffs
Adjustable wrist cuffs with textured grips for supported cable-machine exercises.
3. Side Bridges and Wall Rolls Build Lateral Control
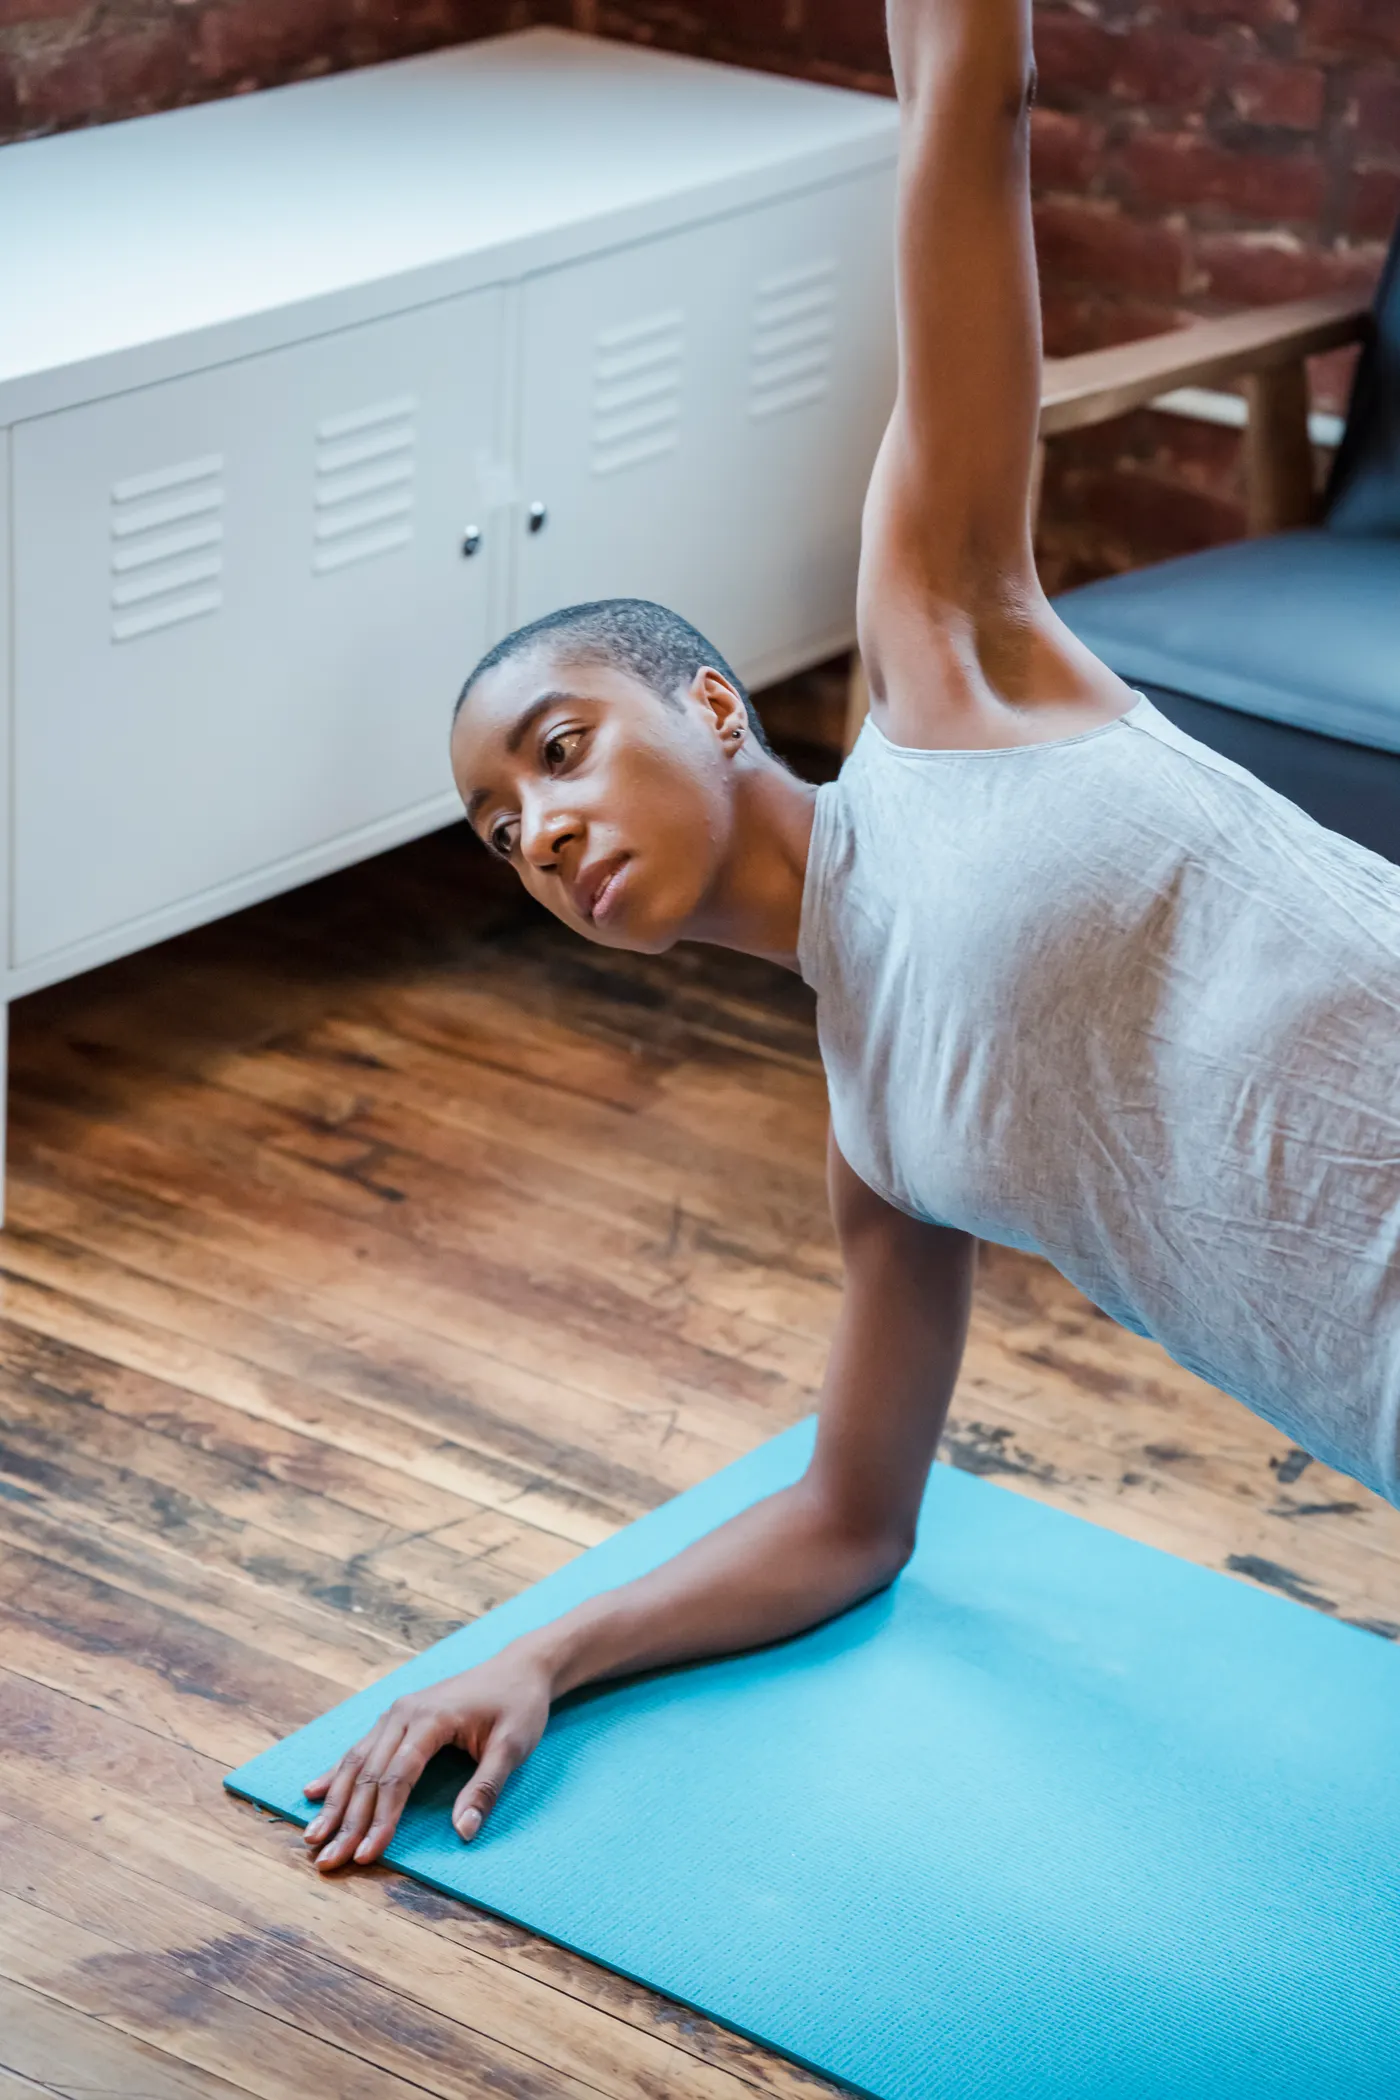
The side bridge is a compact way to train the muscles that help the trunk resist side bending. Begin lying on one side with knees bent and elbow directly beneath the shoulder. Lift the hips until the shoulders, hips and knees form a comfortable line. Hold for eight to fifteen seconds, lower slowly and repeat two or three times per side. If the full straight-leg side plank is comfortable, it can become a later progression rather than the starting requirement.
A useful cue is to push the floor away with the forearm and keep the hips stacked. Do not twist the chest toward the ground to chase a longer hold. A controlled twelve-second effort is often more productive than a forty-second struggle with collapsing form. People with sensitive shoulders can use a higher support or a standing alternative.
For a wall roll, face a wall and support yourself on both forearms in a wall-plank position. Brace lightly, rotate the whole body a small amount around the feet and briefly unweight one forearm, then return to the start. Use five to eight smooth repetitions each way. This is an anti-rotation challenge: the goal is to limit uncontrolled twisting, not to crank the lower back into its end range.
Neither drill needs heavy equipment. The real difficulty comes from leverage, balance and time under control. Build tolerance in small increments, alternating sides so that one direction is not always trained first. If you cannot keep the pelvis steady, shorten the hold or move closer to the wall.

Funny Gym Shirts & Workout Gear
Funny gym shirts, tanks, hoodies and workout gear for lifters who like training hard.

Anti Garage Club – Meme & Gymbros – Top Home Gains T-Shirt
Rep “Anti Gym Garage Gym Club” humor in and out of the gym.

Garage Shirt – Garage Meme Top Home Gains & Gymbros T-Shirt
Bring “Garage” humor to your next gym day.

Garage Shirt – Garage Hero Meme Top Home Gains T-Shirt
Show some lifting attitude with a playful “Garage” tee.

Home Is Where Your Gym Is | Funny Garage Gym Meme Worko Hoodie
Show off your lifting humor in a laid-back “Home Is Where Your Gym Is” hoodie.

6Pac Shakur | Rap Parody Crewneck for Bodybuilding & Co T-Shirt
Keep things casual with a little “6Pac Shakur” attitude.

Home Gym Nerd Hooded Pullover for Garage Gym Lifters Wo Hoodie
Make your off-duty look more fun with “Home Gym Nerd”.

Funny Home Gym Owner Gym Crewneck Pullover Sweater for T-Shirt
Show some gym-day personality with “Home Gym Owner”.

Home Gym Hero Crewneck Pullover Sweater for Garage Gym T-Shirt
Keep things casual with a little “Home Gym Hero” attitude.

Home Gym Built Not Bought Crewneck Pullover Sweater for T-Shirt
Bring “Home Gym Built Not Bought” humor to your everyday gym style.

No Cars Allowed In My Garage Gym Decal for Garage Gym E Sticker
Stick a little “No Cars Allowed In My Garage” humor on your favorite gear.
4. Bird Dogs, Clamshells and Glute Bridges: Control the Hips
Bird dogs teach the trunk and hips to coordinate while the arms and legs move. Start on hands and knees with the hands under shoulders and knees under hips. Slowly reach one arm forward and the opposite leg back, keeping the pelvis level. Pause for three to eight seconds and return without dropping the torso. Complete four to six controlled repetitions per side. If the full opposite-arm-and-leg reach is too difficult, move only an arm or only a leg.
For a clamshell, lie on one side with knees bent and feet together. Keep the pelvis stacked while opening the top knee through a small range, then lower it slowly. Eight to twelve repetitions per side are plenty. You should feel the outer hip working without having to roll the whole body backward. A small loop band is optional, not essential.
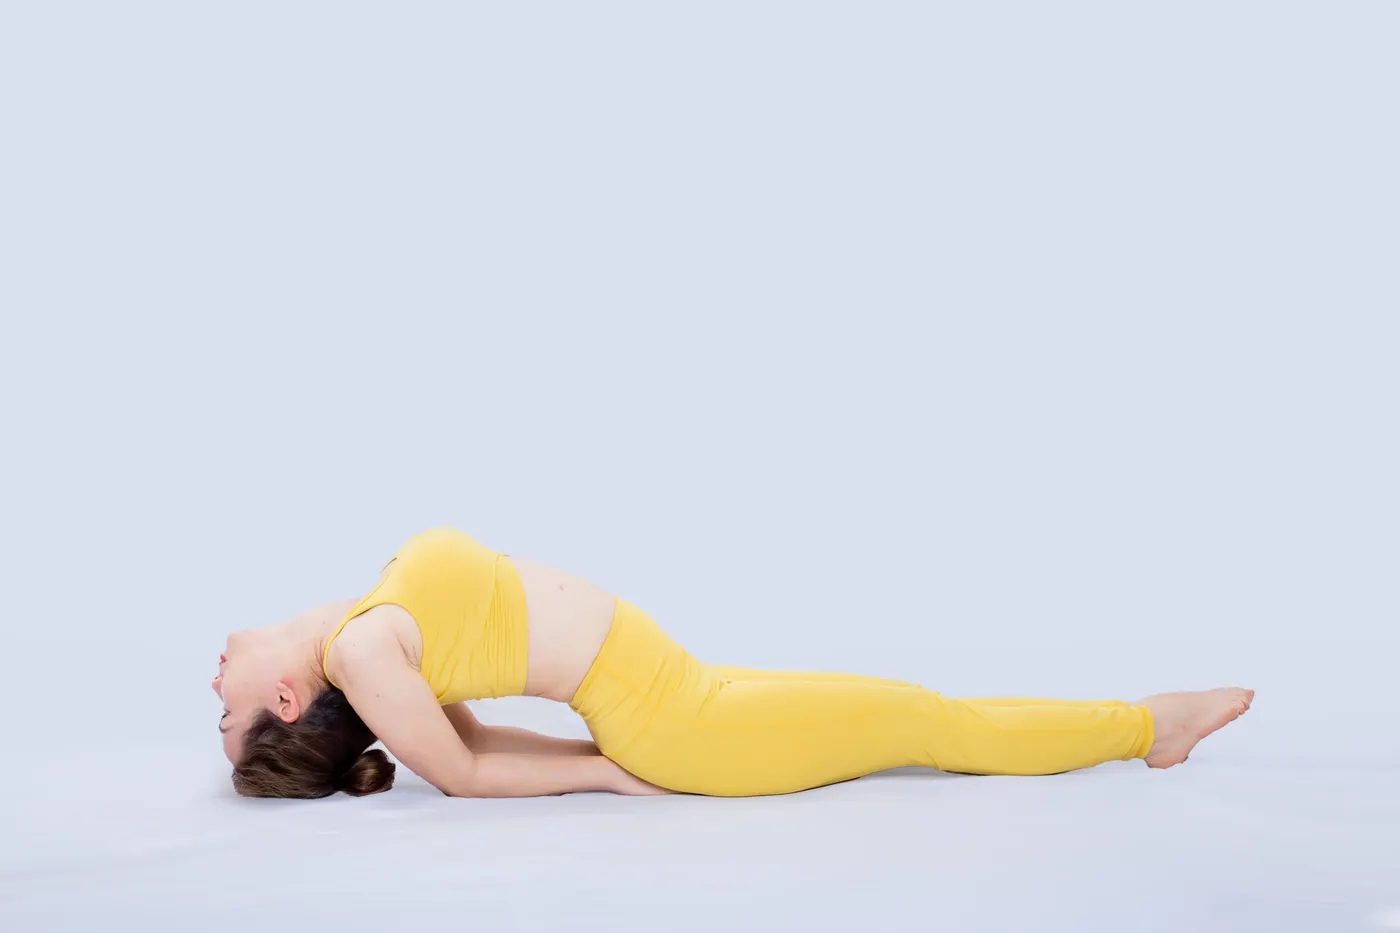
A glute bridge starts on the back with feet planted and knees bent. Exhale, gently tighten the abdomen and lift the hips until the torso and thighs form a comfortable line. Pause for two to three seconds and lower with control. Start with one or two sets of eight to twelve. Do not force the hips as high as possible or arch the lower back just to gain extra height. The goal is a comfortable hip extension, not a dramatic yoga backbend.
These exercises overlap but are not interchangeable. Bird dogs emphasize coordination, clamshells train the side hip and bridges emphasize hip extension. If one irritates the back, the other two may still be useful. You can also perform a shorter bridge or substitute a sit-to-stand from a sturdy chair. Progress should follow symptoms and function rather than a fixed calendar.
5. Walking and General Strength Matter as Much as Core Drills

It is easy to spend twenty minutes on specialized floor exercises and forget the larger goal: being able to move through everyday life. Walking is a valuable option because it is accessible, easy to scale and does not require a gym. Begin with a distance or duration you can repeat comfortably. Ten minutes may be a sensible starting point for one person; another may need only three minutes followed by a rest.
Research involving people who had recovered from an episode of low-back pain found that an individualized walking-and-education program delayed recurrence compared with no structured intervention. That does not prove that walking cures an active flare-up, but it supports treating regular movement as part of long-term back fitness. The walking dose in that study was built gradually, not prescribed as a sudden daily marathon.
General strength training also deserves a place. Once symptoms are manageable, try a chair squat, supported split squat, light row or hip hinge with a short range. Train the legs, hips and upper body rather than turning every session into a marathon of abdominal isolation. A stronger back is useful, but so are stronger legs and the confidence to carry, climb and bend.
Use equipment only when it solves a practical problem. A bench may provide a stable support, a cable trainer may offer finely adjustable resistance, and dumbbells may make progressive loading easy. None is required for the initial routine. Expensive machines cannot replace the basic process of selecting tolerable exercises and repeating them consistently.
Equipment Worth Exploring
Explore equipment, accessories and gear from our carefully selected range.


Power Tower
Freestanding pull-up and dip station with adjustable handles for bodyweight training.


6. Two Short Home Sessions to Build Back-Friendly Capacity
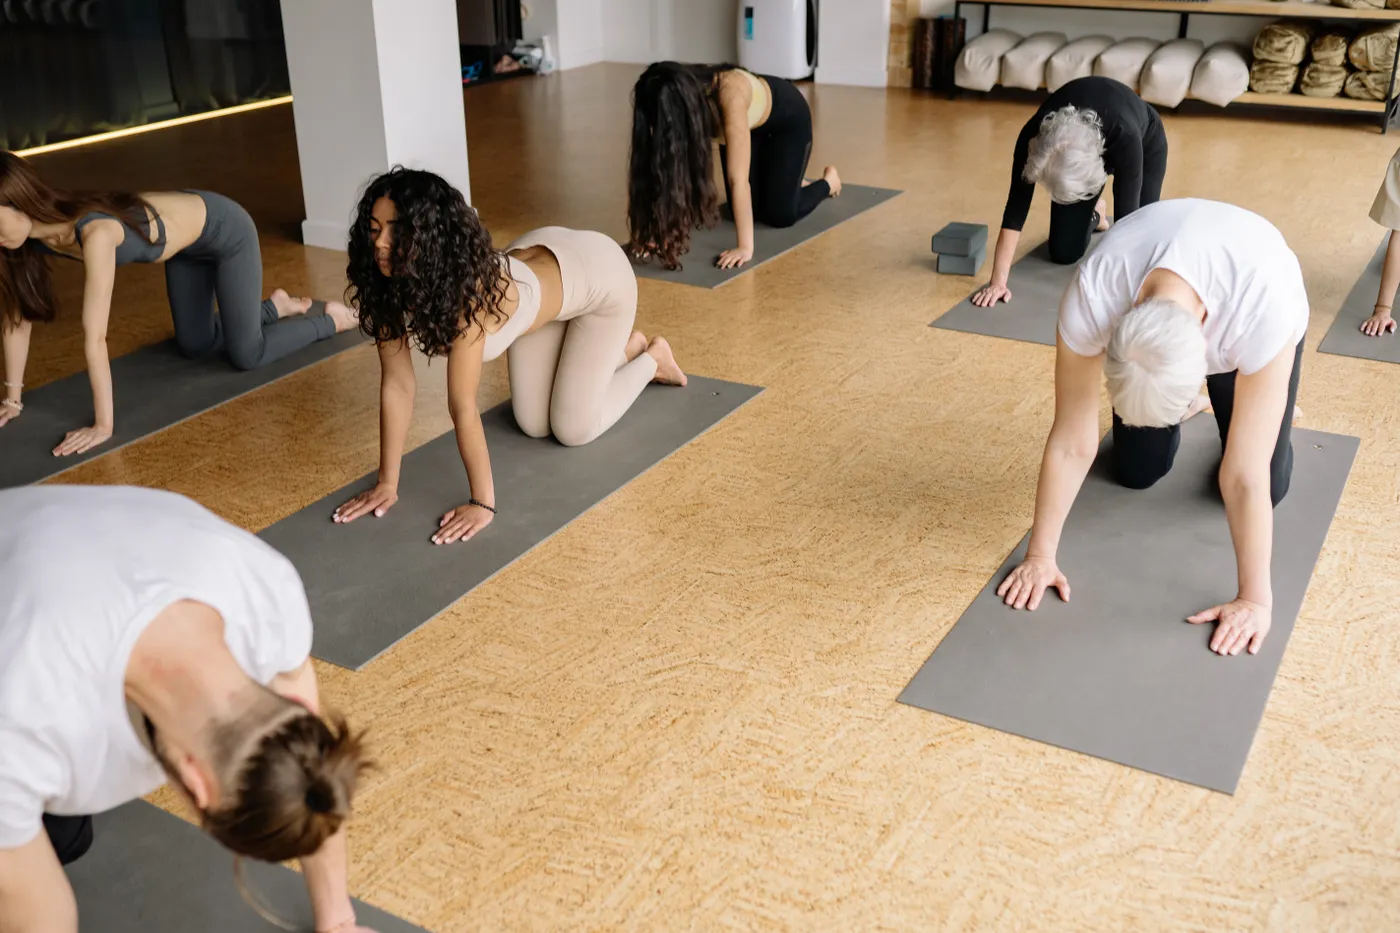
Here is an example framework for someone cleared to train, not a universal prescription for people with undiagnosed pain. Keep at least one easier day between sessions. The first week should feel almost conservative: finish with the sense that you could have done a little more. If a movement reliably worsens symptoms, substitute another pattern or seek individualized guidance.
Session A: controlled trunk and hip work. Begin with three to five minutes of easy walking or marching. Perform two rounds of a modified side bridge for ten to fifteen seconds per side, bird dogs for four to six slow repetitions per side, clamshells for eight to twelve per side, and glute bridges for eight to twelve. Rest as needed. Finish with a short walk. This session is about deliberate movement, not exhaustion.
Session B: everyday strength. Warm up with an easy walk and five gentle supported hinges. Perform two sets of six to ten chair squats, two sets of six to ten supported rows using a band or light cable, and one or two sets of six to eight step-ups or supported split squats per leg. Add a wall plank for two ten-to-twenty-second holds if comfortable. Choose a load that leaves several good repetitions in reserve. There is no prize for grinding through pain.
For both sessions, note three things: what you completed, how the movements felt, and whether you were able to resume normal activities afterward. That record is more useful than simply counting sweat or soreness. If the routine is too much, cut the number of sets in half. If it is consistently easy, add one or two repetitions before increasing load.
When you eventually return to heavier hinges, squats or loaded carries, build from the simplest tolerable variation. A raised kettlebell deadlift, short-range cable pull-through or light suitcase carry can be a bridge to more demanding training, but only when it fits the person’s symptoms, technique and goals.
Leg Day Shirts & Workout Gear
Leg-day gym shirts and workout gear for lifters who never skip squats, lunges and lower-body punishment.

Girl – Witch Redhead Bootybuilder – Squats Leg Day T-Shirt
Show some gym-girl attitude with a playful “Gym Girl” tee.

Let It Grow Booty Builder Leg Day & Hip Thrusts Meme Hoodie
Show off your leg-day humor in a laid-back “Let It Grow” hoodie.

Barbie Leg Day Squats Booty Builder Strong & Gains Hoodie
Show off your leg-day humor in a laid-back “Barbie Leg Day” hoodie.

Harley Quinn Booty Builder Hoodie
Bring “Booty Builder” gym humor to lazy days and post-workout plans.

Booty Building Mode Leg Day & Squats She-Hulk Hoodie
Show off your superhero humor in a laid-back “Booty Building Mode” hoodie.

Booty Builder Captain Marvel Sweater Leg Day & T-Shirt
Bring “Booty Builder” humor to your everyday gym style.

Adventure Girl Booty Builder Leg Day Meme Hooded Hoodie
Stay casual and show some leg-day attitude with “Adventure Girl”.

Girl Booty Builder Leg Day Catwoman Meme Hoodie
Bring “Gym Girl Booty Builder” gym humor to lazy days and post-workout plans.

Squat You Must Star Wars Leg Day Meme Hooded Hoodie
Show off your leg-day humor in a laid-back “Squat You Must” hoodie.

Swolebob Squatpants Gym | Funny SpongeBob Meme Workout T-Shirt
Add a playful “Swolebob Squatpants” touch to your casual rotation.
7. A Four-Week Progression and the Rules for Flare-Ups
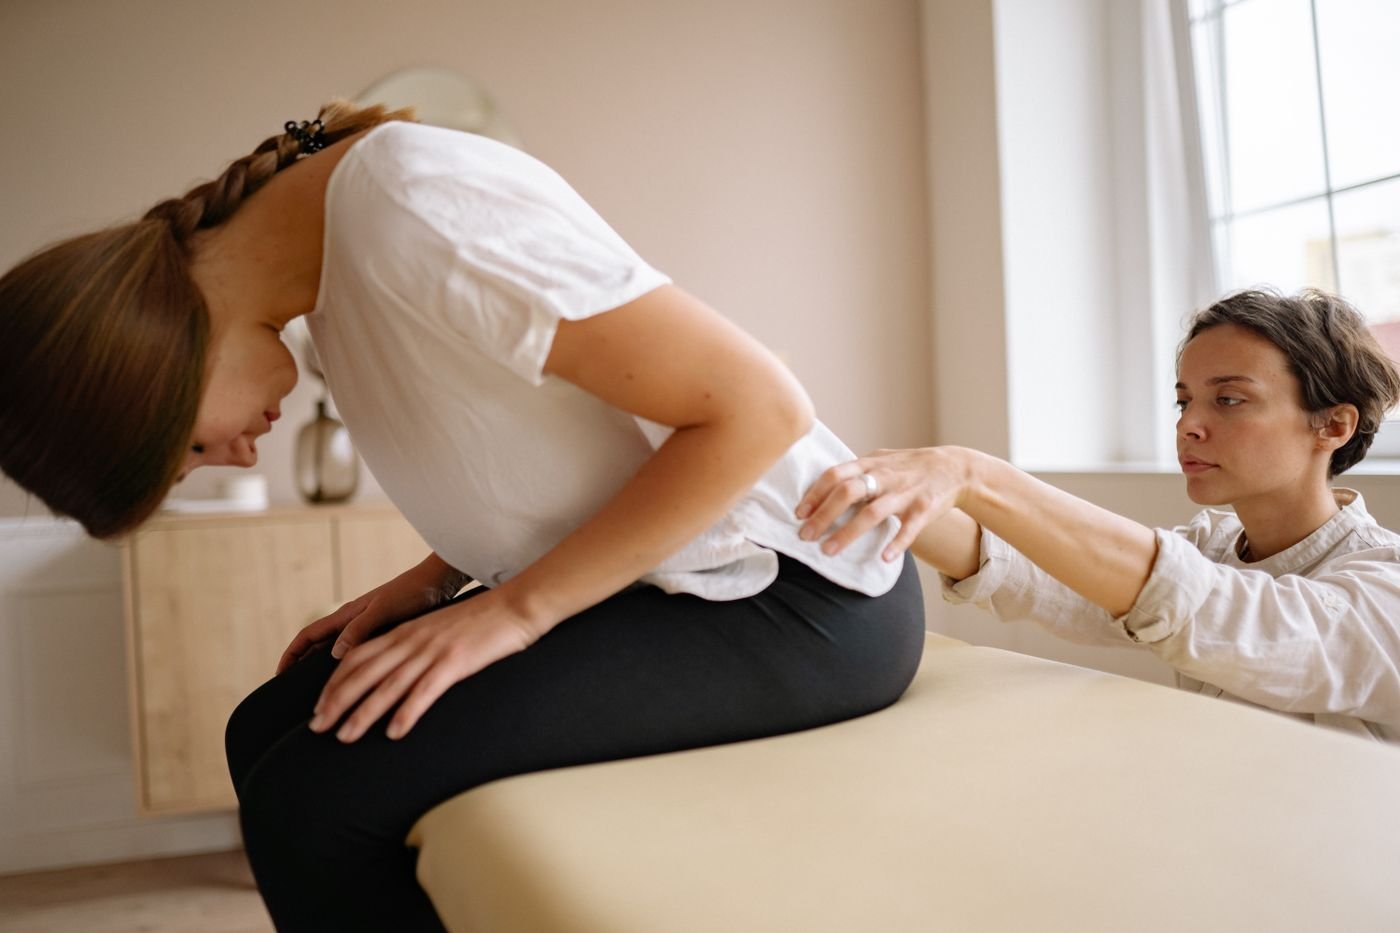
Week 1: establish a baseline. Choose four or five comfortable movements and practice them twice. Keep holds short, use one or two sets and record walking tolerance. If you are currently in a significant flare-up, a clinician may recommend an even gentler starting point. A successful week is one that can be repeated.
Week 2: add control. Maintain the same exercises and add one or two repetitions or a few seconds to selected holds. Improve breathing and balance before extending the range. Add a brief walk on one additional day if recovery is steady. Do not change every variable at once.
Week 3: introduce modest resistance. If symptoms and daily function are stable, add a light band, a small dumbbell or an extra set to one or two exercises. Keep several repetitions in reserve and avoid sudden jumps in load. The first goal is tolerating a predictable workload, not setting a record.
Week 4: reassess function. Can you walk farther, stand up more easily, complete a controlled hinge or return to a preferred activity? Those improvements matter more than whether your abs feel sore. If the routine has plateaued or symptoms are worsening, reassess the exercise selection rather than blindly adding volume.
Flare-ups are not automatically proof that exercise has damaged something. Reduce the range, intensity or total workload temporarily, stay as active as comfortably possible and return to your usual plan gradually. However, new neurological symptoms, worsening leg weakness or other warning signs call for medical assessment, not another round of core work.
The useful takeaway is deliberately unglamorous: build a menu of tolerable movements, train the hips and trunk together, walk when possible and progress at a pace your body can repeat. For persistent nonspecific low-back pain, exercise is supported by substantial research, but no single five-move routine has been proven superior for everyone. A good program is the one that restores function, respects individual symptoms and makes regular movement sustainable.