Advertising disclosure: This page includes affiliate product links that may earn us a commission, as well as products from our own store.
The incline rear-delt fly looks almost too small to matter: lie chest-down on a bench, raise two light dumbbells, and lower them again. But that simple setup solves a common training problem. A lifter can make a bent-over fly look heavier by lifting the chest, shrugging and swinging the torso, while the back of the shoulder receives less repeatable work. A supporting bench gives you a fixed reference point. It does not magically isolate one muscle, but it makes honest repetitions easier to judge. The goal is a clean shoulder movement that you can progressively repeat, not a dramatic dumbbell number.
What the chest-supported fly actually trains
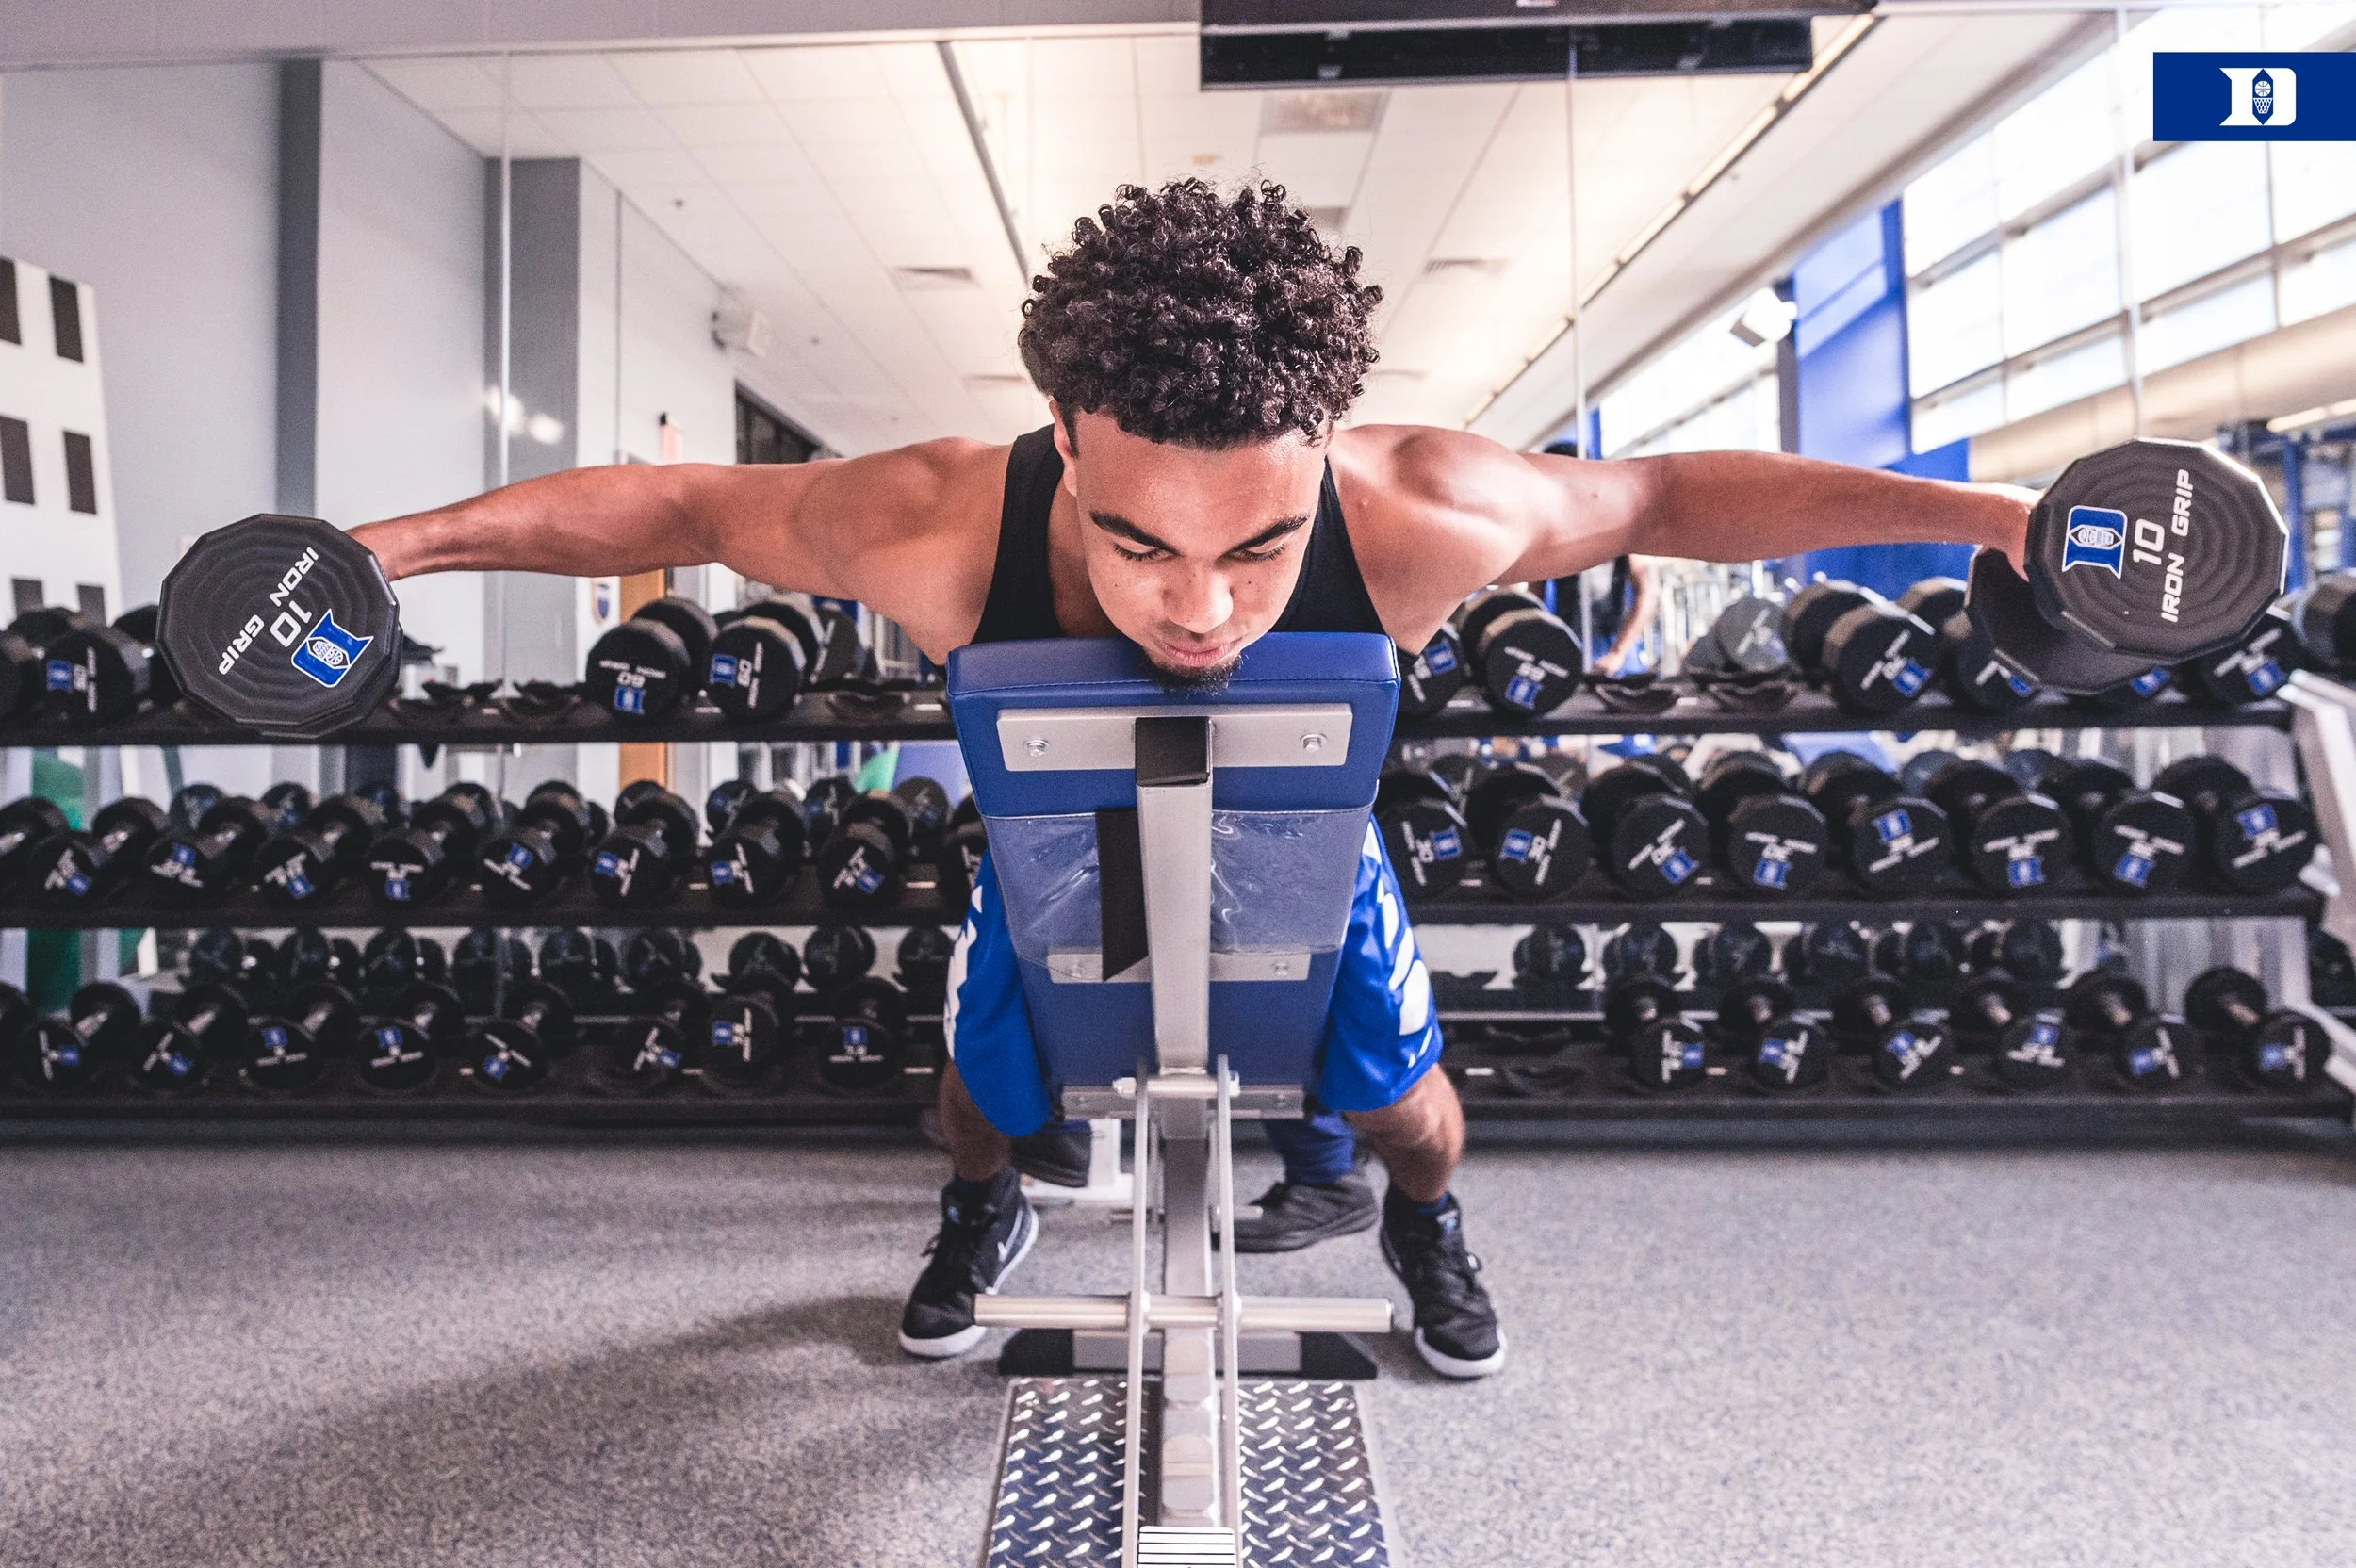
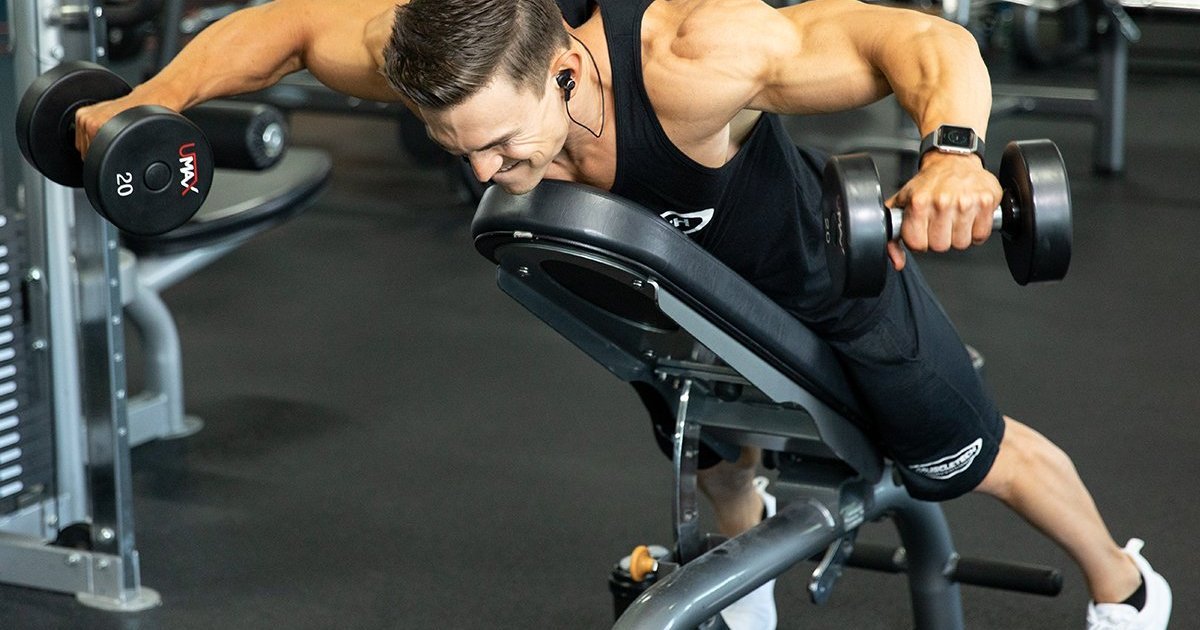
Your posterior deltoid helps move the upper arm backward and outward in a horizontal plane. In the incline reverse fly, the arms begin hanging toward the floor and sweep wide while the torso stays supported. The middle trapezius, rhomboids and small shoulder rotators can contribute as the shoulder blades and upper arms move. You cannot completely switch those muscles off, nor should you try to freeze the shoulder blades rigidly. Instead, let your arms make the obvious motion and avoid turning every rep into a maximal upper-back squeeze.
Chest support removes much of the effort required to hold a hip hinge. That matters because torso fatigue can become the limiting factor during long sets of unsupported flyes. The bench can also expose an overly heavy load: if the dumbbells only move when your chest rises off the pad, the weight is probably beyond what you can control for this exercise. Start with a load that permits the same arm arc, elbow angle and torso contact on the first and last rep.
There is a useful research distinction here. Small studies using muscle electrical activity show that reverse-fly machine work can challenge the rear deltoid strongly, but a reading during one session does not directly prove greater long-term muscle growth. Machine studies also do not automatically establish the best dumbbell grip or bench angle. Choose the chest-supported fly for its practical stability and repeatability, then judge your results from training logs and progressive performance rather than claiming one position has been scientifically crowned the winner.
Set your bench before you choose the dumbbells
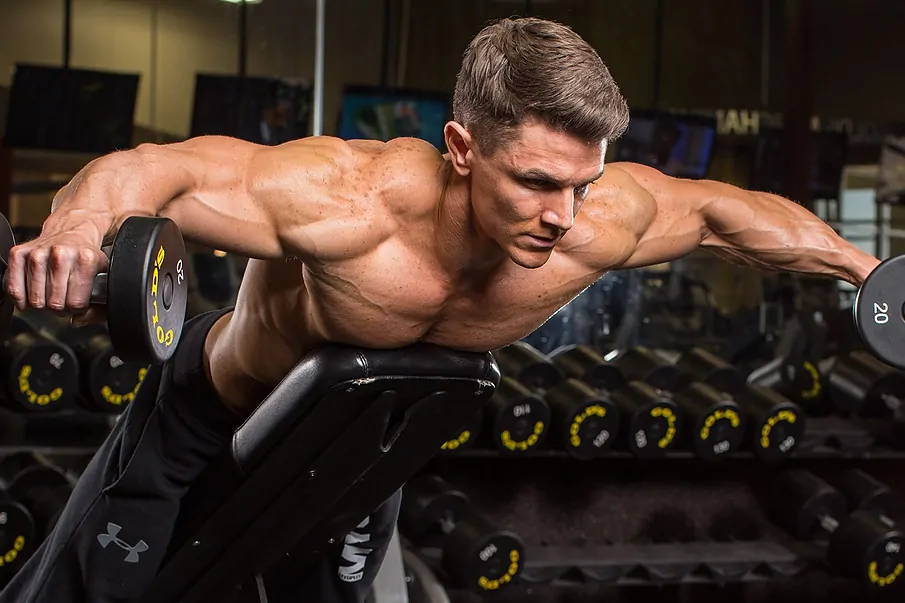
A low-to-moderate incline is a sensible starting point. Set an adjustable bench around 30–45 degrees, lie face-down with your sternum supported, and position your shoulders so the arms can hang freely beside the pad. The exact angle is not sacred: the width of the bench, your arm length and how far the dumbbells clear the frame all affect the usable path. If the bench catches your elbows or the dumbbells scrape the legs, adjust your body position or angle before adding weight.
Place both feet firmly on the floor, or use a stable stance around the bench if its design requires it. Keep your neck long and gaze toward the floor rather than craning toward a mirror. Begin with the dumbbells directly beneath the shoulders and palms generally facing each other. A small, consistent elbow bend reduces the urge to turn the exercise into a straight-arm swing. Breathe normally and keep the ribs against the pad; do not force your spine into an exaggerated arch just to raise the arms higher.
Before the first working set, perform five slow repetitions with very light dumbbells. Confirm that the weights clear the bench, both arms travel comfortably, and you can lower without dropping the shoulders forward abruptly. If your head is pressed awkwardly into the bench top, shift the torso upward enough to clear the chin, but keep the chest supported. This quick setup check does more for a good session than guessing a perfect angle from somebody else’s photograph.

Equipment Worth Exploring
Explore equipment, accessories and gear from our carefully selected range.


Rubber Hex Dumbbells
Rubber-coated hex dumbbell pairs with a stable shape for home and commercial strength training.


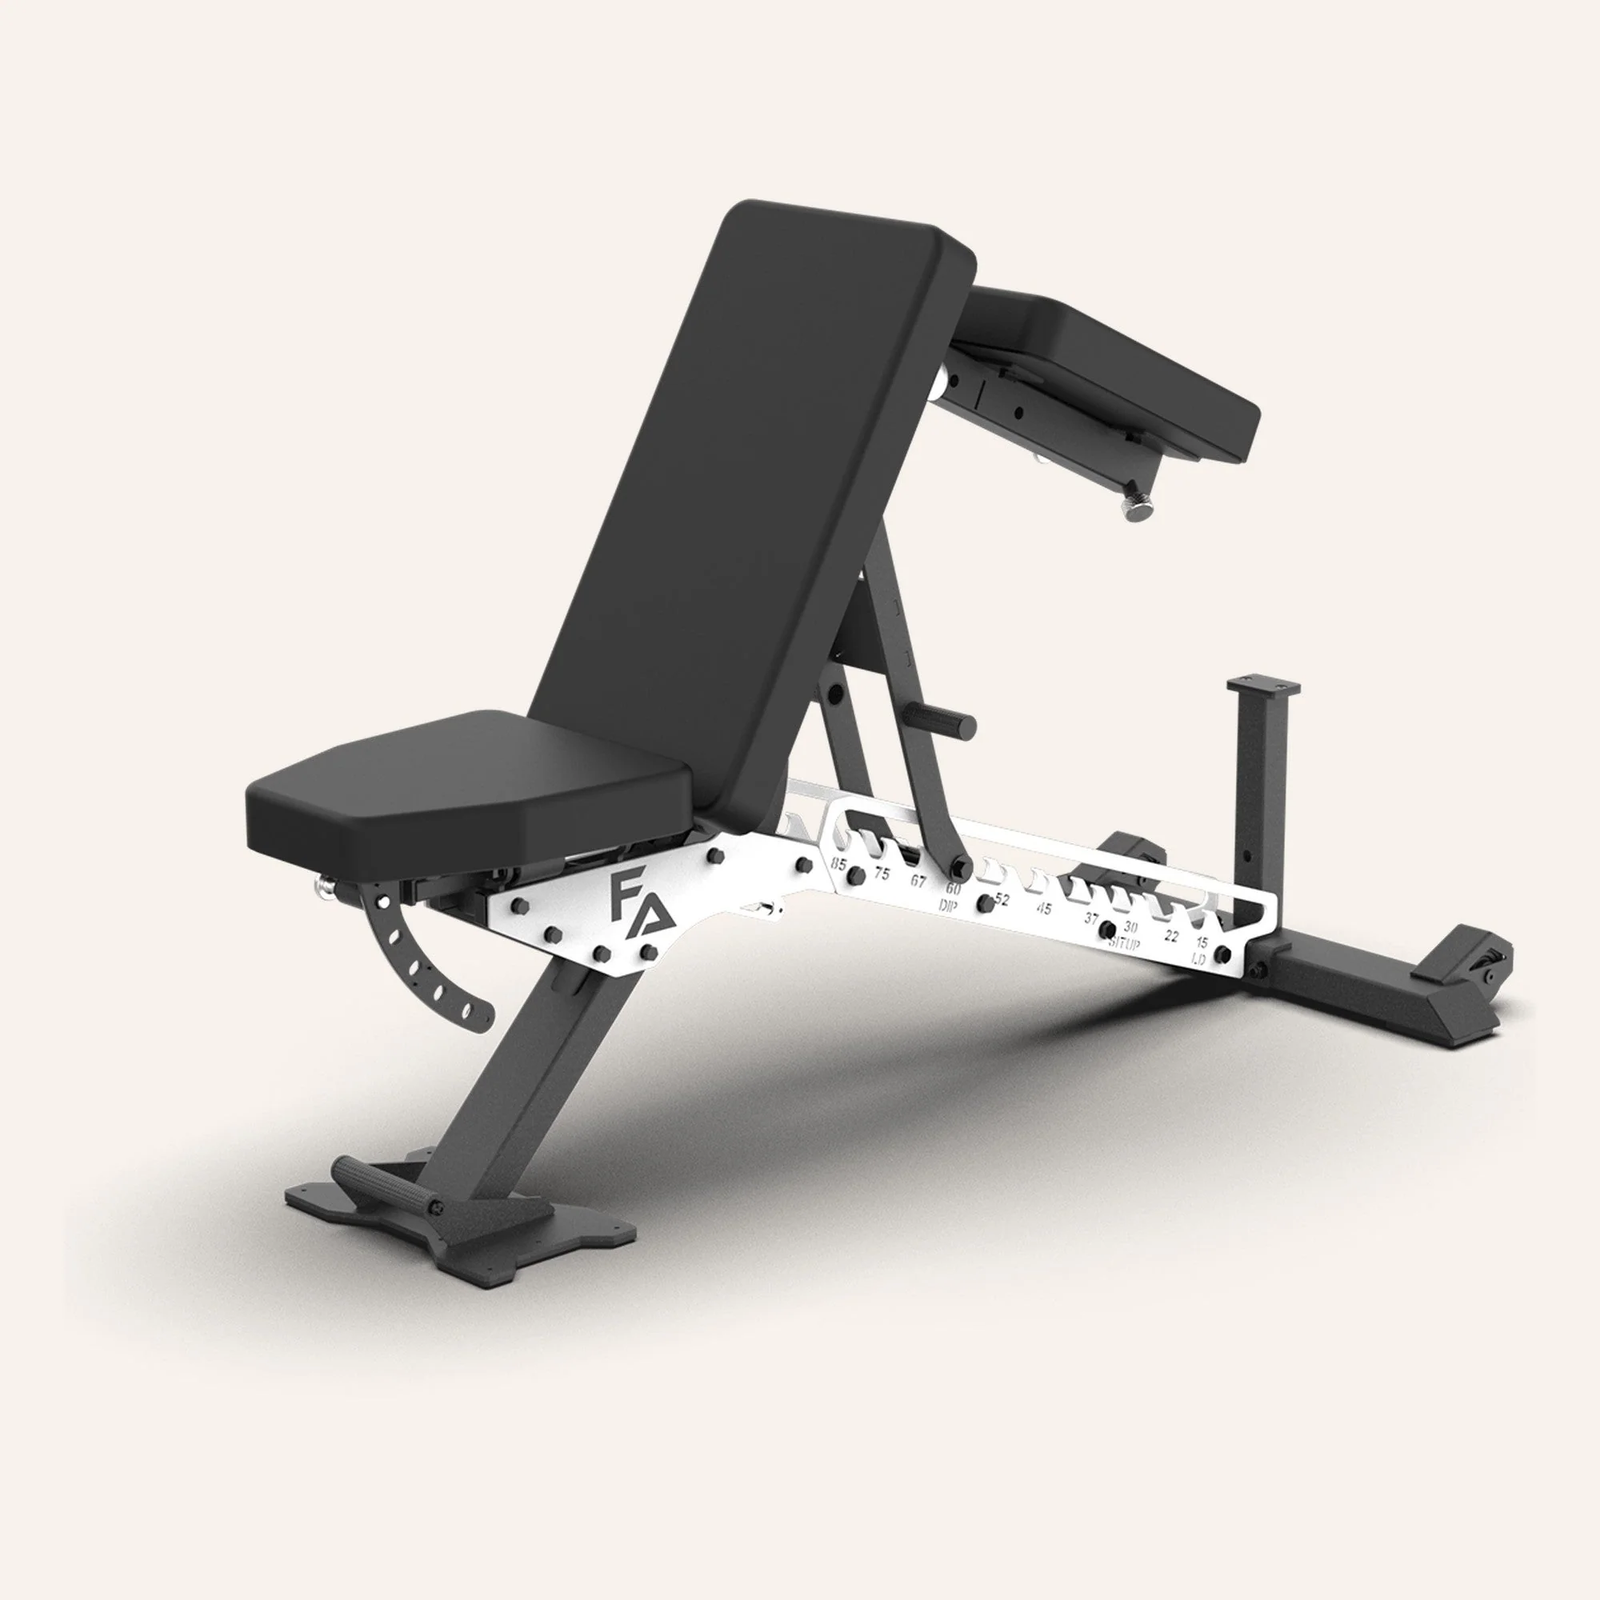
FID Bench MAX
Adjustable bench offering flat, incline, and decline positions + adjustable headrest.


Multi Bench MBX-650 2.0
Adjustable multi-bench with roller adjustment, 15 backrest positions and accessory mounts.


Pec Fly/Rear Delt PEC-650
Combination machine with adjustable movement limits for chest fly and rear-delt exercises.

VForce Wall Trainer
Space-saving wall-mounted functional trainer with pivoting cable arms and variable resistance ratios.
Control the arm path, grip and tempo
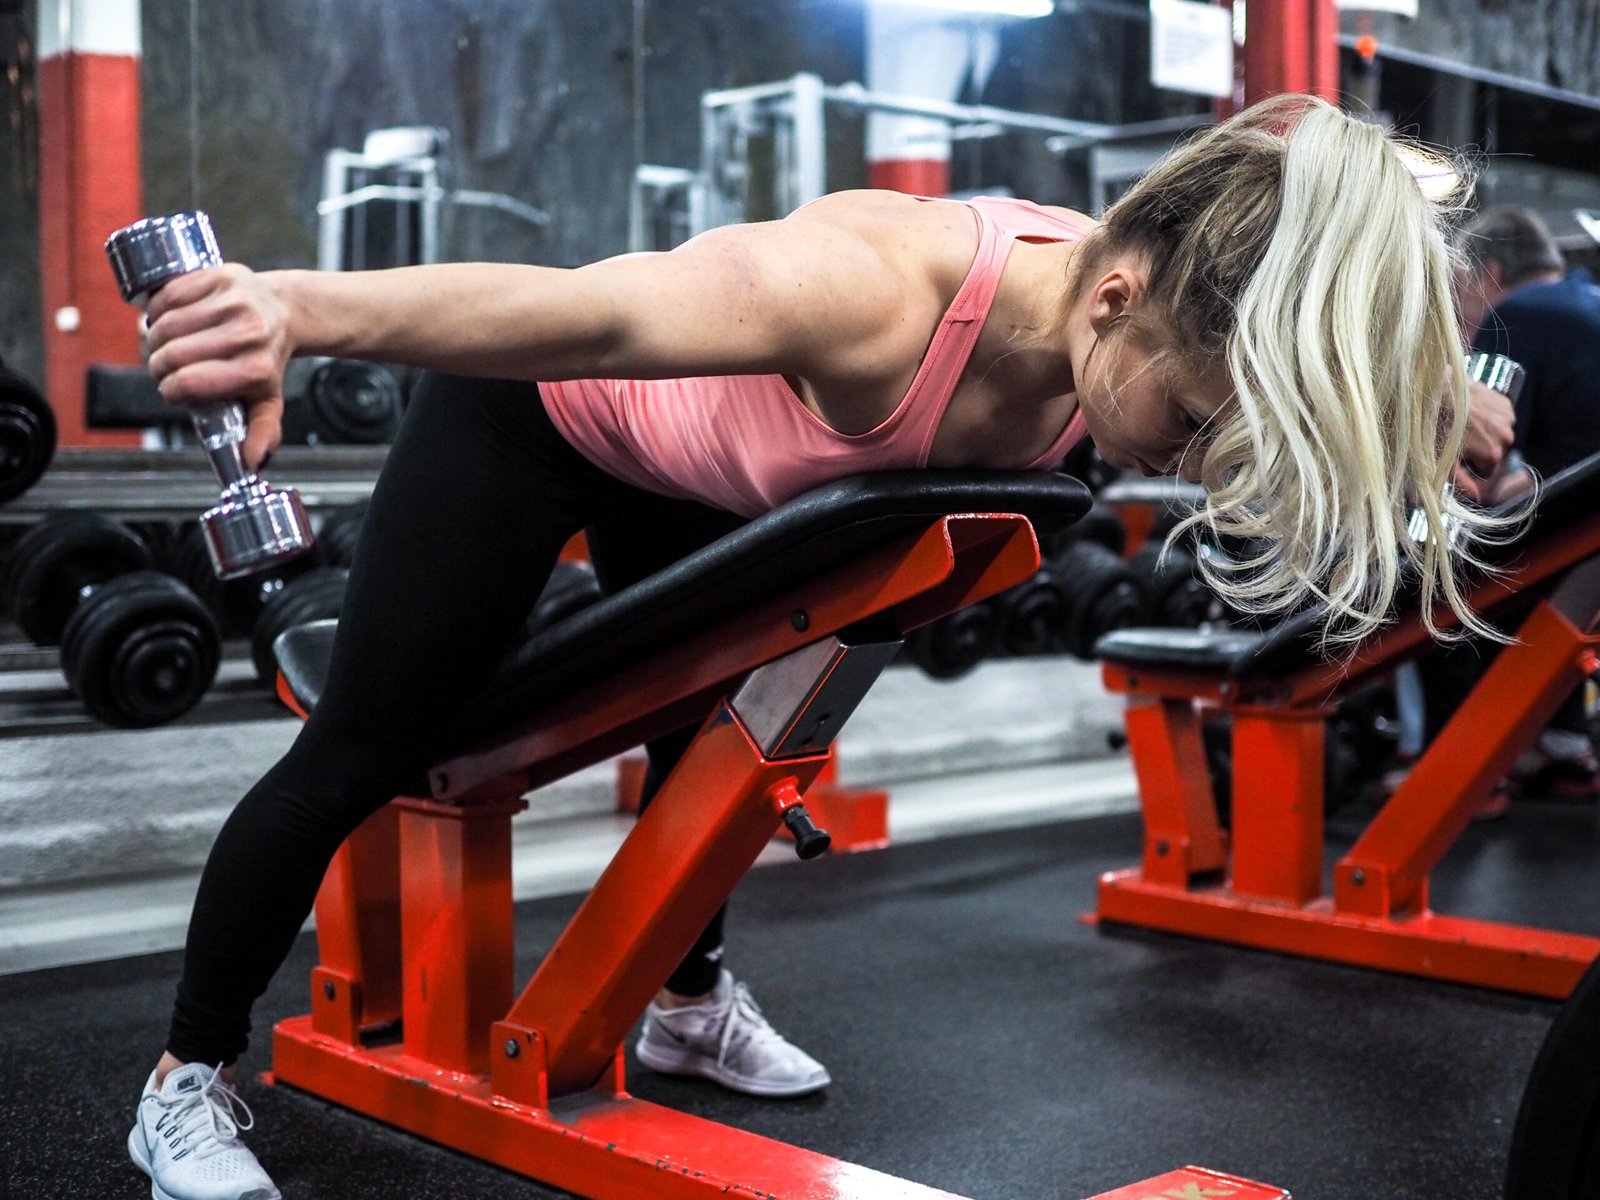
Think about spreading your upper arms apart rather than pulling dumbbells toward your ribs. Keep the elbows softly bent and lead the wide arc with the elbows; the wrists follow rather than curl upward. Stop when the arms reach a comfortable line roughly level with the torso, not when you can squeeze an extra centimeter by throwing your shoulder blades together. A hard shrug, neck tension or sudden chest lift usually means the movement has drifted away from its intended task.
There is no universal requirement to twist the thumbs down or to use a very specific pronated grip. Begin with a neutral orientation, then make a modest change only if it improves comfort while preserving the same arm path. Some machine research found differences in posterior-shoulder activation between neutral and palms-down grips, but those results belong to the particular machine setup, not a guaranteed ranking of every dumbbell fly variation. A grip that lets you control the shoulder without discomfort is more useful than chasing a small laboratory difference.
Use a deliberate lowering phase, roughly two seconds, and pause briefly at the top only while you can hold position without shrugging. Let the arms return underneath the shoulders under control rather than accelerating into the bottom. If the weights knock together, the elbows bend dramatically or the chest repeatedly leaves the pad, reduce the dumbbells. Sets of roughly 10–20 clean repetitions are a practical starting range, not a magic threshold: end the set when your repeatable movement deteriorates.
How it compares with standing flyes, cables and machines
The standing bent-over reverse fly can work perfectly well, especially when an incline bench is unavailable. The trade-off is that your trunk and hips must maintain the hinge while the shoulders move. That added requirement is useful in some sessions but distracting when you specifically want to track rear-shoulder work. If you keep rising as the set gets difficult, compare your performance with a supported version. You may need much lighter dumbbells, and that is not a regression if the movement becomes cleaner.
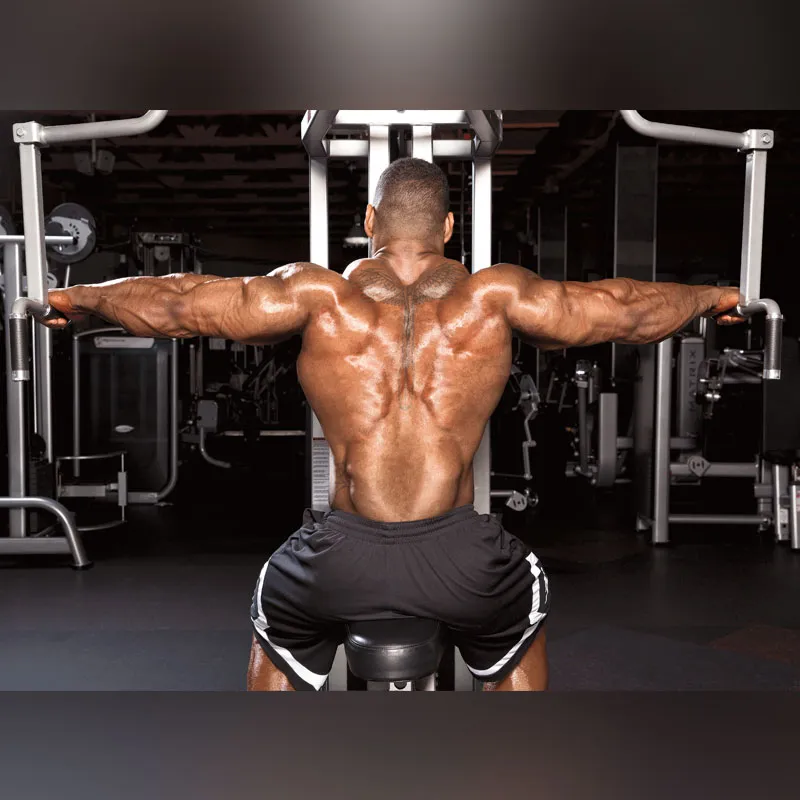
Cable reverse flyes let you choose handle height and cable direction, and the pulley changes where resistance feels strongest. A reverse pec deck provides a guided wide-arm path and a stable seat. Neither is automatically better at building muscle than a controlled dumbbell fly; each makes a different constraint easier to manage. If a machine suits your shoulders and lets you progress, it can be a useful companion. The same is true of crossed cables when you want a different resistance profile.
Avoid treating the rear-delt fly as a substitute for all pulling. Rows and pulldowns can train the upper back and rear shoulders in other ways, but their arm paths differ. A simple program can combine a heavier row with a controlled supported fly instead of forcing either exercise to do everything. For a crowded gym, keep a fallback order: incline dumbbells first, seated reverse pec deck second, controlled standing fly third. Pick based on free equipment, comfort and repeatable execution rather than novelty.

Bodybuilding Shirts & Workout Gear
Bodybuilding shirts, tanks and gym gear for lifters chasing muscle, size, symmetry and the pump.


Dost Thou Even Press Hoodie
Show off your medieval humor in a laid-back “Shoulder Press” hoodie.

Swole Jesus Lateral Raises – Easter Bodybuilding Meme G Hoodie
Show off your Easter humor in a laid-back “Swole Jesus Lateral Raises” hoodie.

Lat Man Big Back – With Huge Lats – Vest Back Day Tank Top
Your gym-day look, with a playful “Lat Man Big Back” twist.

Hardcore Gains Gym | Funny No Pain No Gain Workout Swea T-Shirt
For laid-back days and lifting humor: “Hardcore Gains”.

The Empire Lifts Back – Star Wars Back Day Meme Hooded Hoodie
Stay casual and show some bodybuilding attitude with “The Empire Lifts Back”.

Big Back SpongeBob Sweater Back Day & T-Shirt
Bring “Big Back” humor to your everyday gym style.


Shirt – Vincent Van Gains – Is Art & Gymbros – Meme T-Shirt
Make gym days more fun with “Vincent van Gains” style.

Shirt – The Lean King – Lion & Gymbros T-Shirt
Heavy lifts, good laughs, and a little “The Lean King” energy.
A four-week plan you can measure
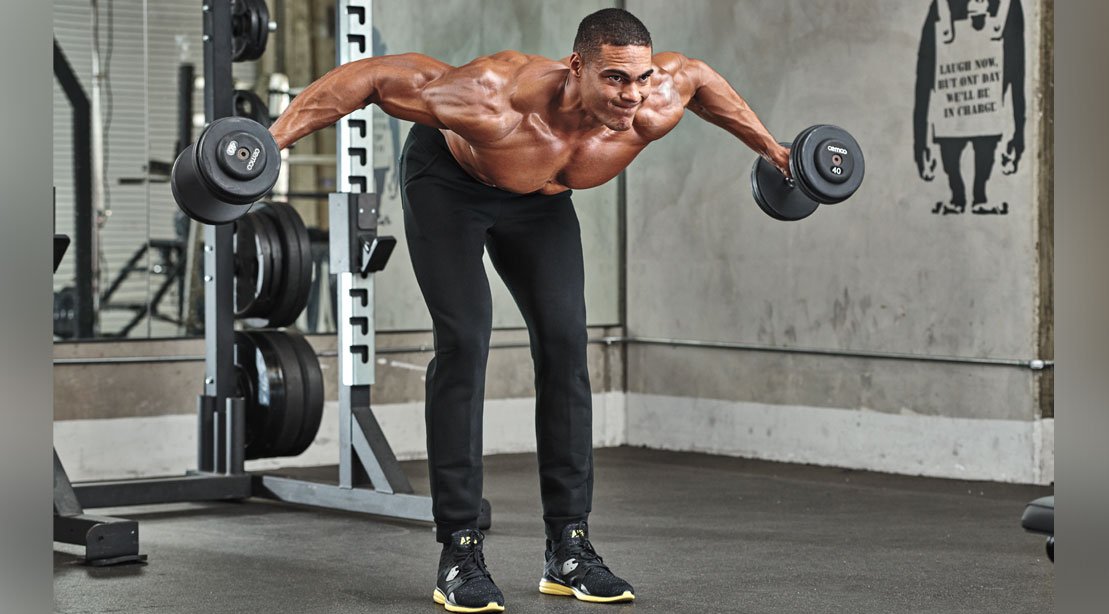
For week one, use two sessions separated by at least a day of recovery. After your larger back or shoulder movements, perform two sets of incline reverse flyes for 12–15 clean repetitions. Leave approximately two repetitions in reserve, record the bench angle and dumbbell weight, and note whether your chest stayed on the pad. If you have never used this movement, start even lighter and treat the first workout as a technique rehearsal. More soreness is not proof that you selected the best weight.
In week two, keep the angle and dumbbells fixed while you try to add one controlled repetition to each set. Do not manufacture that extra rep by swinging or lifting your torso. In week three, move to three sets if recovery and performance are solid; otherwise stay at two. Aim to keep your first and final repetitions looking alike. A useful log entry is not just “rear delts: 15 reps,” but “30-degree bench, neutral grip, chest down, 15/14 controlled reps.”
In week four, once all planned sets reach the upper end of your range with clean form, increase each dumbbell by the smallest available increment and accept fewer repetitions initially. Pair the exercise with a row or pulldown, but avoid piling on so much additional direct shoulder work that every session becomes a recovery problem. If pain or pinching appears, reduce the load or range, try a comfortable alternative, and seek qualified guidance for persistent symptoms. Progress is the ability to repeat a better-defined movement over time—not simply lifting the heaviest bells in the room.
Equipment Worth Exploring
Explore equipment, accessories and gear from our carefully selected range.
VOLTRA
Compact digital cable trainer with smooth, adjustable resistance.

Go-Tone Pro
Portable digital cable trainer with up to 66 lb (30 kg) of adjustable resistance.
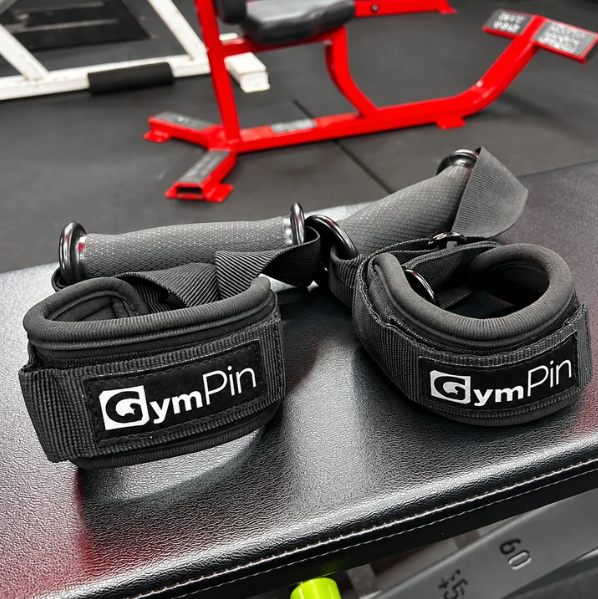
GymPin D Cuffs
Adjustable wrist cuffs with textured grips for supported cable-machine exercises.

GymPin Ergo Handles
Pair of ergonomic cable handles shaped for comfortable triceps and pulling exercises.


VForce 2IN1
Half rack and pivot-arm functional trainer with switchable 1:1 and 2:1 pulley ratios.

VForce Lat Tower
Wall-mounted cable tower with pivot arms and adjustable 1:1 or 2:1 pulley ratios.

Multi Pull Smith Rack MPHR-780
All-in-one rack with a Smith machine, functional trainer, lat pulldown and low row.

Original GymPin
Adds Olympic plates to compatible cable-machine weight stacks for extra resistance.