Advertising disclosure: This page includes affiliate product links that may earn us a commission, as well as products from our own store.
A banded lying hamstring curl is a practical way to train knee flexion without buying a dedicated leg-curl machine. The difficulty is making the band predictable: a secure anchor, a stable ankle loop and controlled knees matter more than the elastic color. This guide covers setup, the difference between fixed and foot-to-foot loops, common errors and a four-week progression you can repeat. It is an instructional article, not a claim of first-hand equipment testing or a personalized injury-rehabilitation prescription.
What a banded hamstring curl does that a hip hinge does not
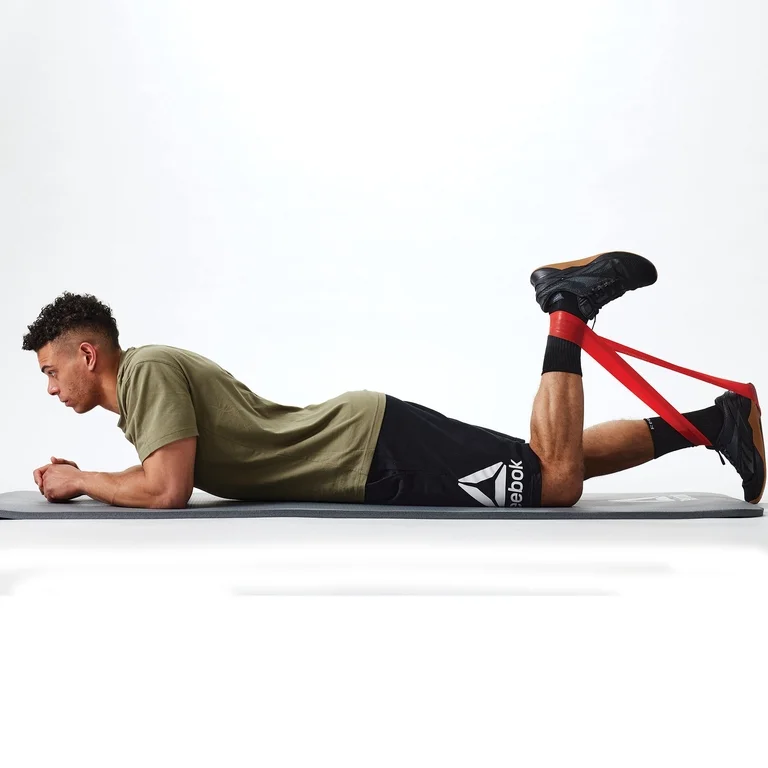
A lying band curl looks modest next to a heavy deadlift, yet it asks the hamstrings to perform a different job. During a Romanian deadlift the knees change relatively little while the hips hinge under load. In a prone curl the thighs remain mostly still while the knees bend and straighten against elastic resistance. Both belong in a balanced lower-body program. A curl can complement a hinge without becoming a perfect replacement for it, which makes the exercise helpful when no dedicated leg-curl machine is available.
Several hamstring muscles cross both the hip and knee, while the short head of the biceps femoris crosses only the knee. The gastrocnemius of the calf may also help flex the knee. This does not mean a special toe position will isolate one precise region of the hamstrings, despite some popular gym claims. Choose a natural ankle position that lets you control the band and feel the back of the thigh working. What matters most is repeatable motion, not finding the angle that gives the most dramatic cramp or burn.
Elastic bands usually produce more resistance as they stretch, although the torque at the knee also depends on the pulling angle. That is why the movement may feel surprisingly demanding near maximum knee flexion and less challenging early in the repetition. Feeling a hard top contraction does not prove this is inherently a better hypertrophy tool than a seated or lying machine. It proves you are working against a different resistance curve. The useful question is whether you can progress the exercise in a way that stays stable, safe and measurable.
Secure the anchor before choosing the strength of the band
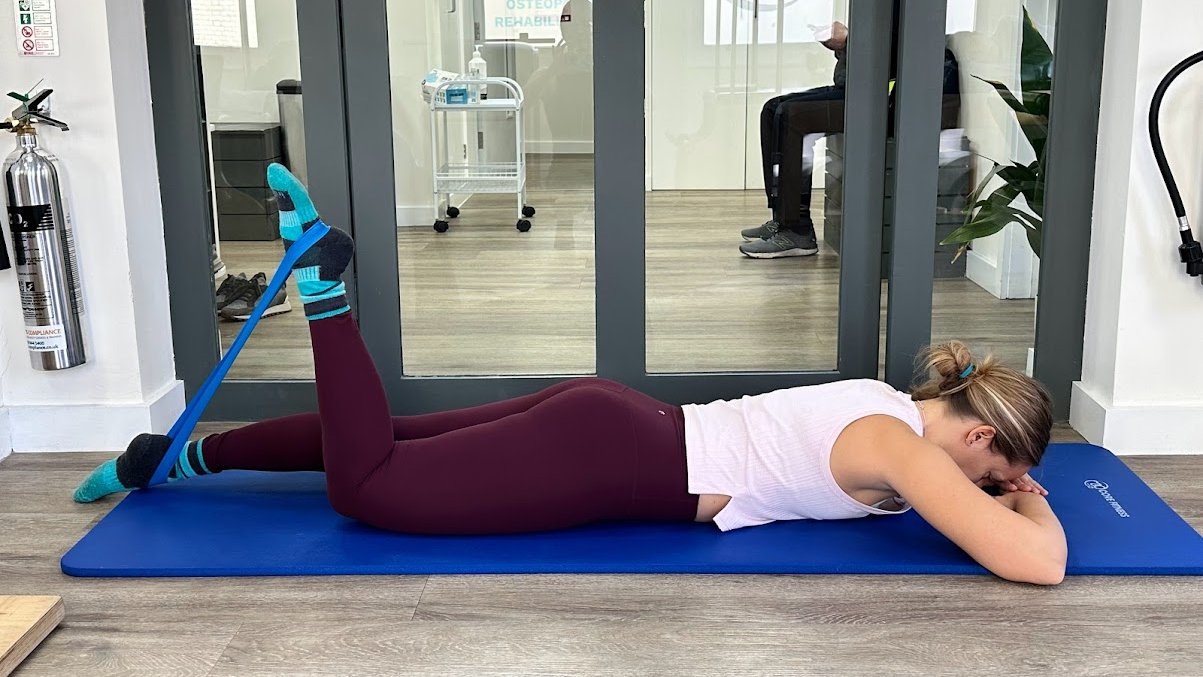
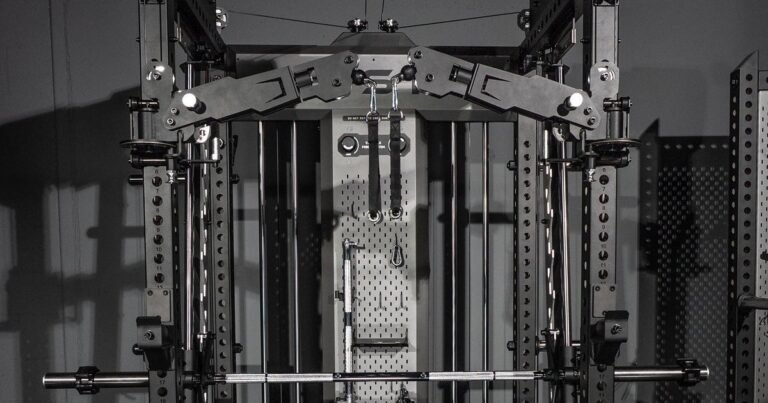
Use a low, immovable anchor designed to hold exercise-band tension. A stable squat-rack base or a properly secured attachment point is preferable to an unsecured bench, a loose plate or movable furniture. Keep the elastic clear of sharp edges, bolt threads and pinch points. Check the entire length for cracks, damage, peeling or thin patches before every session. Replace a damaged band rather than attempting to cover the flaw with tape. An elastic that releases under tension can hit you or someone standing nearby, so maintain clear space along its potential path.
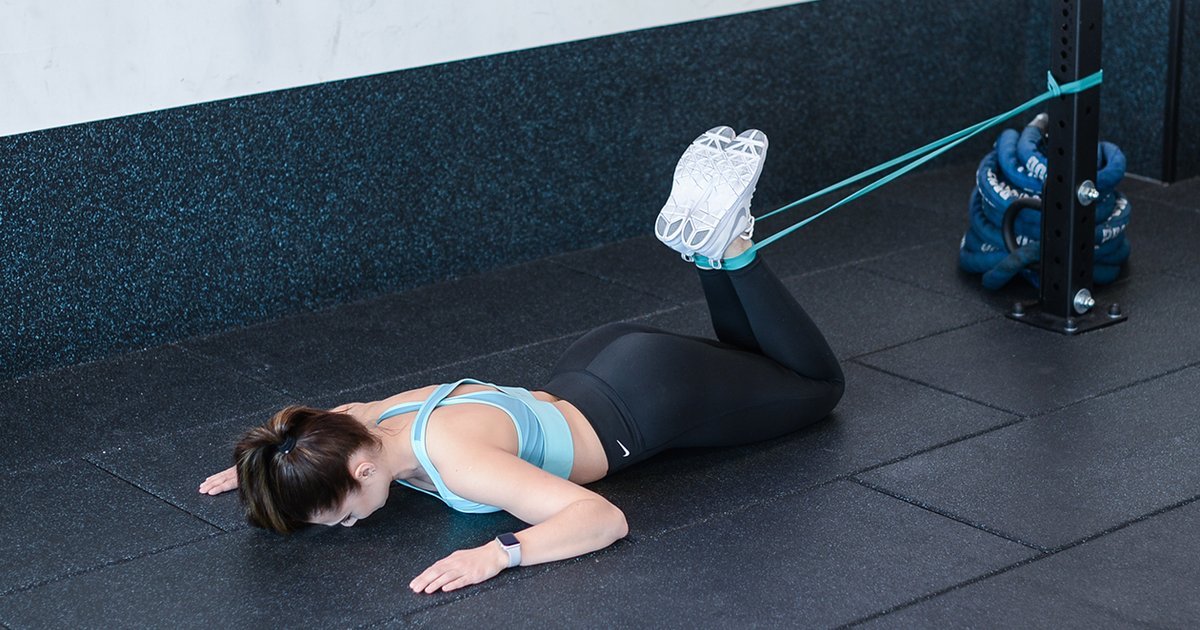
Place a mat with your feet facing toward the anchor and attach the other end securely to an appropriate ankle cuff or loop. The band should not roll down your shoe or dig painfully into your ankle. Start farther away only after a few light test curls show that the anchor remains fixed. Aim for a little tension when the legs are nearly straight; if the elastic is slack for half the repetition, shorten it or move the mat slightly farther away. If it feels nearly impossible to initiate the curl, move closer or choose a lighter band.
A door anchor must be installed according to the manufacturer’s instructions, from the safe side of a properly closed door, and checked from the floor before training. Do not improvise a knot that could slip through the gap. The band should pull the ankle in a straight, unobstructed line, not sideways across the knee. In a cramped room, measure the available floor space rather than stretching the band until the room gives out. Mark a safe anchor-to-mat distance so the next workout starts with comparable tension instead of a new guess.
Keep the hips down and curl at the knee
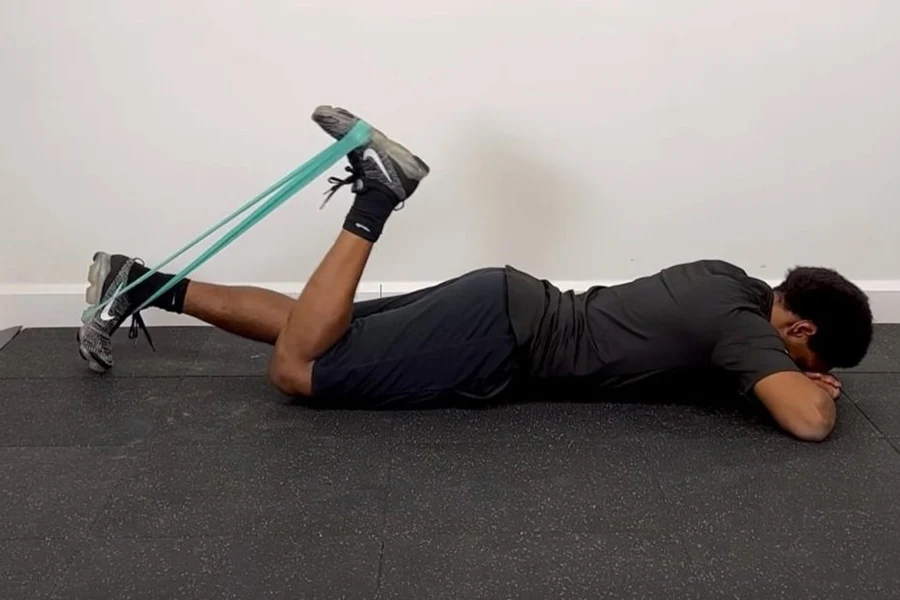
Lie face down with the forehead resting on folded arms and the ribs relaxed toward the mat. Take a light abdominal brace and gently bend the working knee, drawing the heel toward the glutes. Do not push the chest into the floor to heave the leg upward. A controlled two-second curl and roughly two- or three-second lowering phase is a sensible starting pace, although no special tempo is mandatory. Stop at the deepest comfortable position that allows the pelvis to remain still, then guide the leg back toward extension without letting the band snap it straight.
Watch for three compensations. The first is lifting the hip off the mat so the thigh helps the ankle move. The second is arching the lower back to finish a repetition when the band becomes too difficult. The third is jerking the foot and allowing the elastic to drag it back down. All three make the set harder to compare with the previous session. A short side-view video with a light band can reveal movement that is difficult to feel. If the last reps become a different exercise from the first reps, stop and log the clean count.
For a single-leg version, begin with the less coordinated side and match the second side to its controlled repetitions. A two-leg band can work too, but only if it distributes tension evenly and the ankles are not pulled together. An intensely pointed foot may contribute to a calf cramp; find a comfortable ankle position rather than forcing plantar flexion or pulling the toes up as hard as possible. Knee flexion should stay smooth. There is no need to grind through sharp joint pain, tingling, ankle pressure or a slipping loop to meet an arbitrary repetition number.

Equipment Worth Exploring
Explore equipment, accessories and gear from our carefully selected range.

Leg Extension/Curl BCO-780
Leg extension and lying leg curl combo with plate loading, band pegs and a cable-loading option.

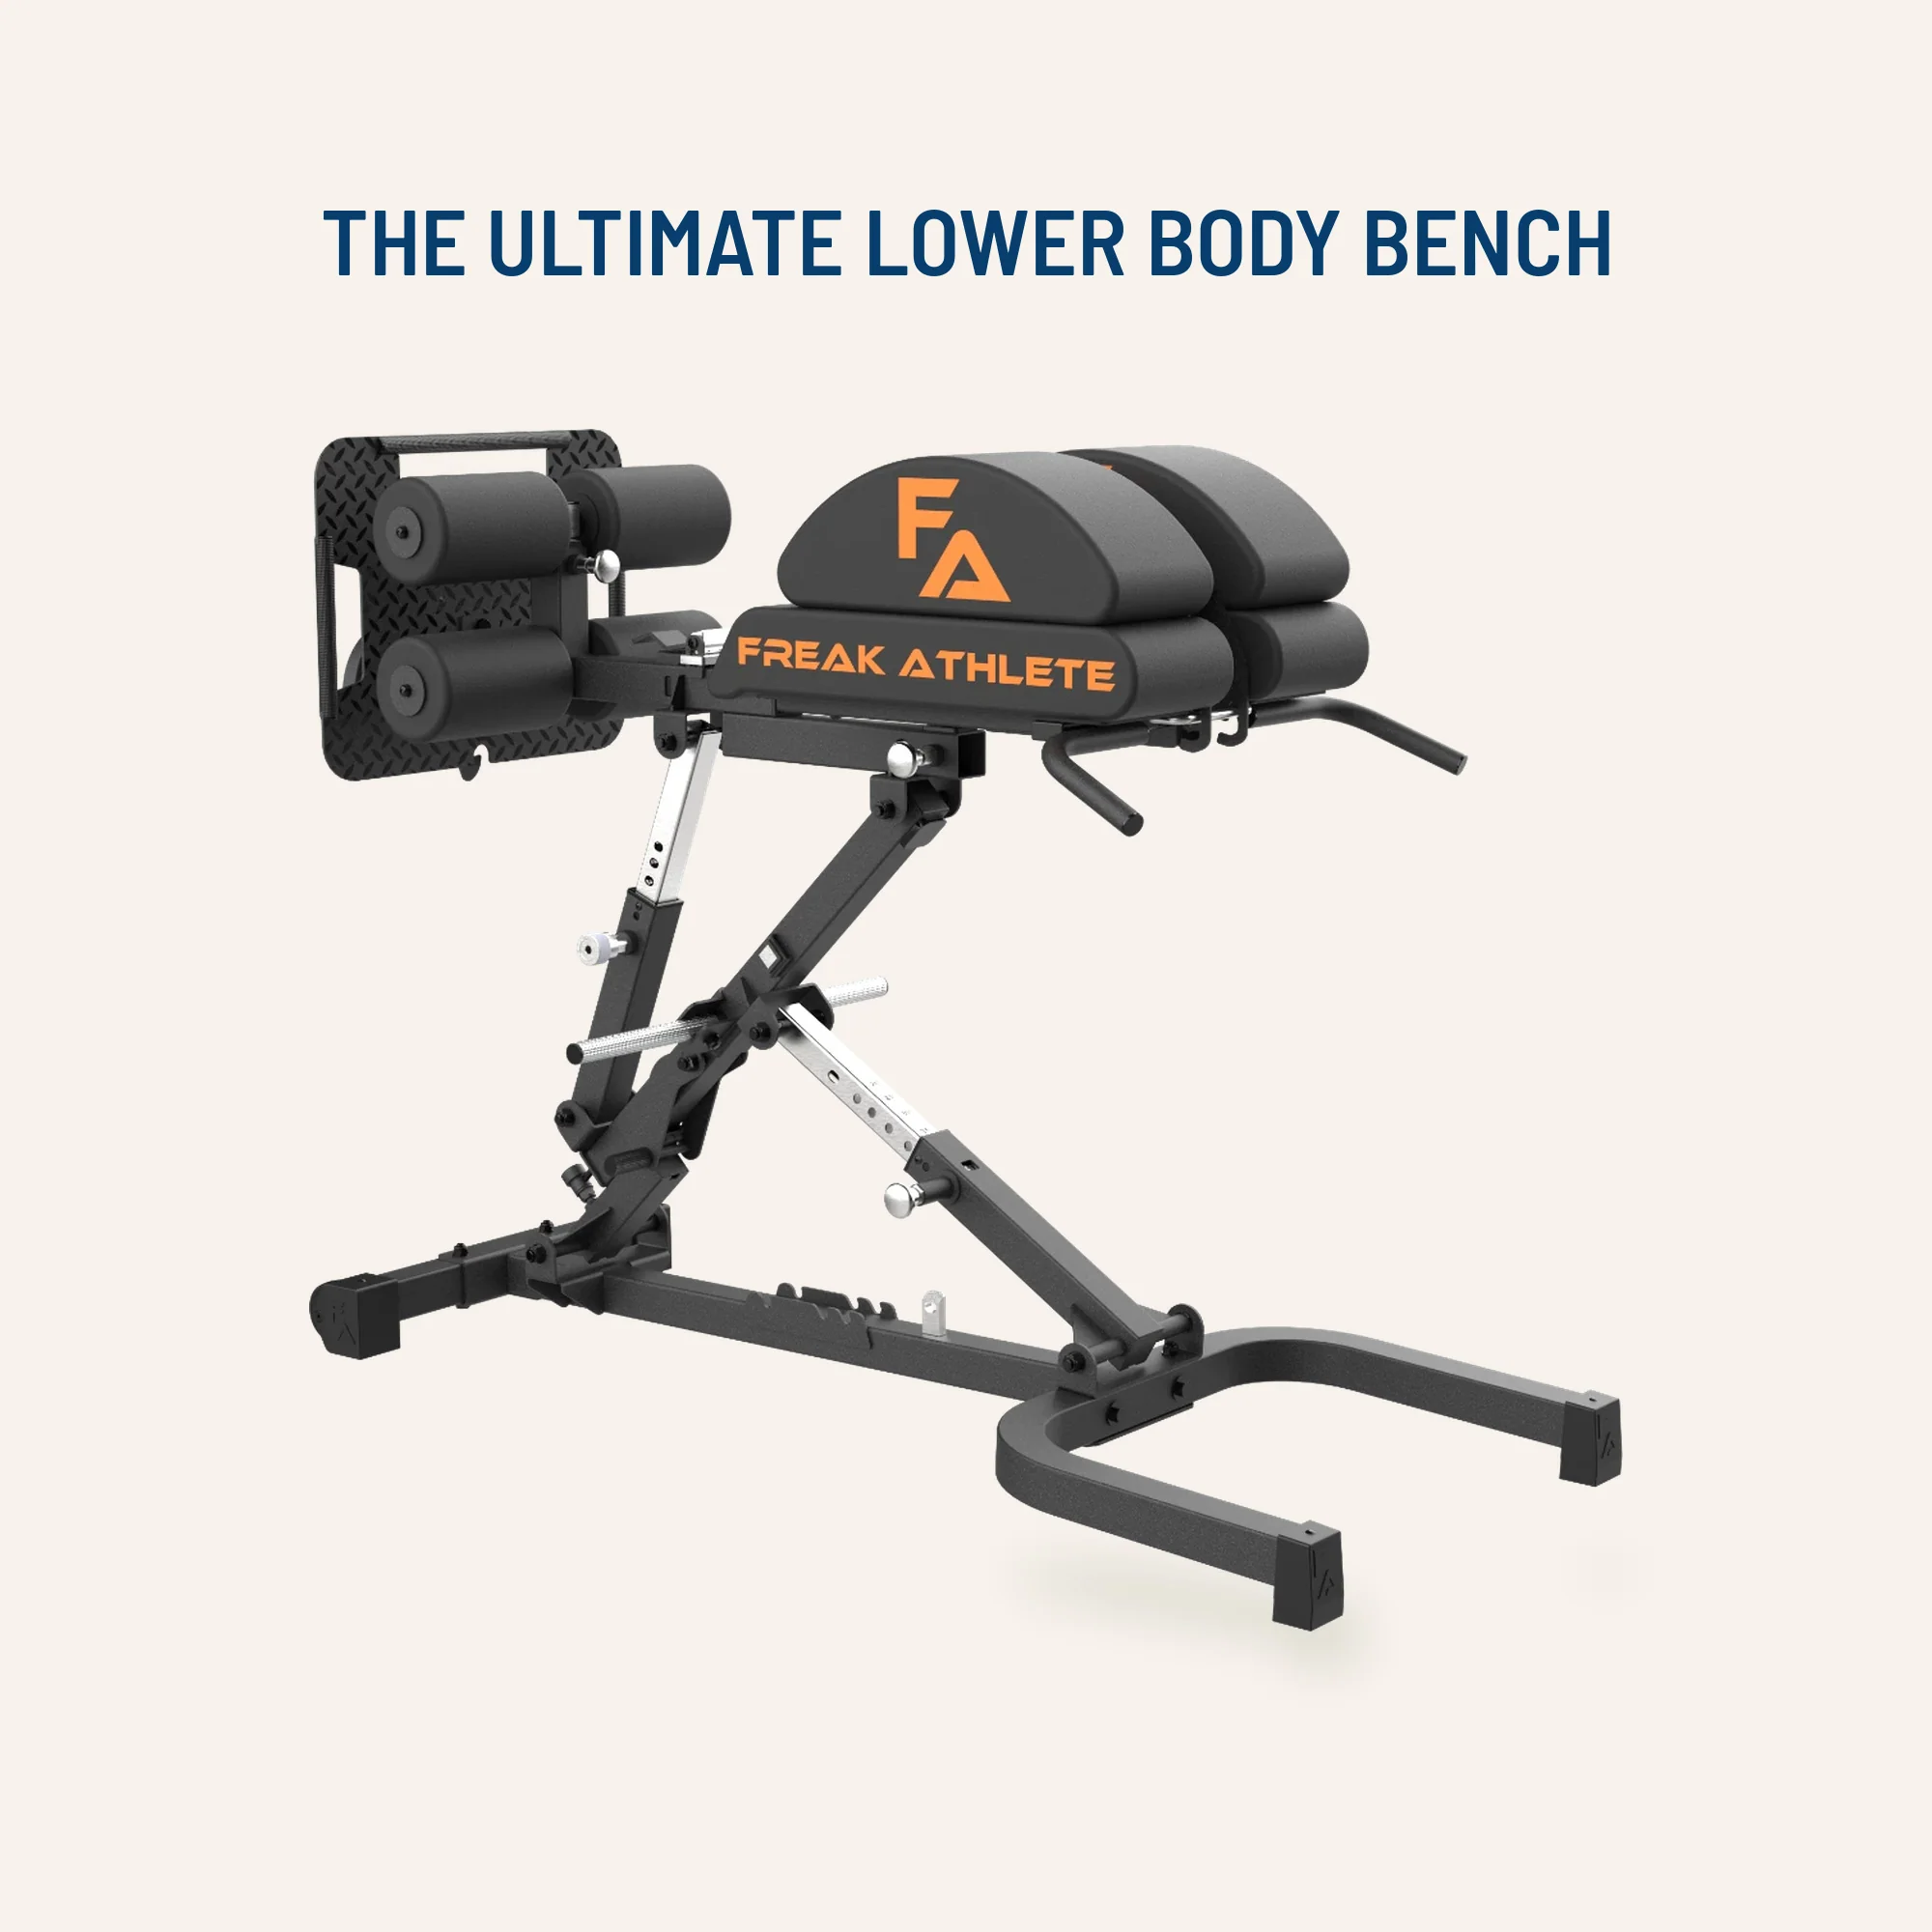

Ultimate Power Seat
Rack-mounted power seat for lat pulldowns, leg extensions, and leg curls.


Seated Leg Combo BCO-680
Adjustable seated leg extension and leg curl machine with band pegs for added resistance.
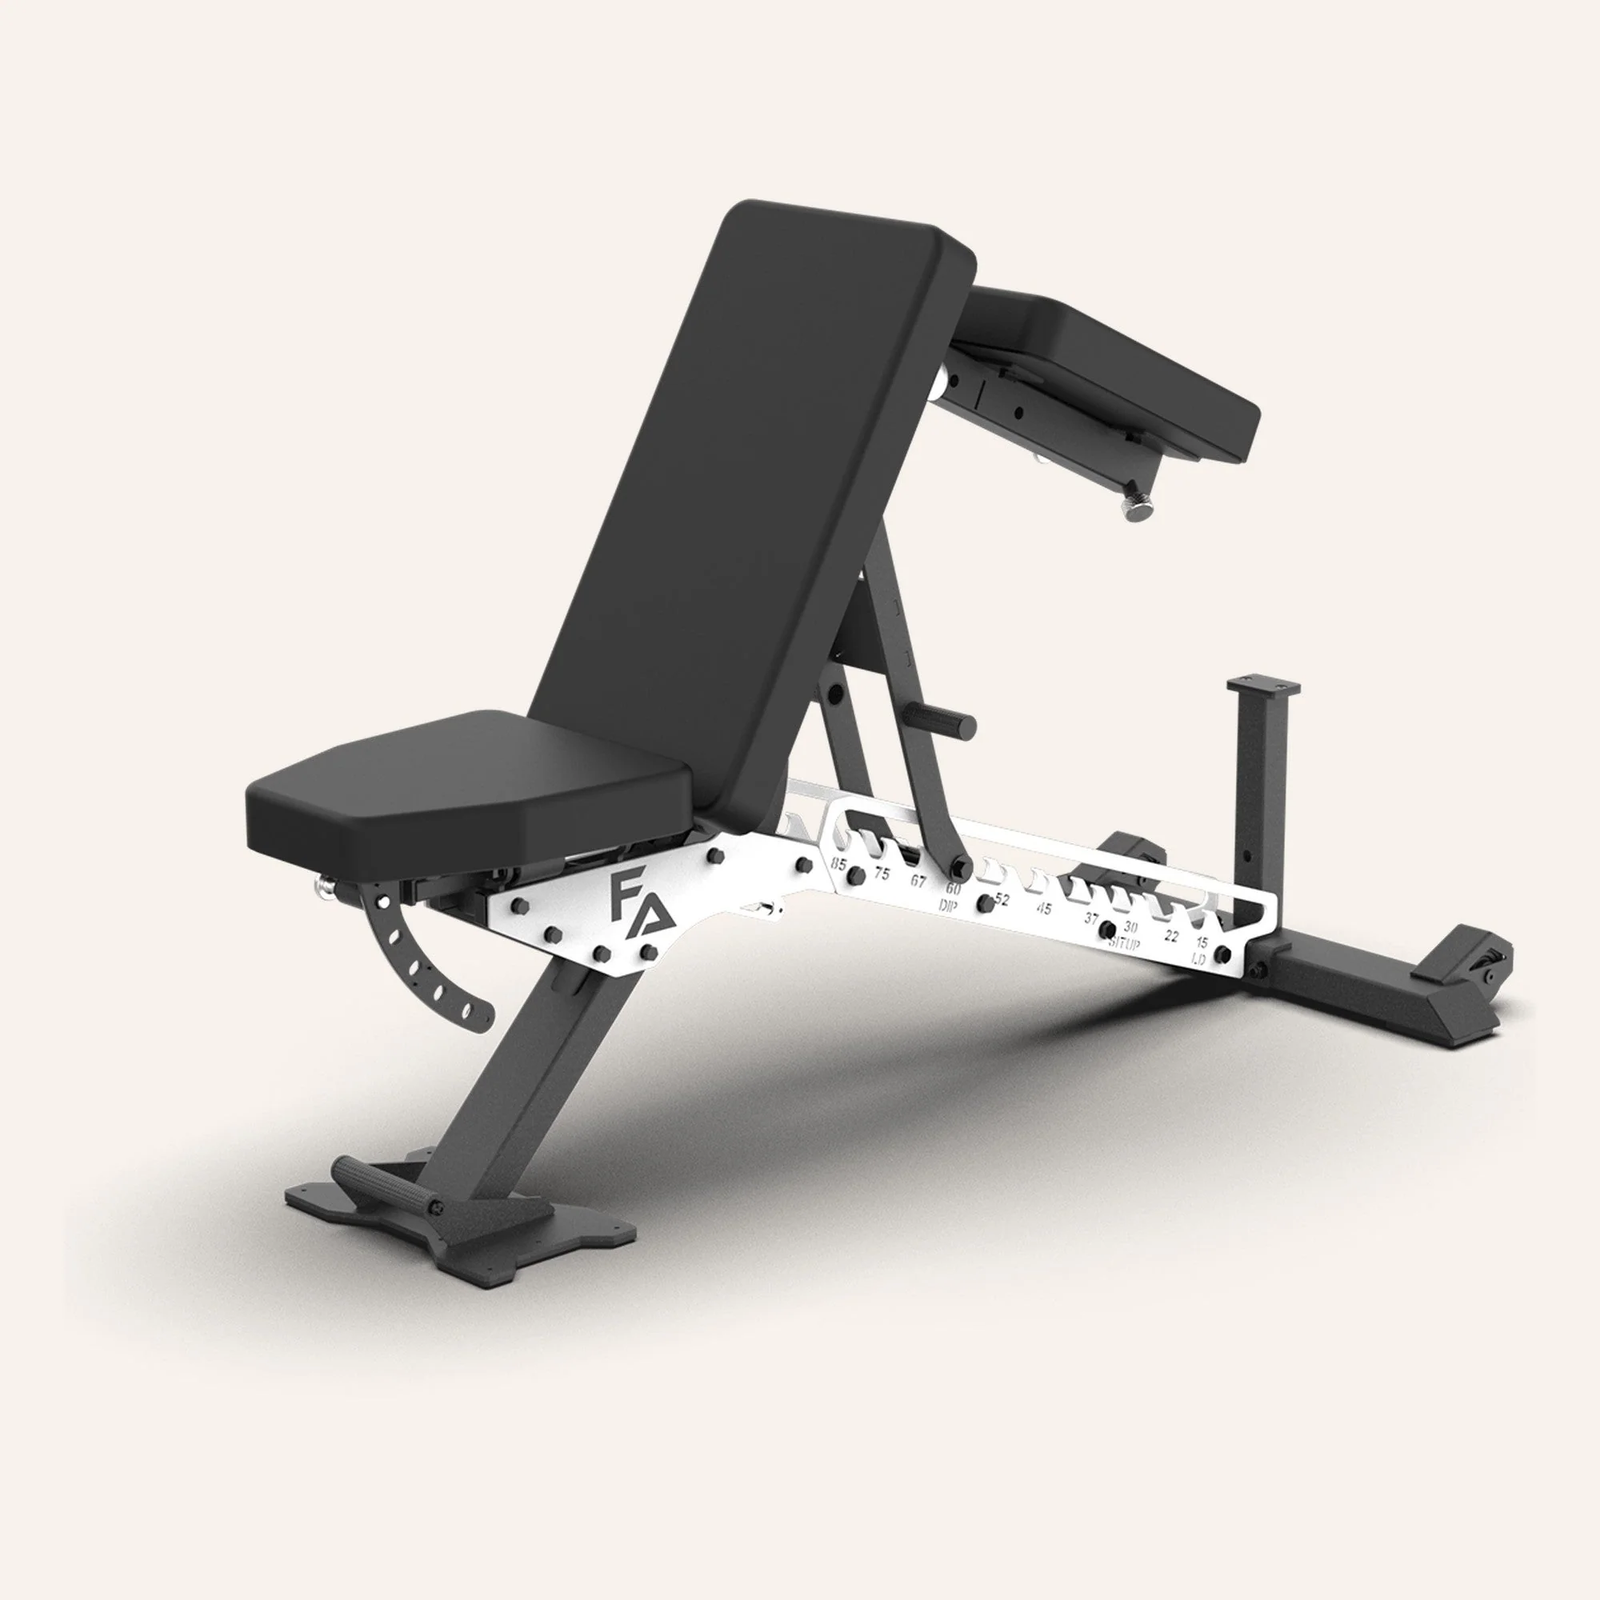
VOLTRA
Compact digital cable trainer with smooth, adjustable resistance.

Go-Tone Pro
Portable digital cable trainer with up to 66 lb (30 kg) of adjustable resistance.
Know why different band setups feel different
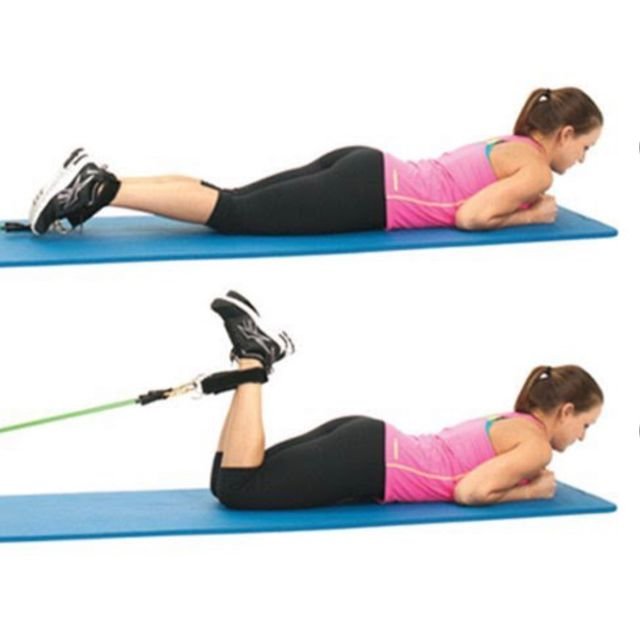
An elastic label does not tell you the number of pounds resisting your ankle at every point. Band force depends on how far it has stretched, its material, thickness and the attachment geometry. Moving the mat several inches away can significantly change the difficulty even when you use the same band. That makes anchor distance a useful training variable. Record the band, attachment, distance, range of motion and clean repetitions. A strip of tape on the floor can be more useful for progress than a color-coded resistance range on the package.
A mini-loop stretched between the feet is a different setup from a rack-anchored resistance band. One foot stays mostly planted while the other knee bends against the loop. This version is easy to take on the road, but the stationary foot must stay still and the band must not creep off the shoe. You can also place the thighs on a well-secured padded bench and let the lower legs travel freely; only try this when the bench cannot shift and the elastic runs clear of the padding. Neither version is automatically stronger or safer. Consistent alignment and control matter most.
A seated machine curl changes the hip angle and may challenge the hamstrings at longer muscle lengths. A plate-loaded ankle attachment provides another way to curl under load without elastic. A sliding leg curl, Nordic curl and Romanian deadlift train the posterior chain through different movement patterns, often with more whole-body involvement. It makes sense to combine one knee-flexion option with one hip-hinge option rather than declaring a band curl an all-purpose hamstring solution. Select exercises that fit your equipment, recovery, movement tolerance and ability to make steady progress.
Solve slipping bands, cramps and misleading progression
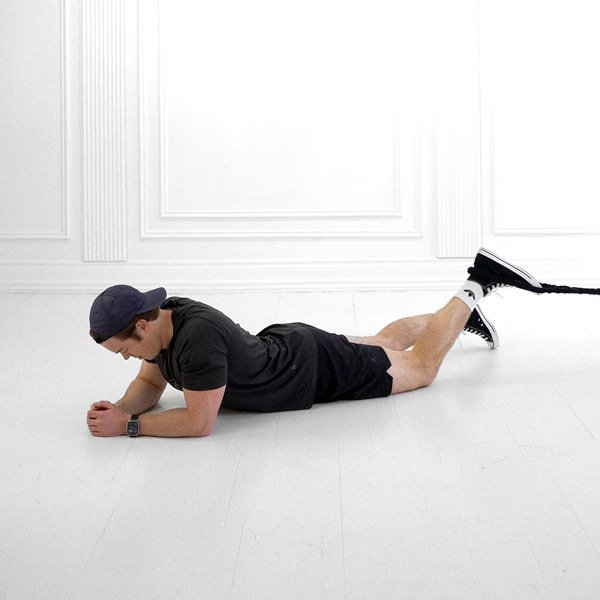
If the loop slides down the ankle or twists toward the heel, stop before it releases. Check its length, shoe surface and attachment position. An appropriate ankle cuff may solve the problem more safely than trying to wrap the elastic repeatedly around a thin shoe. Never anchor directly against sharp metal or a damaged clip. If the pull drags the working foot sideways, realign the anchor with the leg. It is better to pause the set and fix the setup than to pull harder against a crooked line that strains the knee.
Some people cramp when the heel reaches the glute, especially with unfamiliar knee-flexion exercise. Reduce band tension, ease off the deepest position for a few sessions and find a relaxed ankle position. A cramp does not automatically prove an electrolyte problem or that the exercise is building muscle faster. Persistent sharp knee pain, swelling, catching or a recent serious hamstring injury calls for appropriate assessment rather than generic training instructions. The goal is challenging muscular work, not irritation that continues after the set.
Do not call every thicker band a personal record. If the stronger band forces you to move closer to the anchor, lift the pelvis, shorten the range or rush the return, the comparison is no longer fair. Fix the anchor and mat position, use the same controlled technique and improve repetitions or sets first. Once you can reproduce clean work, raise tension modestly. For a home gym, this is the simplest way to turn an inexpensive accessory into a measurable strength exercise rather than a random burn at the end of leg day.

Leg Day Shirts & Workout Gear
Leg-day gym shirts and workout gear for lifters who never skip squats, lunges and lower-body punishment.

Shirt Never Skip Leg Day NSLD Meme – Chicken Legs & T-Shirt
Show some leg-day attitude with a playful “Never Skip Leg Day NSLD Meme” tee.


Leg Day Thou Shalt Not Skip Leg Day Medieval Knight Pul Hoodie
Show off your medieval humor in a laid-back “Leg Day” hoodie.

Thicc Booty Meme Glute Lovers Hooded Hoodie
Stay casual and show some gym-girl attitude with “Thicc Booty Gym Meme”.

Leg Day Squats Deadlifts Sweater Meme T-Shirt
Show some gym-day personality with “Leg Day”.

Big Booty Energy Glute Lover Sweater Meme T-Shirt
For laid-back days and lifting humor: “Big Booty Energy”.


Skeleton Deadlift Powerlifters & Deadlift Lovers Tank Top
Add some deadlift attitude to training with “Skeleton Deadlift”.

Deadlift Lovers Grim Reaper Decal Water Bottles & Sticker
Bring “Deadlift Lovers Grim Reaper” attitude to your water bottle or laptop.

Cutie With A Booty Decal Water Bottles & Gear Bunny Sticker
Bring “Cutie With a Booty” attitude to your water bottle or laptop.
Four weeks of controlled hamstring curls without a machine
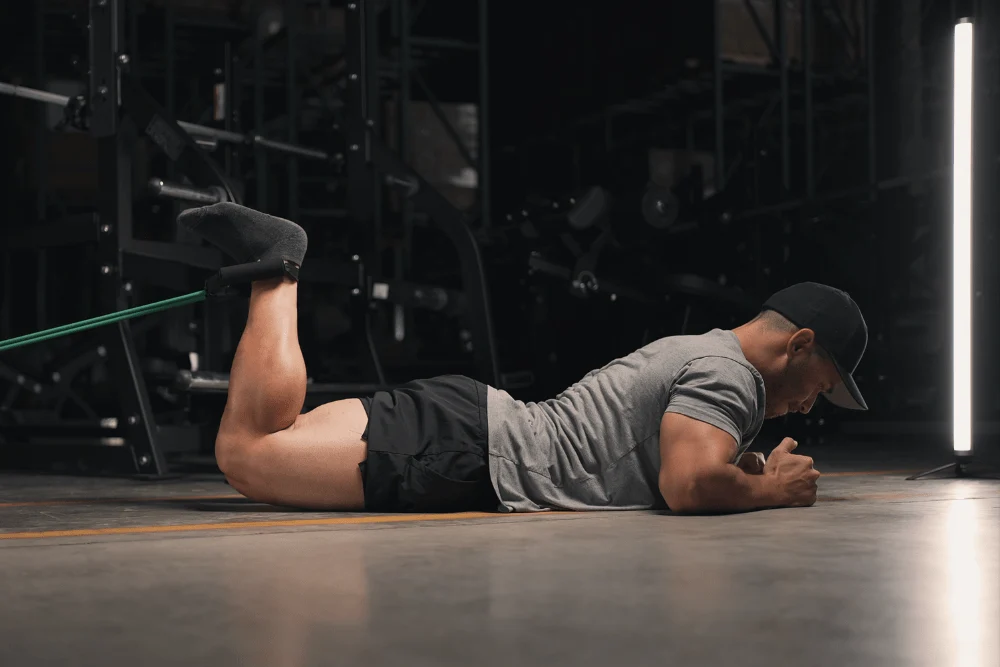
This example is for healthy adults already comfortable with basic lower-body resistance exercise, not a rehabilitation plan after injury. Place the curl after your main squat, hinge or single-leg lift once or twice a week. Start with a little breathing room in the set—about one or two repetitions in reserve—and count the work alongside your existing hamstring training rather than automatically adding it on top of heavy Nordics and machine curls. A safe anchor and pain-free movement come before any prescribed set or rep count.
Week 1: Use two sets of 12–15 controlled repetitions per leg to establish a repeatable anchor, mat distance and full comfortable range. Rest at least a minute as needed. If you cannot do 12 good reps, reduce band resistance. Week 2: Keep the same setup and work toward two or three sets of 15–18 reps while maintaining a smooth lowering phase. If both legs can finish the target cleanly, add a modest challenge near the last set. Do not allow the hips to start helping as fatigue rises.
Week 3: Either add a third controlled set or increase the initial band tension slightly, but avoid jumping both volume and resistance at once. If you increase tension, 10–15 good repetitions may be enough. Week 4: Hold that new setup and try to improve total clean reps, or add a one-second pause near the top without lifting the pelvis. Note any cramps, foot slippage or change in depth. They are reasons to refine the setup rather than push through. Then reassess whether your next block should use the same band or a harder variation.
A useful low-equipment leg session could pair a squat or split squat with a hip hinge and finish with these curls. For a hamstring-focused day, do the hinge first while fresh and keep the band curl controlled rather than making it an uncontrolled conditioning drill. Once you can log consistent progress for several weeks, the band setup has done its job. The end goal is not the heaviest elastic in the room. It is stronger knee flexion, predictable repetitions and a sustainable exercise you can use whenever a machine is unavailable.