Advertising disclosure: This page includes affiliate product links that may earn us a commission, as well as products from our own store.
A sledgehammer and a heavy tire can make conditioning feel refreshingly direct. But the useful question is not how hard you can smash rubber once; it is how to repeat a powerful strike without losing the hammer, twisting through a bad position, or overloading your wrists. This guide explains how to choose a manageable tool, organize the stance and hand slide, control rebound, and progress safely for four weeks. It also gives practical alternatives when swinging a hammer is not possible.
What a sledgehammer workout actually trains
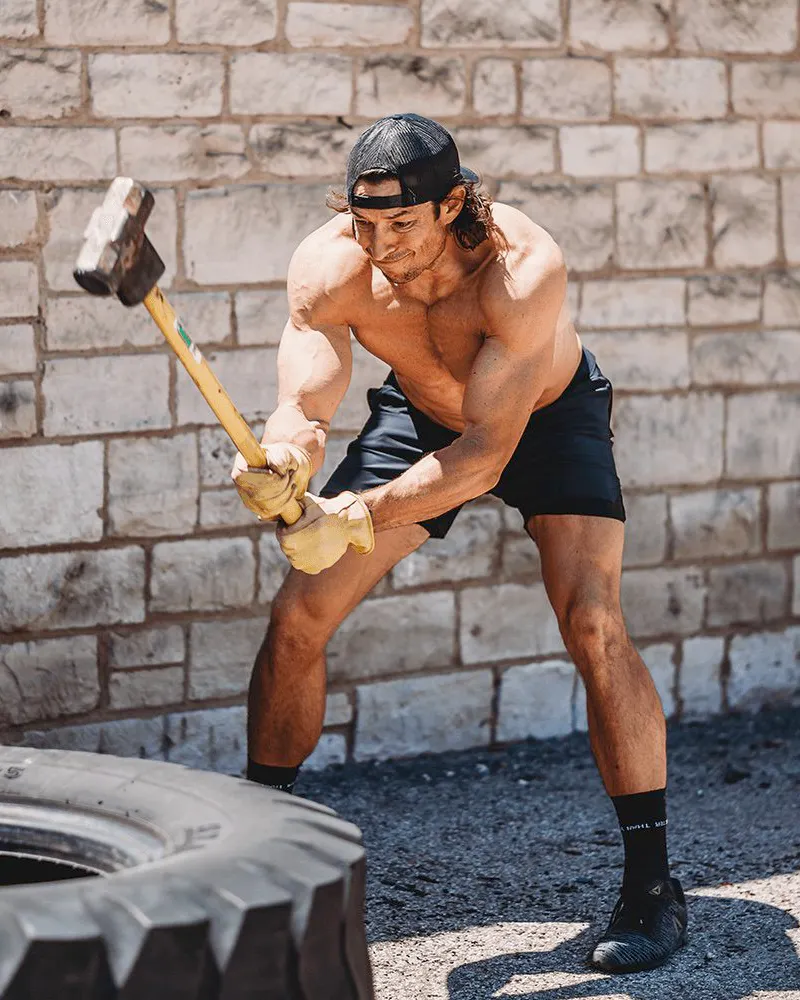
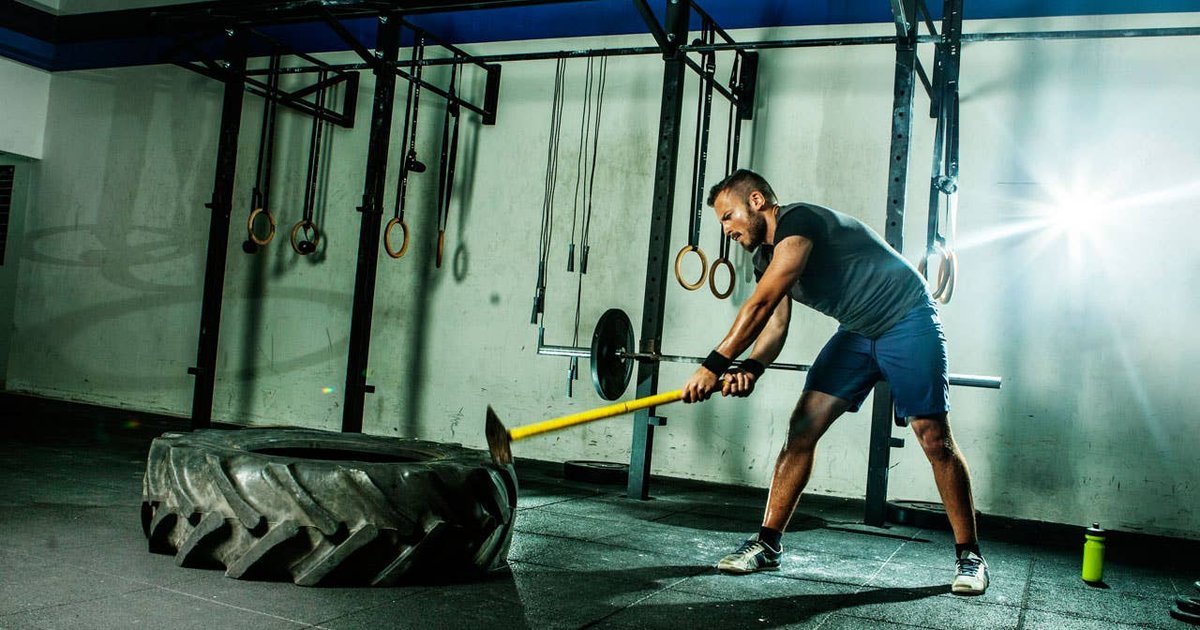
Striking a tire looks like a simple test of aggression. The useful version is a repeatable drill: accelerate a long lever, place its head on a forgiving target, absorb the rebound, and repeat with similar control on both sides. That is different from testing a maximal deadlift or building a chest with presses. The forearms must manage the handle, the shoulders and back help redirect it, and the trunk connects the rotating upper body with the stance beneath it. After enough clean repetitions, breathing and grip fatigue become the obvious constraints.
Treat claims about explosive power with some care. Moving the hammer quickly can train the ability to accelerate that particular implement; it does not prove a faster punch, a harder tennis serve, or a bigger squat. A good program uses strikes as one conditioning and coordination tool, while heavy squats, hinges, pulls, carries and presses supply measurable strength work. Do not mistake a dramatic-looking exercise for a substitute for progressive resistance training.
The simplest progress measure is consistent strike quality at a known hammer weight and rest period. Count controlled contacts, track which side led, and note whether the last round looks like the first. That turns a satisfying finisher into something a lifter can actually manage over several weeks.
Start with the hammer and tire, not the stopwatch
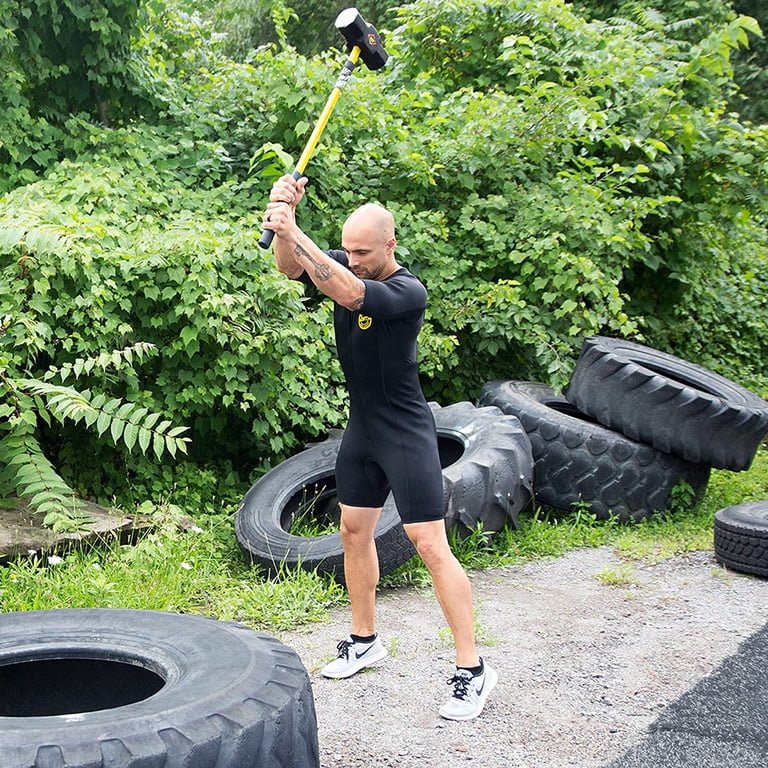
Select a hammer you can lift smoothly, arrest after impact and return to the start without a frantic second bounce. Around 6–8 pounds is a reasonable beginner trial, not a mandatory standard. The handle’s length and where you hold it matter just as much as the stamped head weight. Heavier is not automatically more productive: if the backswing drags the shoulder out of position or changes the swing into a whole-body stumble, reduce the load.
Inspect the head and handle before every session. A damaged joint, slick grip or split handle is a reason to stop. Use an intact, stable large rubber tire lying flat on non-slip ground. A tire that rocks, rolls, has exposed steel or sits beside a walkway is a poor target. Set a generous clear radius around the swing, especially behind you; no bystanders, pets or loose training implements. Make sure the head is aimed at a predictable rubber contact area, not the rim of a wheel.
Warm up shoulders, hips and trunk with gentle reaches and light hinges, then rehearse five slow strikes without chasing speed. Choose shoes with traction and use chalk only if it helps you keep a secure, non-slippery hold. For an apartment, small room or gym with no designated strike zone, do not improvise on concrete, a barbell plate or a wall. Use the safer no-impact options described later.

Equipment Worth Exploring
Explore equipment, accessories and gear from our carefully selected range.

Slam Ball
Low-bounce weighted slam ball for explosive throws and high-intensity conditioning.

Competition Wall Ball
Competition-style weighted wall ball for HYROX, wall-ball shots, and functional conditioning.


Pro Sled System
Heavy-duty push-pull training sled for loaded conditioning, speed, and strength work.


Cast Iron Kettlebells
Textured cast-iron kettlebells for swings, squats, carries, and full-body training.


The overhead strike: stance, hand slide and rebound

Begin a comfortable step away from the tire, feet around shoulder width, knees soft and ribs stacked above the pelvis. Place the lower hand securely near the end of the handle and the upper hand farther up. Raise the head over the working shoulder only as far as your shoulder mobility and balance permit. As you swing down, the upper hand can travel toward the lower hand. Think of the hips and trunk guiding the hammer rather than the elbows trying to whip it independently.
Contact the center area of the tire, follow the head with your eyes, and never let the arms lock into an uncontrolled reach. You should be able to halt or deliberately redirect the rebound; the next rep starts only after the tool is under control. A hammer that springs toward the chin, sweeps across the shins or escapes the line of the tire is a clear signal to stop the set. Start with spaced singles and recheck your feet after every few strikes.
Film five reps from a safe side angle if you are learning alone. Look for a consistent contact point, an unhurried reset and stable foot placement. The hands need not be arranged identically on every variation, but whichever lead you choose, practice the opposite side rather than accumulating every repetition with one preferred shoulder.
Diagonal strikes add rotation, but not a reckless twist
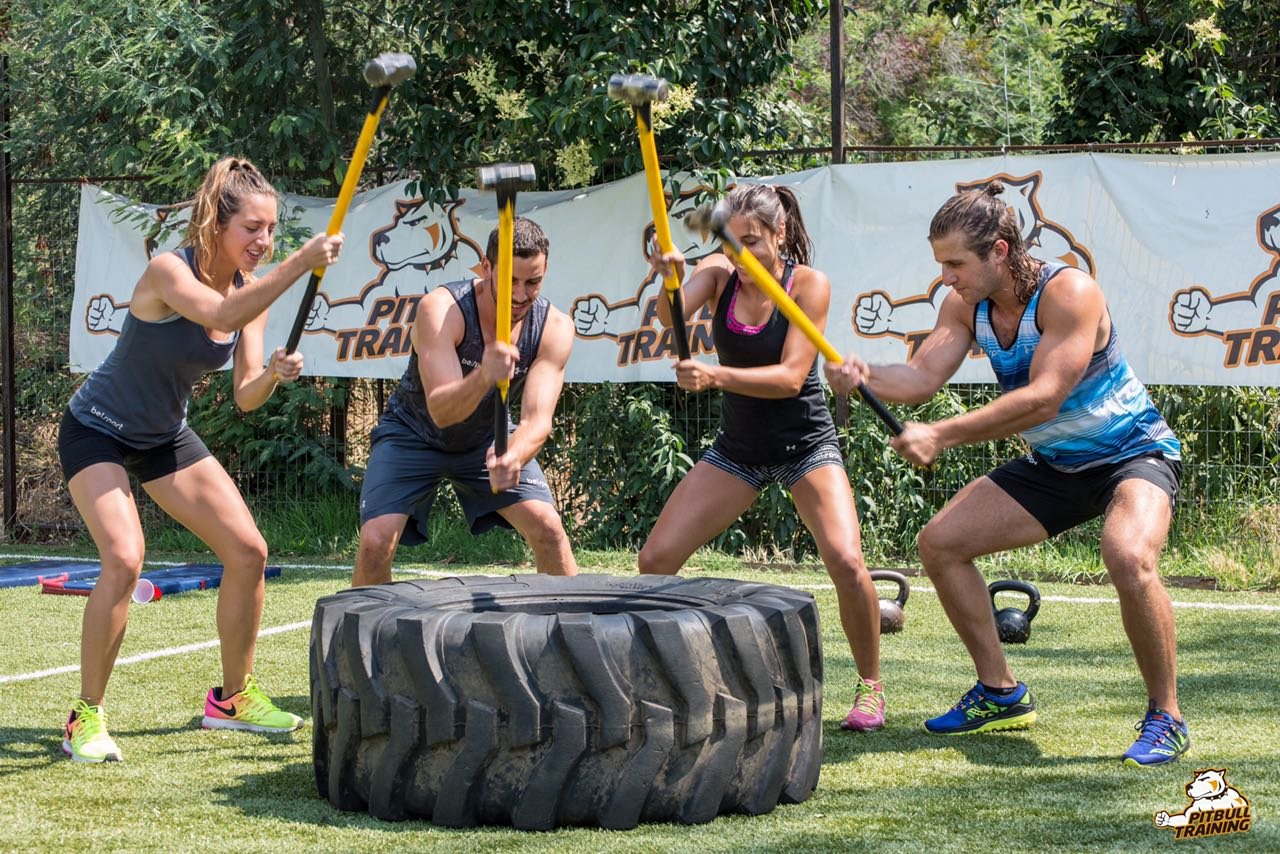
A diagonal strike travels over one shoulder and into the tire at an angle. The move can feel more athletic than a straight overhead chop because the hips, feet and chest must coordinate the turn. That does not mean wrenching the lower back through a large range at speed. Pivot the foot as needed, let the hips turn with the upper body and keep the target within easy reach. If the hammer is pulling you sideways, shorten the arc before increasing tempo.
Use left-leading and right-leading sets with comparable volumes. Five neat contacts per side are more useful than twenty half-missed impacts followed by a hurried side switch. A useful coaching test is whether you can return the hammer to a quiet starting position without stepping into another person’s space. This also identifies why multi-person tire circuits require extra planning: each participant needs an independent safe swing zone and an agreed start/stop signal.
Single-arm or alternating-hand trick strikes are advanced skills, not an early milestone. There is little reward in juggling a striking tool simply because a video makes it look impressive. Master basic two-hand swings, hand placement and rebound control first. If wrists, elbows, shoulders or the back become painful, stop and choose a less ballistic movement rather than trying to fight through the session.

Functional Fitness Shirts & Workout Gear
Functional-fitness shirts, tanks and workout gear for athletes who train strength, conditioning and everything in between.

Forged in the Gym Tee
Show some lifting attitude with a playful “Forged in the Gym: Hephaestus God of Fire” tee.

Kettlebell Skull Tee
Heavy lifts, good laughs, and a little “Kettlebell Skull Gym Meme” energy.

Super Kettlebell Muscle Shirt Athletic Vest Superman Ke Tank Top
Your gym-day look, with a playful “Super Kettlebell” twist.

Wonder Woman Battle Ropes | Superhero HIIT Workout Pull Hoodie
Keep it laid-back with a little “Wonder Woman Battle Ropes” attitude.


OnlyGains Kettlebell Meme Decal Water Bottles & Sticker
Stick a little “OnlyGains” humor on your favorite gear.

Heavy Metal Gym – Funny Kettlebell Rock Music Hooded Pu Hoodie
Keep it laid-back with a little “Heavy Metal” attitude.


Rap God Kettlebell Gym | Funny Bodybuilding Vest Tank Top
Train hard, laugh a little, and rep “Rap God Kettlebell”.

Kettlebell Heart X-Ray – Valentine's Workout Jumper Pul T-Shirt
Keep things casual with a little “Kettlebell Heart X-Ray” attitude.
Power sets, conditioning rounds and useful substitutes
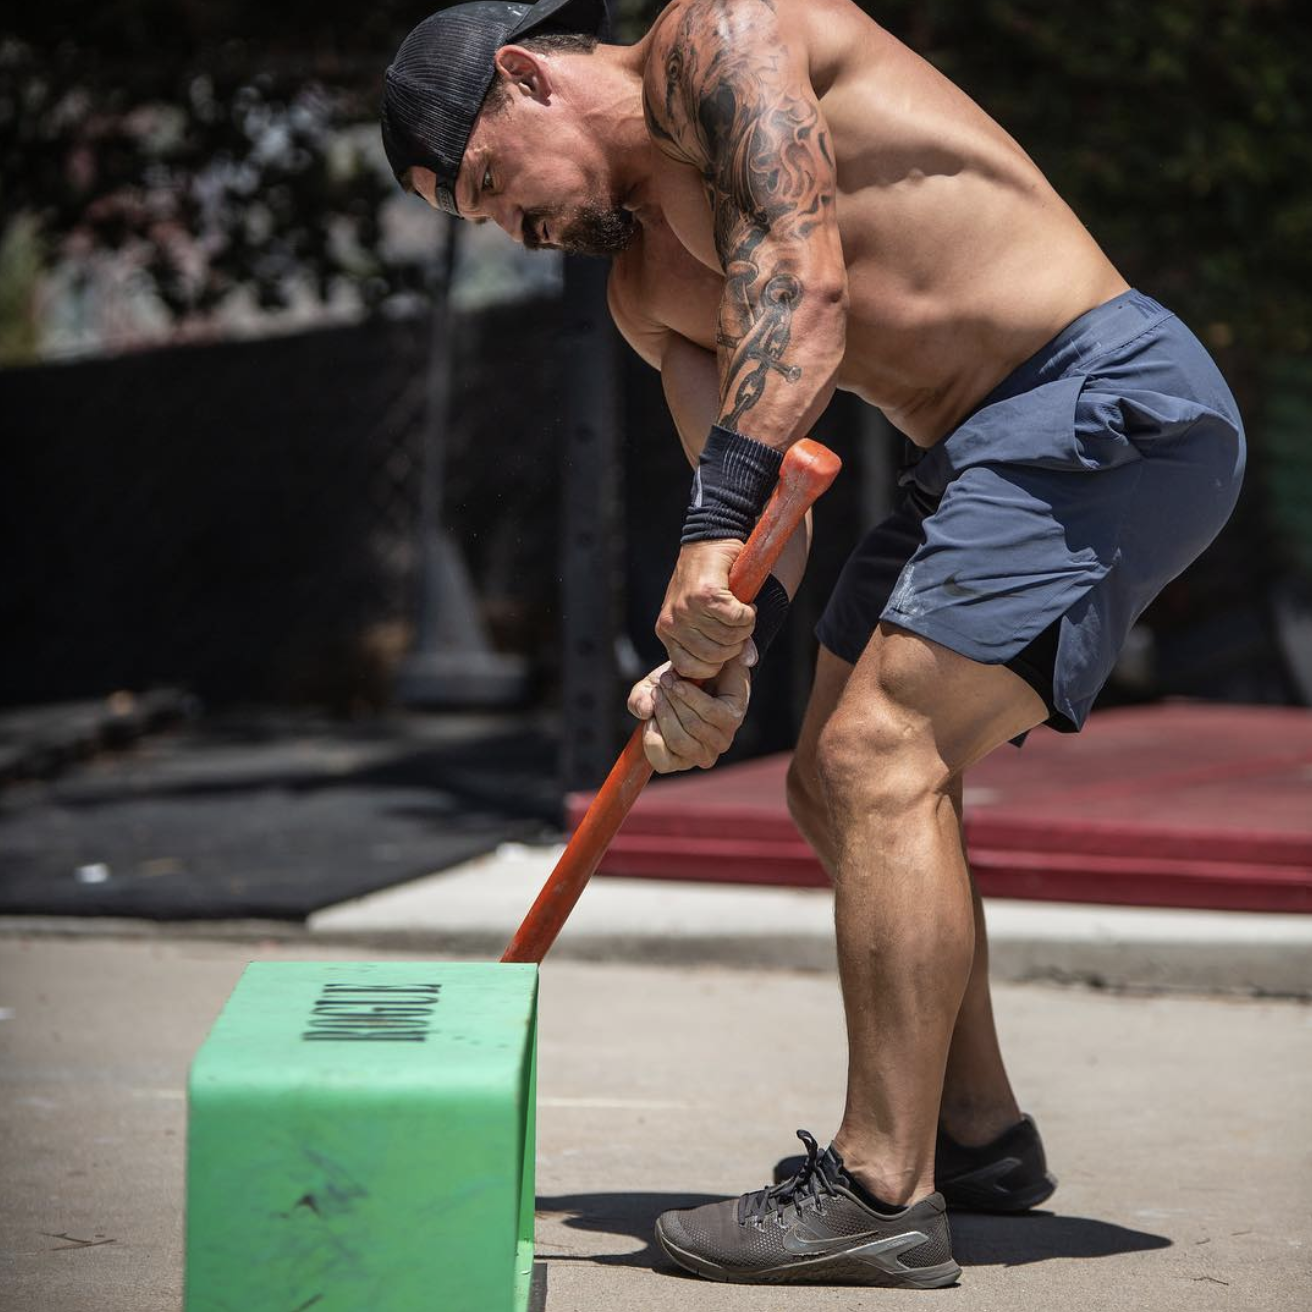
Choose the training goal before choosing the interval. For crisp, forceful contacts, use short sets of approximately five to eight controlled repetitions, then rest long enough to repeat at comparable speed. For conditioning, a practical starting interval is twenty seconds of controlled strikes followed by forty to sixty seconds of recovery. Two or three quality rounds can be enough on the first day. You can gradually add a round or modestly extend work time if accuracy remains high.
Both styles can be demanding without turning into a maximum-effort contest. High rep counts tempt fatigue-related mistakes, especially when the grip begins to open or the head rebounds unpredictably. A workout that ends with clean technique is more valuable than a dramatic final set. Keep sledgehammer work away from sessions where pre-fatigued hands would interfere with heavy lifting; or move it to the end as a modest finisher.
No stable tire? A purpose-built rubber striking block may be appropriate if its manufacturer specifically permits repeated hammer impact. A slam ball offers an impact-style alternative but behaves differently when it rebounds, and a kettlebell swing provides a hinge-dominant conditioning movement without a hammer. Battle ropes and loaded carries are further options for work capacity and grip. None is mechanically identical; select based on space, available gear and what you can perform safely.
Equipment Worth Exploring
Explore equipment, accessories and gear from our carefully selected range.


Leather Wrist Grips
Padded leather lifting grips help support the hands and wrists on heavy pulling exercises.

Leather Lifting Straps
Padded leather straps support grip during heavy rows, deadlifts and pulling exercises.

Open Hex Bar
Open-frame trap bar with multiple handles for deadlifts, carries, and lower-body training.


Rubber Hex Dumbbells
Rubber-coated hex dumbbell pairs with a stable shape for home and commercial strength training.

A four-week plan that keeps the strikes honest
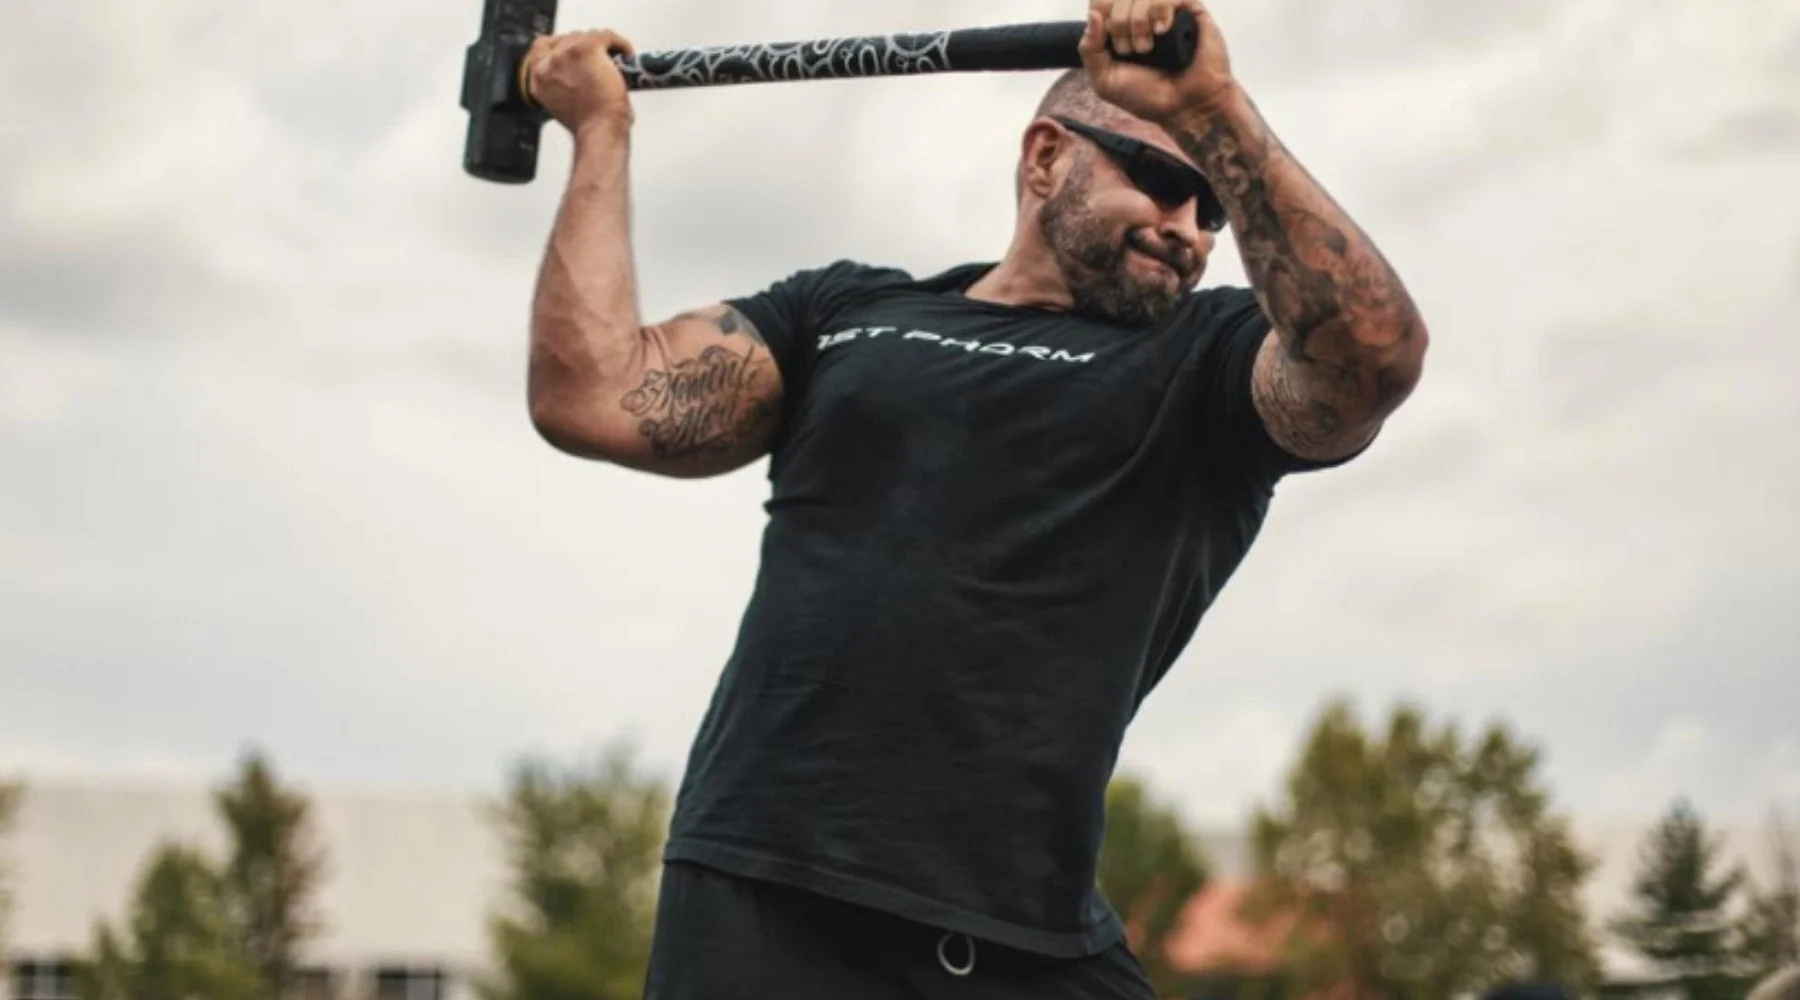
Week 1 is familiarization: on two nonconsecutive days, warm up and complete three rounds of five controlled overhead contacts per side, resting roughly a minute between rounds. Put down the hammer if the strike point wanders. In week 2, keep the hammer weight and add one round, or begin a second brief session only if the first is recovered from. Resist the temptation to change the load and volume simultaneously.
In week 3, keep at least half the work as familiar overhead strikes, then introduce up to two small diagonal sets per side. If the pivot feels uncertain, continue the overhead version instead. In week 4, decide between a quality-focused day of five-to-eight-rep sets and a conditioning day of four twenty-second work intervals with generous rest. Do not needlessly turn every session into a timed competition; consistent clean contacts are the baseline.
Record hammer weight, number of contacts per side, work and rest duration, and any swing errors. A sensible success criterion is more controlled work at the same weight and effort, not pain tolerance or a claimed number of burned calories. People with shoulder, wrist, elbow, spinal or balance limitations should use an individualized modification rather than copy an aggressive public workout. Keep normal resistance training in the week: the hammer complements it, it does not replace it.
Some product links may be affiliate links, which can support Mind Muscle Perfection at no additional cost to you.