Advertising disclosure: This page includes affiliate product links that may earn us a commission, as well as products from our own store.
A sled can occupy a modest patch of floor and still be awkward to use in the space you actually have. The Rogue Dog Sled 1.2 is a useful example: its frame dimensions tell you where it can sit, while the lane, surface and chosen attachments decide how a session works. Before comparing plate stacks or buying every handle, separate those questions. This is a specification-based setup guide, with practical examples for planning and recording training rather than a claim of hands-on testing.
Start with the frame, then measure the working lane
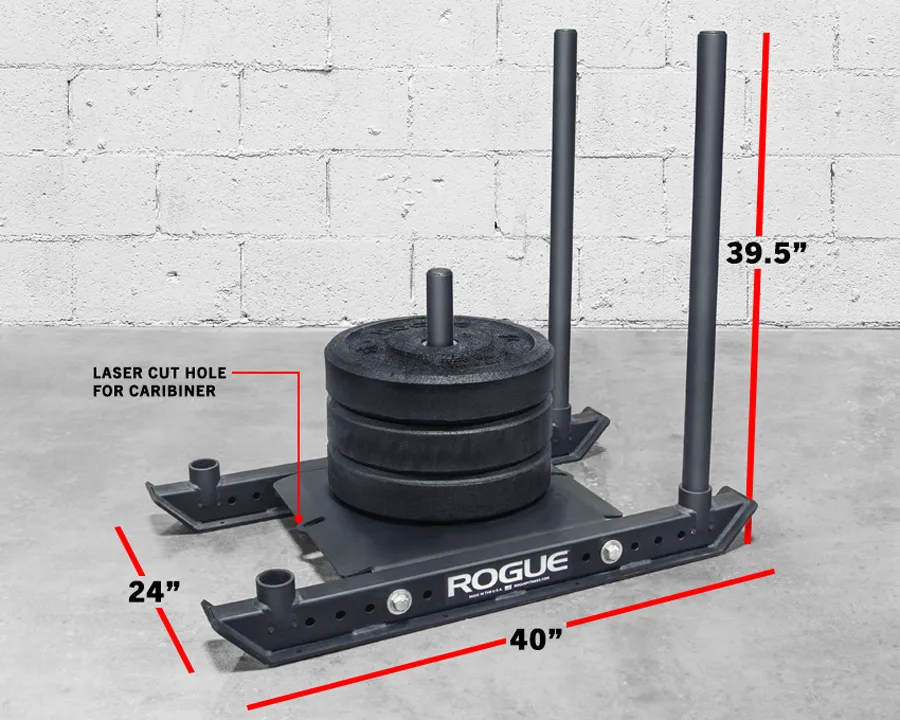
The Dog Sled 1.2 has a listed 40-by-24-inch footprint, a steel base and removable upright push poles. The standard configuration includes two tall push bars; photographs showing additional handles or a wheelbarrow arrangement show configurations to check separately. A photo of a fully equipped sled is not an inventory of everything in the base order. Build your purchasing list from the exact configuration you intend to use.
Measure two different spaces. First, identify a place for the parked sled and its loose parts. Second, mark the route where someone will actually push it. The route needs room for the athlete behind the handles, an unobstructed finish and whatever arrangement lets the sled travel back. A frame that fits beside a rack does not establish that you have a usable training lane.
For example, imagine a straight strip with a storage cabinet at one end. Measuring between the walls overstates the usable distance if the cabinet forces an early stop. Put temporary start and finish marks where the whole task can be completed without an improvised turn. Walk through the route carrying nothing before planning a loaded effort.
Returning the sled deserves its own plan. Will you move the push poles to the other end, turn the frame, or use a pulling arrangement? Each option changes the space and equipment involved. Avoid assuming that a short lane becomes convenient merely because the sled itself is relatively compact.
Also think through plate handling. The parking location, plate storage and start line can become three separate trips. A simple sketch showing those positions often exposes more practical problems than another comparison of frame dimensions. Keep access clear during both loading and training, and judge the complete workflow rather than the parked footprint alone.
Distinguish the steel runners from optional plastic protection
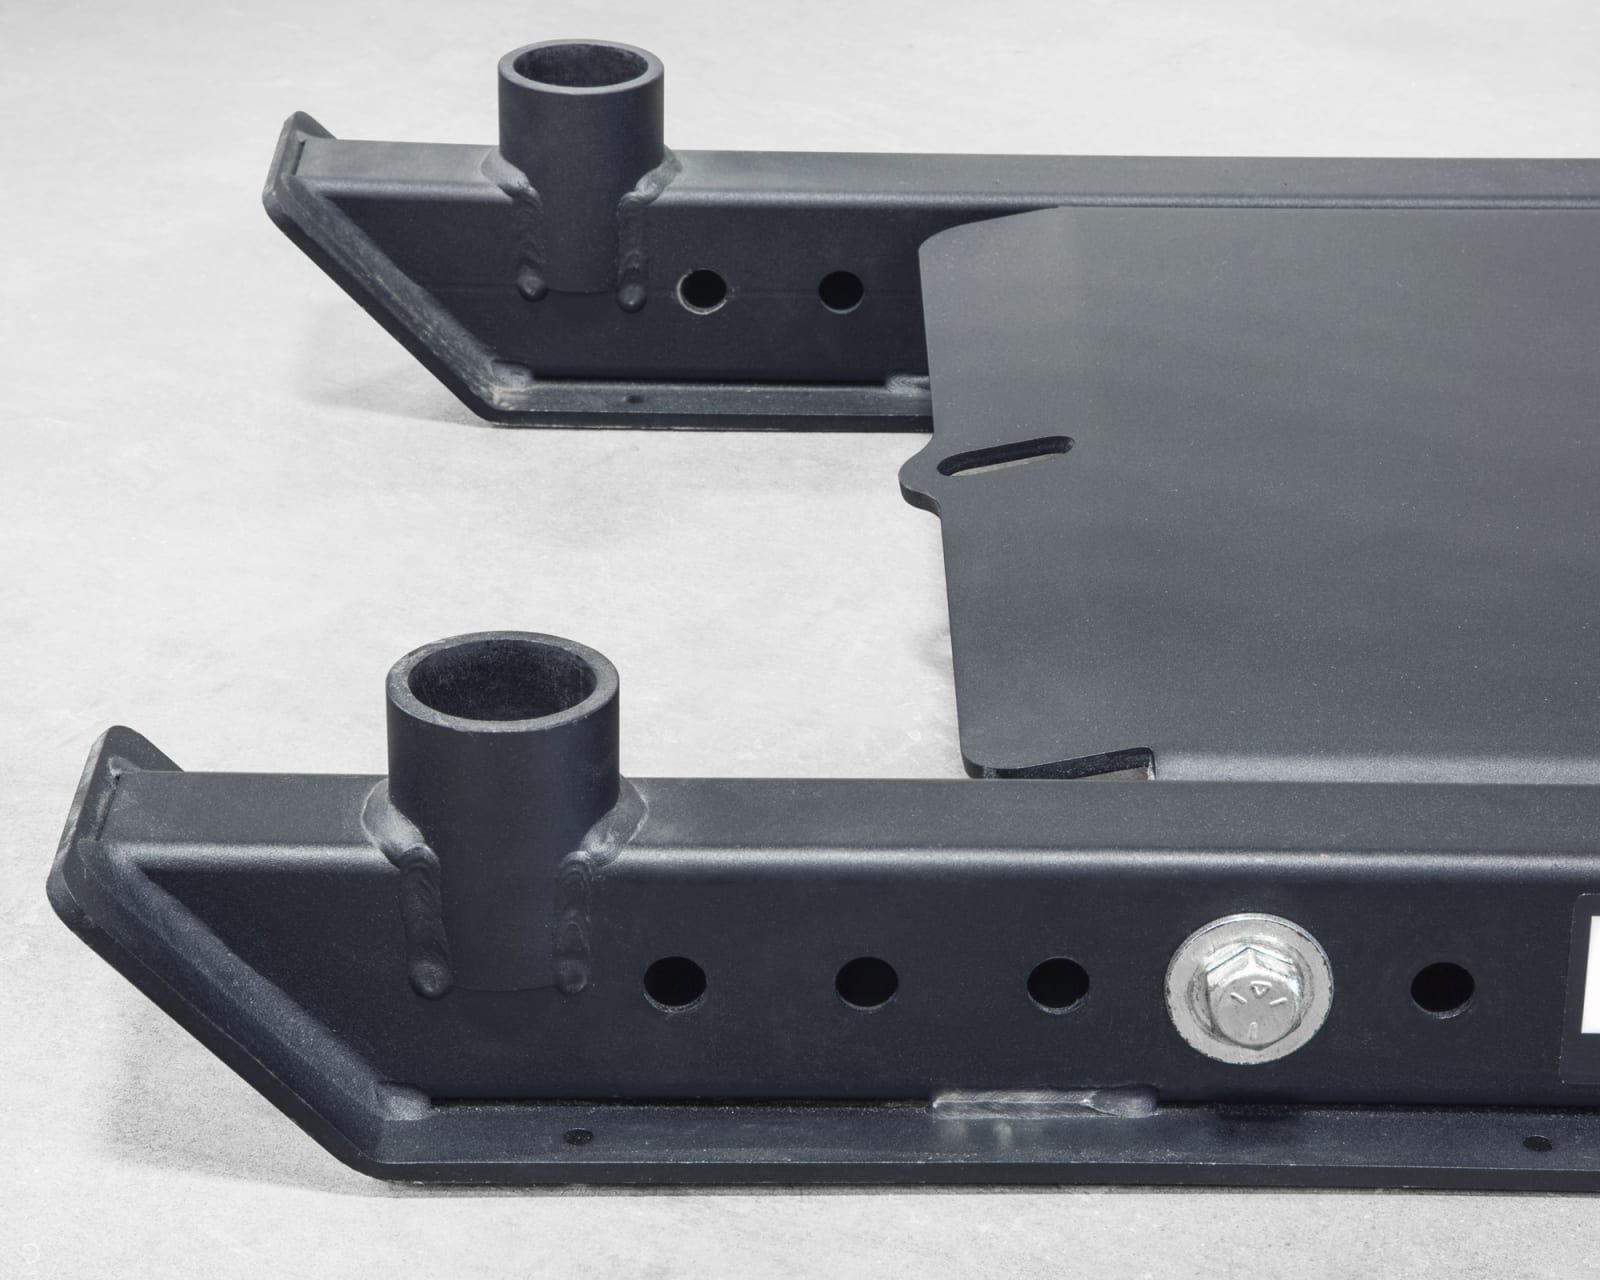
The assembly instructions identify the frame's two skis as structural parts. Protective plastic skis are a separate ordering choice. Those are different meanings of the word ski: the sled needs its steel runners, while the plastic pieces add a different contact material underneath. Check the actual order and installed hardware before assuming that a sled pictured online has the surface protection you want.
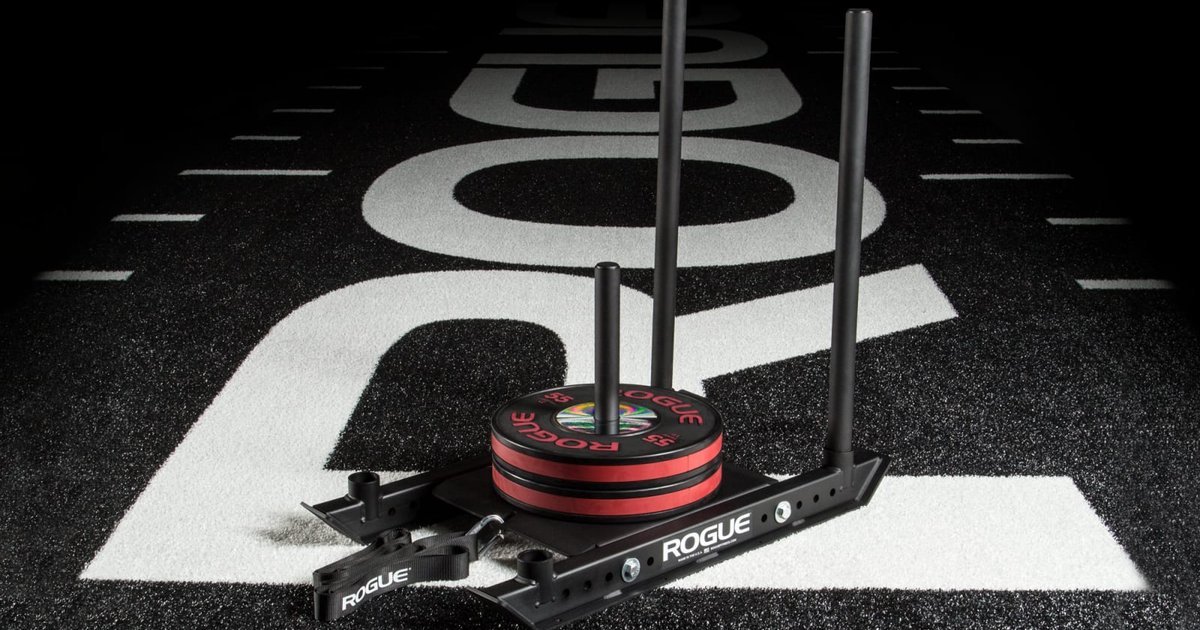
The close-up here shows the frame and runner construction. It does not establish which material contacts the floor on every available configuration. For a buying decision, request the underside view and the exact plastic-kit specification. A top-down photograph can leave the part that matters most to your floor out of sight.
Treat protective plastic as a component to assess with your surface, rather than a promise that every floor is suitable. The manufacturer describes it as helping prevent potential damage. That is narrower than a guarantee against marks, noise or wear. Get the facility's approval for the intended setup and keep its surface requirements separate from a general claim that the sled can move.
A practical inspection begins with the route itself: joins, edges, transitions and changes in texture deserve attention. If your route moves from one surface onto another, decide whether that transition belongs in the exercise at all. A consistent strip is easier to compare over time than a route that changes character halfway through each effort.
Keep the contact configuration in your training notes. Replacing a worn part or adding plastic may alter how the same plate stack behaves. Record the change instead of treating the first session afterward as a direct continuation of the old load record. The useful question is whether the setup is appropriate and repeatable, not whether one material sounds universally superior.
Plate weight is a loading detail, not a universal resistance score
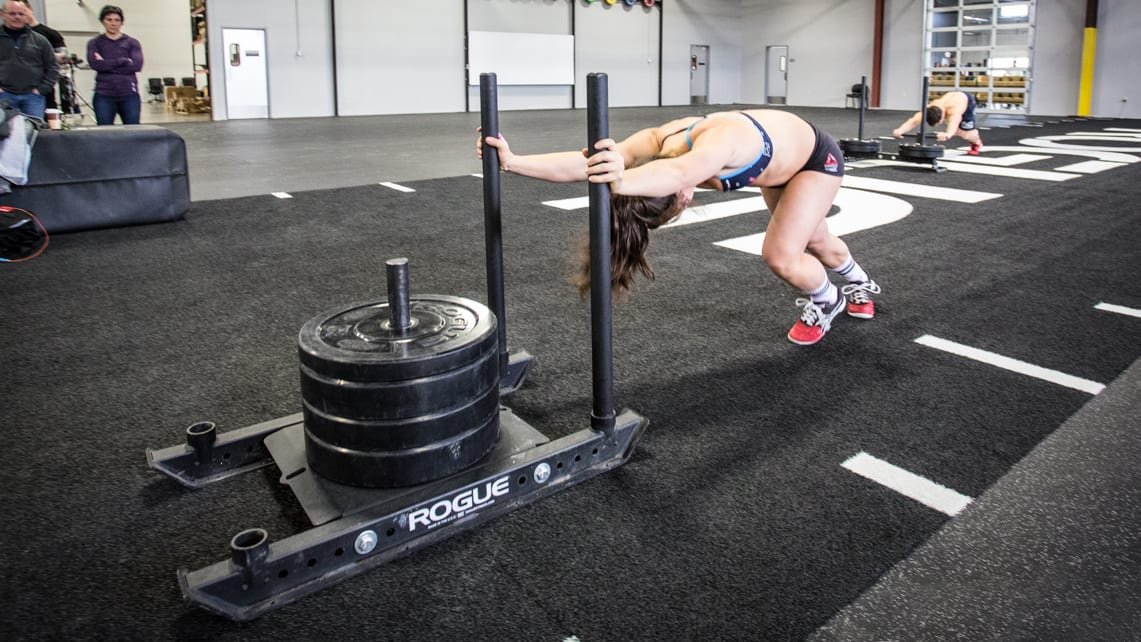
A plate-loaded sled moves against resistance at the contact between its runners and the ground. The plate mass is visible and easy to record, but it is not the complete description of the task. Surface, contact material and the way the sled starts and travels matter. Two people displaying the same stack can be doing substantially different work.
Controlled sled-pulling measurements have shown that starting friction and moving friction differ, and that the measured coefficients depend on the test conditions and load. Those results do not supply a universal conversion for this Dog Sled on your lane. They support a more useful habit: compare efforts within a well-described setup instead of turning kilograms of plates into an invented horizontal force.
Suppose one session uses the same marked lane in both directions and the next uses a different surface. If the second session feels easier, you cannot isolate improved performance from the changed conditions. That does not make either session worthless. Label them as separate conditions and begin building a baseline for the new one.
Use simple records that answer the comparison you care about. Distance, added plate mass, elapsed time, recovery and the reason an effort ended are useful observations. If you change hand position or direction, write that down too. The objective is to make a later comparison interpretable, rather than collect the biggest possible list of numbers.
An effort can also become slower for reasons that a load entry misses. You may have shortened recovery, added other work beforehand or changed the endpoint. Review those details before deciding to add plates again. A repeatable session is more informative than a heavier stack accompanied by several unrecorded changes, especially when the actual aim is conditioning.
Choose attachments around a specific job
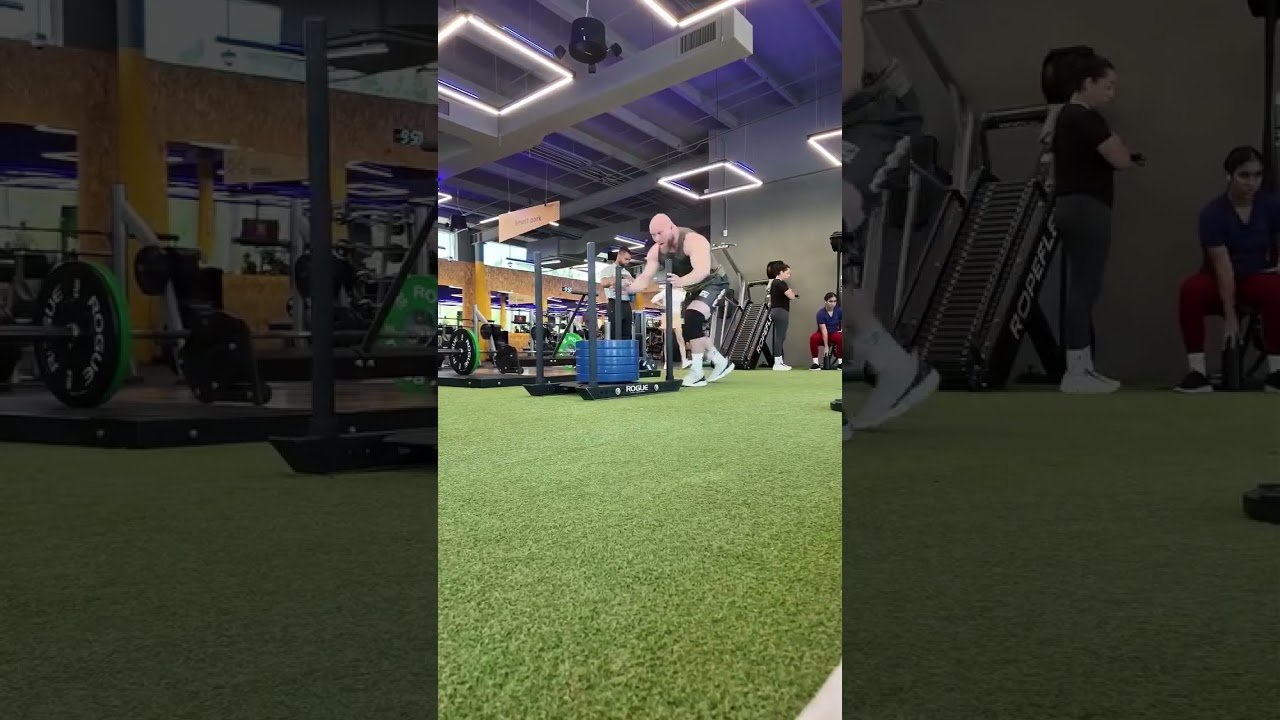
The Dog Sled 1.2 accepts several optional attachments, including separate handle arrangements and wheelbarrow equipment. Compatibility is configuration-specific: some options require bridge attachments. Begin with the job you want to do, then check the complete parts list for that configuration. Avoid treating the range of accessories as a recommendation to order the entire ecosystem.
The assembly sequence connects the runner assemblies and load post to the pan before the upright handles are inserted. Use the current instructions for your actual hardware, including the supplied fasteners and their placement. This article is not a substitute assembly diagram. It is a prompt to distinguish base assembly, optional additions and plates you provide separately.
For a straightforward push session, describe the desired handle arrangement and how you will reset between lengths. For pulling, identify the attachment and route for the connecting equipment. For a wheelbarrow configuration, check the full required kit and its operating instructions. A compatible attachment can introduce a different exercise and a different setup process.
A photograph of a loaded sled shows one configuration; it does not establish which attachment arrangement is best for your goals. Try to name the practical benefit before paying for an accessory: a handle position you will use, a way to complete the return, or a separate task that genuinely belongs in your training. If the benefit stays vague, begin with a simpler plan.
The equipment suggestions below include other sleds, plate options and separate conditioning implements. They are shopping ideas, not a list of parts certified to fit this Rogue frame. Check any proposed plate or attachment against its actual dimensions and the manufacturer's requirements. A kettlebell, wall ball or jump rope belongs to its own exercise; none is presented as a required Dog Sled upgrade.

Equipment Worth Exploring
Explore equipment, accessories and gear from our carefully selected range.


Pro Sled System
Heavy-duty push-pull training sled for loaded conditioning, speed, and strength work.


Competition Plates
Competition-style bumper plates for Olympic lifts and loaded strength training.

Grip Plates
Rubber-coated weight plates with handholds for loading barbells and machines.


Cast Iron Kettlebells
Textured cast-iron kettlebells for swings, squats, carries, and full-body training.

Competition Wall Ball
Competition-style weighted wall ball for HYROX, wall-ball shots, and functional conditioning.

Slam Ball
Low-bounce weighted slam ball for explosive throws and high-intensity conditioning.

Make the session repeatable before chasing a heavier number
Choose one clear purpose for the session and keep the first version simple. A short push with generous recovery and a repeated conditioning effort ask different questions. You can use the same sled for both, but mixing their records obscures what changed. Name the task before you decide which numbers will represent progress.
A useful trial is deliberately descriptive: use a marked straight lane, one handle arrangement and a manageable load, then observe a few controlled efforts with consistent recovery. This is an example of setting up a baseline, not a universal workout prescription. Stop adding complexity while you are still learning how the equipment behaves in that location.
Write a short line after the session: lane and direction, runner configuration, added plates, distance, recovery and what limited the effort. If you timed it, note where the clock started and stopped. Someone restarting from a stationary sled and someone timing only the moving portion have not recorded the same task, even when their distances match.
Change one meaningful variable when you want a clean comparison. You might repeat the setup and adjust load, or hold load steady while examining whether efforts remain consistent. If you deliberately change several things for variety, enjoy the session and label it accordingly. Every workout does not need to function as a performance test.
Keep the goal broader than the plate total. A sled that is easy to access, reset and record may see more useful training than a heavily accessorized setup that constantly interrupts the session. The strongest buying decision connects the frame, surface and task to the space you have. Once those fit together, heavier loading becomes an option to evaluate rather than the only sign that the purchase is working.

Funny Gym Shirts & Workout Gear
Funny gym shirts, tanks, hoodies and workout gear for lifters who like training hard.

Cardio Is Hardio – Workout Meme Pullover Jumper T-Shirt
For laid-back days and cardio humor: “Cardio Is Hardio”.

Death By Cardio Shirt Meme & Top T-Shirt
Bring “Death By Cardio” humor to your next gym day.

Leg Day Is Calling You Squats & Deadlifts Meme Hoodie
Stay casual and show some leg-day attitude with “Leg Day Is Calling You”.

Leg Day Squats Deadlifts Sweater Meme T-Shirt
Show some gym-day personality with “Leg Day”.

Shirt Leg Day Lovers – Fried Chicken & Gains Meme – T-Shirt
Rep “for Leg Day Lovers” humor in and out of the gym.

Quadzilla Massive Quads Leg Day Squatting Meme Tank Top
Train hard, laugh a little, and rep “Quadzilla”.

Everyday Is Leg Day Octopus Meme & Top T-Shirt
Show some leg-day attitude with a playful “Everyday Is Leg Day Funny Octopus” tee.

Never Skip Legday – Chicken Legs Meme , , & Leg Day T-Shirt
Heavy lifts, good laughs, and a little “Never Skip Legday” energy.

Negative Cardio Review Cardio Sucks 1 Star Decal Sticker
Give your everyday gear a playful “Negative Cardio Review” twist.

Shirt – Legendary Leg Day Meme Gymbros, & Fans T-Shirt
Make gym days more fun with “Legendary Leg Day Meme” style.