Advertising disclosure: This page includes affiliate product links that may earn us a commission, as well as products from our own store.
The Rogue Adjustable Bench 4.0 is most interesting when its changes solve a specific problem: a decline setup you will actually use, a pad that suits your body or a bench routine that fits your room. A feature list is a starting point for that decision. This guide separates the listed specifications from the practical checks to make before buying or upgrading, without presenting a catalogue inspection as firsthand testing.
Read the angle chart before buying more positions
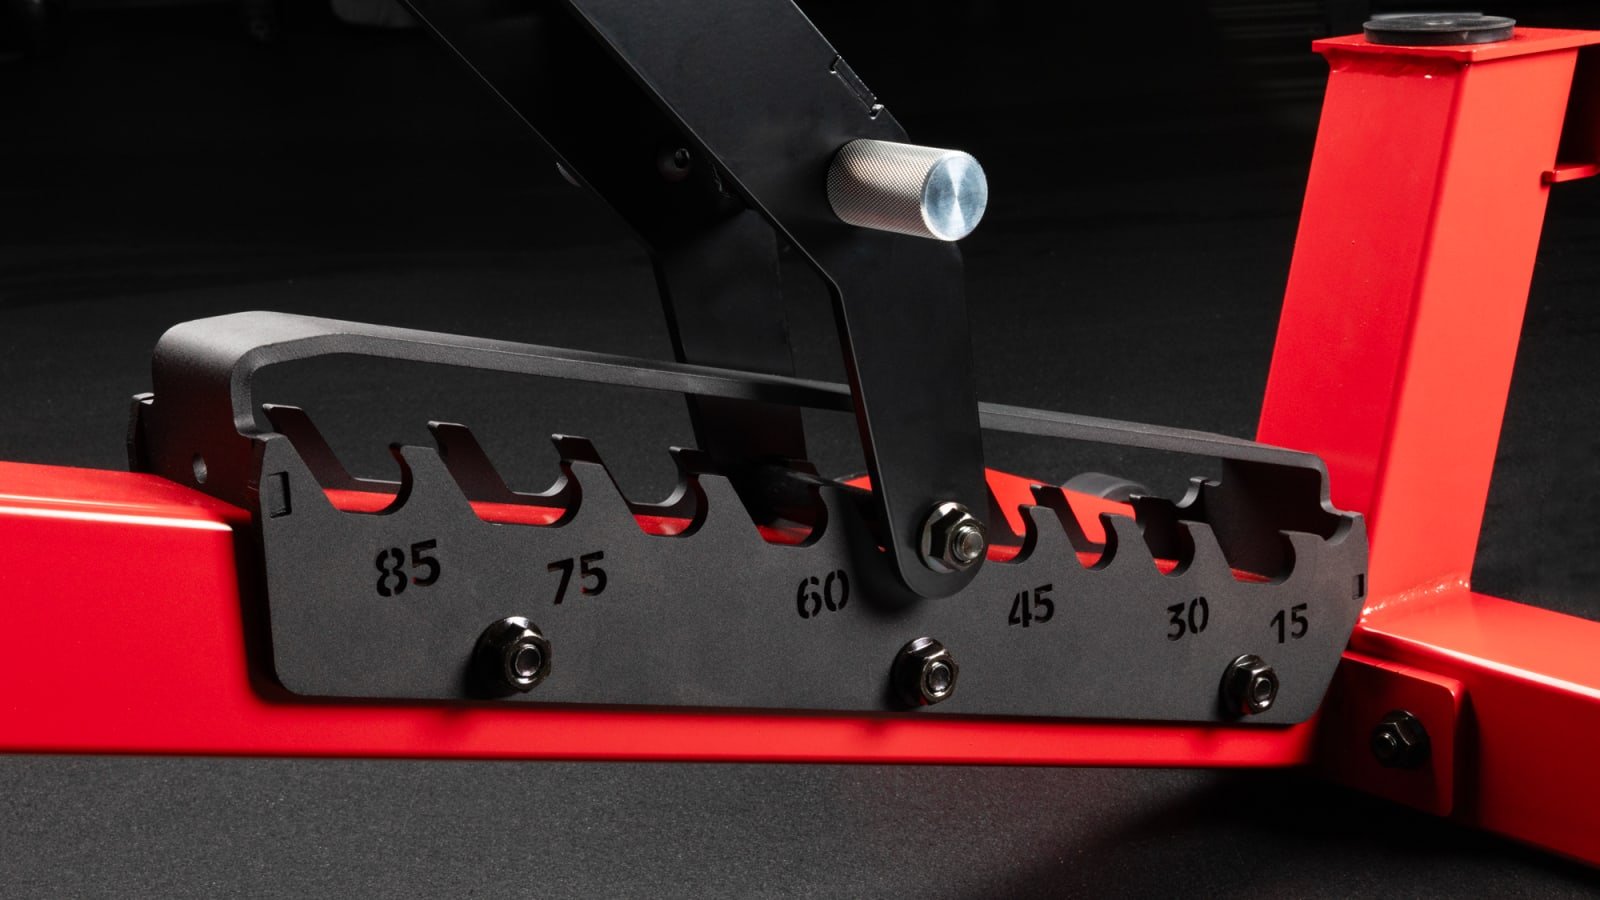
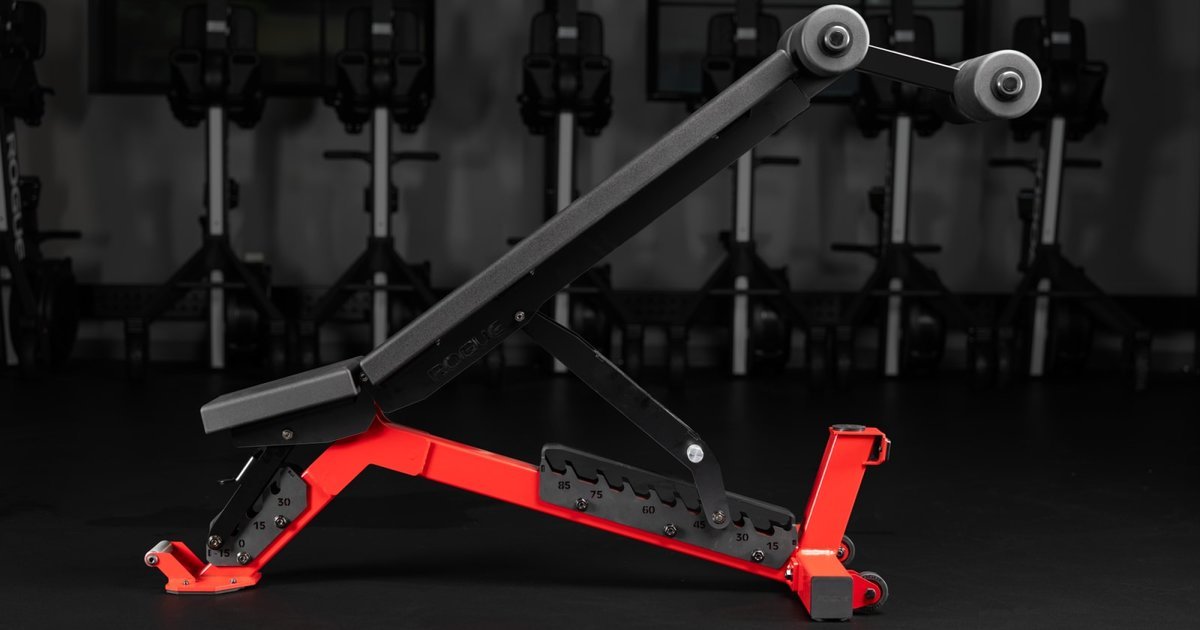
The Rogue Adjustable Bench 4.0 combines ten back settings from flat to 85 degrees with four seat settings, including a minus-15-degree seat position. Its optional Foot Catch completes the decline-oriented setup. Other listed features include a 12-inch pad, a 17.5-inch flat height, a roughly 56.25-by-24.75-inch base footprint, a 130-pound unit weight and upright storage. Those are specification checkpoints; none proves how the bench will feel under your body.
Start with your actual weekly training. Write down the bench positions used for your main press, secondary press, supported row and seated accessory. Someone who spends nearly every session flat or at a modest incline should judge those positions first. A long list of available angles adds little if the setting you use most is awkward to reach or does not suit your setup.
Make a simple trial card: movement, back setting, seat setting, foot position and any obstacle. Photograph the unloaded setup from the side, with the whole bench visible. Repeat this for your second most frequent exercise. You are looking for a repeatable combination, rather than trying to sample every position in one rushed showroom visit.
Do not multiply back and seat settings and treat the result as a menu of equally useful exercises. Some combinations may have no purpose in your programme. Likewise, a steeper angle is not automatically a progression from a lower one. Keep a chosen setup consistent when comparing sessions; changing the angle, load and technique together makes the training log harder to interpret.
Treat decline as a complete setup, including the exit
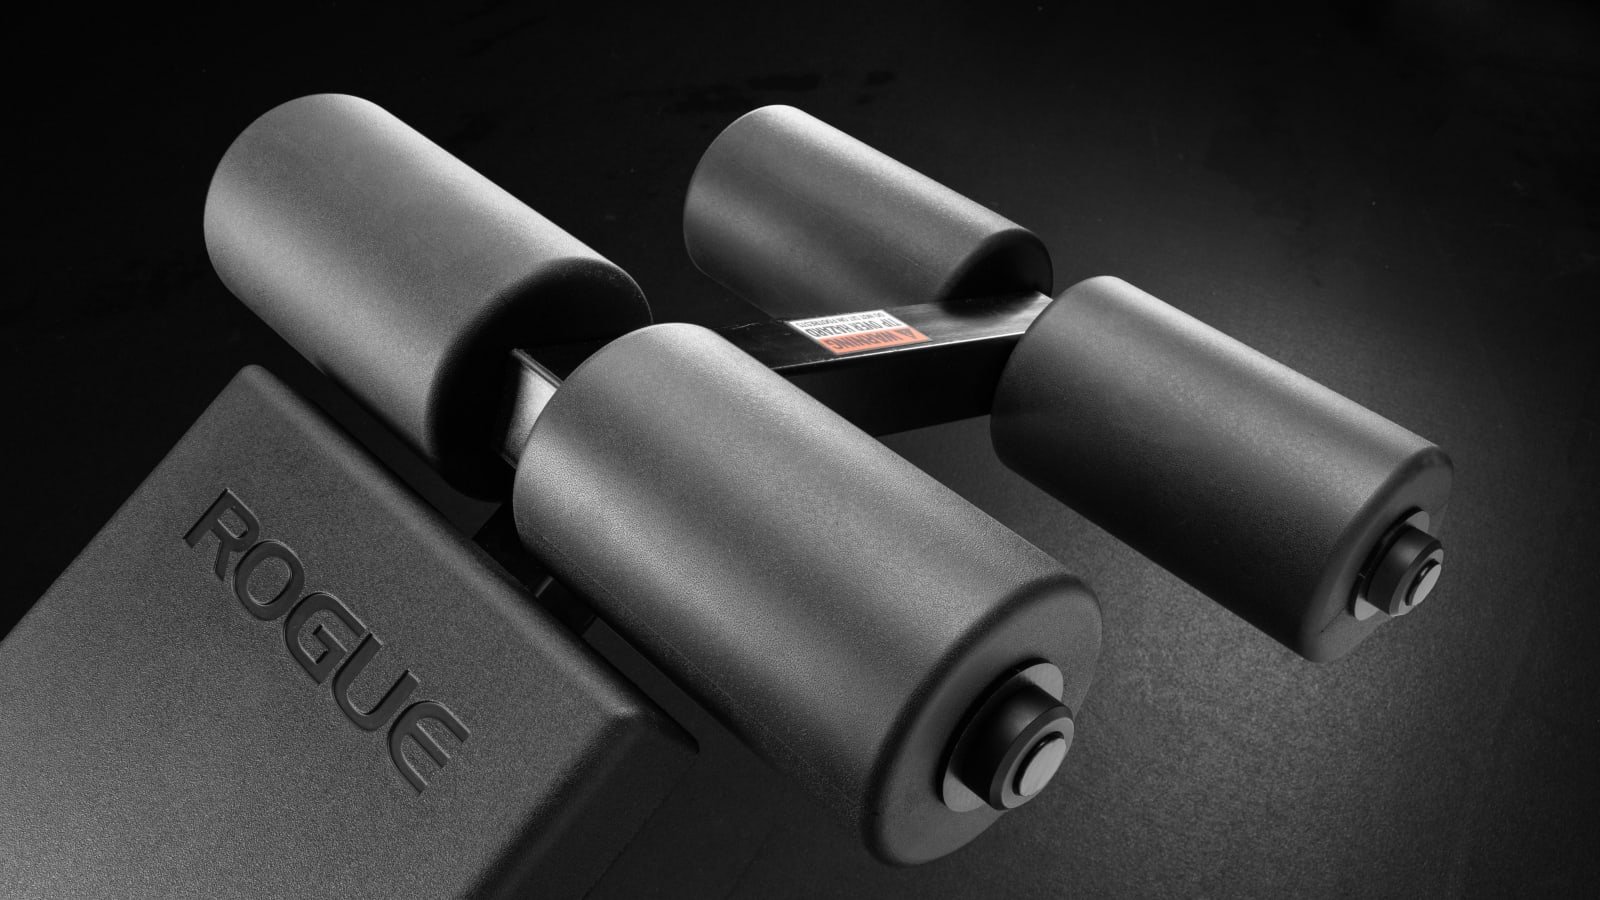
Decline capability is worth evaluating only if you will use it. Before ordering, confirm the exact bench configuration and whether the Foot Catch is included in your selected package. A photograph showing an attachment is not a packing list. Check the current instructions for assembly, adjustment and approved exercise setups rather than assuming a familiar-looking roller from another bench will fit.
Practise getting into and out of the intended position without weights first. Pay attention to where the leg pads contact you, how easily you can establish your position and whether you can leave it without twisting around an obstruction. A configuration that feels secure while lying still may be less convenient when you are carrying dumbbells or trying to finish a tiring set.
For barbell work, map the handoff, uprights and safeties around the actual decline position. Ask a competent spotter to help assess the sequence before loading. The useful test is whether the whole exercise can be organised sensibly, including returning the bar. Do not turn an unfamiliar bench position into an improvised maximum-effort attempt just because the mechanism allows it.
If decline work is only a vague future possibility, give it a lower place in the purchase decision. Make the same assessment you would for any accessory: which exercise will it enable, how often will you perform it, and what will it replace? An additional attachment earns its cost and storage space through a real use case, not through its presence in a promotional photograph.
Check pad fit with your feet and arms in position
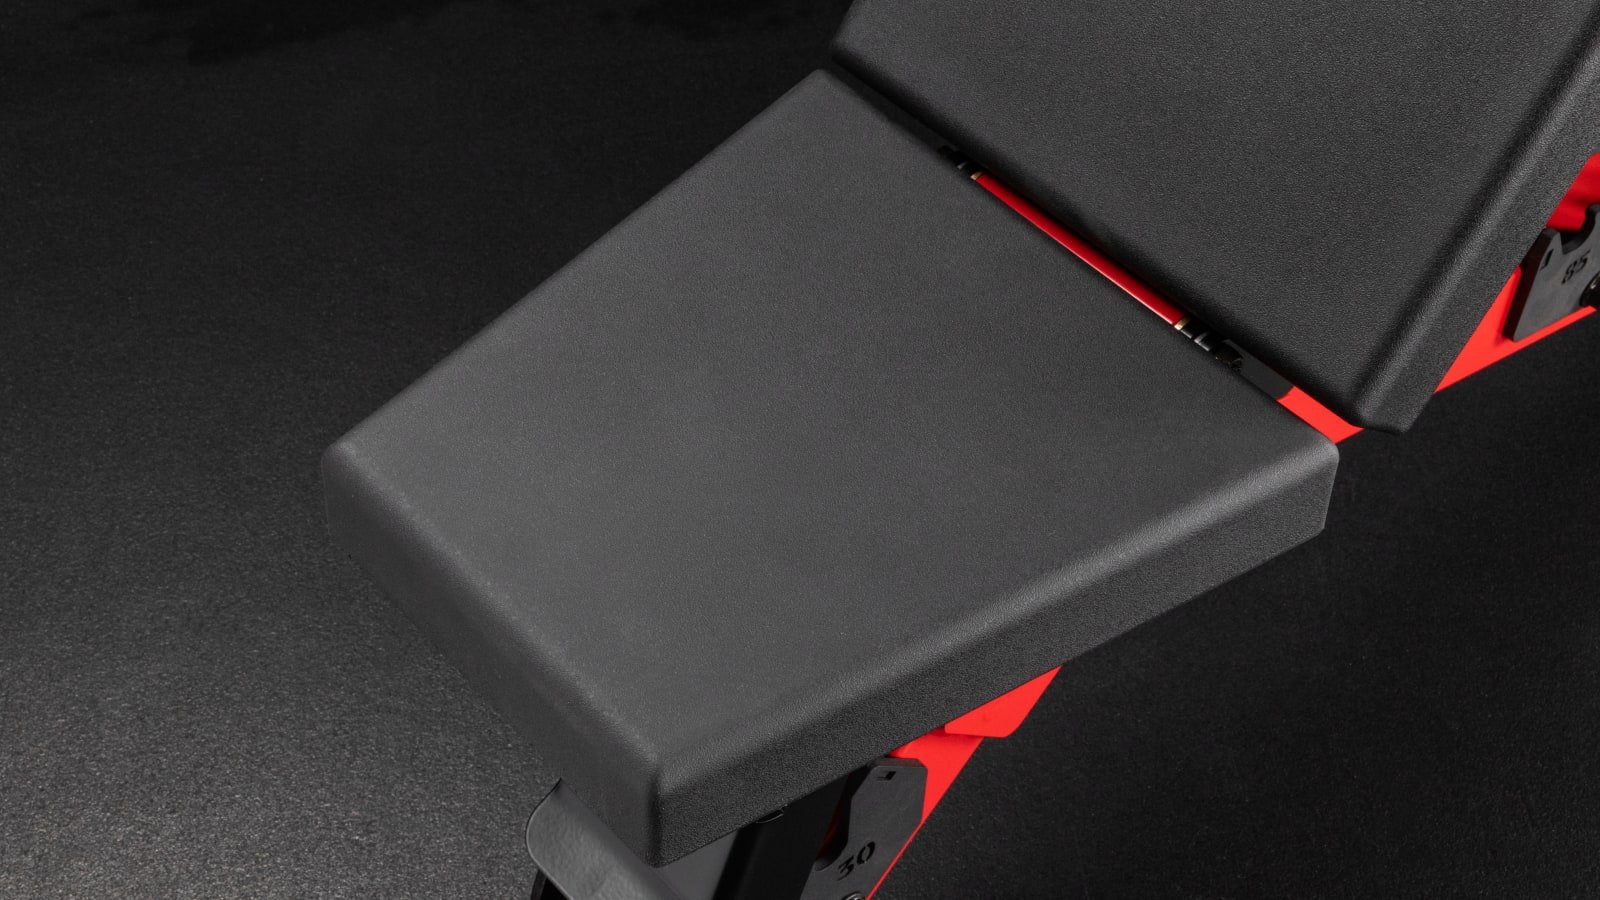
The 4.0's wider pad is an identifiable change from the 3.0's listed 11-inch textured pad. The older model also has three non-declining seat settings and already offers upright storage. That makes the upgrade question more specific: are you solving a pad-fit or decline-use problem, or replacing a bench that already does the job? Neither a larger model number nor a wider support surface answers that for you.
For a body-fit check, lie in your normal pressing position with your head, shoulders and hips supported. Establish comfortable, secure foot contact. Check that you can maintain your intended torso position without constantly moving your feet to avoid a bench leg. Practise the arm path unloaded before judging how the pad edges interact with the movement.
Repeat the check seated at an incline. The junction between the pads may contact you differently when you slide into position, and clothing can change how easily you settle. Note whether the seat supports you without forcing a position you do not want. These are personal fit observations to make on the actual bench; they cannot be settled from a product photograph or a single height measurement.
If pad-gap discomfort is the real complaint, compare that feature directly instead of buying a general upgrade and hoping it disappears. Different adjustable-bench designs approach the junction differently. Separate support width, surface feel, gap location and adjustment convenience on your trial card. One favourable impression should not silently stand in for four different buying criteria.
Measure the working space around the bench
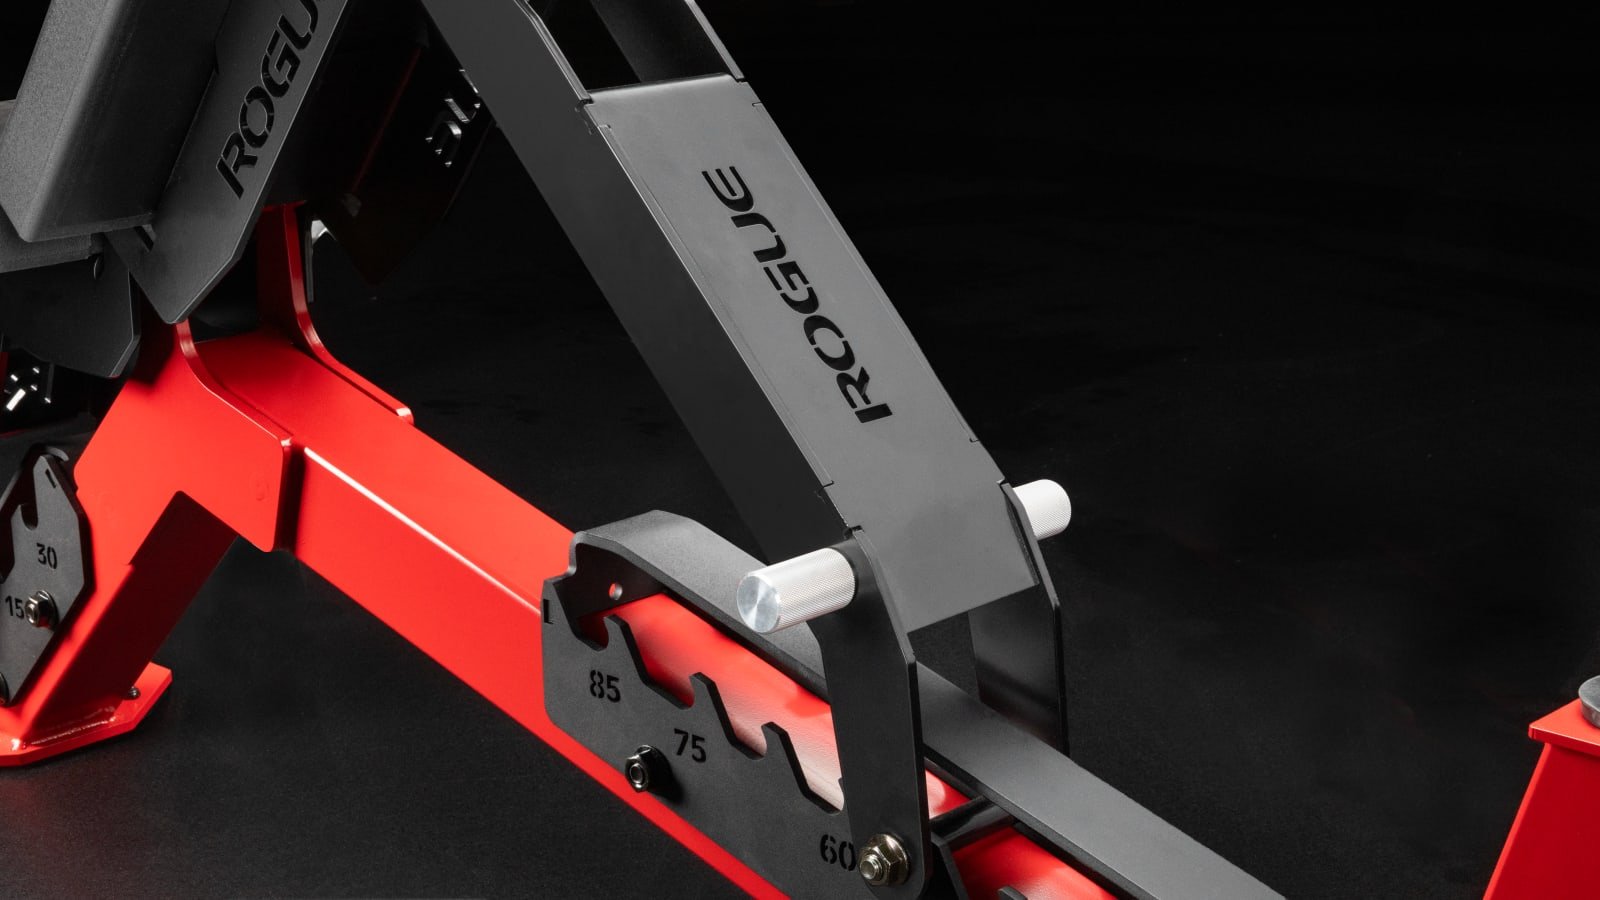
The floor rectangle occupied by a bench is only one part of the space it uses. Your working area also includes where you stand to adjust it, where you bring dumbbells into position and where another person would assist. Tape the base outline on the floor, then walk through the exercise with empty hands. Keep the surrounding rack, shelves and stored plates in their normal positions during the trial.
For flat and incline barbell pressing, centre the proposed bench location under the rack and check the approach to the hooks. Changing the back angle can change where your body needs to sit relative to the bar. Confirm that you can position the bench appropriately without its frame meeting a crossmember or leaving a foot perched on a platform edge.
Next, rehearse the transition to dumbbell work. Where will the weights start? Is there a clear route to the seat? Can you return them to a stable location after the set? Avoid designing the room around an empty bench and discovering later that the dumbbell stand occupies the only useful approach. Floor planning is most useful when it follows a real session in order.
Take measurements of the route as well as the training station, including doorway clearance and tight turns. Allow room for the adjustment action itself and follow the operating instructions for hand placement. The aim is a practical layout that works repeatedly. A bench which technically fits inside a rack can still be inconvenient if every change of exercise requires clearing three other pieces of equipment.
Test the move-and-store routine before treating wheels as the answer
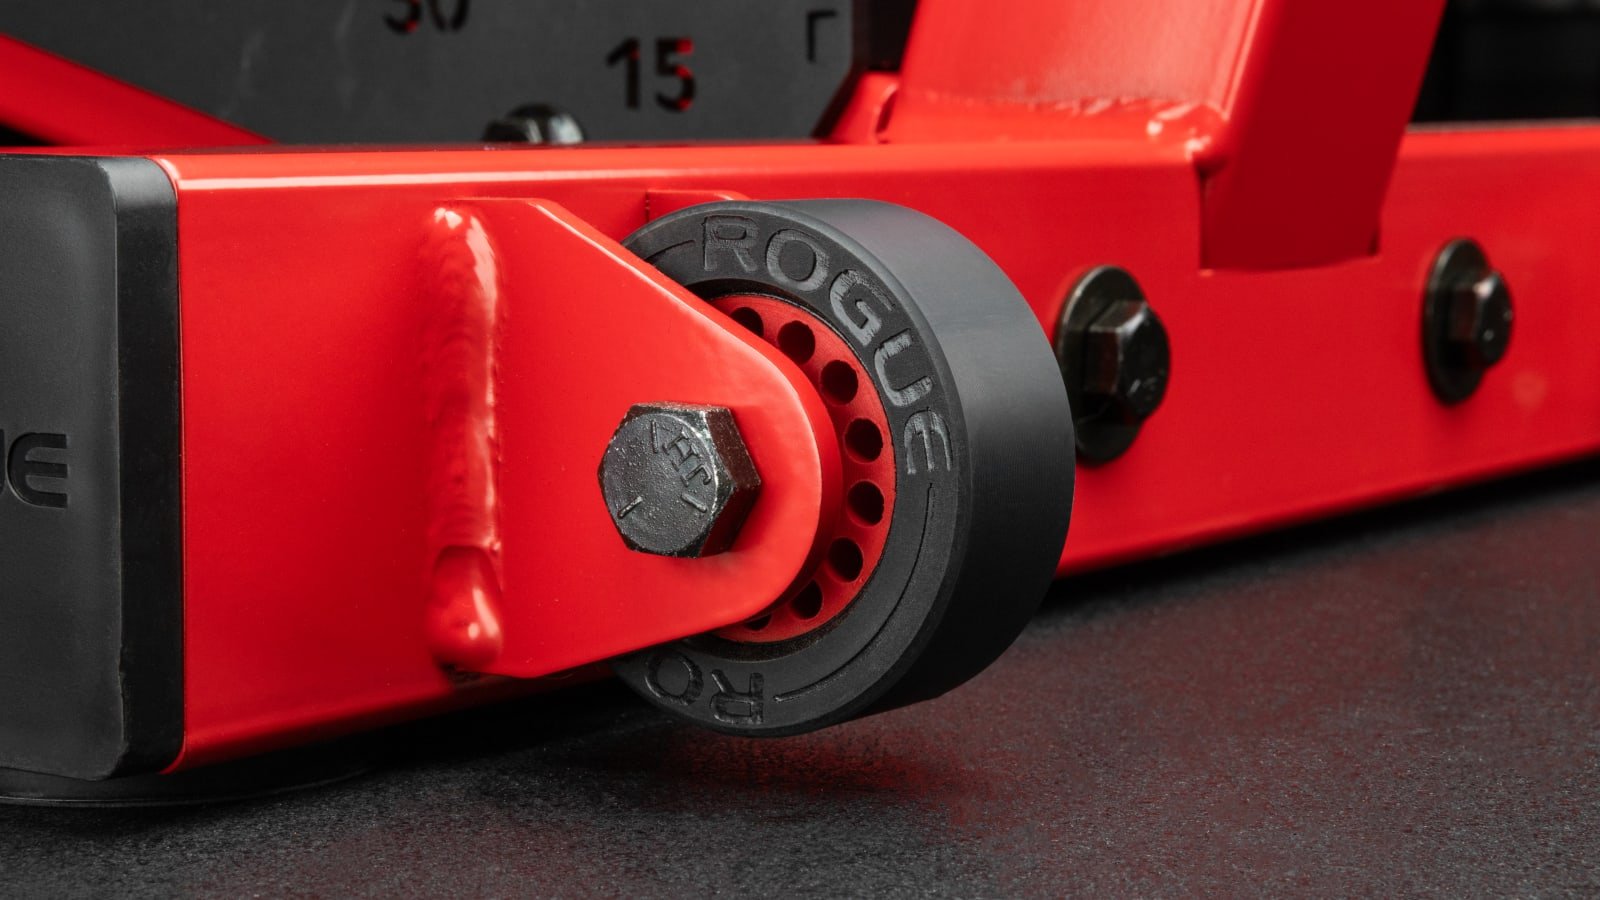
Wheels and a transport handle are useful only as part of a route you can manage. Examine the actual floor between the training position and storage area: seams, loose mat edges and abrupt changes in level can matter. A smooth product demonstration does not establish how any bench will behave in your particular room. Check the approved moving method and clear the route before trying it.
Think about who will move the bench and how often. A dedicated pressing station might stay in place for weeks. A shared garage may need to be cleared after every session. Those owners are buying different daily experiences even when they choose exactly the same model. Evaluate the repeated task, rather than giving portability a high score just because a wheel is visible.
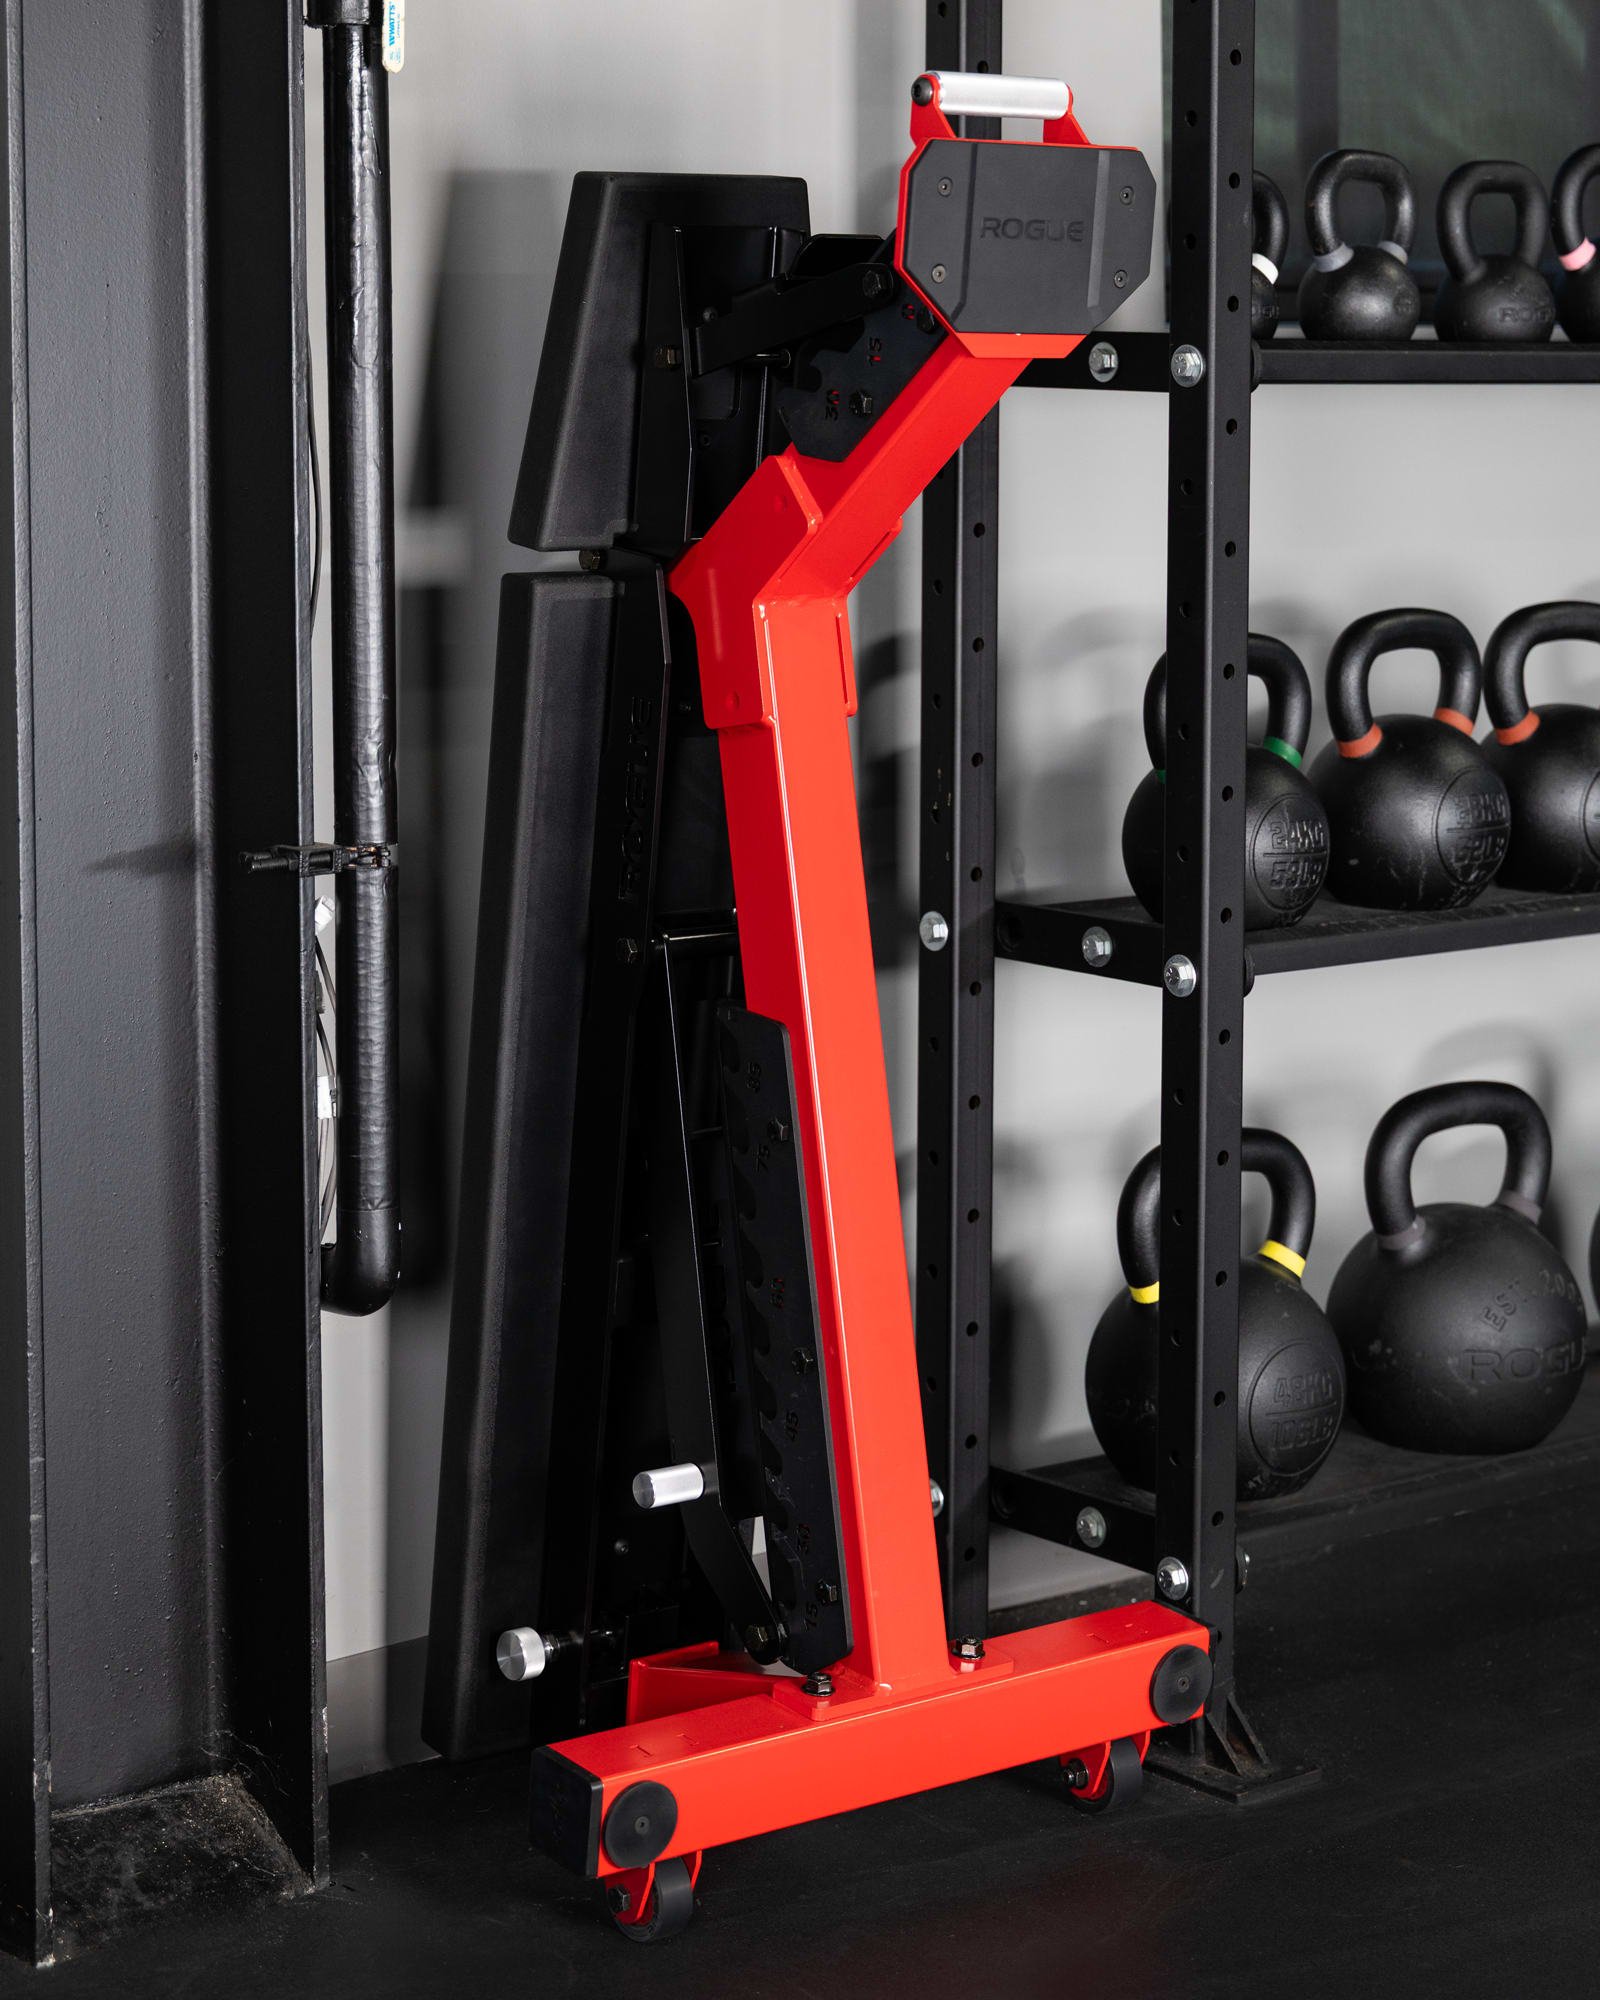
For upright storage, establish a suitable level location and use the intended support arrangement. Leave access to exits, switches and other equipment. Do not assume a storage position is a climbing surface, an anchor point or somewhere to hang additional loads. Check the instructions for the correct orientation and any restrictions; standing a bench upright is a separate operation from adjusting it for lifting.
A useful rehearsal is to finish a normal mock session, clear the weights, return the bench to its approved storage configuration and restore the room. Time the whole sequence without rushing. Then reverse it. If the procedure is awkward when you are fresh, consider whether it will still happen after a hard workout. Storage features help most when they support a habit you can maintain.

Home Gym Shirts & Garage Gym Gear
Home, garage and basement gym shirts and workout gear for lifters who built their own place to train.

Funny Home Gym | Home Is Where Your Gym Is Workout Swea T-Shirt
For laid-back days and lifting humor: “Funny Home Gym”.

Funny Garage Gym Muscle Shirt Athletic Vest for Home Gy Tank Top
Your gym-day look, with a playful “Garage” twist.

Funny Basement Gym Hooded Pullover for Home Gym Lifters Hoodie
Make your off-duty look more fun with “Basement”.

Anti Gym Home Gym Club Decal for Garage Gym Equipment W Sticker
Bring “Anti Gym Home Gym Club” attitude to your water bottle or laptop.

Anti Garage Club – Meme & Gymbros – Top Home Gains T-Shirt
Rep “Anti Gym Garage Gym Club” humor in and out of the gym.

Basement Gym Club Decal for Water Bottles Laptops Garag Sticker
Put “Basement Gym Club” gym humor on your laptop, bottle, or gym gear.

Anti Social Home Gym Club Muscle Shirt Athletic Vest fo Tank Top
Train hard, laugh a little, and rep “Anti Social Home Gym Club”.

Shirt – Home Nerd – & Meme Gymbros T-Shirt
Show some powerlifting attitude with a playful “Home Gym Nerd” tee.

Funny Home Gym Owner Gym Crewneck Pullover Sweater for T-Shirt
Show some gym-day personality with “Home Gym Owner”.

Choose an upgrade that removes a real training limitation
Use three decisions to finish the comparison. First, identify the limitation of the current setup: an unsuitable pad, no useful decline arrangement, poor positioning in the rack or an inconvenient storage routine. Second, decide whether the proposed bench actually addresses that limitation. Third, compare the total delivered configuration, including necessary accessories, with keeping what already works. Check current local pricing instead of treating an old advertised starting price as the bill.
For a first bench, prioritise the positions you will use every week and the space needed to use them. For a 3.0 owner who is already comfortable, decline capability or a better personal fit is a more concrete reason to consider the 4.0 than appearance alone. An occasional exercise may be better handled by revising the programme than replacing a major piece of equipment.
Consider the rest of the pressing station without confusing accessories with compatibility. Dumbbells and suitable pressing bars can change exercise choices; alternative adjustable benches can change the underlying setup. The equipment selection below includes those categories for comparison. It does not imply that another brand's attachment fits this bench, or that every pictured specialty bar suits every lifter and rack.
Keep a short acceptance checklist for delivery: correct ordered version and parts, assembly completed to instructions, adjustments inspected, unloaded movement checks, rack placement and the move-to-storage route. Resolve any uncertainty about operation or condition before progressing the load. This is a purchase-planning guide, not an MMP hands-on durability test. The best result is a bench that removes a known obstacle and makes the next ordinary workout easier to organise.

Equipment Worth Exploring
Explore equipment, accessories and gear from our carefully selected range.
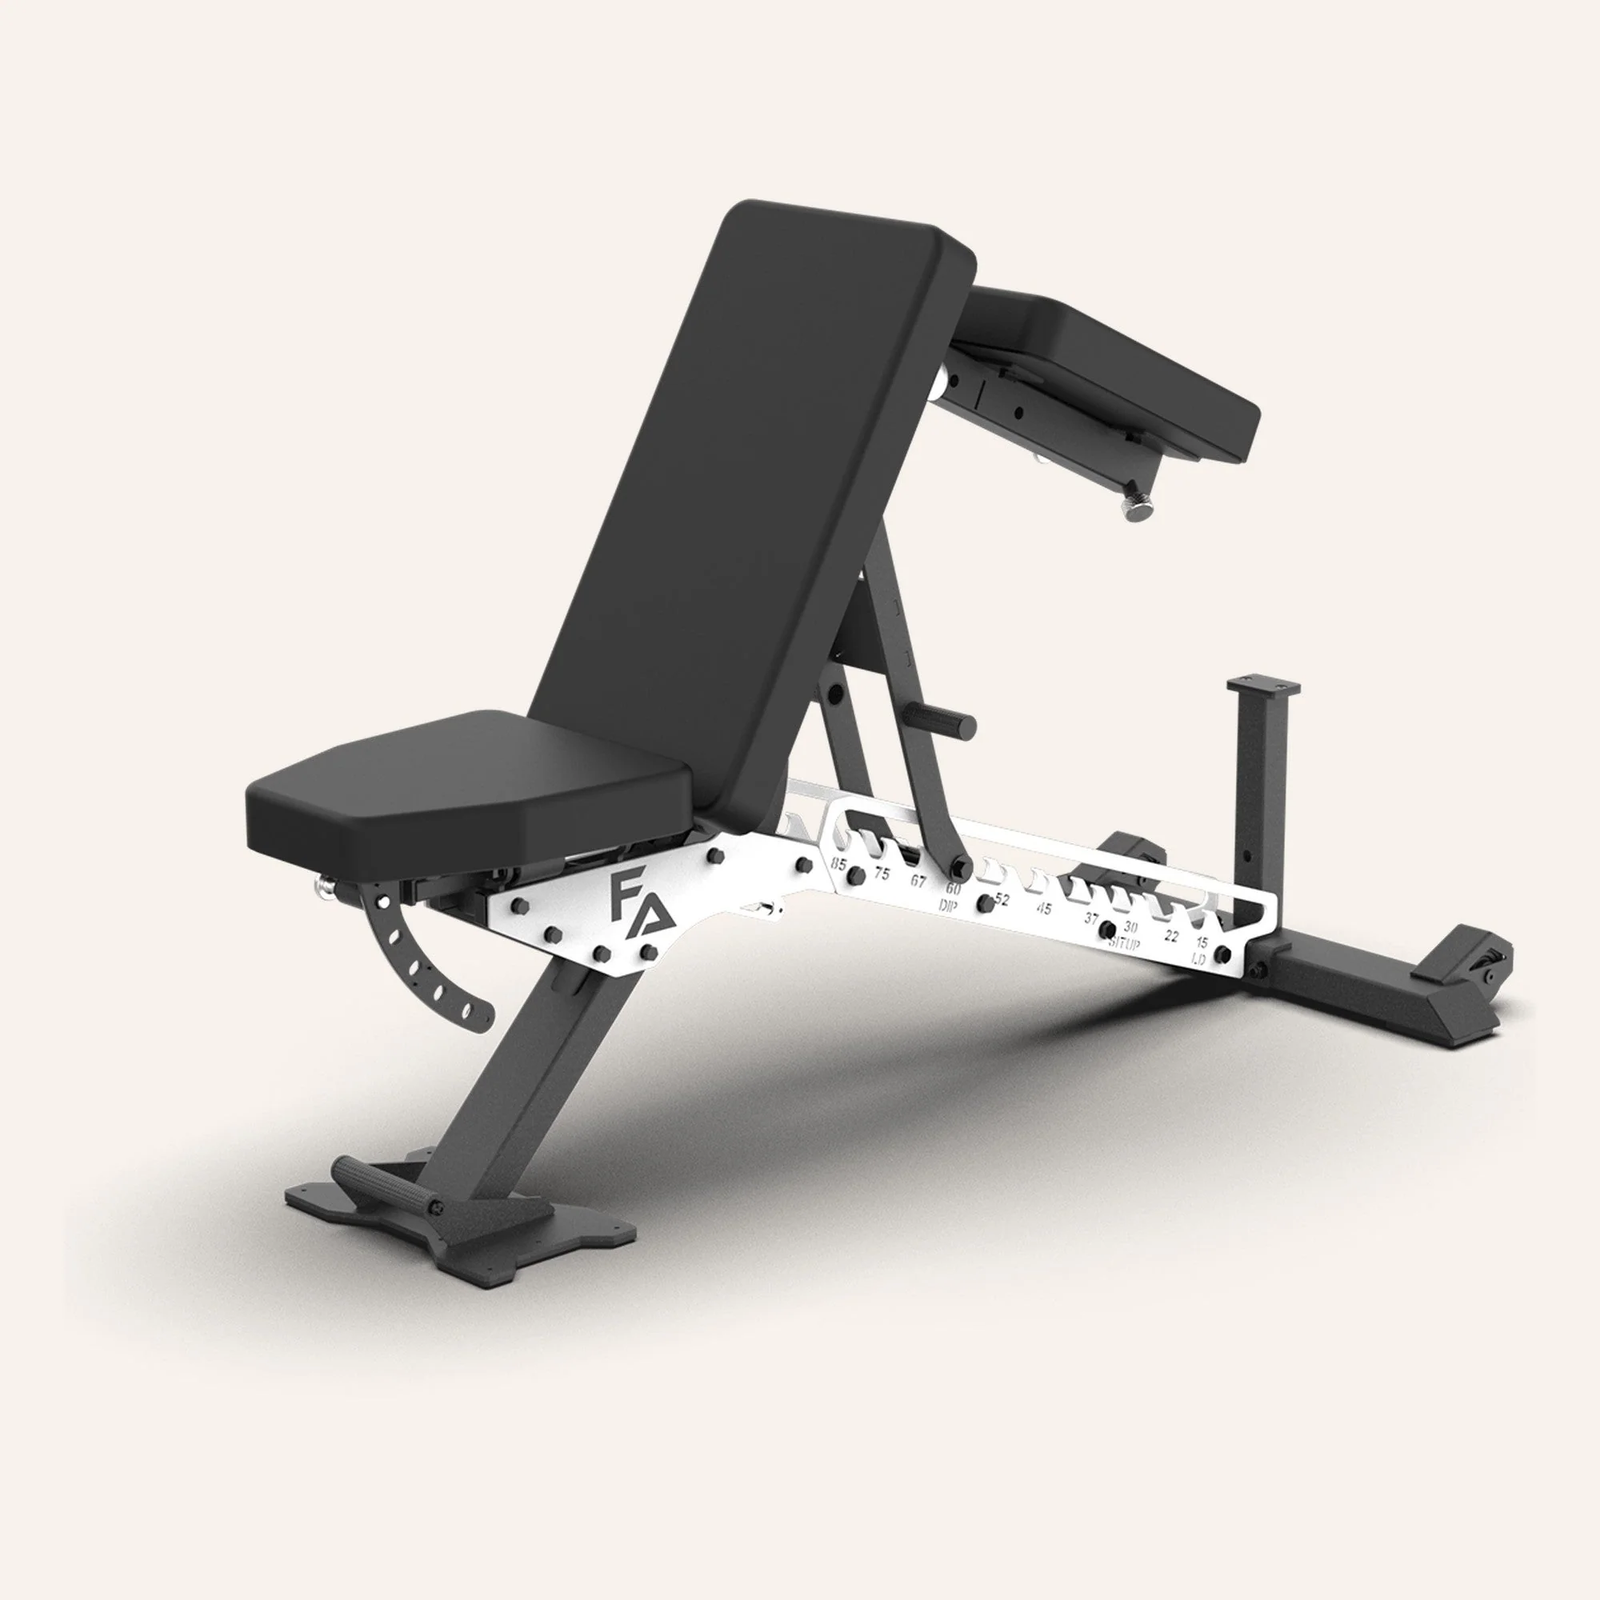

FID Bench MAX
Adjustable bench offering flat, incline, and decline positions + adjustable headrest.


Multi Bench MBX-650 2.0
Adjustable multi-bench with roller adjustment, 15 backrest positions and accessory mounts.


Rubber Hex Dumbbells
Rubber-coated hex dumbbell pairs with a stable shape for home and commercial strength training.