Advertising disclosure: This page includes affiliate product links that may earn us a commission, as well as products from our own store.
Bear Crawls: Short Steps, Better Coordination and a Clear Training Purpose
A bear crawl can become a scramble very quickly. Your hands rush forward, your hips climb and your legs start chasing the rest of your body. You still reach the other side of the floor, but you have changed the task. A low, deliberate crawl asks you to move opposite limbs while keeping the torso relatively steady. Covering distance is only part of the exercise.
The movement needs no equipment, yet it is not automatically easy. Your hands and toes support you while your knees hover and your arms and legs alternate. Learn a short, manageable version first. Then decide whether you want a coordination drill, a warm-up or a conditioning interval. Those goals should influence how long and how hard you crawl.
1. Build a stable start before the first step
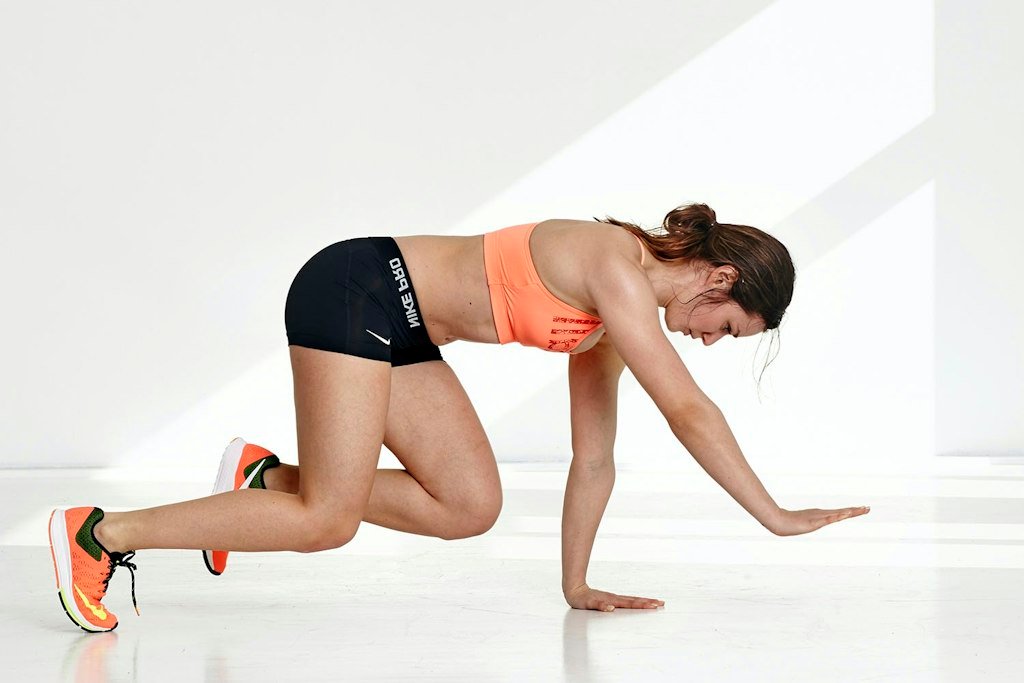
Begin on hands and knees, with your hands below your shoulders and knees below your hips. Spread your fingers comfortably and choose a surface that gives your palms and shoes reliable traction. Tuck your toes under, gently brace your trunk and lift your knees a small distance off the floor. Stay there briefly before trying to travel.
This hovering position is useful feedback. If you cannot settle your breathing or keep the position without discomfort, adding steps will not solve the problem. Lower your knees, rest and try a shorter hold. The purpose is to establish a starting shape that you can return to, rather than spending the whole set searching for one.
Keep your neck comfortable and look toward the floor slightly ahead of your hands. You need enough awareness to see your route without repeatedly craning your head upward. Think of a long back rather than trying to flatten every natural curve. Your knees hover because you are supporting yourself, not because you have pulled your hips into a high inverted V.
Check the route before starting. Clear loose plates, bags, cables and other obstacles. Avoid a slippery towel or a mat that bunches under moving hands. A short, clear lane is more useful than a long route that forces you to dodge equipment while your attention is on coordinating your limbs.
2. Pair the opposite hand and foot
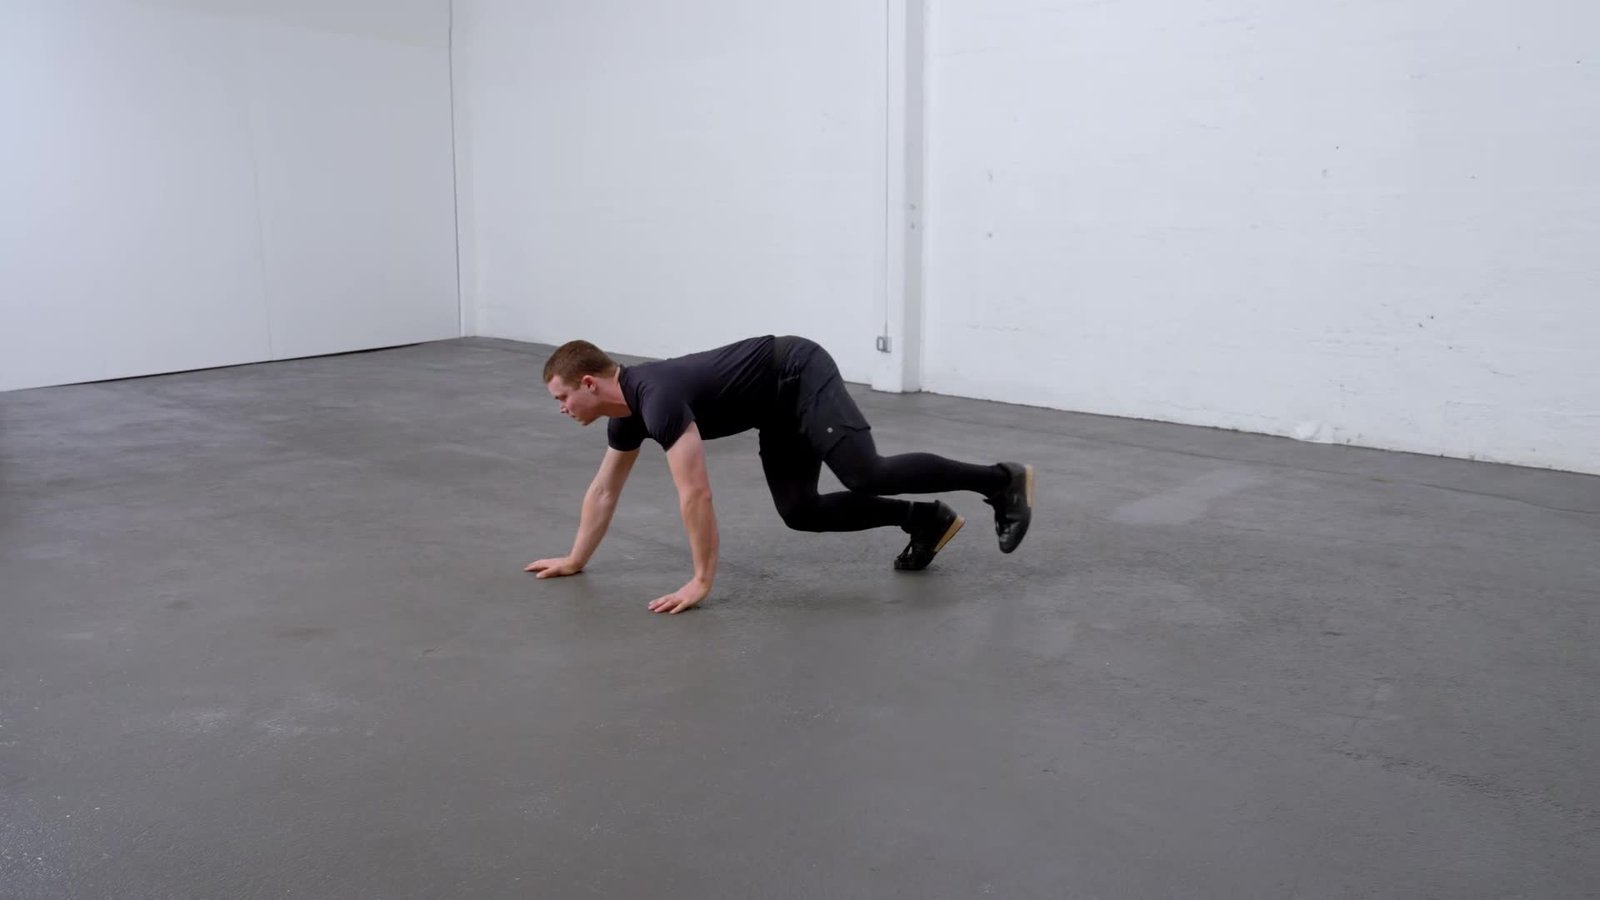
Move your left hand and right foot forward together, then your right hand and left foot. Keep the steps small enough that you can place each contact deliberately. This opposite-side pattern is the central coordination task. If both limbs on the same side keep moving together, pause and reset instead of accelerating through the confusion.
You do not need to reach as far as possible. A very long hand step can pull the trunk forward while the feet struggle to catch up. A large knee drive can crowd the space underneath you. Shorter steps make it easier to keep your hips relatively level and your shoulders moving with the rest of your body.
Try a simple learning sequence: hover, take one opposite-side step, settle, then take the other. Rest on your knees whenever needed. That is a practice example, not a mandatory rhythm for every workout. As the pairing becomes familiar, join the steps into a continuous crawl while retaining the same deliberate placement.
Expect some movement through the torso; you are traveling, not balancing a statue. The aim is to avoid large uncontrolled side-to-side shifts or a dramatic rise of the hips. A side view can show whether the crawl stays low, while a front view can reveal repeated twisting. Use a brief recording if useful, then return to practicing rather than analyzing every tiny change.
3. Reverse direction without turning it into a race
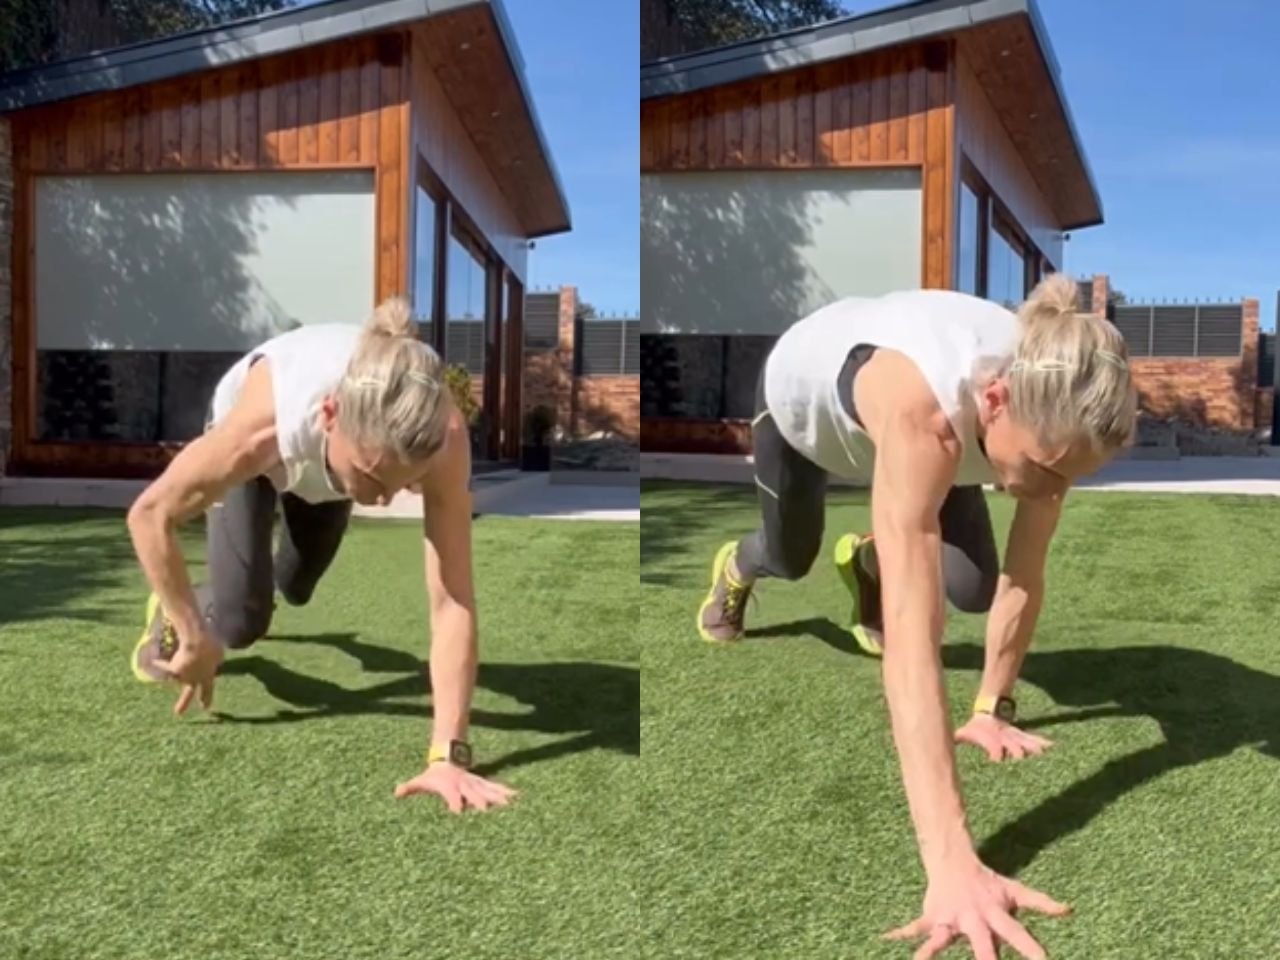
Once forward movement feels organized, practice returning along the same short lane. Moving backward changes the coordination demand even when the position looks familiar. Begin with a few small steps rather than assuming you can reproduce the forward speed immediately. Keep the opposite hand-and-foot relationship and allow yourself time to place them.
Look at the route before reversing. You cannot watch every landing behind you while keeping a comfortable neck position. Knowing that the lane is clear removes one distraction. If space is limited or someone enters the route, lower your knees and reset. There is no training benefit in maintaining a hover while trying to avoid another person.
A controlled forward-and-back trip is a convenient unit to record. For example, use the same two floor markings each time and count complete trips. Do not compare five tiny steps in one session with five giant steps in another and call the difference progress. Distance, step size and pauses all influence what a set actually contains.
Sideways crawling is another option, but introduce it as a new variation rather than adding every direction at once. Learn where your hands and feet go, maintain enough room between them and keep the route simple. Changing direction can challenge coordination without automatically making a longer or faster set the better choice.
4. Separate useful effort from a deteriorating crawl
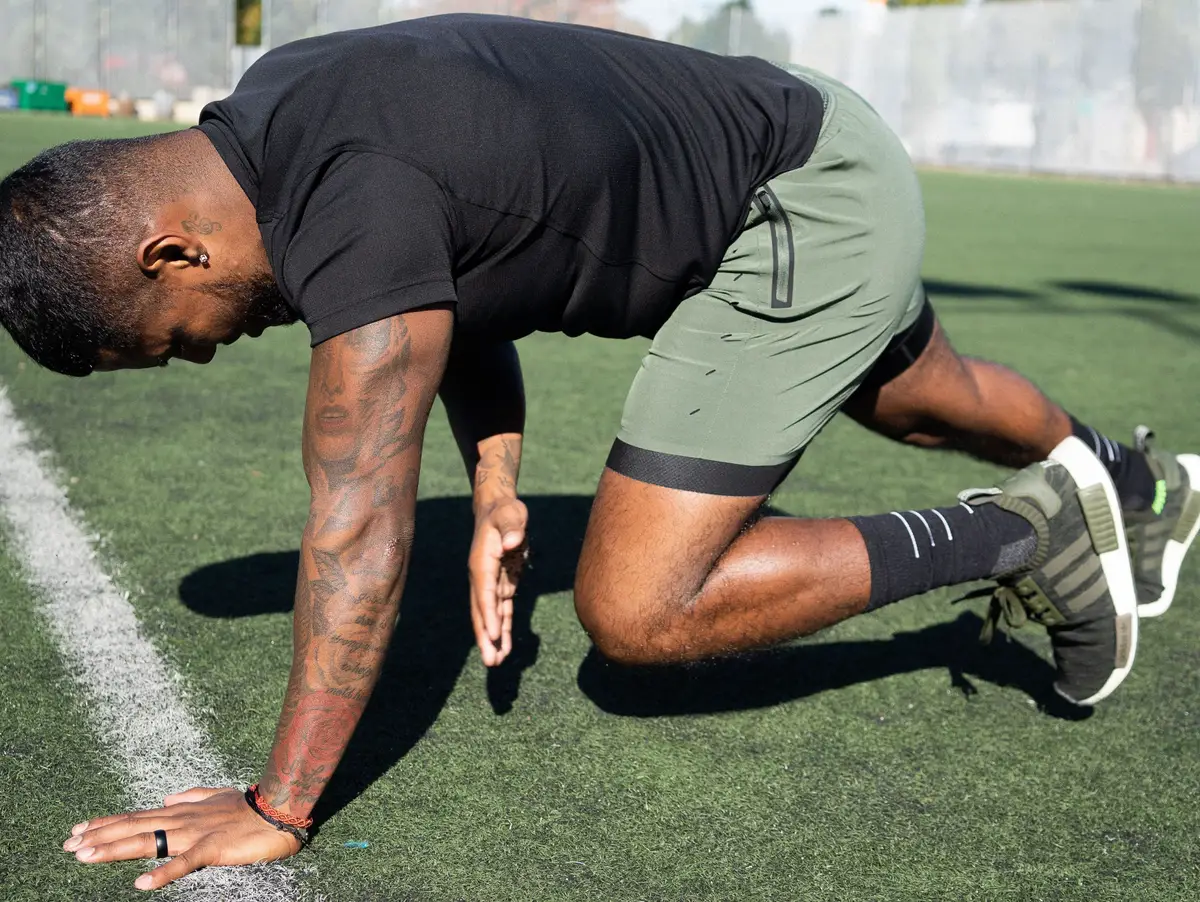
Bear crawls distribute work across the upper and lower body while the trunk resists excessive movement. They can feel demanding without an external load. That does not mean a burning set proves a special muscle-building effect, and it does not make crawling a complete replacement for progressive strength training or sustained aerobic exercise.
Decide what ends the set before fatigue makes the decision for you. Useful stopping cues include repeatedly scraping your knees, losing the opposite-side pattern, lifting the hips substantially or rushing the hands to avoid supporting yourself. Rest, then choose a shorter distance or duration that preserves the version you intended to practice.
Keep breathing. If you notice that you are holding your breath through the entire lane, slow down and shorten the effort. A warm-up should prepare you for later work, not leave your shoulders and trunk exhausted before it begins. A conditioning interval can be more demanding, but it still needs a movement standard you can maintain.
Stop if the exercise causes wrist, knee or back pain. Reducing the duration may help with ordinary fatigue, but it does not establish why a joint hurts. Seek individual guidance for persistent symptoms rather than repeatedly forcing the same position. Resting on your knees is a sensible reset, not a failed repetition that must be hidden from the training log.
5. Progress the drill and keep the rest of the session in view
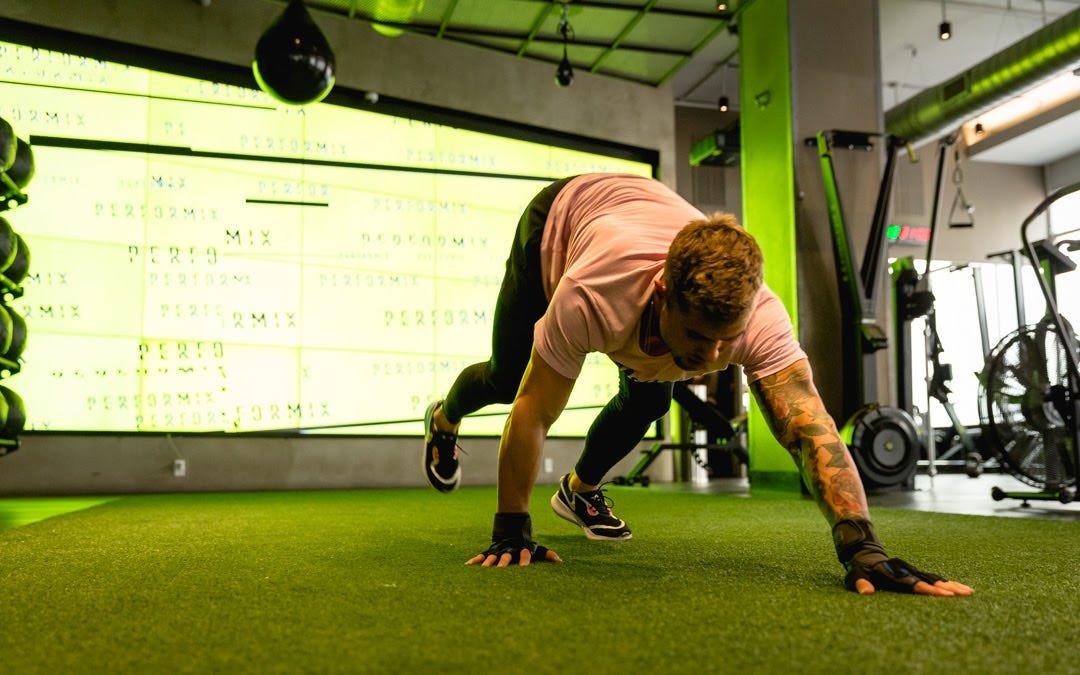
Start by recording one clear measure: a short route, a number of controlled trips or a brief timed effort. Note whether you crawled forward only or included the return. Repeat that setup before making it harder. Progress might first mean fewer unnecessary pauses or steadier steps, rather than adding distance at every session.
Change one main variable at a time. Extending the route, increasing speed and shortening recovery together makes it difficult to identify why technique deteriorated. If your aim is coordination practice, retain enough rest to concentrate. If the aim is conditioning, use a repeatable interval and stop it when the crawl becomes a different movement.
The wider workout can contain separate loaded exercises: dumbbell squats, kettlebell carries or a suitable pulling movement, for example. Jump rope is another conditioning option when space and skill allow. Rings and parallettes belong to their own appropriately learned bodyweight exercises. None of these tools is required for a bear crawl, and a product carousel is not a reason to add an unstable object beneath your moving hands.

Equipment Worth Exploring
Explore equipment, accessories and gear from our carefully selected range.


Cast Iron Kettlebells
Textured cast-iron kettlebells for swings, squats, carries, and full-body training.


Rubber Hex Dumbbells
Rubber-coated hex dumbbell pairs with a stable shape for home and commercial strength training.


For a practical comparison, imagine two sessions using the same short lane. In the first, you complete two trips but repeatedly lose the hand-and-foot sequence. In the second, you complete the same two trips with fewer resets and a similar pace. The second session shows improved execution even though the distance has not increased. Add another trip only when it suits the purpose and available recovery. This example describes how to compare practice, not a tested two-trip training prescription.
Keep the distinction clear in your log. “Three short crawl trips with steady hips” tells you more than “functional finisher.” Combine the drill with exercises chosen for your actual strength and conditioning goals, rather than expecting one crawling pattern to cover every training need.
Finally, judge the last trip against the first. Can you still coordinate opposite limbs, place your hands quietly and choose when to stop? That is a useful standard for making the drill more demanding while keeping its purpose intact.

Funny Gym Shirts & Workout Gear
Funny gym shirts, tanks, hoodies and workout gear for lifters who like training hard.

Shirt – Cardio Is Hardio – & Gymbros T-Shirt
Show some cardio attitude with a playful “Cardio is Hardio” tee.

Be Stronger Than Your Excuses – Motivational T-Shirt
Rep “Be Stronger Than Your Excuses” humor in and out of the gym.

Calisthenics Evolution
Show some lifting attitude with a playful “Calisthenics Evolution” tee.

Shirt – Calisthenics Heartbeat Gymbros & Meme Lovers T-Shirt
Bring “Calisthenics Heartbeat” humor to your next gym day.

Consistency Is Key Stoic Greek God Marble Sculpture T-Shirt
Make gym days more fun with “Consistency is Key Stoic Greek God Marble” style.

Funny Calisthenics Gym Hooded Pullover for Bodyweight W Hoodie
Stay casual and show some lifting attitude with “Calisthenics”.


Mind Muscle Perfection Brain and Biceps Gym for Science Tank Top
Bring “Mind Muscle Perfection Brain and Biceps” humor to your next lifting session.

Safety Practice Safe Sets Hooded Jumper Top Hoodie
Show off your bodybuilding humor in a laid-back “Gym Safety” hoodie.

Gymhead Lifting Is On My Mind Decal Skull Meme Sticker
Bring “Gymhead” attitude to your water bottle or laptop.