Advertising disclosure: This page includes affiliate product links that may earn us a commission, as well as products from our own store.
Larsen Press: Remove Leg Drive, Secure the Bench and Control Every Rep
Take the feet away from a bench press and a familiar lift suddenly feels less forgiving. That is the point of a Larsen press: the bar still travels from the chest to straight arms, but your feet do not push into the floor. With the legs extended and unsupported, you have less help controlling your position. The challenge is not to throw away good bench technique; it is to find out whether the upper body can keep that technique without a powerful lower-body brace.
This variation can be useful for lifters who already know how to bench safely and want another way to practise bar control. It is not a beginner safety shortcut, a substitute for a spotter or guaranteed to build more muscle than regular pressing. Set the rack correctly, learn the position with a very light bar, and then use the following guide to make the work measurable.
1. Build a stable bench setup before lifting your feet
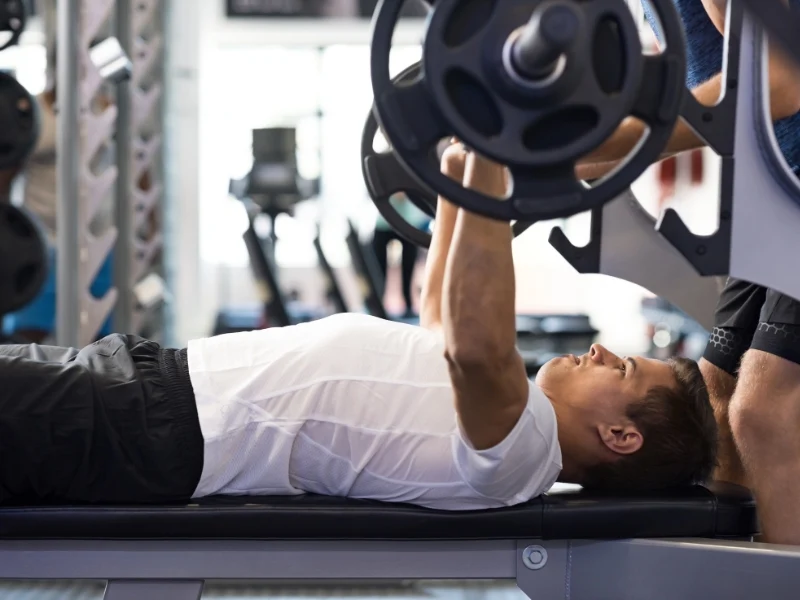
Start inside a properly sized rack with a stable, level bench. Before loading any plates, lie down and check whether the J-hooks allow a comfortable unrack without reaching so far back that your shoulders lose their position. Position your eyes roughly beneath the racked bar and make sure the bench will not slide. Test both safety rails with an empty bar to establish where they can catch a failed repetition without trapping your torso. A competent spotter is another important safeguard; safeties and a spotter are not interchangeable in every setup.
Place your feet on the floor to establish the same upper-back tension you would use in your normal bench press. Keep your shoulder blades settled against the pad, your head supported, and your glutes in contact with the bench. Take a full grip around the bar with your thumb closed; the wrists should remain broadly stacked over the forearms rather than folding backward. Choose the grip that permits a controlled touch point and comfortable shoulder movement, not whichever hand position makes the empty bar look impressive.
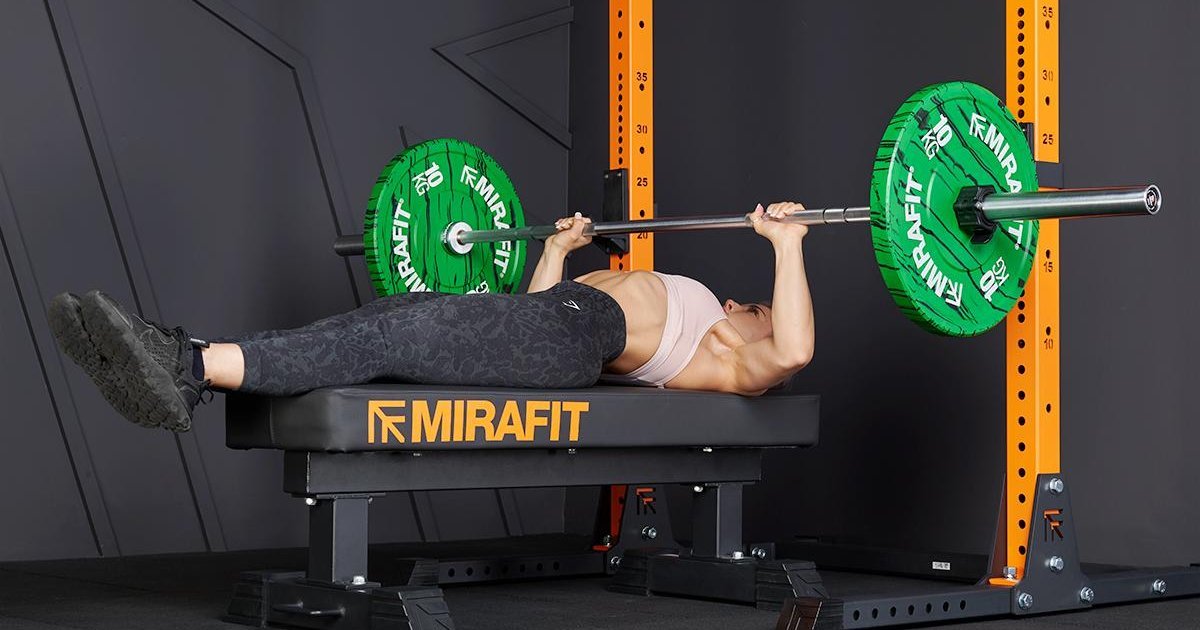
With a safe unrack complete and the bar steady above your shoulders, slowly straighten both legs beyond the end of the bench so your feet hover without support. Do not kick them upward, brace them against the rack, or curl them tightly toward your chest. The classic Larsen position has the knees approximately extended. A feet-on-bench press, with knees bent and feet supported on the pad, removes floor drive too, but it is a different setup with different balance demands. Record which variation you actually performed.
If raising your legs makes your hips slide or forces you to fight for balance, put your feet down and reset. A narrower bench, a loose shirt on a slippery pad, or a poorly placed rack can make a modest load unnecessarily risky. The safest response is not simply to brace harder. Adjust the equipment, get a spotter or choose a more stable variation instead.

Equipment Worth Exploring
Explore equipment, accessories and gear from our carefully selected range.


FID Bench MAX
Adjustable bench offering flat, incline, and decline positions + adjustable headrest.


Multi Bench MBX-650 2.0
Adjustable multi-bench with roller adjustment, 15 backrest positions and accessory mounts.


Foldable Wall Rack
Wall-mounted folding squat rack designed to save floor space between workouts.

Multi Pull Smith Rack MPHR-780
All-in-one rack with a Smith machine, functional trainer, lat pulldown and low row.


2. Keep the bar path controlled when leg drive disappears
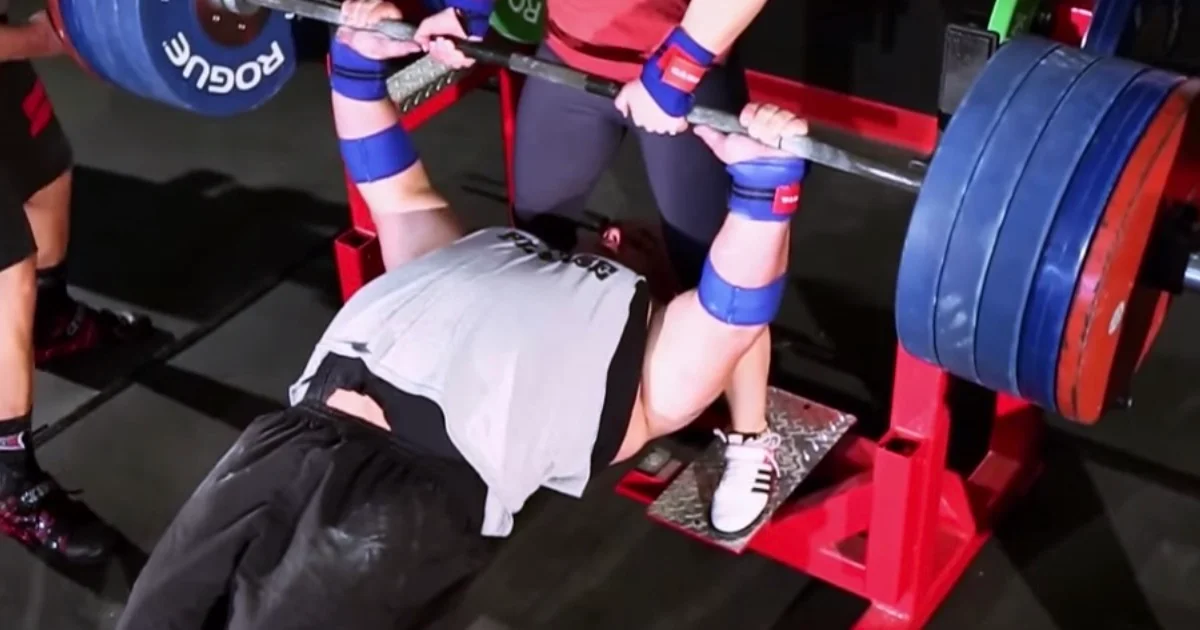
Once the bar is balanced above your shoulder line, take a deliberate breath and lower it with your elbows bending naturally. The bar typically travels toward the lower-to-middle chest rather than dropping straight down over your neck. Try to keep the forearms close to vertical when viewed from the front. Avoid forcing an identical elbow angle on every body shape; a grip or path that causes pinching in the front of the shoulder is a reason to stop and change the setup.
Keep the legs quiet. If they swing forward on the descent and snap back during the press, you have traded leg drive for momentum. The feet should remain off the floor, with the glutes and upper back planted. A short, controlled pause near the chest can make the rep easier to judge. Touch lightly if that is your comfortable range; never bounce the bar off the ribcage to escape a weak position.
Press the bar upward and slightly toward the rack as your elbows extend, finishing over a stable shoulder position rather than drifting toward the abdomen. The bar does not have to follow a mathematically perfect curve. What matters is that the route stays predictable, your wrists and elbows remain coordinated, and you can recover the bar into both hooks without reaching or twisting. Put the feet back on the floor after securing the bar, not while the bar is still moving.
Watch for three useful errors: one plate rises before the other, your hips peel off the bench, or the elbows flare abruptly as the load becomes difficult. All three can signal that the set is too demanding for the stability available. Reduce the weight, adjust the grip or finish the session with a standard bench press. This is especially important when training alone; a near-failure Larsen press can be much harder to recover than a normal feet-planted rep.
3. Understand what changes, and what the evidence cannot promise
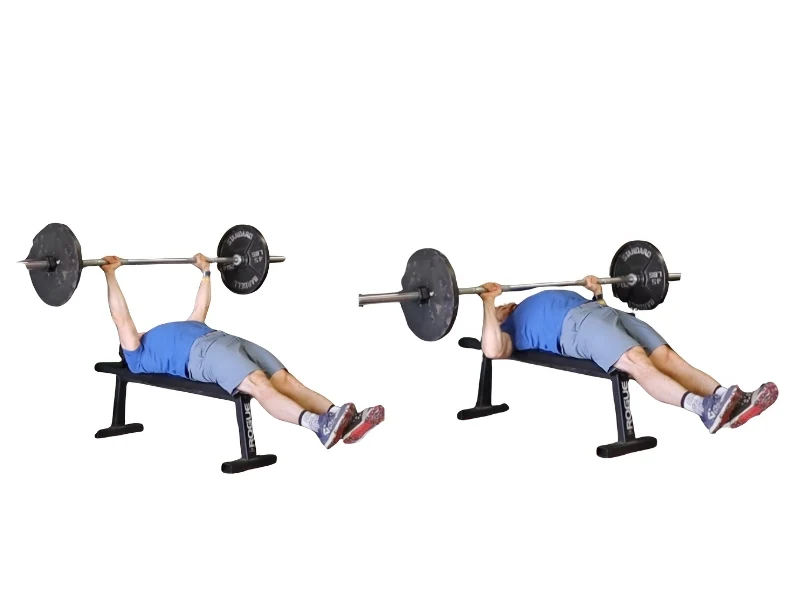
The main pressing muscles are still the chest, triceps and front shoulders. Removing contact with the floor does not switch off the pectorals or magically turn a horizontal press into a new exercise. What changes most obviously is the support available to the torso. Your trunk has to resist rocking while the shoulders and elbows control the bar. That may make an identical load feel more demanding even though the same muscle groups still move it.
Less leg drive often means a smaller manageable working load. This is not failure; the variation removes a source of stability and assistance that is useful in a competition-style bench press. That makes the Larsen press a practical teaching constraint: if your bar oscillates without the legs, you can identify a control problem and practise it at a load that lets you succeed. You cannot assume that controlling the bar this way automatically adds a particular number of kilograms to your normal bench.
Claims about superior chest activation need more care than social media usually gives them. Research comparing different bench-press foot positions does exist, but bent-knee feet-raised experiments do not perfectly reproduce unsupported, straight-leg Larsen pressing. An acute electrical activity measurement is not the same thing as a long-term muscle-growth trial. The useful inference is narrower: foot position and stability change the task, so choose the variation according to your goal and what you can train consistently.
Also consider who should skip it. Someone still learning basic unracking, someone without reliable safeties, or someone whose shoulder or back hurts during the position has better options than insisting on a feet-off press. The exercise is not treatment for a shoulder problem. Pain, tingling or unexplained weakness during a repetition calls for stopping rather than forcing another set.
Equipment Worth Exploring
Explore equipment, accessories and gear from our carefully selected range.

Competition Plates
Competition-style bumper plates for Olympic lifts and loaded strength training.


Grip Plates
Rubber-coated weight plates with handholds for loading barbells and machines.
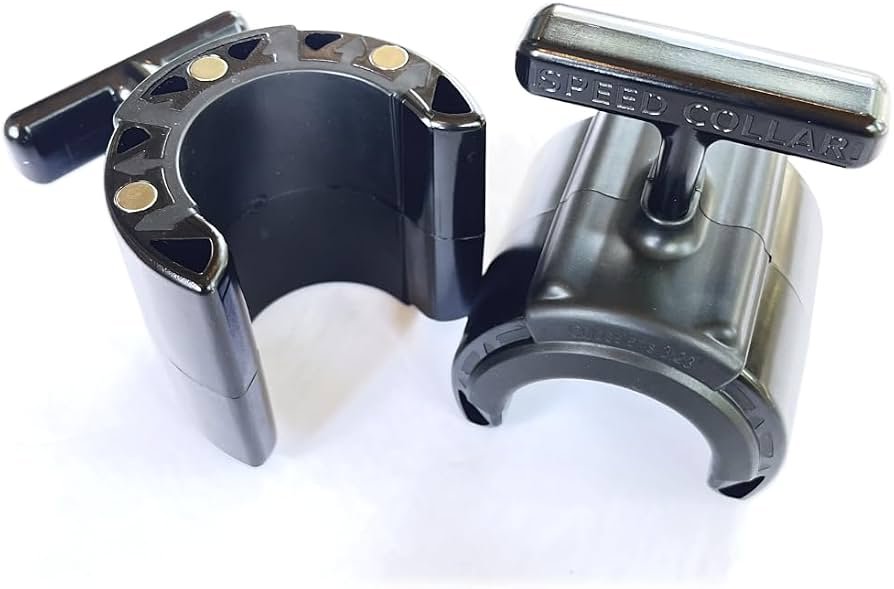
Speed Collar
Quick-release collars designed to secure weight plates on standard two-inch Olympic bars.
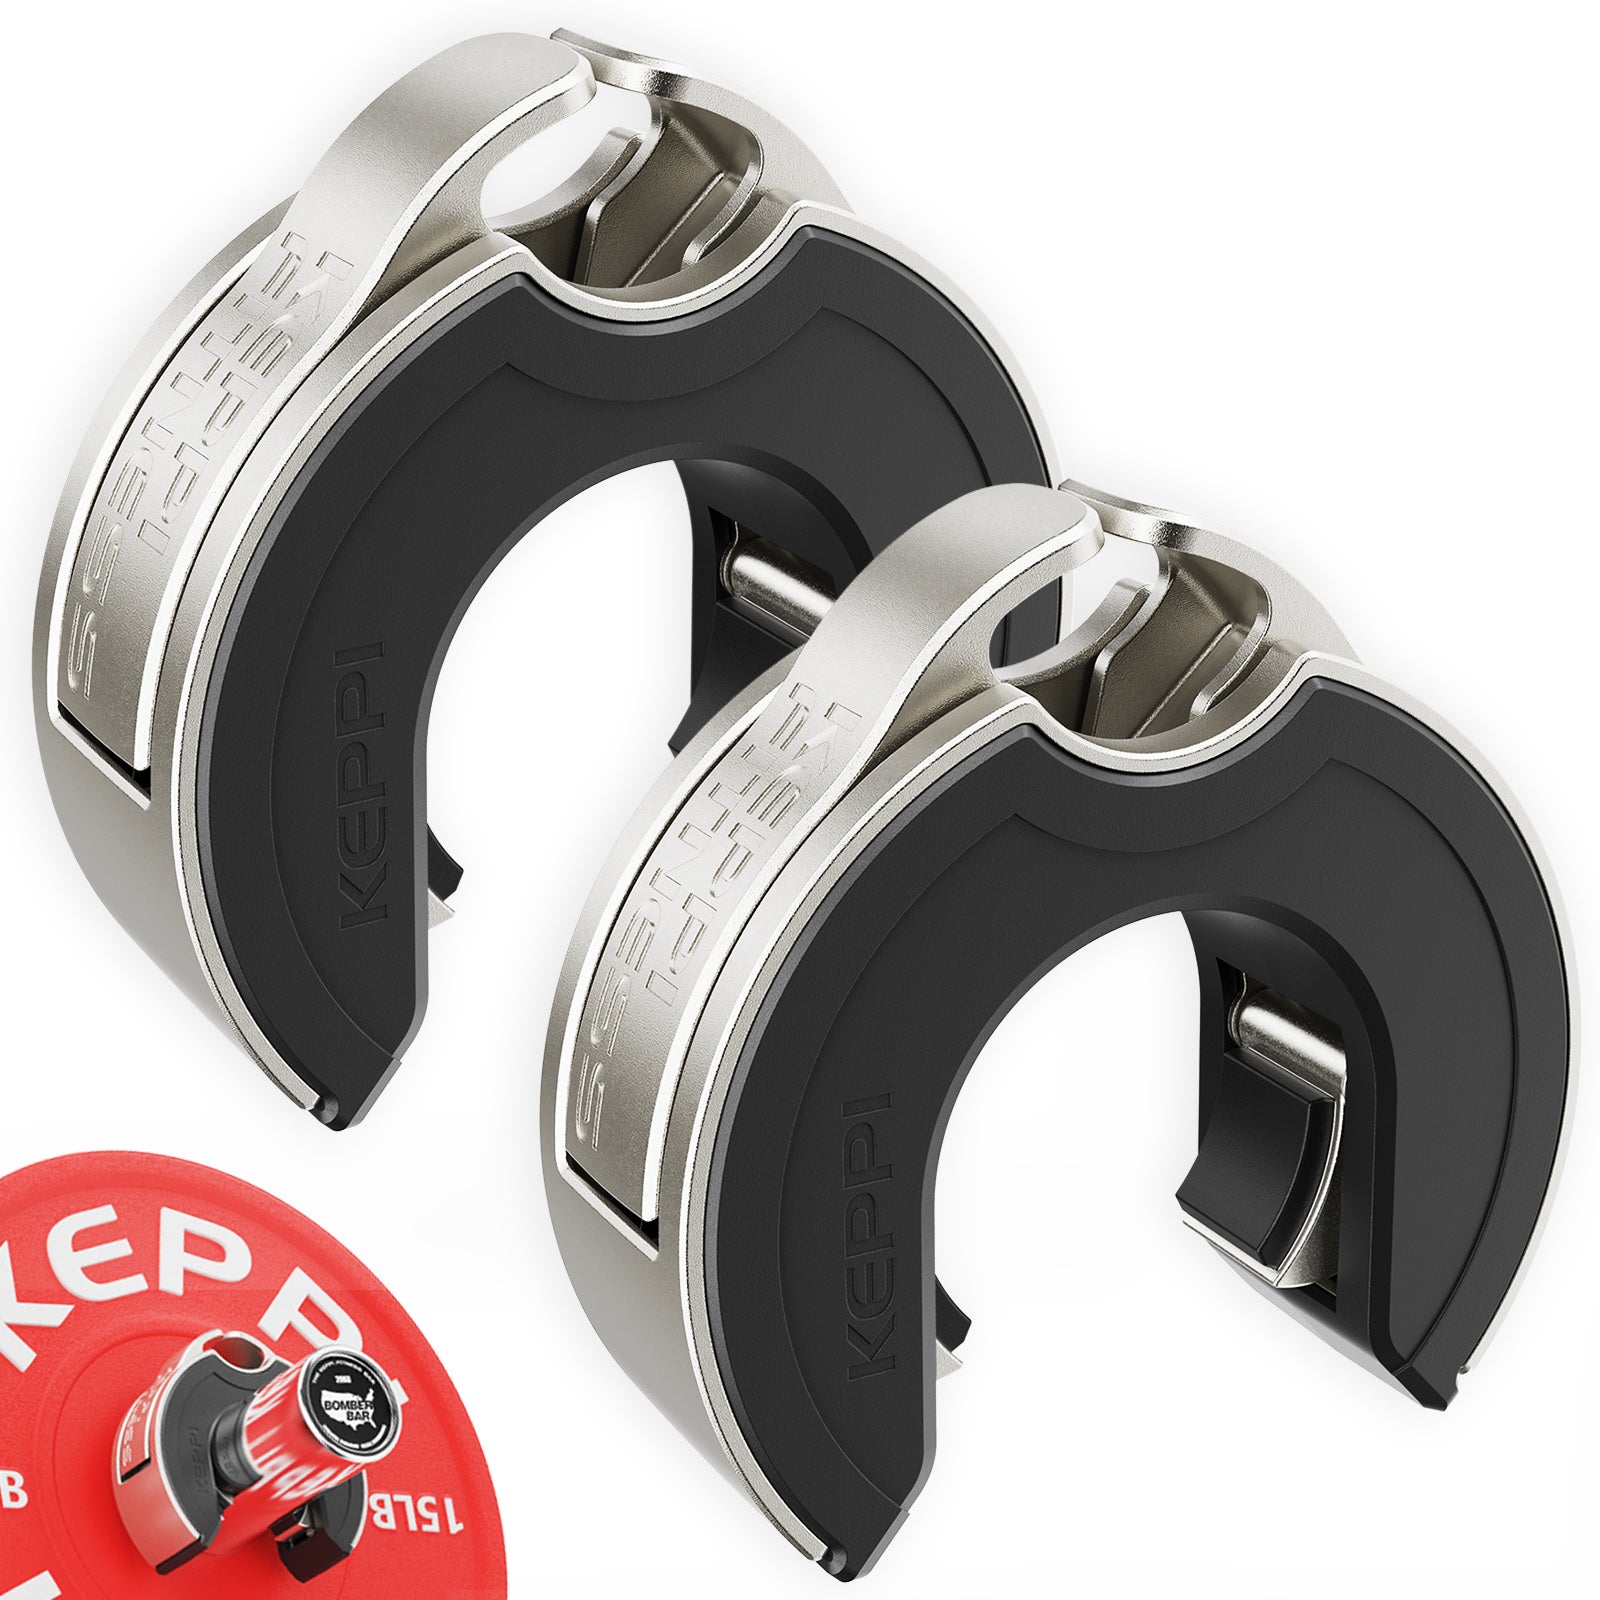
Keppi Open Collars
C-shaped magnetic Olympic barbell collars with a quick-lock mechanism and grippy lining.


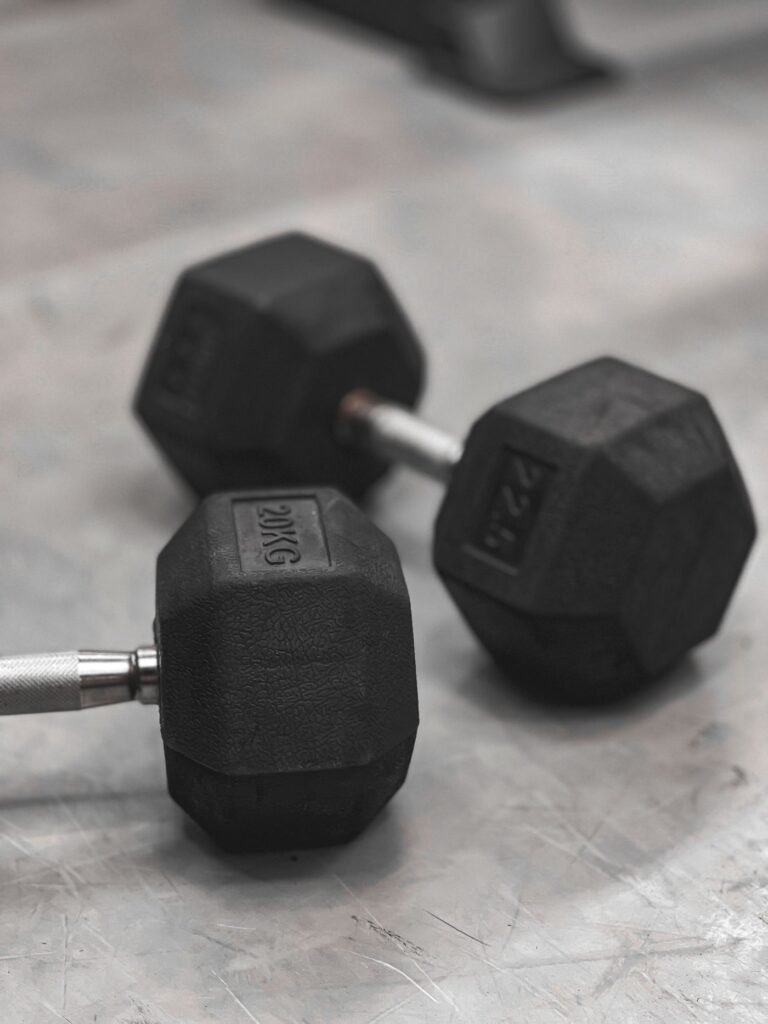
Rubber Hex Dumbbells
Rubber-coated hex dumbbell pairs with a stable shape for home and commercial strength training.

Lever Arm Multi Press LMP-650
Multi-press with independent lever arms and an integrated adjustable bench for upper-body training.
4. Choose between Larsen, regular and other bench variations
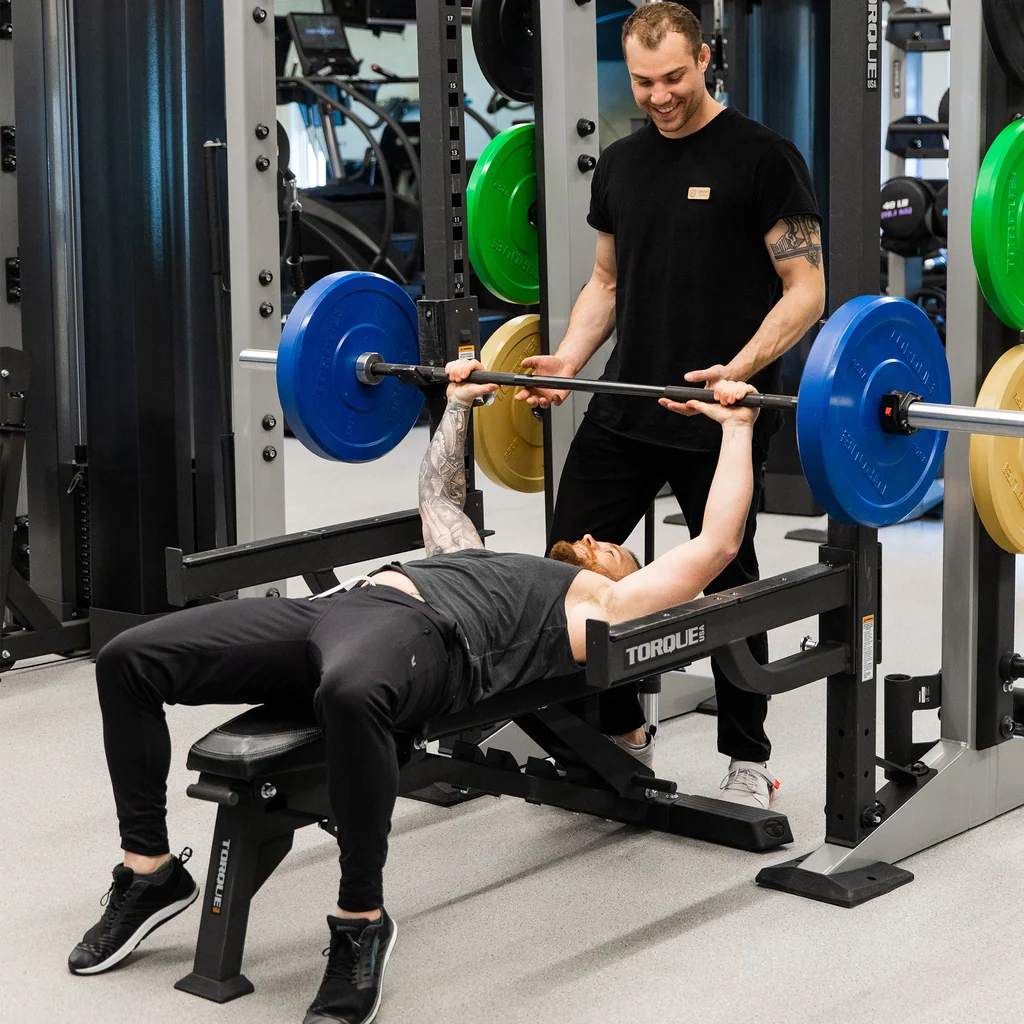
A regular bench press keeps the feet planted and generally permits greater total-body tension. If your primary objective is a legal competition bench or the heaviest stable press you can perform, you still need practice with the feet on the floor and with the standards of your event. The Larsen press should complement that work, not quietly replace all of it. Track the two lifts separately so a lower Larsen load does not look like lost pressing strength.
A feet-up bench press with both feet on the pad is another option. It eliminates direct foot pressure into the floor while giving the legs a place to rest. That can feel more stable for some lifters, but it changes hip and lumbar position differently from straight-leg hovering. Do not call the two movements identical when comparing training logs, and do not use foot-on-bench balancing as an excuse to skip safety rails.
Dumbbell pressing can provide a separate challenge with independent hands and a grip that may be easier to individualize. Its instability is different because each bell moves separately; it is not a one-for-one substitution for a barbell Larsen press. A floor press limits the bottom range, while a paused regular bench press keeps the feet planted but forces you to own the turnaround. These can all be sensible choices, depending on whether the problem to solve is control at the chest, access to equipment, or simple confidence under the bar.
Match the alternative to the specific issue. If your upper back slides, improve bench position. If your elbows cannot find a comfortable path, revisit grip width and load. If you want to practise not using leg drive, use Larsen or another deliberately leg-drive-free variation at a manageable weight. If the goal is chest work without unnecessary risk, a stable machine press can be more appropriate than a wobbly free-weight variation.
5. Progress the lift for six weeks without gambling on a max
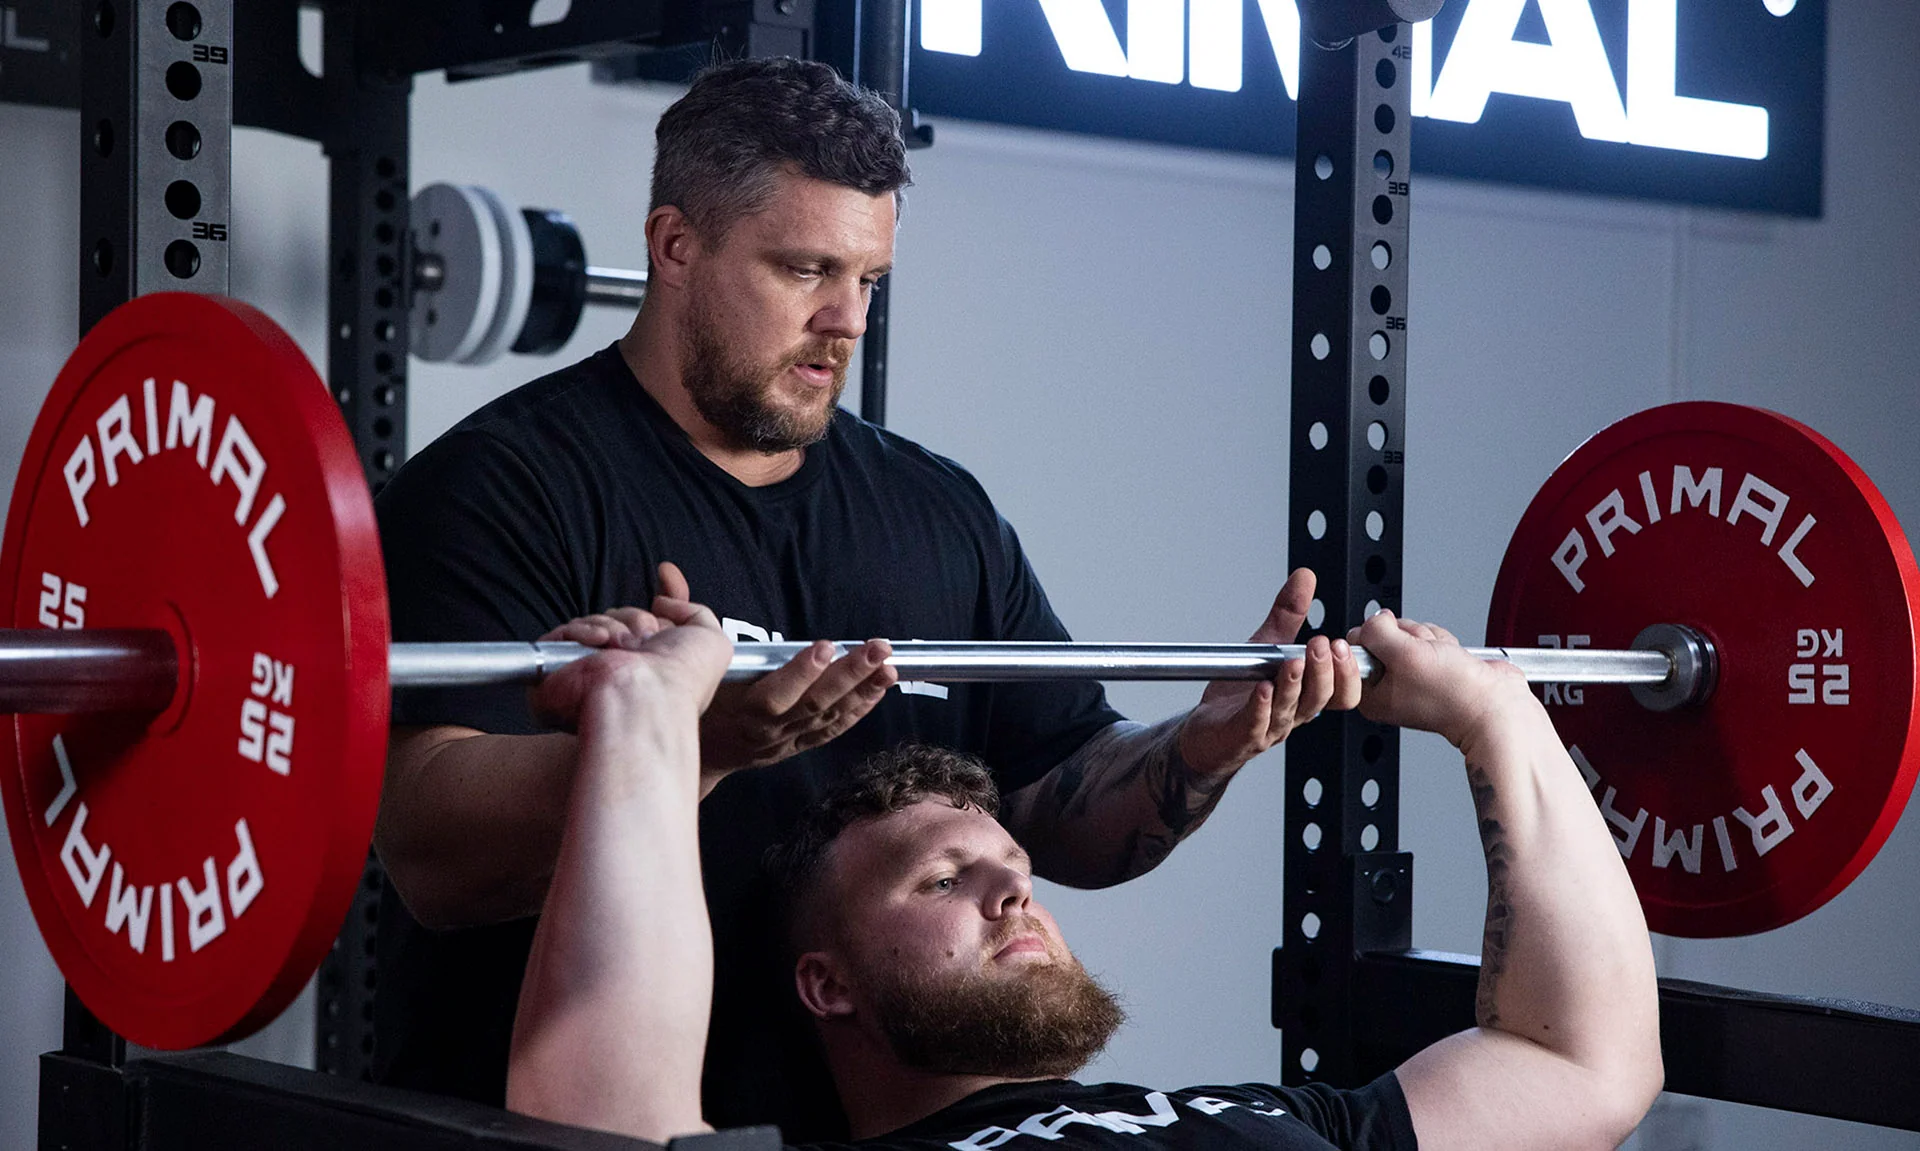
Progressive training needs two things: a repeatable movement and an honest record. Try the Larsen press once a week after your main bench work or as the primary press on a lighter day. Begin with one or two warm-up sets using the empty bar, then select a working load that leaves two or three clean repetitions available at the end of each set. It will usually be lighter than your normal bench weight, but there is no universal percentage to subtract.
Use the same bench, grip width, touch point and leg position when you compare sets. Log the total weight on the bar, completed repetitions, whether the legs remained still and whether the last rep was controlled. When all sets reach the top of your target range with consistent technique, add the smallest practical increment next time. If the rack has large jumps, improve repetitions or the controlled pause before adding weight.
| Weeks | Illustrative working sets | Progress decision |
|---|---|---|
| 1–2 | 2 sets of 8–10 | Learn the leg position and reproducible bar path before raising load. |
| 3–4 | 3 sets of 8–10 | Add one set if recovery is good; keep roughly two reps in reserve. |
| 5–6 | 3 sets of 8–12 | Earn a small increase only after every set stays balanced and controlled. |
These numbers are a practical example, not a study-proven optimal Larsen program. Rest long enough that the next set begins under control, often around two or three minutes for challenging work. If your normal bench training is already high-volume, count these sets as pressing volume rather than treating them as free extra work. A modest weekly dose performed well can tell you more than repeatedly chasing a personal record while your legs and hips sway.
Finish every set by stabilizing the bar and placing it on both hooks with visual confirmation. Do not let the legs drop suddenly while a loaded bar is drifting back to the rack. After six weeks, compare the movement quality, repeatable loads and confidence with your starting log. A better Larsen press is a useful outcome by itself; any benefit to your conventional bench should be tested in that lift rather than promised in advance.

Powerlifting Shirts & Lifting Gear
Powerlifting shirts and gym gear for squat, bench and deadlift lifters who live for heavy numbers.


My Bench Press Is Stuck Tee
Heavy lifts, good laughs, and a little “My Bench Press is Stuck Funny Horror” energy.

Ultimate Bench Press Tee
Heavy lifts, good laughs, and a little “Ultimate Bench Press” energy.

Chest Day Sweater Bench Press & Meme T-Shirt
Add a playful “Chest Day” touch to your casual rotation.


Chest Day Decal Water Bottles & Equipment Meme Sticker
Bring “Chest Day” attitude to your water bottle or laptop.


2 Plates Bench Club & Chest Day Top T-Shirt
Rep “2 Plates Bench Club” humor in and out of the gym.