Advertising disclosure: This page includes affiliate product links that may earn us a commission, as well as products from our own store.
Reverse Planks: Choose Your Support and Build a Hold You Can Control
A reverse plank turns the familiar face-down plank over, but it is not simply a different way to time the same task. Your heels and upper-body supports have to hold the pelvis off the floor, while the shoulders work in a position that can feel unfamiliar. Choosing a version you can organise matters more than collecting seconds in an increasingly uncomfortable shape.
The exercise can provide a useful bodyweight challenge for the back of the body and trunk. It does not have to replace your other strength work, repair your posture or become a daily endurance contest. Start by distinguishing the versions, then decide what a completed hold will look like before you begin.
1. Define the version before you compare hold times
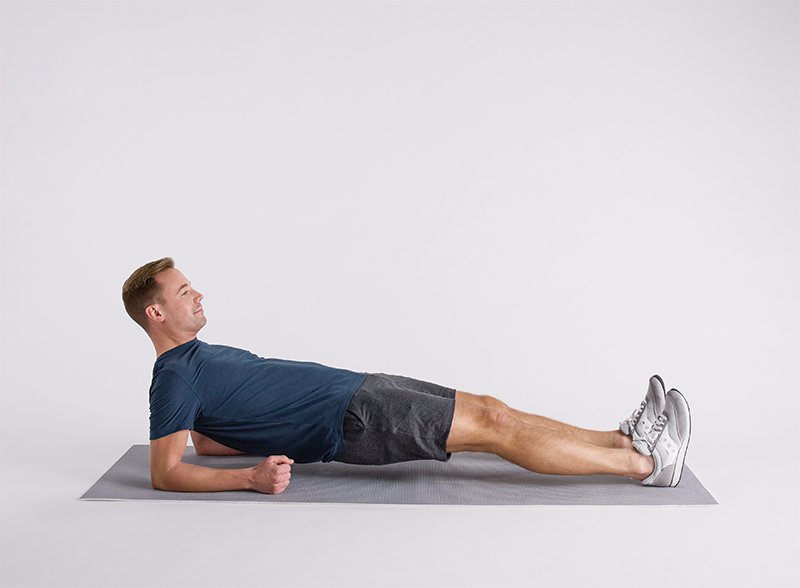
Two exercises commonly share the reverse-plank name. One uses the forearms on the floor with the legs extended. Another uses straight arms and the palms behind the body. Both raise the hips, but the upper-body supports and the demands around the wrists and shoulders differ. A thirty-second result in one should not be treated as the same measurement in the other.
A bent-knee reverse tabletop is a third option. The feet remain planted closer to the hips while the hands support the upper body. That changes the body position and gives you a different task to practise. It can be useful, but it is not proof that you can hold a long-leg reverse plank for the same duration.
Put the chosen variation in your training log. Forearm support, straight-arm support and reverse tabletop are clear descriptions. Add whether the knees were bent or straight and whether both feet remained down. Those details explain a performance change much better than writing plank followed by a number.
Also decide where the effort belongs in your session. A hold before demanding upper-body work is not the same test as a hold after presses, rows and arm training. Keep the order consistent for comparisons, or record the change instead of assuming that a shorter hold means your strength has disappeared.
Start with the least complicated version that is comfortable and repeatable. You do not need a raised platform, a balance device or a leg lift to make the first session meaningful. Removing those moving parts makes it easier to see whether the basic support position suits you.
2. Establish the contacts before lifting your hips
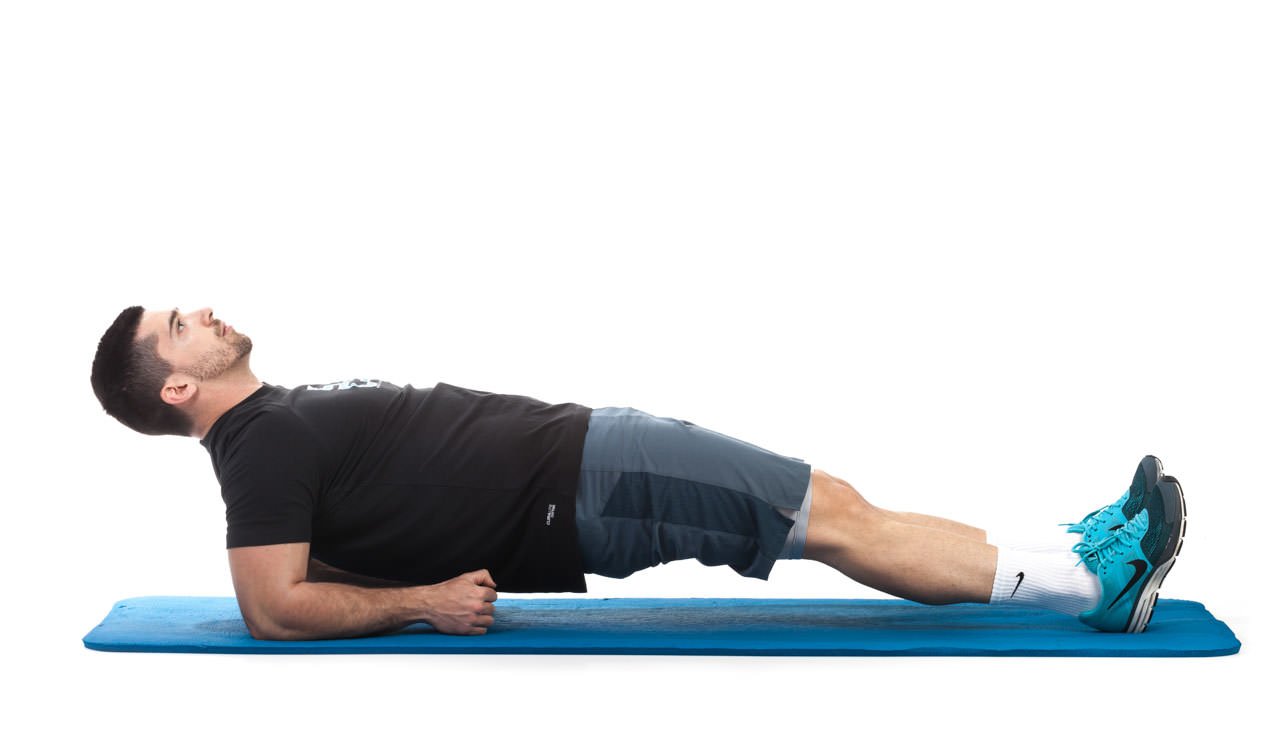
For a forearm version, begin low enough that you can arrange the supports without rushing. Place the forearms securely on a firm surface and extend the legs with the heels contacting the floor. Check that a mat will not slide beneath the elbows or bunch under the heels once you apply pressure.
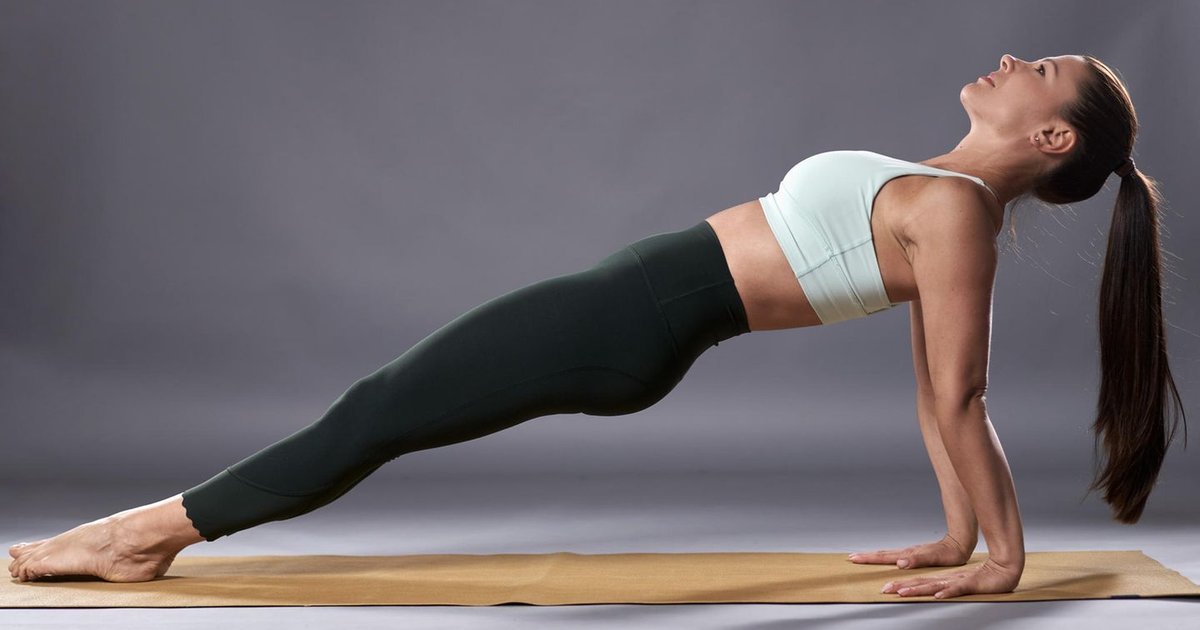
Raise the hips through a manageable range and settle into the hold. Aim for a long, controlled body position rather than trying to thrust the pelvis as high as possible. The photograph illustrates the raised forearm version; the previous section shows the low setup, so there is no need to guess the transition between the two.
Keep breathing while you assess the position. If you can only maintain it by holding your breath and tensing your face, shorten the effort and start again after resting. A short hold with clear contacts gives you more useful practice than a longer attempt spent slipping or continually rebuilding the setup.
Notice what changes first. The pelvis may gradually sink, a heel may slide, or pressure may shift toward the edge of an elbow. Those are specific observations you can act on. End the hold, adjust the surface or choose a simpler task rather than trying to hide the change by moving faster.
Lower the hips under control to finish. Getting out of a position is part of performing it well. Place any timer where it is easy to hear or see without twisting the neck during the hold; better still, use a gentle audible signal so the exercise does not become a repeated search for the screen.
3. Treat shoulder and wrist position as a choice, not a challenge
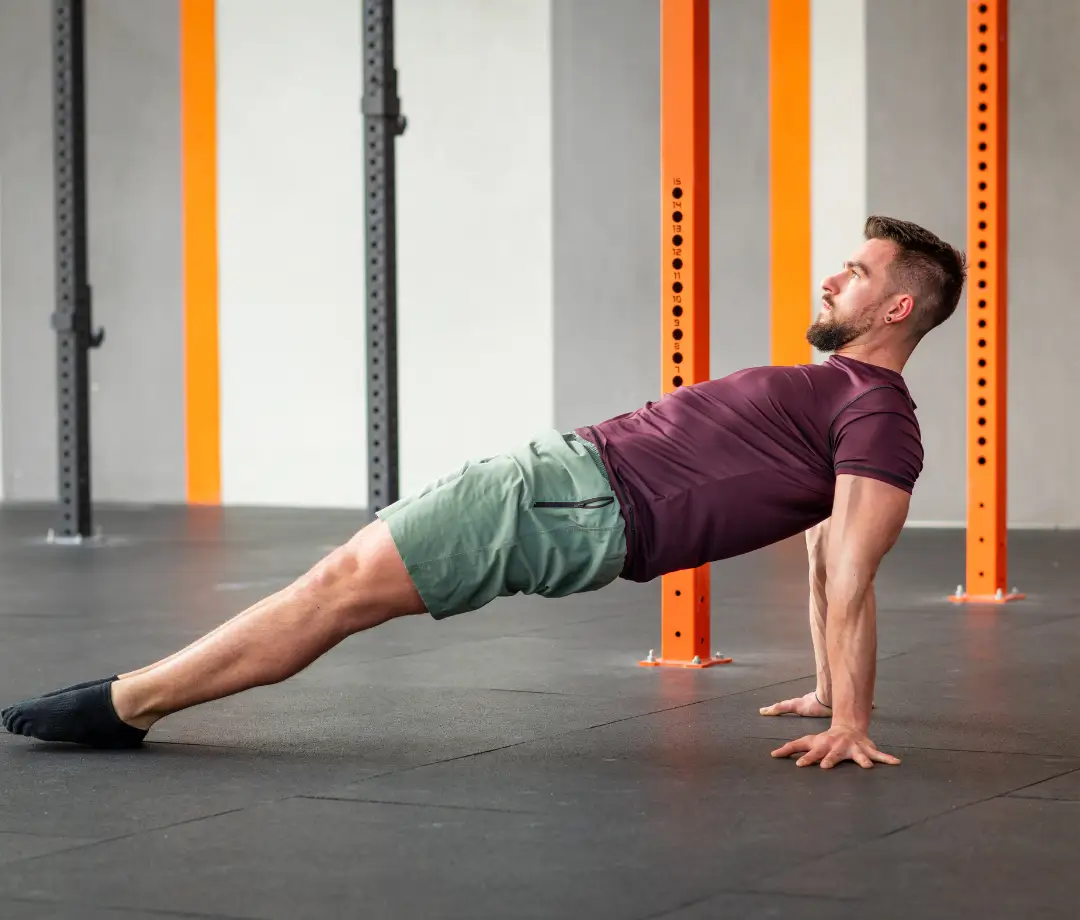
The straight-arm version places the palms behind you while the heels support the lower body. That is a different shoulder position from a face-down plank, and the wrists also carry load. Before lifting, explore whether the support feels comfortable with very little weight on the hands. Do not force a fixed hand angle just because somebody else uses it.
During the hold, keep the head in a comfortable relationship with the trunk. Throwing it backward to make the chest look higher adds neck movement without telling you whether the hips and shoulders are controlled. A side-view recording can help distinguish an organised position from a dramatic-looking arch.
Forearm support may reduce the need to load an extended wrist, but it does not remove all shoulder demand. Changing the support is an experiment in finding a suitable task, not a guarantee that any particular joint symptom will vanish. If one version hurts, stop that version rather than testing how much discomfort you can tolerate.
There is no reward for forcing a reverse plank when another exercise is comfortable and useful. Persistent pain, tingling or a history of injury changes the decision; get appropriate individual guidance instead of using a general technique article to diagnose the problem. Normal muscular effort and an uncomfortable joint position should not be bundled together as the same thing.
The useful standard is repeatability. Can you enter, breathe, hold and lower without changing the support or straining the neck? If the answer changes halfway through the set, that is a sensible place to finish. It is information about the current exercise choice, not a personal failure.
4. Use a reverse tabletop without confusing it with a bridge
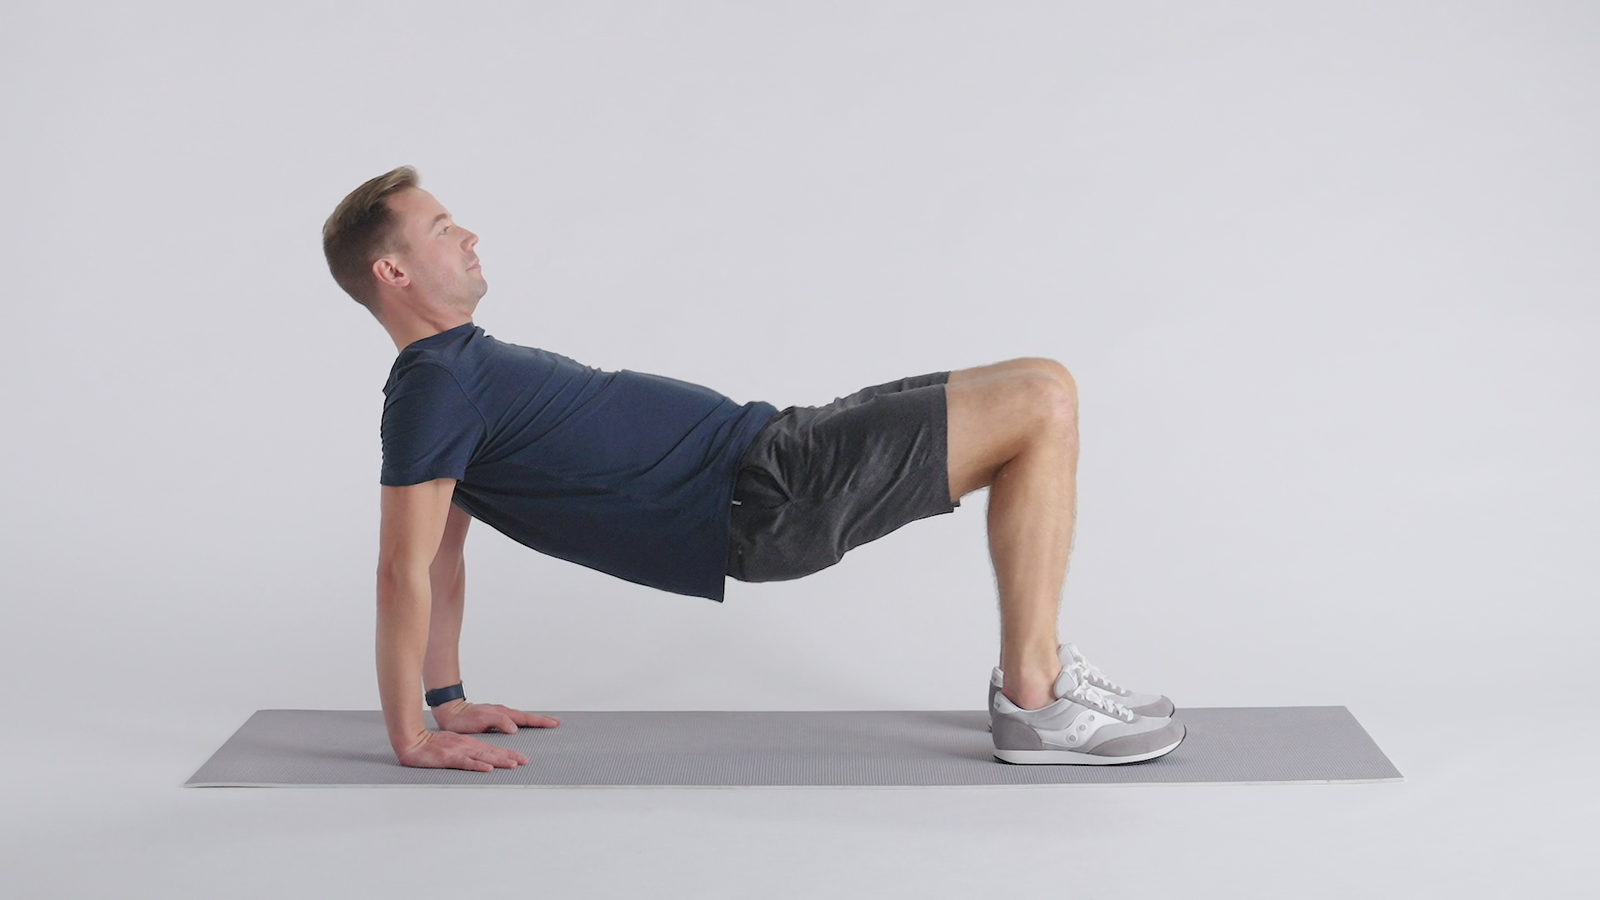
In a reverse tabletop, bend the knees and place the feet on the floor while the hands support you from behind. Lift into a manageable position and keep the supports stable. The shorter leg arrangement can make the task more approachable, but the shoulders and hands still bear weight, so the same comfort checks apply.
Adjust the setup while seated rather than repeatedly walking the feet or hands around under a loaded hold. You should be able to identify the contact points before starting. Choose a firm mat and enough room to lower without striking equipment behind you.
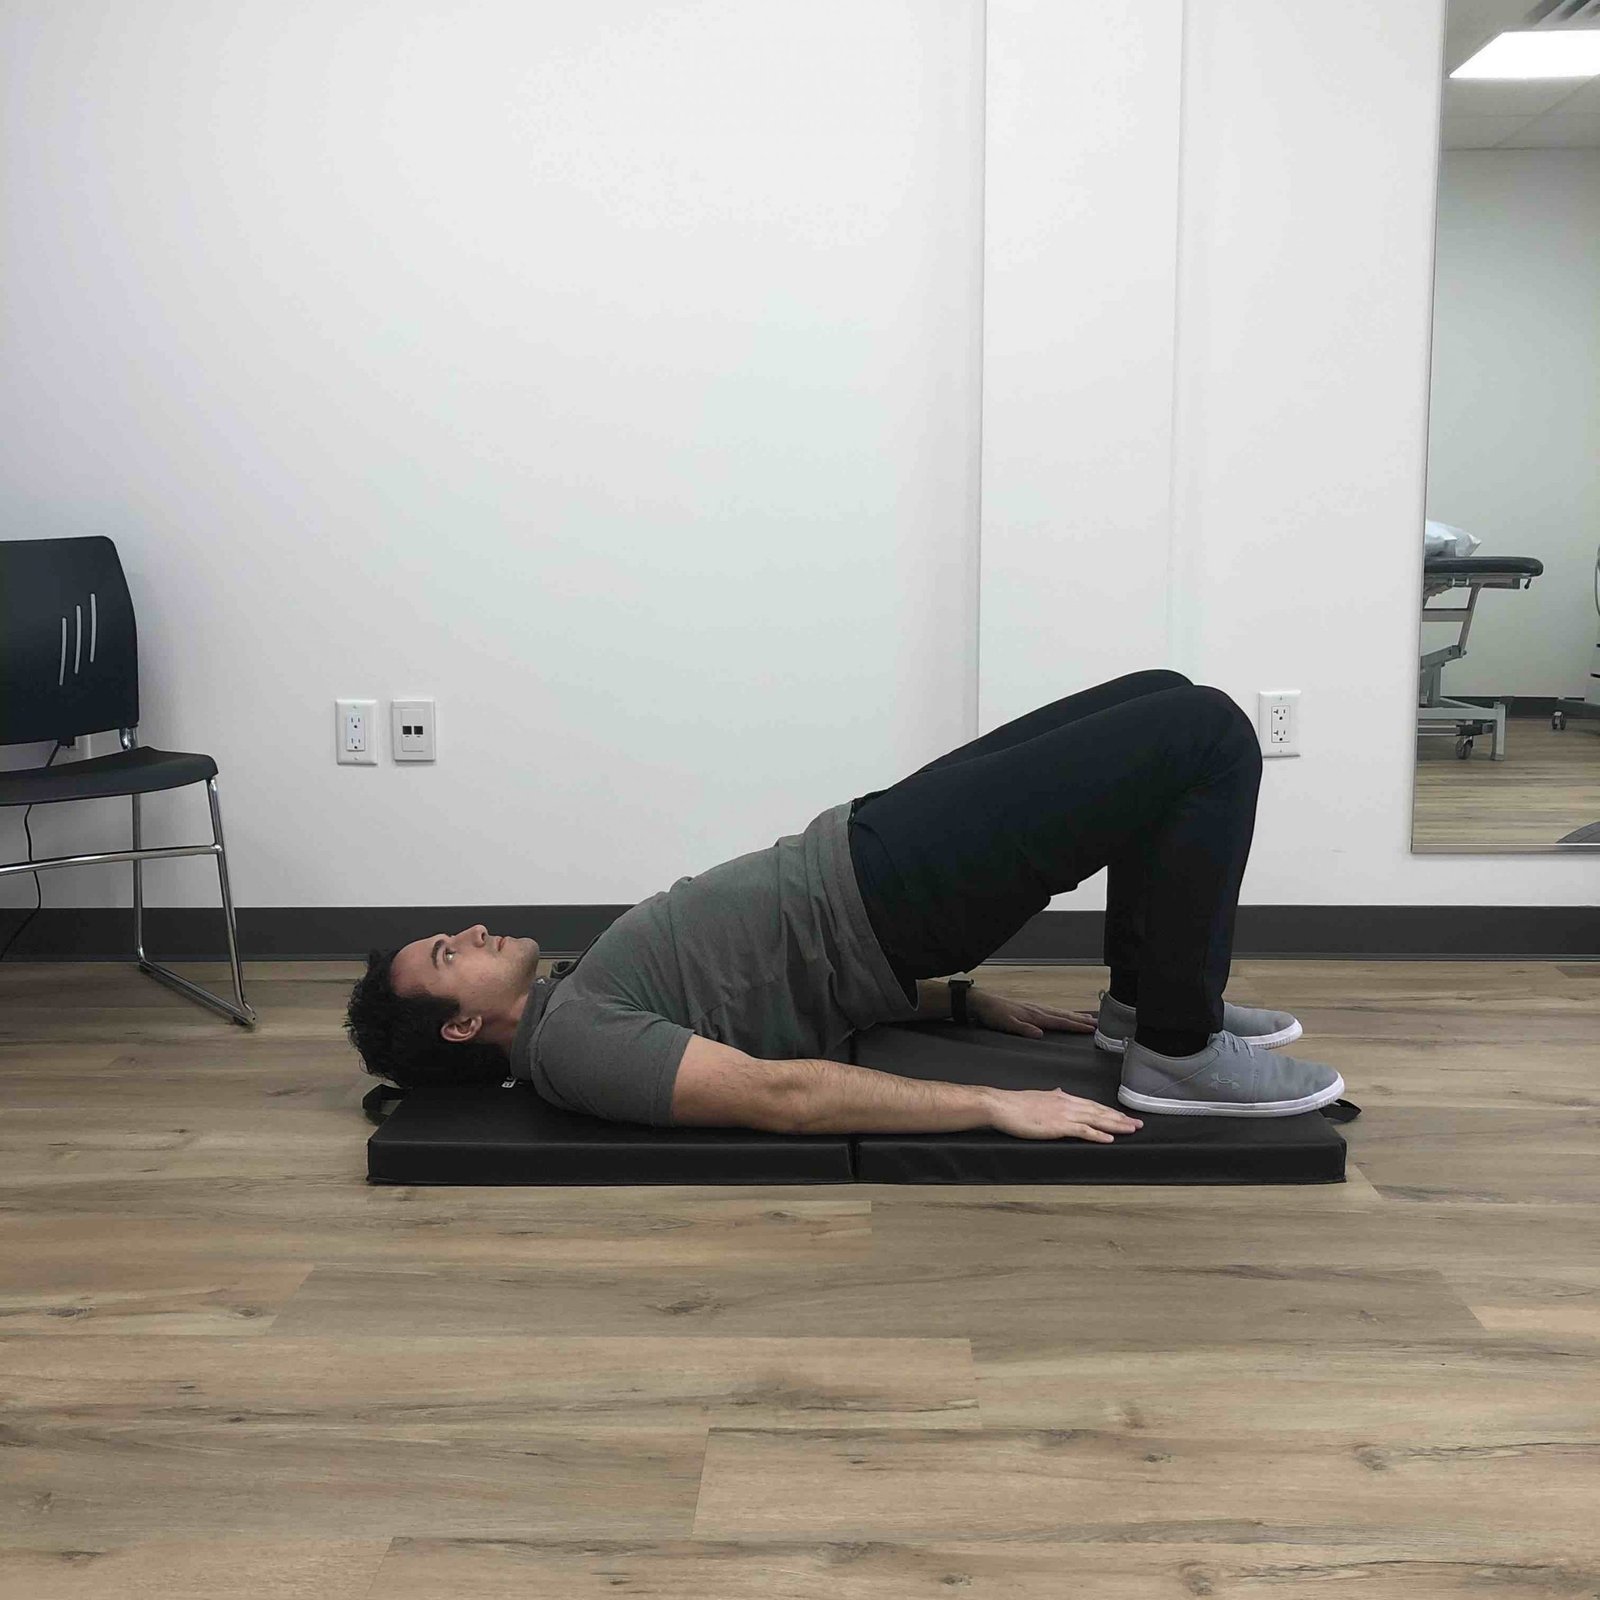
A supine glute bridge is different. In that exercise, the upper back and shoulders stay supported by the floor while the feet help lift the pelvis. It provides a way to practise hip extension without holding the upper body off the ground on the hands or forearms. The next section’s photograph shows that separate exercise, not an incorrectly performed reverse plank.
Neither movement is a universal substitute for the other. If the goal is specifically a reverse-plank hold, the support demands matter. If the goal is to include manageable hip-extension work, a bridge may fit the session better. Make the selection based on the task you want to train rather than a hierarchy in which every harder-looking exercise must be superior.
Keep the first changes simple. A shorter hold, a comfortable tabletop or a separate bridge gives you a clear comparison. Raising a leg while the hips are already dropping adds another problem before the original one is solved. Save more complicated variations for a time when the basic position is genuinely dependable.
5. Fit short holds into a complete strength session
Begin with a small amount of work that leaves you able to repeat the chosen position. As an illustrative practice session, try two or three comfortable holds of around ten seconds, resting long enough to rebuild the setup. Shorter efforts are reasonable when needed. These numbers are an example for organising practice, not a tested prescription or a promise about results.
Record the variation, hold duration and reason for stopping. Hips lowered, wrist discomfort and sliding heels are different outcomes. At the next session, change one variable: improve the surface, use a more suitable support or add a little time to a position that already stays consistent. Increasing duration and difficulty together makes the result harder to interpret.
For broader posterior-chain strength, keep your other exercises purposeful. A supine bridge or an appropriately set up hip-thrust bench trains a different hip-extension task. Dumbbell Romanian deadlifts add a loaded hinge; a suitable leg-curl machine trains knee flexion. Nordic benches and glute-ham equipment introduce their own demanding movements and require their own setup and progression. None is necessary equipment for a reverse plank.
Choose the exercises that fit your current program rather than buying equipment to make a floor hold possible. If you already perform hinges, bridges and leg curls, adding every variation here would mostly make the session longer. One clear practice slot can be enough to assess whether the reverse plank adds something useful.
Judge progress across comparable sessions. A slightly longer controlled hold, an easier setup or the same work with less disruption can all be useful observations. Avoid treating temporary changes in posture or the sensation of an open chest as proof that an exercise has permanently corrected your shoulders. Keep the movement comfortable, the record specific and the next adjustment small enough to understand.

Equipment Worth Exploring
Explore equipment, accessories and gear from our carefully selected range.


Rubber Hex Dumbbells
Rubber-coated hex dumbbell pairs with a stable shape for home and commercial strength training.
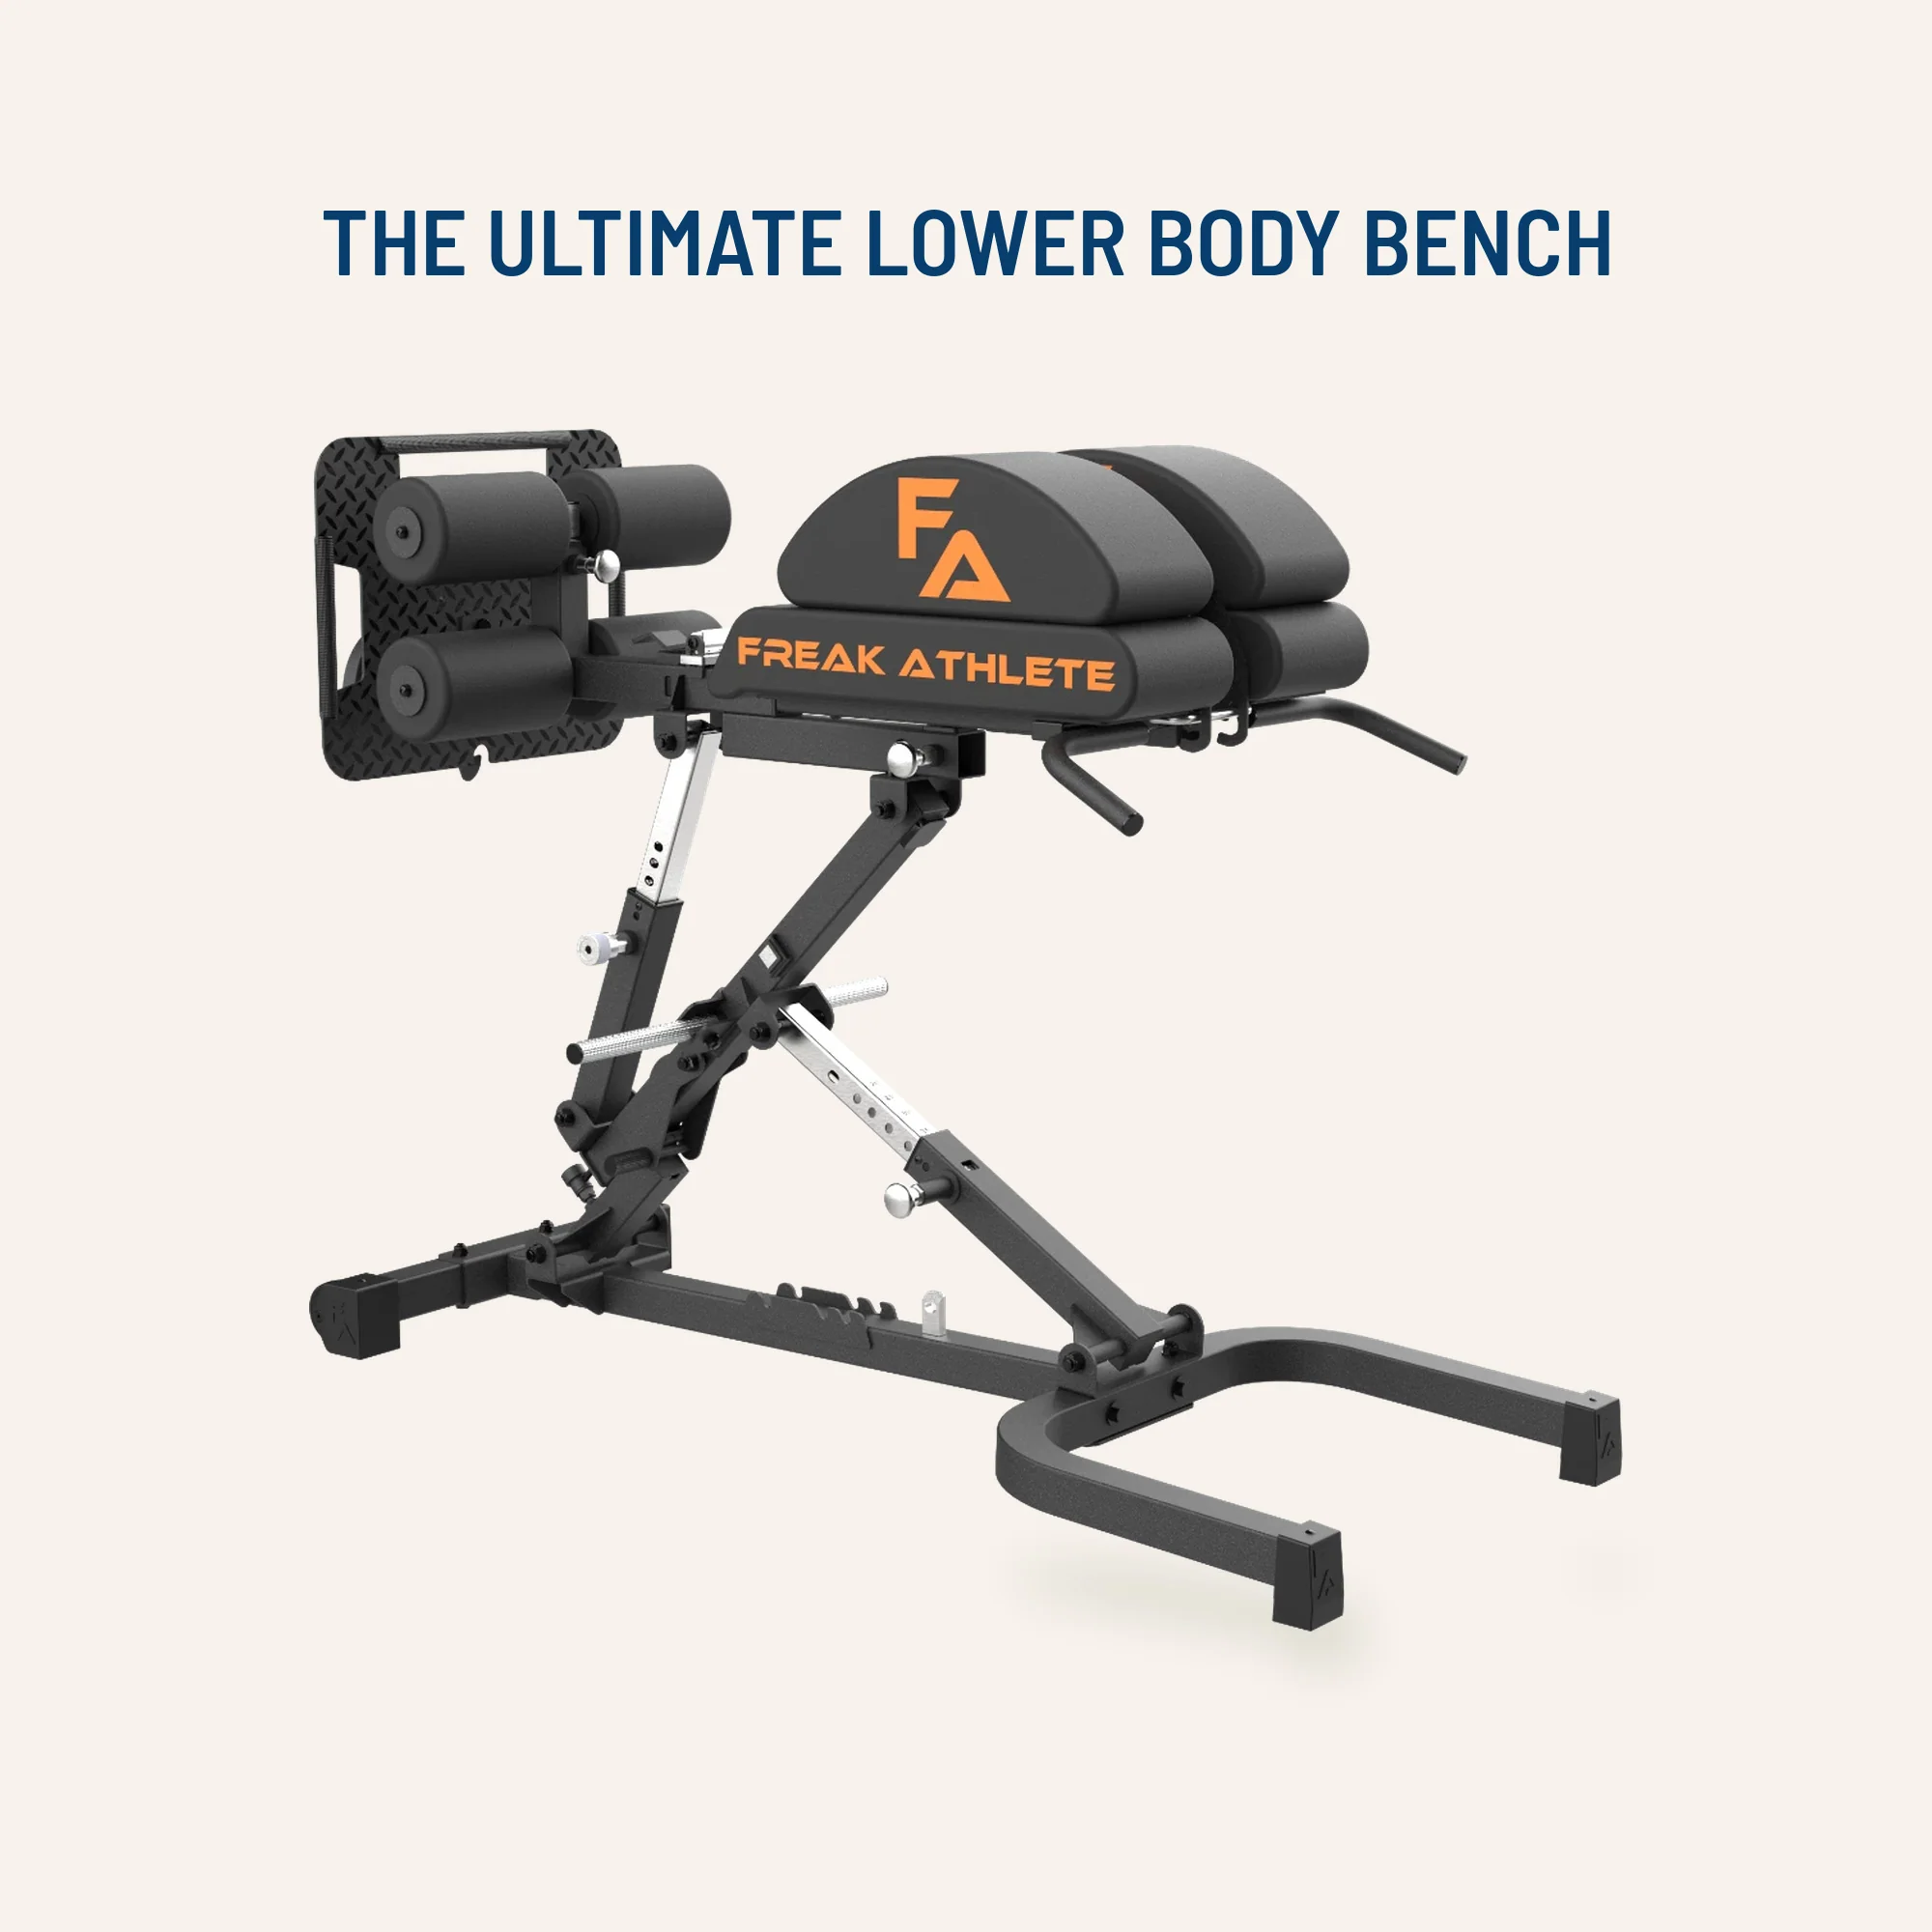


Glute Ham Developer GHD-820
Adjustable glute-ham developer with contoured pads and a fold-out knee support.


Leg Extension/Curl BCO-780
Leg extension and lying leg curl combo with plate loading, band pegs and a cable-loading option.

Seated Leg Combo BCO-680
Adjustable seated leg extension and leg curl machine with band pegs for added resistance.


Bodybuilding Shirts & Workout Gear
Bodybuilding shirts, tanks and gym gear for lifters chasing muscle, size, symmetry and the pump.

Leg Day Is Calling You Squats & Deadlifts Meme Hoodie
Stay casual and show some leg-day attitude with “Leg Day Is Calling You”.

Negative Leg Day Review Leg Day Sucks Meme Squats, T-Shirt
Show some leg-day attitude with a playful “Negative Leg Day Review” tee.

Safety Practice Safe Sets Sweater Jumper T-Shirt
Show some gym-day personality with “Gym Safety”.

Installing Muscles Meme – Vest Tank Top
Show some personality between sets with “Installing Muscles Gym Meme”.

One More Rep Shirt: Motivational & T-Shirt
Make gym days more fun with “One More Rep” style.


Everyday Is Leg Day Octopus Meme & Top T-Shirt
Show some leg-day attitude with a playful “Everyday Is Leg Day Funny Octopus” tee.

Progress Stoic Bodybuilder Greek God Marble Sculpture T-Shirt
Heavy lifts, good laughs, and a little “Progress Stoic Bodybuilder Greek God Marble” energy.

Shirt – Lift O'Clock Bros – Meme & Gains T-Shirt
Rep “Lift O'clock” humor in and out of the gym.

Lift Eat Repeat – Weightlifting & – Meme Bros & T-Shirt
Make gym days more fun with “Lift Eat Repeat” style.