Advertising disclosure: This page includes affiliate product links that may earn us a commission, as well as products from our own store.
Single-Arm Cable Rows: Set the Pulley, Stay Square and Build Your Back
A single-arm cable row looks simple: take one handle, pull it toward your body, and repeat on the other side. In practice, it is a useful test of how well you can coordinate your shoulder, elbow and torso without hiding behind a two-handed grip. The cable lets you adjust the line of pull, while the unilateral setup gives each side a clear amount of work.
The goal is not to wrench a heavy weight stack around. It is to build a repeatable back exercise that you can load, record and progress. The best version depends on your pulley height, stance and available support. Use the setup that lets you feel the back doing the work without turning every repetition into a torso twist.
1. Understand what a one-arm row is training
The latissimus dorsi helps move the upper arm toward and behind the torso, while the muscles around the shoulder blade contribute to positioning and controlled retraction. Your biceps and other elbow flexors assist the pull, and your trunk works to resist rotation. Which area feels most challenged depends partly on elbow direction, torso angle and the height of the cable. No single grip or elbow cue isolates one back muscle completely.
For a lat-focused row, try keeping the working elbow reasonably close to your side and bringing it toward your hip rather than flaring far outward. For a more upper-back-focused feel, an elbow slightly wider from the torso can be comfortable, provided the shoulder moves naturally. Neither path requires pinning your shoulder blade rigidly in place. Allow it to reach forward under control and move back as the arm draws in.
The biggest advantage of using one arm is accountability. Both sides get the same intended rep count, and you can notice differences in reach, balance and grip. That does not mean asymmetry disappears automatically. Compare sides using the same pulley, stance, range and effort, then let the less capable side determine the loading standard instead of letting the stronger side race ahead.
2. Match the pulley, handle and stance to your body
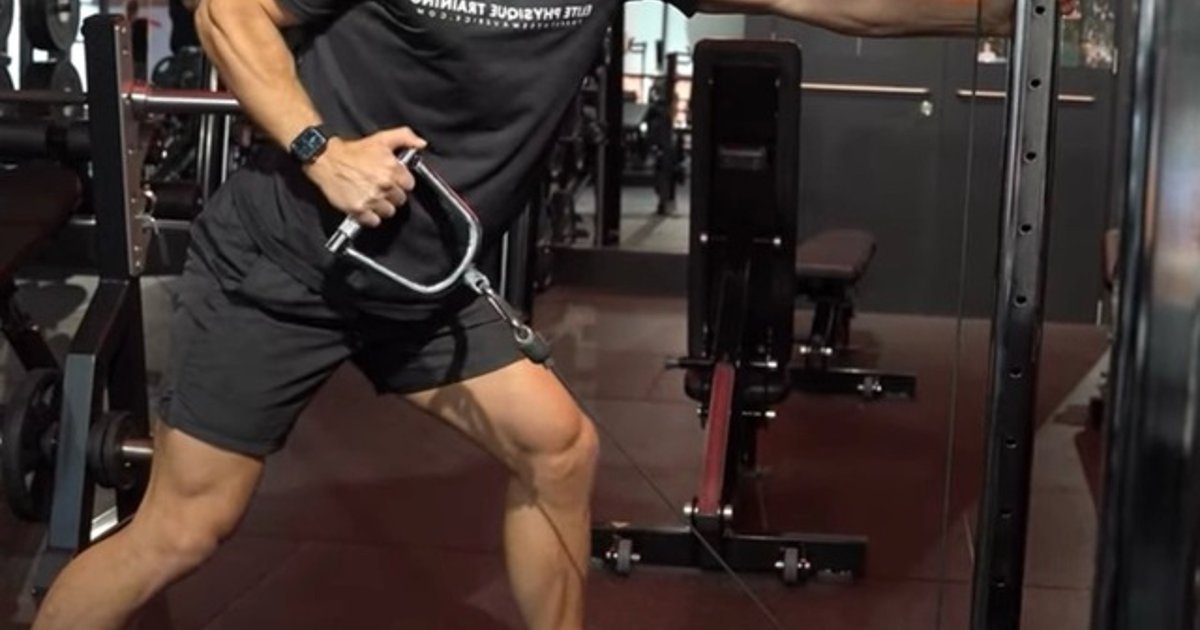
Clip a single D-handle or another secure one-hand attachment to an adjustable cable. A pulley around lower-rib to waist height often gives a straightforward horizontal pull when standing. Lower settings can work too, but they change the cable angle; adjust your position before assuming the movement is identical. Check that the carabiner locks, the handle turns freely, and the cable will not catch your shoes, bench or rack throughout the stroke.
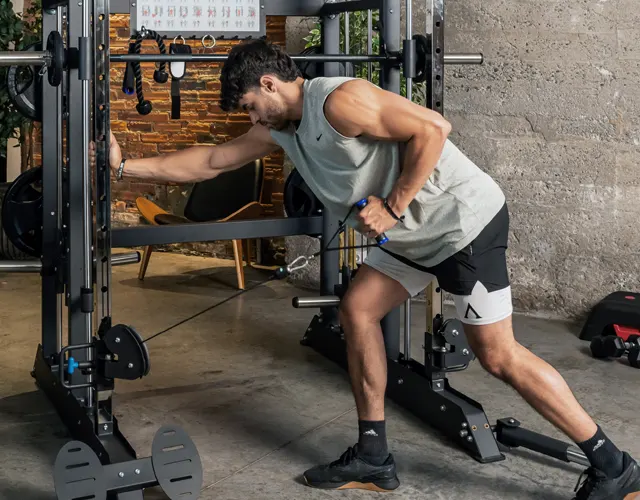
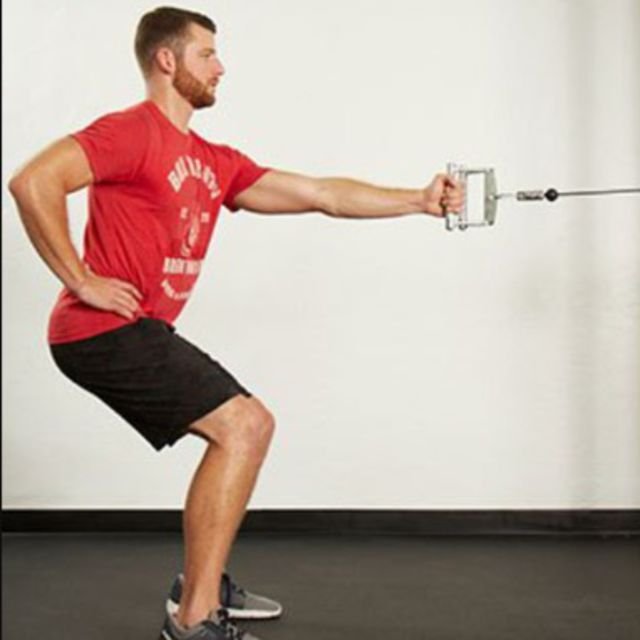
Stand far enough away to maintain cable tension at the start without allowing the stack to crash into its resting position between repetitions. A small staggered stance usually feels more stable than putting both feet on one narrow line. Keep a soft bend in the knees and set the ribs over the pelvis. You can leave the free hand on your hip, or use it to brace on a solid rack upright if the machine and layout allow. Bracing should remove unwanted swinging, not make you lean so far that you change the exercise.
Before your first hard set, perform a few easy pulls with your intended range. At the front, you want a comfortable reach rather than a forced shoulder stretch. At the back, the handle should arrive near the side of the lower ribs or waist without you having to spin the torso. If the handle drags across your body or the cable rubs your forearm, change your distance and pulley position. Record these settings: a consistent setup makes later progress much more meaningful.

Equipment Worth Exploring
Explore equipment, accessories and gear from our carefully selected range.
VOLTRA
Compact digital cable trainer with smooth, adjustable resistance.

Go-Tone Pro
Portable digital cable trainer with up to 66 lb (30 kg) of adjustable resistance.

Trinity Lat Machine LSW-850
Weight-stack pulldown tower offering three cable directions and adjustable seated support.

VForce Wall Trainer
Space-saving wall-mounted functional trainer with pivoting cable arms and variable resistance ratios.

VForce Lat Tower
Wall-mounted cable tower with pivot arms and adjustable 1:1 or 2:1 pulley ratios.
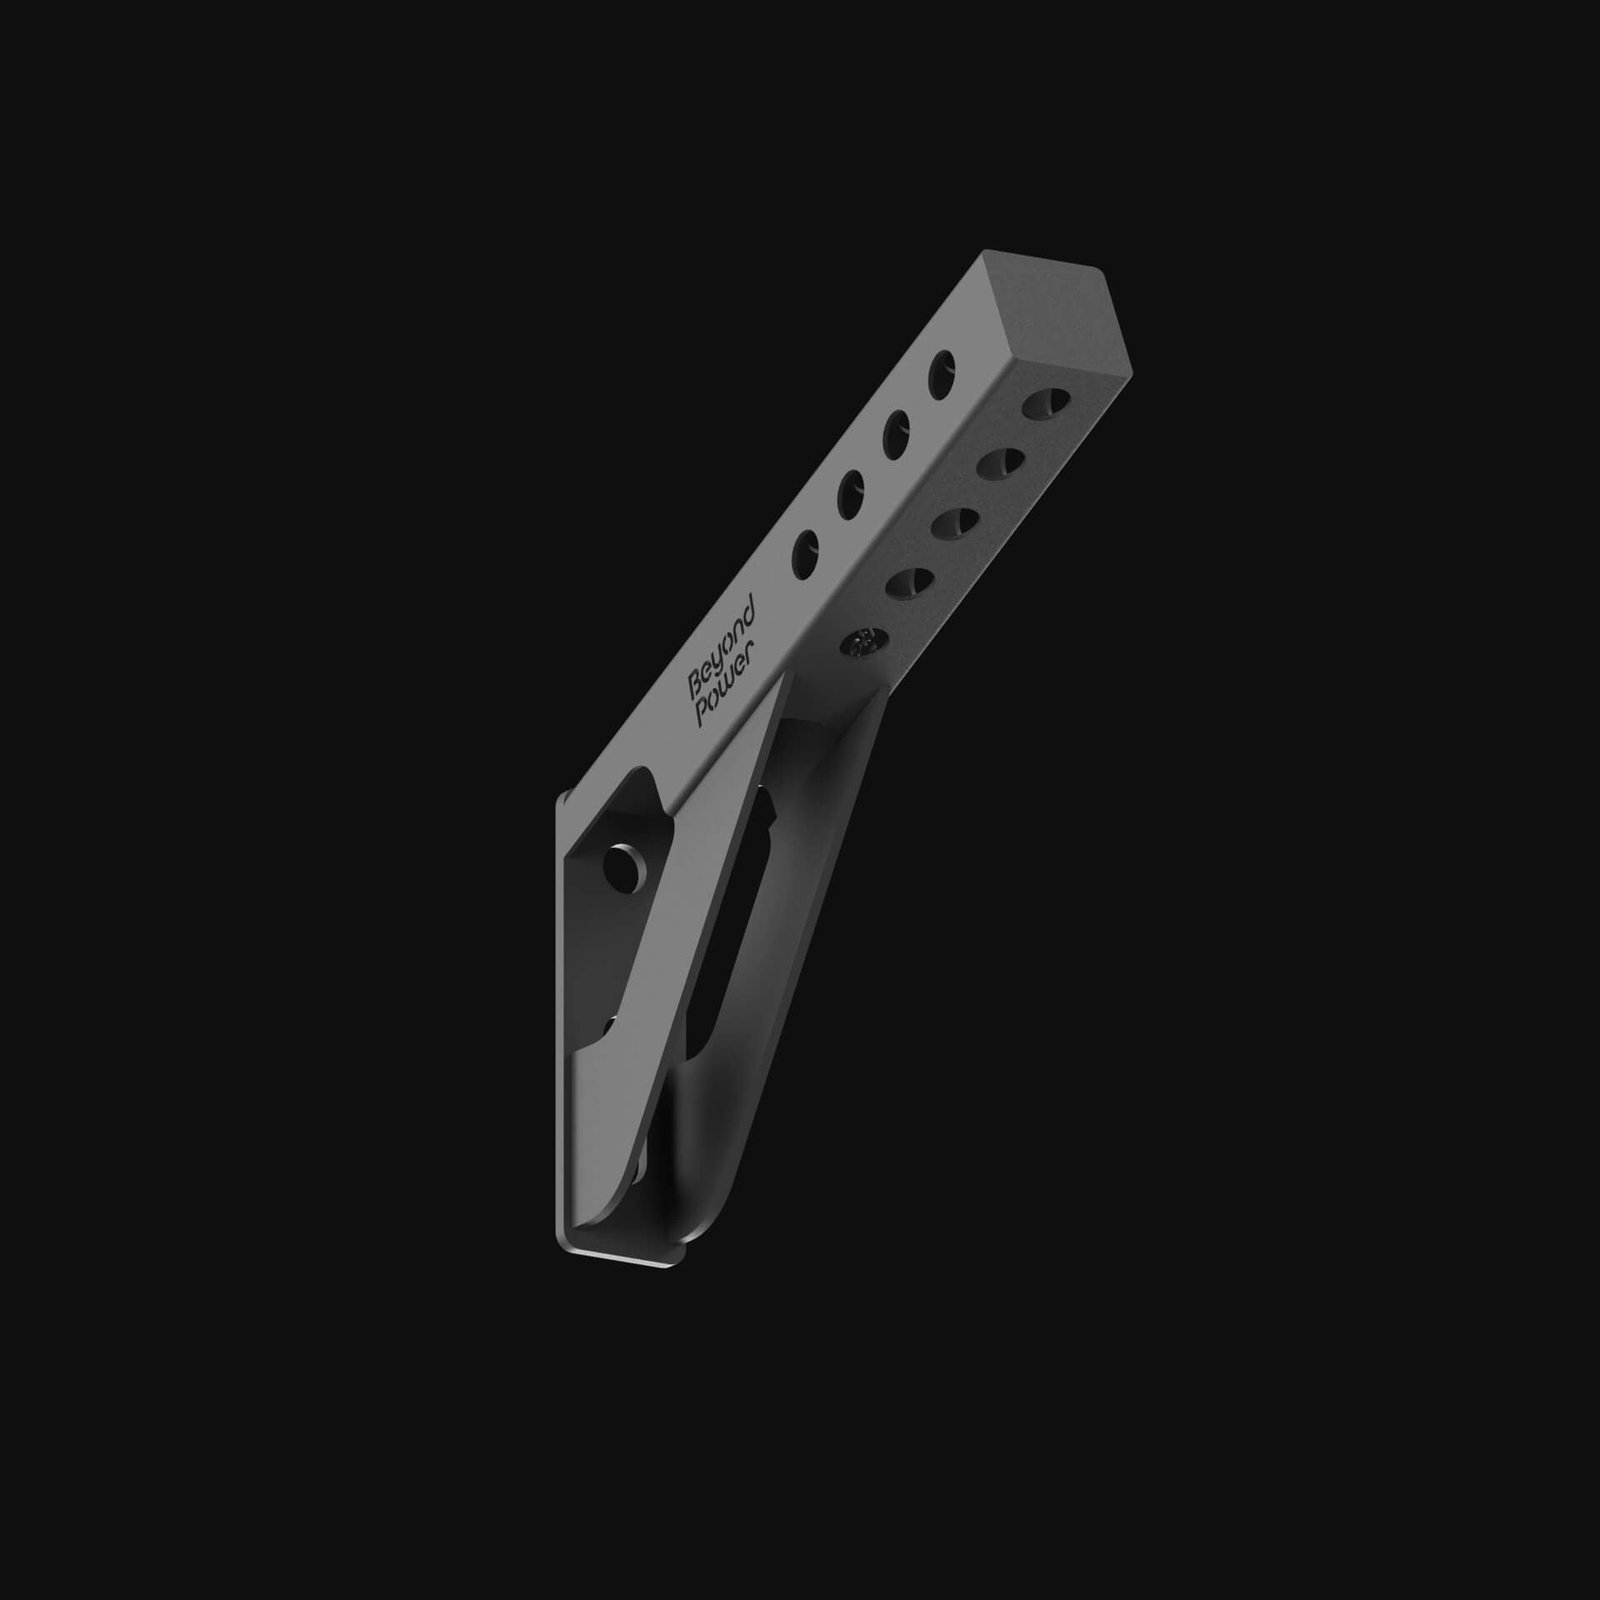

GymPin Ergo Handles
Pair of ergonomic cable handles shaped for comfortable triceps and pulling exercises.


Angles 90 Grips
Flexible grip attachments that allow natural wrist movement during pulling exercises.
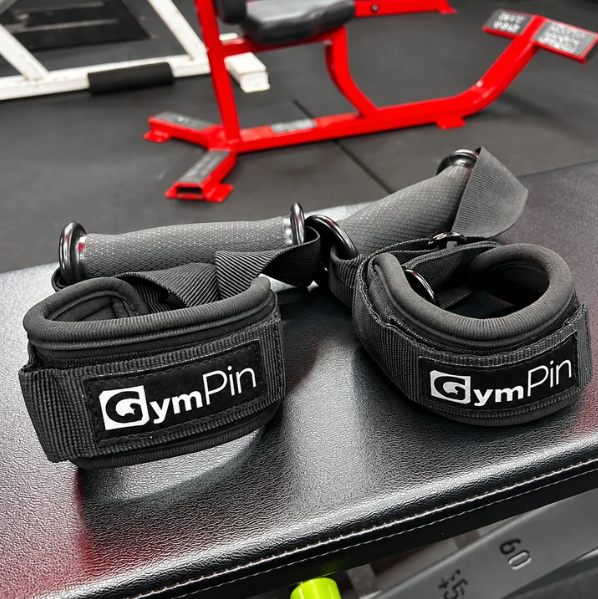
GymPin D Cuffs
Adjustable wrist cuffs with textured grips for supported cable-machine exercises.
3. Row with a controlled reach, elbow drive and return
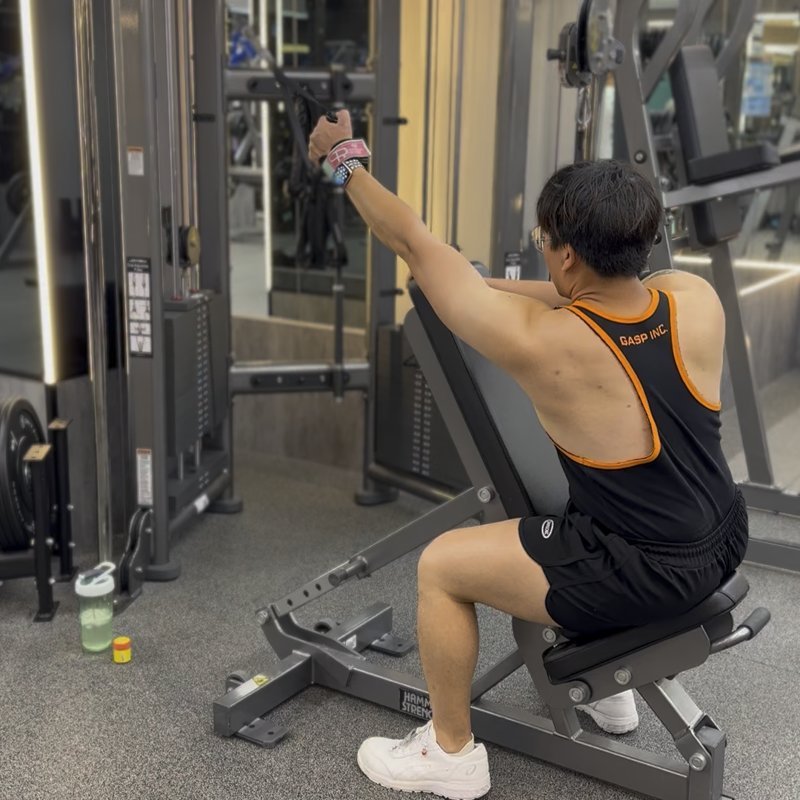
Start with your arm reaching toward the pulley, shoulder relaxed and chest facing the machine. Take a breath and brace gently. Initiate the repetition by moving the elbow back toward your torso while keeping the handle aligned with the forearm. Think of your elbow as traveling to the back pocket, not your hand racing toward the chest. Stop when the upper arm is close to the torso and the shoulder remains comfortable; pulling far beyond that point often demands excessive twisting.
Let the handle return over roughly two controlled seconds. The shoulder blade can glide forward, but do not allow the stack to yank your arm into an uncontrolled position. Keep the wrist reasonably straight and the grip firm enough to secure the attachment without crushing it for its own sake. A neutral palm position is a sensible starting point; other comfortable grips are possible, but grip changes are not a reason to abandon a consistent elbow path.
A quick form audit helps: can you keep the sternum roughly facing forward, pause briefly near the torso, and bring the handle back to the same starting point each time? If your foot position changes every rep, the stack slams down or you need a violent torso rotation, reduce the load. Some natural movement is normal, especially near the limits of a set, but large momentum-driven swings make the actual back-training stimulus harder to compare. Film one easy and one challenging set from the side if the path feels inconsistent.
4. Choose standing, seated or half-kneeling rows deliberately
The standing version is flexible and easy to pair with most functional trainers. It also asks you to maintain balance against the cable’s pull. If you enjoy a small athletic challenge but want the back to remain the limiting factor, keep the stance consistent and start lighter than you would on a seated row. A support hand can make standing rows more stable; just make sure you are bracing on equipment designed to tolerate contact.
Seated one-arm rows generally reduce the balance demand and make it easier to hold the torso in place. Sit with feet securely supported, a soft knee bend and sufficient distance for a full reach. Do not turn the beginning of every rep into a big backward lean. Use this option when you want your back and arm to be the main performance limit or when standing creates unnecessary fatigue in the legs.
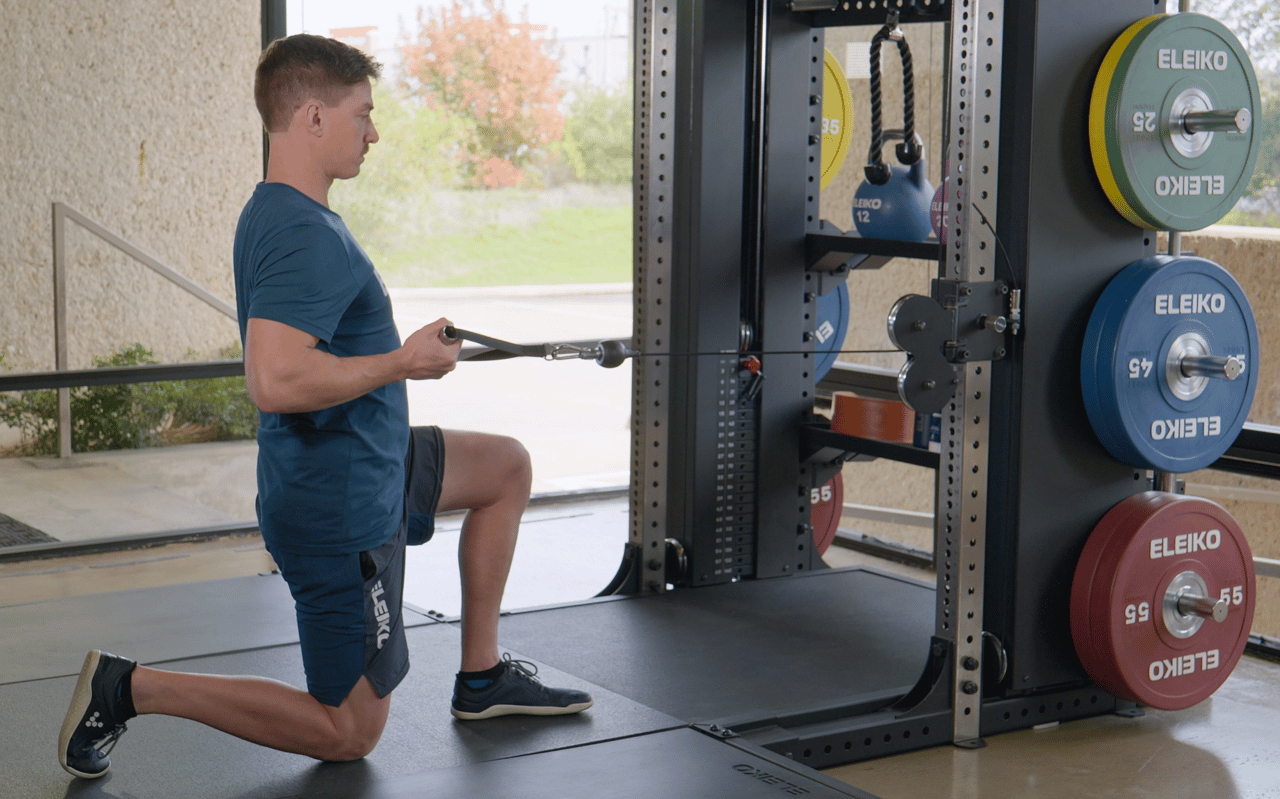
Half-kneeling rows put one knee down and the opposite foot forward. The narrower base can highlight unwanted rotation, while the lower position may suit cable towers that cannot be set quite where you want from standing. Keep the pelvis level and avoid chasing a dramatic twisting stretch. A padded surface under the knee is a practical comfort measure. If the cable angle or kneeling posture feels awkward, switch to a seated or braced standing version instead. These are different tools, not a hierarchy with one universally superior option.

Bodybuilding Shirts & Workout Gear
Bodybuilding shirts, tanks and gym gear for lifters chasing muscle, size, symmetry and the pump.


Nice Traps Big Back Tee
Heavy lifts, good laughs, and a little “Nice Traps Big Back” energy.

Back Sabbath Back Day Funny Gym Hoodie
Bring “Back Sabbath Back Day” gym humor to lazy days and post-workout plans.

Wide Privilege – Wide Back Meme Jumper Crewneck Pullove T-Shirt
Bring “Wide Privilege” humor to your everyday gym style.

Gym Dost Thou Even Pull Medieval Knight Lat Pulldown De Sticker
Give your everyday gear a playful “Dost Thou Even Pull Medieval Knight Lat” twist.

Lat Man Big Back – With Huge Lats – Vest Back Day Tank Top
Your gym-day look, with a playful “Lat Man Big Back” twist.

We Are So Back Shirt | Bodybuilding Back Workout | Grap T-Shirt
Heavy lifts, good laughs, and a little “We Are So Back” energy.

Unbreakable Gains Back Tee
Make gym days more fun with “Unbreakable Gains: Strong Back Greek God” style.

Lat Spread Mickey Mouse Decal Meme Water Bottles Sticker
A fun “Lat Spread” touch for bottles, laptops, and lockers.
5. Progress for six weeks without losing the same rep standard
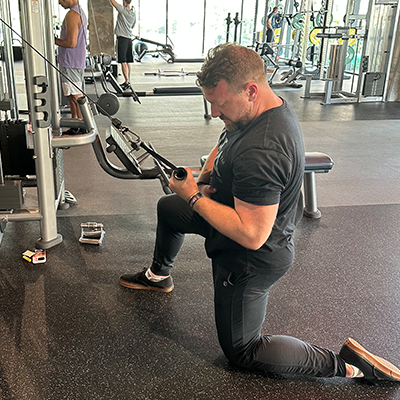
Place single-arm cable rows after a demanding vertical pull or as your main horizontal row in a back session. Start with two working sets of eight to twelve reps per side, one or two times per week. Choose a load that leaves around two controlled reps available at the end of the first week. Rest around sixty to ninety seconds between sides or longer after a full left-right pair if breathing or grip needs to recover. Work both sides with the same intended movement quality.
Weeks 1–2: Establish a stable stance or seat, the same handle, and a consistent reach. Perform two sets per side in the eight-to-twelve range. Begin with your less coordinated side and match the stronger side to its clean reps. Log the stack setting, any cable ratio you know, your rep count and the sensation of effort; cable machines with different pulley ratios do not necessarily deliver equal handle resistance at the same displayed number.
Weeks 3–4: Keep the setup unchanged. Add a rep when you can reach both ends of the motion without shrugging or rotating. Once you reach twelve clean reps across both sets on both sides, move the stack by its smallest practical increment and return toward eight or nine reps. If the jump is too large, add control with a brief end-range pause instead of forcing the heavier selection.
Weeks 5–6: If recovery is good and this is a priority back exercise, you can add a third working set to one of the weekly sessions; otherwise retain two quality sets and continue the rep progression. The extra set is optional, not proof of a better workout. Stop or substitute the lift if you develop sharp shoulder or elbow pain, and distinguish normal back fatigue from joint discomfort.
Keep a simple scorecard: same pulley height, same foot position, comparable reach, comparable torso stillness and one more rep or a modest load increase over time. That is useful progress. Chasing a higher stack number by shortening the return or throwing the shoulder behind the body is not. A well-performed single-arm cable row can sit beside pull-ups, pulldowns and other rowing choices without needing to replace all of them.
Equipment Worth Exploring
Explore equipment, accessories and gear from our carefully selected range.
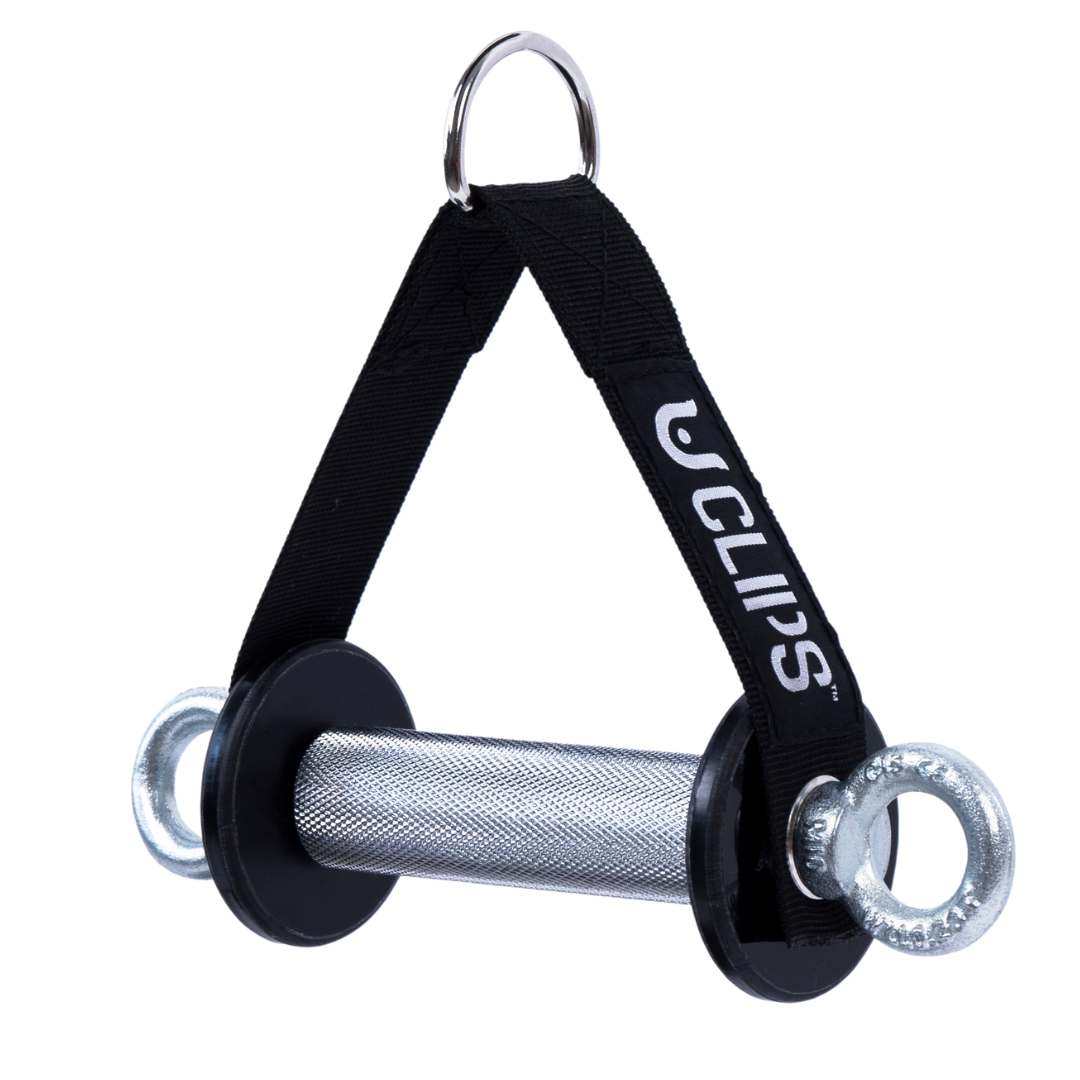
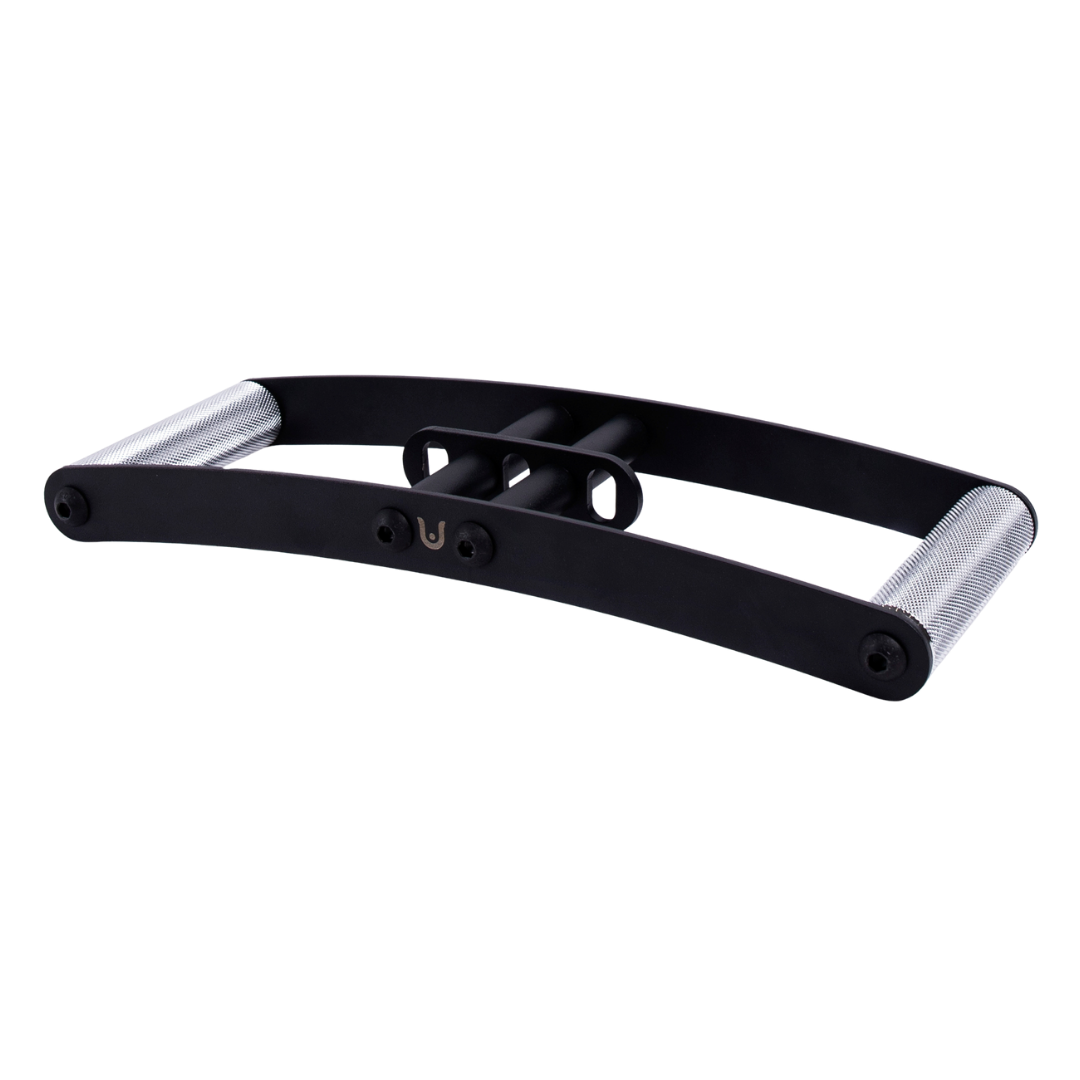
Horizon Grip
Ergonomic V-style cable grip for rows and back training.
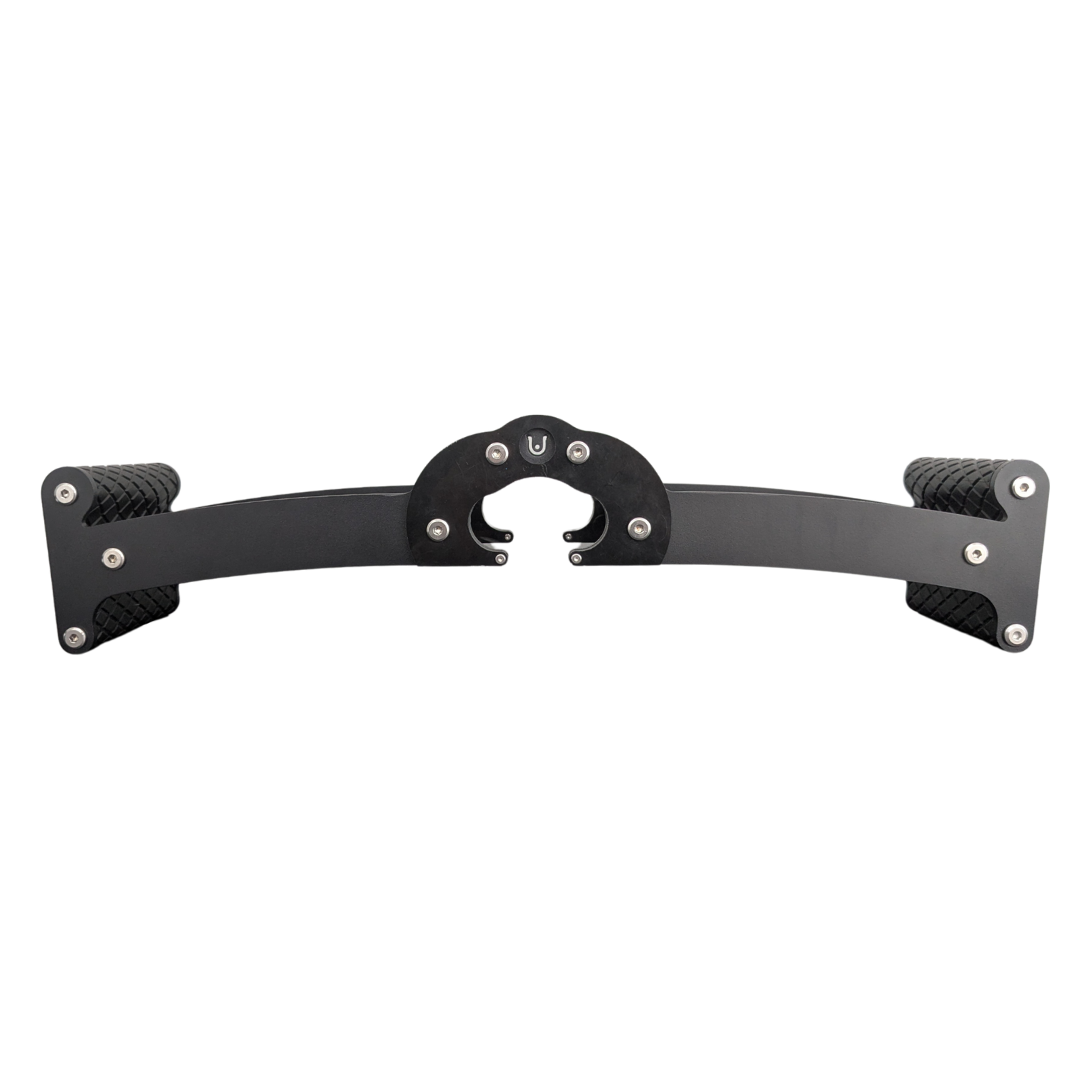
Back Bar
Multi-grip cable and landmine bar with a built-in deadlift jack.
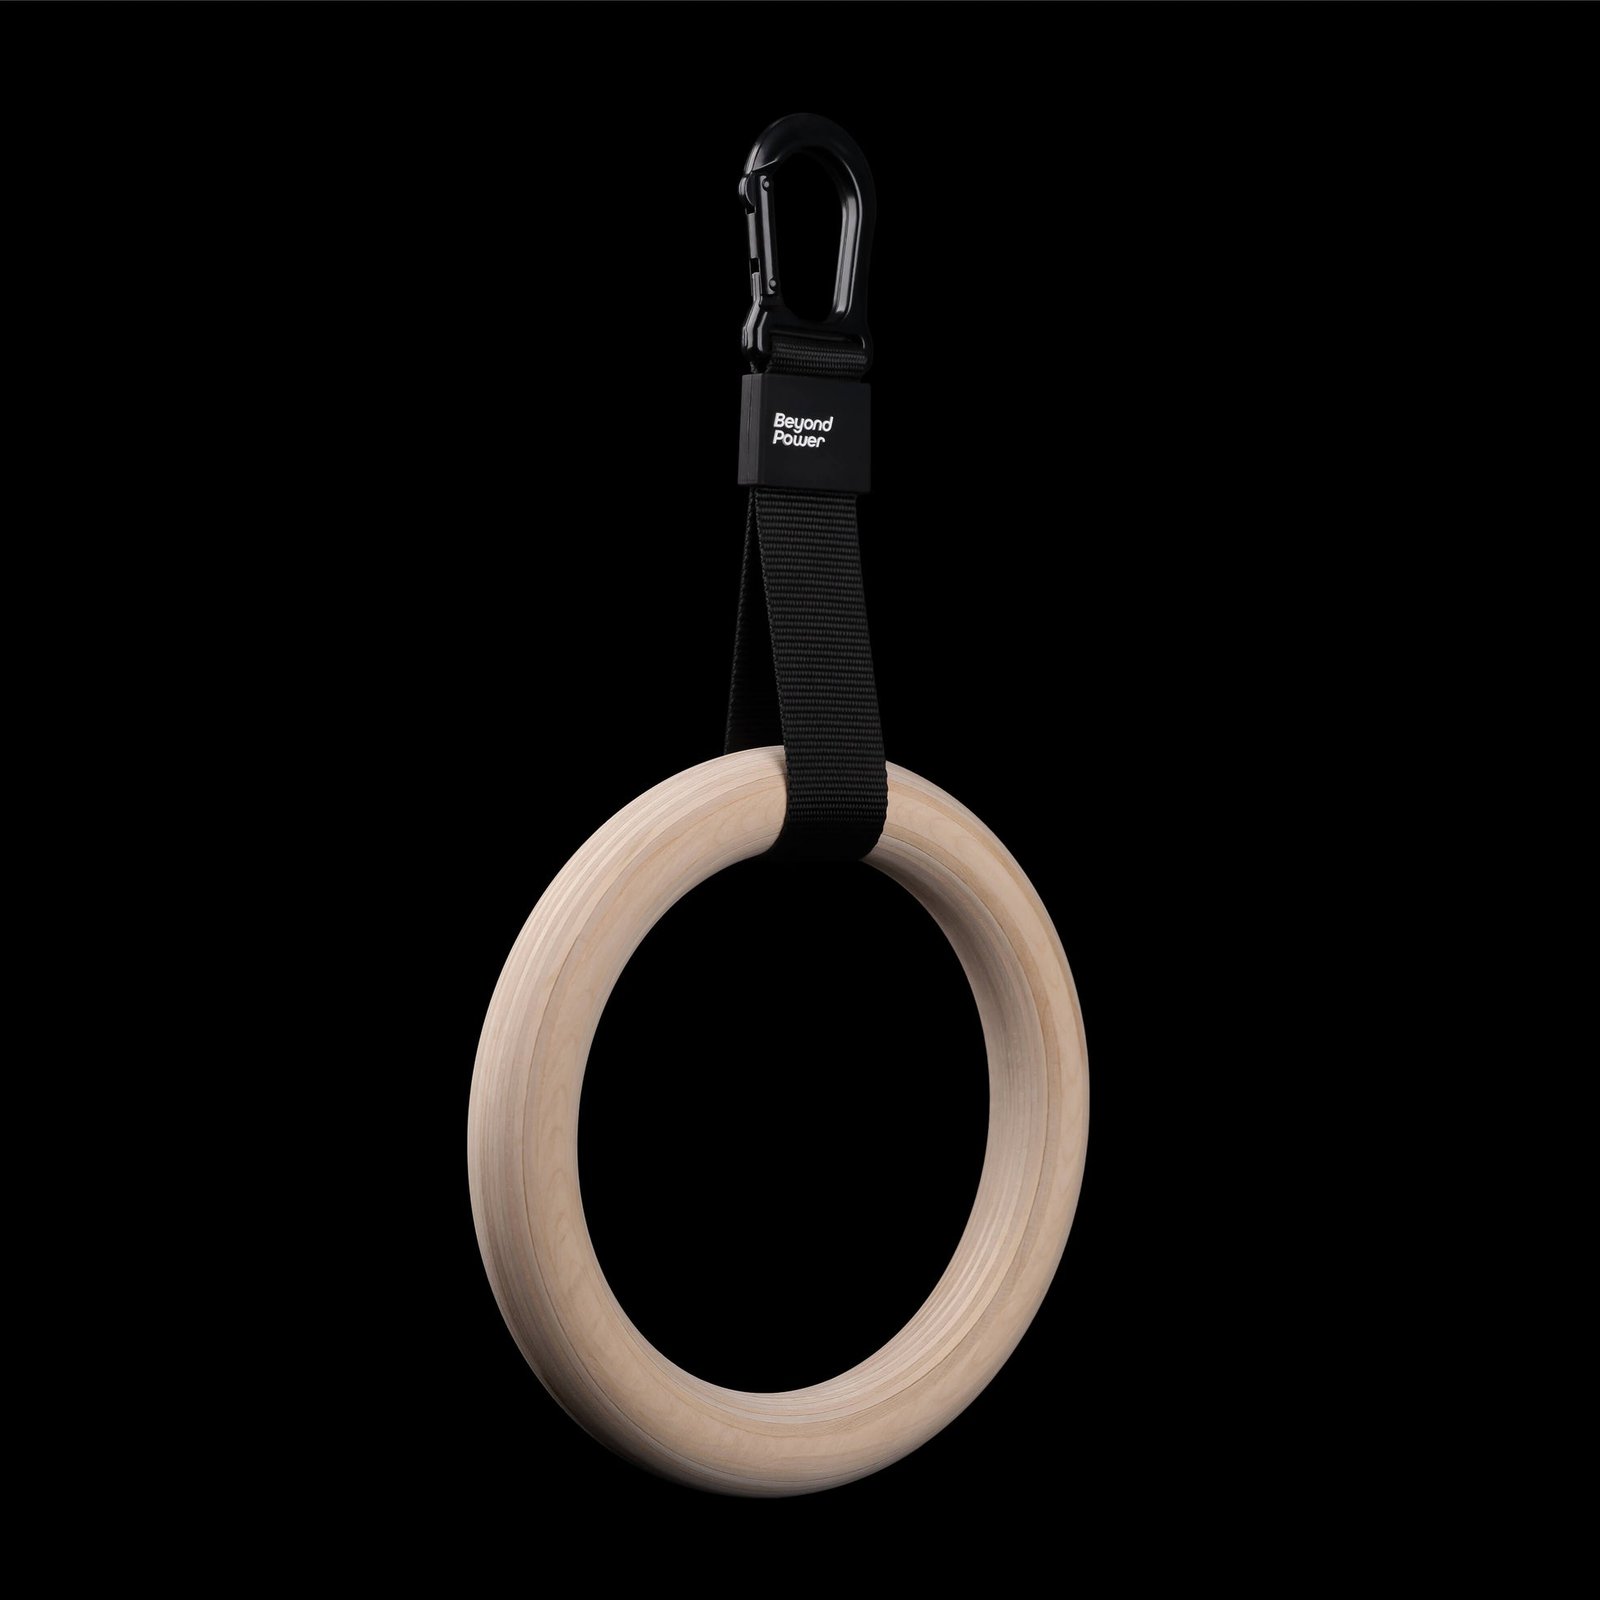
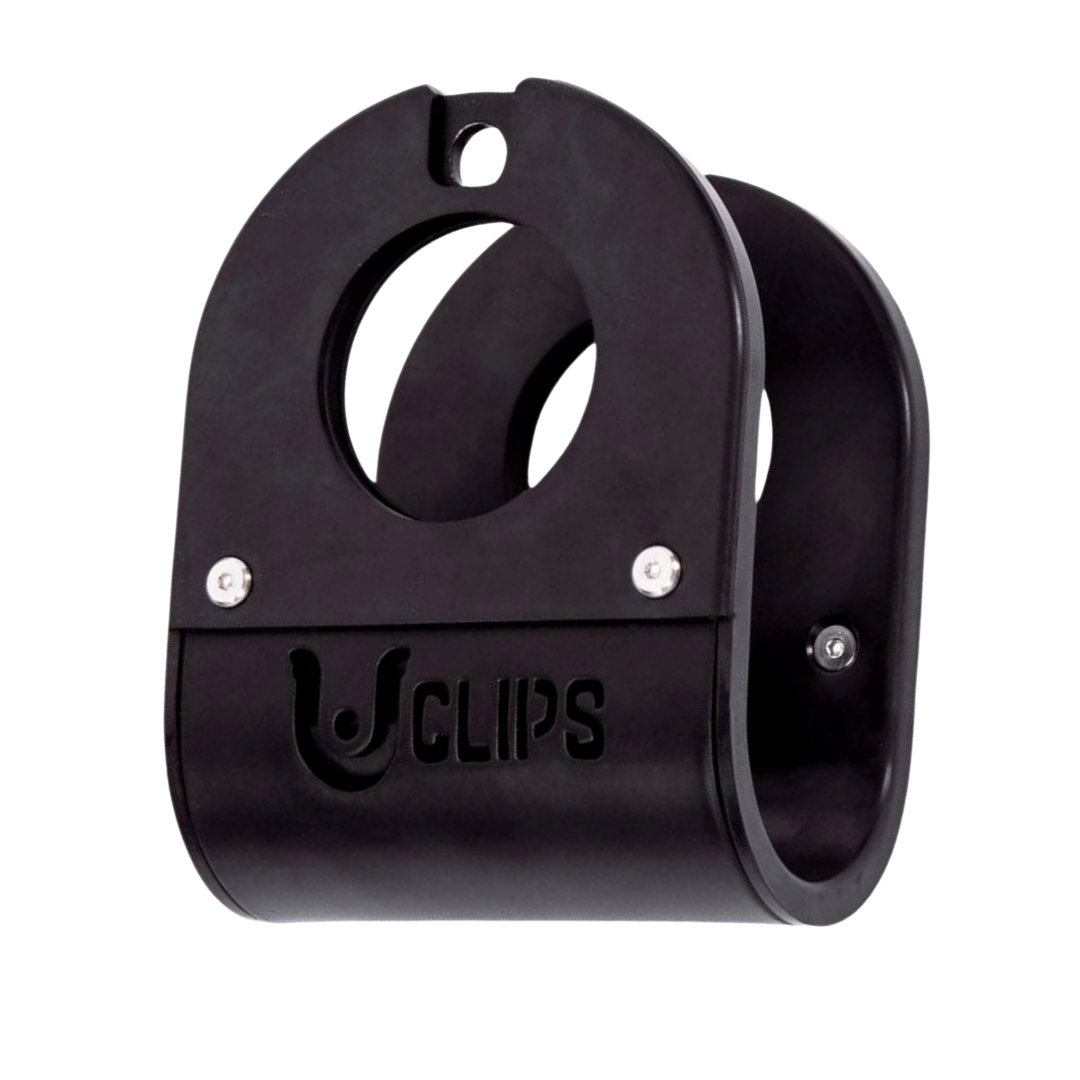
U Clips
Versatile gym clips for barbell, landmine, and attachment setups.

GymPin D Handle Bar
Multi-use steel D-handle bar for cable rows, pulldowns and other cable exercises.
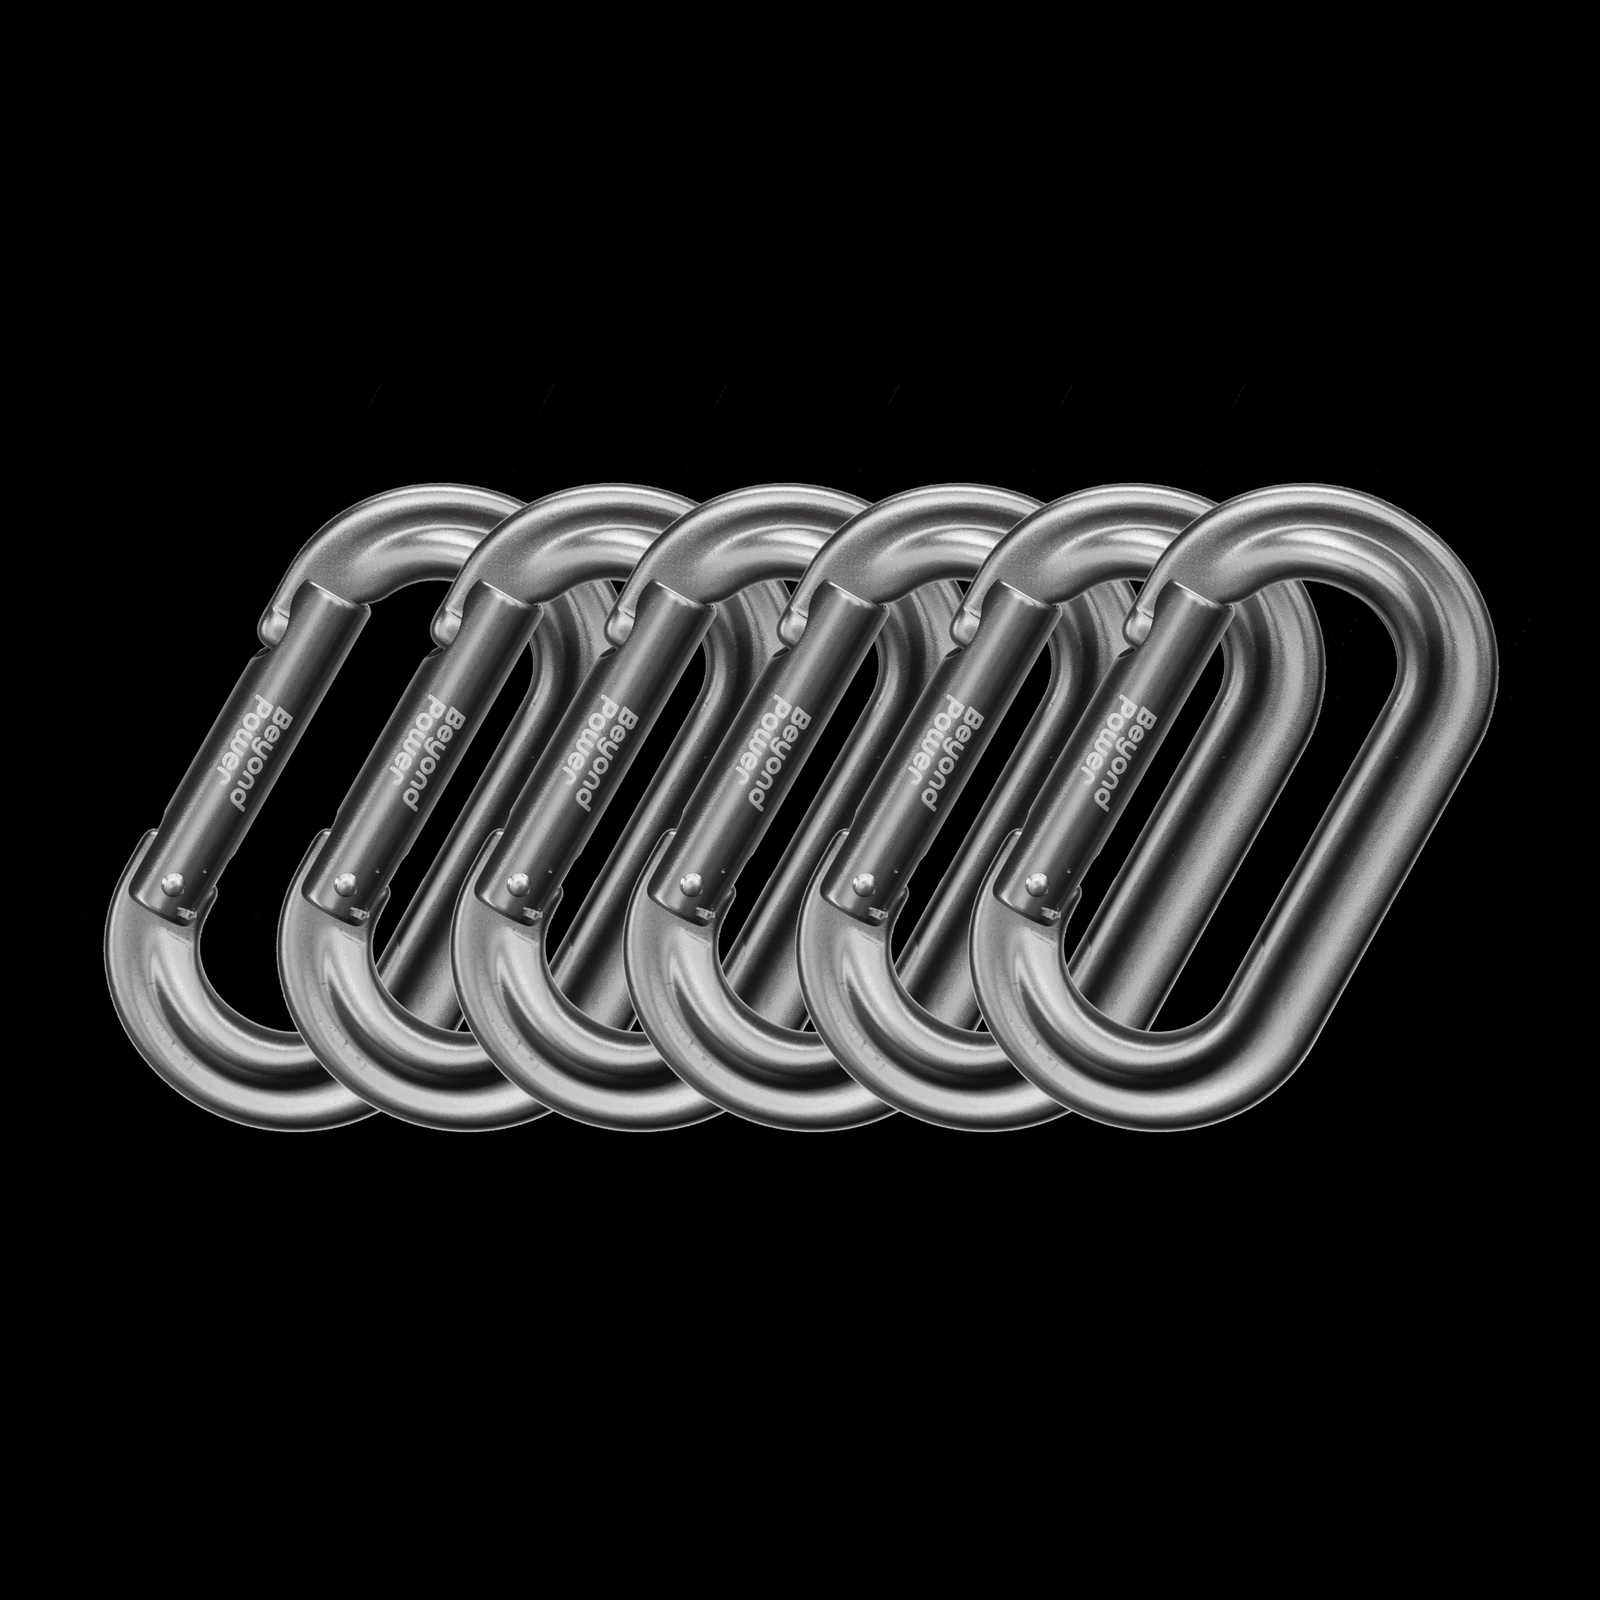
Premium Carabiner
Durable carabiner for connecting cable attachments and training accessories.

VForce 2IN1
Half rack and pivot-arm functional trainer with switchable 1:1 and 2:1 pulley ratios.

Multi Pull Smith Rack MPHR-780
All-in-one rack with a Smith machine, functional trainer, lat pulldown and low row.

Leather Wrist Grips
Padded leather lifting grips help support the hands and wrists on heavy pulling exercises.
Some product links may be affiliate links, which can support Mind Muscle Perfection at no additional cost to you.