Advertising disclosure: This page includes affiliate product links that may earn us a commission, as well as products from our own store.
Rack Pulls: Pick the Pin Height, Brace Hard and Build a Stronger Lockout
Rack pulls look like deadlifts with the first part removed. A barbell starts on the safeties of a power rack, somewhere around the shin or knee, and the lifter stands up with it. Shortening the distance often makes heavy weights possible, but it also changes the exercise. A rack pull from mid-thigh is not interchangeable with a pull from just below the knee.
To make the movement worthwhile, decide whether you are training the last portion of a deadlift, practicing a consistent hip hinge, or adding hard work for the back and hip extensors. Choose the height and load for that purpose rather than choosing them solely to display the biggest number of plates.
1. Pin height decides what the rack pull trains
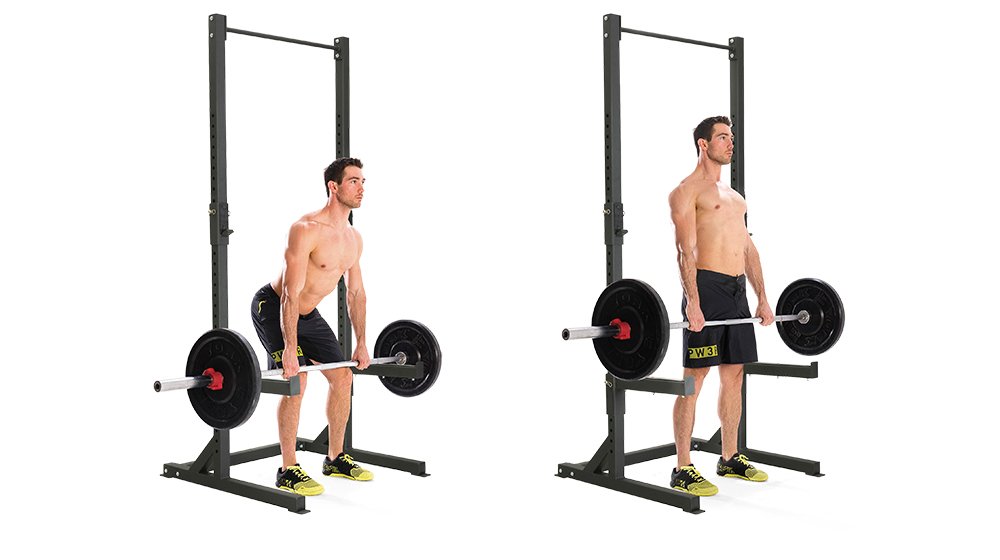
A rack pull is a partial deadlift, not a universal upgrade over the full lift. Begin with the bar roughly just below the kneecap if your goal is a recognizable deadlift lockout pattern. From there you still need an honest hinge and enough knee extension to finish tall. Raise the pins toward mid-thigh and the range shrinks; lower them toward mid-shin and the movement resembles a floor deadlift more closely. Keep the bar height consistent while tracking progress.
Even one or two rack holes can change leverage dramatically. A lifter who moves 180 kilograms from above the knee may not lift that load from below the knee. Neither number says much without the starting height. Log the rack model, pin hole or measured distance from the floor alongside each set. Compare like with like, especially when moving between gyms.
If a particular point of your deadlift feels slow, use a partial pull to practice that position, while remembering that strength transfer is not automatic. Very high pins can turn the lift into little more than a heavy hold and short hip extension. That may be useful for grip exposure or upper-back loading, but should not be sold as equivalent work for hamstrings, glutes and the entire deadlift range.
For a practical starting-point check, film the empty-bar setup at two neighboring pin heights. Note how far the torso must hinge, how much the knees bend and whether the hands naturally sit just outside the legs. A position that feels like an easy upright shrug will not train the same movement as a lower starting point. Choose one setting that matches your purpose and leave it there through a training block. If you raise the supports to accommodate a different athlete, write down the change rather than comparing new records against old ones.
2. Set up the rack, bar and grip before loading heavy
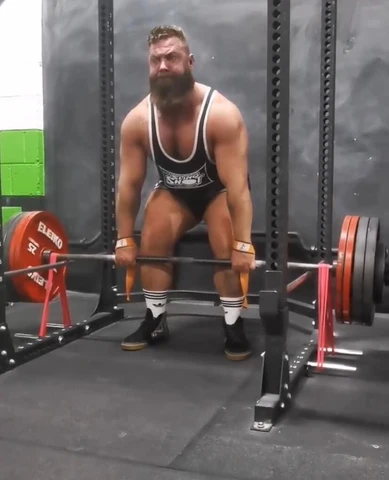
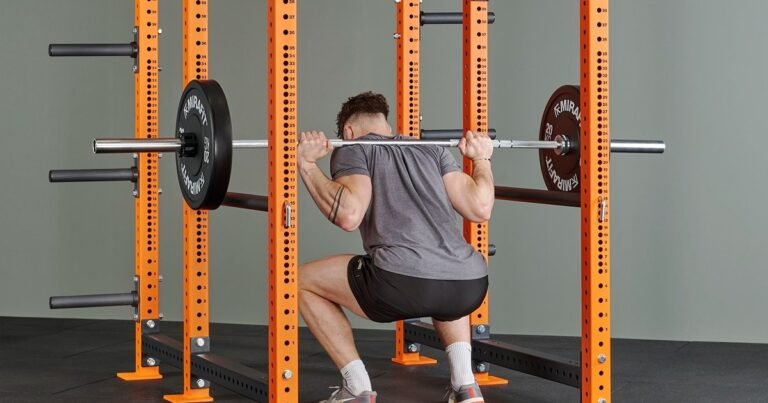
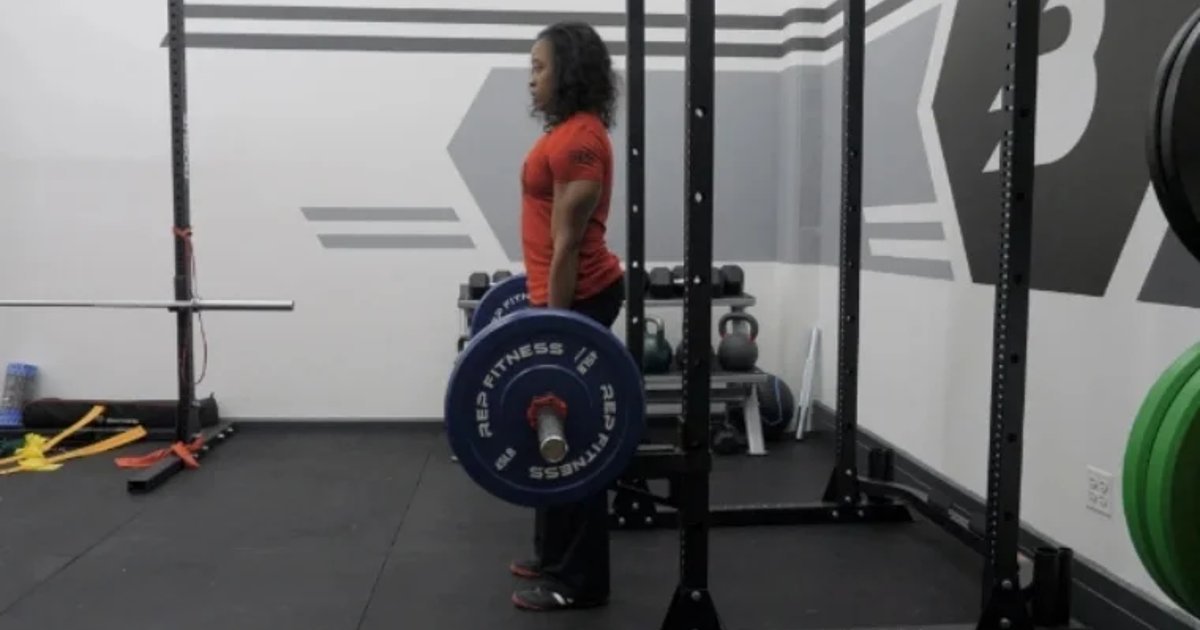
Use a stable rack whose rated safeties can carry the bar. Place both pins or strap safeties at exactly the same height, lock them properly and check that the bar is centered. With a barbell starting below the knee, stand about hip-width apart, position the bar close to your legs, then push the hips back to reach it. Grip just outside your thighs. You should feel balanced over the middle of your feet rather than pulled forward.
Brace the trunk before trying to move the bar. Draw the shoulders down, create tension through the lats and take the slack out smoothly. A violent jerk from loose arms into a heavily loaded bar is not a shortcut to strength. Pull with straight arms while the hips and knees extend together. At the top, stand tall with the ribs stacked over the pelvis; do not lean backward to manufacture a dramatic lockout.
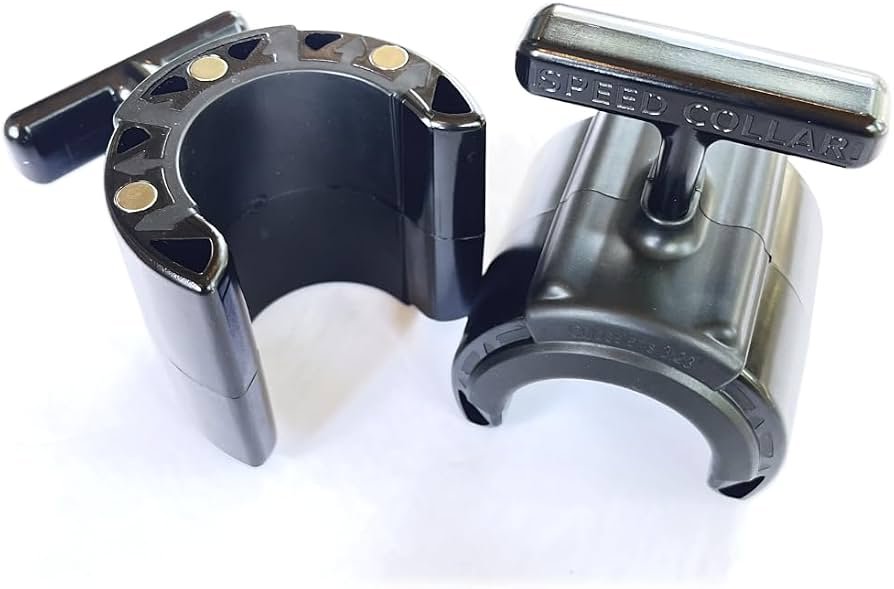
Double-overhand grip is a good starting option. Hook grip, mixed grip or lifting straps may make sense when the hands fail before the intended back work. Straps are a tool, not cheating, but they change the grip stimulus. Record whether you used them. Use collars to secure plates, avoid crashing a knurled bar onto bare metal and consider protected pins or proper pulling blocks where suitable.

Equipment Worth Exploring
Explore equipment, accessories and gear from our carefully selected range.


Foldable Wall Rack
Wall-mounted folding squat rack designed to save floor space between workouts.

Multi Pull Smith Rack MPHR-780
All-in-one rack with a Smith machine, functional trainer, lat pulldown and low row.


Competition Plates
Competition-style bumper plates for Olympic lifts and loaded strength training.


Grip Plates
Rubber-coated weight plates with handholds for loading barbells and machines.

Speed Collar
Quick-release collars designed to secure weight plates on standard two-inch Olympic bars.
3. Make every repetition a controlled dead stop
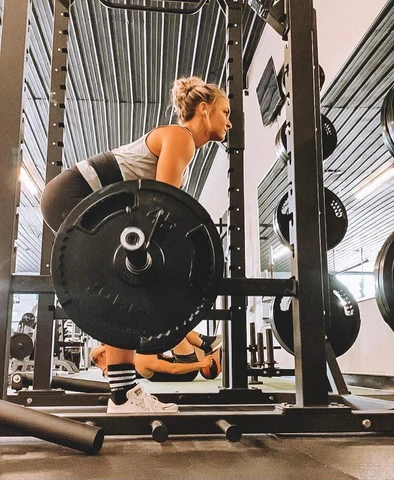
The first repetition should leave motionless safeties only after you have set your back, braced and created tension. Keep the bar close to the body as you extend. Do not let a drifting bar force an exaggerated forward lean. When the hips and knees are fully extended, finish the repetition without shrugging your shoulders toward your ears or hyperextending the spine. Then reverse the hinge to return the bar to the same supports.
Set the bar down under control, let it stop and rebuild your setup. Bouncing loaded plates off the safeties can make the next repetition easier without making you stronger. It also creates noise and can damage equipment. If the pins shake or the bar rolls forward between repetitions, fix the setup and reduce the load rather than trying to fight an unstable starting position.
Watch video from the side at a working weight. A gradually rounding back, a bar that leaves the thighs, or knees that repeatedly bend again near the top are signs to simplify the lift. The goal is repeatable mechanics, not an arbitrary picture-perfect spine angle. Fatigue will change position slightly, but a set that requires hitching, throwing the torso back or changing pin height has gone beyond its useful training load.
A useful practical test is to pause for a full second after every controlled return. If the next pull suddenly requires much more effort, the previous rhythm may have relied on rebound rather than repeatable starting tension. Reduce the load and learn to own both positions before progressing.
A common trap is treating the first heavy repetition as a warm-up. The nervous system and connective tissues still face a high demand even when the bar travels only a few inches. Use several ramp-up sets with lighter plates and repeat the same dead-stop technique you intend to use for work sets. If the bar starts moving only after you rock back and forth or snap your elbows straight, the load is already dictating your technique. Back off and rebuild tension rather than discovering the limit by force.

Powerlifting Shirts & Lifting Gear
Powerlifting shirts and gym gear for squat, bench and deadlift lifters who live for heavy numbers.

SIUUU Deadlift – Meme Soccer & Football Fans – & T-Shirt
Bring “SIUUU Deadlift” humor to your next gym day.

Barbell Breaker AC/DC Rock Music – Top Gymbros & T-Shirt
Make gym days more fun with “Barbell Breaker AC/DC Rock Music” style.

Lord of the Plates | My Precious Workout Pullover & T-Shirt
Show some gym-day personality with “Lord of the Plates”.

No Plates No Dates For Gym Bros | Funny Lifting Meme Pu Hoodie
Make your off-duty look more fun with “No Plates No Dates”.

All In All Its Just Another PR On The Wall – Pink Floyd T-Shirt
Keep things casual with a little “All In All Its Just Another PR On The Wall” attitude.


Deadlift Cyberpunk Skull Muscle Shirt for Powerlifters, Tank Top
Train hard, laugh a little, and rep “Deadlift”.

I Love Deadlifts Gym | Heart Plate Valentine's Funny Wo Sticker
Put “I Love Deadlifts” gym humor on your laptop, bottle, or gym gear.


Bane Barbell Club Muscle Shirt Athletic Vest Gymbros Ba Tank Top
Your gym-day look, with a playful “Bane Barbell Club” twist.
4. Rack pull, block pull or regular deadlift: match the tool to the job
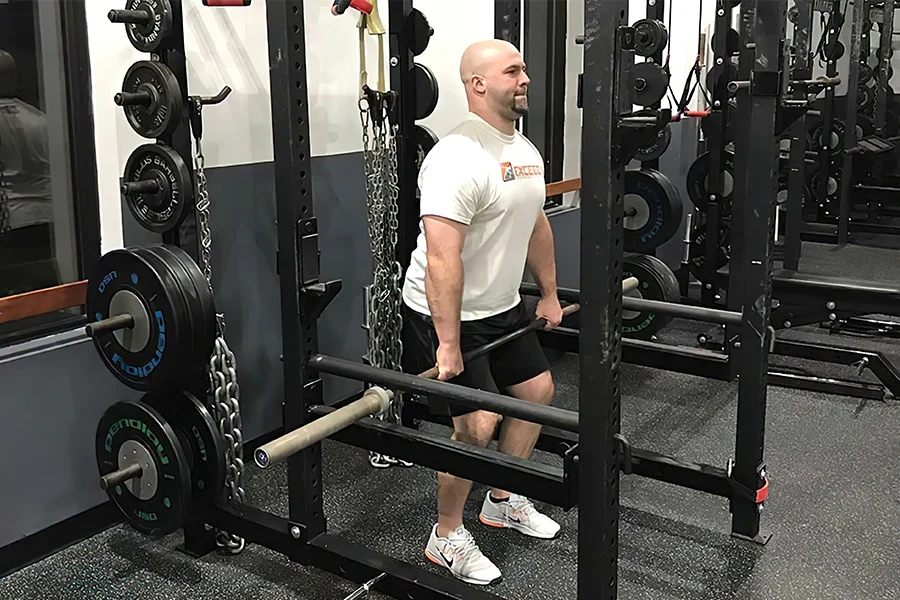
Rack pulls start with the shaft supported by rack safeties. Block pulls support the plates on sturdy platforms, often treating the bar differently at the bottom. Both elevate the start, but they are not identical setups. Blocks can avoid repeated direct bar-to-pin contact; pins are easy to adjust precisely. Either way, secure the equipment and leave enough clearance to stand naturally inside the rack.
Full-range deadlifts still train positions the rack pull skips. If you compete in the deadlift, do not remove all floor pulls and expect heavy partials to preserve your start position. For general hypertrophy, the shorter range can load spinal erectors, upper back and hip extensors, but a heavier bar is not proof of a larger growth stimulus. Consider pairing partials with Romanian deadlifts, hamstring curls or rows when your program needs more movement or different emphasis.
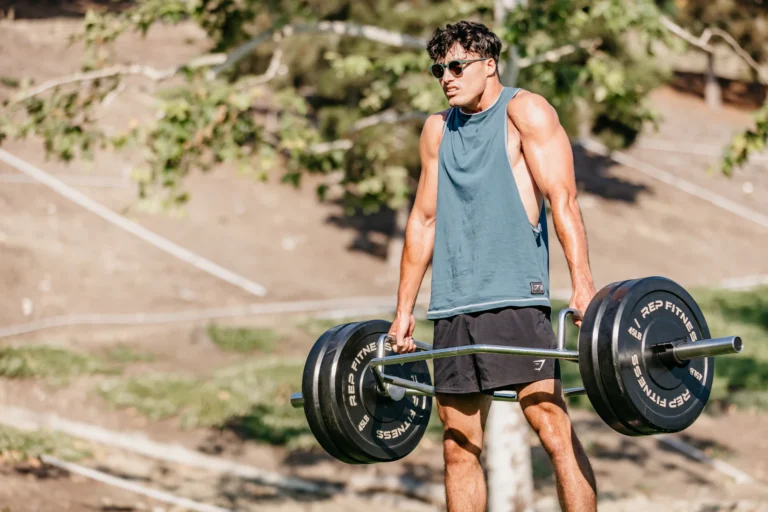
Isometric pulls against immovable pins are another separate option: there is effort without a moving bar. They can fit a specific strength practice, but the load cannot be compared to normal repetitions. A trap bar, meanwhile, changes hand position and often torso mechanics; it is an alternative hinge, not the same as raising a straight bar onto pins. Select the variation that lets you perform the intended work reliably.
5. A six-week progression without chasing an ego number
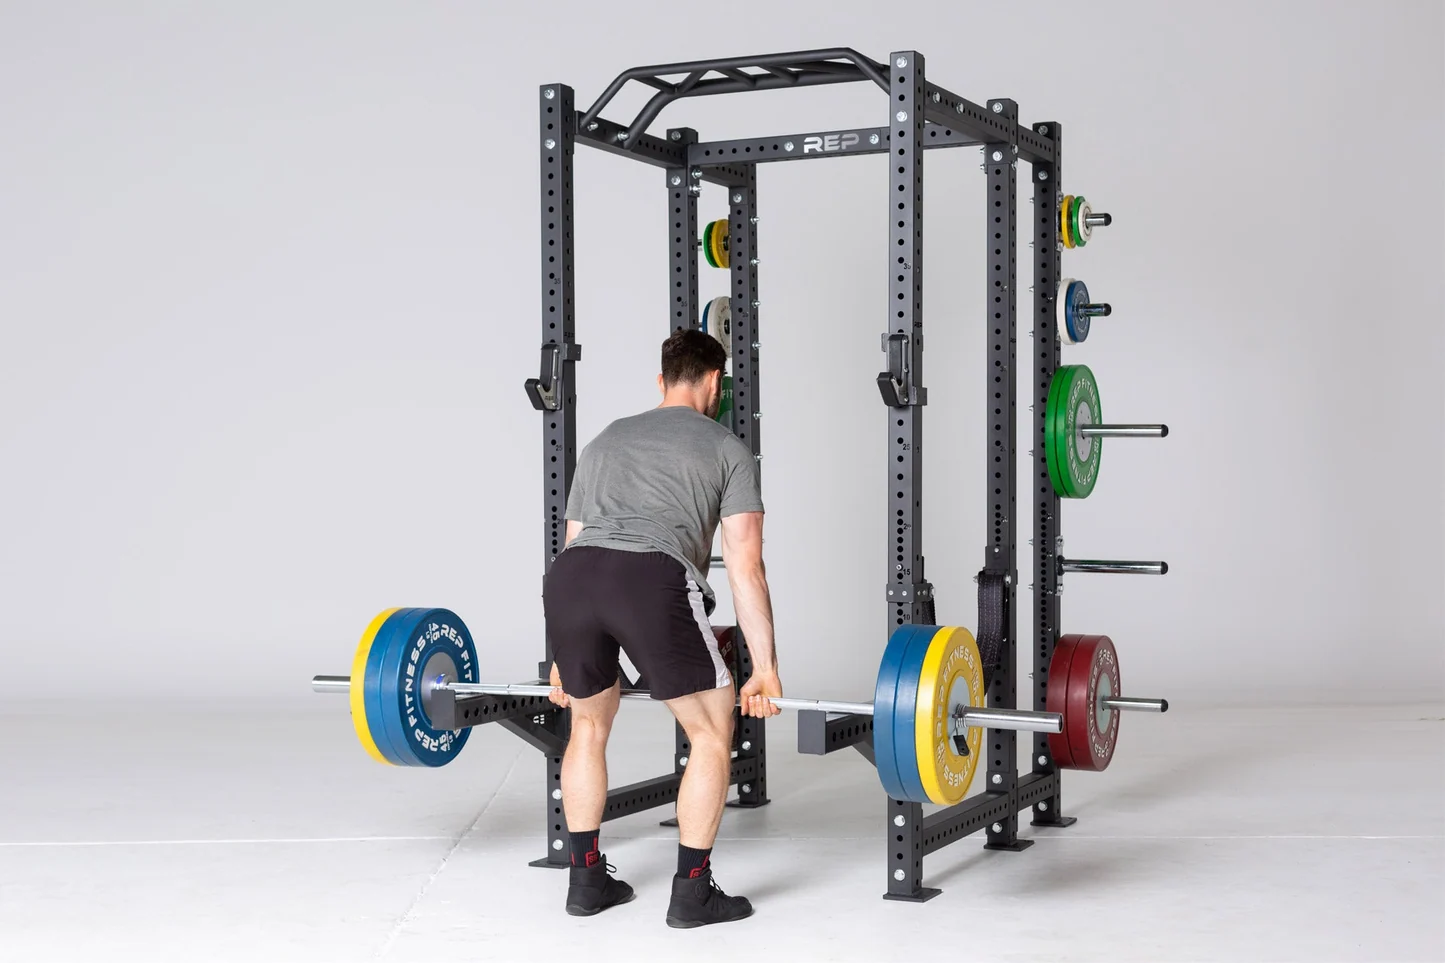
Train rack pulls once per week after a general warm-up and lighter hinge sets. In weeks one and two, use three sets of six controlled repetitions with roughly three repetitions left in reserve. In weeks three and four, move to three sets of five and add a small amount of weight only when the bar leaves the same height smoothly. In weeks five and six, use three sets of four at a somewhat heavier, still technically repeatable load. Rest approximately two to three minutes between hard sets, longer if bracing quality falls.
These are sample prescriptions, not a test-derived optimal dose. The plan assumes you already know a basic hip hinge. Beginners can stay with lighter sets for longer. If you deadlift heavily on another day, keep these partial pulls modest or alternate them with that main deadlift session. Leave at least a couple of days between demanding hinge sessions when fatigue is significant. Grip, back fatigue and equipment setup should influence the progression.
Keep the same pin height for all six weeks, and log the load, repetitions, effort, grip choice and any technical changes. If a set loses bar control, stop adding load. After six weeks, evaluate whether your normal deadlift, back training or comfort with the hinge actually improved. A higher rack-pull number by itself proves only that you became better at that particular partial lift. Use the result to guide the next block, not to replace every other posterior-chain exercise.
At the end of six weeks, compare like with like. Did the same below-knee height move cleaner, did grip stop being the limiter, or did the full deadlift feel better? These are different outcomes. Partial-lift progress alone is not proof that every other hinge improved.
Equipment Worth Exploring
Explore equipment, accessories and gear from our carefully selected range.


Open Hex Bar
Open-frame trap bar with multiple handles for deadlifts, carries, and lower-body training.

Leather Lifting Straps
Padded leather straps support grip during heavy rows, deadlifts and pulling exercises.

Leather Wrist Grips
Padded leather lifting grips help support the hands and wrists on heavy pulling exercises.


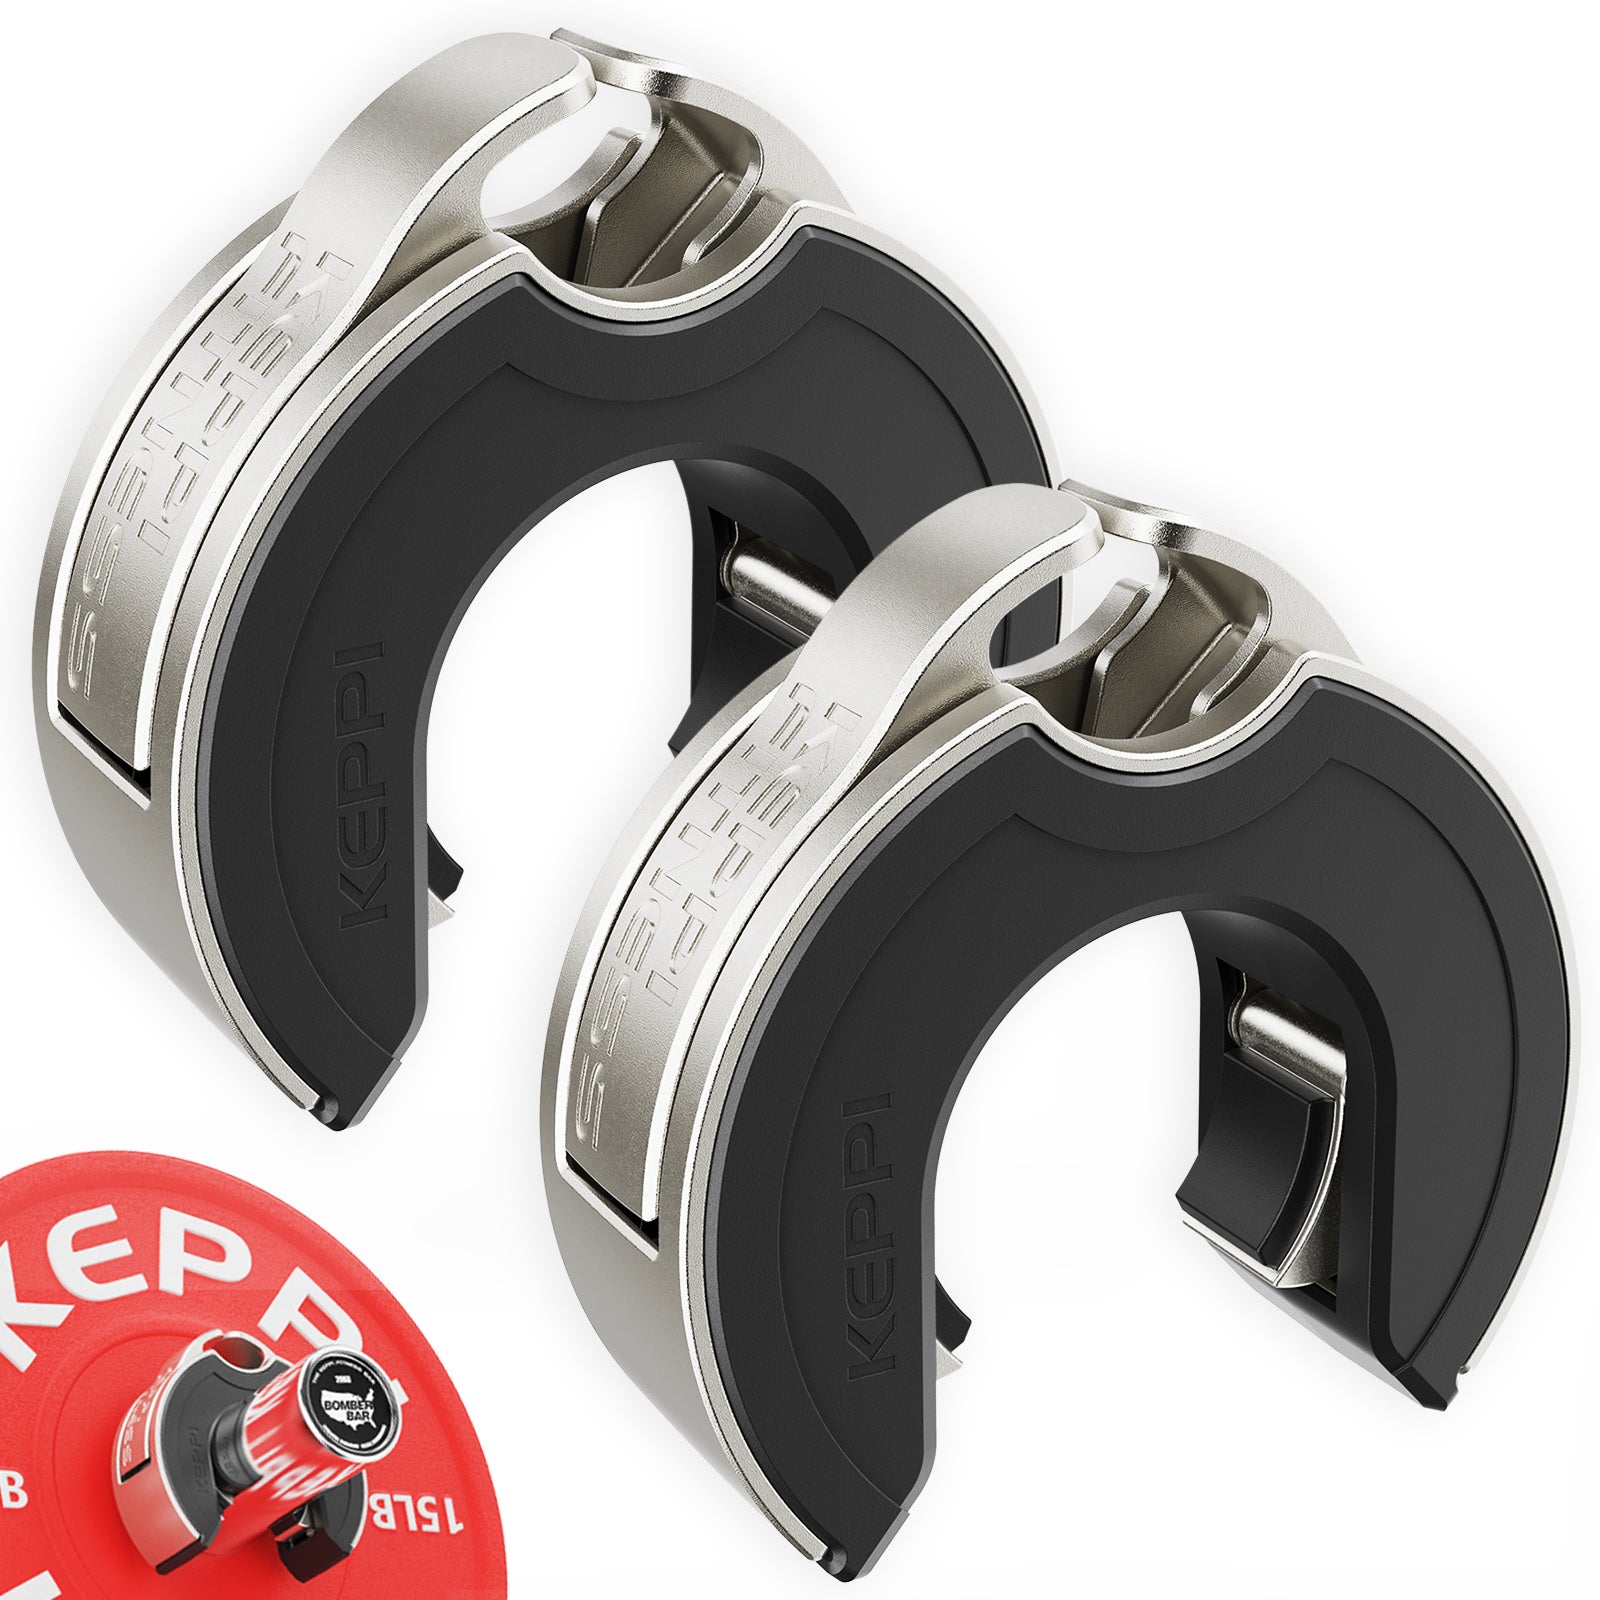
Keppi Open Collars
C-shaped magnetic Olympic barbell collars with a quick-lock mechanism and grippy lining.

Linear Row LRX-750
Dual-sided rowing machine for supported rows, bent-over rows and varied pulling movements.