Advertising disclosure: This page includes affiliate product links that may earn us a commission, as well as products from our own store.
Face Pulls: Rope Height, Rear-Delt Form and a Six-Week Plan
Face pulls look simple: take a rope, pull it toward your head and repeat. Yet adjusting pulley height, rope length or elbow path can turn one cable station into noticeably different exercises. A light accessory also becomes unnecessarily heavy when a lifter leans backwards or shrugs to finish every repetition.
Here is a repeatable cable setup, the evidence-based limits of the exercise’s claims, practical alternatives, and a six-week progression that fits ordinary pressing and pulling workouts.
1. What face pulls train—and what they do not prove
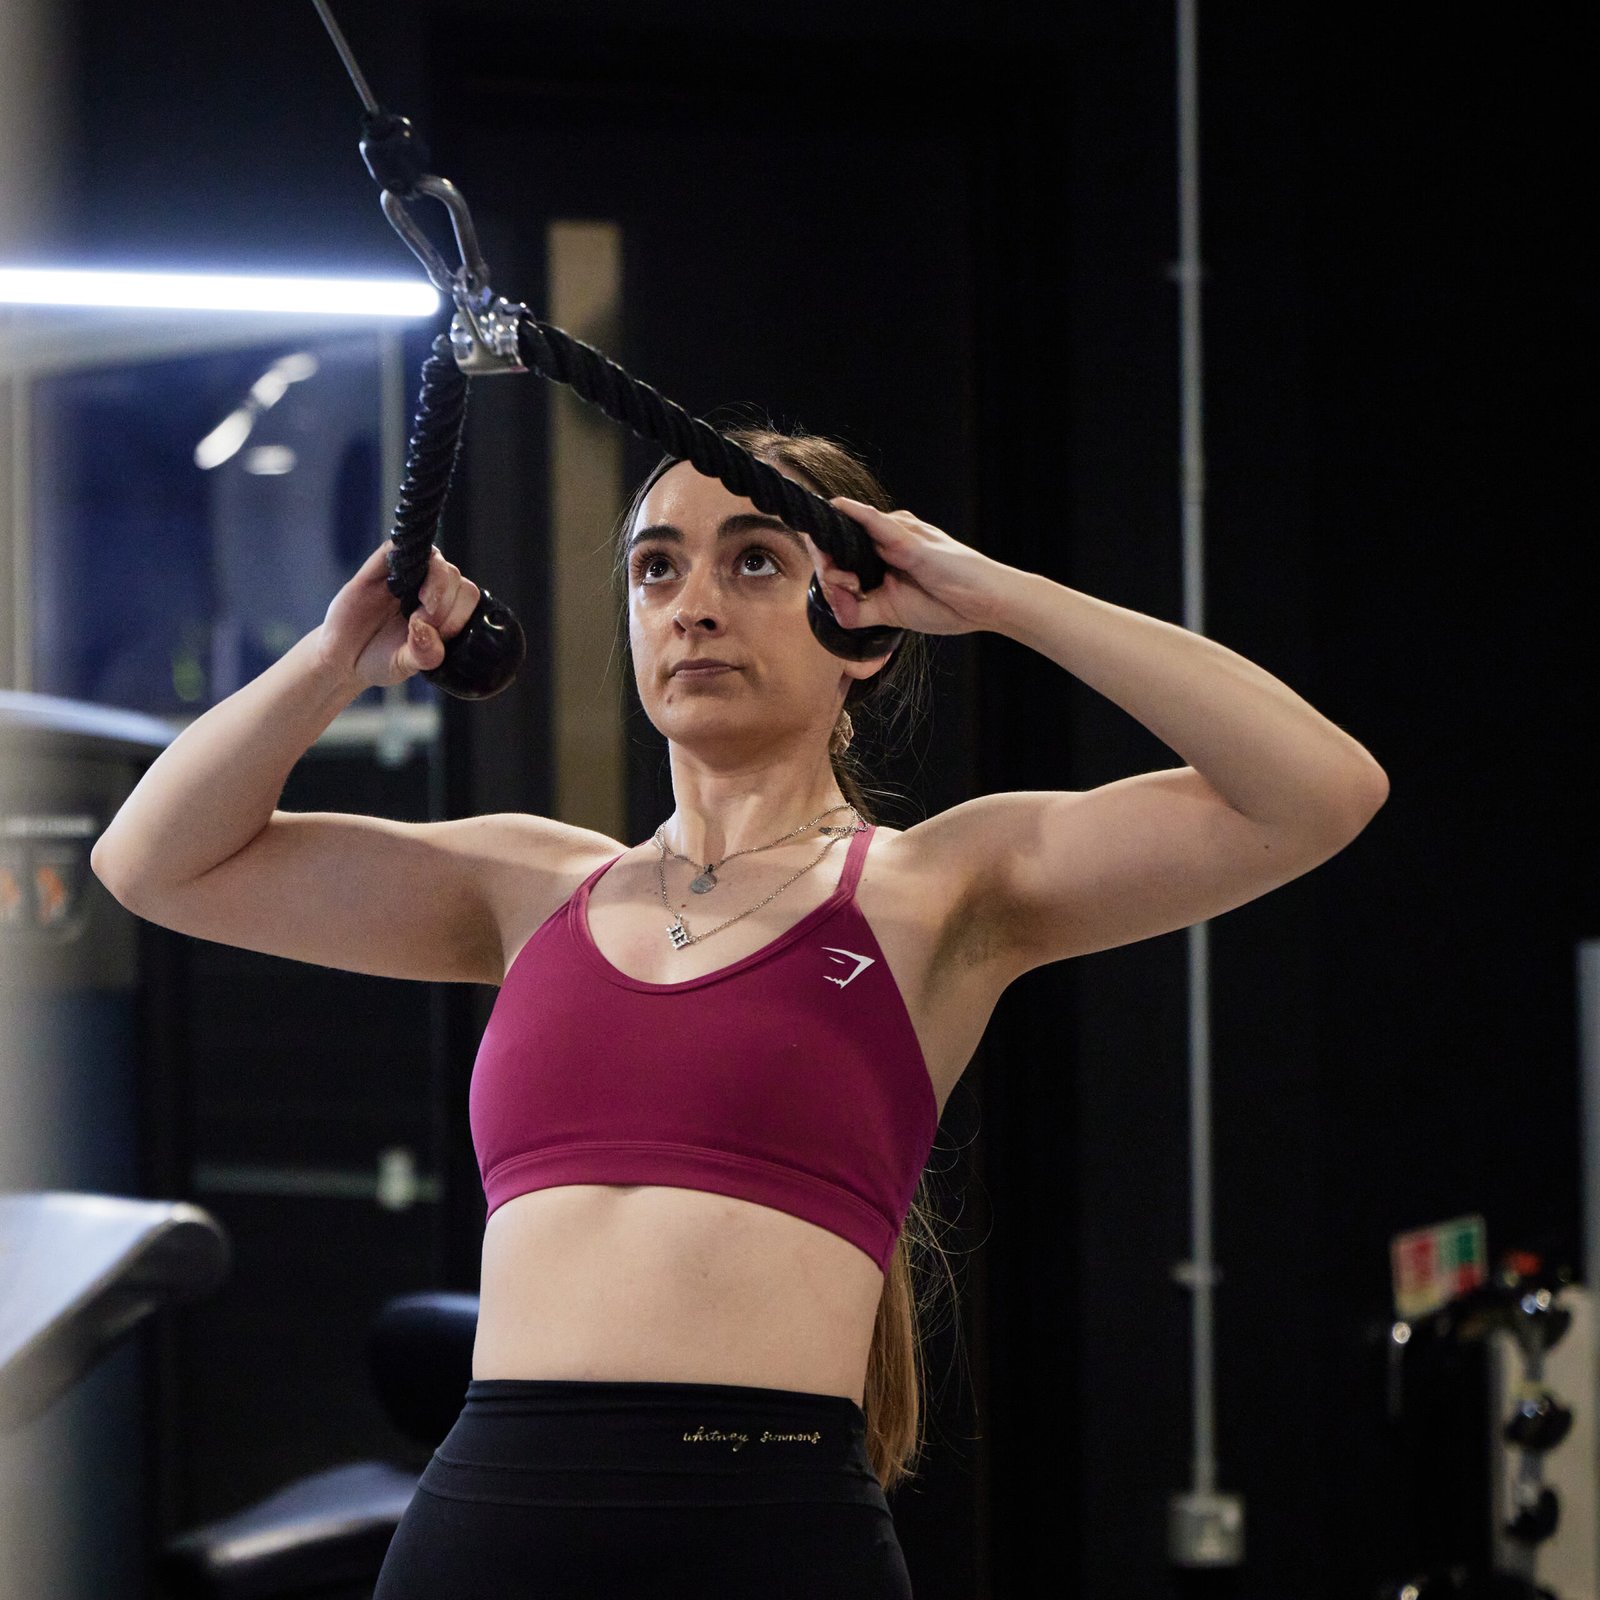
Face pulls are a cable-based pull toward the forehead or upper face with the elbows moving outward. The movement combines upper-arm horizontal abduction, movement of the shoulder blades and, depending on the grip, outward rotation of the upper arm. The rear deltoids contribute to this path, while middle trapezius and rhomboids help control the upper back. The rotator cuff helps stabilize and rotate the shoulder. Knowing these jobs is more useful than treating the entire exercise as a mysterious posture correction.
A face pull differs from a heavy row because the elbows travel outward rather than mainly toward the hips. It differs from a rear-delt fly because the elbows bend and the hands approach the head. Neither distinction makes it automatically superior for muscle growth. Biomechanical models and muscle-activity studies can help us understand positions, but estimates of muscle force and electrical activation are not measurements of long-term hypertrophy. Progressive training and tolerable volume still matter.
Face pulls can provide posterior-shoulder work in a program with plenty of pressing. They do not guarantee protection from injuries, cure rounded shoulders, or replace assessment of a painful joint. Use them as one accessory alongside rear-delt flyes, high rows and other shoulder exercises. A practical success criterion is repeatable controlled loading, not a dramatic stretch or a heavyweight pull.
2. Set the rope height, grip and stance before adding weight
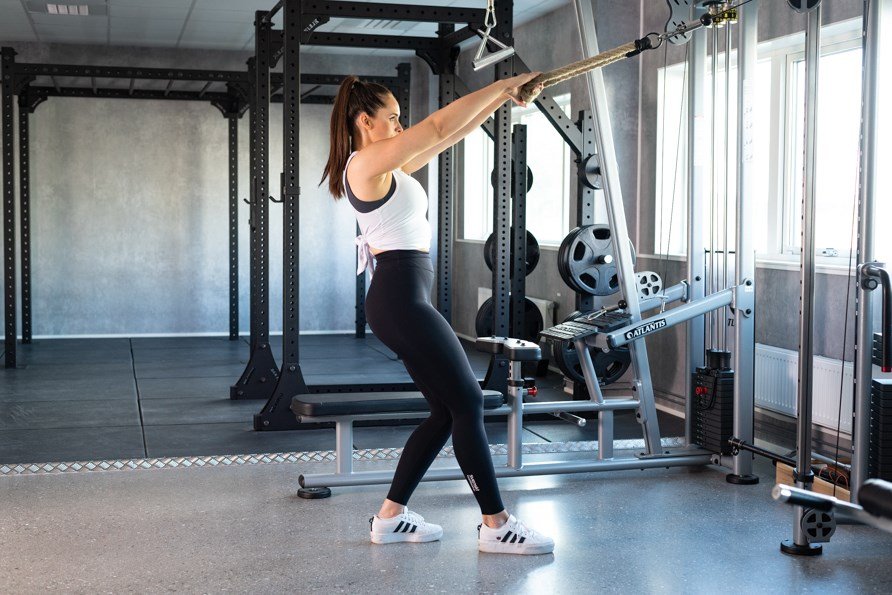
Begin with a cable pulley around eye height or slightly below, attach a two-ended rope, and step back until the cable is taut at the start. Eye height offers a straightforward line toward the face without a steep downward pull. This is a baseline, not a rule for every person’s height and shoulder anatomy. Change the pulley a notch if that makes the movement smoother, then note the position in your log. A moderate starting load is better than choosing a weight that immediately tips you forward.
Hold one rope end in each hand with a neutral grip and stand about hip-width apart. A modest split stance is fine when you want extra stability. Keep the ribcage reasonably stacked over the pelvis, knees soft, and head neutral. Your feet should counter the cable without turning every repetition into a backwards lean. If you have to lean progressively farther away from the stack, the weight is probably too heavy for the version you intended to train.
Allow enough space for the hands to finish near the sides of the temples. A short stiff rope can crowd the wrists; two independent cable handles or separate rope ends may give more freedom. Check that any carabiners are fully closed and that both handles can travel without snagging. Rehearse five easy repetitions before your first working set. Pull toward the upper face, let elbows travel out, and choose the widest pain-free finish you can repeat. The best setup is consistent and comfortable, not borrowed unquestioningly from someone with different proportions.

Equipment Worth Exploring
Explore equipment, accessories and gear from our carefully selected range.

Long Tricep ERGO Ropes
Extended triceps ropes with ergonomic grips for cable pressdowns and overhead extensions.
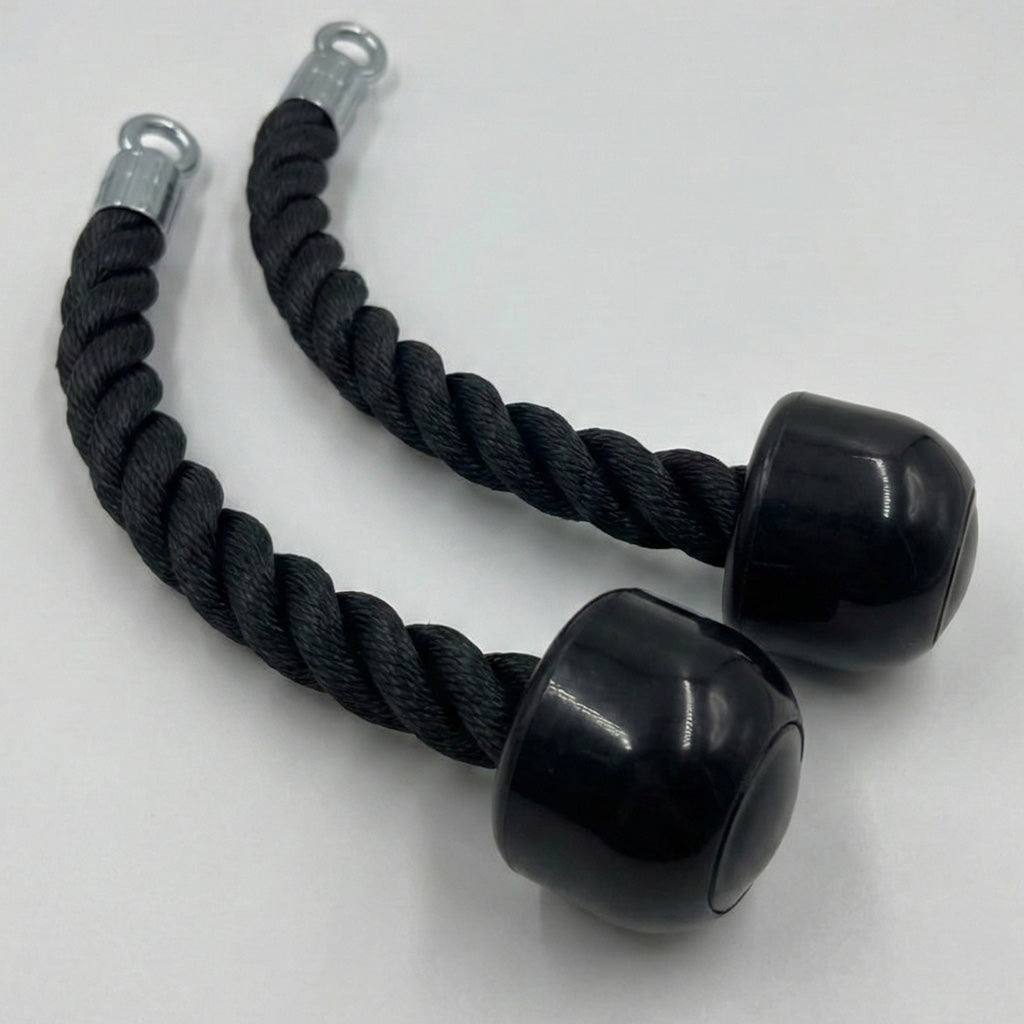
Individual Tricep Ropes
Pair of individual cable ropes for triceps pressdowns and cable hammer curls.
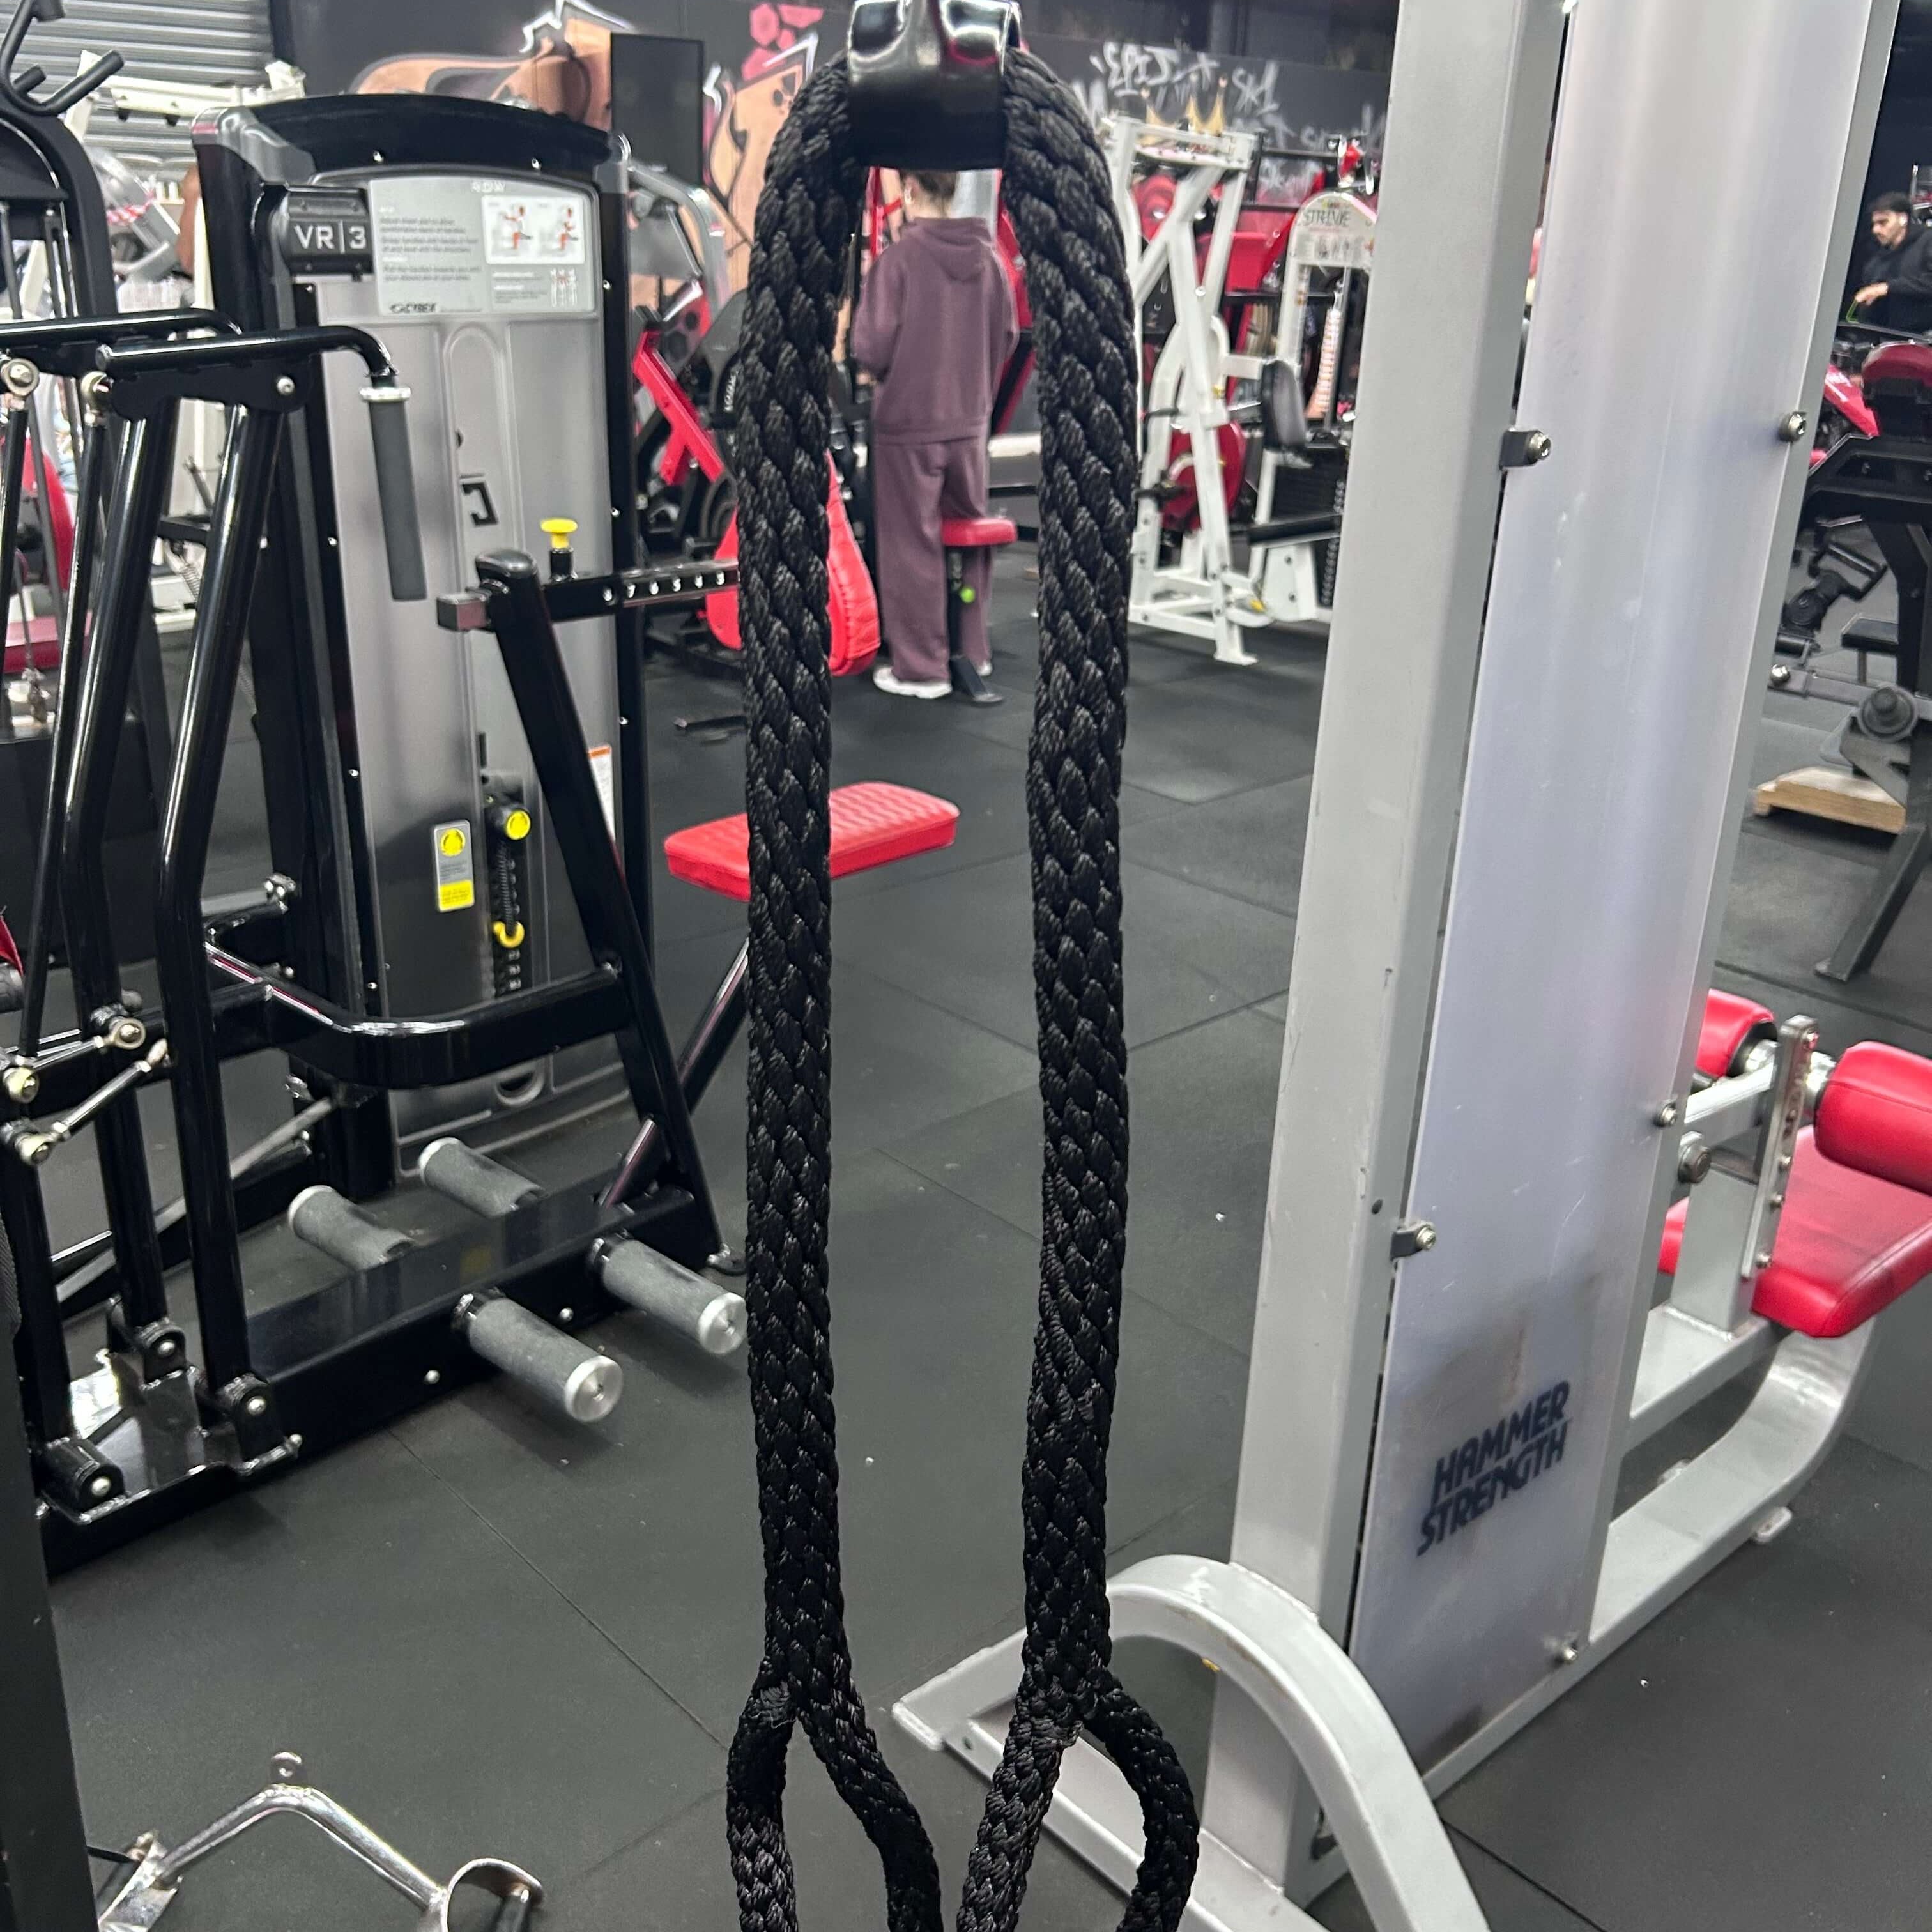
Super Long Tricep Rope
Extra-long looped cable rope for triceps pressdowns and overhead extensions.
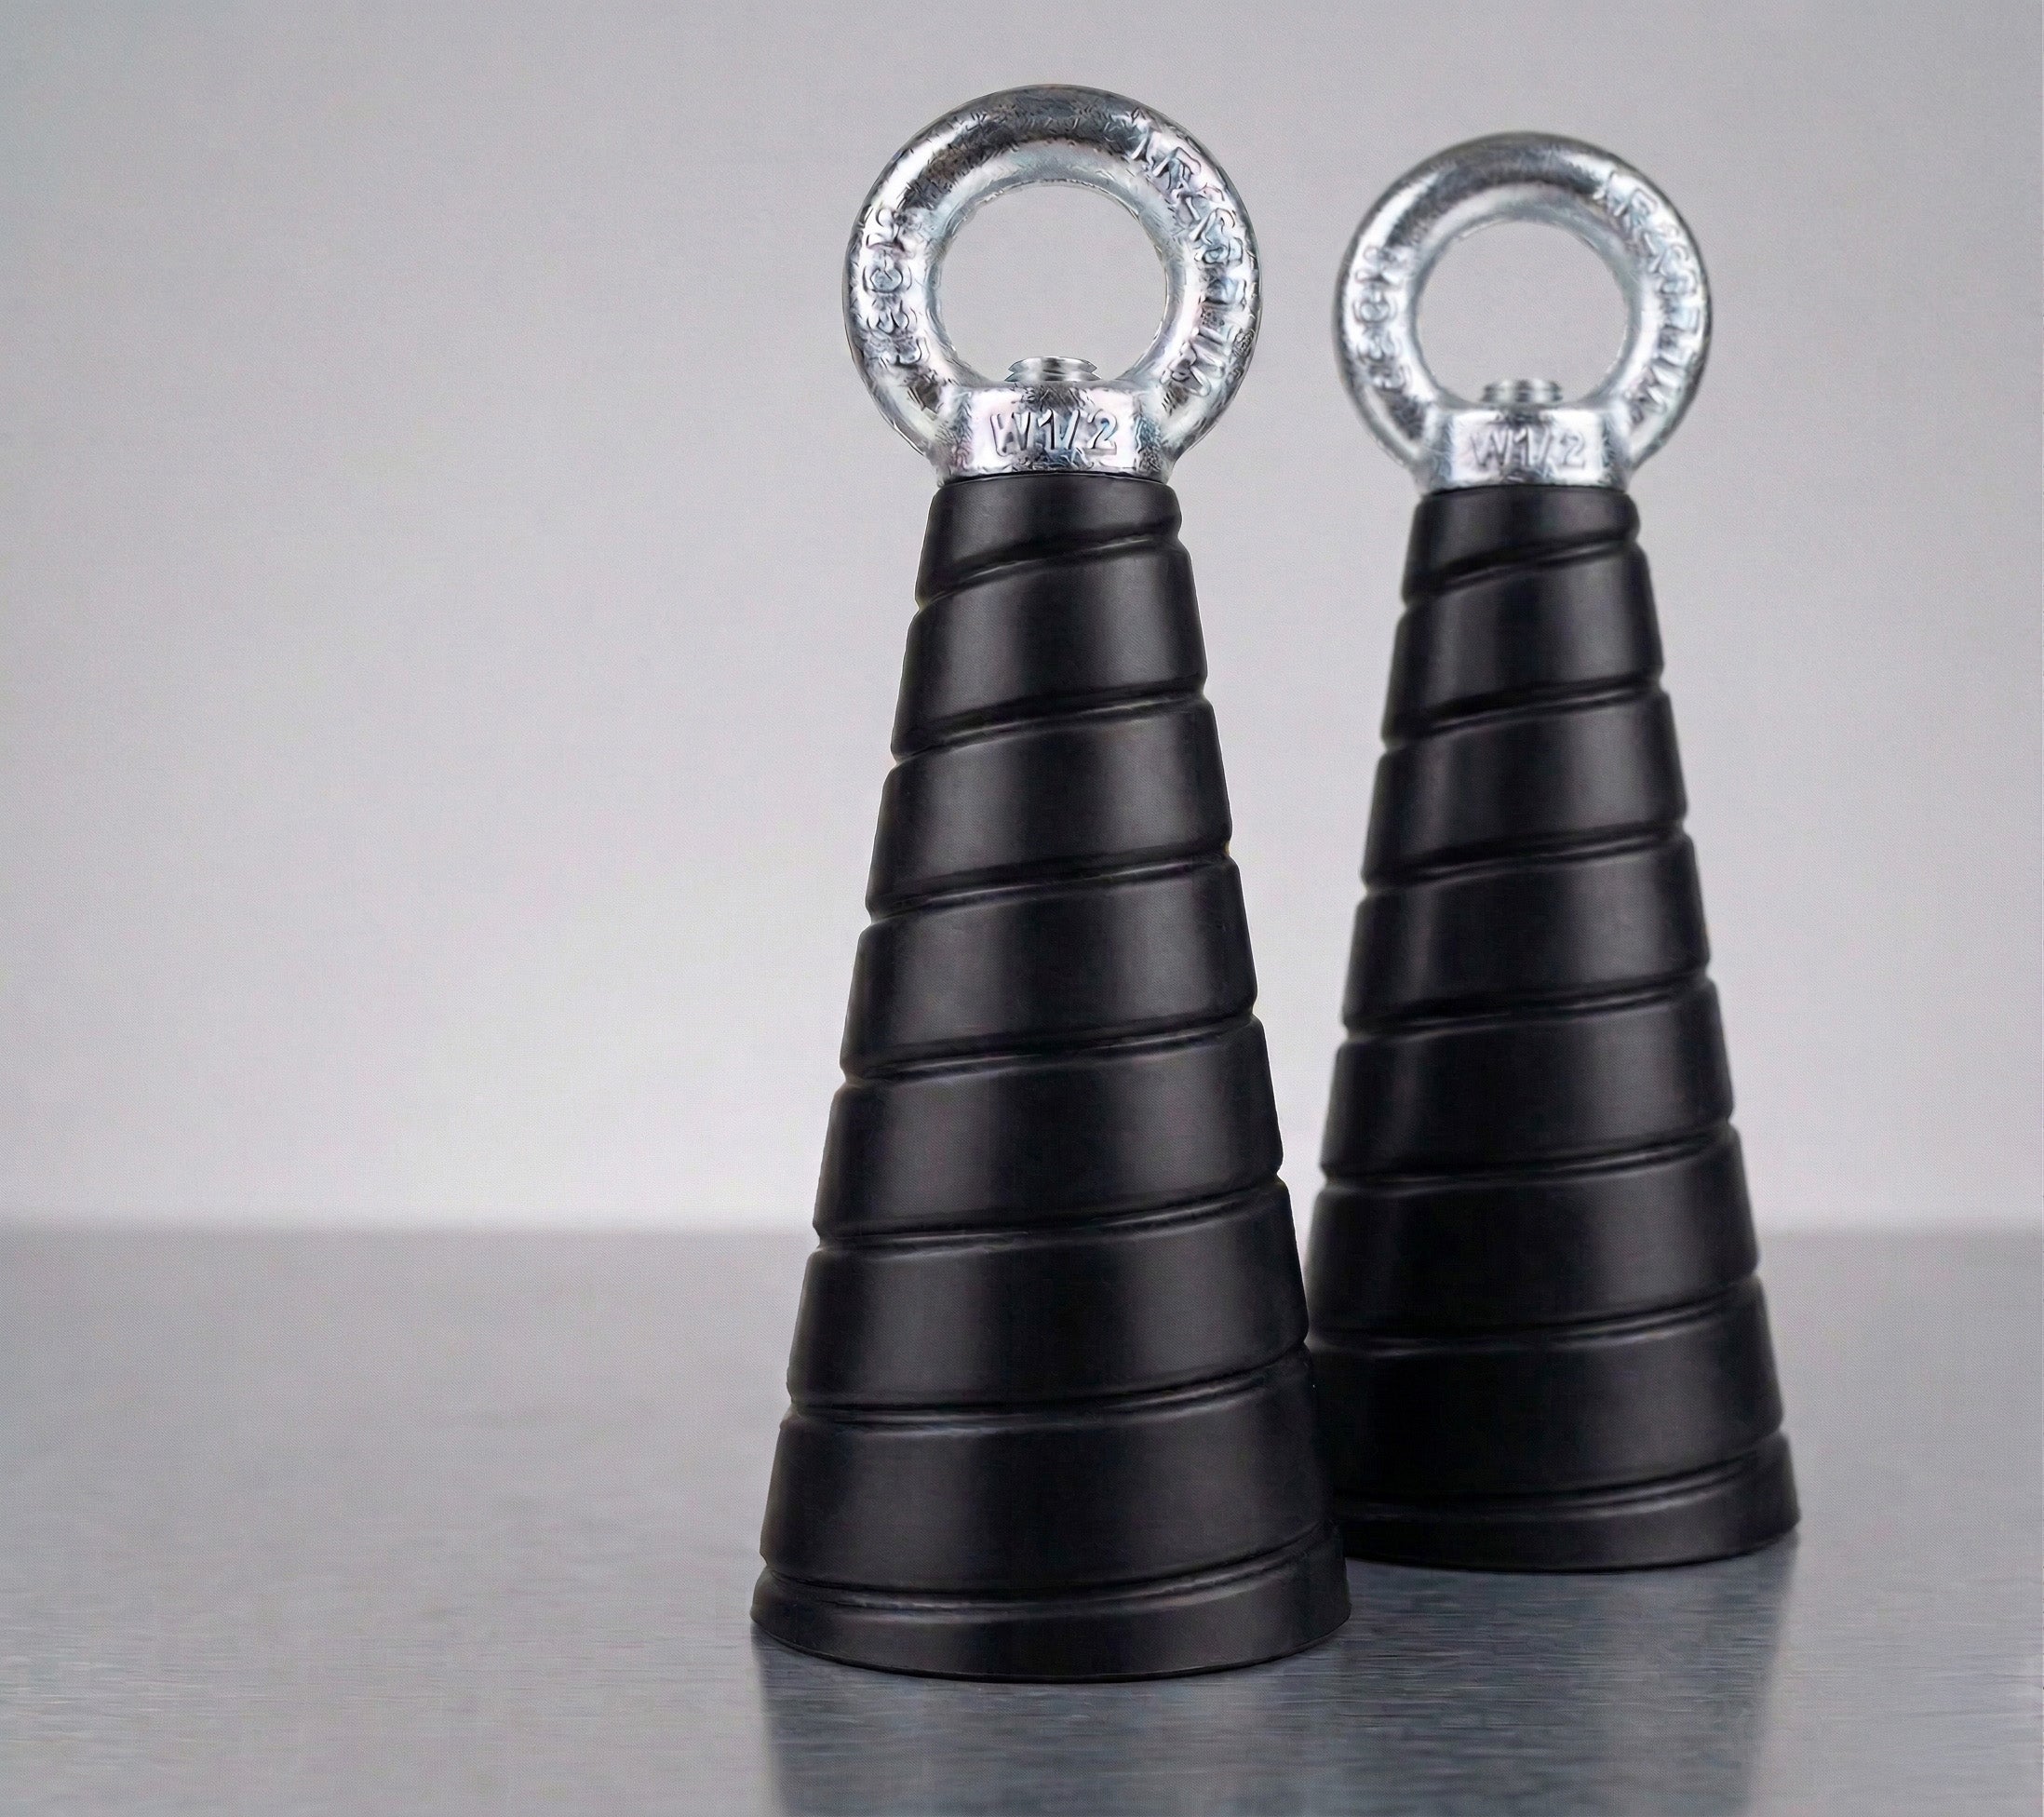
Tapered Tricep Cone
Tapered rubber cable grip for triceps extensions, face pulls and hammer curls.

Multi-Length Tricep Strap
Adjustable-length cable strap for triceps, biceps and upper-body cable exercises.

GymPin Ergo Handles
Pair of ergonomic cable handles shaped for comfortable triceps and pulling exercises.
VOLTRA
Compact digital cable trainer with smooth, adjustable resistance.

Go-Tone Pro
Portable digital cable trainer with up to 66 lb (30 kg) of adjustable resistance.
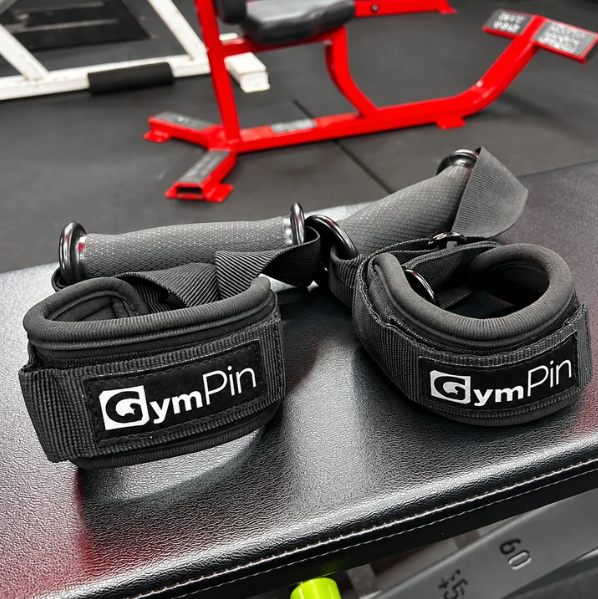
GymPin D Cuffs
Adjustable wrist cuffs with textured grips for supported cable-machine exercises.
3. Pull toward the face without turning it into a shrug or row
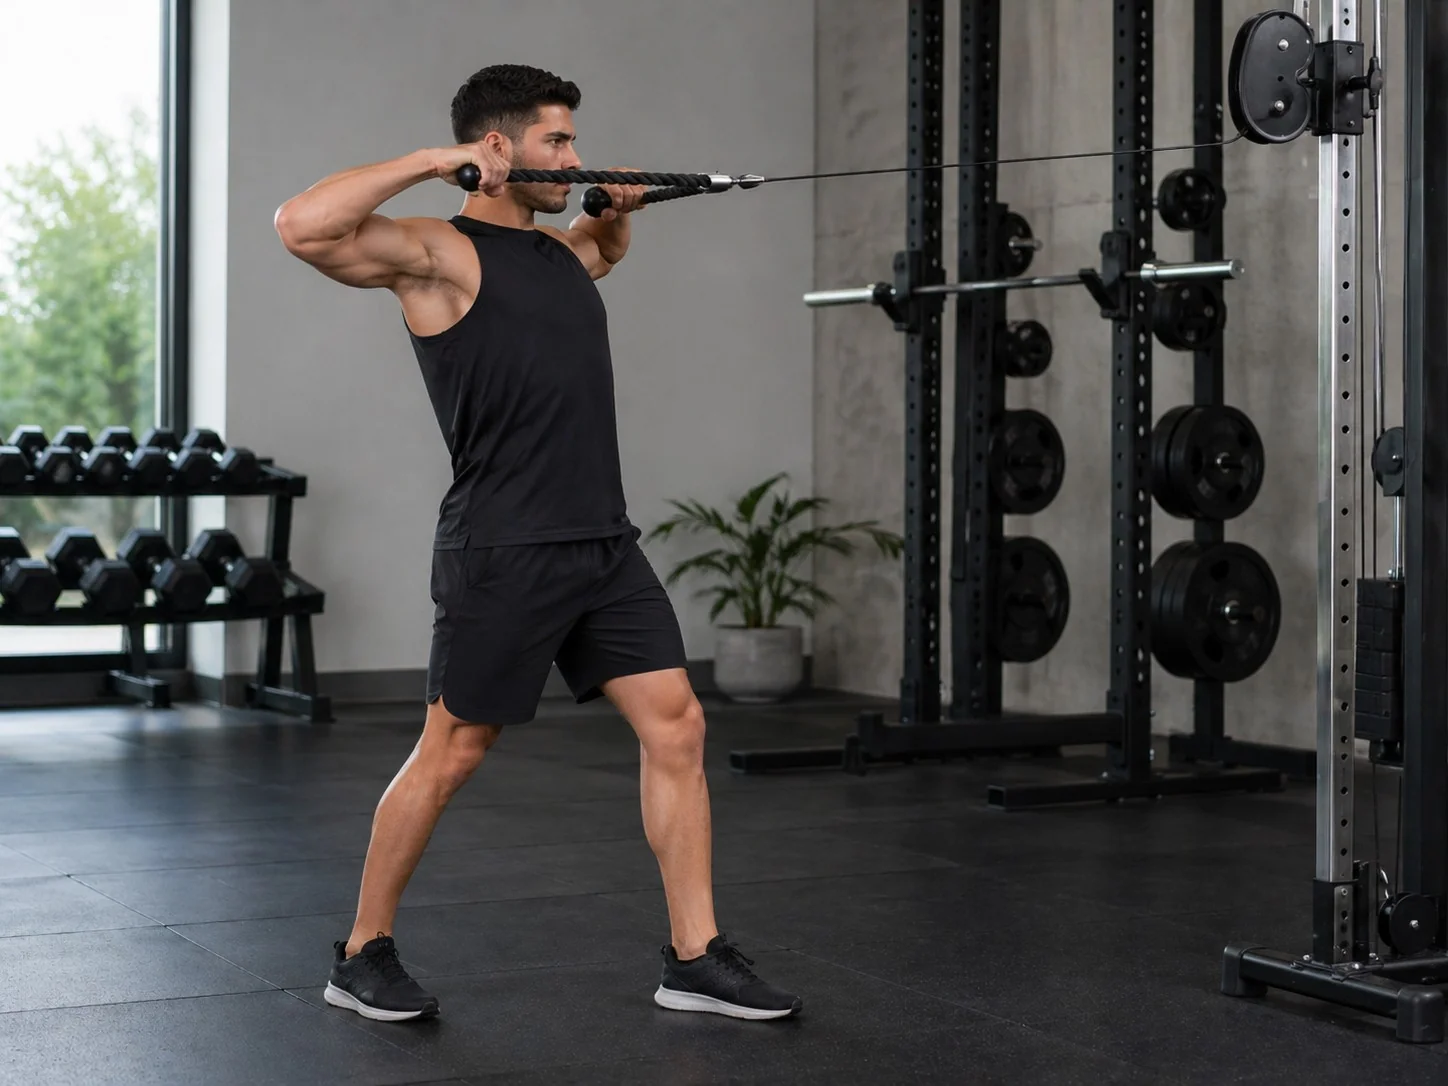
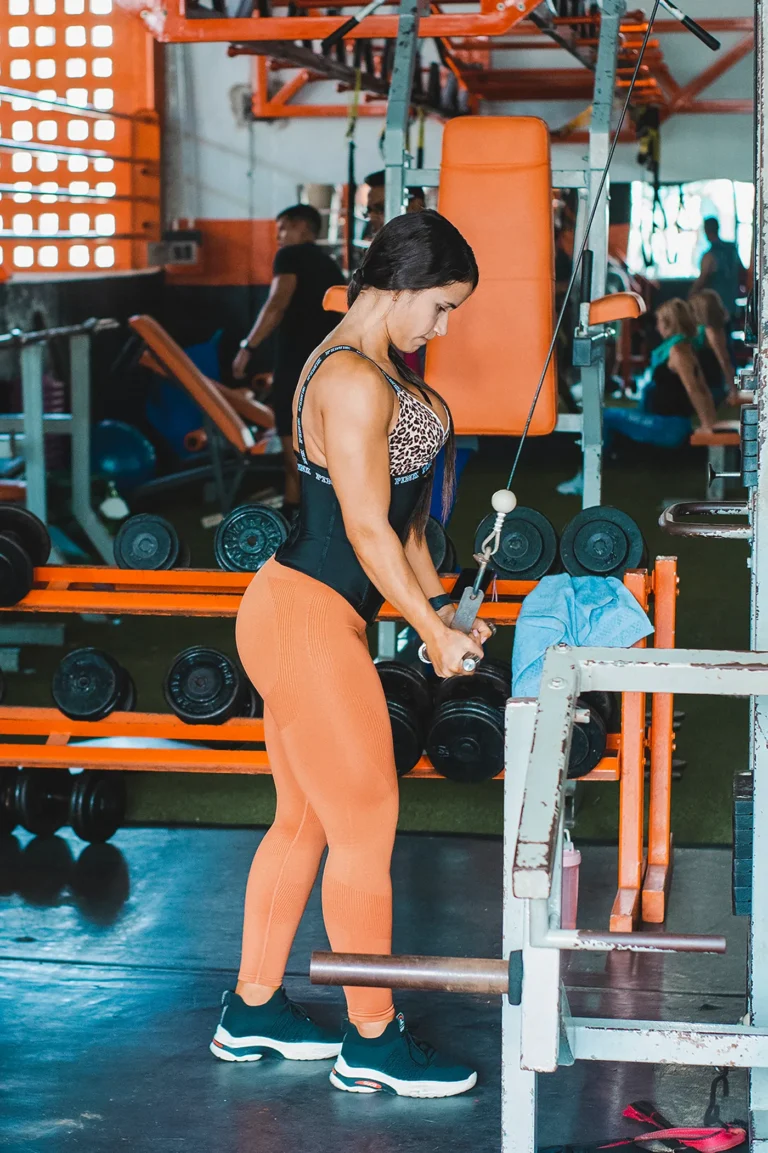
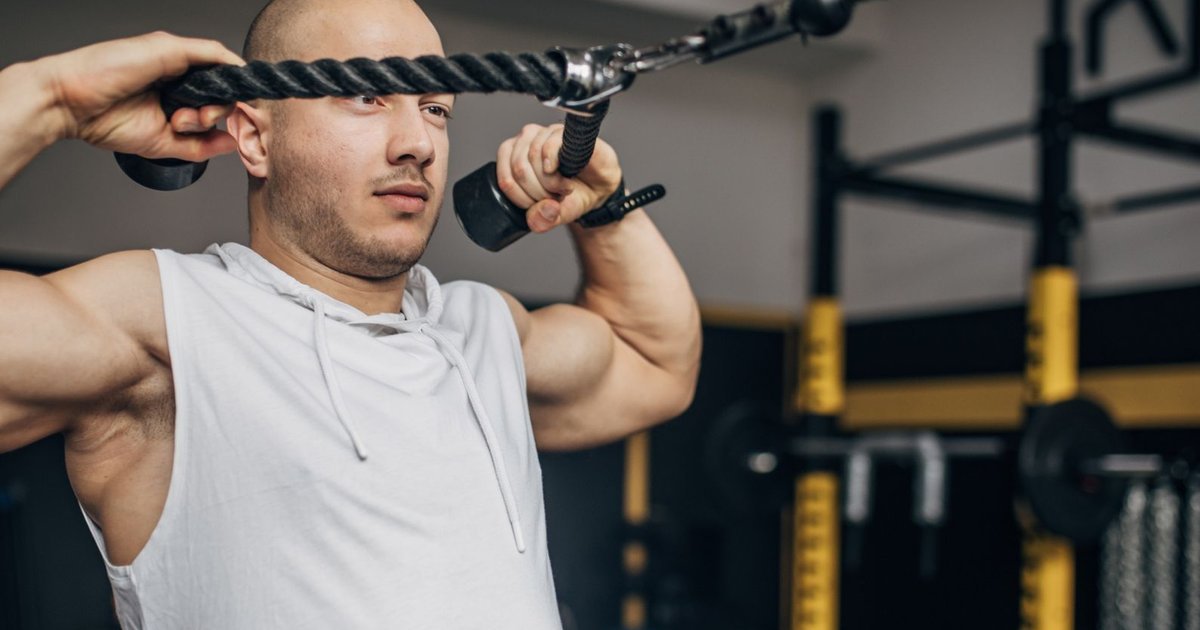
Start with arms reaching toward the pulley and a soft elbow bend. Pull the rope toward your forehead, separate your hands, and allow the elbows to travel out and back. In one common finish, fists end beside the temples and forearms become approximately upright. Think of moving the upper arms while letting the shoulder blades move naturally, rather than simply curling the cable with the biceps. Keep your chin still instead of reaching toward the attachment to make the repetition appear longer.
Briefly control the finish without wrenching the shoulder into its limit, then let the rope return over two or three measured beats. The first and last repetitions should have approximately the same travel. Muscular effort behind the shoulders is expected; sharp joint pain is not. Do not force a permanent maximal shoulder-blade squeeze. Allow the blades to move on the way forward, and reduce the load if the return requires throwing your torso toward the machine.
Three errors change the exercise. Elbows drifting close to the ribs turn it into a high row; use a lighter pin and guide the elbows wider. Shoulders rising toward the ears shift the feel toward a shrug; ease the load and relax the neck. Torso rocking backwards to start each pull adds momentum instead of rear-delt work; use a split stance or stop the set earlier. A slightly lower elbow path may suit some shoulders. Persistent pain, tingling or strength loss deserves professional assessment, not a more aggressive cue.

Bodybuilding Shirts & Workout Gear
Bodybuilding shirts, tanks and gym gear for lifters chasing muscle, size, symmetry and the pump.


Nice Traps Big Back – Halloween Horror Jigsaw Meme Vest Tank Top
Add some Halloween attitude to training with “Nice Traps Big Back”.

Gym Dost Thou Even Pull Medieval Knight Back Day Crewne T-Shirt
Show some gym-day personality with “Dost Thou Even Pull Medieval Knight Back”.

Lat Man Big Back – With Huge Lats – Vest Back Day Tank Top
Your gym-day look, with a playful “Lat Man Big Back” twist.

Strong Back Bodybuilder Gym | Funny Workout Decal | The Sticker
Stick a little “Strong Back Bodybuilder” humor on your favorite gear.


Demon Back Big Back Bodybuilders & Meme Hoodie
Stay casual and show some lifting attitude with “Demon Back”.

Unbreakable Gains Back Tee
Make gym days more fun with “Unbreakable Gains: Strong Back Greek God” style.

We Are So Back Shirt | Bodybuilding Back Workout | Grap T-Shirt
Heavy lifts, good laughs, and a little “We Are So Back” energy.

Shirt Pull Day – Back & Biceps Meme Top T-Shirt
Heavy lifts, good laughs, and a little “Pull Day Graphic” energy.
4. Cable, band and rear-delt alternatives: choose the task
A weight-stack cable allows small load jumps and relatively predictable tension. A single adjustable pulley is sufficient; a large integrated rack is not a requirement. Bands offer portability but resistance rises as they stretch, so the endpoint may become much harder than the opening portion. Secure a band to a reliable anchor at a sensible height and inspect it for cracks or wear. Do not aim a potentially loose band directly at your face or assume an improvised door anchor is secure.
Different ropes and handles can change comfort. Independent handles may let wrists settle into a more natural position and make room for a wider finish. A longer rope can make hand separation easier. These variations are not automatic upgrades or guarantees of greater rear-delt recruitment. Choose the arrangement that permits deliberate movement without forearm or shoulder discomfort. A conventional rope remains entirely usable for most lifters.
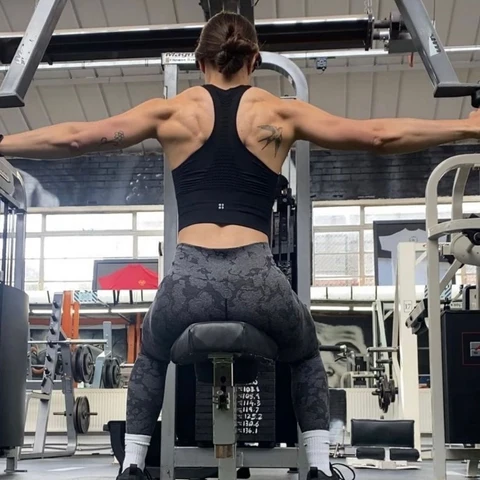
A reverse pec deck is a strong alternative when you want chest support and a straightforward rear-delt loading path. The support reduces the need to balance against a cable. Bent-over dumbbell reverse flyes use less specialized equipment, but they demand more torso control; swinging a pair of heavy dumbbells is not an effective substitute for clean reps. Both choices can complement face pulls. If limited to one, prioritize the version you can perform comfortably and progressively rather than the one with the most elaborate setup.
Equipment Worth Exploring
Explore equipment, accessories and gear from our carefully selected range.

Pec Fly/Rear Delt PEC-650
Combination machine with adjustable movement limits for chest fly and rear-delt exercises.

VForce Wall Trainer
Space-saving wall-mounted functional trainer with pivoting cable arms and variable resistance ratios.

VForce Lat Tower
Wall-mounted cable tower with pivot arms and adjustable 1:1 or 2:1 pulley ratios.

Trinity Lat Machine LSW-850
Weight-stack pulldown tower offering three cable directions and adjustable seated support.

Lat Pulldown Set
Multi-grip cable attachment set for pulldowns, rows, and varied upper-body training.
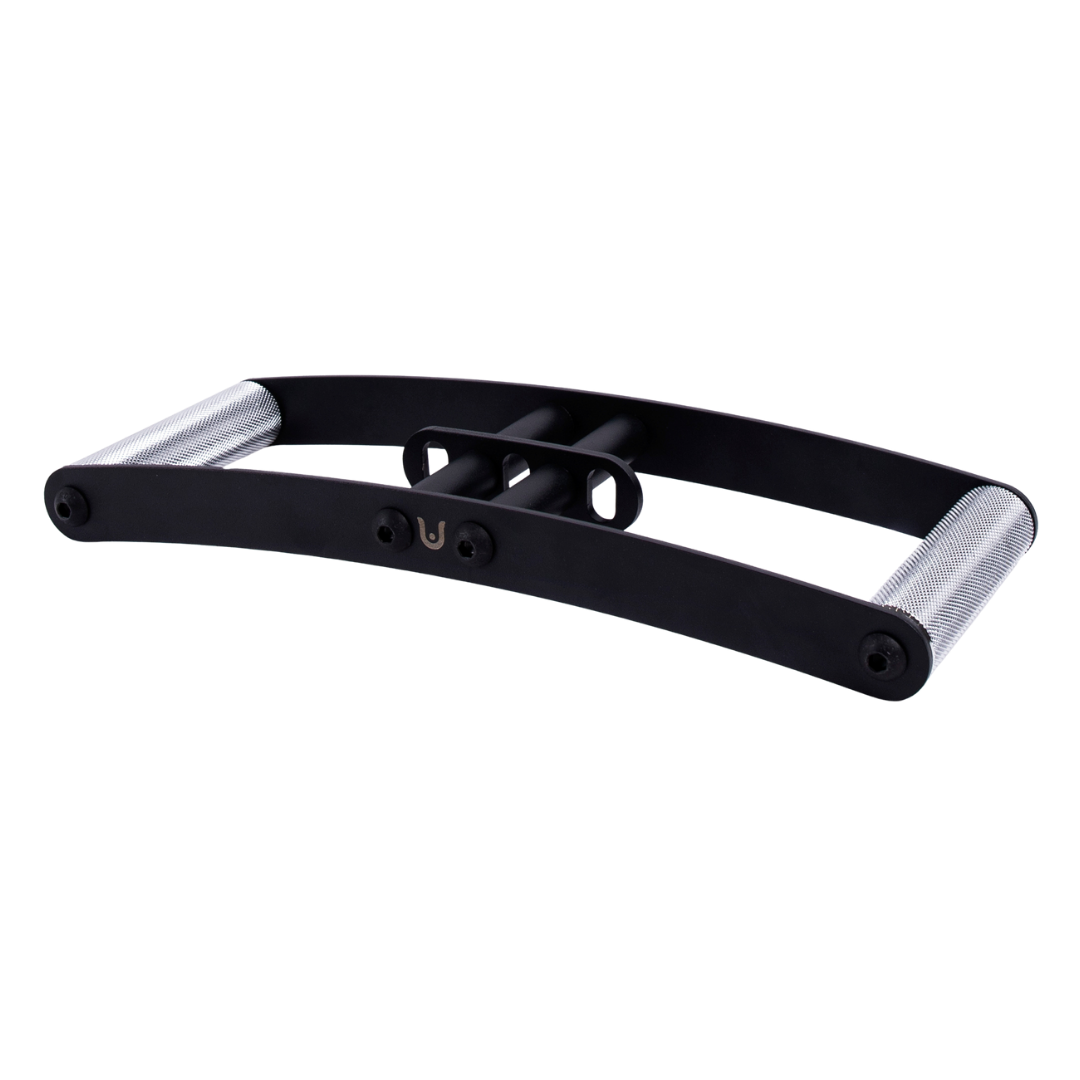
Horizon Grip
Ergonomic V-style cable grip for rows and back training.

GymPin D Handle Bar
Multi-use steel D-handle bar for cable rows, pulldowns and other cable exercises.
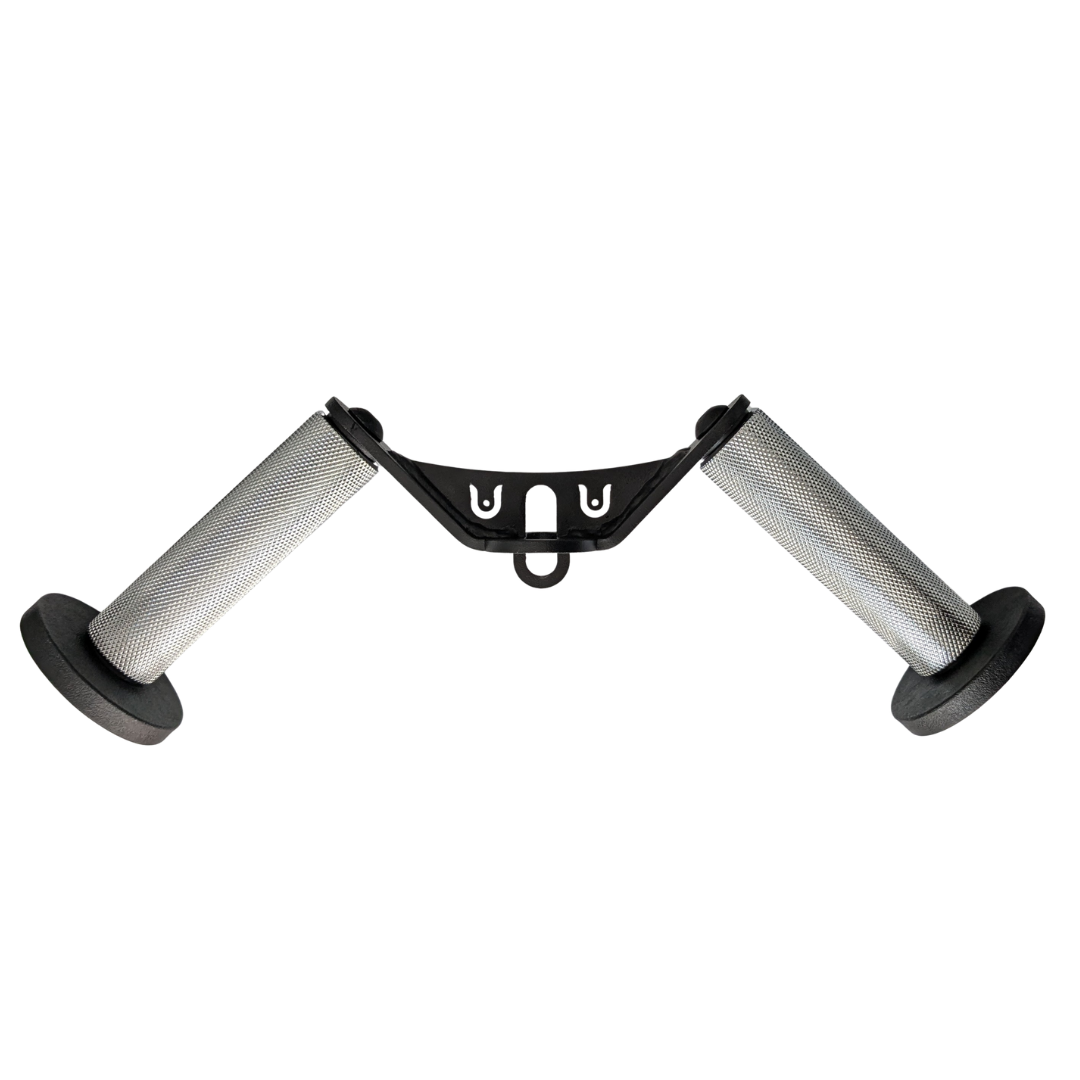
W Grip
Angled cable grip for comfortable rows, pushdowns, and curls.


VForce 2IN1
Half rack and pivot-arm functional trainer with switchable 1:1 and 2:1 pulley ratios.
5. A six-week rear-delt progression that preserves technique
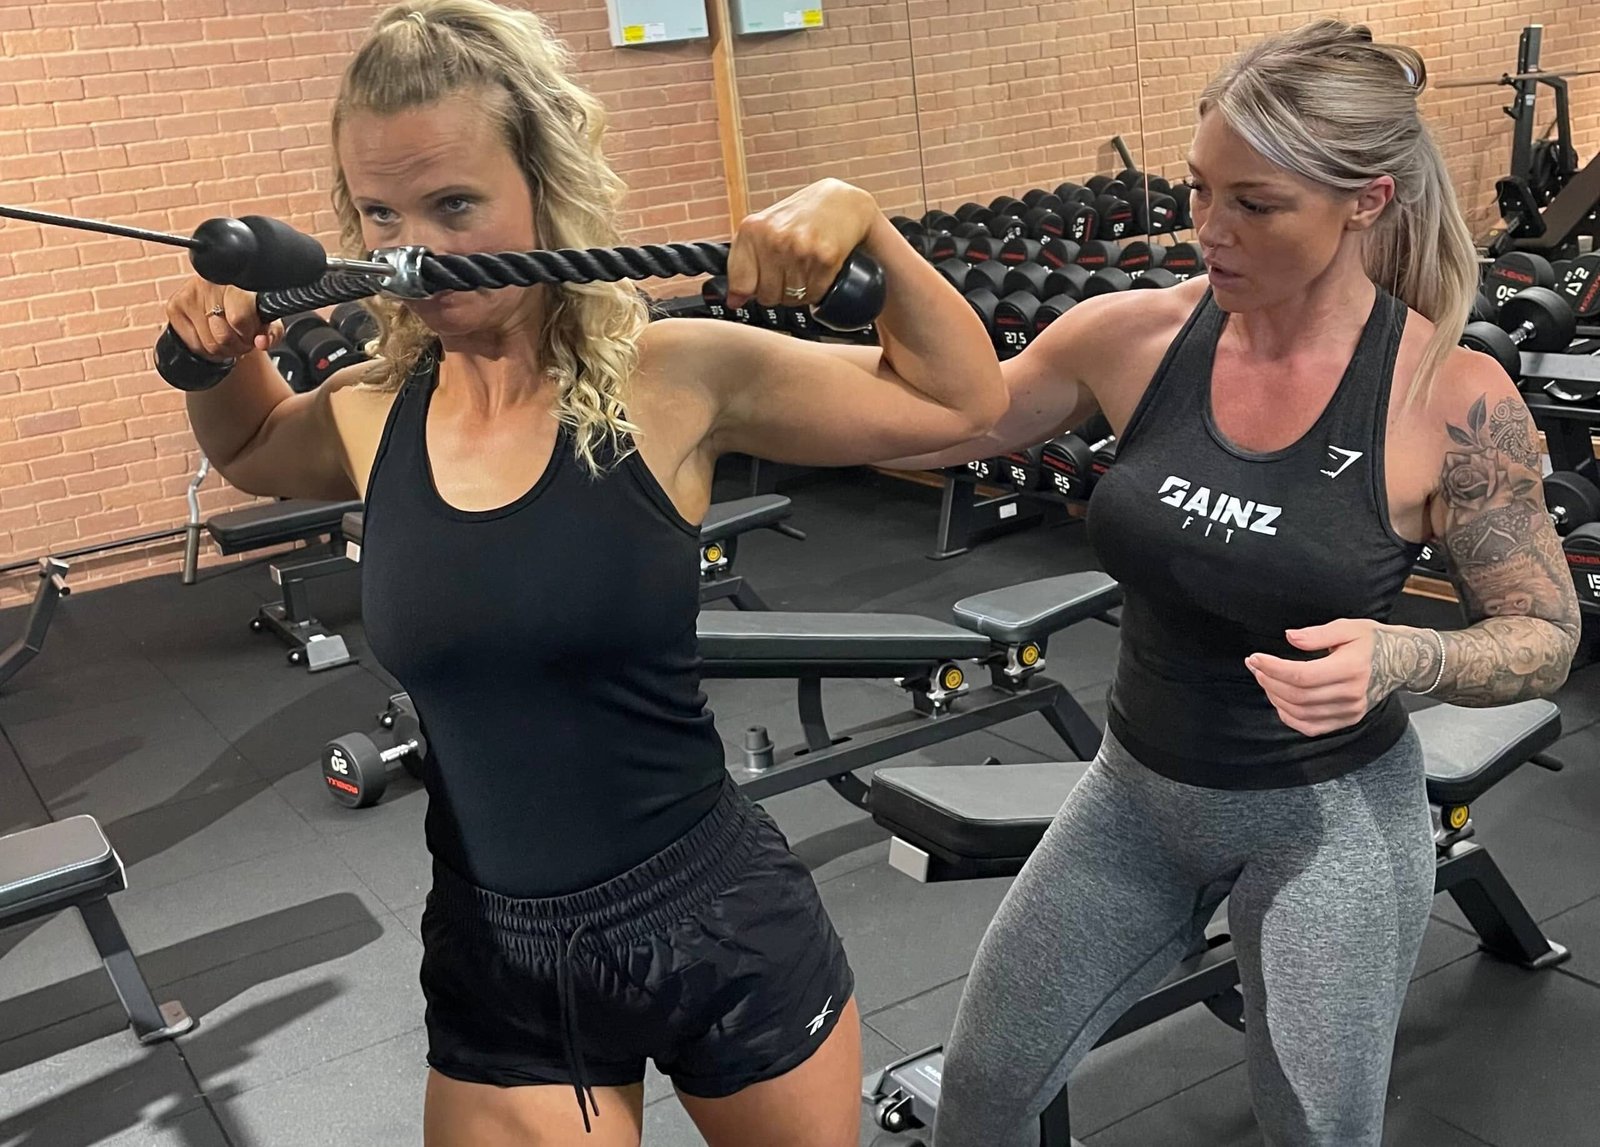
Place face pulls near the end of two upper-body sessions each week, after demanding presses, rows or pulldowns. Begin with two sets of 12–15 controlled reps, leaving approximately two or three clean repetitions in reserve. Rest 60–90 seconds and keep rope, pulley height and stance consistent across sessions. If your current program already contains plenty of hard rear-delt rows and flyes, start with fewer sets. Training quality and recovery are more important than adding a token exercise to every workout.
Use weeks one and two to establish the load that lets you reach the same finishing position on every rep. During weeks three and four, either add a third set to one session or add reps within the range, not both at once. In weeks five and six, work toward the top of the repetition range. When all sets feel consistent, raise the stack by the smallest sensible increment and return to the lower end of your range.
For example, week one could be two sets of twelve, week two two sets of fifteen, week three three sets of twelve, week four three sets of fourteen, week five three sets of fifteen, and week six three sets of twelve with a slightly heavier load. This is an illustration, not a guaranteed biological timetable. Keep the rest of your shoulder training balanced: a pressing exercise, a vertical or horizontal pull, and an optional rear-delt isolation exercise can cover complementary tasks. When technique slips, repeat the last successful weight rather than claiming a sloppy record.