Advertising disclosure: This page includes affiliate product links that may earn us a commission, as well as products from our own store.
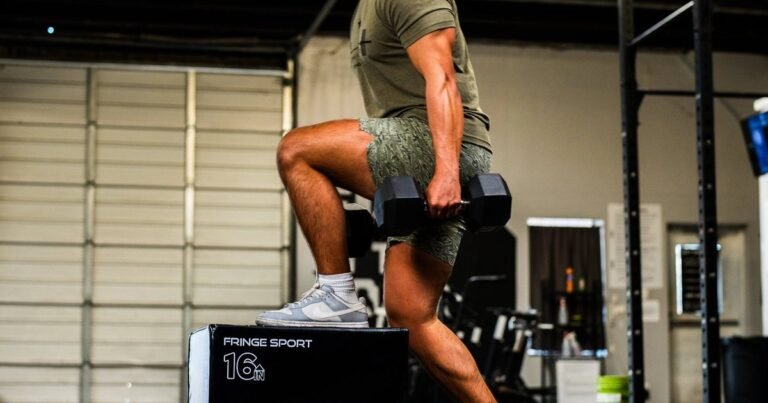
Heel-elevated goblet squats look like a small modification: put the heels on a stable wedge and keep a kettlebell at the chest. But that change can alter squat depth, torso position and how the quads experience the set. Here is a practical guide to picking an incline, mastering knee-forward reps and progressing the lift over six weeks—without confusing a useful tool with a guaranteed muscle-growth shortcut.
What heel elevation actually changes in a goblet squat
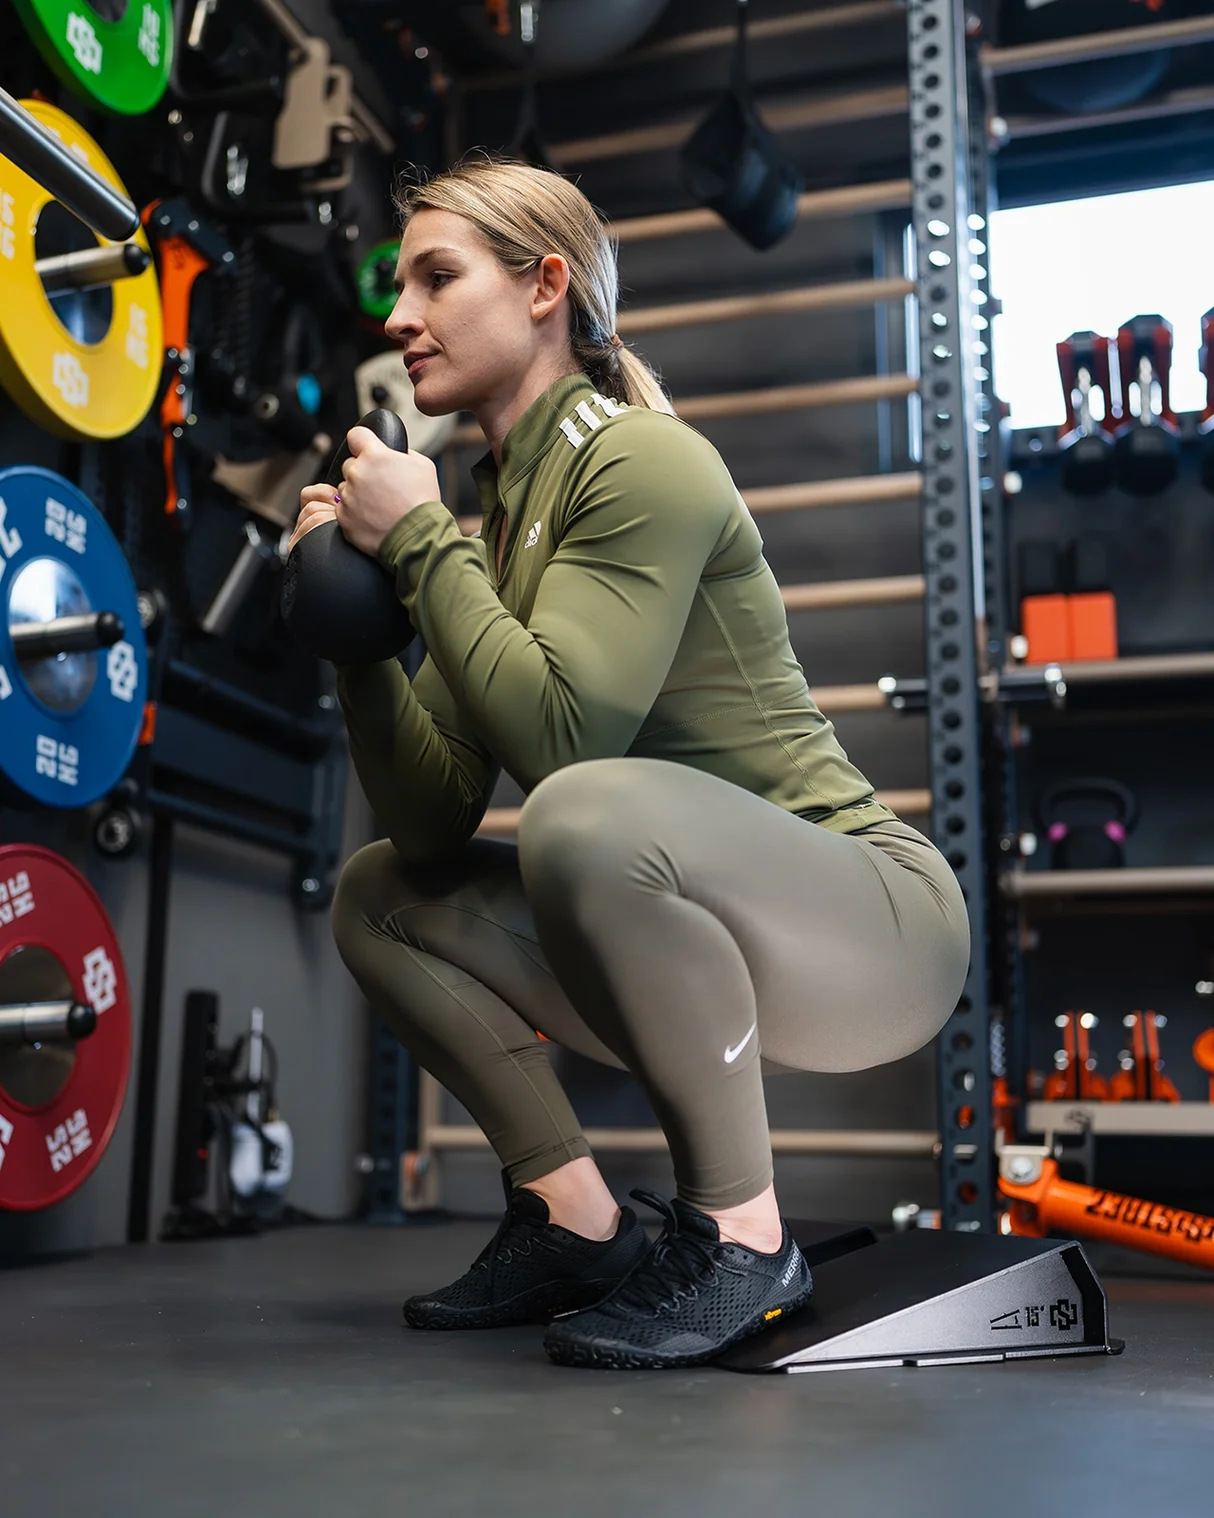
When the heels are raised on a stable wedge, the ankle starts in a more plantar-flexed position. A lifter can usually bring the knees farther forward while reaching a comfortable squat depth without demanding quite as much end-range ankle dorsiflexion. The dumbbell or kettlebell held against the chest also acts as a counterbalance, often making an upright torso easier to maintain. The overall result can feel noticeably different from a flat-footed squat even when the weight and repetition count stay the same.
That does not mean a wedge switches the glutes off or magically isolates one quadriceps head. Knee and hip extension still work together. Rather, a deeper knee bend and different joint moment arms may change the relative demands placed on the knee extensors, hip extensors and trunk. The practical comparison is between two versions that you can perform with control: same footwear, similar stance, deliberate tempo and a depth that your joints tolerate.
In a 2022 experiment involving 20 adults, heel-lift insoles changed modeled joint work and muscle activation during loaded barbell squats. The findings included higher vastus lateralis activation in some conditions, but responses differed by sex and muscle. These were barbell squats, not a long-term trial of goblet-squat muscle growth. Treat the evidence as a biomechanical clue, not a guarantee of superior hypertrophy.
Set up the wedge, stance and weight before the first rep
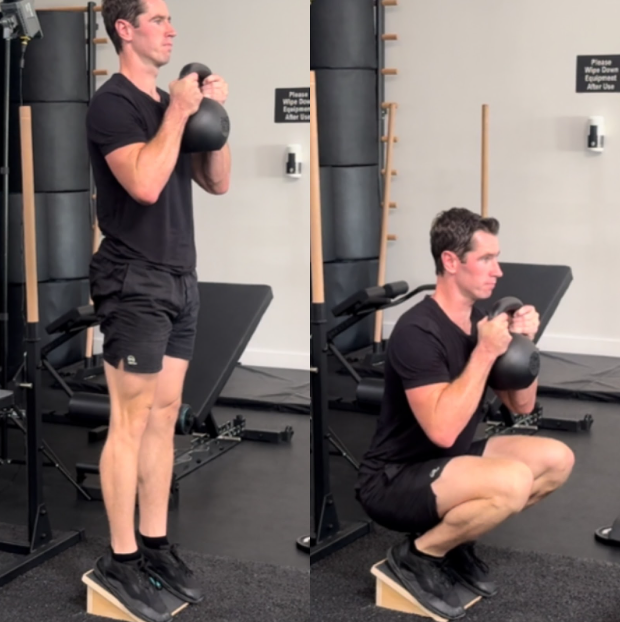
Start with a solid, nonslip heel-elevation surface. A matched pair of squat wedges, one sturdy full-width slant board or a firm lifting shoe can work. Avoid a loose stack of round plates that tilts or rolls, especially if you have to shift your feet to balance it. The heel should rest securely on the slope while the ball of the foot remains supported; you should be able to push through the entire foot rather than wobble on your toes.
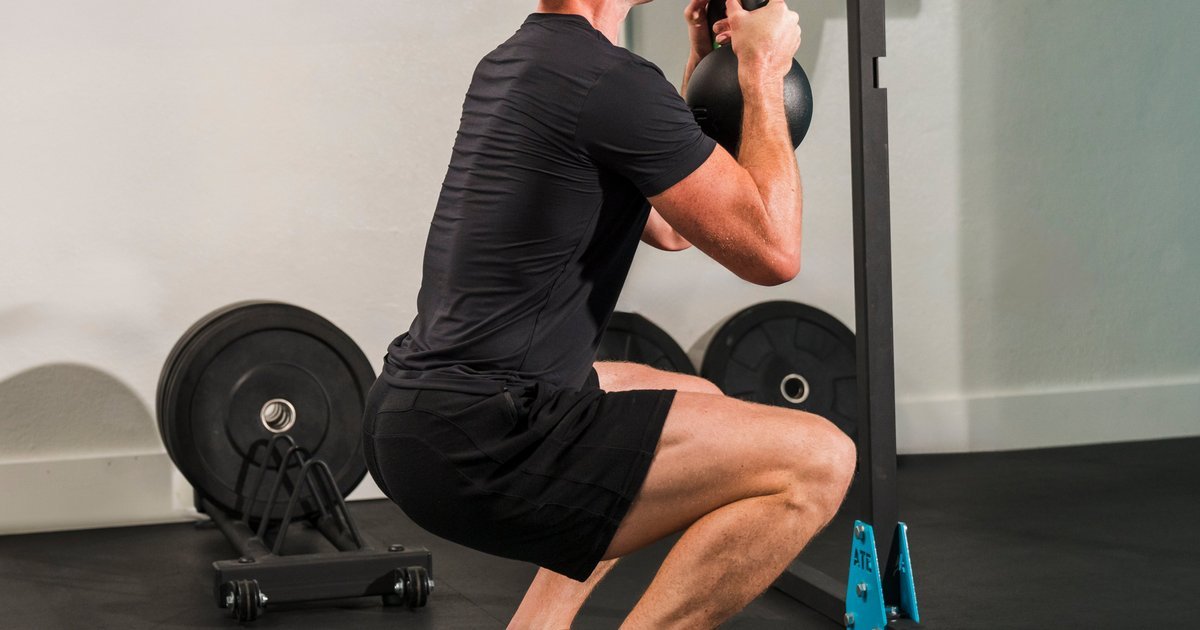
Stand about hip to shoulder width, adjusting a little wider or narrower to suit your hips. A modest toe-out angle is fine if the knees travel in roughly the same direction as the toes. Hold a kettlebell by its horns, or a dumbbell vertically against the upper chest. Keep elbows near the ribs, breathe into the abdomen and brace before descending. The weight should be close enough that the shoulders do not have to fight it far out in front.
Use an empty-handed warm-up first, then a light bell for six to eight deliberate repetitions. Watch whether the heels remain planted, whether one knee collapses inward, and whether the platform slides. If balance demands dominate, lower the incline, widen the support area or move to the flat-footed version. A perfectly deep squat is not worth a shaky base.

Equipment Worth Exploring
Explore equipment, accessories and gear from our carefully selected range.

GymPin Squat Wedges
Non-slip 15-degree squat wedges help elevate the heels for deeper quad-focused squats.


Cast Iron Kettlebells
Textured cast-iron kettlebells for swings, squats, carries, and full-body training.


Rubber Hex Dumbbells
Rubber-coated hex dumbbell pairs with a stable shape for home and commercial strength training.


Grip Plates
Rubber-coated weight plates with handholds for loading barbells and machines.
The descent: knees forward, torso steady, depth earned
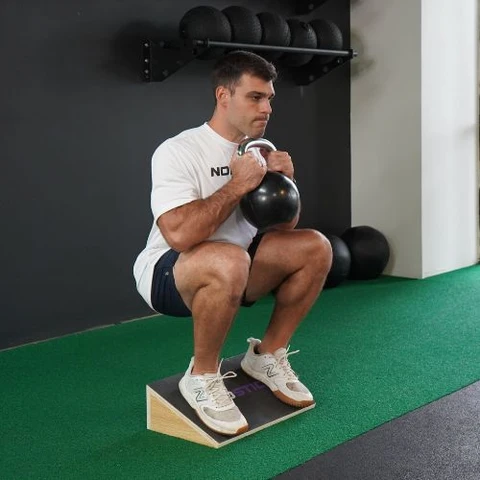
Think about sitting down between your knees instead of reaching the hips far behind you. Let the knees move forward naturally as your center of mass stays over the foot. Keep the kettlebell close, ribs stacked over the pelvis and gaze relaxed ahead. Take roughly two or three seconds to lower during the early learning phase, without forcing the lumbar spine to stay artificially arched.
Reach the deepest position at which the feet remain stable and the pelvis and back maintain control. Some lifters can move well below parallel; others achieve their best training range a little higher. A wedge is not permission to force a painful end range. Once at the bottom, reverse direction smoothly and rise while allowing both knees and hips to extend. Avoid turning each rep into a bouncing contest or pushing mostly through the toes.
Film a few repetitions from the side and from the front, if practical. Side video reveals whether the torso suddenly pitches forward as the set gets hard. Front video can reveal uneven depth or a knee shifting unpredictably. Compare your own repeatable rep quality rather than chasing an idealized knee-over-toe angle in a single photograph.
For lifters managing knee symptoms, sharp pain, swelling or recent injury, knee-forward squatting is not a universal prescription. Reduce range and load, or obtain individual clinical guidance. Increasing depth and knee travel can increase knee-extensor demand even when the movement feels more upright.

Leg Day Shirts & Workout Gear
Leg-day gym shirts and workout gear for lifters who never skip squats, lunges and lower-body punishment.

Quadzilla Massive Quads Sweater Leg Day Squatting T-Shirt
Keep things casual with a little “Quadzilla” attitude.


The Quadfather Leg Day Meme Top & T-Shirt
Bring “The Quadfather” humor to your next gym day.

Never Skip Leg Day Squats & Deadlifts Meme , Top T-Shirt
Show some leg-day attitude with a playful “Never Skip Leg Day” tee.

Negative Leg Day Review Not Recommended 1 Star T-Shirt
Keep things casual with a little “Negative Leg Day Review” attitude.

My Leg Hurts Leg Day Sweater & Squat Meme Lovers T-Shirt
Keep things casual with a little “My Leg Hurts” attitude.

Leg Day Is Calling You Sweater Squats & Deadlifts T-Shirt
Add a playful “Leg Day Is Calling You” touch to your casual rotation.

Leg Day Squats Deadlifts Decal Meme Vinyl Sticker
Give your everyday gear a playful “Leg Day” twist.

Coffee Shots & Heavy Squats for Leg Day, Lifting and Fi Tank Top
Add some leg-day attitude to training with “Coffee Shots & Heavy Squats”.

5 Plates Squat Club – Motivational T-Shirt
Show some leg-day attitude with a playful “5 Plates Squat Club” tee.
How much heel lift makes sense? Start modest
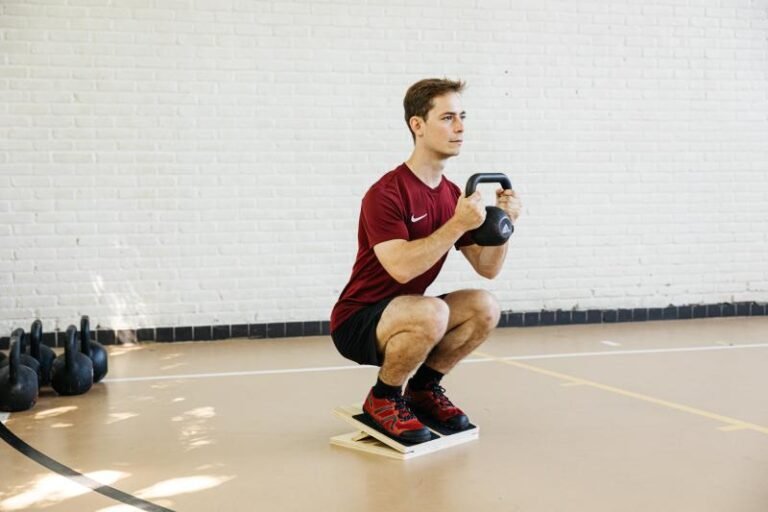
There is no universal perfect wedge height. Shoe heel drops, fixed slant-board angles and separate ramps are not identical measures, because the effective heel rise depends on foot length and exactly where the foot sits. A moderate lift around a centimeter or two is a reasonable starting experiment, not a scientifically proven magic number for a goblet squat.
Research with different heel conditions supports the idea that elevation can change ankle and knee motion. One 2026 synthesis of 14 studies and 177 people reported modest average increases in squat ankle and knee range of motion with heel elevation, while hip and trunk changes were less consistent. Another 2025 review of squatting stability favored moderate elevations in some tested comparisons. Neither establishes that a steep wedge builds more muscle than a low wedge in an otherwise identical six-week program.
Try three short sets: flat heels, a modest wedge, then a slightly steeper but still stable option. Keep your footwear, bell and target tempo constant. Note which position gives you reliable depth, useful quad tension and a calm, balanced return to standing. Choose the smallest adjustment that gives a meaningful improvement, rather than assuming more elevation is always better.
If one heel sits higher because of an uneven plate stack, stop. Uneven contact introduces unwanted asymmetry and is especially frustrating as the load increases. Two matched wedges or one solid platform are more useful than a makeshift arrangement you have to check every rep.
Where it fits beside squats, split squats and leg extensions
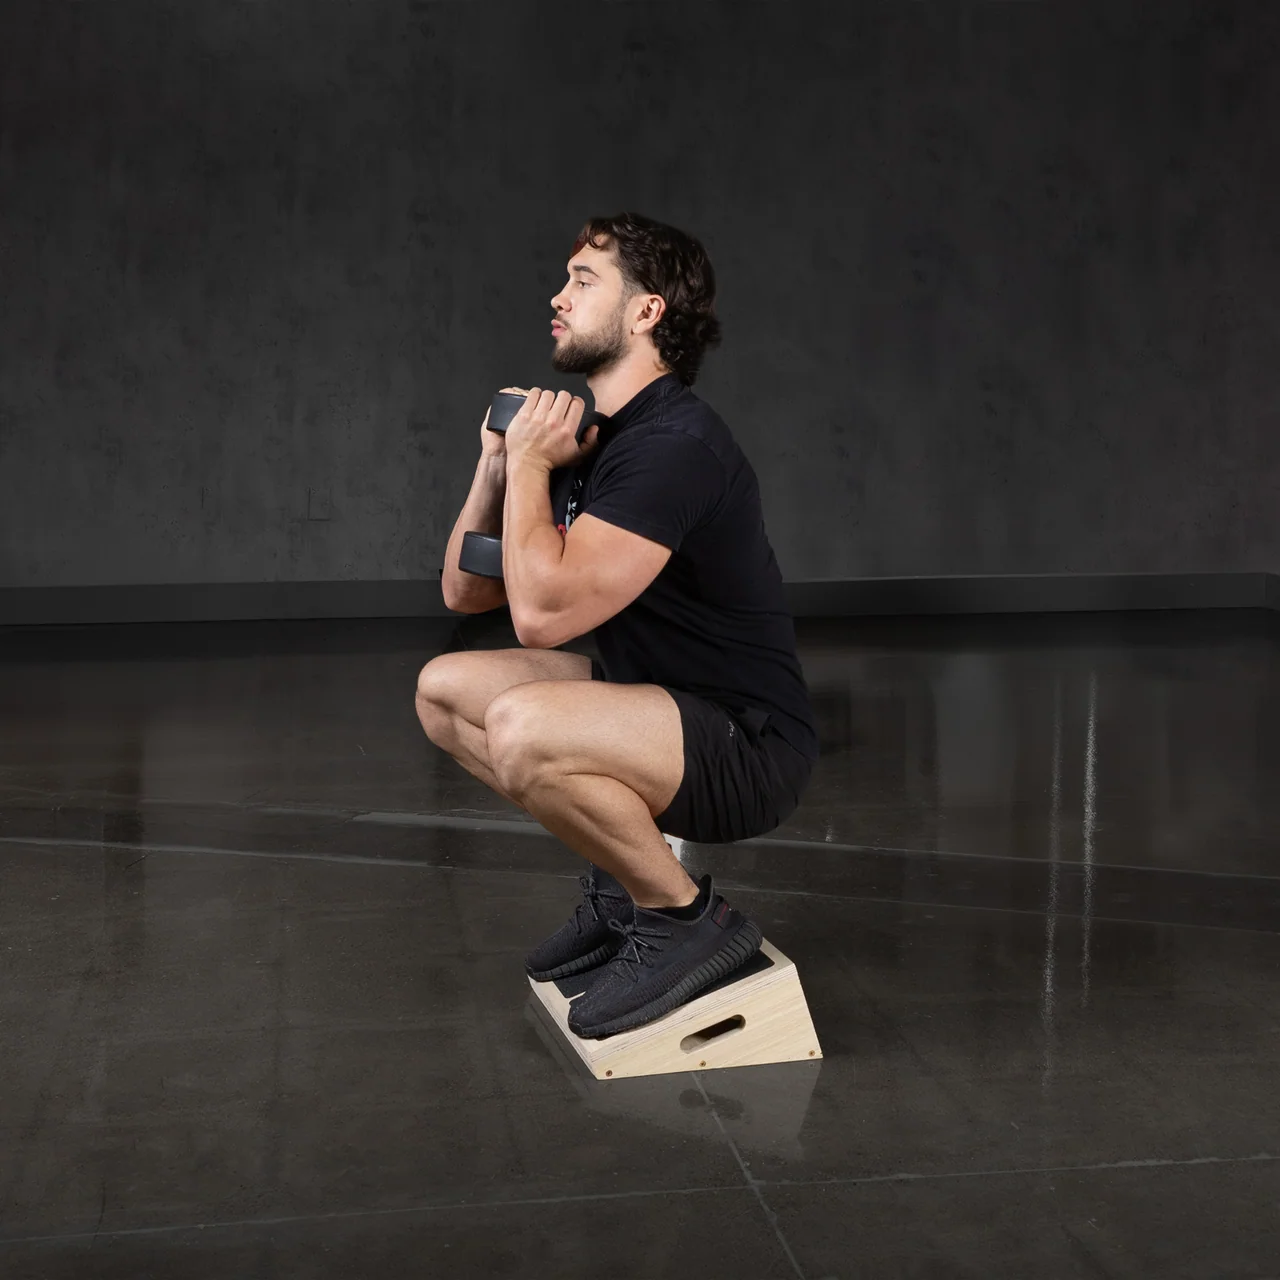
A heel-elevated goblet squat is an excellent learning and accessory exercise but is not a compulsory replacement for a barbell squat. The front-held weight makes the trunk work hard; eventually the hands, wrists or upper back may limit the set before the legs do. For someone who can squat much more than they can comfortably hold at chest height, that is a progression ceiling, not evidence that the exercise stopped working.
Compared with a heavy barbell squat, the goblet version is simpler to set up and usually involves less total external load. Compared with a leg extension, it remains a multijoint exercise involving hips, knees, trunk and balance. Compared with a split squat, it offers symmetrical stance and can be easier to learn before moving to unilateral patterns. Each option has a place; choose according to the muscle you want to challenge, equipment and the exercise that can be progressed safely.
For a quad-biased session, start with two to four controlled sets of the goblet variation or place it after a heavier main squat. Pair it later with a leg extension or supported lunge if those tools are available and your total volume is appropriate. Keep a hip hinge or hamstring curl somewhere else in the week rather than expecting one squat style to cover every lower-body function.
The helpful measure is quality leg work delivered, not whether every exercise has the maximum possible knee travel. If your balance, forearms or bracing end the set far sooner than the quads, select a more stable or loadable alternative.
Equipment Worth Exploring
Explore equipment, accessories and gear from our carefully selected range.

Studio V-Squat
Plate-loaded V-squat machine for supported lower-body strength training.

Safety Squat Handles
Barbell squat handles that reduce shoulder positioning demands during high-bar squats.
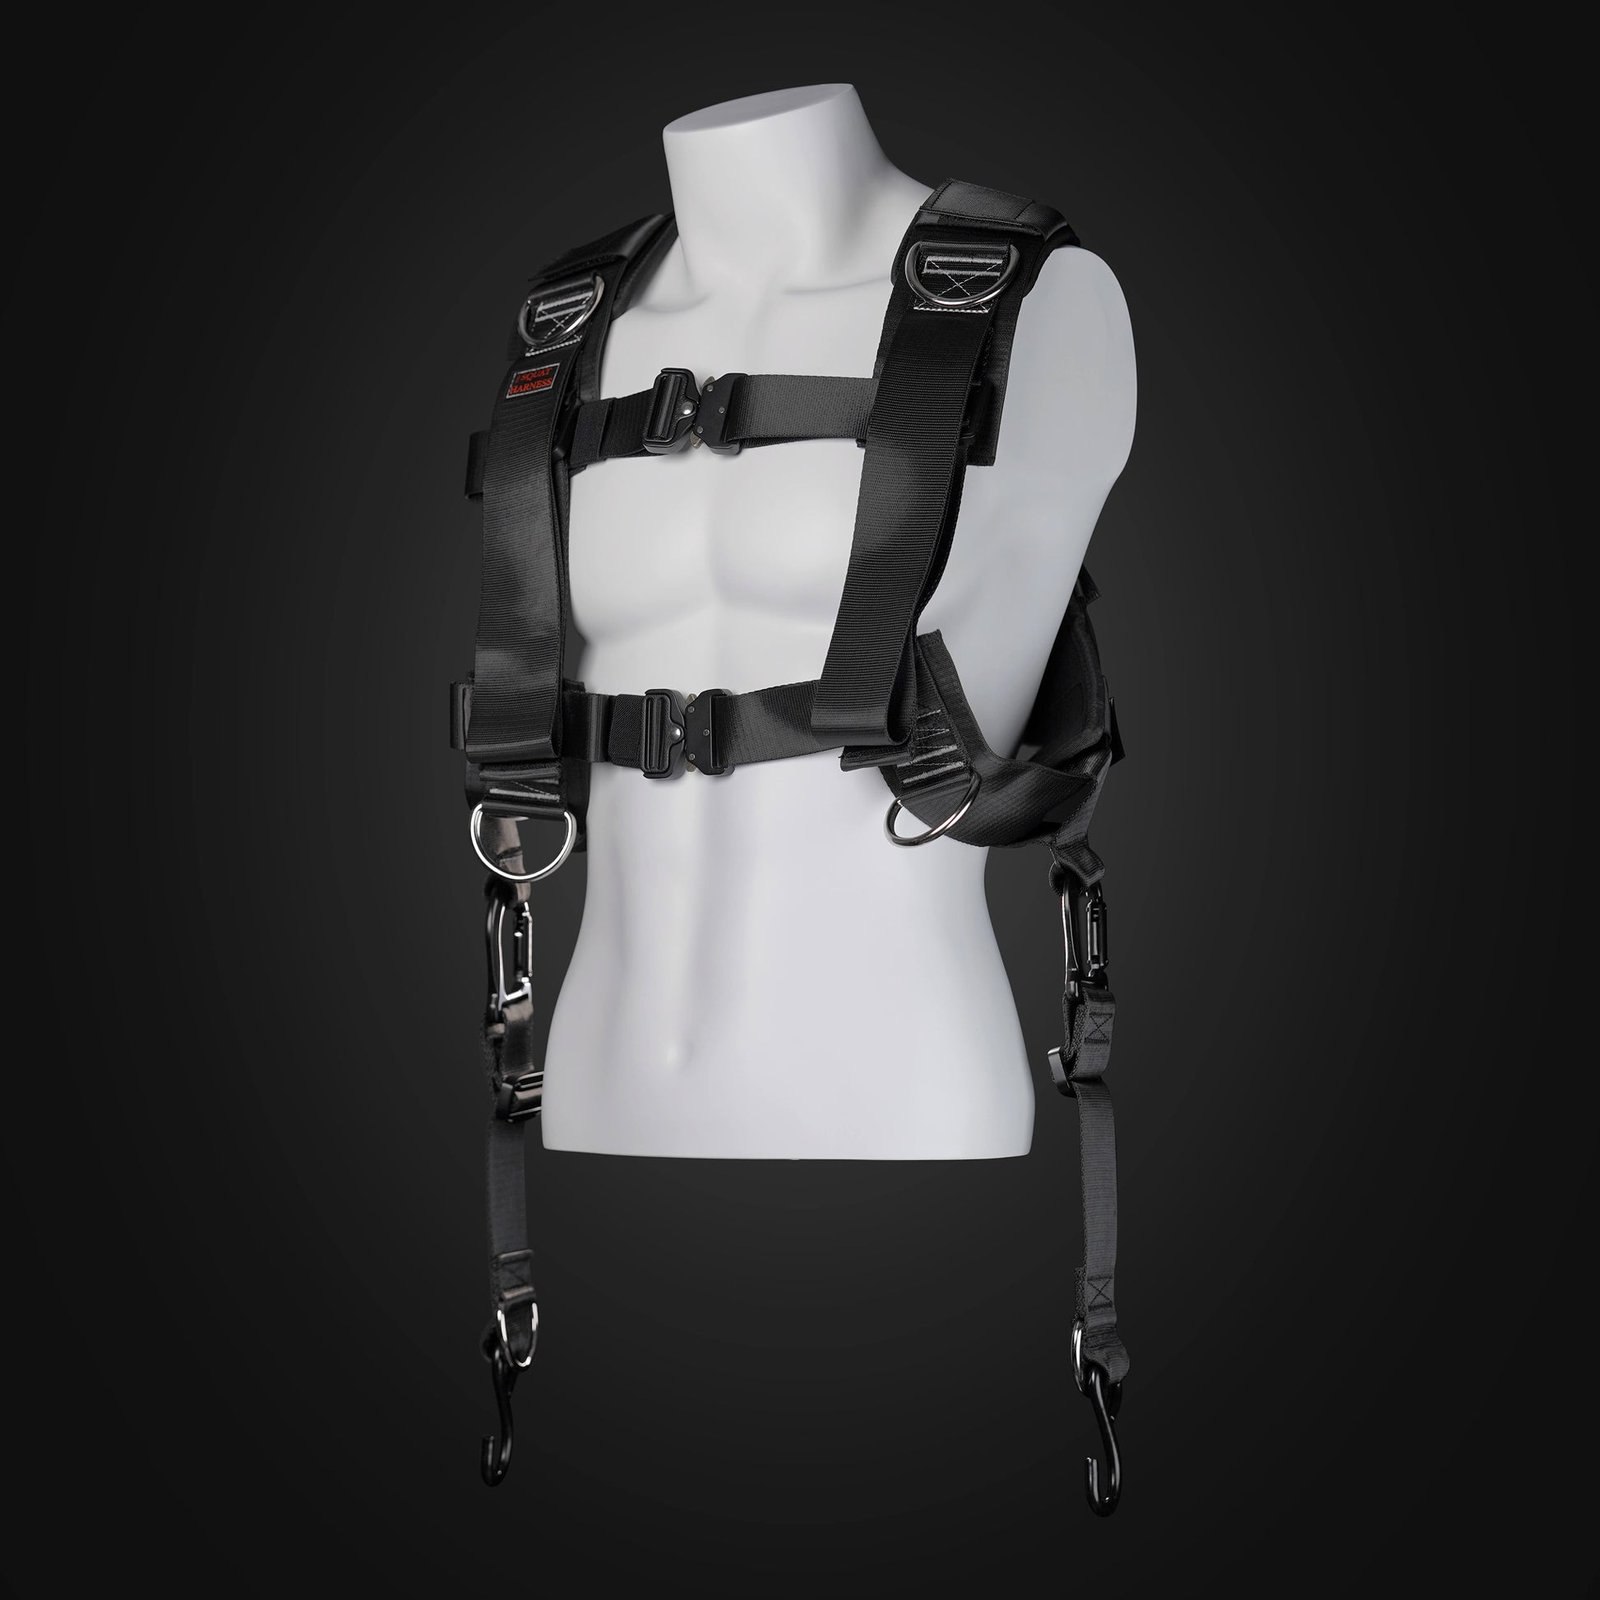
Squat Harness
Wearable harness for hands-free cable squats, sled work, and lower-body training.

HUSLA Leg Extension Pad
Pad attachment designed to increase usable range of motion on compatible leg-extension machines.


Belt Squat Collar
Heavy-duty collar adapter for compatible belt-squat and landmine bar setups.


Competition Plates
Competition-style bumper plates for Olympic lifts and loaded strength training.


VForce 2IN1
Half rack and pivot-arm functional trainer with switchable 1:1 and 2:1 pulley ratios.
Common mistakes that turn the set into a balancing test
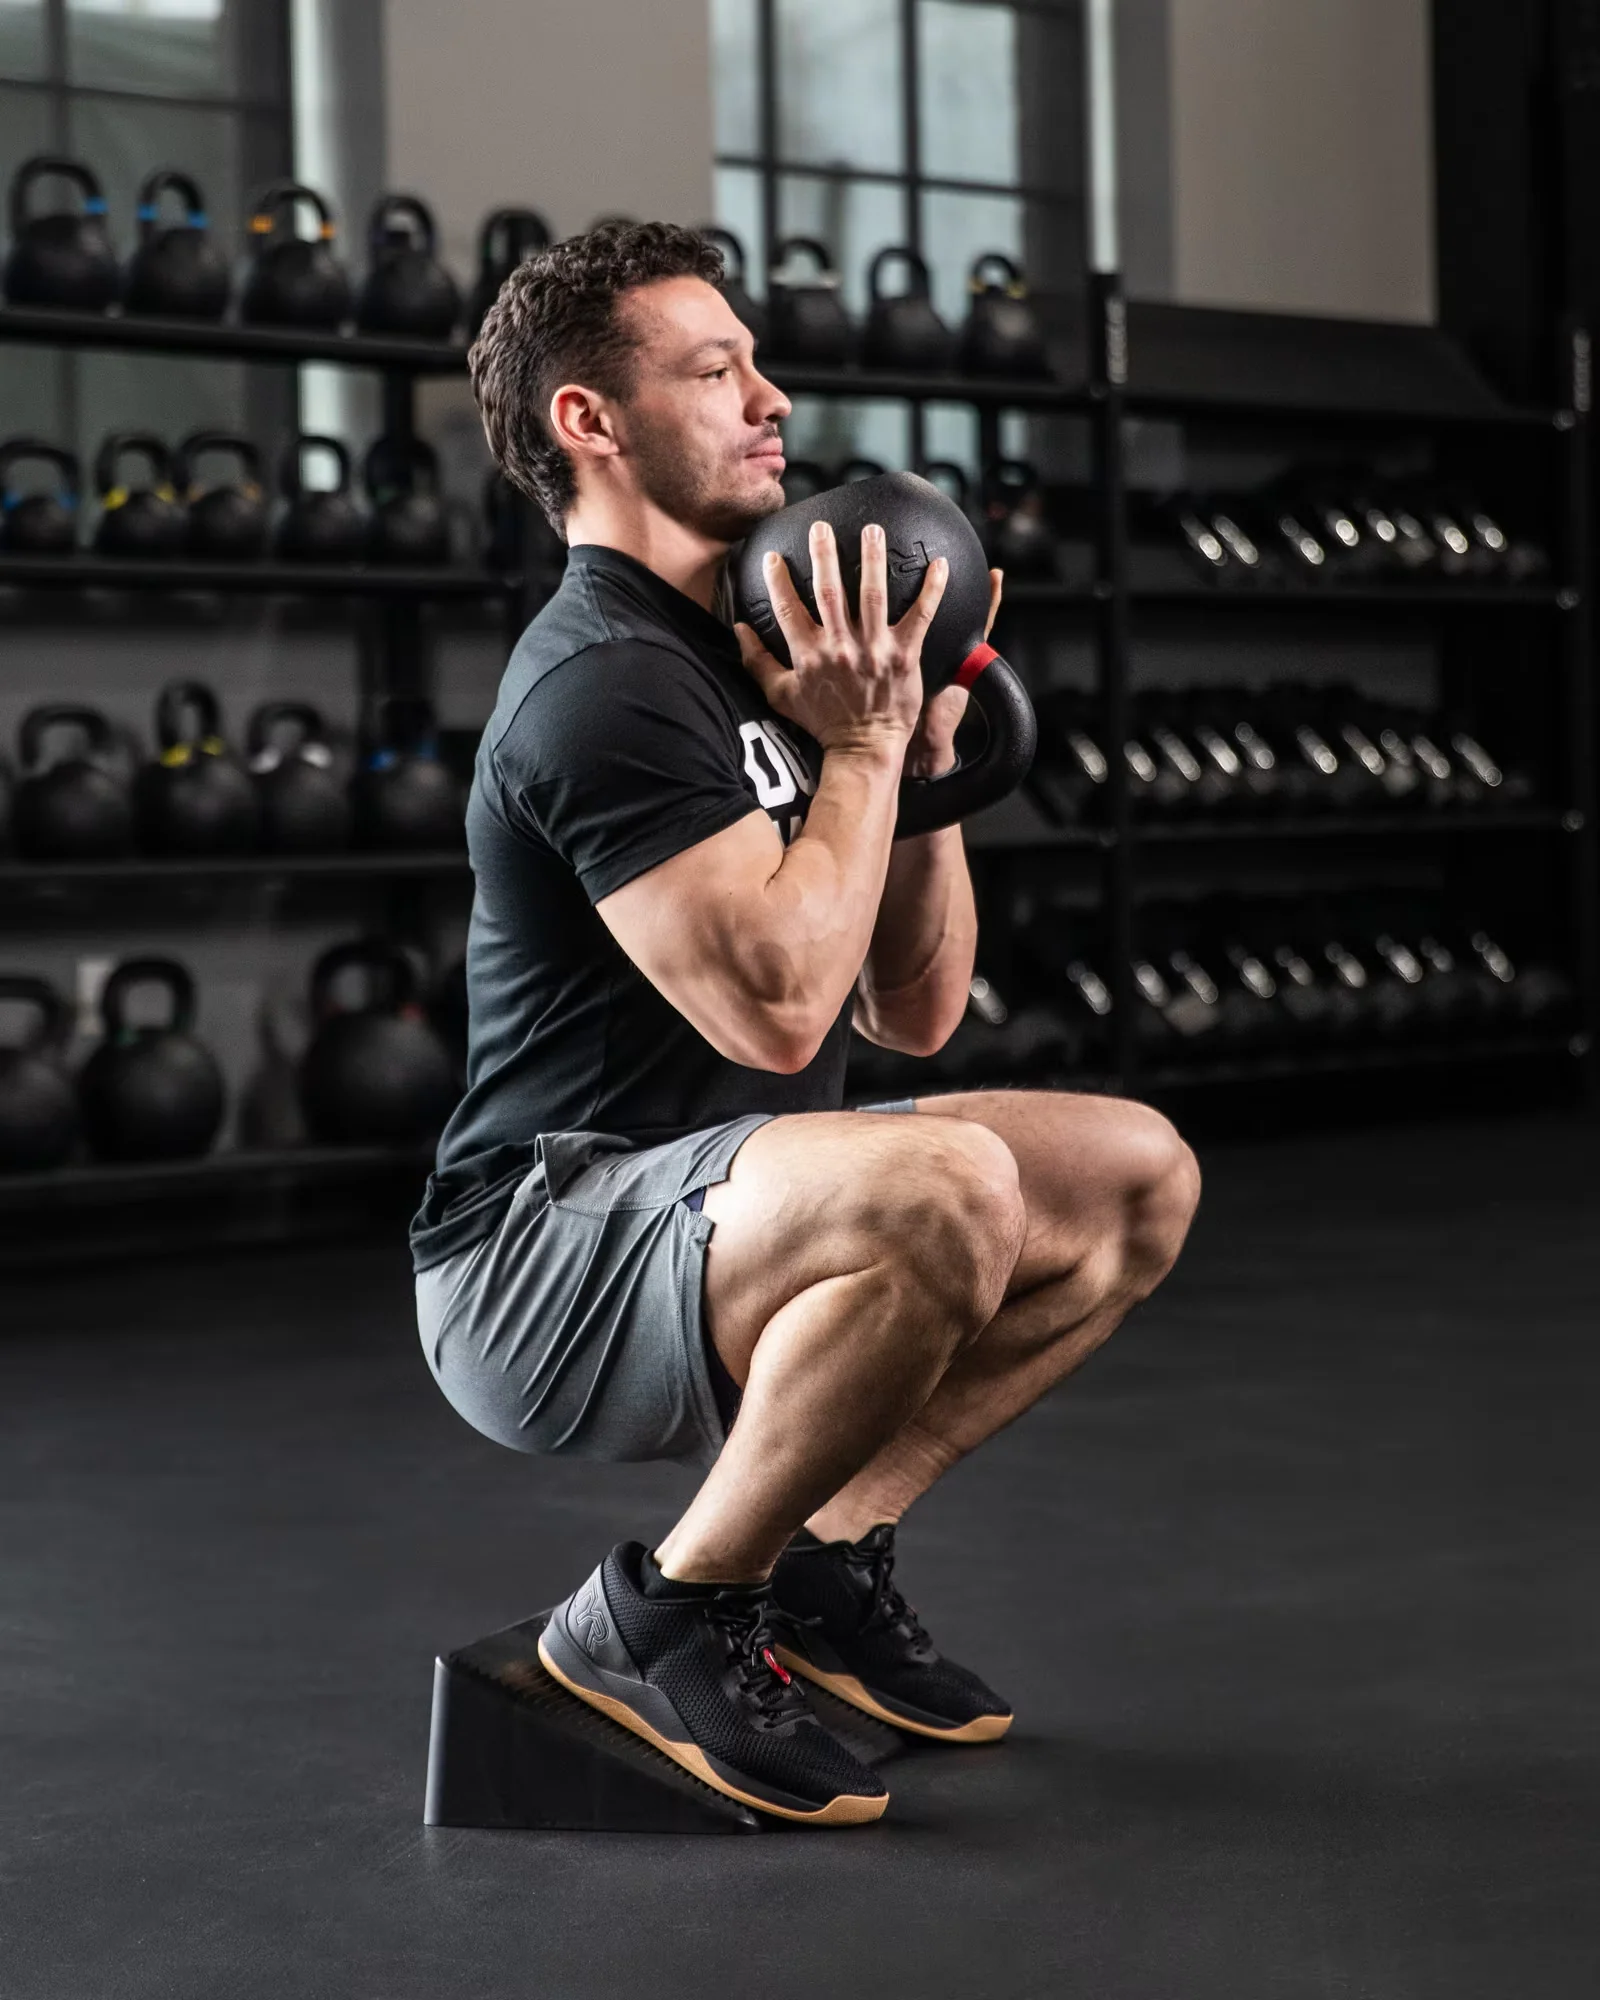
The first mistake is using a steep wedge before you have learned how to squat on it. The heel may be elevated, but the toes still need secure support. If the ankles roll or shoes slide, no amount of cueing fixes an unstable platform. The second mistake is carrying an excessively heavy bell several inches away from the chest; that adds shoulder and back fatigue that can steal repetitions from the quads.
A third mistake is forcing a predetermined stance width. Hip structure, foot proportions and ankle mobility vary. A slight change in stance or toe angle can make tracking and depth feel much smoother. A fourth is copying a social-video range of motion and rounding hard at the bottom just to reach it. The useful endpoint is controlled depth under load, not a particular camera angle.
Do not confuse feeling more quad burn with a proven greater long-term growth response. Local fatigue is only one signal. Record load, repetitions, range, rate of effort and next-day recovery. Also avoid declaring the knees unsafe simply because they pass the toes; knee travel is a normal feature of squatting, although the amount of load and depth should match the person.
Finally, do not turn every set into failure. Leave one to three technically clean repetitions in reserve through most of a six-week block. When rep quality degrades, stop the set, log the result and progress later.
A six-week heel-elevated goblet-squat progression
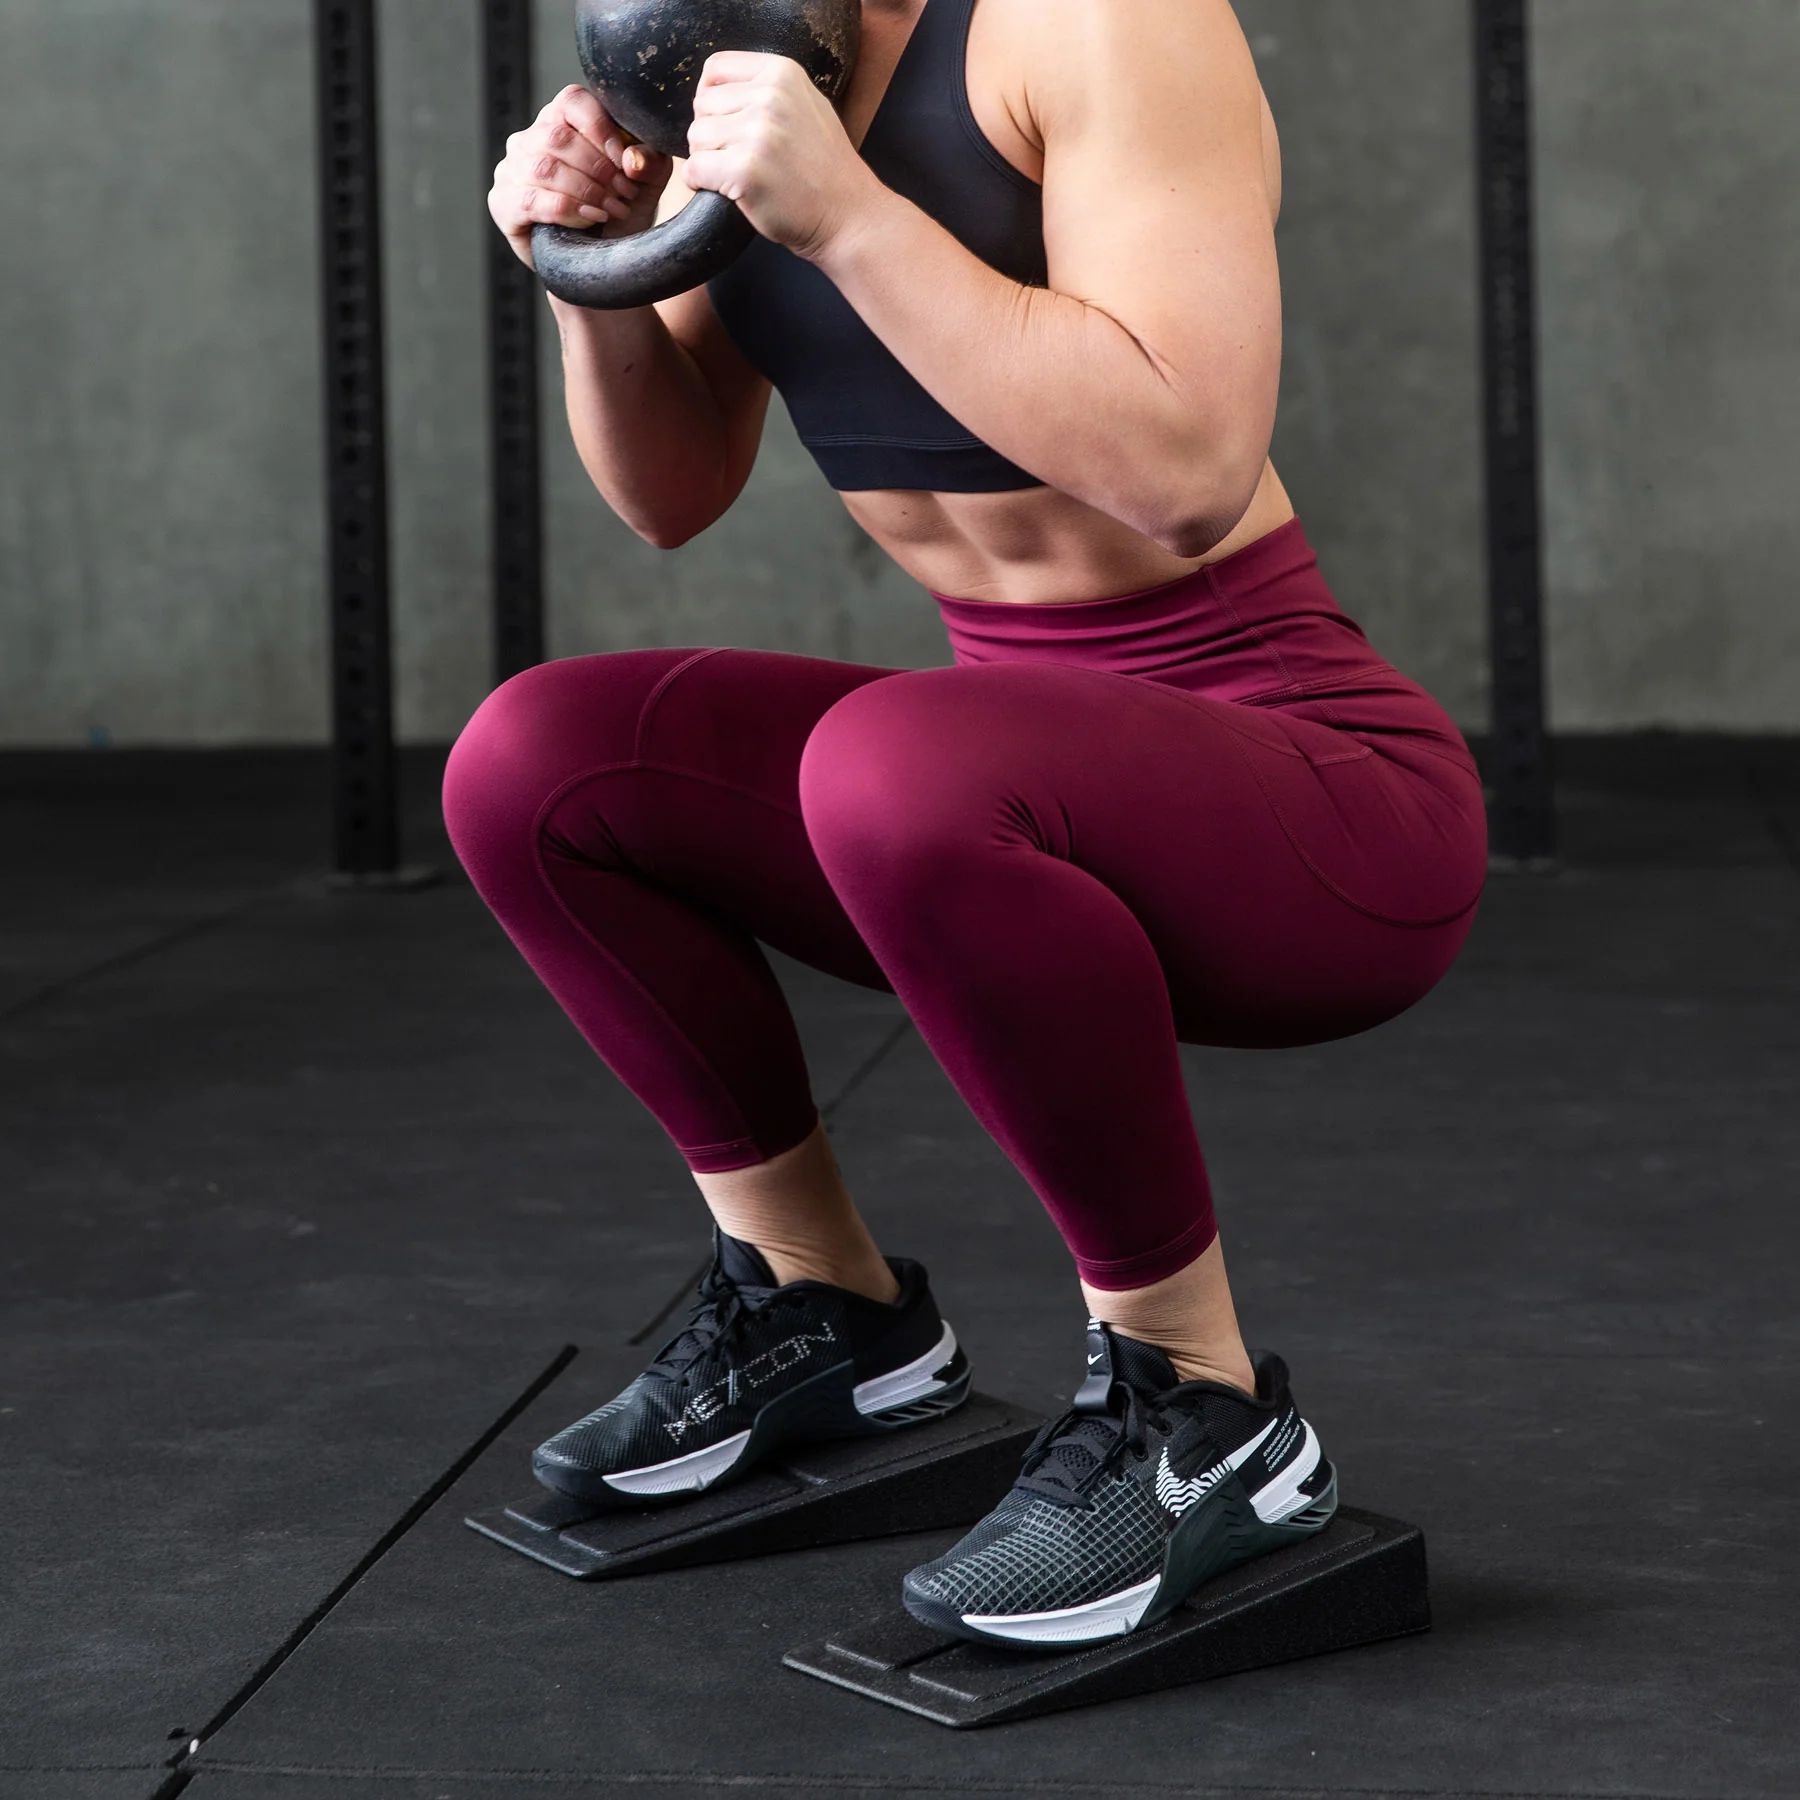
Train the movement once or twice weekly with at least a day between hard lower-body sessions. On weeks one and two, use three sets of eight to ten controlled repetitions with a moderate wedge. Keep two to three good reps in reserve, and rest about ninety to one hundred twenty seconds. Your main assignment is to repeat the same safe setup and consistent depth, not to impress anyone with the kettlebell number.
On weeks three and four, move toward three sets of ten to twelve reps. Increase load only when the previous sessions used steady foot pressure and the torso did not collapse. A small increase in bell weight may be better than a dramatic jump, especially when equipment increments are coarse. If the hold becomes uncomfortable, stay with the current weight and improve tempo or rep consistency.
On weeks five and six, keep the same wedge and work within three or four sets of eight to twelve reps. Add load once the top of the range feels controlled, or add a set if your other lower-body training and recovery leave room for it. Do not add sets and load at once without a clear reason. Finish the block by comparing a video from week one to one from week six at a similar weight and depth.
A two-day example pairs one goblet-squat session with a hip hinge and calf exercise, then a second lower-body day with a split squat, hamstring movement and optional leg extensions. If you already do heavy squats, place the goblet movement after them and reduce its volume rather than piling on more hard sets automatically. Progress should show up as better repeated form, more controlled reps or more load with the same form.
The takeaway: a wedge can make the goblet squat more comfortable and more knee-dominant for some lifters. Start low, keep the feet stable, earn depth and progress the exercise deliberately. Your setup should make productive leg training easier, not create another piece of equipment you must fight.
Leg Day Shirts & Workout Gear
Leg-day gym shirts and workout gear for lifters who never skip squats, lunges and lower-body punishment.

Leg Day Thou Shalt Not Skip Leg Day Medieval Knight Gym T-Shirt
Make gym days more fun with “Leg Day” style.

Leg Press Dost Thou Even Press Medieval Knight Gym Shir T-Shirt
Make gym days more fun with “Leg Press” style.

Heavy Metal Skeleton Squat for Powerlifting, Bodybuildi T-Shirt
Show some gym-day personality with “Heavy Metal Skeleton Squat”.


Legday Gains Squats & Deadlifts , Top & Bros T-Shirt
Bring “Legday Gains” humor to your next gym day.

Squats R Us Shirt – Leg Day Gains & T-Shirt
Heavy lifts, good laughs, and a little “Squats R Us” energy.

Heavy Metal Deadlift – Gymbro Leg Day & Gains T-Shirt
Make gym days more fun with “Heavy Metal Deadlift” style.

Anti Leg Day Leg Day Club Decal Water Bottles & Sticker
Give your everyday gear a playful “Anti Leg Day Leg Day Club” twist.

I Love Squats | Leg Day Pink Heart Plate Graphic T-Shirt
Show some leg-day attitude with a playful “I Love Squats” tee.