Advertising disclosure: This page includes affiliate product links that may earn us a commission, as well as products from our own store.
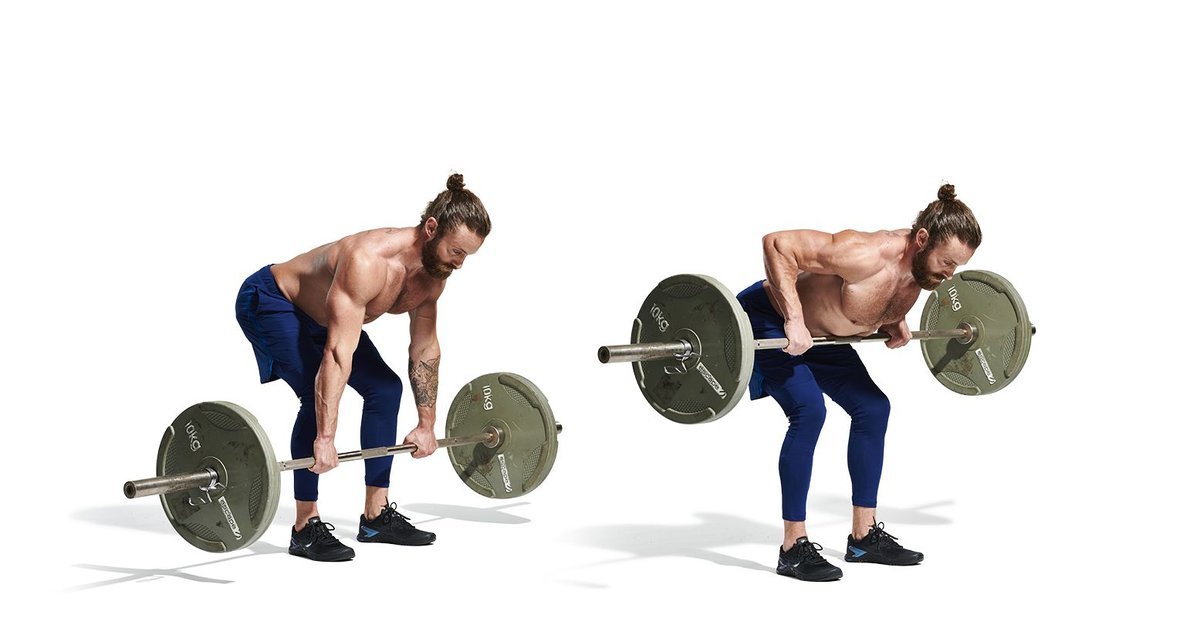
Ask ten lifters what makes a Yates row different and you may hear the same answer: the underhand grip. That misses the more important detail. The signature bodybuilding row uses a comparatively upright, steady torso instead of the near-horizontal hinge many people associate with classic bent-over rows. The bar travels toward the lower abdomen, and the back works while the trunk holds its position.
That combination can feel powerful, especially when your regular barbell row becomes a test of how long your spinal erectors can tolerate a deep hinge. But an upright row does not automatically become a safer lift, and loading it heavily without controlling the torso is not a clever shortcut to bigger lats. The useful distinction is whether you can perform the same row mechanics on every repetition.
The Yates row is a torso-angle choice, not a mandatory underhand grip
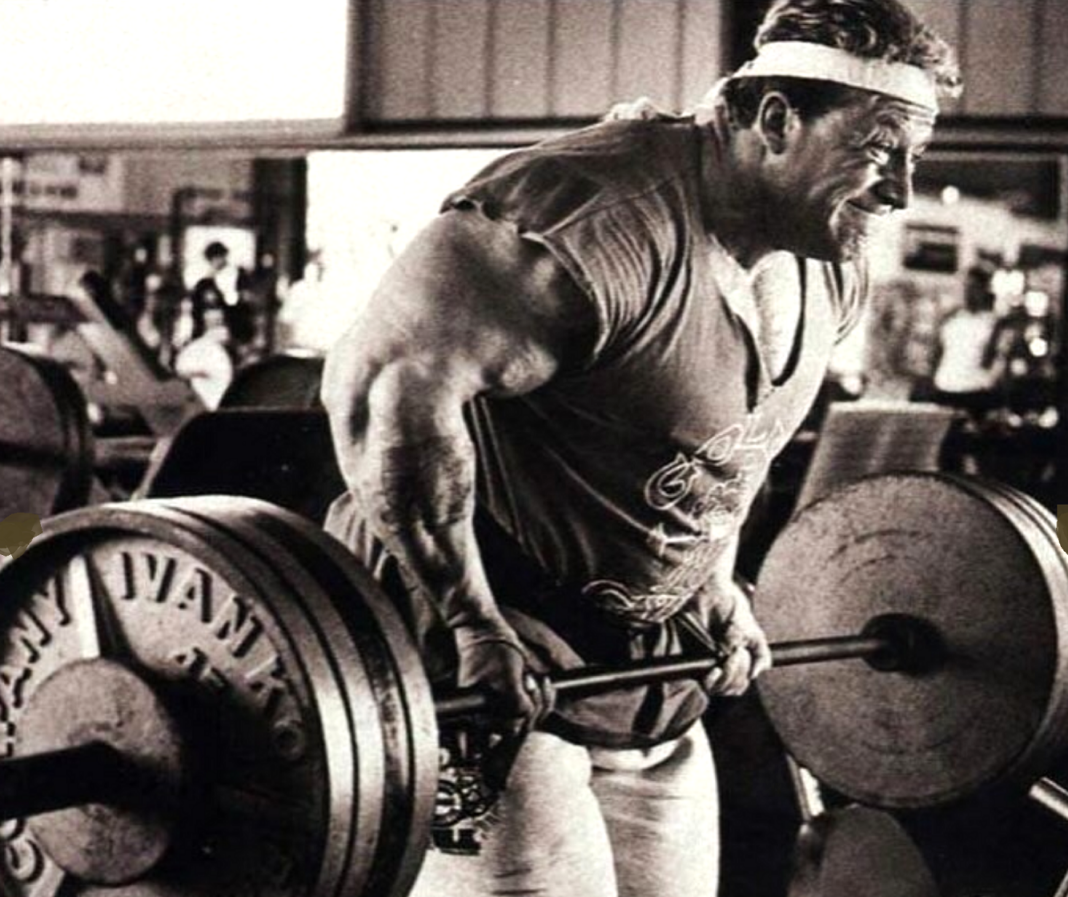
The row is associated with bodybuilding champion Dorian Yates, who popularized a more upright way to pull a heavy barbell toward his lower torso. Classic bent-over rows are often taught with the upper body closer to horizontal; a Yates-style row typically uses a more open hip angle. The exact angle can vary with anatomy and comfort, but the essential idea is that you hold a relatively high hinge position rather than dropping your chest toward the floor.
Many photographs show the movement performed with palms up, also called a supinated or underhand grip. That is one common version, not the only legitimate one. Yates later used an overhand grip, and either orientation can be used to row effectively when your wrists, elbows and shoulders tolerate it. Labeling every overhand shallow-hinge row as incorrect confuses a coaching convention with a hard rule.
Both grips train the back through a compound shoulder and elbow pulling pattern. The lats assist shoulder extension as the elbows travel behind the torso, while the traps, rhomboids and rear shoulders contribute to controlling the shoulder blades and upper back. The biceps and other elbow flexors assist in either version; changing grip may change how strongly you feel them, but does not surgically isolate the so-called lower lats.
Because the torso is more upright, the bar may travel a shorter path and a given load may feel easier to hold than in a deep bent-over row. That does not make it a superior exercise for every person. A different lever arm changes the workload, and your back still has to brace. What matters is a repeatable training stimulus, not whether the plate count beats your conventional row.
Set the bar, brace, and find an angle you can repeat
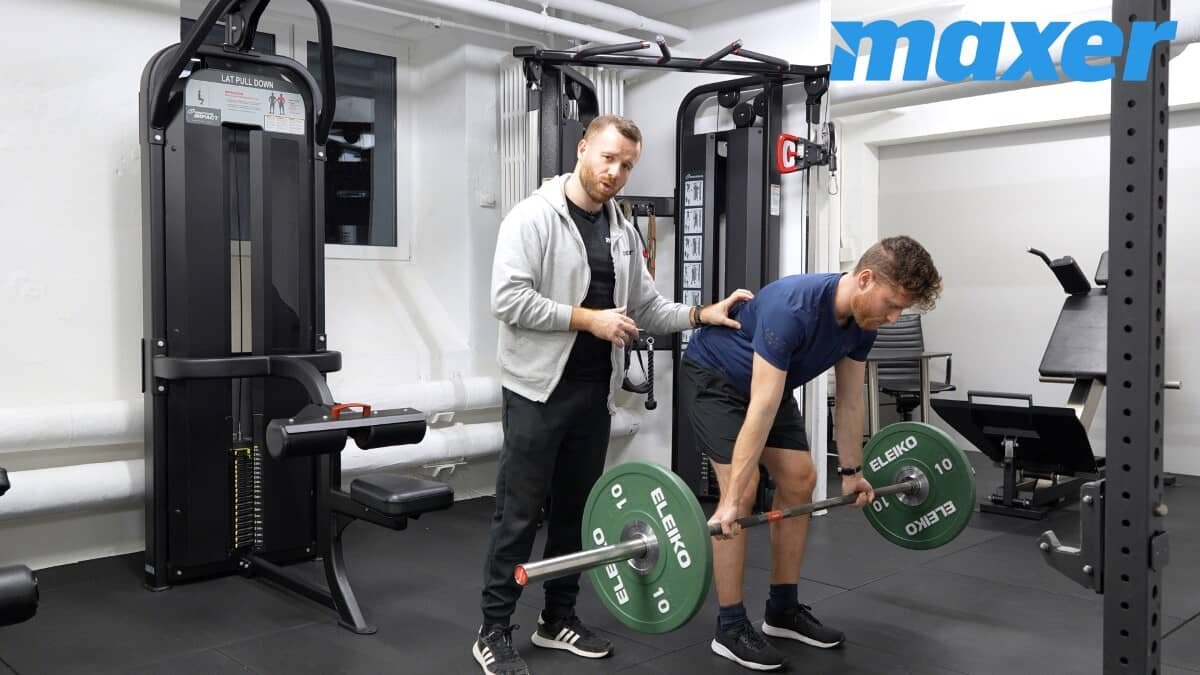
Position a loaded barbell where you can pick it up safely, or begin from rack supports at a comfortable height. Select a conservative first weight and make sure the plates and collars are secured. Stand with feet about hip to shoulder width, soften the knees, then take a comfortable shoulder-width grip. An underhand hold may suit some lifters; an overhand hold is a valid option if supination irritates the wrist or elbow.
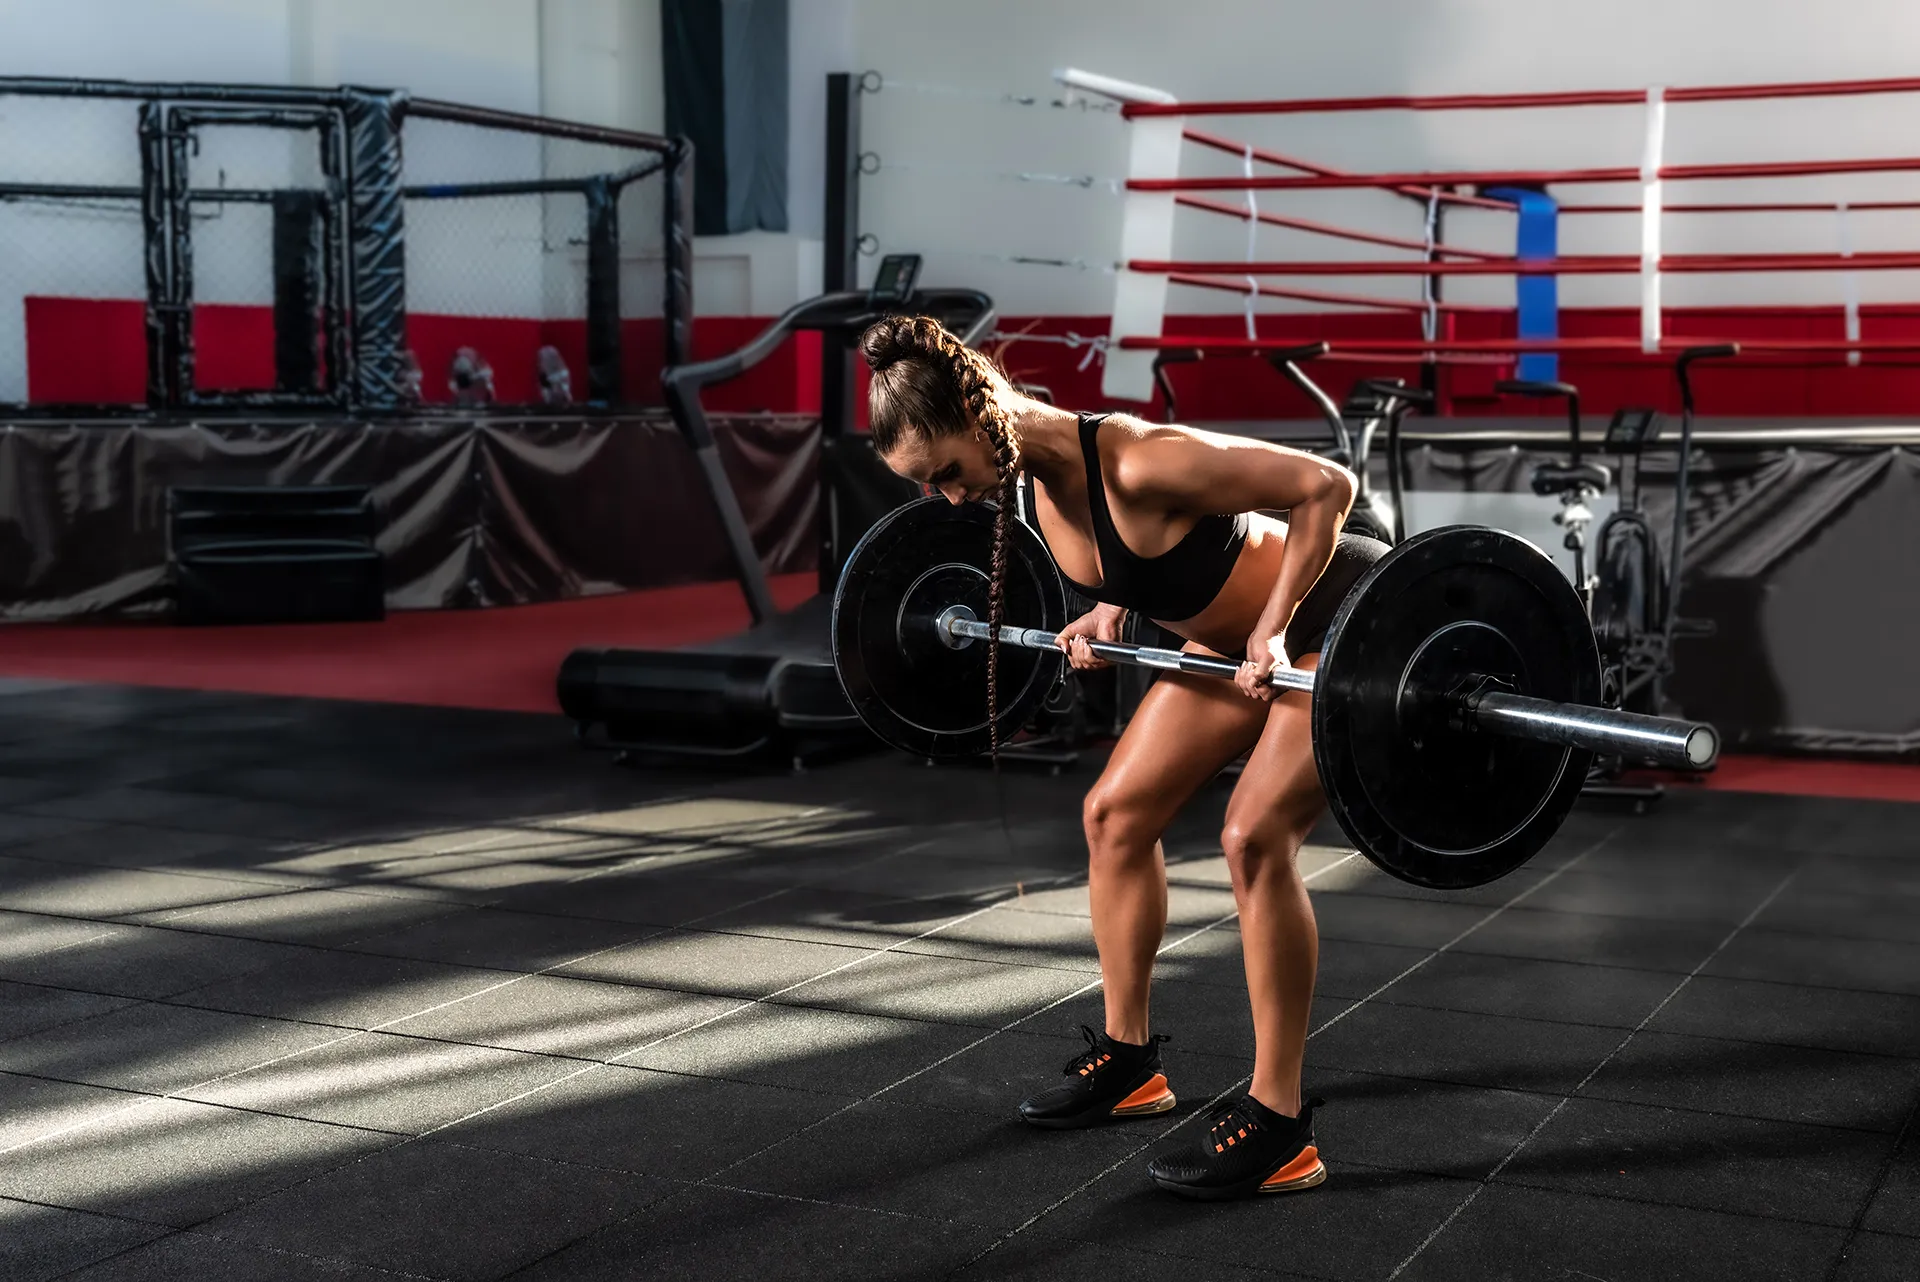
Lift to standing, inhale and brace the trunk, then send the hips backward into a shallow-to-moderate hinge. Aim for a neutral, controlled spinal position without excessively arching or rounding. Your shoulders should now be in front of the hips, with the bar hanging somewhere around the knees or lower thighs depending on limb lengths and hinge angle. There is no benefit to copying another person’s exact torso degrees if that position feels awkward or unstable.
Check what the bar looks like at the bottom. It should be free to hang without your knees forcing an outward detour. If your knees obstruct the bar path, adjust foot position or reduce the knee bend slightly, keeping the stance balanced. Avoid drifting onto the toes; you want pressure distributed through your feet and enough room for the bar to travel closely toward your body.
The easiest way to standardize form is to film one light set from the side. Mark the approximate torso angle, how far below the knees the bar hangs, and where it touches the trunk at the top. Those observations are more actionable than telling yourself to ‘feel your lats harder.’ If the first rep looks different from the ninth, your original setup may be too demanding to sustain.

Equipment Worth Exploring
Explore equipment, accessories and gear from our carefully selected range.


EZ Curl Barbell
Olympic EZ curl bar with angled grips for curls and triceps exercises.

Competition Plates
Competition-style bumper plates for Olympic lifts and loaded strength training.

Grip Plates
Rubber-coated weight plates with handholds for loading barbells and machines.

Leather Lifting Straps
Padded leather straps support grip during heavy rows, deadlifts and pulling exercises.

Leather Wrist Grips
Padded leather lifting grips help support the hands and wrists on heavy pulling exercises.
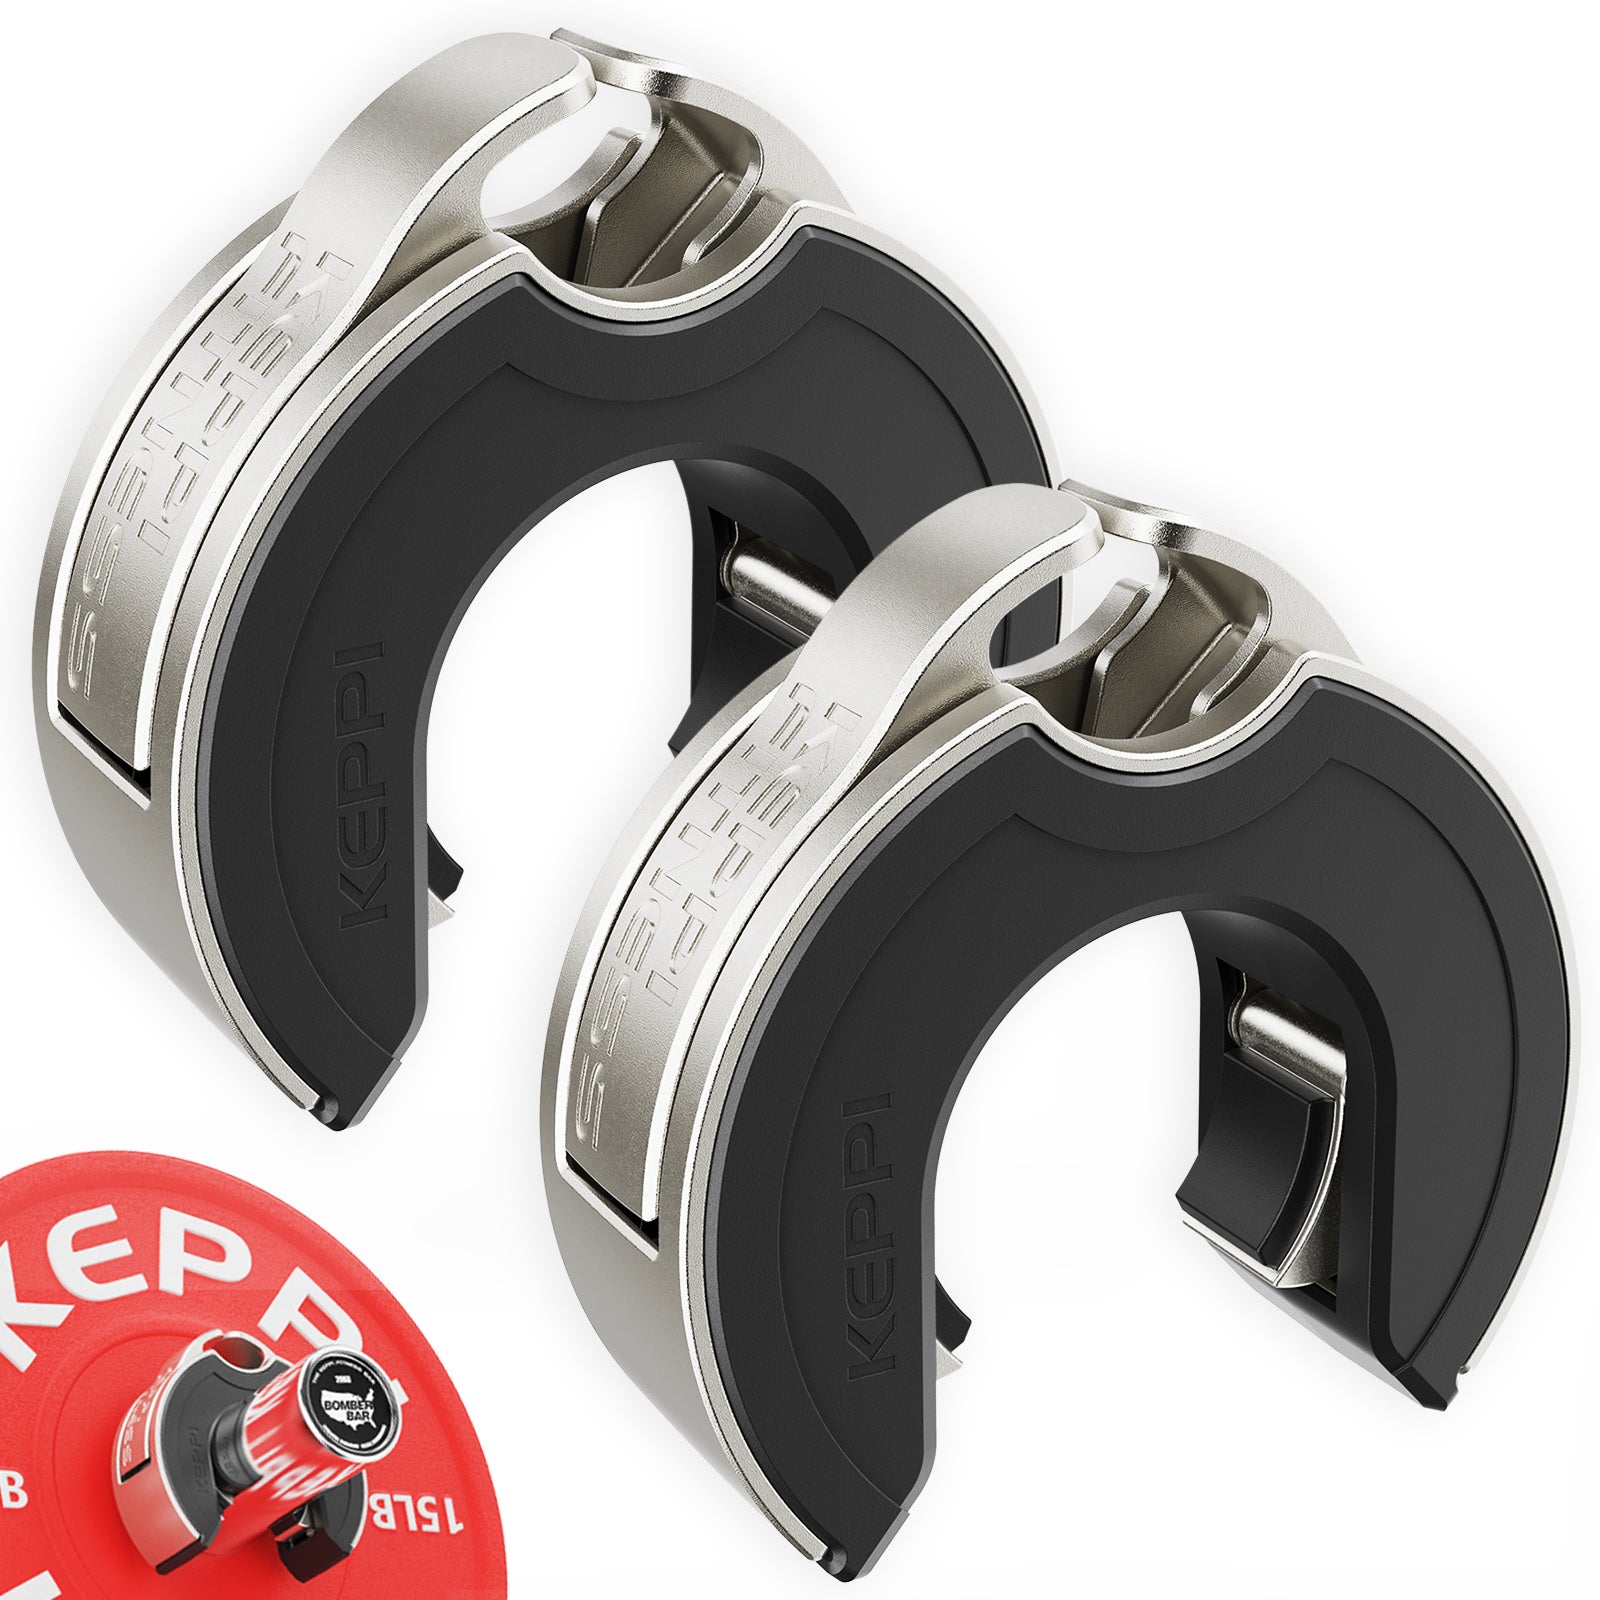
Keppi Open Collars
C-shaped magnetic Olympic barbell collars with a quick-lock mechanism and grippy lining.

Drive the elbows back; do not turn every row into a hip heave
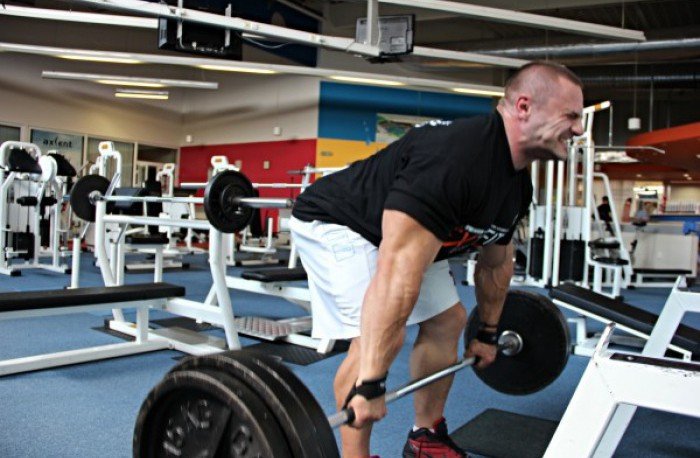
From the hanging start, keep your hinge and ribs stable while pulling the elbows backward alongside your body. Guide the bar toward the lower abdomen rather than the sternum. Let the shoulders participate naturally; you do not need to force an exaggerated chest lift or a dramatic pinch between the shoulder blades. For most lifters, a smooth path close to the body is easier to repeat than a bar that swings forward and then crashes inward.
Pause briefly when the bar reaches your torso or the highest position you can achieve without standing taller. A deliberate pause is a useful self-test: if the weight immediately drops or your knees shoot straight, it may have arrived through momentum rather than a controlled row. Heavy rows can involve some natural motion, but that is different from using a fresh hip extension on every rep to move a bar the upper body cannot control.
Lower the bar until the elbows are nearly straight again, resisting the temptation to cut the return short as fatigue builds. Maintain your hinge, bracing and balance through the eccentric phase. You can use a purposeful rhythm of around one or two seconds up and two seconds down; that is a practical consistency cue, not a precise requirement for maximum muscle growth.
Keep the bar off the floor between repetitions if you are doing a continuous Yates-style set. A Pendlay row begins from a reset on the floor and uses a deeper hinge, so bouncing plates from the ground or resetting every rep changes the exercise. If your lower back struggles to hold any bent-over posture, consider a supported row for that workout rather than trying to maintain a position you cannot control.

Bodybuilding Shirts & Workout Gear
Bodybuilding shirts, tanks and gym gear for lifters chasing muscle, size, symmetry and the pump.

Demon Back Big Back Sweater & Lat Gains Meme T-Shirt
Add a playful “Demon Back” touch to your casual rotation.

Lat Spread Mickey Mouse Meme Sweater T-Shirt
Bring “Lat Spread” humor to your everyday gym style.

Strong Back Bodybuilder | Meme Muscle Shirt | The Simps Tank Top
Train hard, laugh a little, and rep “Strong Back Bodybuilder”.

Lat Man Big Back – Hooded With Huge Lats – Jumper Hoodie
Stay casual and show some superhero attitude with “Lat Man Big Back”.


Shirt Pull Day – Back & Biceps Meme Top T-Shirt
Heavy lifts, good laughs, and a little “Pull Day Graphic” energy.


Unbreakable Gains Back Tee
Make gym days more fun with “Unbreakable Gains: Strong Back Greek God” style.

Back Panther – Big Back & Gymbros – Meme Shirt T-Shirt
Show some superhero attitude with a playful “Back Panther” tee.

Funny Hardcore Gains Gym | No Pain No Gain Workout | Fi Hoodie
Keep it laid-back with a little “Hardcore Gains” attitude.
Underhand versus overhand: choose comfort over mythology
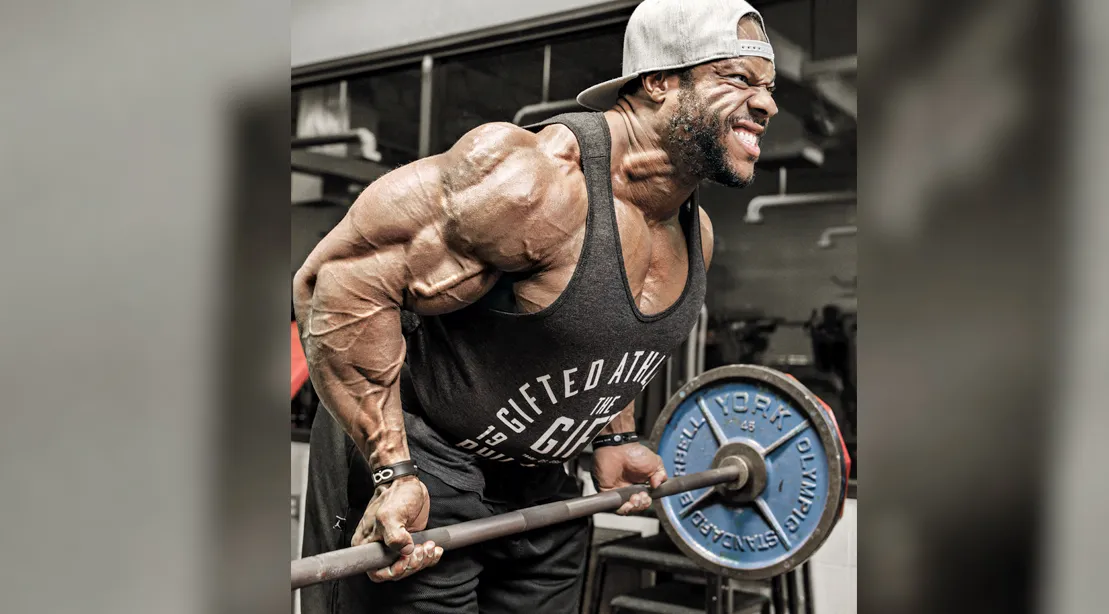
An underhand grip can make it easy to keep the elbows traveling close to the ribs, but it also places the forearms in a supinated position while the elbows flex against substantial load. That may feel natural with a moderate weight, or it may bother the biceps tendon, wrist or elbow for someone with limited range, existing irritation or excessive loading. Do not interpret discomfort as evidence that the variation is ‘hitting the biceps better.’
An overhand grip changes forearm orientation and can provide a more comfortable option for some bodies. It can still be a legitimate Yates-style row when the torso angle and bar path remain consistent. Neither grip is guaranteed to make the exercise safer for everyone, and a simplistic claim that palms-up rows uniquely build the lower lats is not supported by an exercise demonstration alone.
Use the smallest grip-width change that improves joint alignment. Hands around shoulder width are a good place to start, but bar diameter, arm proportions and wrist mobility differ. Some lifters prefer to ease a little wider; others may prefer straps on heavier sets so grip fatigue does not dictate every repetition. Straps are optional and do not fix an uncontrolled trunk or a load that is simply too heavy.
Treat the two grips as distinct exercises for tracking purposes. If you build up to eight tidy reps with an underhand hold and then switch to overhand, record the new version rather than pretending the same load proves equal progress. Compare how your wrists feel, whether the bar follows the same path, and whether the last reps remain as clean as the first.
Equipment Worth Exploring
Explore equipment, accessories and gear from our carefully selected range.


Foldable Wall Rack
Wall-mounted folding squat rack designed to save floor space between workouts.

Multi Pull Smith Rack MPHR-780
All-in-one rack with a Smith machine, functional trainer, lat pulldown and low row.

Linear Row LRX-750
Dual-sided rowing machine for supported rows, bent-over rows and varied pulling movements.

Lateral Row Machine LRM-720
Rowing machine with independent lever arms, an adjustable seat and chest support.

GymPin Barbell Row Handle
Heavy-duty handle attachment for barbell, landmine and T-bar rows.

T-Bar Row Attachment
Welded barbell attachment that connects a D-handle bar for landmine and T-bar rows.

44in Dual Hook Bar
44-inch aluminum dual-hook straight bar for cable rows, pulldowns, and curls.

Rubber Hex Dumbbells
Rubber-coated hex dumbbell pairs with a stable shape for home and commercial strength training.
Original GymPin Black
Black-finish GymPin weight-stack extender for adding Olympic plates to compatible cable machines.
Fix the mistakes that hide behind a heavier barbell
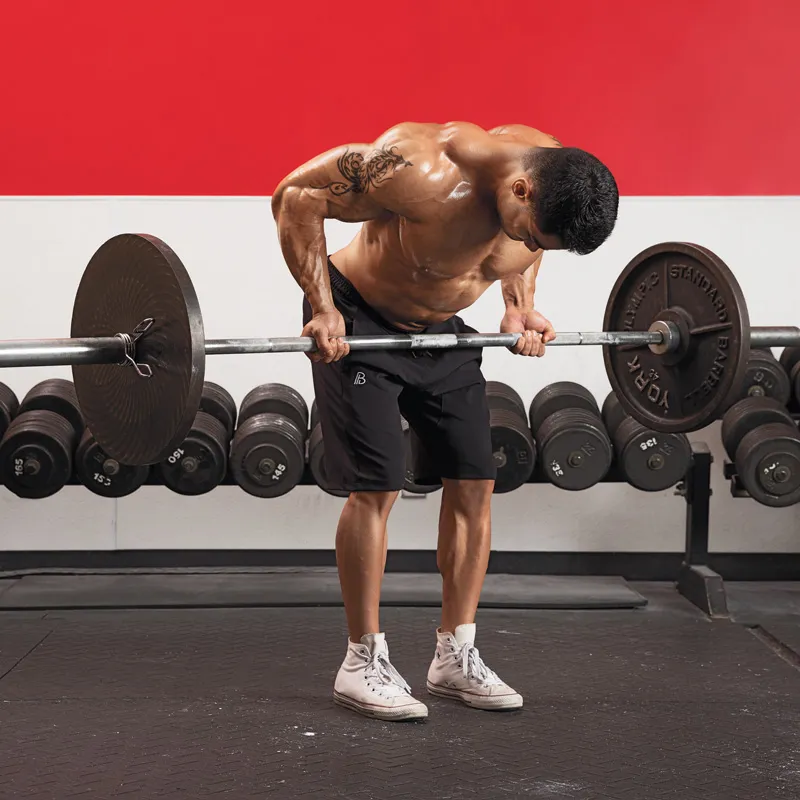
Standing progressively taller is probably the easiest mistake to miss. As the set gets hard, the hips open and the bar rises mostly because the whole torso rotates. Compare the shoulder angle at the first rep with the final reps on video. A slight natural change is inevitable, but a large repeated swing turns the exercise into a different lift and exaggerates the apparent strength gain.
Another error is curling the bar toward the upper chest while the elbows flare widely. That may still train muscles, but it is not the lower-abdomen row path you intended. Reduce the weight, keep the wrists neutral relative to the chosen grip and think about driving the elbows behind the hips, not lifting your hands as high as possible.
A third problem is using the underhand grip as an excuse to jump aggressively in load. There is a history of high-level lifters using enormous numbers, but their experience does not automatically transfer to someone practicing the movement for the first time. Biceps tendons and wrists do not care how impressive the plates look. Begin light enough to demonstrate controlled repetitions and increase only when the mechanics remain consistent.
Fourth, watch what happens when your spinal erectors fatigue. A shallow hinge can be less taxing than a deep one for some lifters, but it still places a sustained demand on the trunk. If you cannot maintain a braced position, do not chase another forced rep. Supported rows, cable rows or a shorter set may be more suitable, especially after heavy deadlifts or other work that already fatigued your lower back.
Finally, do not invent a special injury-proof reputation for a named exercise. A well-controlled row may be tolerable and productive, but no torso angle guarantees freedom from injury. Sharp pain, unusual tingling or persistent joint discomfort means stop the set and obtain individualized guidance. The aim is repeatable muscular work, not winning a battle against an unstable bar.
Funny Gym Shirts & Workout Gear
Funny gym shirts, tanks, hoodies and workout gear for lifters who like training hard.

Big Back SpongeBob Sweater Back Day & T-Shirt
Bring “Big Back” humor to your everyday gym style.

Nice Traps Big Back Tee
Heavy lifts, good laughs, and a little “Nice Traps Big Back” energy.


Bear Winnie The Bodybuilder Hoodie
Stay casual and show some lifting attitude with “Bodybuilding Bear”.

LEGO Bodybuilder Gym | Funny Workout & Bodybuilding Mem Hoodie
Show off your lifting humor in a laid-back “LEGO Bodybuilder” hoodie.

Bob The Bodybuilder Can We Lift It? Meme Decal Water Sticker
Put “Bob the Bodybuilder” gym humor on your laptop, bottle, or gym gear.

Die Hard Lift Harder Gym | Funny Workout Vest for Muscl Tank Top
Bring “Die Hard Lift Harder” humor to your next lifting session.

Greek God Bodybuilder Marble Sculpture – Meme Top T-Shirt
Show some lifting attitude with a playful “Greek God Bodybuilder Marble Sculpture” tee.


Fortitude Stoic Sigma Bodybuilder : Meme Shirt & T-Shirt
Rep “Fortitude Stoic Sigma Bodybuilder” humor in and out of the gym.
Four weeks of Yates rows without sacrificing your other pulls
Place the row early or mid-session when you have enough energy to hold the hinge consistently. You may start after a pulldown or machine pullover, or use it as your main row before lighter back accessories. There is no requirement to copy an elite bodybuilder’s exact exercise order or ultra-low volume. The right spot depends on what else you do, the loads you use and how quickly the lower back tires.
For week one, practice two or three working sets of roughly eight to twelve repetitions using an effort that leaves perhaps two or three clean reps in reserve. Record the chosen grip, torso angle, bar contact point and load. Warm up with progressively heavier practice sets, especially if you expect to row a demanding weight. Make set quality the benchmark, not whether you can match a particular athlete’s number.
In week two, aim to increase your clean repetition count while keeping the same bar position and the same grip. A set of ten at unchanged load with consistent pause, hinge and lowering control is an improvement over eight jerky reps. If you discover you cannot replicate your setup across sets, hold the load steady and focus on technique rather than forcing an increase.
Week three is where a small weight increment may make sense. Once you can hit the upper end of your chosen range on all sets without significant torso swing, add the smallest practical amount and accept that reps may drop back toward the bottom of the range. Don’t raise the load and shorten the hinge simultaneously; that makes it impossible to tell whether the back muscles have genuinely improved.
In week four, repeat a baseline load and compare video quality, rep count and effort with week one. If you are better at the same strict version, keep the movement in rotation. If it irritates your wrists, elbows or lower back despite a sensible setup, there is no special prize for enduring it. An overhand Yates row, a chest-supported row or a cable row can be an equally reasonable selection.
The bigger picture matters more than any one signature lift. Horizontal rows complement vertical pulling, and long-term back development depends on enough weekly hard work, progression and recovery. Keep your main pulling patterns, select attachments and grips that suit your body, and use this classic variation where its controlled, more-upright position genuinely earns a place in your training.