Advertising disclosure: This page includes affiliate product links that may earn us a commission, as well as products from our own store.
Split Jerks: Drive Vertically, Land Balanced and Recover Under Control
The split jerk can move impressive weight overhead without turning the rep into a long shoulder press. But its power is not simply about how hard you jump. The bar needs a vertical launch, your feet need a repeatable landing and the recovery must be deliberate enough that the lift ends under your control.
For a lifter learning the Olympic lifts, the practical questions are concrete: how deep should the dip be, where should each foot land, and what tells you a rep is ready to become heavier? This guide breaks those decisions into visible checkpoints and a four-week practice example. It is a technique framework, not a guarantee that one stance or training load fits every athlete.
Six distinct moments make one successful split jerk
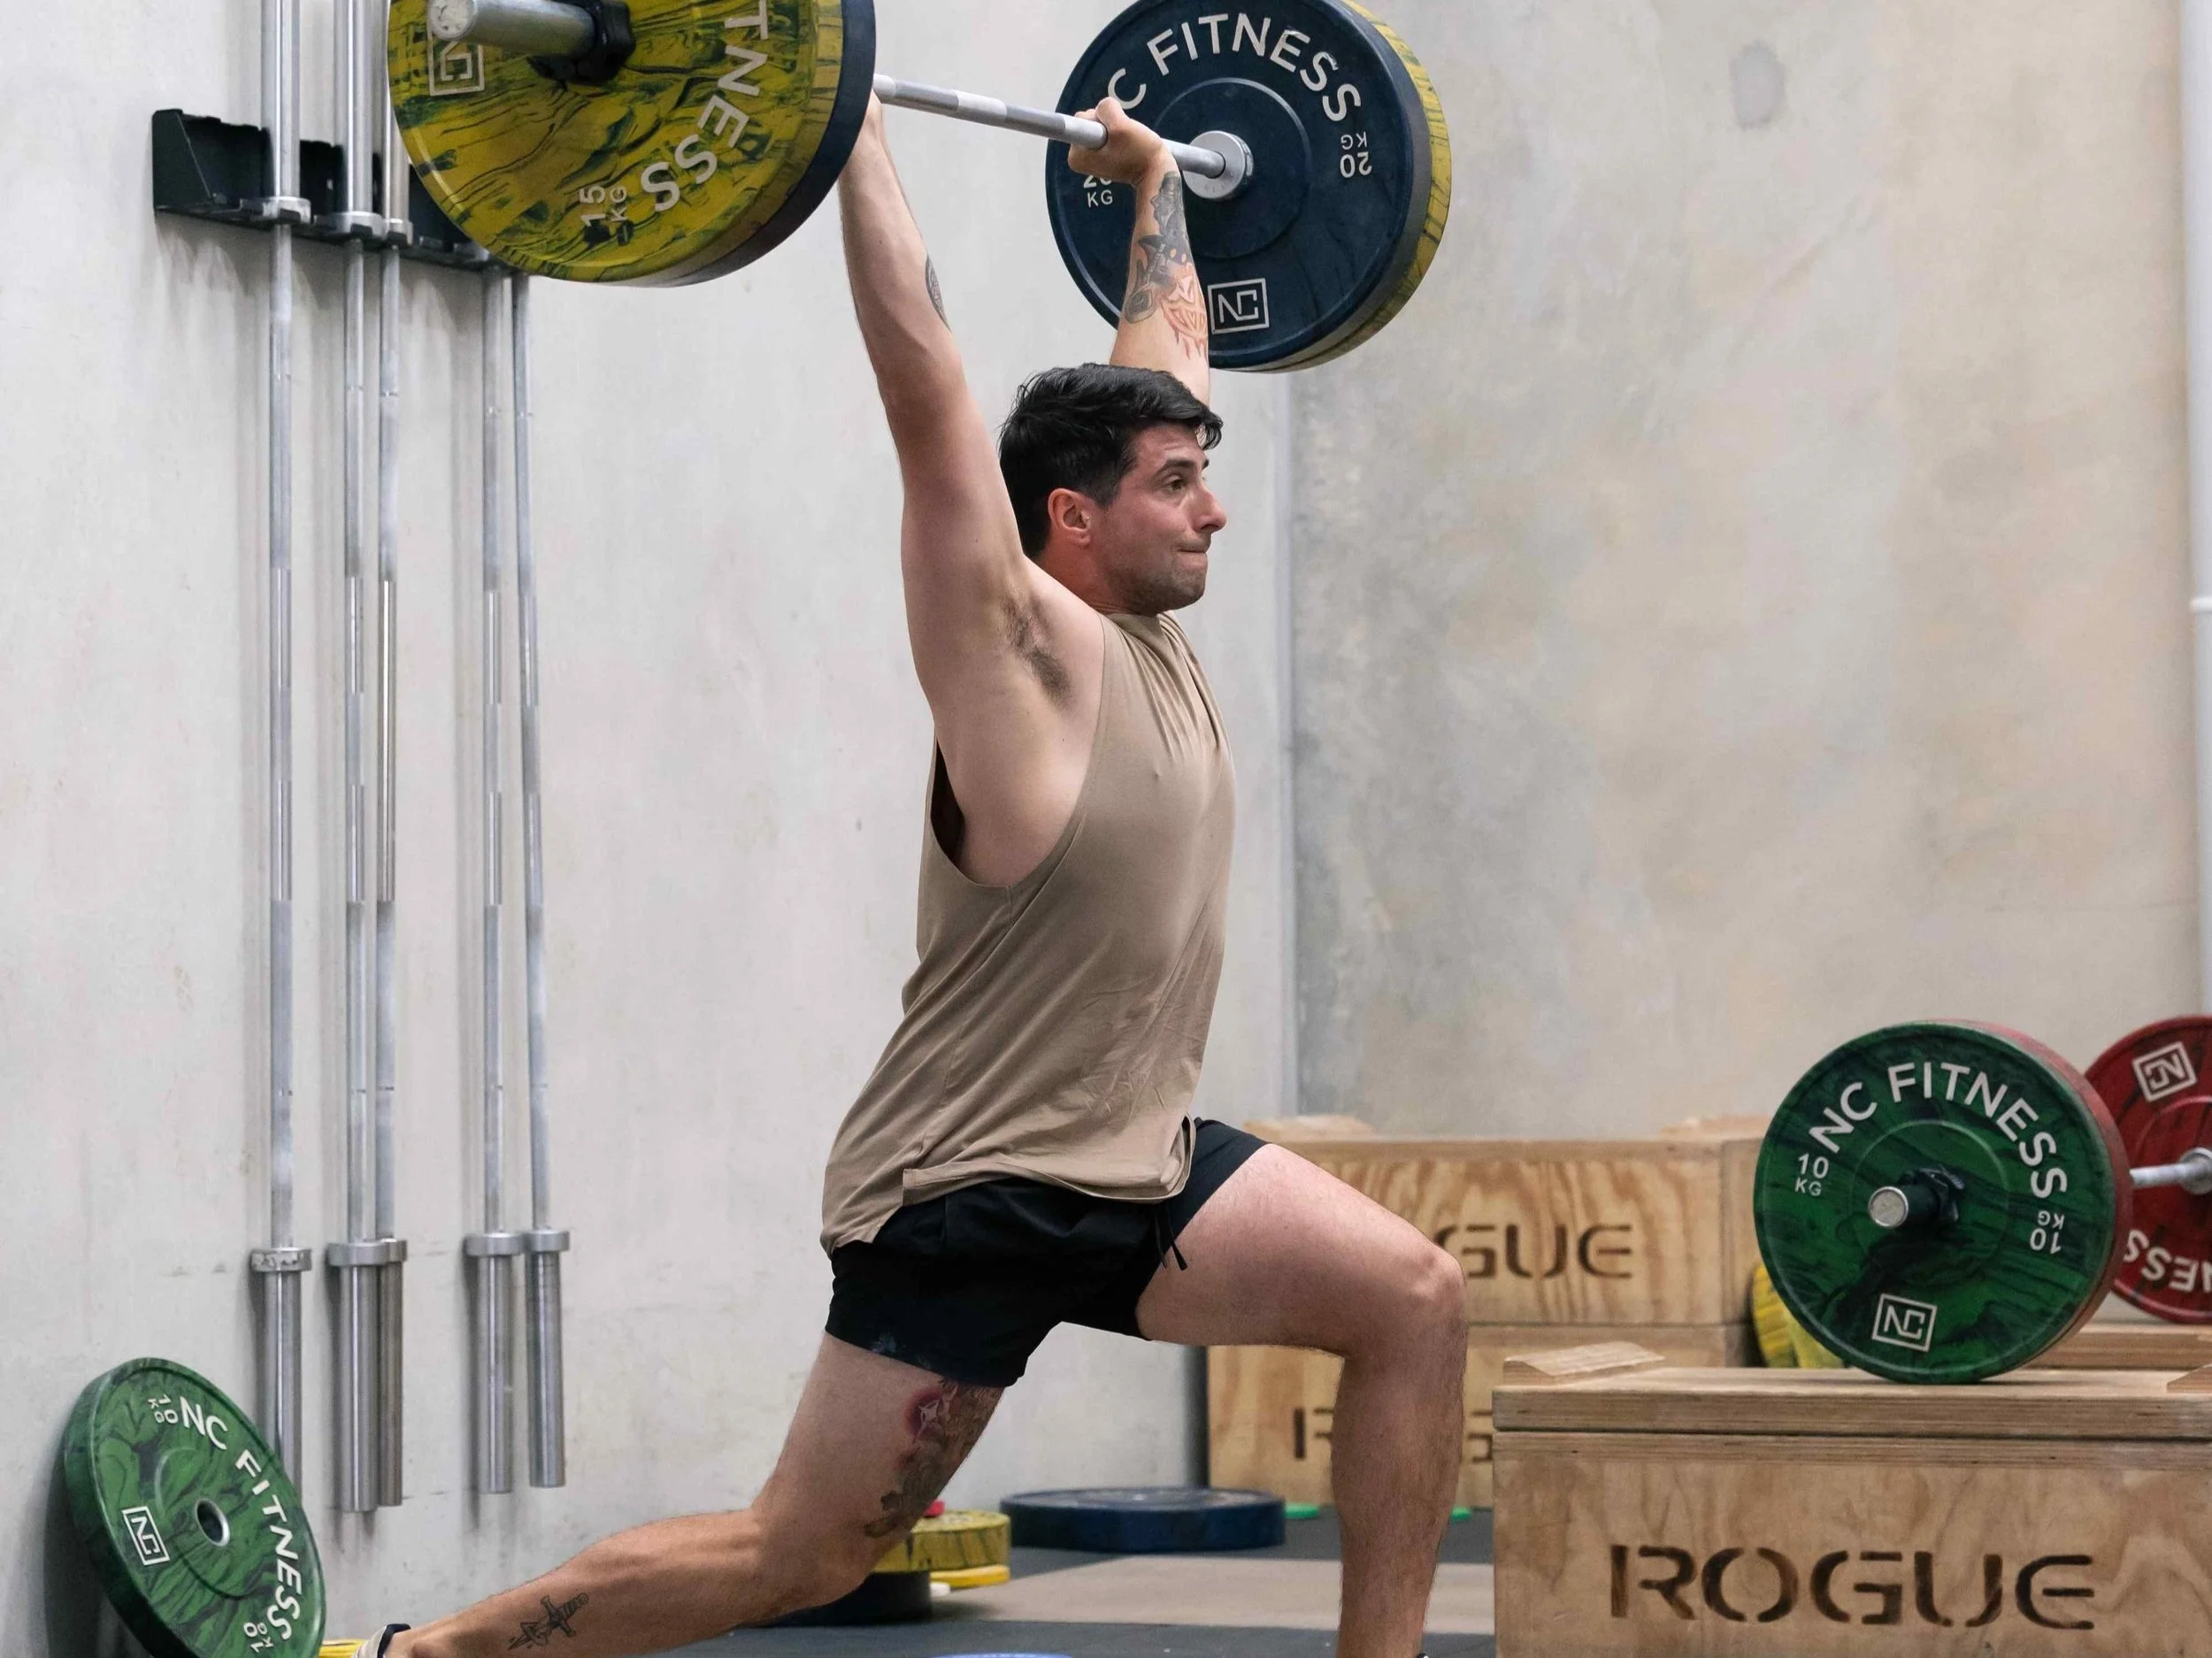
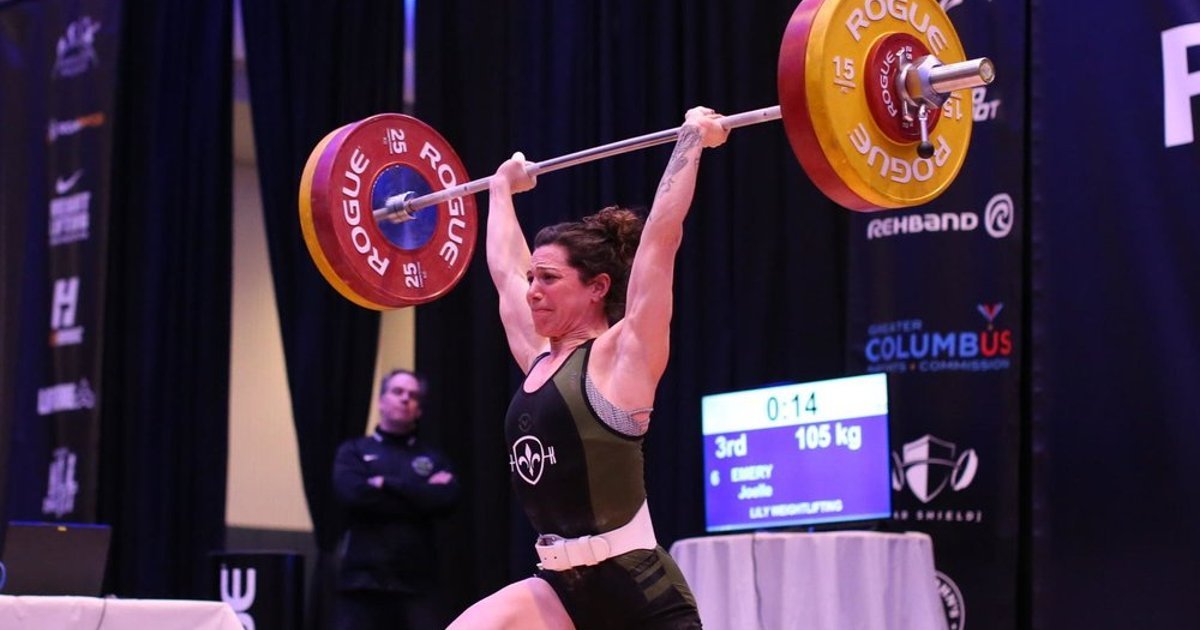
A split jerk is not a shoulder press with an unusually wide stance. You use your legs to send the bar upward, then move yourself under it while the bar is still rising. The sequence is a front rack, dip, drive, rapid split, locked-out receiving position and controlled recovery. Each phase has a different job; doing one well cannot completely rescue a mistake in the previous phase.
Begin with the bar resting securely across the shoulders, supported by the torso rather than suspended from bent wrists. Take a full-foot stance that lets you dip without your heels rising. Bend the knees a short, mostly vertical distance; reverse that dip with an aggressive leg drive. As the bar accelerates, drive your body down and your arms into a stable overhead position. Both feet should finish on the floor with enough lateral width to balance, not on a single narrow line.
Think of the legs as producing elevation and the receiving position as providing time. A shallow, forceful drive can be more useful than a deep, slow dip that tilts the torso forward. The bar need not travel to the height of a standing press if you can split underneath quickly. That does not mean rushing an insecure catch: first prove you can freeze the landing without a wobble.
- Dip: knees forward, trunk vertical, whole foot connected.
- Drive: extend powerfully before rushing the feet.
- Receive: arms locked, head through, weight balanced between the split feet.
- Recover: return to a parallel stance without the bar drifting.
These are useful coaching checkpoints, not a promise that everyone’s foot spacing or joint angles will look identical.
Build the rack and keep the dip stacked
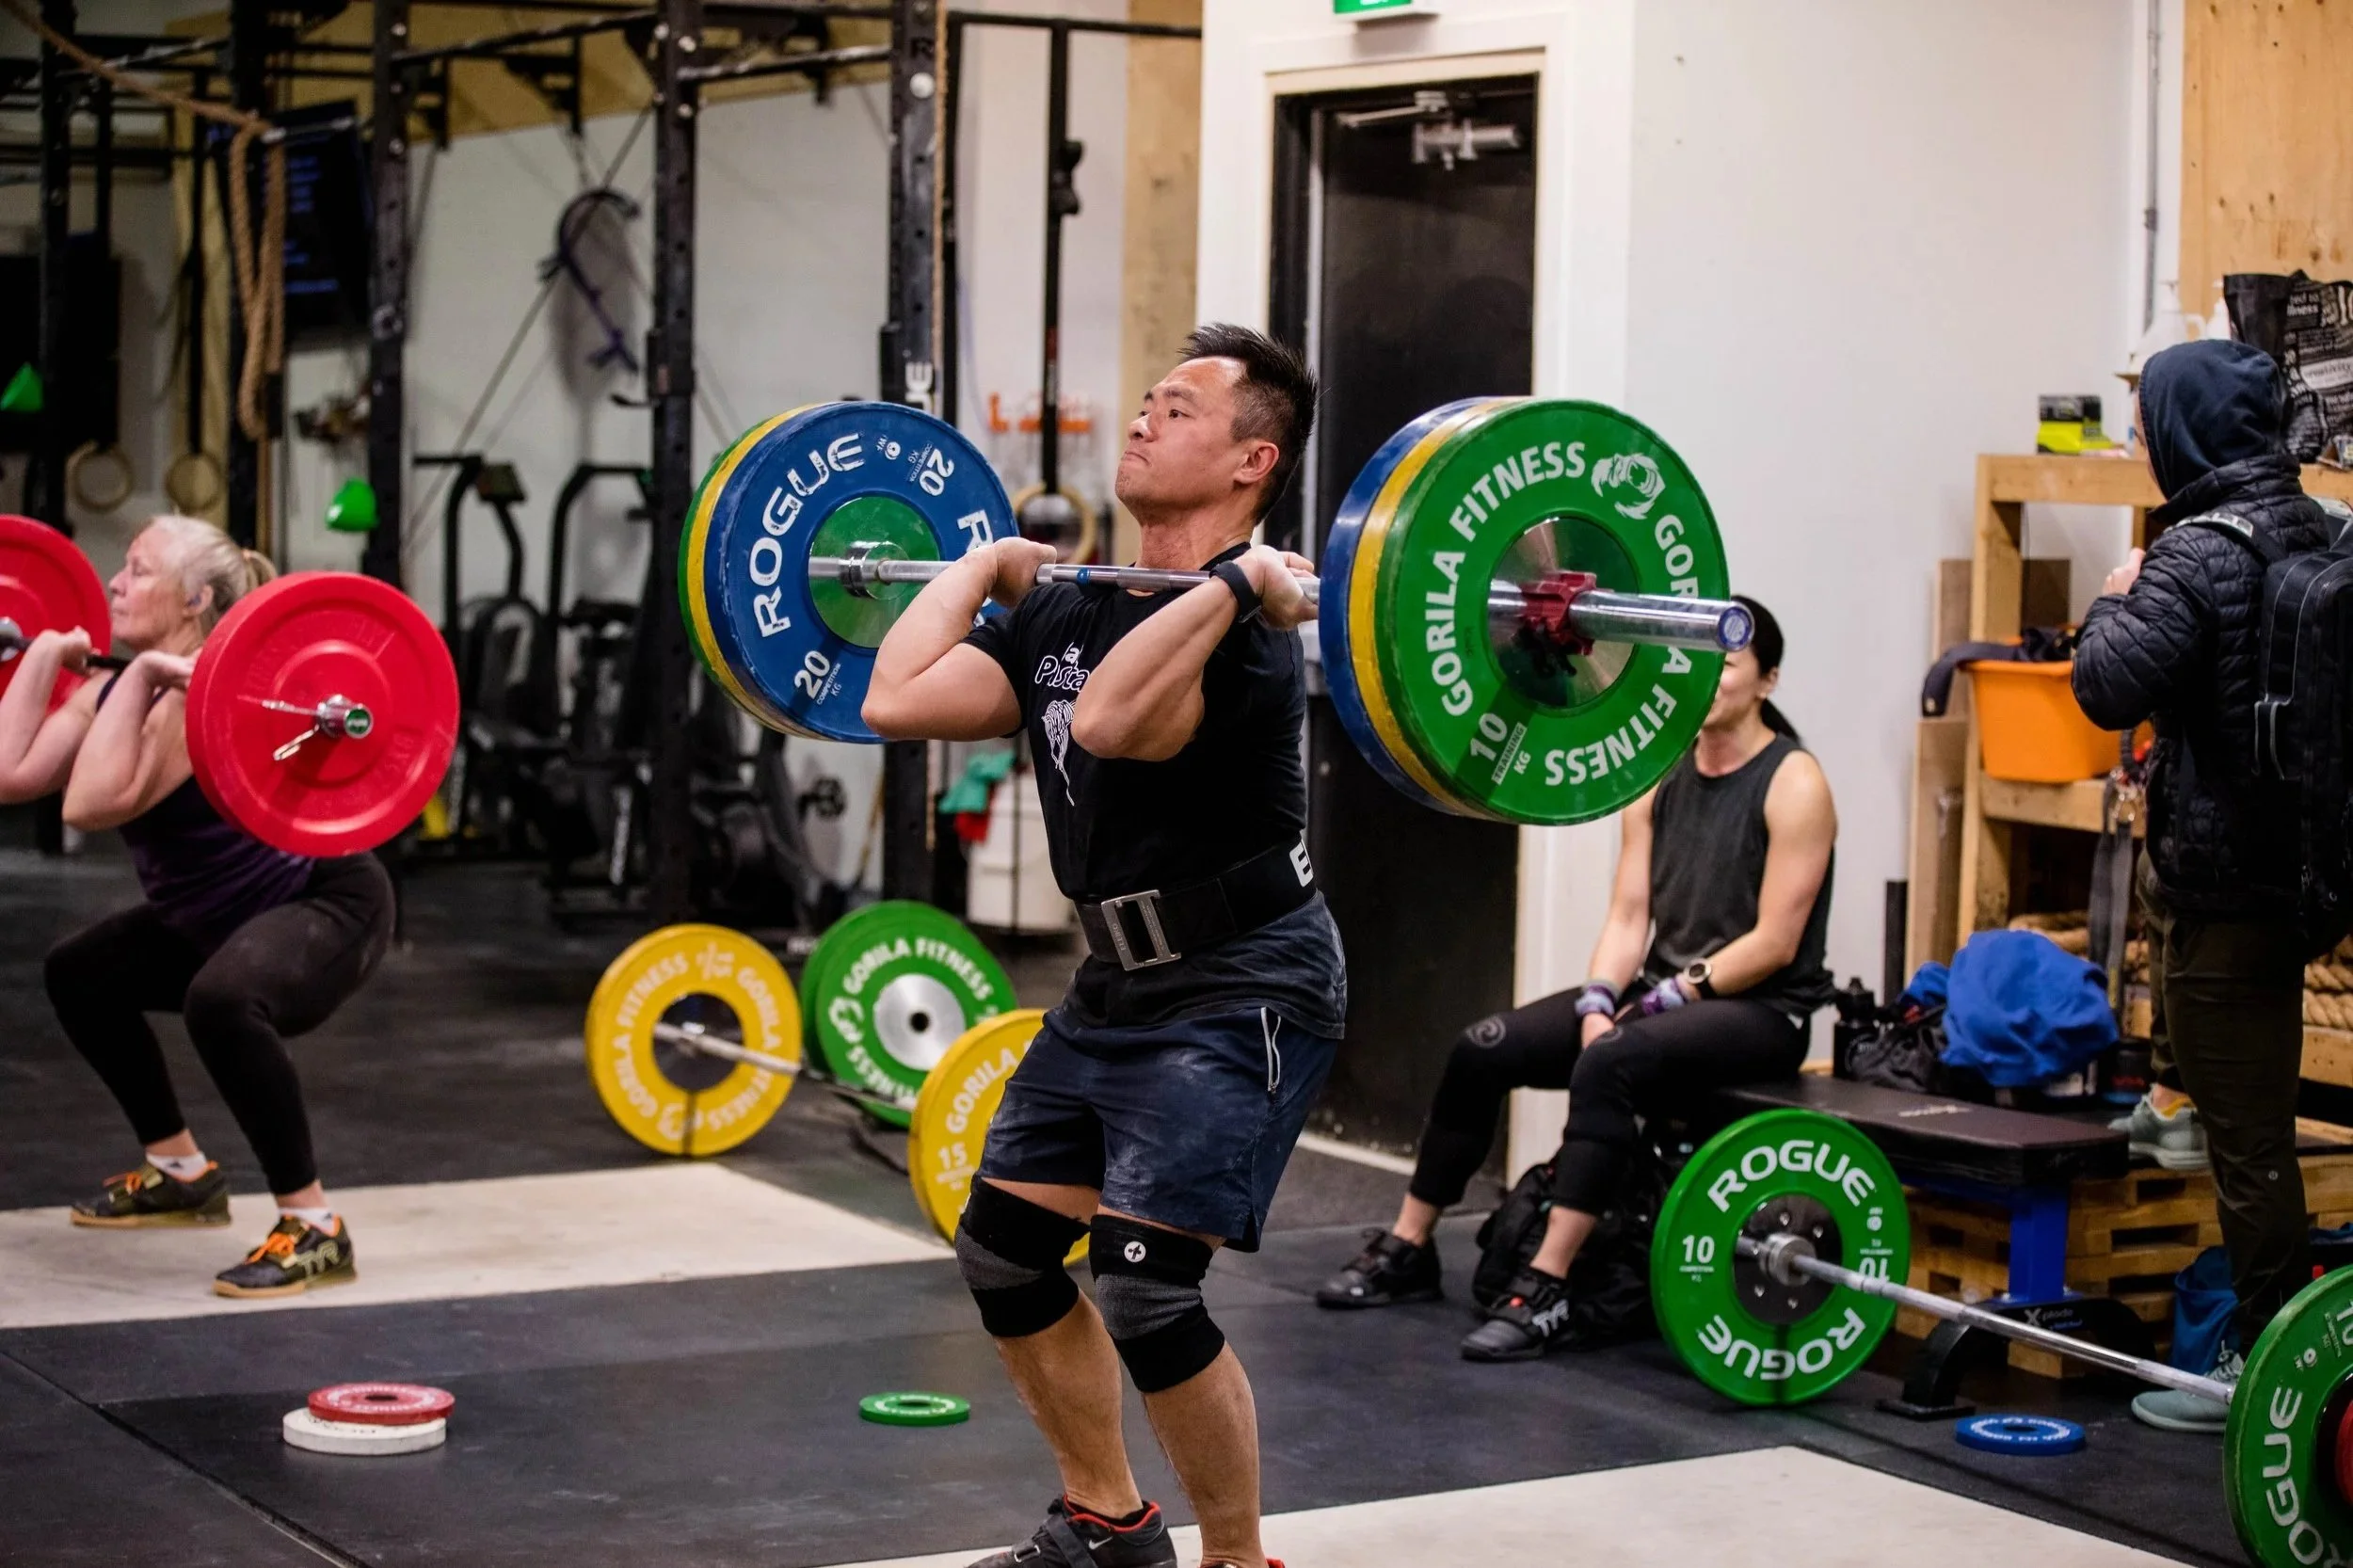
Start by checking how the bar sits on your shoulders. A usable rack has the hands guiding the bar, shoulders bearing it, and ribs aligned over the pelvis. Grip width, wrist extension and elbow height vary with mobility, but dropping the elbows so far that the bar rolls into the hands can turn a leg-driven lift into an awkward arm press. Adjust your grip before each set rather than searching for it while descending.
A dip is a short spring, not a quarter squat performed as deeply as possible. Keep your gaze level and torso mostly vertical as the knees unlock and travel forward. The bar should descend and rise in nearly the same vertical corridor over the midfoot. Bending aggressively at the hips sends the chest forward; an exaggerated arch to keep the bar overhead can make the same error in the opposite direction. Think ‘ribs over belt’ rather than trying to make the back rigid through discomfort.
Practice a few empty-bar dips with a two-count pause at the bottom. If the bar slides, your heels rock, or the knees cave in, the setup needs attention before adding load. Next use dip-and-drive drills without a split. Their purpose is to teach force through the floor while keeping the bar’s starting line consistent.
A useful camera angle is from the side, with the full body and bar visible. Compare the bar’s location at the top and bottom of the dip, not just the speed of the movement. Check the rack supports the load, the torso does not pitch, and the heel remains planted until the drive is underway.
If you experience sharp pain in the wrist, shoulder, knee or back, stop the attempt and adjust the load or seek qualified assessment rather than forcing a textbook position your body cannot currently reach.

Equipment Worth Exploring
Explore equipment, accessories and gear from our carefully selected range.


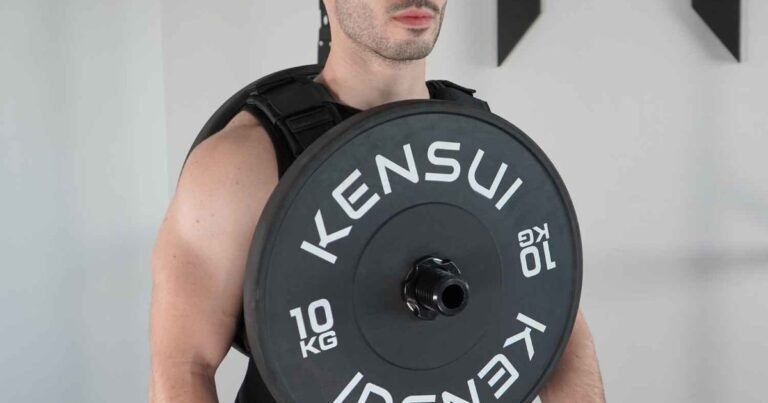
Competition Plates
Competition-style bumper plates for Olympic lifts and loaded strength training.


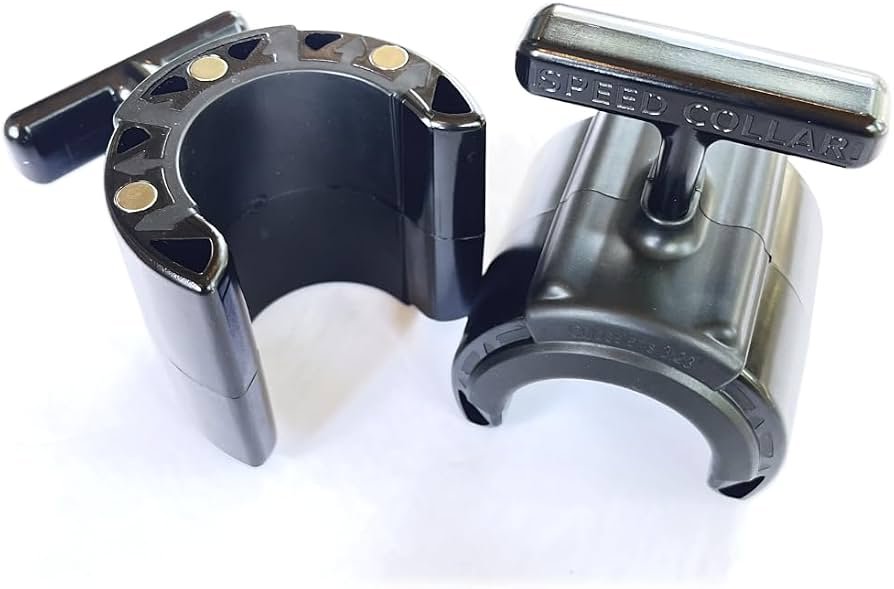
Speed Collar
Quick-release collars designed to secure weight plates on standard two-inch Olympic bars.
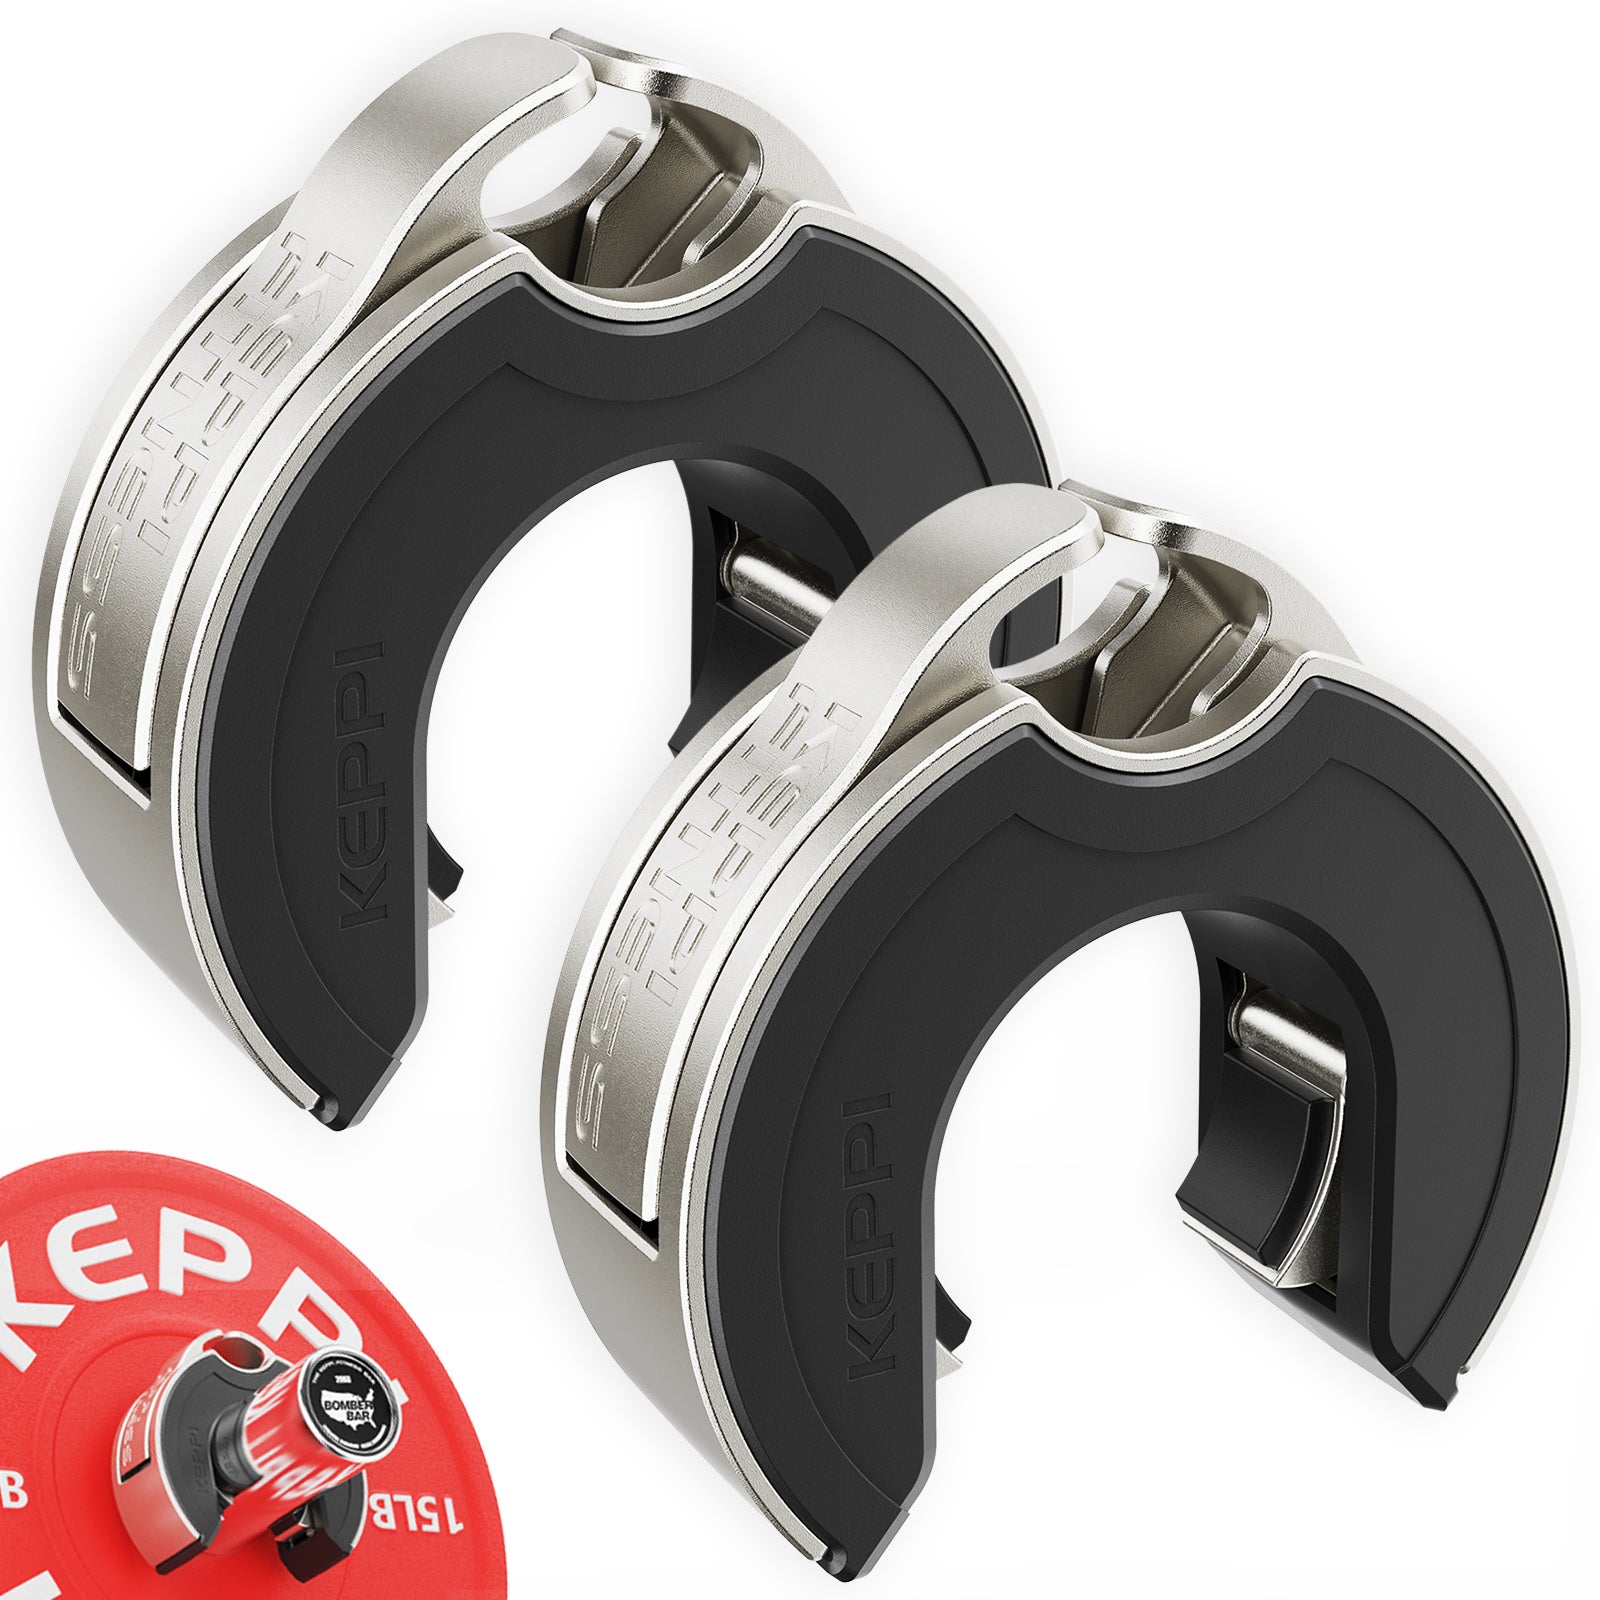
Keppi Open Collars
C-shaped magnetic Olympic barbell collars with a quick-lock mechanism and grippy lining.


Foldable Wall Rack
Wall-mounted folding squat rack designed to save floor space between workouts.
Finish the leg drive, then move under the bar
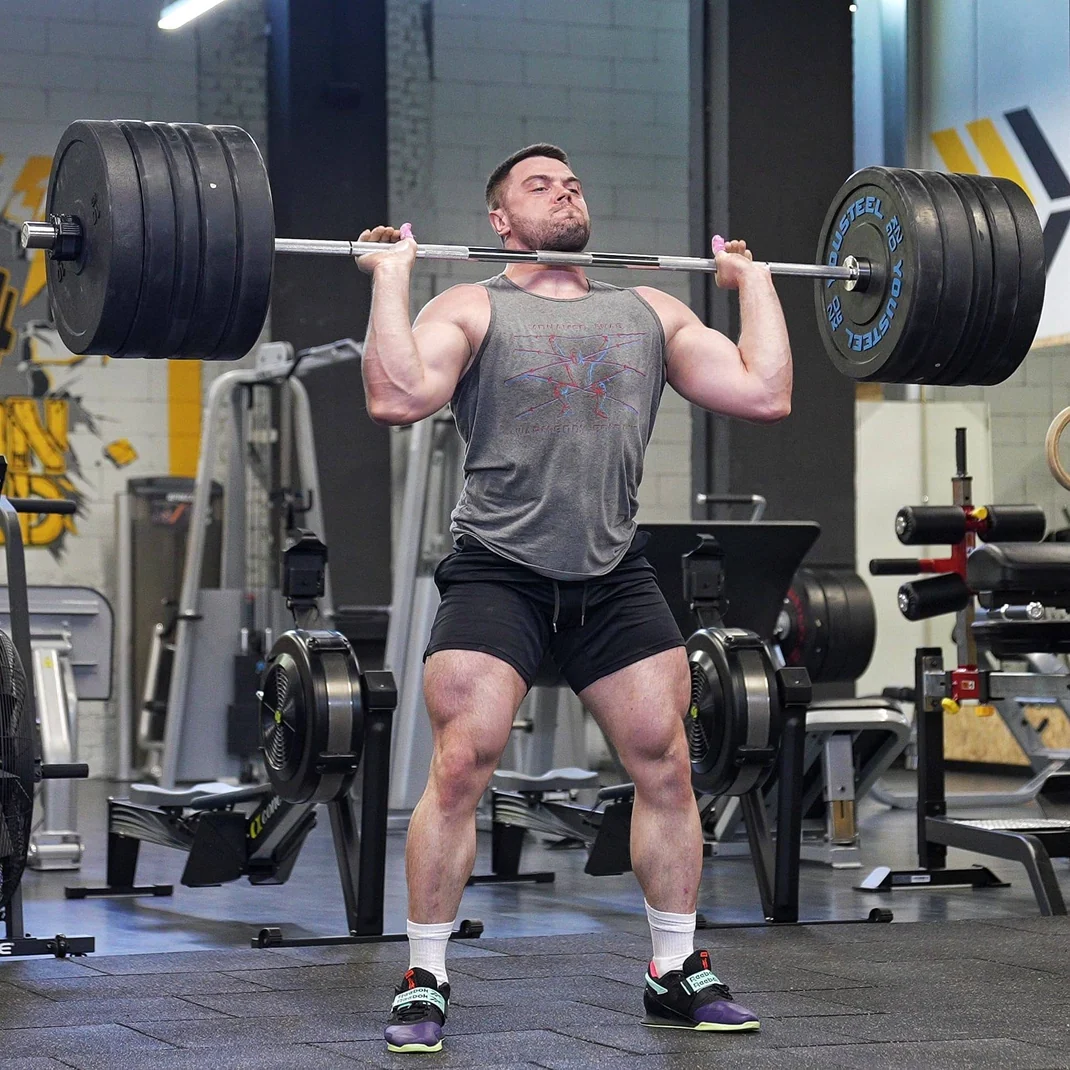
The drive should feel decisive but ordered. Reverse the dip by pushing vertically against the floor, extending the knees and hips with a tall torso. The arms guide the bar’s path rather than initiating a slow press. Trying to punch under before the legs have contributed can make the bar stall at forehead height. Waiting until you have pressed the bar most of the way up can leave too little time to move into the split.
Imagine a smooth transfer: the legs launch, then the feet separate while the elbows push to lockout. In video, watch for the bar travelling forward around the face. A small head movement out of the bar’s path is normal, but throwing the torso backward is not a reliable strategy for catching weight. Once the bar clears the head, bring the head and chest into a solid overhead stack.
Lockout is more than straight elbows. Your shoulders and upper back must support the bar with an organized trunk. The bar should settle over a position your feet can hold. A loud stomp by itself does not prove that the split is fast or correctly timed; look at where the bar is when both feet land and whether it stops oscillating.
One technical option is a tall jerk drill with a very light bar or training stick: begin high and practice moving down under the object rather than driving it far upward. Another is a controlled jerk drive without the split to develop the earlier phase. Do not stack unfamiliar drills under heavy fatigue, and avoid making an unloaded speed drill into a max-effort strength test.
For most recreational lifters, two or three crisp technical singles tell you more than a string of untidy repetitions. If the first rep shifts forward, reduce the load and fix the pattern before asking for heavier attempts.
Give the split enough width and room
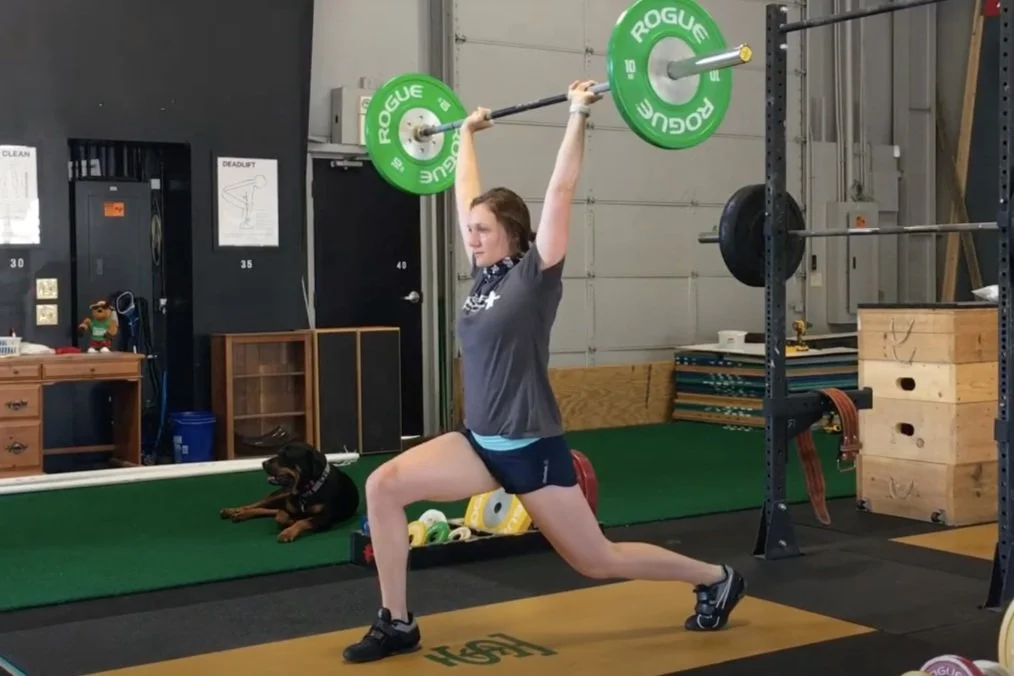
Your front foot must be able to receive force without tipping to the toes. The back foot usually lands on the ball of the foot with the heel raised and knee softly bent. Both legs contribute to balance: do not send the front leg a huge distance forward while leaving the rear foot under the hip. In the other direction, a very short split can keep you too upright to receive the bar low enough.
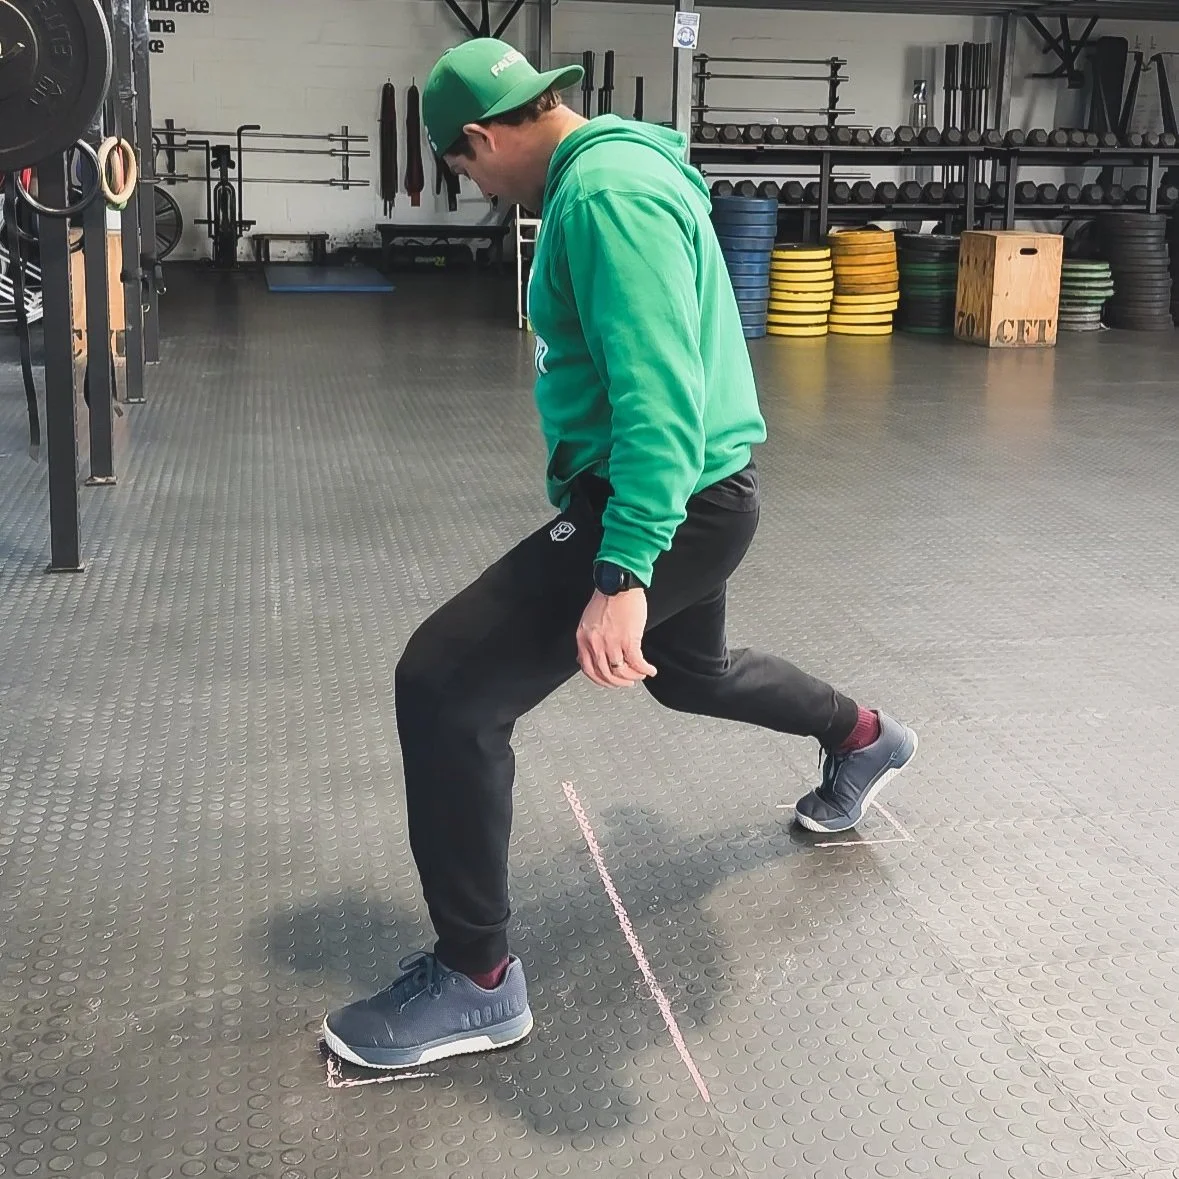
Separate the feet side to side as well as front to back. Beginners often land as though they are standing on a tightrope; this makes lateral corrections difficult. Place two pieces of tape on the platform to represent your target lanes. Practice stepping into those lanes without a bar, then with a dowel and finally a light implement. Tape is a reference, not a fixed measurement for every athlete.
Keep the front knee travelling in the same general direction as the toes. A nearly vertical front shin can be a useful checkpoint for many lifters, but an exact angle should not become more important than balance, foot contact and a stable overhead bar. The rear knee should remain soft rather than locked straight. Either leg can feel overloaded if the other foot does not share the position.
Record a front-view clip to check the feet land at useful width and the bar stays centered. Use a side view to assess the bar over the support base. If you consistently step too far forward, practise the rear foot moving back while the front foot lands only a moderate distance. If you land extremely narrow, mark a target width before increasing speed.
One lead leg may feel more natural; practice that lead consistently while learning, but include unloaded footwork on the opposite side when appropriate. Do not change lead legs under a heavy bar simply to make a session look symmetrical.
Freeze the catch and recover before the next rep
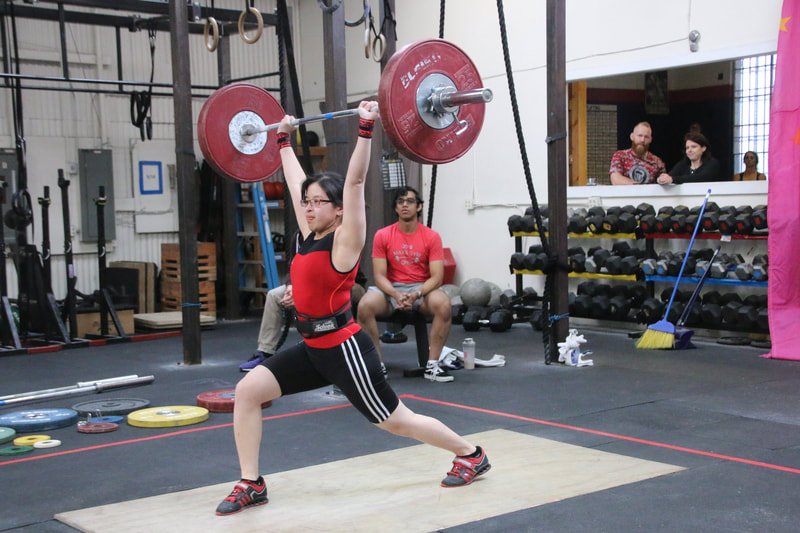
Once you receive the bar overhead, hold the split long enough to show you are balanced. Look for a stable lockout, shoulders supporting the load, quiet trunk and two feet that are not shuffling to keep you upright. A shaky catch is useful feedback; it is not a signal to chase the bar with a bigger step while exhausted.
To recover, bring the front foot partway back, then bring the rear foot forward, continuing in controlled small steps until both feet are parallel. Depending on the individual lift and coaching system, the exact sequence can be adjusted, but the principle is the same: keep the bar over your support as your stance narrows. Jumping both feet together while the bar is still moving introduces another unnecessary balance challenge.
Always plan what happens if the lift is lost. On an appropriate lifting platform with bumper plates, an experienced lifter can clear the bar and let it fall safely when instructed by a qualified coach. Do not attempt a heavy overhead lift in a cramped area, under a ceiling that blocks the bar, or without knowing how to exit. Do not try to catch a failing overhead bar as it moves behind you.
An uneven catch often begins before the feet land. If the bar drifts toward the front foot, revisit the rack, vertical dip and timing instead of only blaming the split. If it drifts back, check for excessive trunk lean and an overcorrection of the head. If the bar lands well but you cannot stand, lighten the load and rehearse the recovery itself.
Your rep is finished when you are motionless and upright with the bar stable, not when it first passes your forehead. That standard makes practice easier to compare across weeks and discourages rushed attempts.
A four-week plan for better timing, not forced maxes
Begin with a load that lets you repeat clean landings. A split jerk is a skill lift: increasing the bar weight while the feet miss their target is not useful progression. Two technical sessions per week can be sufficient for a recreational lifter, with at least a recovery day between them. Keep the early reps far from technical failure and adjust the schedule if other pressing, front squat or overhead work is already demanding.
Week 1 — create consistent positions. Start each session with three sets of five unloaded split-footwork rehearsals, then three sets of three controlled dip-and-drives using a stick or light bar. Finish with four sets of two very light split jerks. Pause for one second in each catch. Write down whether the feet reached the same locations and whether you recovered cleanly.
Week 2 — connect drive and landing. After a brief warm-up, practise two sets of three tall jerk entries, then five sets of two split jerks at a comfortable technical weight. Increase only when the front foot is planted, the bar is stacked and you do not chase the catch. Rest long enough that every set can be deliberate.
Week 3 — practise singles. Keep footwork drills brief, then perform six to eight technique singles with steady rest. The aim is to reproduce the same dip depth and split width, not set a record. Mark a rep as successful only if you can freeze the receiving position and recover without shuffling.
Week 4 — repeat, film and refine. Use four to six crisp singles at a load similar to your best consistent week-three attempts. Film from the side and front at a safe angle. Select one fault to improve: torso drifting in the dip, underactive rear foot, narrow landing or rushed recovery. If the pattern degrades, stop the heavy work and finish with a low-load drill.
A simple log has four fields: weight, whether the dip stayed vertical, whether the catch was stable and whether recovery needed extra steps. Improving all three technical answers at the same weight counts as progress. Add load gradually after stability is routine; do not treat a four-week example as a universal prescription for competitive weightlifters.
Strength work such as front squats, overhead support and general leg training can support the skill, but none replaces the timing of an actual split jerk. Practice where the bar can travel freely and obtain coaching when moving toward challenging loads.

Funny Gym Shirts & Workout Gear
Funny gym shirts, tanks, hoodies and workout gear for lifters who like training hard.

Patriotic – Clean & Jerk Statue Of Liberty Olympic T-Shirt
Rep “Patriotic” humor in and out of the gym.

Wonder Snatch Wonder Woman Olympic Weightlifting Superl Hoodie
Bring “Wonder Snatch Wonder Woman Olympic” gym humor to lazy days and post-workout plans.

I’m Strong Barbell Heartbeat Muscle Shirt for Powerlift Tank Top
Show some personality between sets with “I’m Strong Barbell Heartbeat”.

Barbell Heartbeat Hooded Pullover for Powerlifting Lift Hoodie
Bring “Barbell Heartbeat” gym humor to lazy days and post-workout plans.

Flaming 45LB Weight Plate Fire Barbell Lifting Workout Sticker
Put “Flaming 45LB Weight Plate” gym humor on your laptop, bottle, or gym gear.

Icy 45LB Weight Plate Frozen Barbell Lifting Workout Co T-Shirt
Show some powerlifting attitude with a playful “Icy 45LB Weight Plate” tee.

Big Boy Barbell Club Shirt Meme & Essential Top T-Shirt
Make gym days more fun with “Big Boy Barbell Club” style.

Live Love Lift Crewneck Pullover Sweater Workout Gymbro T-Shirt
For laid-back days and gym-girl humor: “Live Love Lift”.

Bane Barbell Club Decal for Water Bottles Laptops Gym G Sticker
Bring “Bane Barbell Club” attitude to your water bottle or laptop.

Lift Together Grow Stronger for Gym Buddies and Lifting Tank Top
Bring “Lift Together Grow Stronger” humor to your next lifting session.
Some product links may be affiliate links, which can support Mind Muscle Perfection at no additional cost to you.