Advertising disclosure: This page includes affiliate product links that may earn us a commission, as well as products from our own store.
Deficit Reverse Lunges: Set the Step, Control Your Depth and Build Stronger Legs
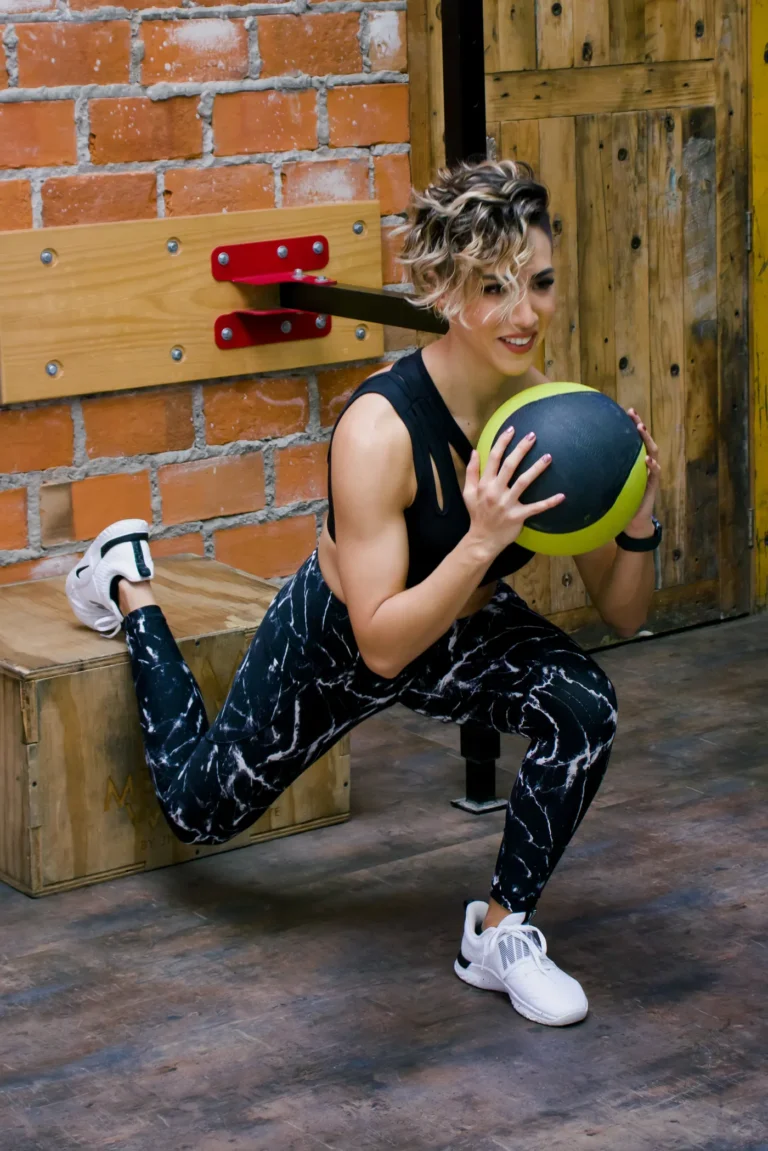
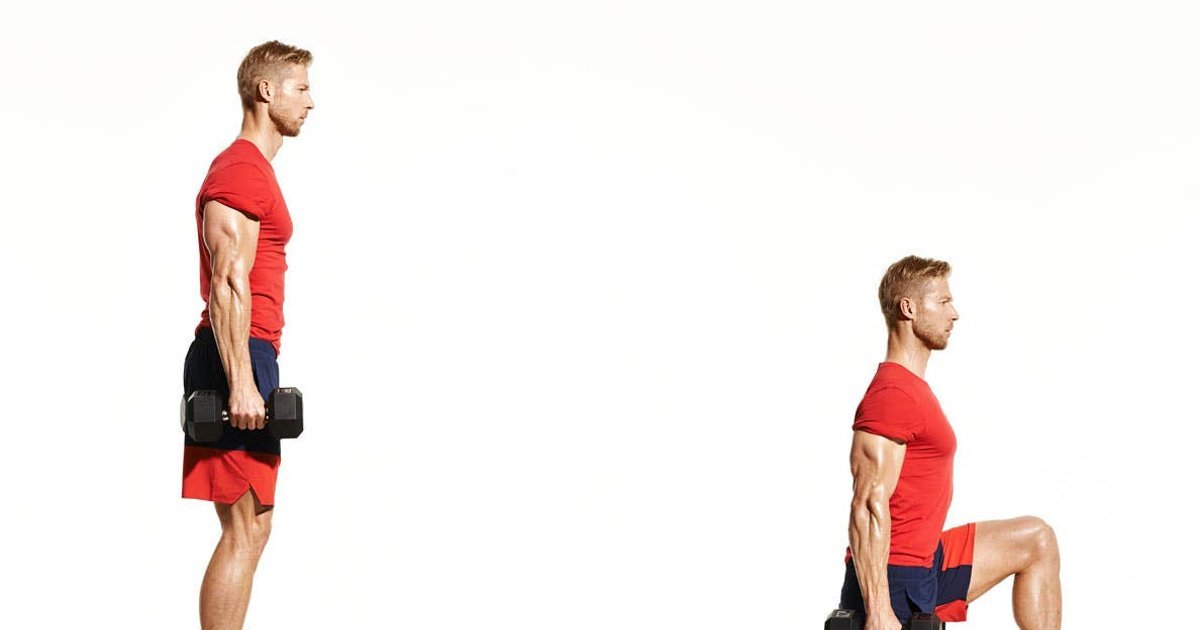
The deficit reverse lunge is a regular backward lunge with one important adjustment: the working foot starts slightly above the floor. That small change can increase the available movement at the hip and knee while making balance, step length and load selection matter more.
It is an excellent option for lifters who already control ordinary reverse lunges and want a unilateral leg exercise with a deliberate lowering phase. It is also easy to overcomplicate. A tall platform, a rushed rear step or a load that forces you to bounce can turn a useful leg movement into an awkward balance drill.
Here is how to set a safe deficit, understand what your quads and glutes are doing, select equipment that fits the goal and progress the exercise across six measured weeks.
1. Start with a modest deficit, not the tallest box
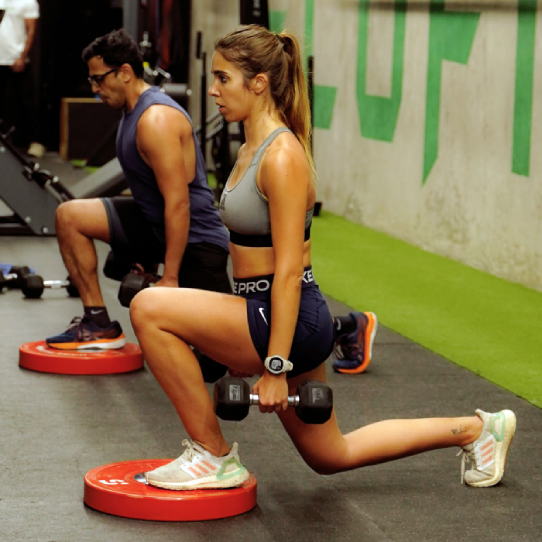
An ordinary reverse lunge starts on level ground. In the deficit version, your working foot begins on a stable raised surface and the stepping foot travels backward to the floor. The difference in height gives the front hip and knee room to travel through a larger movement. It is a useful way to practice strength in a longer range, but the extra depth is an option, not a competition.
Begin with a low, non-slip platform of roughly two to four inches, or five to ten centimeters. A properly secured aerobic step or a single stable rubber plate can work. Avoid loose stacks of plates, round objects that roll, and boxes so high that you have to drop the rear foot into the floor. Check that the surface does not rock when you shift your body weight forward and backward.
Place your entire front foot on the platform, with enough space that the heel will not hang over the edge. Stand tall with both feet on the step before rehearsing the reverse step. The back leg is the moving leg; the front foot should stay planted as the working leg through the repetition. Start with body weight and, if needed, hold a rack upright lightly for balance.
An easy test of platform height is whether you can step back, lower slowly, and return to the same top position without a sideways wobble. If your front heel lifts, your pelvis twists or your back knee crashes into the floor, shorten the deficit before blaming ankle or hip mobility. A smaller clean repetition beats a deeper uncontrolled one.
Do a few unloaded reps on each side. Watch from the side to confirm your step lands behind rather than narrowly crossing your midline. A platform that allows eight smooth bodyweight repetitions per leg is a better starting point than one that merely looks impressive.
2. Make the rear step predictable and own the lowering
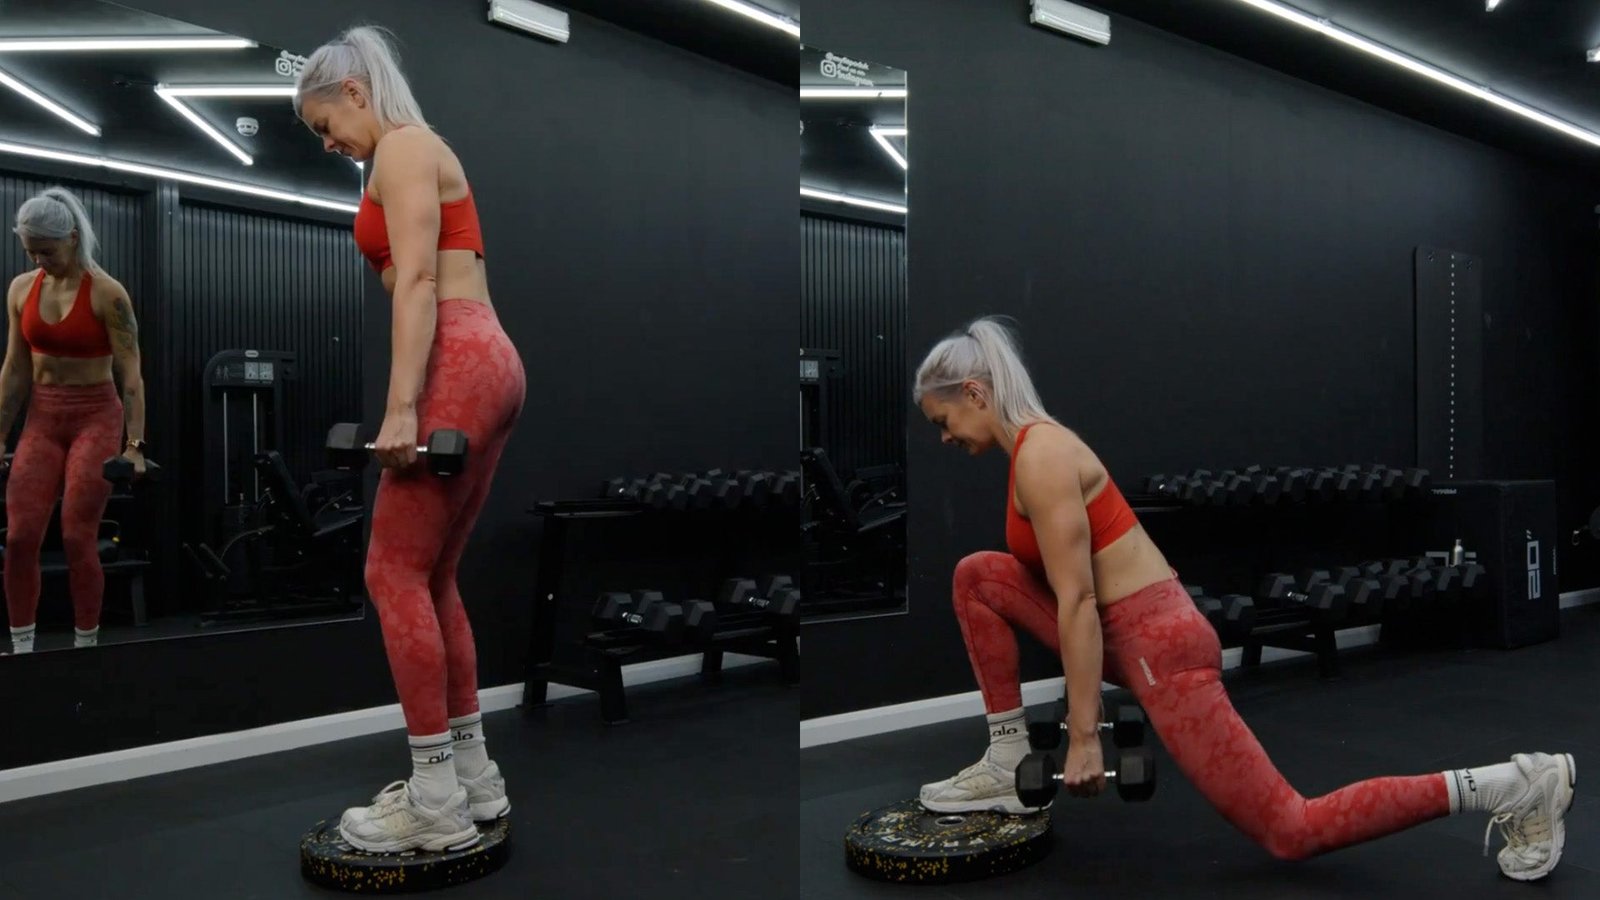
Stand with ribs stacked over the pelvis and knees soft, rather than locking into an exaggerated military posture. Take a controlled breath and brace. Step one leg backward onto the lower floor, landing on the ball of that foot. Keep the front heel anchored and allow its knee to travel forward in the direction of its toes while both hips and knees bend.
Lower over roughly two seconds. The working leg should supply most of the effort, while the rear foot serves as a balance aid. You do not have to maintain a perfectly vertical torso: a slight forward lean is normal and can change how the hip extensors contribute. What matters is that the lean is deliberate, your spine stays comfortably controlled and you can reproduce the same route.
Stop at the deepest position you can own. The rear knee may hover above the floor, but that is not a required depth target. Taller athletes and people with different hip or ankle ranges may finish at different positions. If the back knee touches the floor, it should be an incidental light touch, never a bounce. Keep the front foot in full contact with the platform.
Push the working foot through the platform and stand back onto it. Let the rear leg follow rather than driving off the toes to make the first half of the rise disappear. Keep your eyes on a fixed point ahead, then reset briefly before the next rep. A useful cue is ‘step back softly, lower under control, stand through the front foot.’
Choose a set style that suits your balance. Doing all reps on one side before switching reduces the number of setup changes; alternating legs may feel more athletic but introduces extra transitions. Either works if the range, stance and loading are consistent. Rest long enough that the next set looks like the first one.

Equipment Worth Exploring
Explore equipment, accessories and gear from our carefully selected range.


Rubber Hex Dumbbells
Rubber-coated hex dumbbell pairs with a stable shape for home and commercial strength training.


Competition Plates
Competition-style bumper plates for Olympic lifts and loaded strength training.

Grip Plates
Rubber-coated weight plates with handholds for loading barbells and machines.


3. Understand what the extra range adds, and what it does not prove
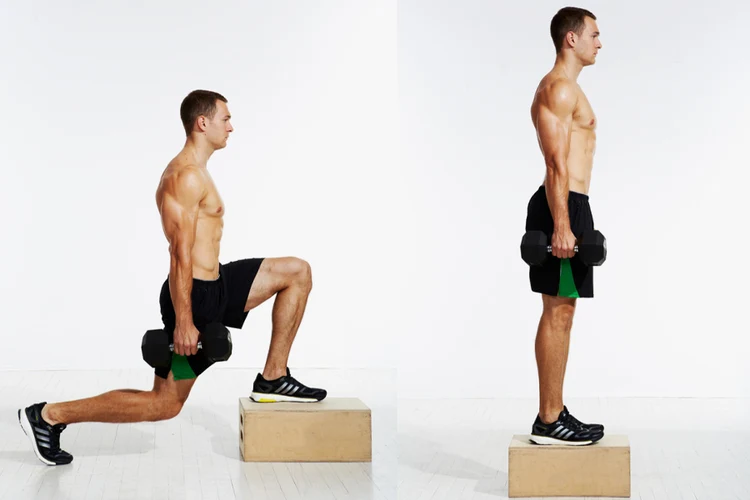
The front-leg quadriceps straighten the knee and the gluteal muscles help extend the hip as you stand. The hamstrings assist with stability and hip control, although they are not the main knee-extending muscles. Your trunk and hip stabilizers keep the pelvis from rolling to one side. Because each working leg accepts most of the load, the movement also exposes differences in coordination that can be hidden in bilateral squats.
Raising the working foot increases the possible range at the hip and knee. That may give you another useful exposure to loaded movement at greater joint angles. It does not automatically mean more muscle growth than a normal reverse lunge, squat or step-up. Range-of-motion research across resistance exercises suggests that full or longer ranges often help with some lower-body outcomes, but results vary by exercise, muscle and protocol.
Exercise selection should therefore follow the result you want. A normal reverse lunge is simpler to stabilize and load heavily. A step-up emphasizes driving onto an elevated surface. A deficit reverse lunge emphasizes control while the moving foot steps down from one. None is a universal replacement for the others, and there is no need to claim one is uniquely ‘functional’ for every sport.
Your stride length shifts the feel of the work. A shorter comfortable step often permits more forward knee travel and a pronounced quadriceps challenge. A somewhat longer step can involve more hip motion and often feels more glute-dominant. These are tendencies, not fixed muscle-isolation switches; extreme stride lengths can simply make the pattern awkward or painful.
For hypertrophy, focus on getting close enough to your working capacity with controlled reps, recovering between sessions and progressing over weeks. A dramatic stretch sensation is not a measurement of productive tension. If an extra inch of deficit makes the movement less stable or reduces your usable effort, it may subtract more than it adds.
4. Choose the load and fix the mistakes that limit progress
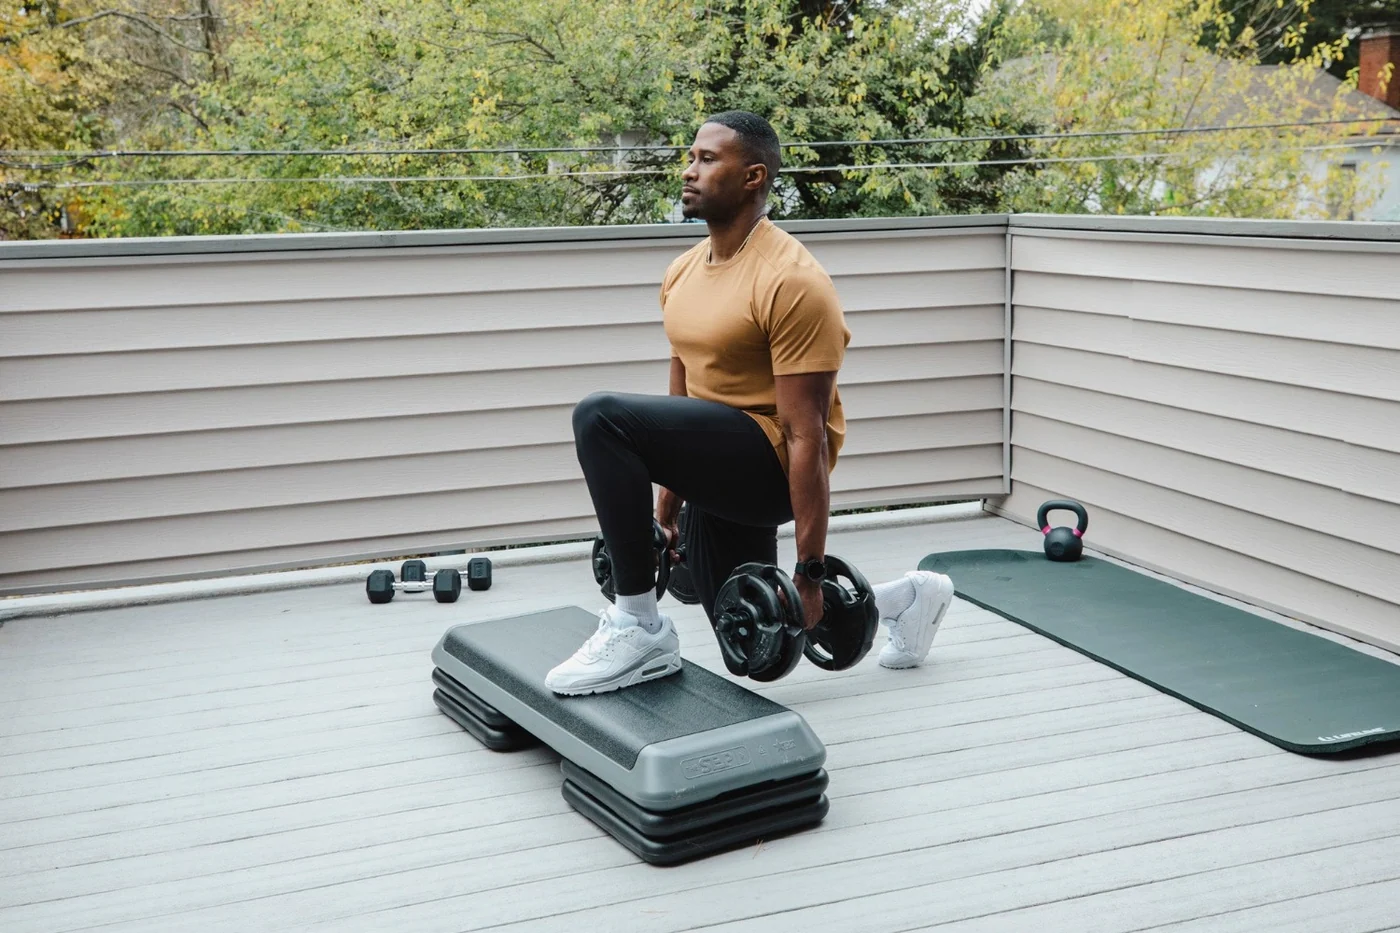
Once bodyweight reps are steady, hold one dumbbell in a goblet position or carry a pair at your sides. Dumbbells at the sides keep the upper body relatively quiet and are often the easiest way to progress. A single contralateral dumbbell can add an anti-rotation challenge, but the resulting balance demand may become the limiting factor before your legs are meaningfully challenged.
Keep the load modest until your stepping distance stops changing. The deficit version commonly feels harder than its floor-level counterpart, so do not automatically copy the dumbbell weights from your normal lunges. A weighted vest can free the hands; a barbell asks for much more confidence with the setup and should not be your first progression on a narrow step.
Three common errors reveal themselves on video. First, the rear foot lands in a tight line behind the front foot, turning every rep into a balance test. Give yourself a little lateral space, as though standing on two narrow rails rather than a tightrope. Second, the front heel floats off the platform at the bottom. Reduce depth or adjust the step instead of chasing contact with the rear knee.
Third, lifters often rebound from the rear foot to avoid the hardest portion of the rise. Use a small pause just above the floor, then initiate the return through the planted working leg. If the back foot has to kick hard, the load may be too high. Also check that the platform stays fixed as your weight shifts: no amount of good technique can compensate for a sliding step.
If knee or hip discomfort appears, shorten the step or remove the deficit to determine whether the symptom is range-dependent. Pain that persists, swelling, instability or a known injury deserves individualized assessment rather than a forced progression. There is no rule requiring your knee to stay behind your toes; a comfortable path with the heel planted is the more practical check.

Leg Day Shirts & Workout Gear
Leg-day gym shirts and workout gear for lifters who never skip squats, lunges and lower-body punishment.

Deadpool Deadlift Muscle Shirt Athletic Vest Superhero Tank Top
Show some personality between sets with “Deadpool Deadlift”.

I Love Thicc Girls Funny Valentine's Gym – Thicc Thighs Sticker
Put “I Love Thicc Girls Funny Valentine's” gym humor on your laptop, bottle, or gym gear.


BootyBuilder Leg Day & Squats Barbie Meme Hoodie
Keep it laid-back with a little “BootyBuilder” attitude.

Muscle Mommy : Squats & Snow White Booty T-Shirt
Bring “Muscle Mommy” humor to your everyday gym style.

Leg Day Wanna Play? Horror – Chucky Meme T-Shirt
Heavy lifts, good laughs, and a little “Leg Day Wanna Play? Funny Horror” energy.

Freedom To Skip Leg Day – Patriotic Statue of Liberty W Sticker
Give your everyday gear a playful “Freedom To Skip Leg Day” twist.

Princess Peach Leg Day – Meme & Gains T-Shirt
Show some leg-day attitude with a playful “Princess Peach Leg Day” tee.

Christmas – I'M Still Gonna Squat You Monster – T-Shirt
Heavy lifts, good laughs, and a little “Christmas” energy.

Let It Grow Leg Day Decal Water Bottles & Gear Meme Sticker
Put “Let It Grow” gym humor on your laptop, bottle, or gym gear.
5. A six-week progression you can actually measure
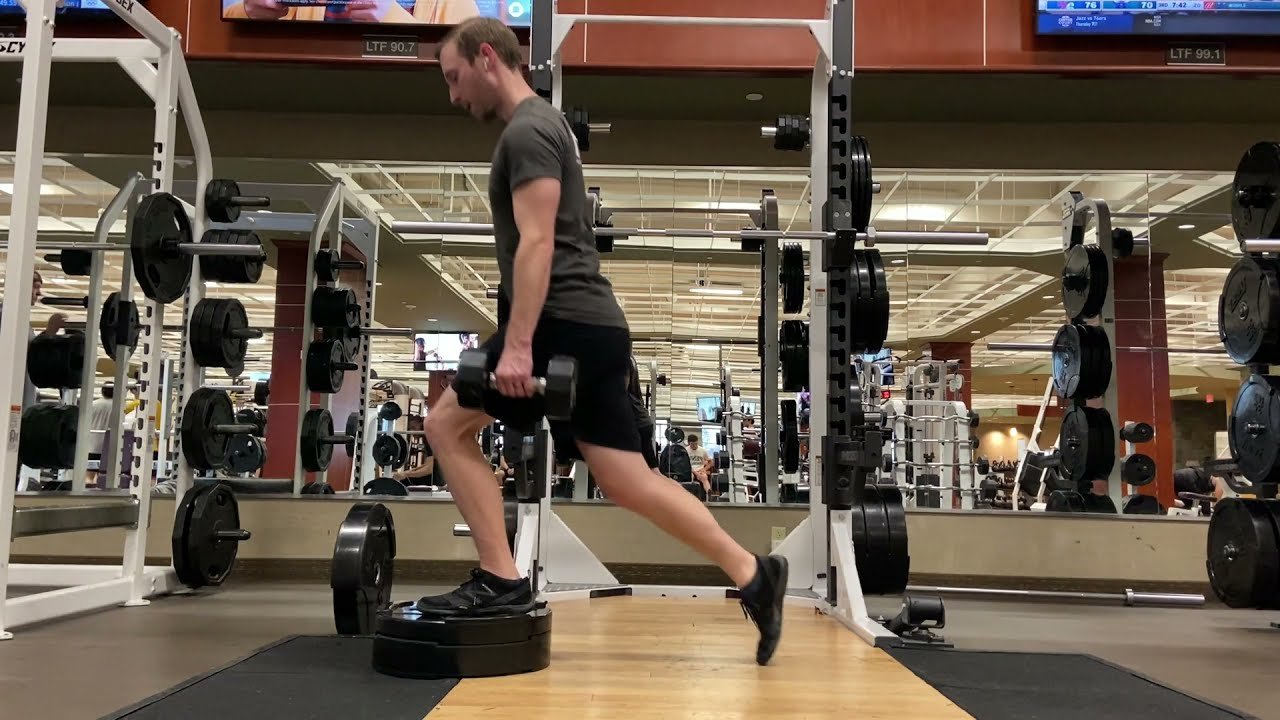
Train the pattern once or twice per week, ideally after a squat or hinge main lift when you can still concentrate on balance. Begin with two working sets of six to eight repetitions per leg. Use a step low enough that the bottom position is repeatable, and stop each set with roughly three comfortable repetitions still available. For each repetition, lower deliberately and stand without pushing hard off the rear foot.
In weeks one and two, keep the step height unchanged and earn consistency. Record the working leg, step height, equipment, dumbbell load and the number of clean reps. Add repetitions before weight if your landing position varies. A phone video from an oblique angle is more useful than a training log that simply says ‘three sets of lunges.’ Compare the first and last rep, not only the biggest-looking rep.
In weeks three and four, move to three sets per leg and work toward eight to ten controlled repetitions. Add a small amount of dumbbell weight only when both sides finish their assigned range without losing the front heel or collapsing into the bottom. If one leg is less steady, train it first and match its clean repetitions on the other side rather than piling extra sloppy work onto the weaker side.
In weeks five and six, aim for three sets of eight to twelve, leaving about one or two repetitions in reserve on most sets. You may add a brief bottom pause or a small load increase, but change only one variable at a time. Do not simultaneously raise the platform, increase the weight and reduce rest; that makes it impossible to know what actually improved.
Rest around ninety to one hundred eighty seconds when the sets become challenging, longer if balance or breathing still has not recovered. Count these sets as real lower-body work when planning your week alongside squats, presses and hinges. If your glutes and quadriceps are already sore from heavy work, one well-executed set may be more valuable than forcing extra volume.
At the end of six weeks, compare the same dumbbell weight and platform height with your first-week video. Look for smoother rear-foot placement, deeper controlled motion if available, fewer balance corrections and more repetitions at a similar effort. Those are clear, useful outcomes; you do not need a spectacular deficit or a new personal record every workout to make progress.
Equipment Worth Exploring
Explore equipment, accessories and gear from our carefully selected range.


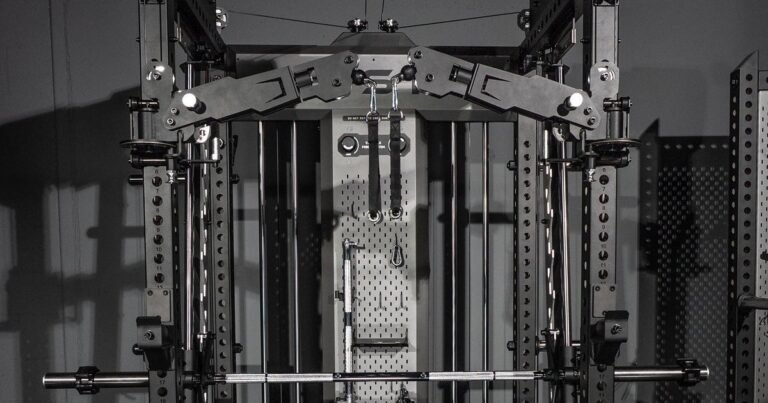
Multi Pull Smith Rack MPHR-780
All-in-one rack with a Smith machine, functional trainer, lat pulldown and low row.

GymPin Squat Wedges
Non-slip 15-degree squat wedges help elevate the heels for deeper quad-focused squats.


Safety Squat Handles
Barbell squat handles that reduce shoulder positioning demands during high-bar squats.

Leg Press/Hack Squat BPR-790
Convertible 45-degree leg press and hack squat machine with a broad footplate and band pegs.

Compact Leg Press CLP-700
Compact reverse-style leg press with a moving seat carriage and an adjustable footplate.
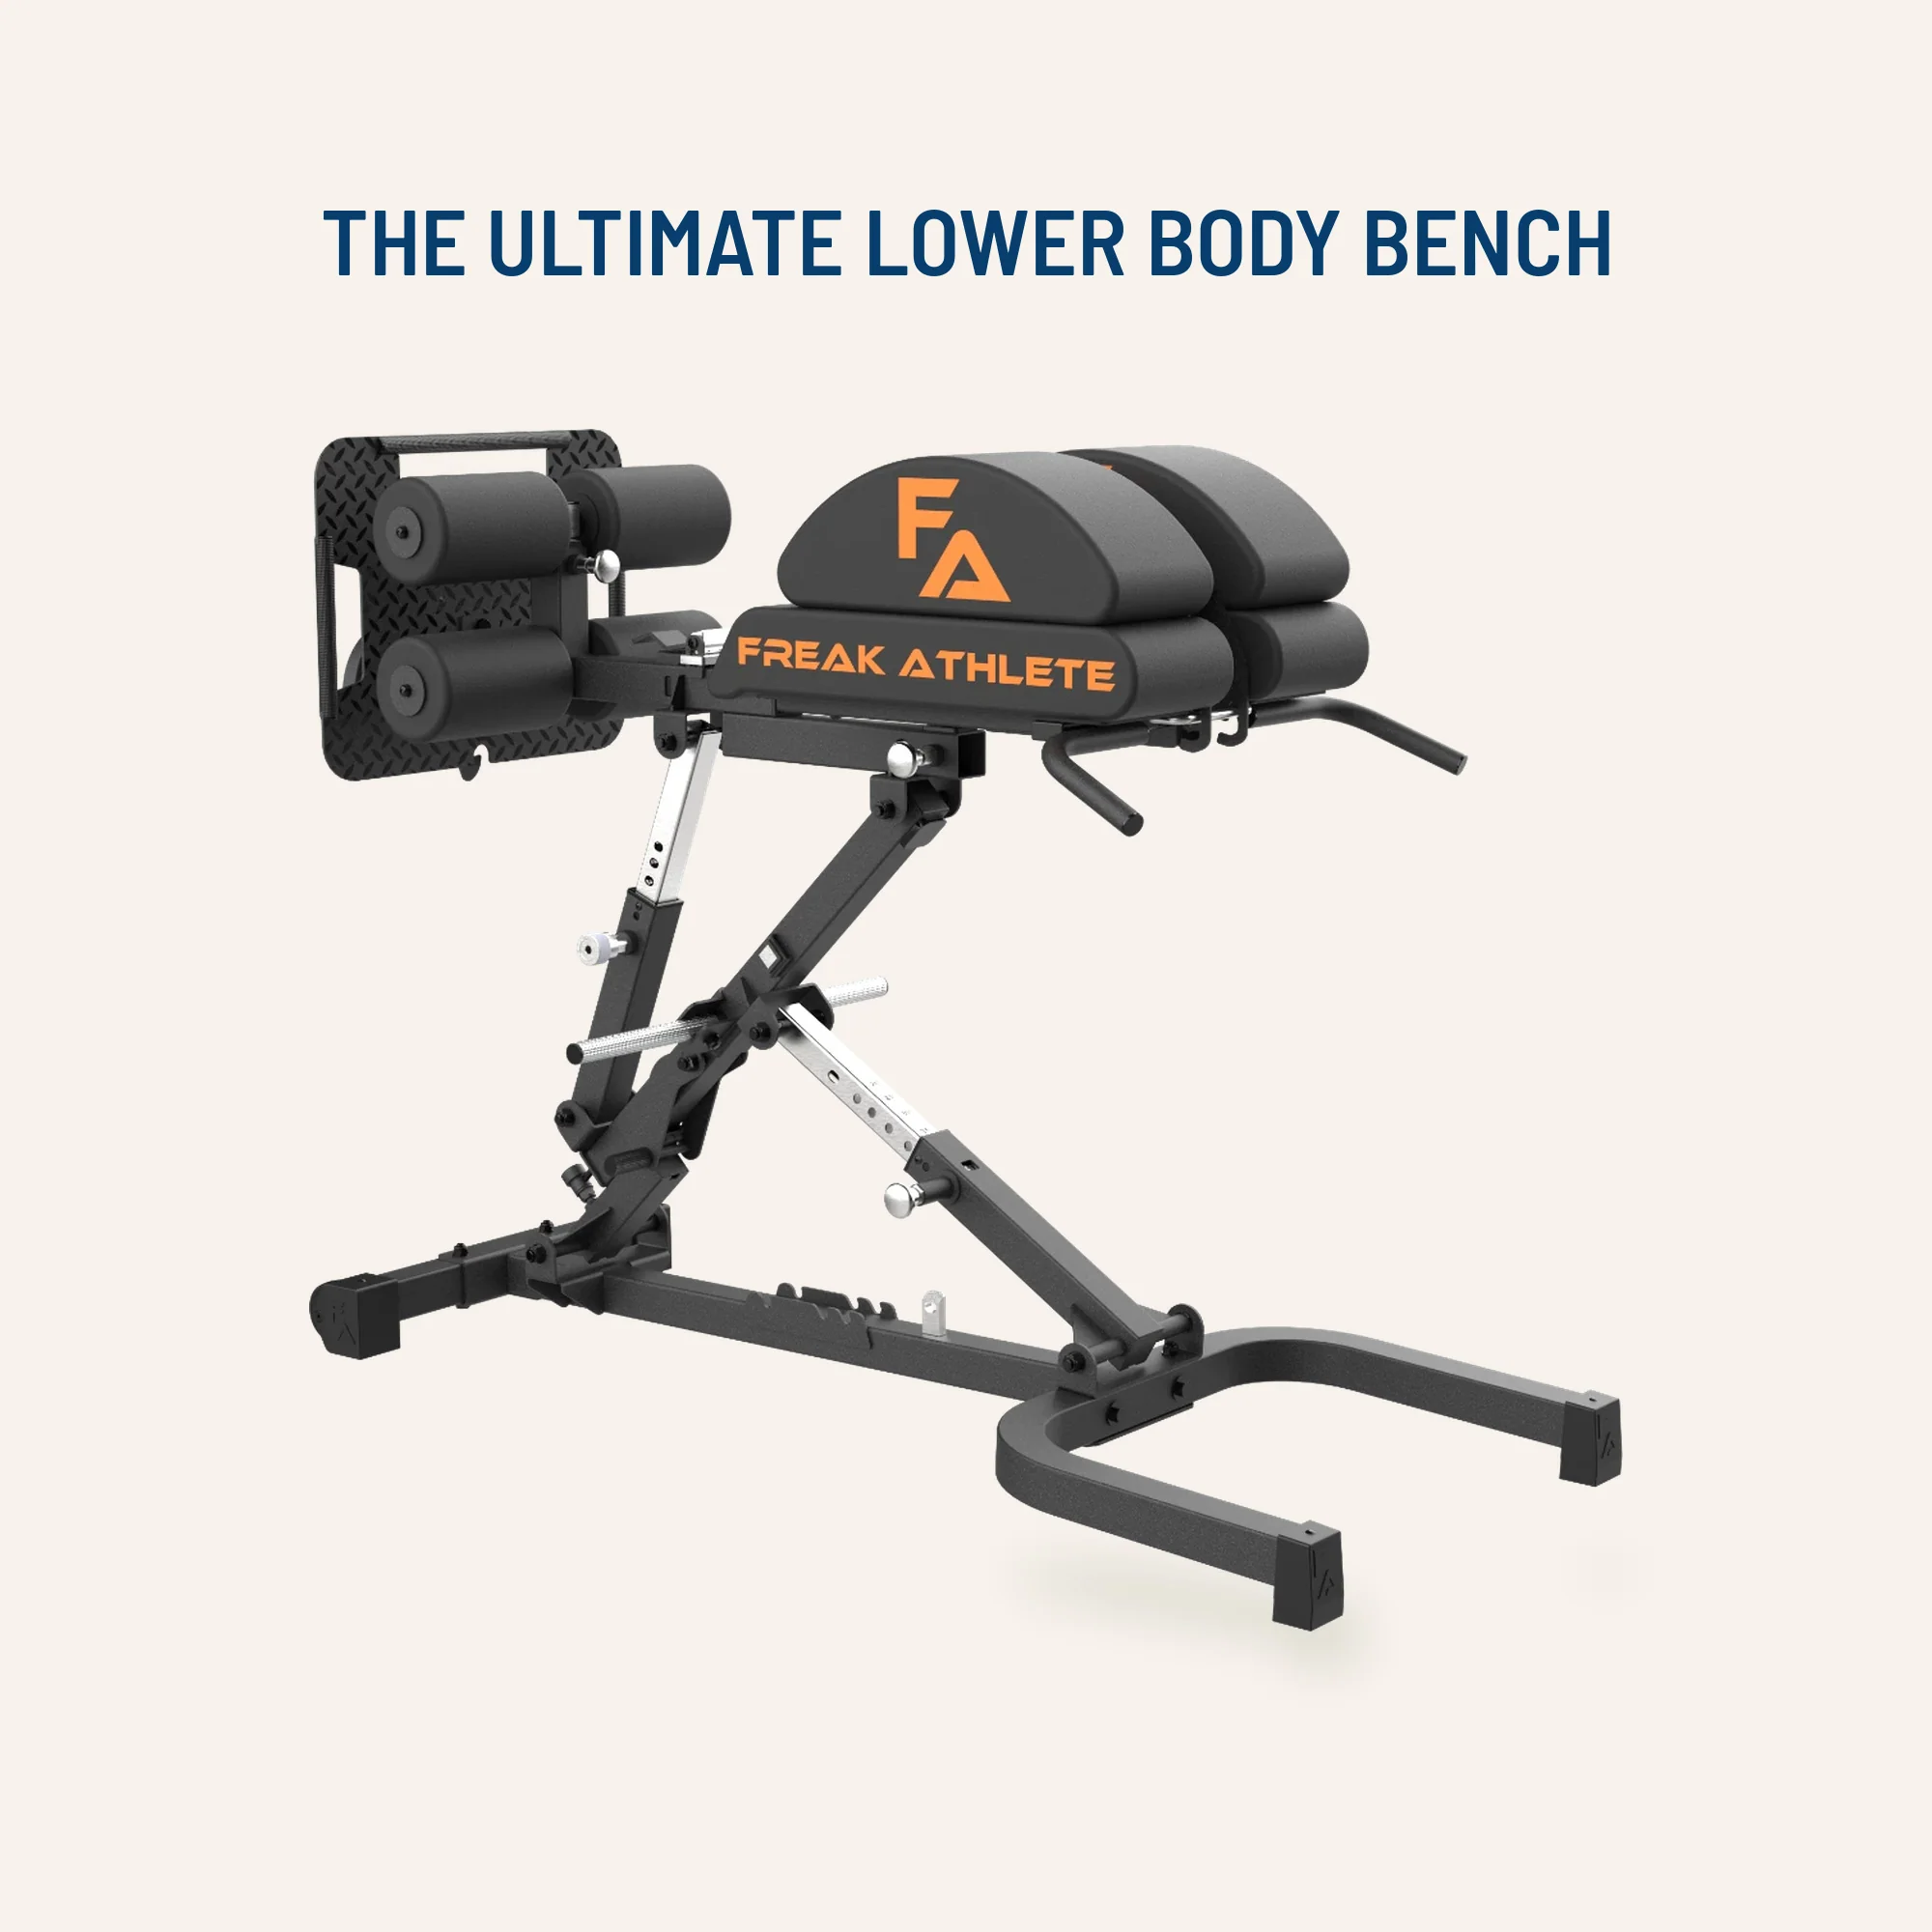

Glute Ham Developer GHD-820
Adjustable glute-ham developer with contoured pads and a fold-out knee support.

Studio V-Squat
Plate-loaded V-squat machine for supported lower-body strength training.
Takeaway: Keep the platform low enough to control, make the front leg do the work, and progress one variable at a time. The best deficit is the one you can repeat accurately.