Advertising disclosure: This page includes affiliate product links that may earn us a commission, as well as products from our own store.
Lying Leg Curls: Machine Fit, Controlled Range and Practical Progression
A lying leg curl should give you a clear task: bend the knees against resistance while the machine supports your body. Yet two sets with the same weight can look completely different when the knee position, roller setting or finishing point changes. A heavier stack number tells you little if each repetition needs a hip lift and a shortened descent.
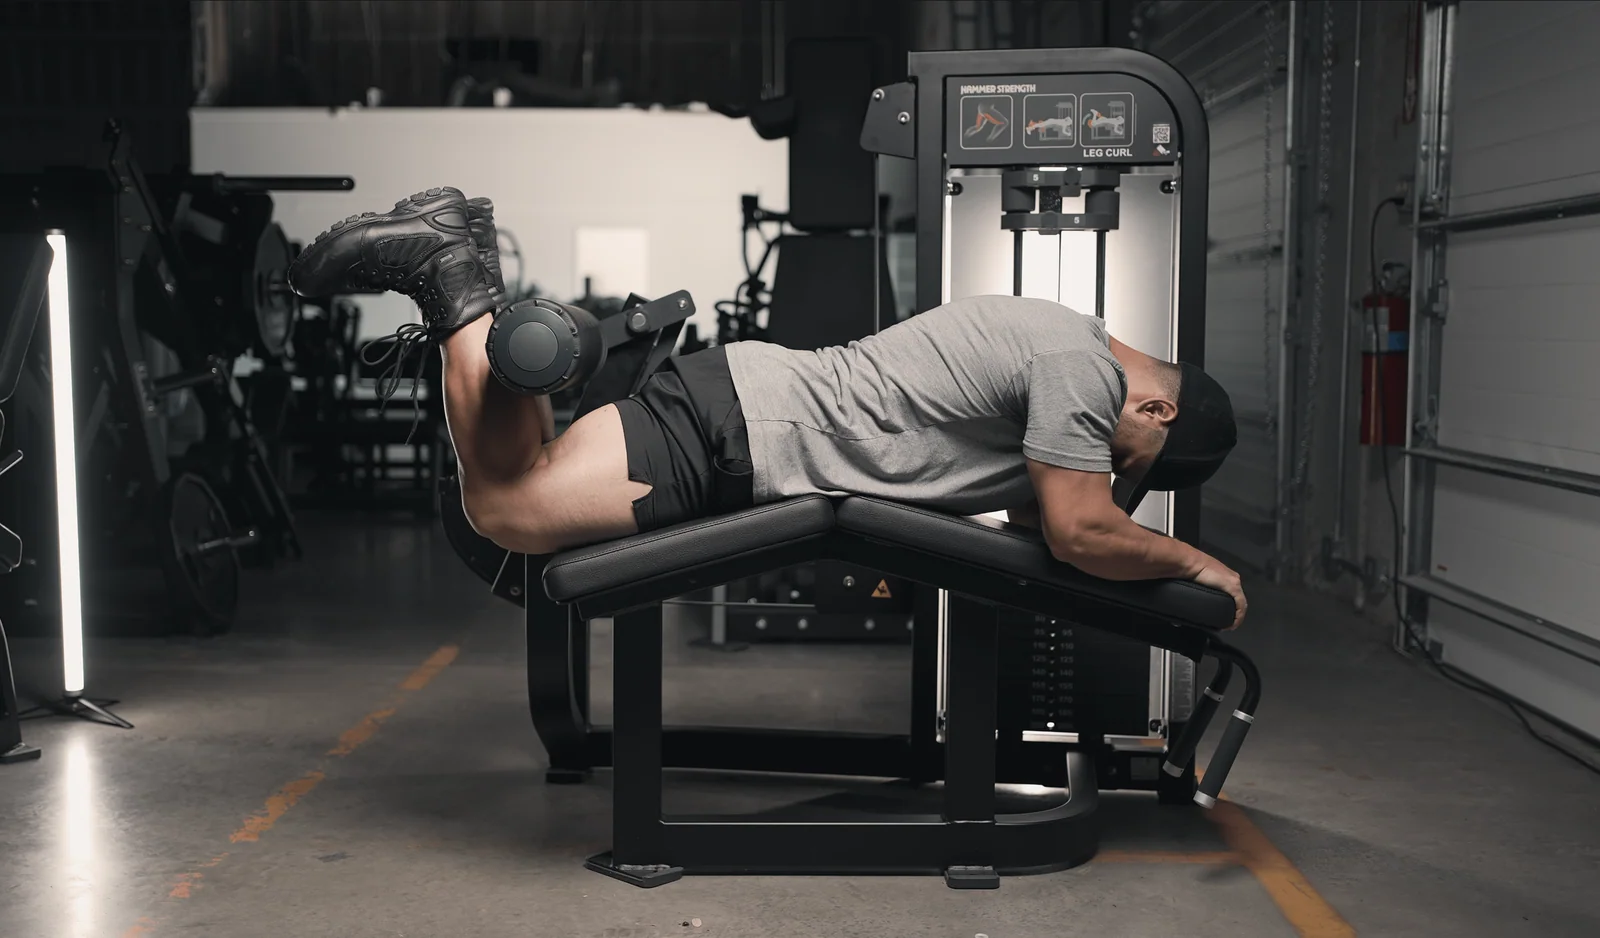
Good setup is something you can record and reproduce. This guide covers fitting a prone curl station, choosing a workable range, recognising movement that has escaped your control, and building an accessory progression around the rest of leg day. It is a technique guide, not a claim that one machine is universally superior or a prescription to train through discomfort.
1. Match your knee position to the machine
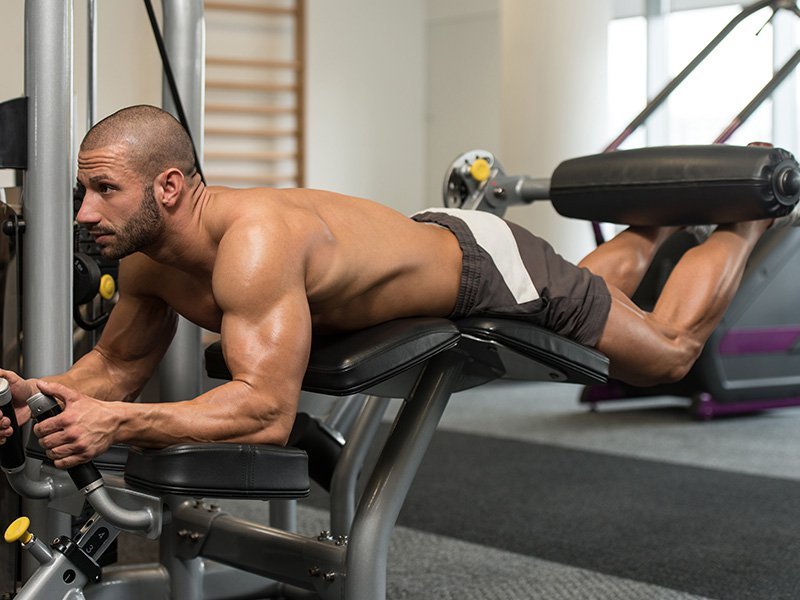
Find the machine’s knee-pivot marker or moving-arm axis before lying down. Position the middle of the knee approximately in line with that axis, using the manufacturer’s adjustment instructions. Do not simply slide forward until your feet reach the roller. That can leave your knees in the wrong place even though the machine feels possible to use.
Check the thigh support as well. Your knees need space to bend without the pad edge digging into them, while the upper legs and torso remain supported as intended. Machines differ in pad angle, bench length and where the front handles sit. The right setting on one model may be a poor fit on the next. Treat the adjustment labels as machine-specific references, not universal numbers.
Reach the handles without stretching your shoulders or lifting your chest awkwardly. They help you maintain your position; pulling violently against them is not the point of the exercise. If the machine offers an adjustable starting angle, begin with a position that lets you enter comfortably and test the movement with little resistance. Set and secure the adjustment before starting the set.
Take a few easy repetitions before committing to working weight. Notice whether you slide forward, whether pressure gathers at the kneecap, and whether the torso support allows a comfortable position. A tall lifter may need a different roller extension or another machine altogether. More resistance will not solve a fitting problem. Ask for a demonstration of unfamiliar adjustment controls rather than experimenting with a loaded moving arm.
2. Place the lower-leg roller and test the travel
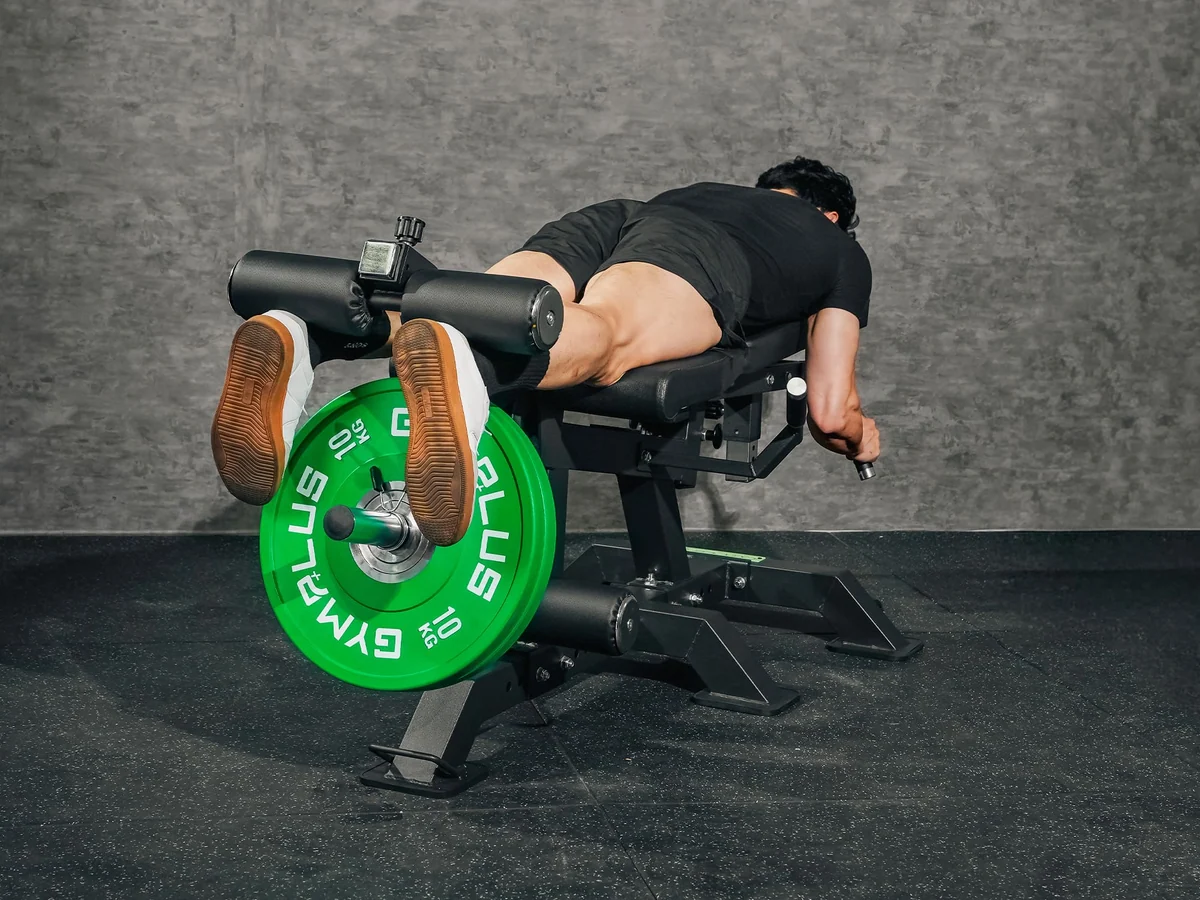
Set the roller against the back of the lower leg in the area specified for that machine, rather than pressing directly onto the heel. It should provide secure contact as the knee bends without forcing you to point the toes dramatically just to keep the pad in place. Foot position is another detail to keep consistent; repeatedly changing it during the set makes the sensation and leverage harder to compare.
Check the roller throughout an easy test repetition, not only at the start. Some designs use a rotating or self-adjusting pad that follows the leg. Others have simpler fixed adjustments. A small change in contact can be normal for the design, but a pad that rolls off, traps the heel or makes you reposition every repetition deserves a setup check.
Choose an upper stopping point you can reach without levering the pelvis off its support. The feet do not have to touch the glutes to validate the repetition. At the lower end, return toward the chosen starting position smoothly, keeping control rather than dropping the lever or driving the knees into a hard stop. Use the machine’s permitted range and your comfortable movement, not an arbitrary target copied from someone with different proportions.
Set the weight-stack pin fully, or load and secure plates according to the equipment instructions. Do not move adjustment pins while the lever is under tension. Before a second person uses the station, let the mechanism settle into its resting position. These checks take little time and make the exercise easier to repeat without a rushed scramble around moving parts.
3. Curl without turning the set into a hip lift
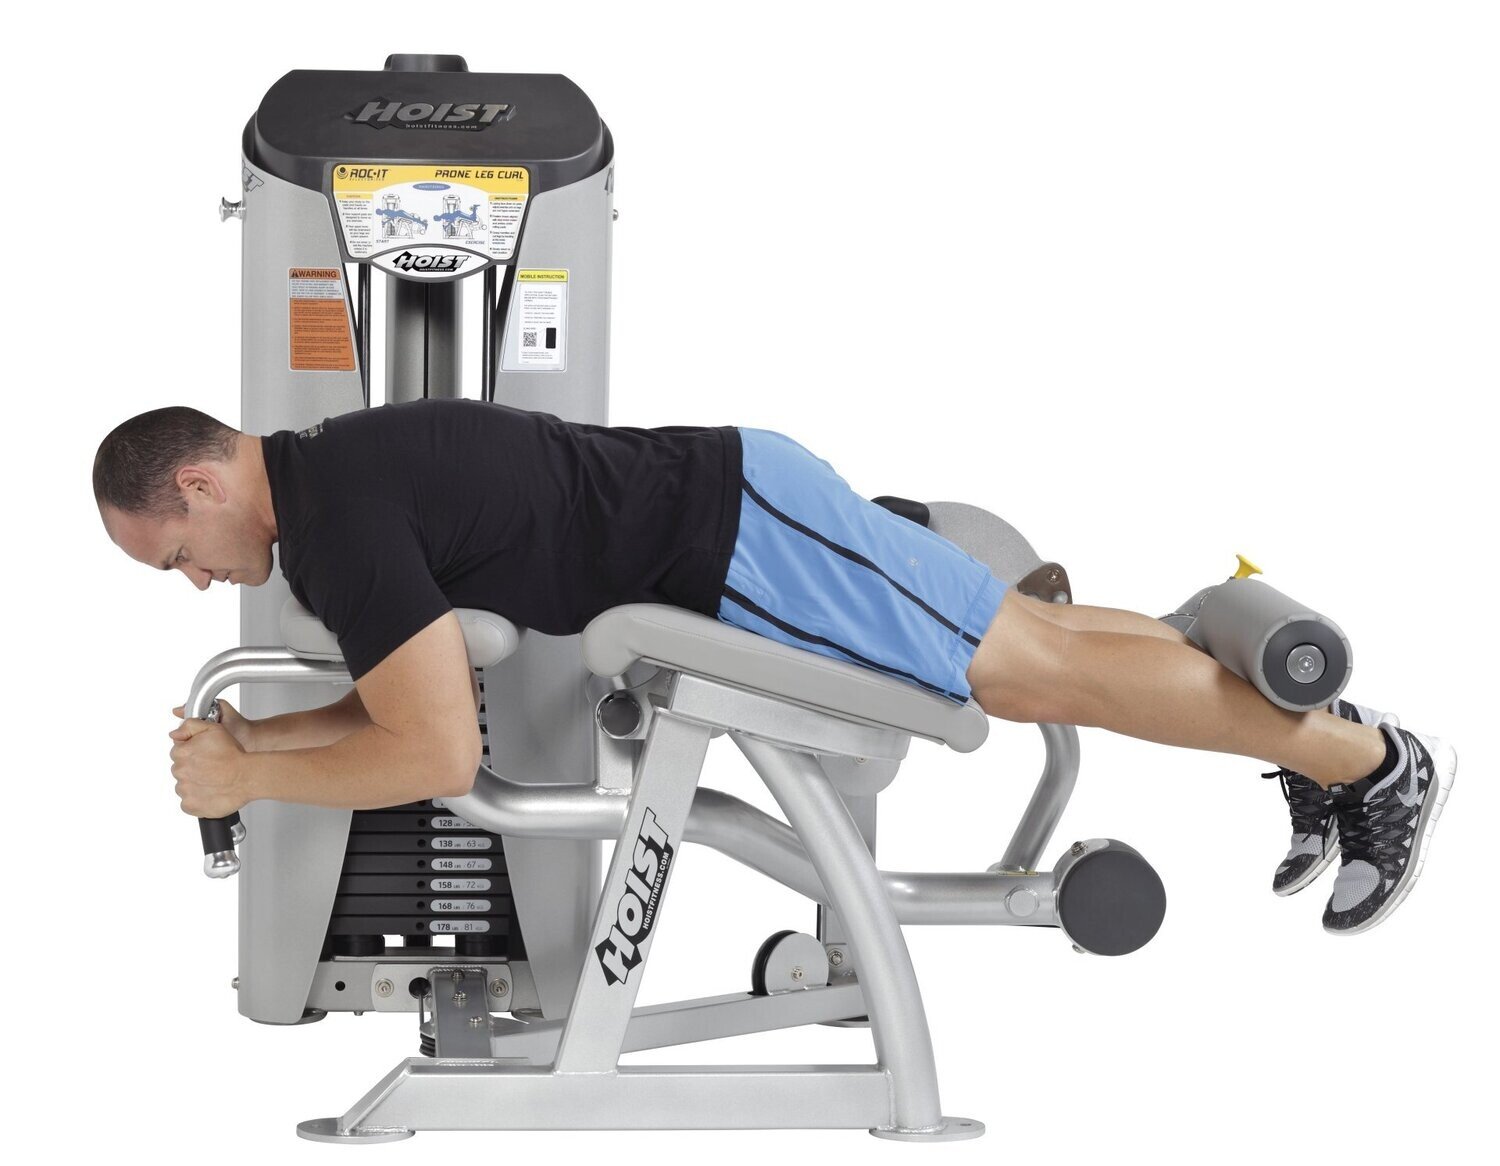
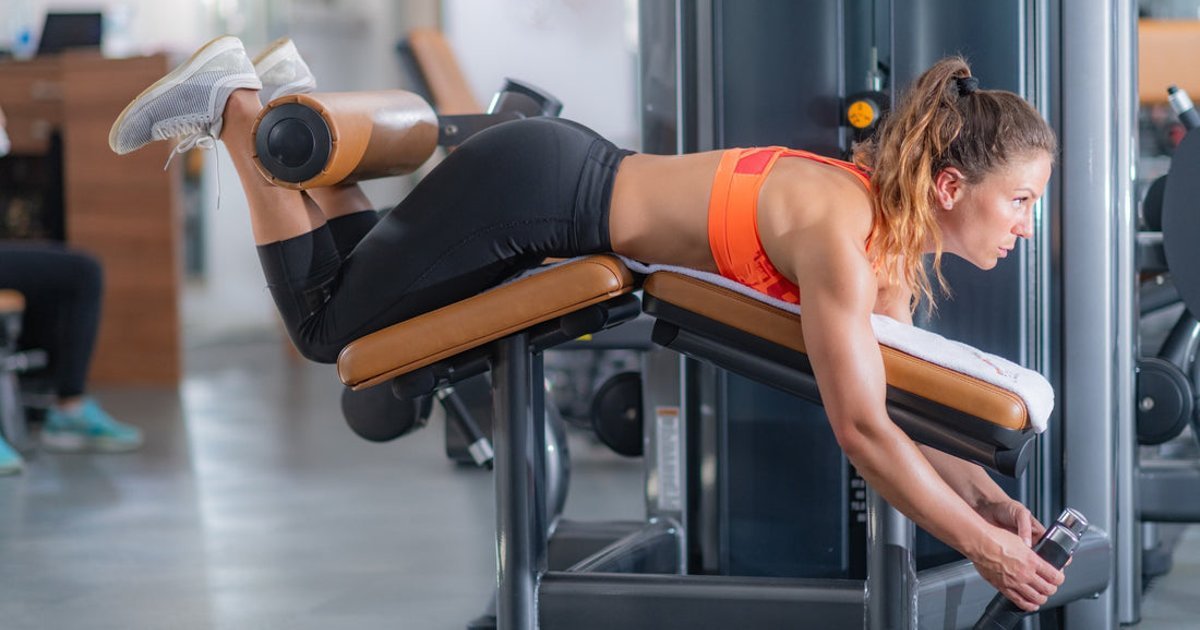
Settle into the pads, hold the handles and establish gentle trunk tension. Bend the knees to move the roller upward, then reverse the movement with control. The hamstrings perform knee flexion; the exercise does not require a deliberate backward arch to finish the lift. Keep breathing through the effort instead of treating every accessory repetition like a maximal attempt.
Watch the relationship between your body and the support. If the pelvis rises sharply or you drag yourself along the bench whenever the load stalls, the set has changed. That is a useful signal to reduce the weight, shorten the set or revisit the fit. It is not evidence that the new, improvised repetition should count as the same movement.
Some stations intentionally move or rock their torso platform. On those machines, follow the intended path rather than trying to freeze the entire apparatus. The relevant question is whether you remain settled against the supports while the designed mechanism moves, or whether you are independently throwing your body around to move the resistance. Different equipment can require different visual checks.
For learning, use a pace at which you can notice the top position and guide the return. You do not need a particular second count to make every repetition worthwhile. If the weight crashes down or the upper position disappears halfway through the set, stop and reassess. A side-view video can reveal sliding and hip movement that are difficult to judge while lying face down. Compare the first clean repetition with the final one rather than judging the set only by effort.
4. Compare alternatives by their actual setup
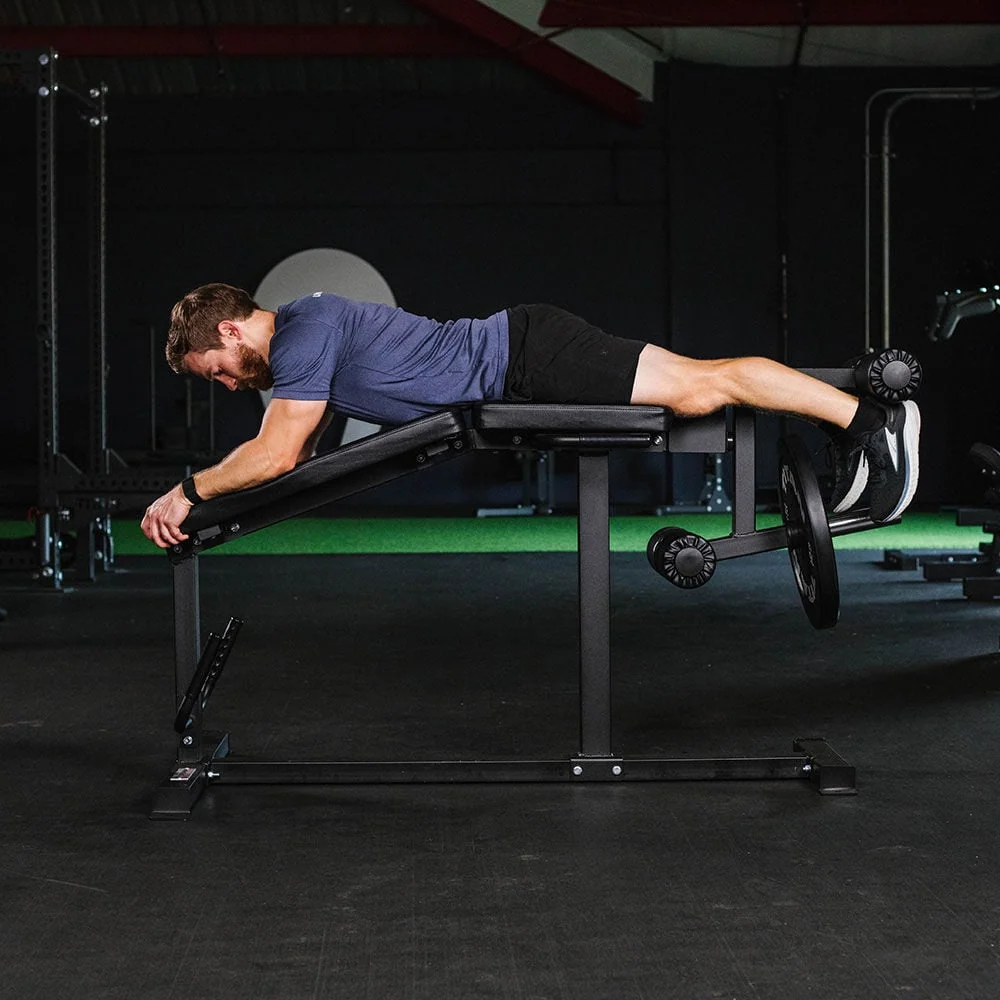
A plate-loaded bench attachment, a commercial prone station and a seated curl machine can all provide knee-flexion work, but the support and resistance arrangements differ. A bench attachment needs the correct compatible bench and sufficient stability. A seated machine adds a different hip position and usually a thigh restraint. Start a new log entry when changing equipment instead of transferring the old weight target automatically.
For a bench-and-developer system, confirm that the manufacturer supports prone curls in that configuration. Check the bench setting, attachment locks, knee position and plate clearance. The fact that an attachment can perform leg extensions does not establish that every bench position also works for curls. A well-designed setup still needs to fit your leg length.
Cable or band curls require secure, appropriate ankle attachments and a clear resistance path. They are alternatives with their own setup demands, not exact replicas of a guided roller machine. Likewise, Nordic curls change the support and loading challenge substantially. Choose assistance and a manageable range if using them; there is no need to force a difficult alternative simply because the preferred station is occupied.
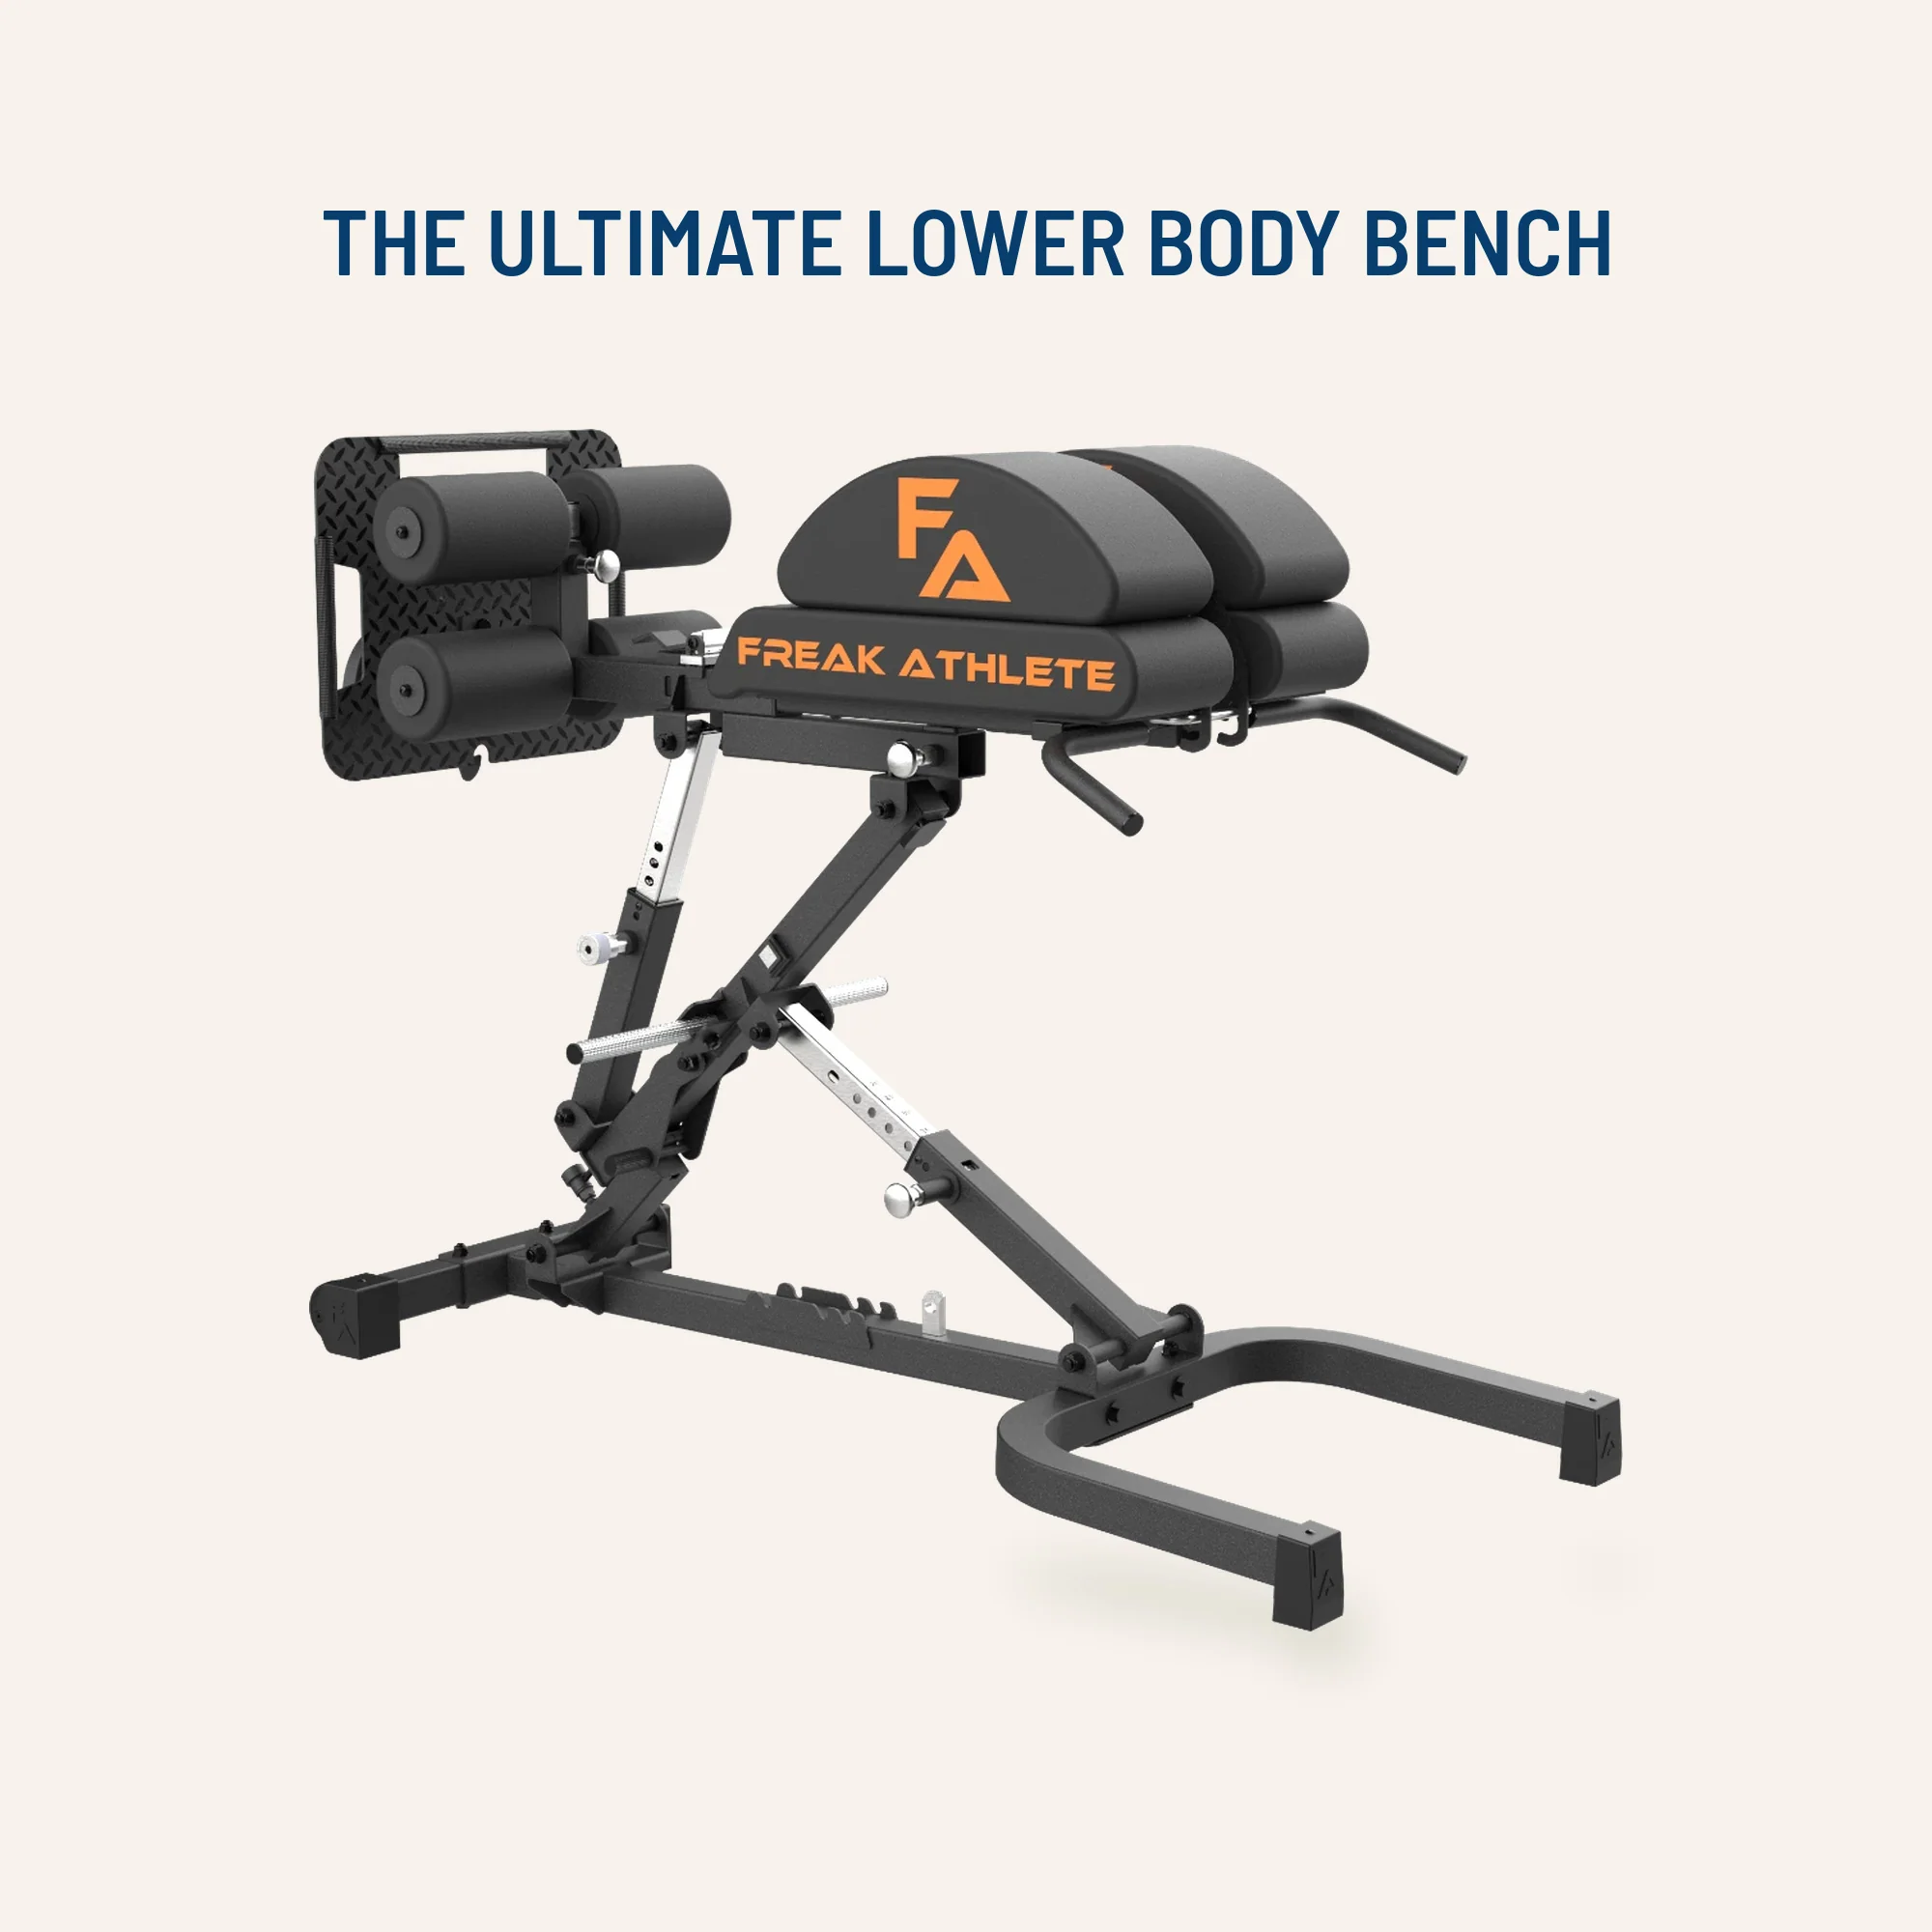
The equipment selection below includes curl-capable systems, compatible bench components, ankle-loading options and loading accessories for the broader knee-flexion routine. Read each item’s actual function and compatibility. A bench by itself is not a complete leg-curl station, and a plate or ankle attachment does not make every improvised arrangement suitable.

Equipment Worth Exploring
Explore equipment, accessories and gear from our carefully selected range.

Leg Extension/Curl BCO-780
Leg extension and lying leg curl combo with plate loading, band pegs and a cable-loading option.



Multi Bench MBX-650 2.0
Adjustable multi-bench with roller adjustment, 15 backrest positions and accessory mounts.

Seated Leg Combo BCO-680
Adjustable seated leg extension and leg curl machine with band pegs for added resistance.



Grip Plates
Rubber-coated weight plates with handholds for loading barbells and machines.
5. Build a progression that survives the rest of leg day
Decide where the curl sits relative to the lifts you care about most. If squats or hinges are the day’s priority, perform those while fresh and use curls as accessory work afterward. If knee-flexion work is the specific priority, you can organise the session differently. What matters for comparison is knowing whether today’s curls followed the same demanding work as last week’s.
As an adjustable starting example, try two sets of eight to twelve controlled repetitions with a load that leaves a few clean repetitions available. Rest long enough to repeat the same range and body position. This is a practical trial, not a proven optimum or a required dose. Existing hamstring work, training experience and recovery will affect what amount makes sense.
Keep the load steady while building clean repetitions within your chosen range. When both sets reach the upper end without sliding, rushing or losing the finishing position, try the smallest sensible increase next time. Expect the repetition count to fall. If the machine has large jumps between settings, another week of consistent work is a valid choice; do not invent progress by cutting the movement shorter.
Record the machine, knee and roller settings, starting angle, weight, repetitions and any meaningful change in technique. Also note whether hamstring fatigue affects the next lower-body session. If it does, adjust the accessory dose rather than automatically adding more sets. Leg-day humour and training gear can make the routine enjoyable, but soreness is not the scorecard. A repeatable curl that fits the week is more useful than a heroic set you cannot compare or recover from.

Leg Day Shirts & Workout Gear
Leg-day gym shirts and workout gear for lifters who never skip squats, lunges and lower-body punishment.

Anti Leg Day Leg Day Club & Meme Fans Hoodie
Show off your leg-day humor in a laid-back “Anti Leg Day Leg Day Club” hoodie.

Leg Day Is Calling You Sweater Squats & Deadlifts T-Shirt
Add a playful “Leg Day Is Calling You” touch to your casual rotation.

Leg Day No Thanks Skip Leg Day Meme Squats Deadlifts Tank Top
Bring “Leg Day No Thanks” humor to your next lifting session.

Negative Leg Day Review 1 Star Not Recommended Decal Sticker
Stick a little “Negative Leg Day Review” humor on your favorite gear.


Never Skip Leg Day Flamingo – Fitness Meme Vest Muscle Tank Top
Train hard, laugh a little, and rep “Never Skip Leg Day Flamingo”.

Everyday Is Leg Day Octopus Meme & Top T-Shirt
Show some leg-day attitude with a playful “Everyday Is Leg Day Funny Octopus” tee.

Drake Leg Day Hoodie
Bring “If You're Reading This Its Leg Day” gym humor to lazy days and post-workout plans.

Leg Day Thou Shalt Not Skip Leg Day Medieval Gym Crewne T-Shirt
Show some gym-day personality with “Leg Day”.

We Don't Need No Leg Day – Pink Floyd Meme Pullover Jum T-Shirt
Bring “We Don't Need No Leg Day” humor to your everyday gym style.