Most lower-body programs devote plenty of attention to squats, deadlifts and hip thrusts. Yet a small change in emphasis can reveal a different challenge: can you keep your pelvis steady when only one foot is on the ground, or move your thigh sideways without twisting your whole trunk? Those tasks depend partly on the gluteus medius, a muscle that deserves more than a few rushed band walks at the end of leg day.
The goal is not to claim that one muscle fixes every knee, hip or back complaint. It is to train a useful combination of hip-abduction strength, single-leg control and progressive loading. Here is how to make six practical exercises work together, how to avoid the common mistakes, and how to tell whether you are getting stronger rather than merely feeling a burn.
What the Gluteus Medius Actually Does
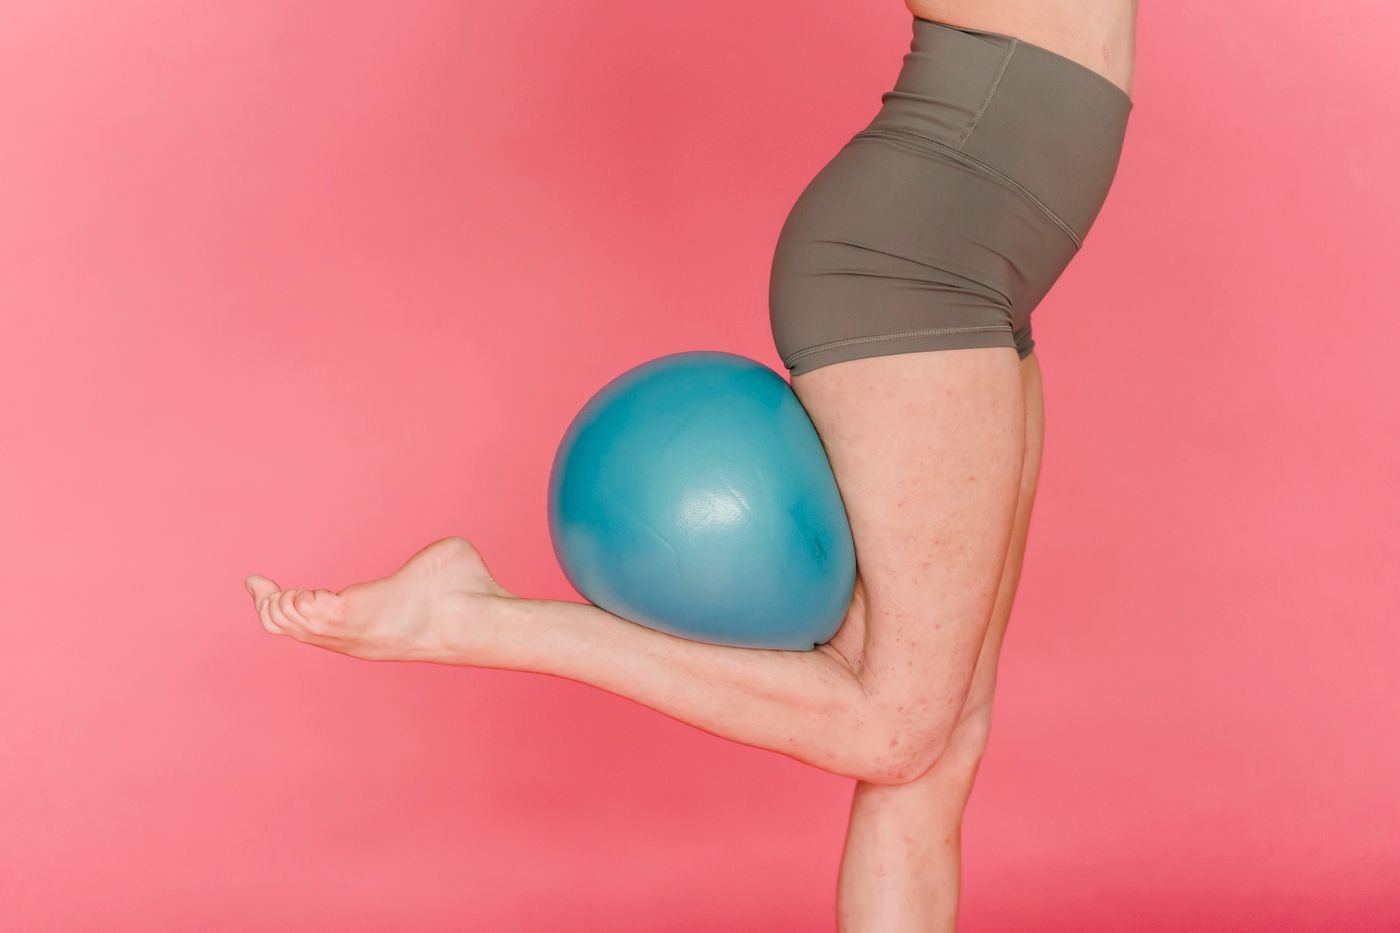
The gluteus medius sits on the outer surface of the pelvis beneath the upper part of the gluteus maximus. Its fibers help move the thigh away from the body’s midline and contribute to rotation at the hip. During walking, running and single-leg exercises, it also helps manage the relationship between the pelvis and the standing femur. That means it can work hard even when the moving leg is doing very little.
Try a simple observation: stand tall on one leg near a wall or rail. Without hiking your hip, keep the pelvis reasonably level for twenty seconds. You may feel the side of the standing hip working. Switch sides. The point is not to diagnose a weakness from a shaky attempt; ankle balance, fatigue and familiarity all influence the result. It is simply a reminder that hip muscles do more than extend the leg behind you.
Do not confuse the gluteus medius with the gluteus maximus. Squats and hip hinges can train the entire hip complex, but they emphasize different joint actions from side-lying abduction or resisted lateral stepping. A complete lower-body plan can use both. Nor should every sideways movement be called a pure gluteus medius exercise: the tensor fasciae latae, deeper hip rotators and trunk muscles can share the work.
For training, think in three layers: first learn controlled abduction, then maintain pelvic position during standing tasks, and finally apply that control under meaningful load. Each layer solves a different problem, and none needs an elaborate machine.
Why Hip Strength Matters More Than the Burn
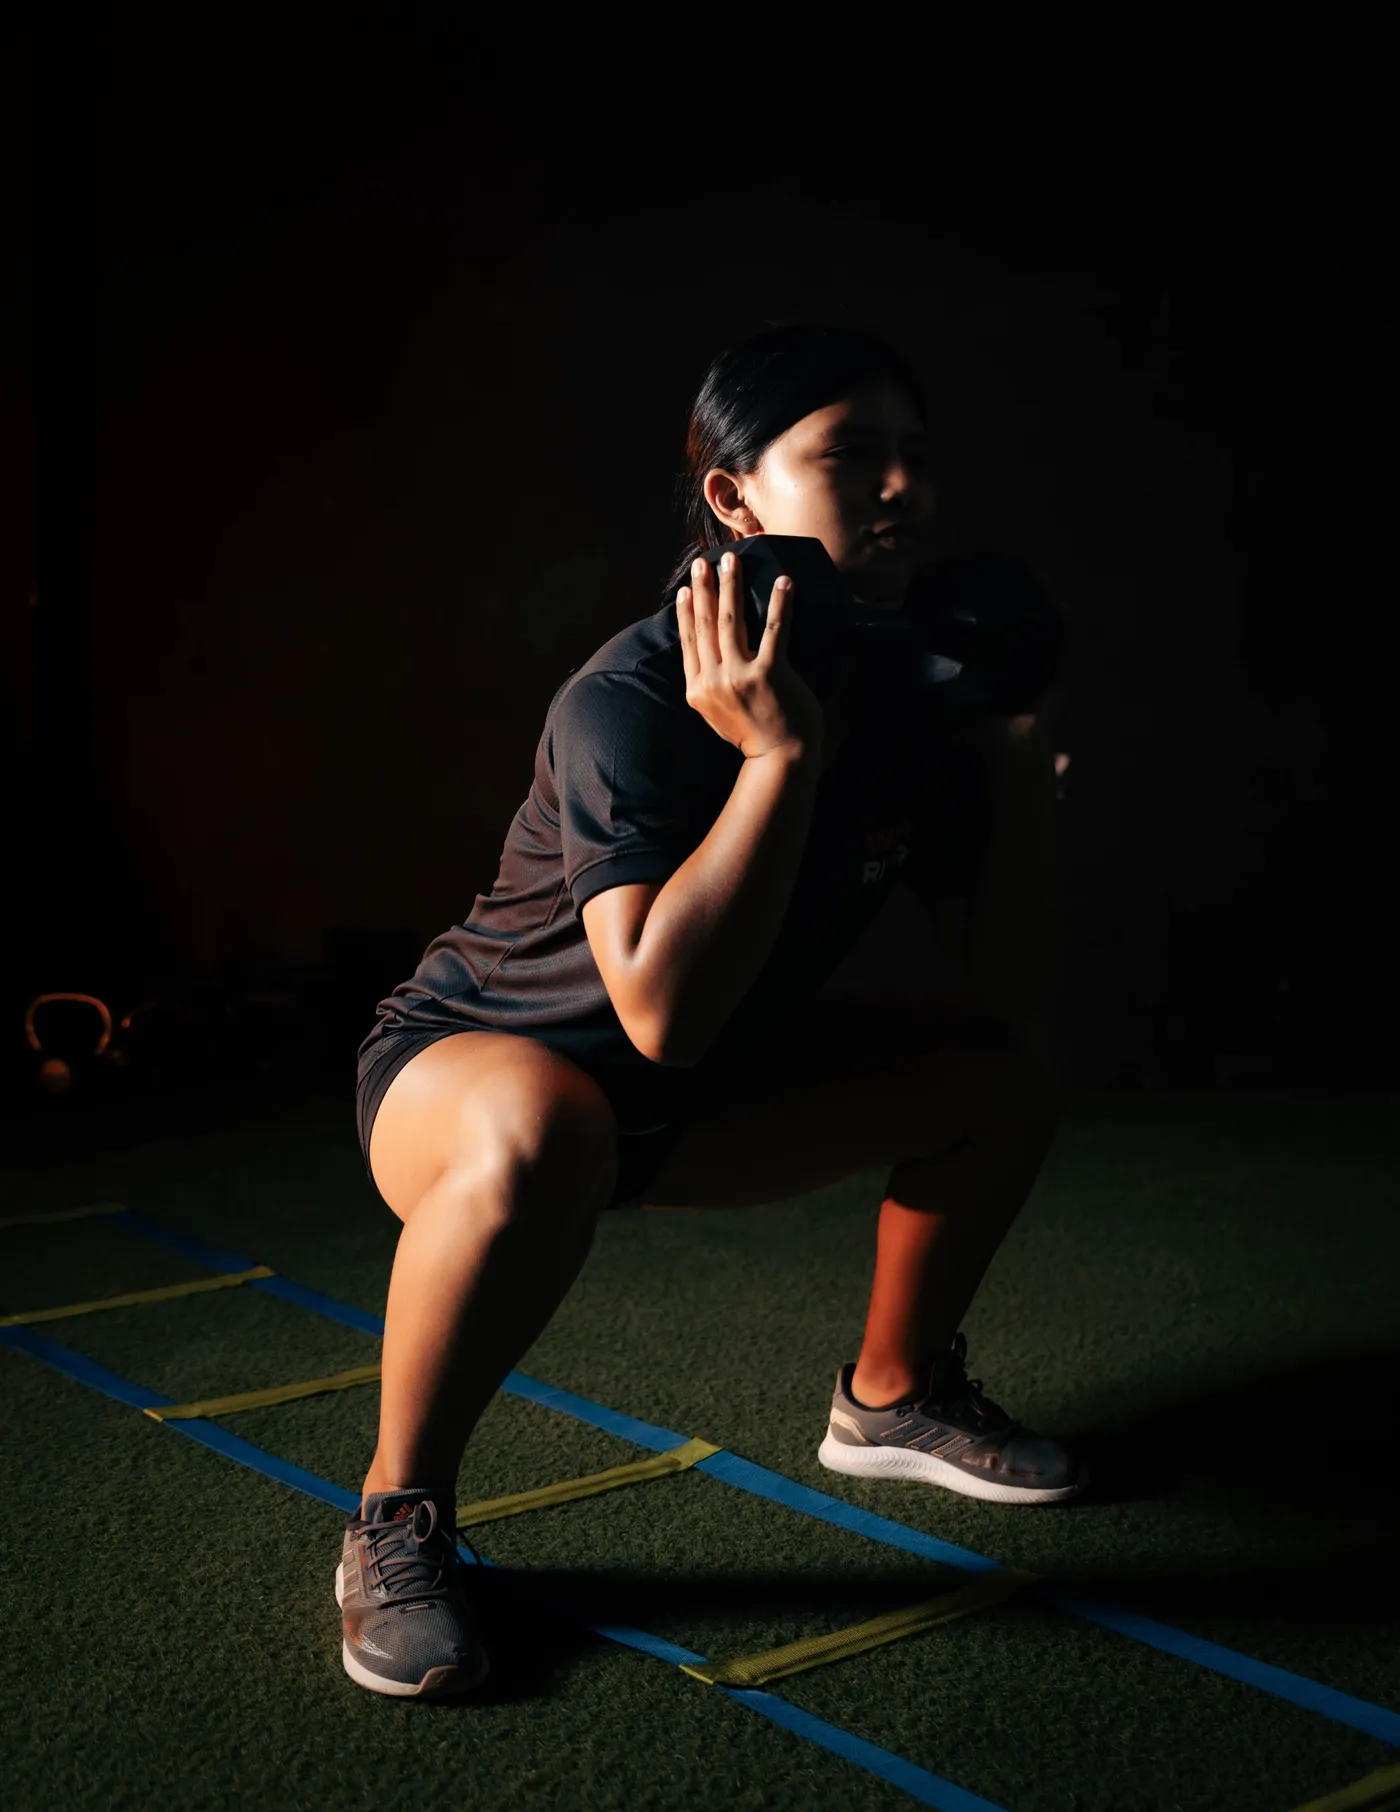
Hip strength is relevant to everyday movement because the leg must repeatedly accept and redirect force. When the foot is planted, a well-controlled hip can help the pelvis and knee move through the task without an uncontrolled collapse. That does not mean that every inward-moving knee is dangerous or that a perfectly vertical knee is required in every squat. People differ in anatomy, technique and the demands of their sport.
Clinical trials involving people with patellofemoral pain have often found improvements in pain and function when hip-abductor and hip-rotator exercises are included. Trials in people with knee osteoarthritis also suggest that strengthening these muscles can be a useful part of rehabilitation. Those results apply to specific clinical populations; they do not establish that weak glutes cause every knee problem or that a band circuit can replace an individualized assessment.
Another distinction is activation versus adaptation. An exercise can produce a strong electromyography signal, or a spectacular burning sensation, without necessarily creating more long-term muscle growth than a less dramatic alternative. Training outcomes depend on repeated exposure, sufficient effort, progression, recovery and the total program. Use activation data to choose a sensible starting movement, not as a ranking of guaranteed results.
Measure what matters to you. A runner might track how consistently they complete single-leg drills, while a lifter might record the resistance and range of motion used for hip abduction. If pain is the reason you are training, track symptoms and functional tasks with a qualified clinician rather than chasing a particular muscle sensation. The target is stronger, more capable movement, not maximum soreness.
Equipment Worth Exploring
Explore equipment, accessories and gear from our carefully selected range.


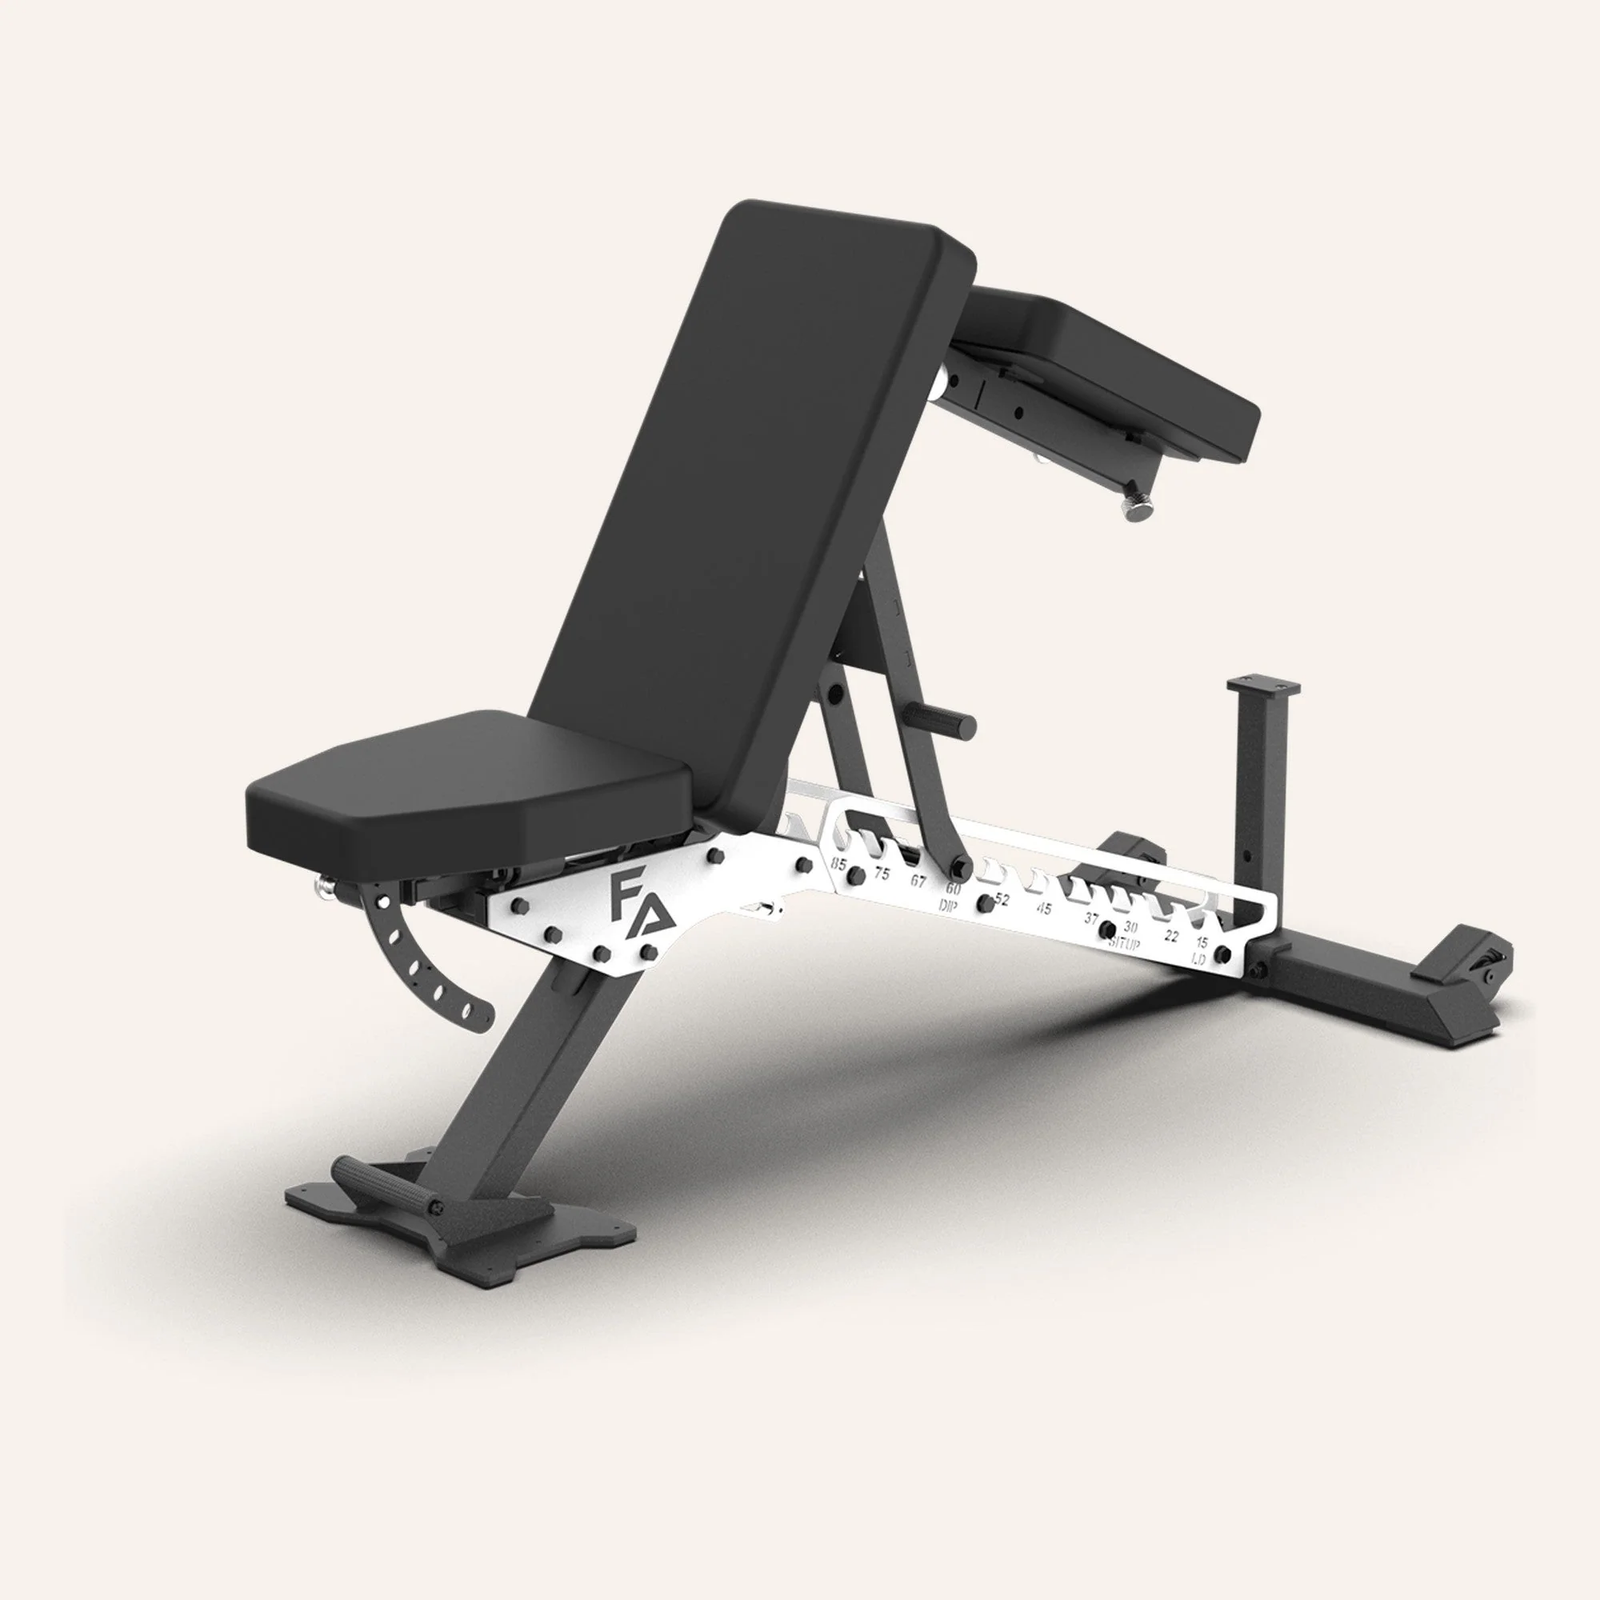
FID Bench MAX
Adjustable bench offering flat, incline, and decline positions + adjustable headrest.



Start with Controlled Hip Abduction
1. Side-lying hip abduction. Lie on your side with the bottom knee bent and the top leg straight. Keep the pelvis stacked instead of rolling backward. Lift the top leg a modest distance, pause briefly and lower it under control. Start with two sets of eight to fifteen repetitions per side. If you have to twist the torso to gain height, the movement is already too large. Add a light ankle weight or cable resistance only when the position stays consistent.
2. Clamshell. With both knees bent and the feet together, open the top knee while the pelvis remains quiet. This combines hip rotation with stabilization, so it is not interchangeable with straight-leg abduction. A small loop band can add resistance, but a harder band is not automatically better. Keep the movement slow enough to notice whether your trunk is rolling to help.
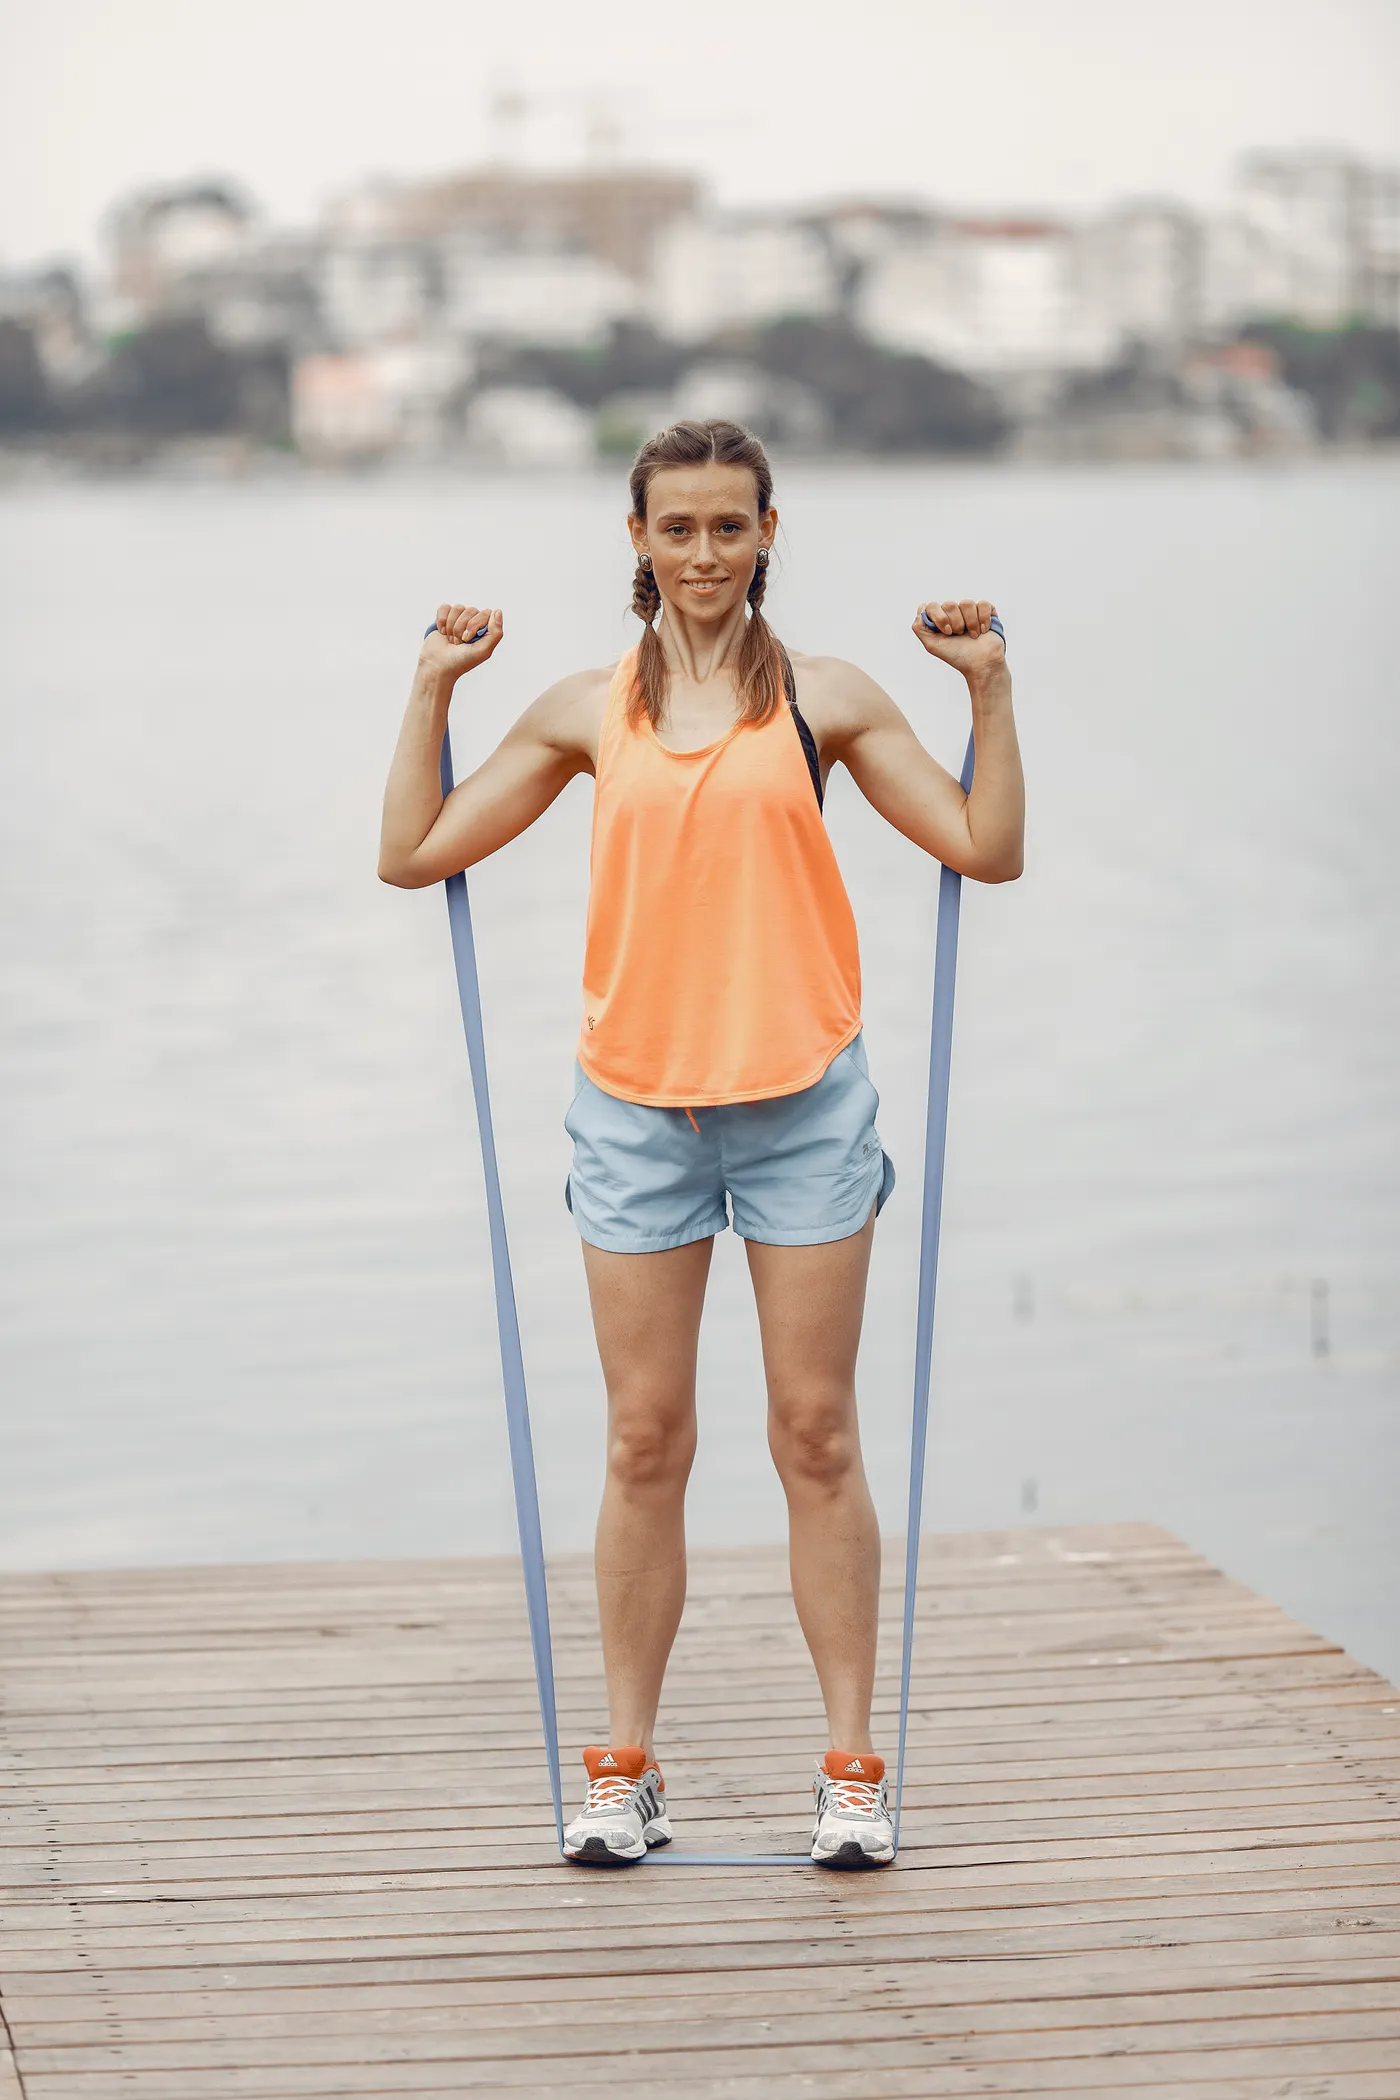
3. Lateral band walk. Place a loop around the thighs or lower legs, bend the hips and knees slightly, and take short sideways steps without letting the band snap the trailing leg inward. Keep tension across the steps and avoid exaggerated side-to-side swaying. Two rounds of six to ten controlled steps each way are a sensible beginning. Moving the band farther down the legs often increases the challenge, but may also change which hip muscles contribute.
These three movements make a good brief preparation block, not an entire leg workout. Pick one or two before your main lifts or after them, depending on whether you need movement practice or additional strength volume. If you feel mostly the front of the hip, reduce the range, check your trunk position and try a different setup before simply adding resistance.

Leg Day Shirts & Workout Gear
Leg-day gym shirts and workout gear for lifters who never skip squats, lunges and lower-body punishment.

Let It Grow Booty Builder Leg Day & Hip Thrusts Meme Tank Top
Bring “Let It Grow” humor to your next lifting session.


Booty Building Mode Girl Sweater Squats & Leg Day T-Shirt
For laid-back days and gym-girl humor: “Booty Building Mode Gym Girl”.

Booty Building Mode Leg Day & Squats Meme Hooded Hoodie
Keep it laid-back with a little “Booty Building Mode” attitude.

Muscle Mommy Gym – Peach Booty Training Decal for Fitne Sticker
Give your everyday gear a playful “Muscle Mommy” twist.

Girl Bootybuilder Squats & Gains Meme Superhero Leg T-Shirt
Heavy lifts, good laughs, and a little “Gym Girl” energy.


Hippo Thrust Meme – Hip Thrusts & Leg Day , Gymbro, T-Shirt
Bring “Hippo Thrust Gym Meme” humor to your next gym day.

I Love Booty Peach – Valentine's Leg Day Meme Vest Musc Tank Top
Bring “I Love Booty Peach” humor to your next lifting session.

Patriotic Eagle Stars Stripes and Squats Muscle Shirt f Tank Top
Bring “Patriotic Eagle” humor to your next lifting session.
Turn Isolation into Standing Stability
4. Single-leg wall lean. Stand sideways near a wall, lift the wall-side knee and gently press that knee into the wall while the outside foot remains planted. Keep the standing hip and ribs stacked. Hold for ten to twenty seconds, breathe normally and switch sides. The standing hip has to resist the tendency to drift. It is a useful bridge between floor exercises and single-leg lifting.
5. Three-direction toe taps. Stand on one leg with a slight knee bend. Tap the free foot forward, sideways and backward without shifting most of your body weight onto it. Maintain a controlled pelvis and avoid reaching farther than your balance allows. Start with three rounds of three taps in each direction per leg. Add a light loop band only when the unbanded version is smooth.
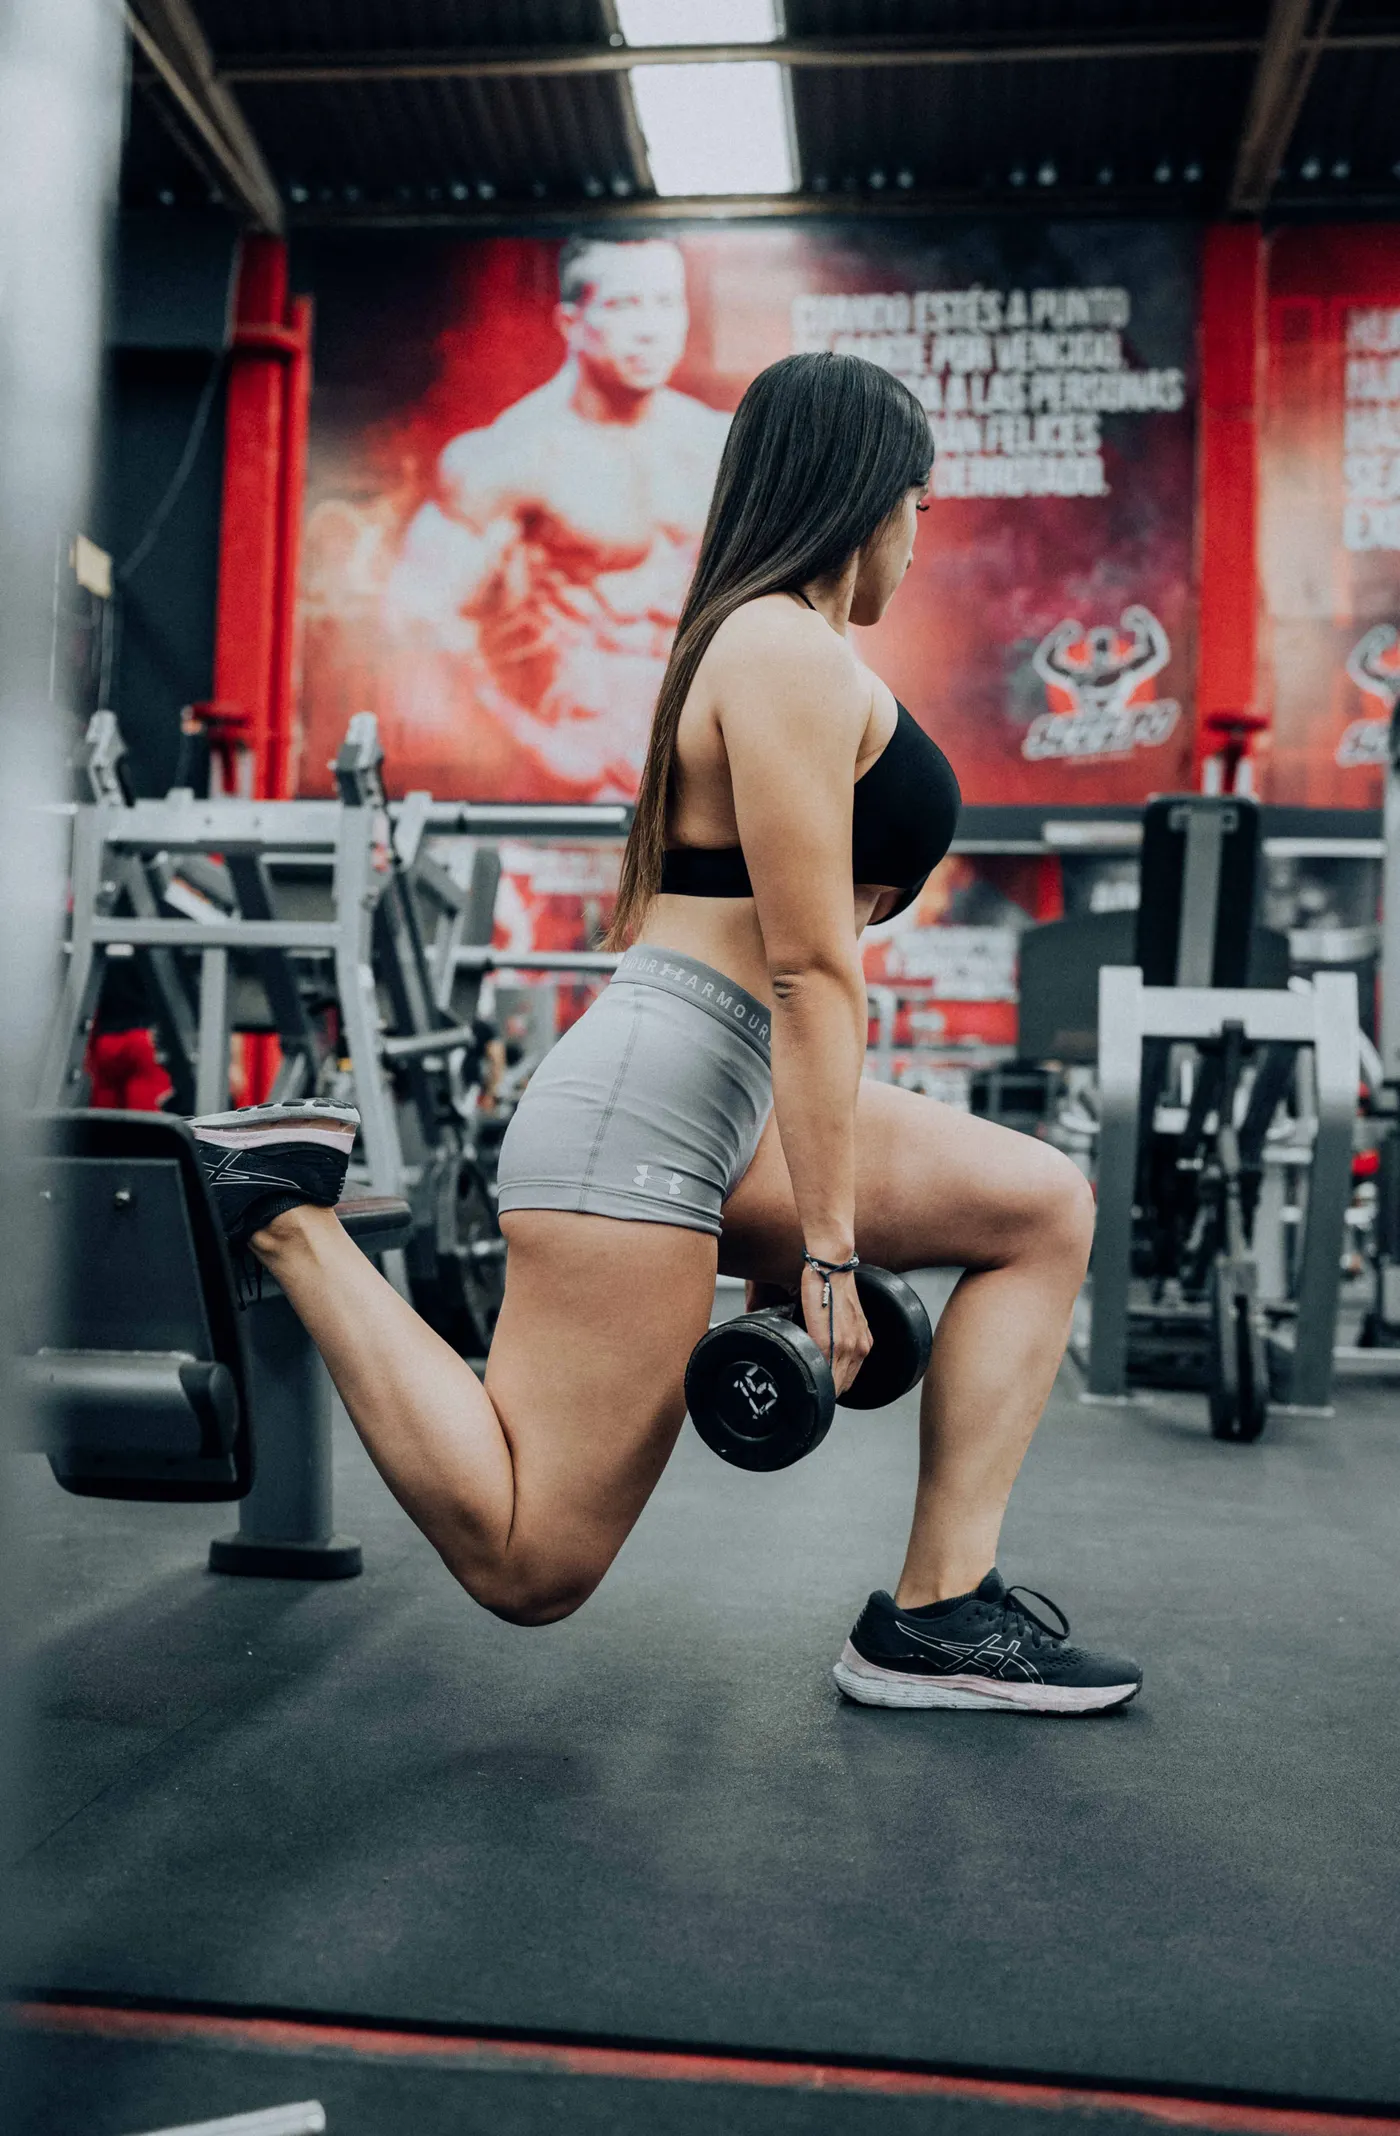
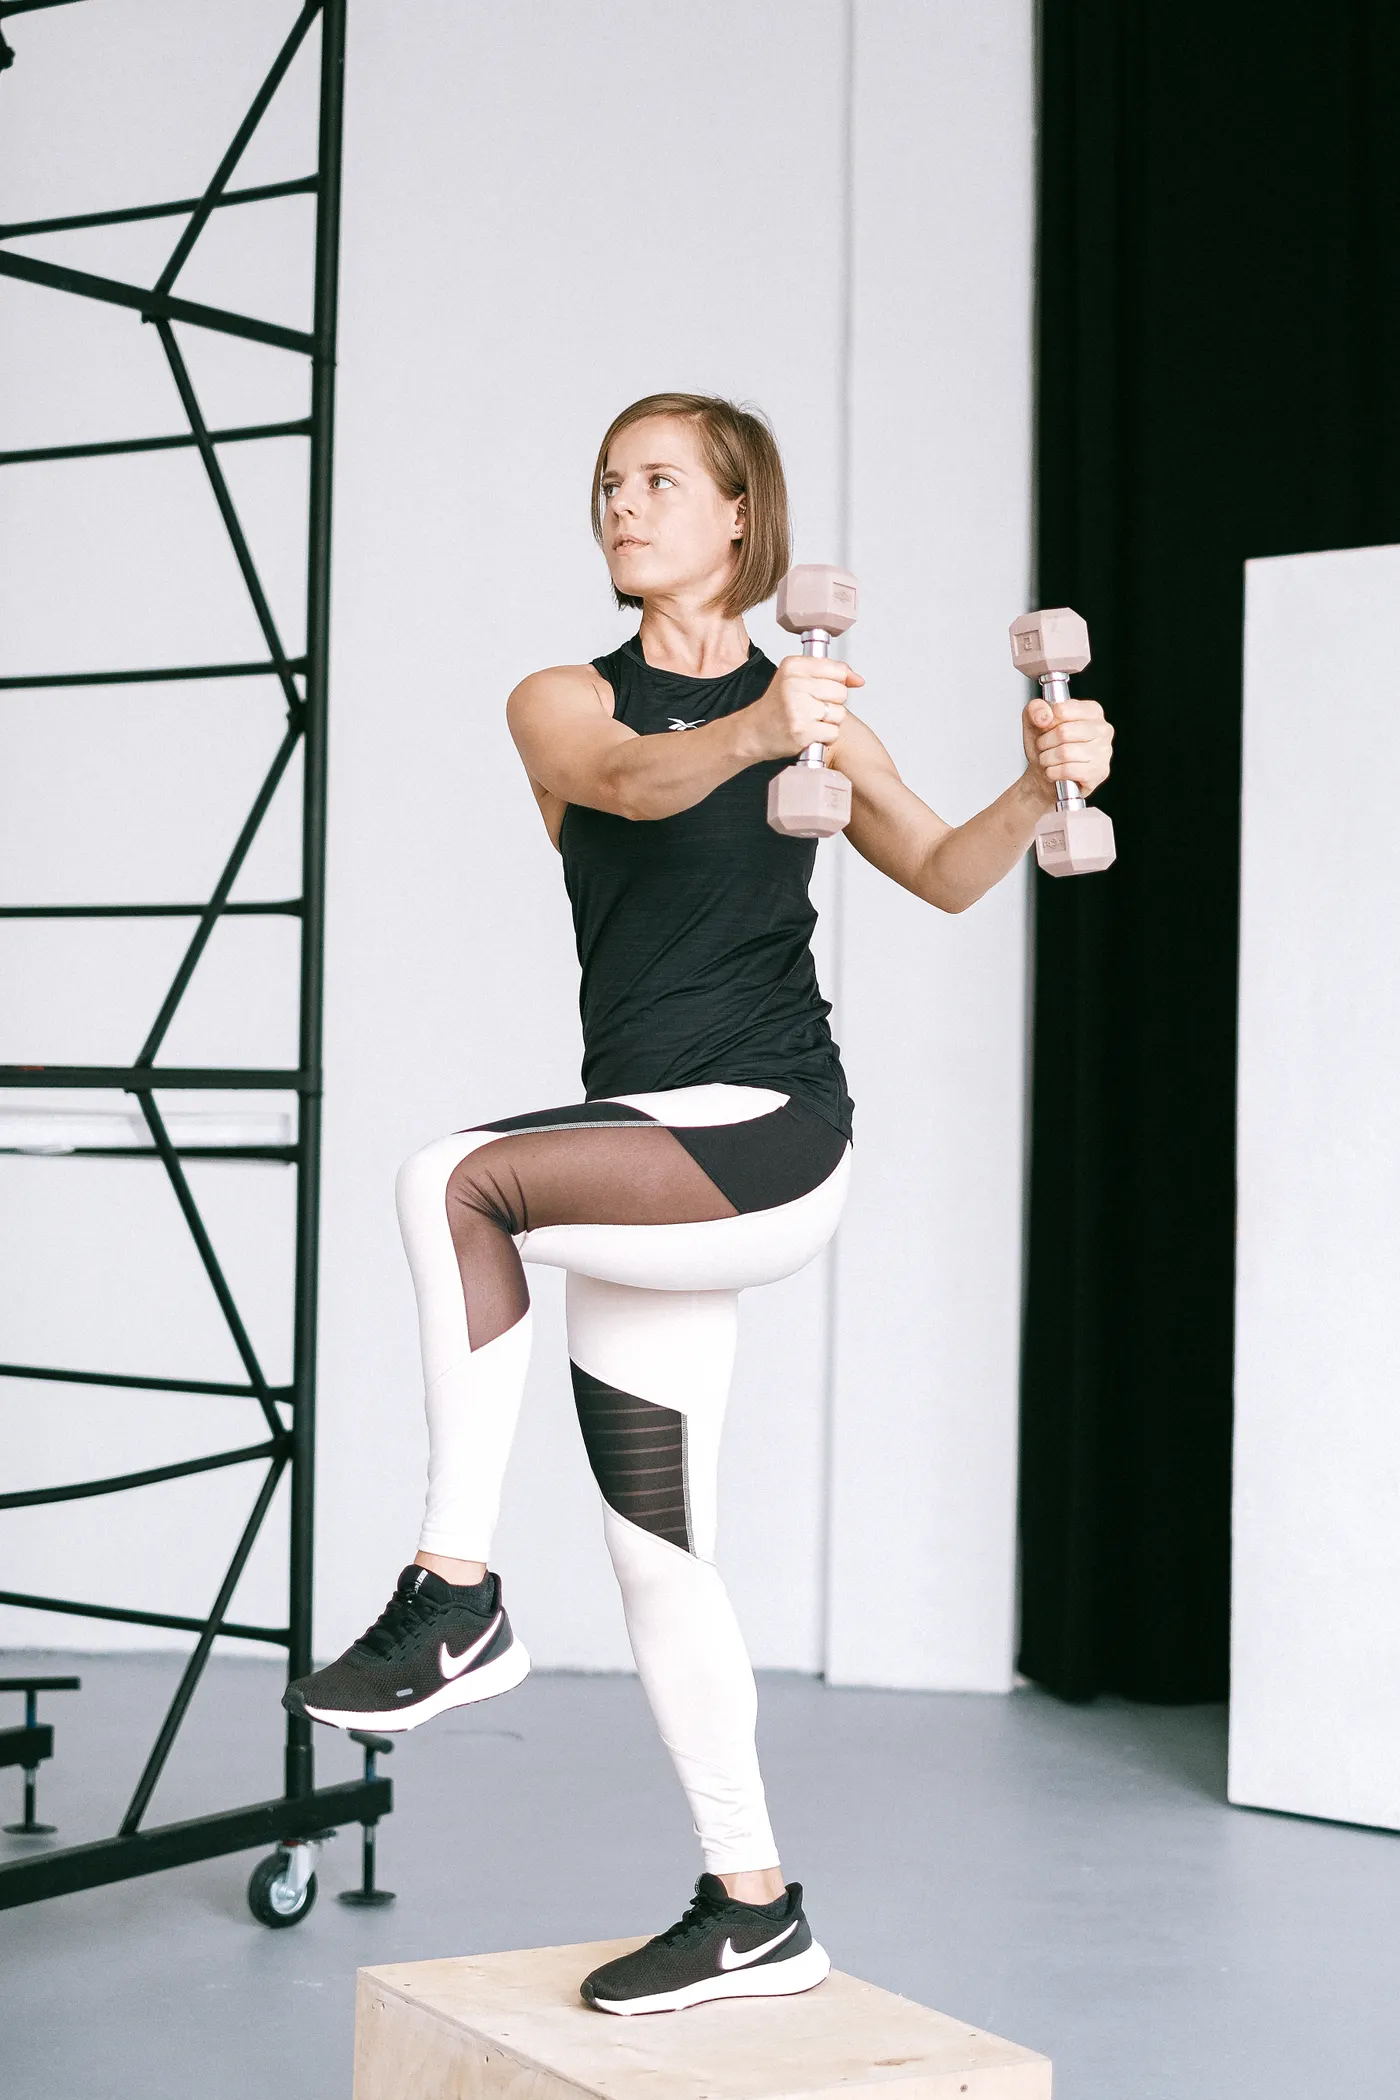
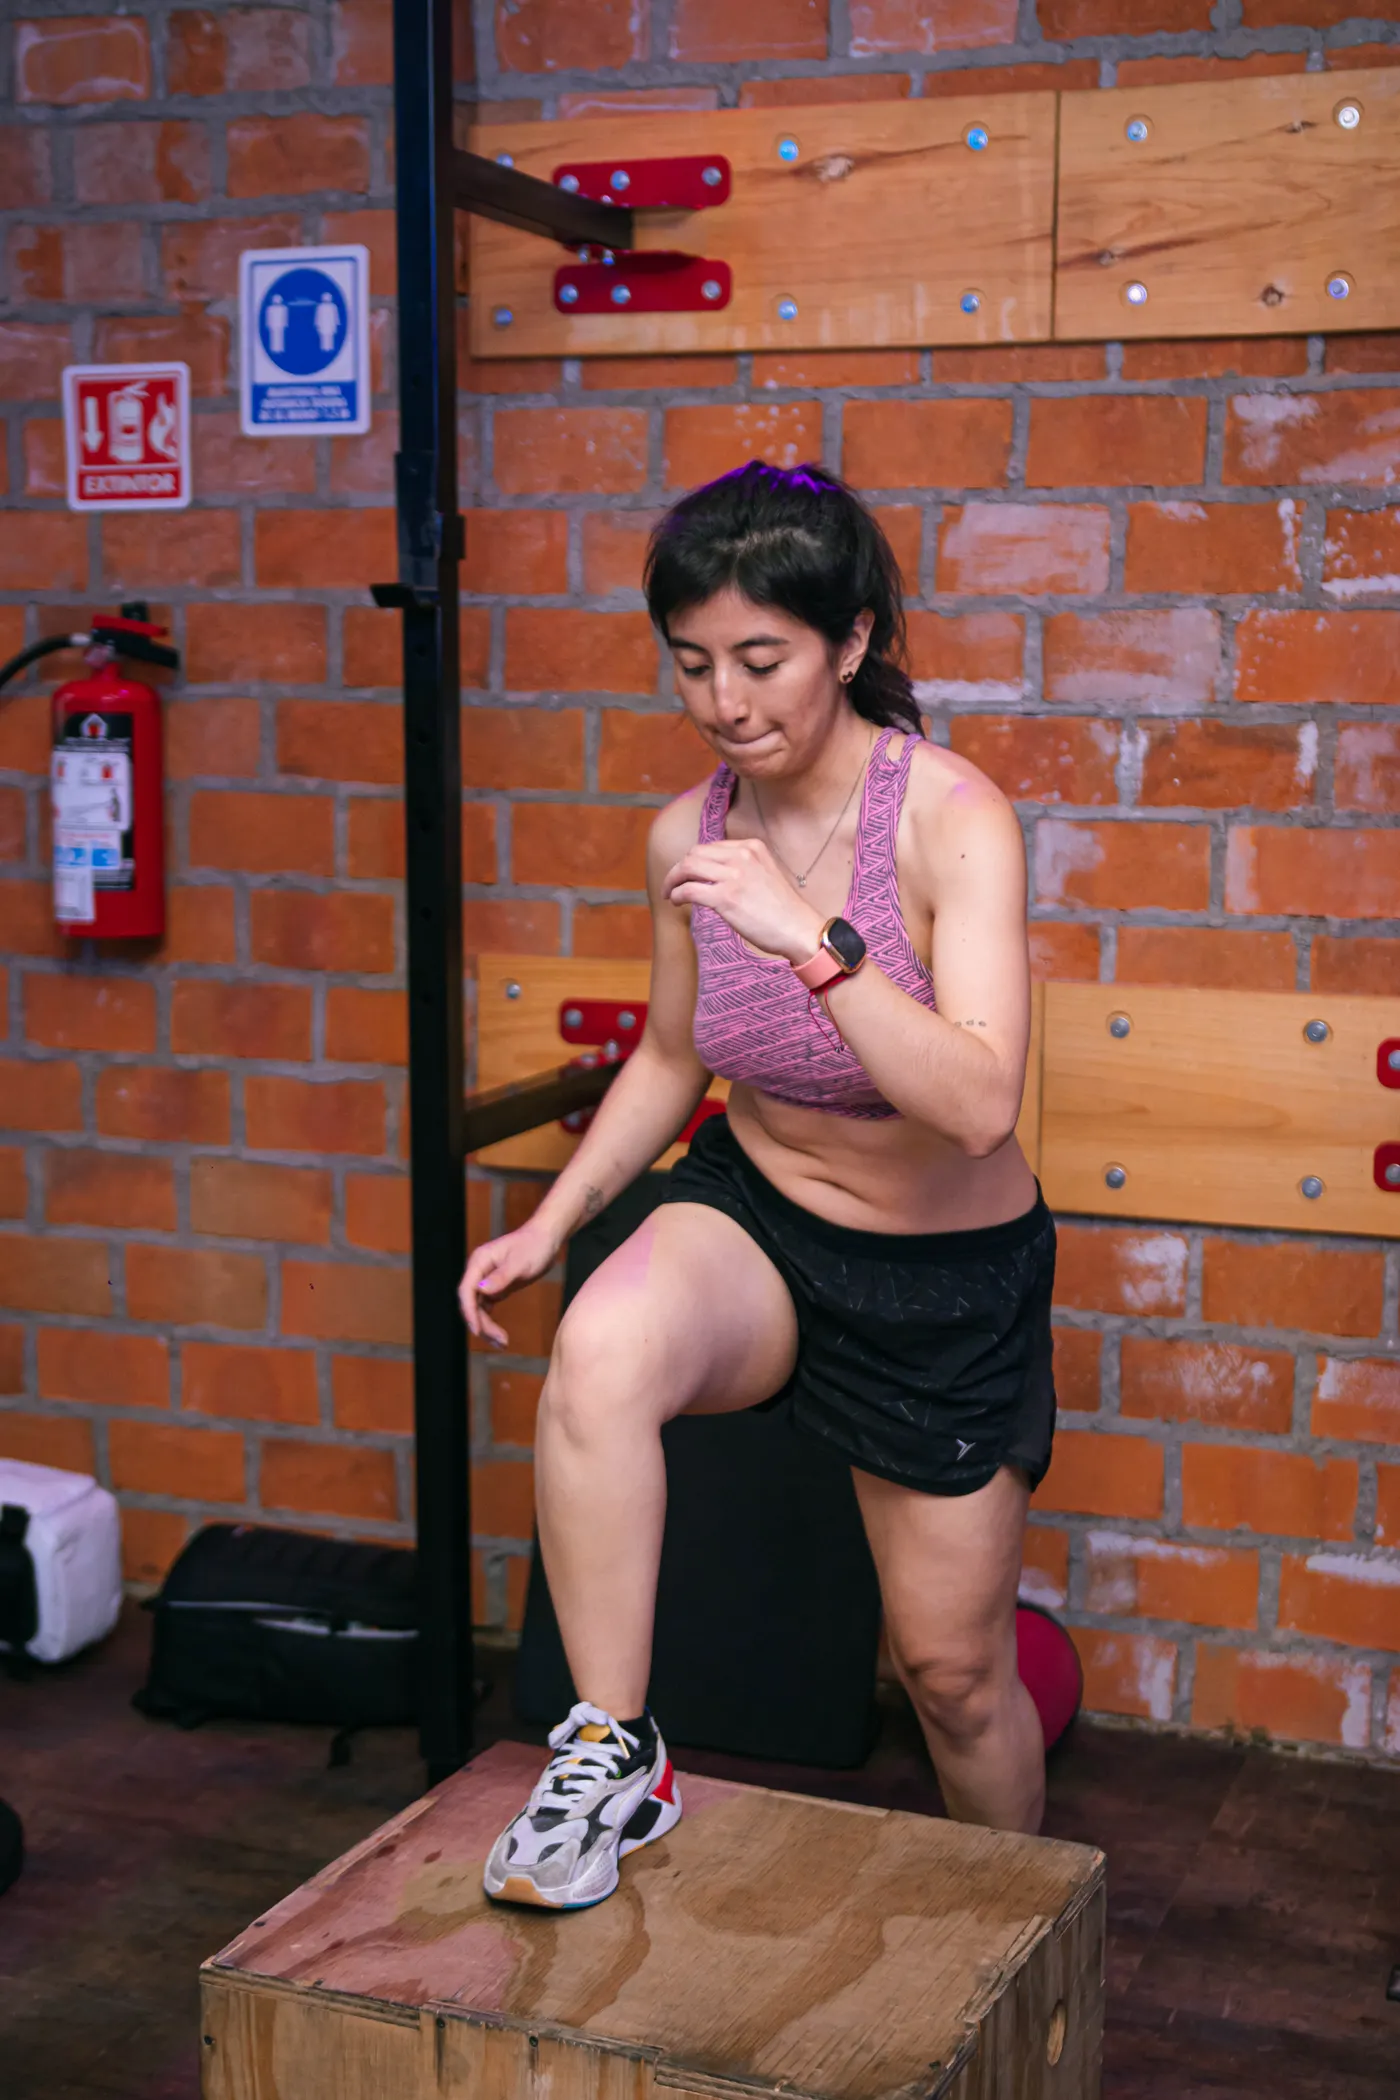
6. Controlled step-up or split squat. Choose a low step or a comfortable split stance. Drive through the working foot, keep the torso controlled and finish without bouncing off the trailing leg. Unlike an isolated hip-abduction drill, this loads several joints and muscles at once. It is especially valuable when your real goal is climbing stairs, hiking, running or building useful leg strength.
These exercises are not tests you have to pass before lifting heavy. They are scalable ways to practice load acceptance and balance. A hand on a rail is perfectly reasonable if it lets you train the leg rather than fight for survival. Progress by improving control first, then increasing the height, external load or duration. For athletes, the final step is practicing the specific movement patterns of their sport, because static balance and dynamic running mechanics are not identical.
Build a Smarter Progression, Not a Longer Band Circuit
The easiest mistake is turning every glute session into a marathon of tiny pulses. More repetitions can be useful, but endless low-resistance sets are not the only way to develop strength. Choose a resistance that makes the final few controlled repetitions challenging while still allowing a repeatable range of motion. Record the band position, weight, reps and technique so the next session has a reference point.
For side-lying abduction, a practical progression might be two sets of twelve clean reps, then two sets of fifteen, then a small increase in resistance and a return to ten or twelve. For a wall lean, move from ten-second holds to twenty-second holds before making the leverage harder. For step-ups, improve balance and step height gradually, then add dumbbells. Keep the total weekly volume compatible with your squats, hinges and other leg work.
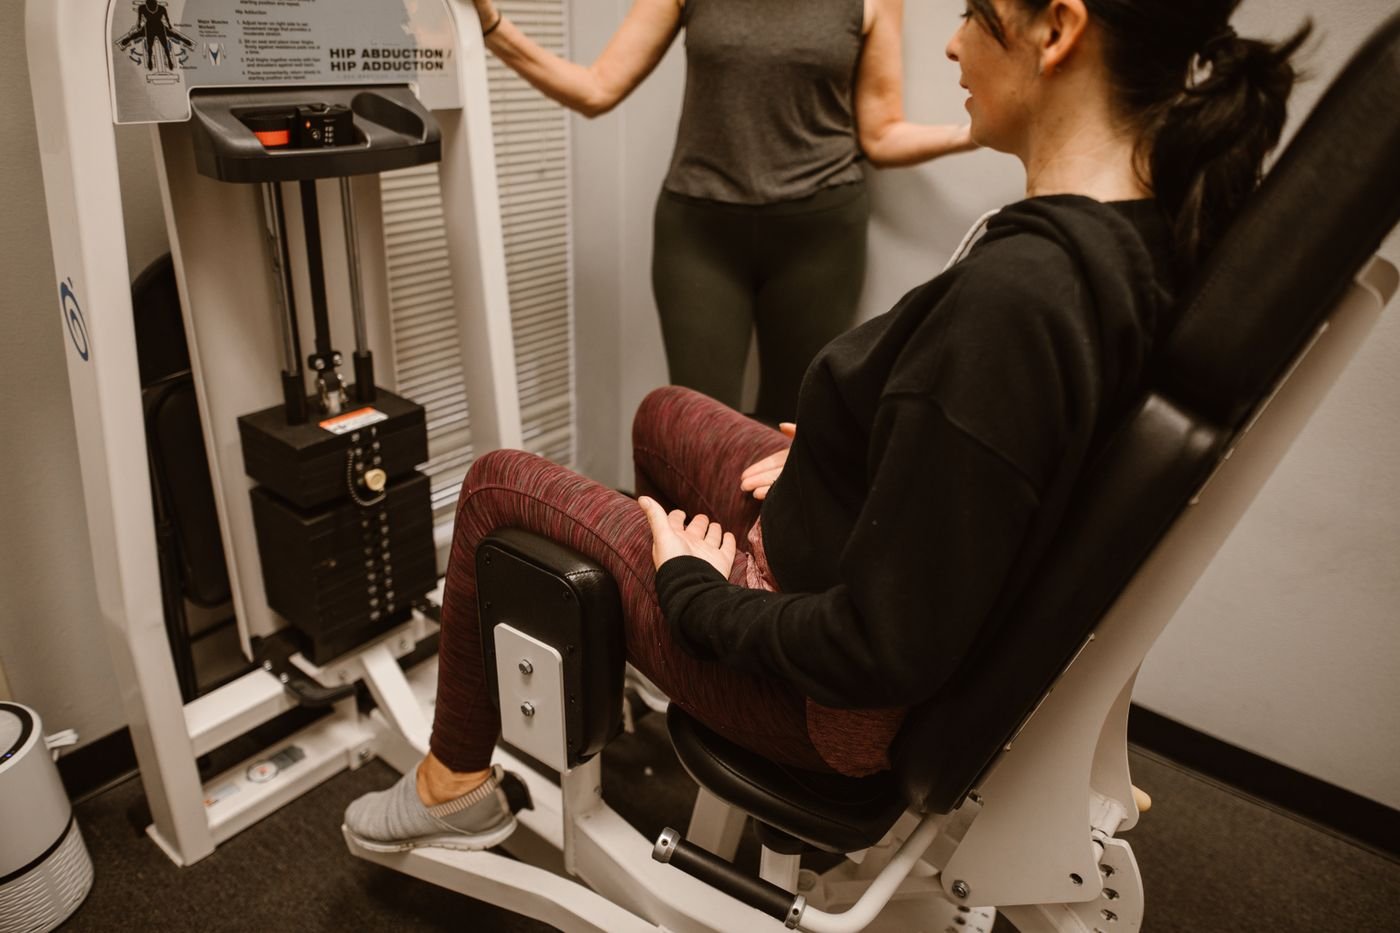
Remember that muscle activation studies usually measure electrical activity during a particular task. They do not prove that a particular band location builds the most muscle over months. Likewise, an exercise that feels harder because your balance is challenged may not be providing a larger hypertrophy stimulus to the target muscle. Match the tool to the outcome: bands for convenient resistance and control, dumbbells for straightforward load progression, and cables or a hip-abductor machine when you want stable, measurable resistance.
Two or three exposures per week are enough for many beginners to practice these skills and accumulate useful work. If you are already doing hard unilateral leg training, start with less isolation volume. Increase only when recovery, movement quality and the rest of your program support it.
Equipment Worth Exploring
Explore equipment, accessories and gear from our carefully selected range.


Belt Squat Collar
Heavy-duty collar adapter for compatible belt-squat and landmine bar setups.
A Two-Day Glute and Hip-Stability Plan
This sample plan is designed to complement normal strength training, not replace a balanced program. Leave at least a day between the two sessions when possible. Warm up with several minutes of easy movement and a few light practice repetitions. Choose loads that leave roughly two or three good repetitions in reserve on the larger lifts, especially while learning the positions.
Day A – control and hip abduction: side-lying abduction, two sets of ten to fifteen per side; lateral band walks, two rounds of eight steps each direction; goblet squat or supported squat, three sets of six to ten; and a low step-up, two sets of eight per side. Rest around one to two minutes between demanding sets. If the band drills fatigue your legs enough to reduce squat quality, move them to the end.
Day B – unilateral strength and pelvic control: single-leg wall lean, three holds of fifteen seconds per side; three-direction toe taps, two rounds per side; split squat, three sets of six to ten per leg; and a Romanian deadlift, two or three sets of eight to twelve. A short clamshell finisher is optional, not compulsory. Prioritize smooth repetitions and a range of motion you can own.
In week one, establish comfortable positions and note the starting resistance. In week two, add a rep or a few seconds where control is reliable. In week three, add a small amount of load to one or two exercises. In week four, repeat the original tests and compare technique, reps and effort. If the numbers are unchanged but the same movement feels steadier, that is useful progress too. Running, sport and other lower-body training still count toward your total workload.
Bodybuilding Shirts & Workout Gear
Bodybuilding shirts, tanks and gym gear for lifters chasing muscle, size, symmetry and the pump.

BootyBuilder Leg Day & Squats Barbie Meme Athletic Tank Top
Add some leg-day attitude to training with “BootyBuilder”.

Christmas – I'M Still Gonna Squat You Monster – T-Shirt
Heavy lifts, good laughs, and a little “Christmas” energy.


Harley Quinn Booty Builder Gym Tank
Show some personality between sets with “Booty Builder”.

Patriotic Eagle Stars Stripes and Squats Gym Shirt for T-Shirt
Make gym days more fun with “Patriotic Eagle” style.

Booty Builder Captain Marvel Leg Day & Squats Vest Tank Top
Show some personality between sets with “Booty Builder”.

Booty Building Mode Wonder Squats & Gains Girls, T-Shirt
Heavy lifts, good laughs, and a little “Booty Building Mode Wonder Lifter” energy.

I Love Booty Peach – Valentine's Leg Day Meme Jumper Pu T-Shirt
Show some gym-day personality with “I Love Booty Peach”.

Leg Day The Day That Never Comes — Metallica Rock Music Sticker
Bring “Leg Day The Day That Never Comes” attitude to your water bottle or laptop.

BootyBuilder Leg Day & Squats Barbie Meme Hoodie
Keep it laid-back with a little “BootyBuilder” attitude.
Troubleshooting Pain, Form, and Plateaus
Feeling the front of the hip? Reduce the height of your leg raise, keep the pelvis stacked and try moving more slowly. Some contribution from other hip muscles is normal. A sensation in one location is not a definitive measure of which muscle is working, so do not chase a burn at the expense of comfortable mechanics.
Knee drifting inward on a step-up? First check whether the step is too high or the load too heavy. Use a lower step, slow the descent and allow a light hand support. A little inward movement is not automatically an injury; the concern is whether you can control the task and whether symptoms occur. Foot placement, hip anatomy and ankle mobility can all affect the visible pattern.
Band walks no longer feel difficult? Move to a slightly stronger band, adjust its position, or replace some band volume with loaded step-ups, split squats or machine abduction. Keep at least one measurable exercise in the plan. The best progression is one you can reproduce without cheating the range of motion.
Persistent pain or a major side-to-side difference? Stop treating exercise selection as a diagnosis. Seek a qualified assessment if symptoms are worsening, sharp, associated with swelling or affecting normal daily activity. Exercise can be part of recovery, but a generic list cannot identify the cause of an individual’s pain.
The gluteus medius does not need a special workout every day. It needs the same things other muscles need: appropriate loading, sensible technique, recovery and progression. Combine targeted hip-abduction work with single-leg strength and you have a useful, efficient way to train the side of the hip without letting the band circuit take over leg day.